Battlestar Galactica - Light Bomber "Aurora" - Viper concept by Andrew Probert

wulf111

New Member
i have one question. if this is to be used as a heavy fighter how can they see out the front of the ship? there is no front facing view port. i would like to think that this would be either used as a drop ship for troops or a gunship maybe?

very nice design. looking forward to its completion and release.
 

Revell-Fan

Co-Administrator
Staff member
Administrator
Moderator
Remember the Jem'Hadar ships? They had no windows at all. The nose is packed with sensors and the crew "sees" using HUDs or monitors installed in the front area ("google glasses" are everyewhere! ;)).
 

Revell-Fan

Co-Administrator
Staff member
Administrator
Moderator
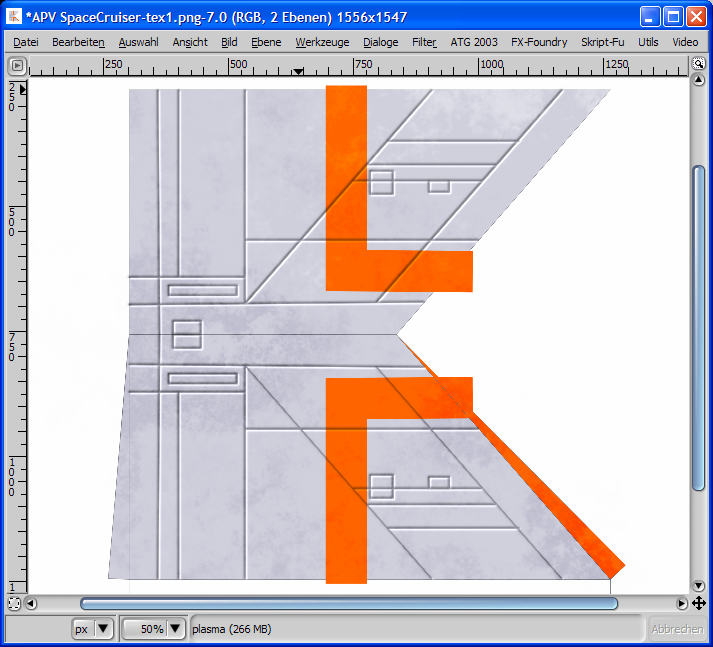
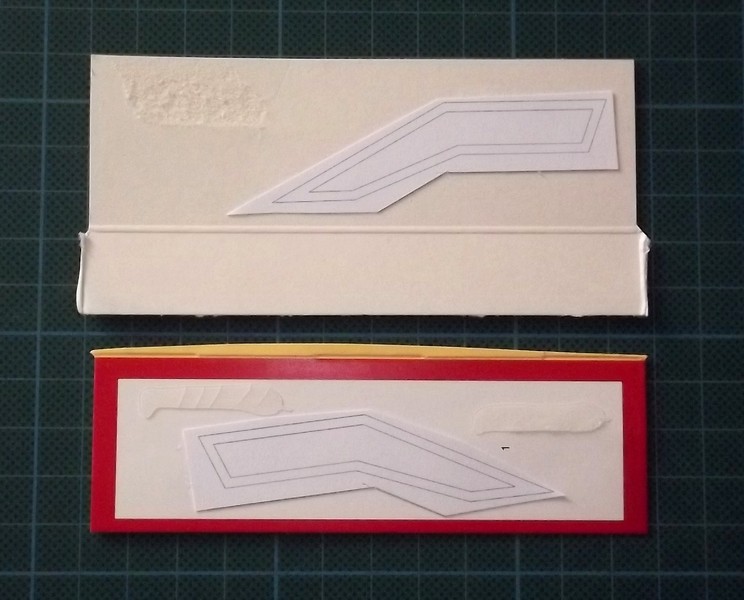
OK, back to the skeleton again.

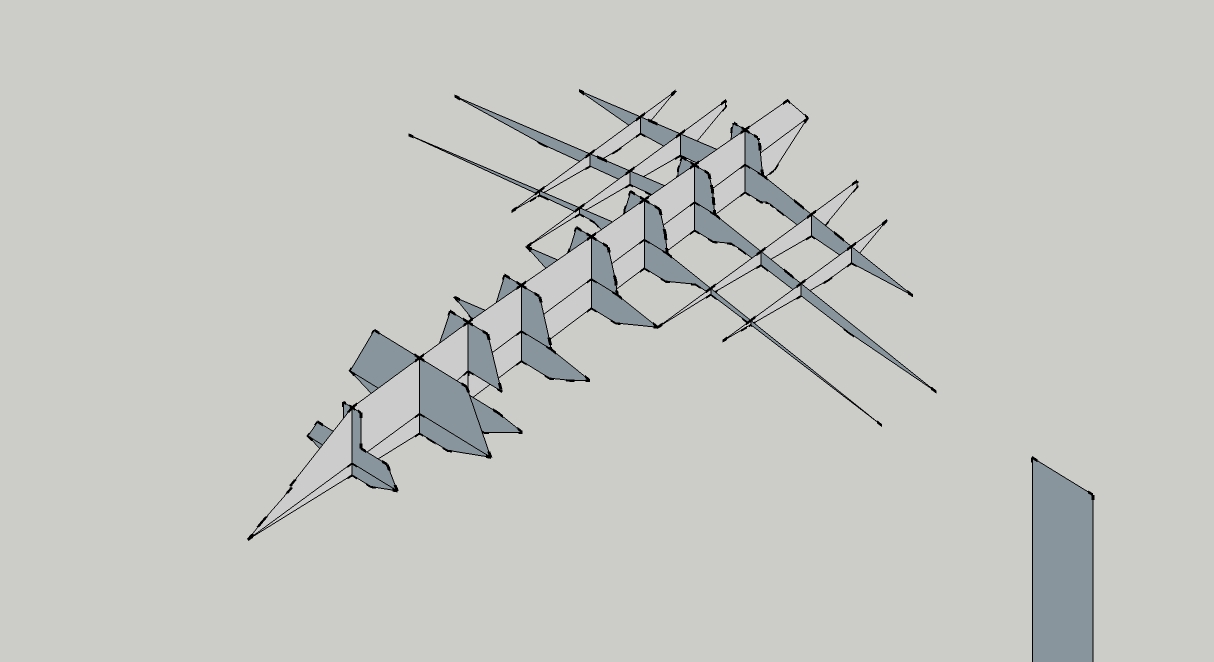
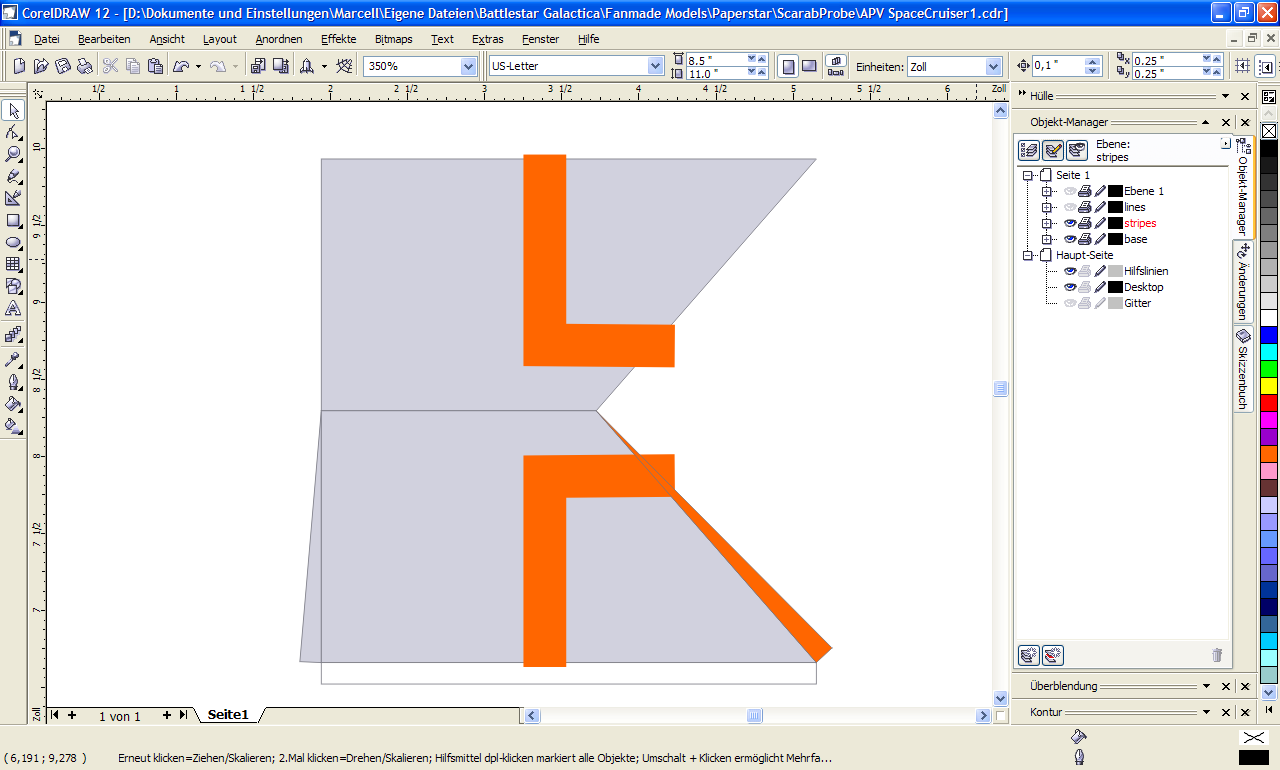
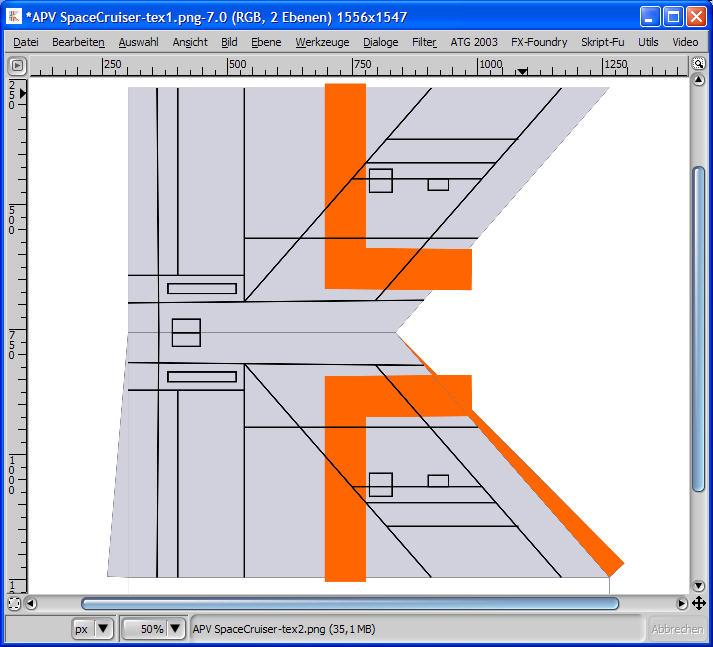
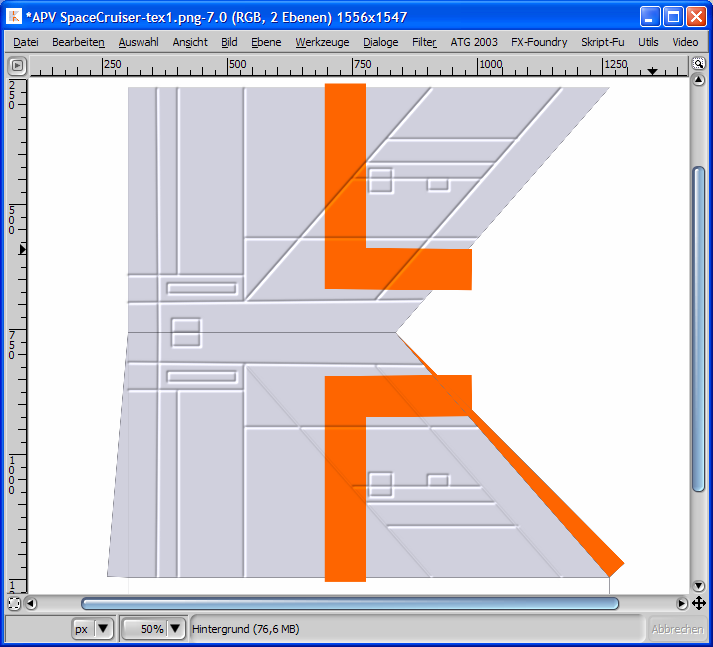
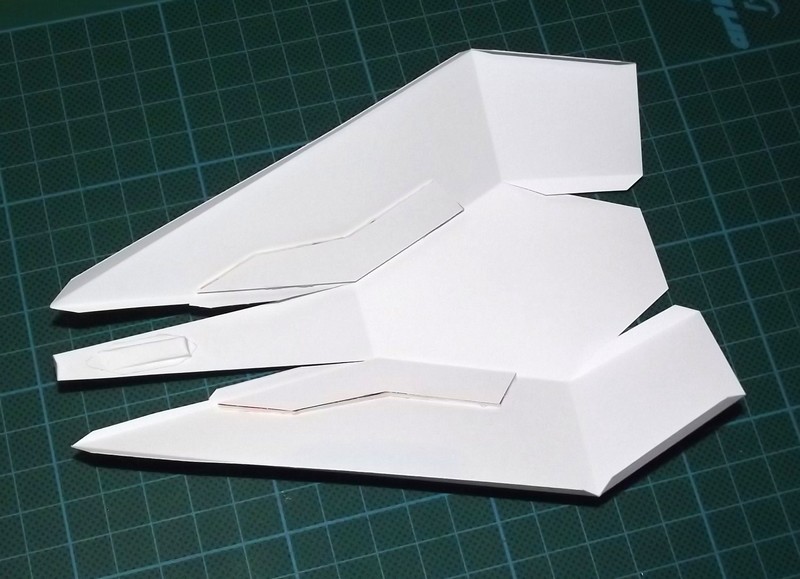
I have cleaned up the pieces to get a raw shape:

i16373b7pcex.jpg


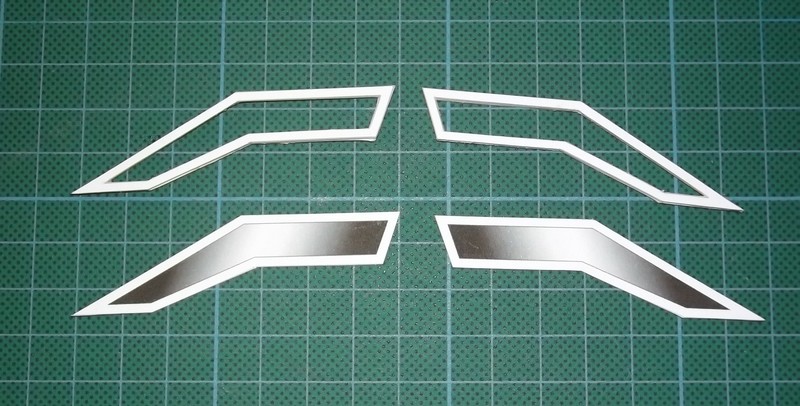
Now it has to be edited to make it work.

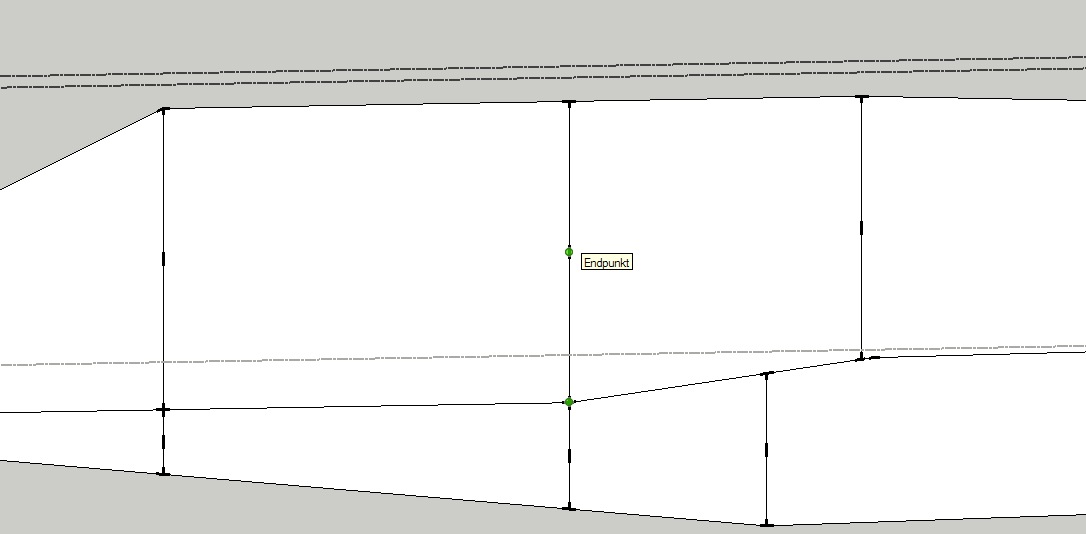
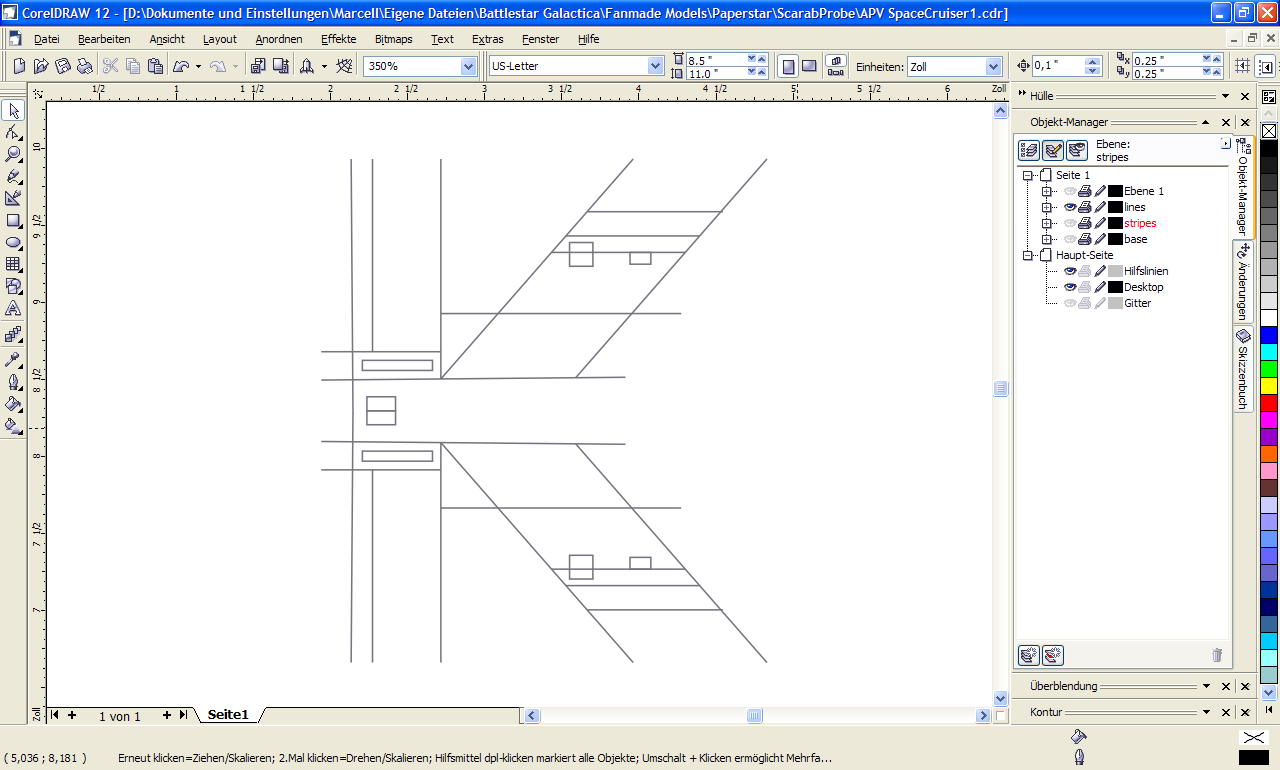
First the middle of each line which was drawn onto the single elements during the "intersect with model" process has to be marked. The easiest way to do so is to select the pencil, start at one end of the line and move it toward the middle of the line. SketchUp highlights the middle automatically and a simple click does the rest.

i16374bug3is.png


The lines below or beneath the middle are deleted. The remaining lines mark the position of the notches which are necessary to insert the ribs.

i16378bwt7yx.jpg


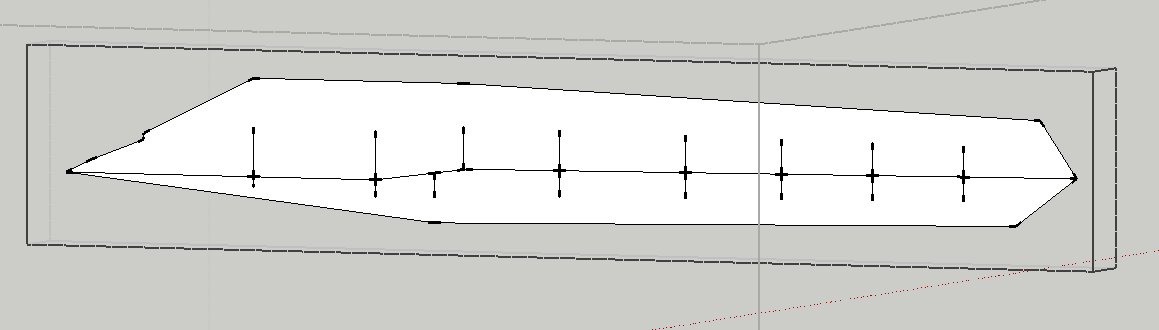
This procedure has to be performed on all skeleton parts. However, the lines on the ribs must be on the opposite half (otherwise you won't be able to insert them into the main part).

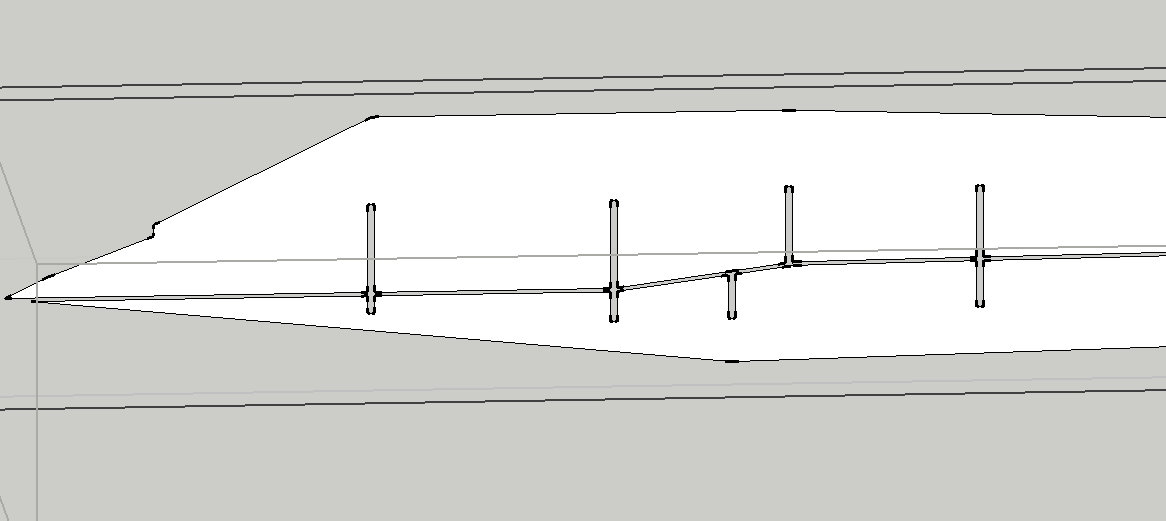
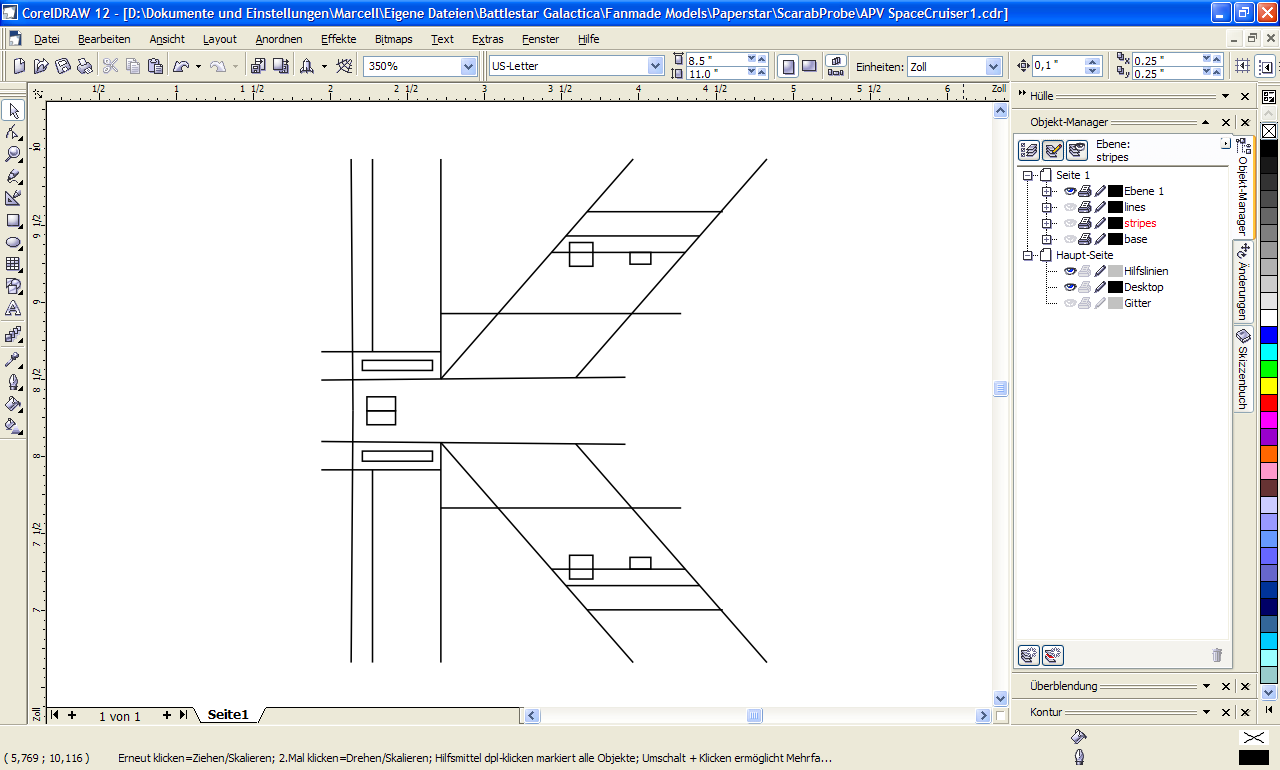
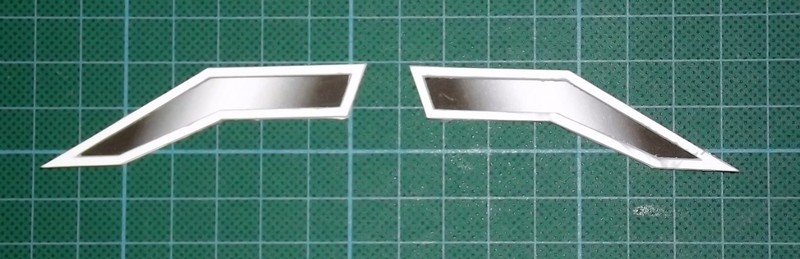
Having done that you have to make the parts a tad smaller to make them fit inside the model. If you don't do that the skeleton will be too big because of the thickness of the paper. SketchUp thinks the paper is 0 mm thick which is an illusion in real life. So you have to use the offset tool and move the outer rim inwards by about 0.2 to 0.25 mm. The excess is erased.

Then a 1 mm wide notch is added to each mark:

i16375b9b2tb.png


Well then, if you are preparing a kit in three different scales you will have to perform these actions three times for each scale version. If you scale the parts up or down the values of the offset and the notch will be scaled up or down by the same amount, meaning that they will become too big or too small.:eek:

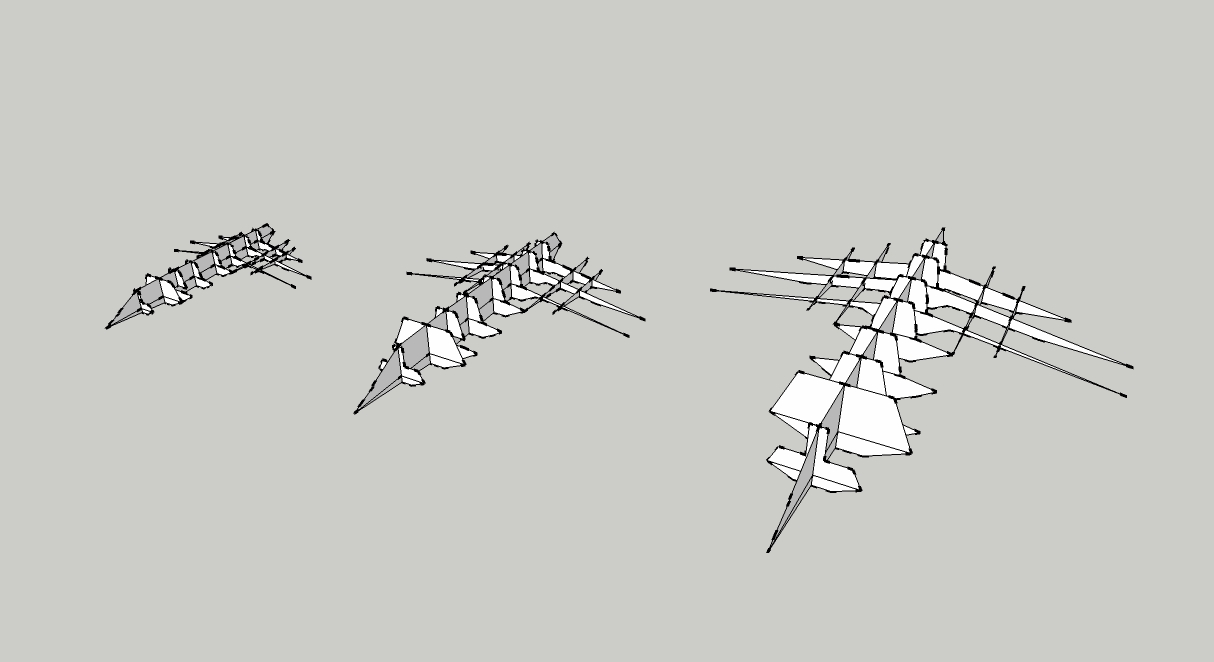
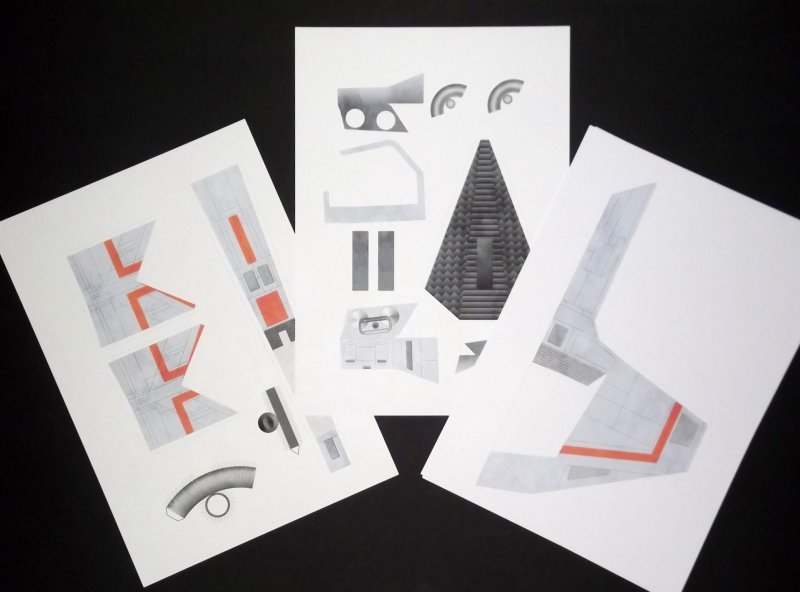
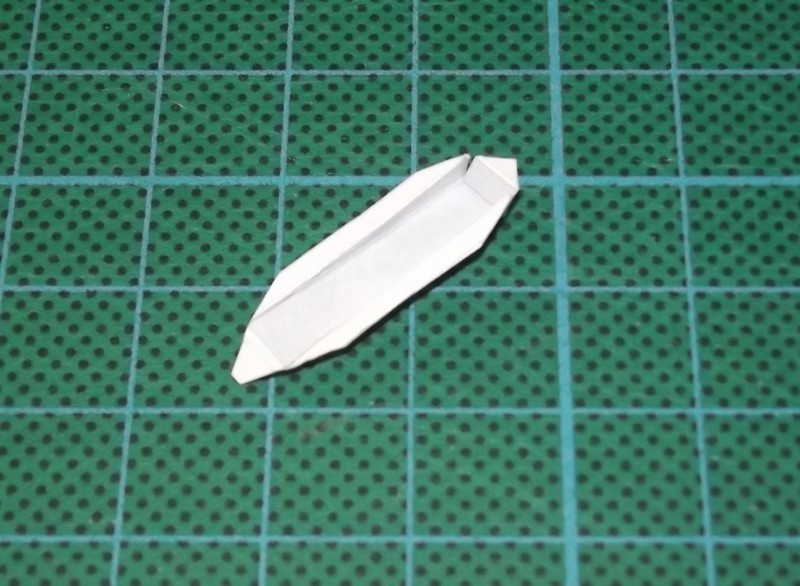
In the end you'll get a small flock of birds:;)

i16372bfycff.jpg
 

Revell-Fan

Co-Administrator
Staff member
Administrator
Moderator
Now onto the texture:

It is made with CorelDRAW and Gimp. I'd like to show you how I do it. I use one of the fins as an example. After the part is unfolded using SketchUp's unfold plugin and exported as *.svg file it is imported in Corel. Corel is a vector graphic program which is very good for producing clean line drawings. The main advantage is that the drawings can be scaled up or down without losing quality.

However, it is very hard to create funky weathering effects. So you have to export the line drawing into a bitmap format which can be edited further in Gimp.

Keeping this process in mind I have created several layers in Corel and arranged the elements in a logical way. First come the basic shapes and the stripes:

i16381ba6mww.png


This is followed by the lines in grey:

i16379bijl6t.png


and the same in black:

i16380b2ljvl.png


Each layer is exported as *.png file and opened in Gimp:

i16382b7oabv.png


You will end up with three layers (base colours, grey lines and black lines). Toggle off the visibility of the black line layer and run a Gaussian blur on it (about 5 x 5 or 7 x 7 pix depending on how much you want to pronounce the lines).

i16383b8dzls.png


The main layer is selected:

i16384bqwi7c.png


and bumpmapped with the black line layer:

i16385bdqfva.png


The (already good-looking) result:

i16386bqge0i.png


Then the grey lines layer is loaded. Switch the layer mode to "multiply" and decrease visibility by 50 % to get this:

i16387b47duy.png


i16388b0wyq7.png
 

Revell-Fan

Co-Administrator
Staff member
Administrator
Moderator
Now you have a clean enhanced texture. But it is a bit too clean for my taste. So I run a script called "corrosion" on the picture. All layers are merged (image > merge):

i16390b9uzje.png


The script is run:

i16391bqumma.png


You see that the weathering effect is fairly strong. I'd like to get a more subtle effect on this plane. To achieve that I delete the top layer

i16392b052ax.png


right-click the next one and select "apply layer mask".

i16393boqjx1.png


A close-up shows the effect:

i16394b9lrn5.png


I run a Gaussian Blur again (3 x 3 pix) to smooth everything a bit:

i16395b55vve.png


This is how I like it:

i16389btfout.png


Adjusting the layer transparency makes the effect stronger or weaker.
 
Last edited:

Rhaven Blaack

!!!THE MAN BEHIND THE CURTAIN!!!
Staff member
Administrator
Moderator
GREAT tutorial!!!
It is always good to see how these sort of things are done.
THANK YOU!!!
 

D-WHALE

Utopia Planitia Engineer
just to understand for me: if you work with DRAW, why dont you make then the texturing with PHOTOPAINT?
 

Revell-Fan

Co-Administrator
Staff member
Administrator
Moderator
I'm faster and more precise using Gimp. I have customized and pimped my Gimp versions (I have two running) so that I can do a lot more with them than I can do with Photopaint. Photopaint's built-in features are pretty basic and the work flow is somewhat confusing to me. I don't say that the program is bad but it simply does not satisfy my needs. I never use it except for things I have to do for school and then only if I have to.
 

D-WHALE

Utopia Planitia Engineer
Hi RF!

I gave Andy Probert a little hint to this thread! :eek:ops:

here is his anwer:
"what a fun exercise, I wish I had thought to do it, but this fellow is doing a great job. Will it be a paper model? The ship was Designed as a Colonial Light-Bomber, not a fighter. The scale should be indicated by the engines, which are the same as those on the fighters... and have a 2 or 3-man crew. Thank you for forwarding"

so no disgrace, Big Brother "Hollywood" is watching you :D
 

DesignR

New Member
Wow, Revell-Fan what a great job you did on this ship,... I never thought I'd see it 'fly'. Like I said to D-WHALE, the scale was to be (according to the engines, like those on the fighters) somewhere between your first build and last,... but bigger works nicely too. Well done - and thank you for the complement of creating this ship-
 

Revell-Fan

Co-Administrator
Staff member
Administrator
Moderator
@D-WHALE: THANK YOU, THANK YOU SO MUCH! I was hoping to get in touch with him some day but I have never dreamt of getting a response to one of my build threads from him! That is so awesome; I am so honoured! He is one of my absolute heroes! (Did you show him my Viper Mk. I, the Landram and the Colonial Blaster too? ;) ):):):)

@DesignR: It is good to know that my initial thoughts on the size were correct (taking the thrusters as a basis). I'll check out how it will look according to Andy's info. BTW, this ship has never been built before and it has never been on the show, so you haven't missed anything! ;) Nevertheless, I fully agree with you (at least a bigger model produces larger parts which makes assembly much easier for people with big hands :D!).
 

Revell-Fan

Co-Administrator
Staff member
Administrator
Moderator
Thank you! :)

Andy's info helped me a lot in bringing the ship back to its intended roots. I have adapted the model accordingly, made it a bit smaller (about 12 %) and changed its designation to "Colonial Light Bomber - Aurora Class" (so no "Colonial Marine One" any longer). In addition, I have added some hidden weapon systems such as a rocket launcher (similar to the one on Airwolf, albeit this one sits on top and not on the bottom) and a hatch revealing a big bomb or missile in the belly. Two flare launchers emitting fake targets to distract enemy missiles have already been part of the model.

i16811bknk9z.jpg


i16812bye50b.jpg


The white thingies are stand-ins and will be adapted on-the-fly. One of the biggest advantages of this (final) size is that the biggest part of the 1:48 and 1:72 scale version can be printed in one piece on one page (letter-size and DIN A 4). The length of the 1:48 version is about 40 cm now which makes about 19 m in "reality".
 

Rhaven Blaack

!!!THE MAN BEHIND THE CURTAIN!!!
Staff member
Administrator
Moderator
This looks like it will be a VERY FUN build and will be GREAT to add to any (TOS) BSG collection.
 
Top