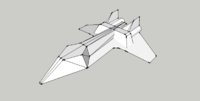
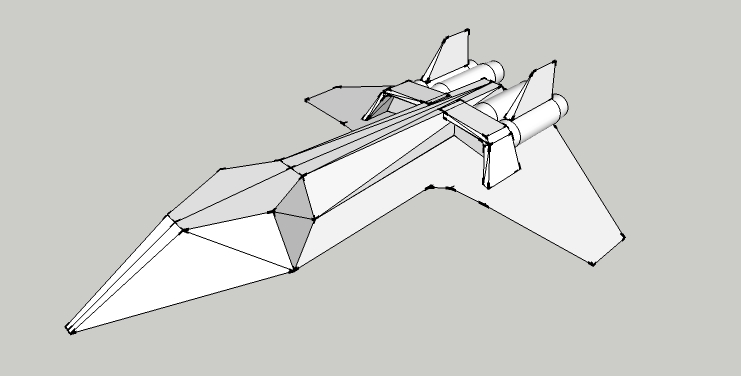
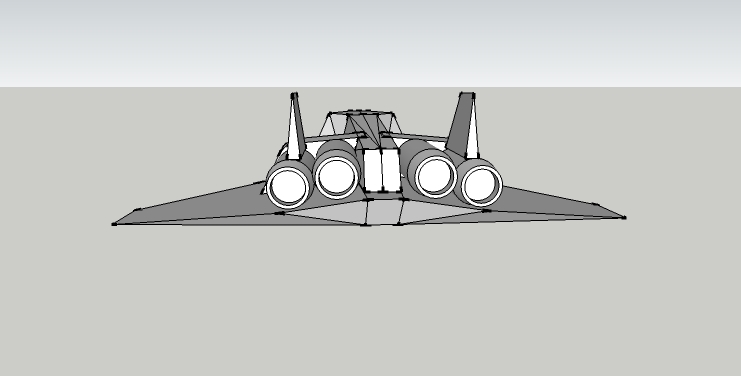
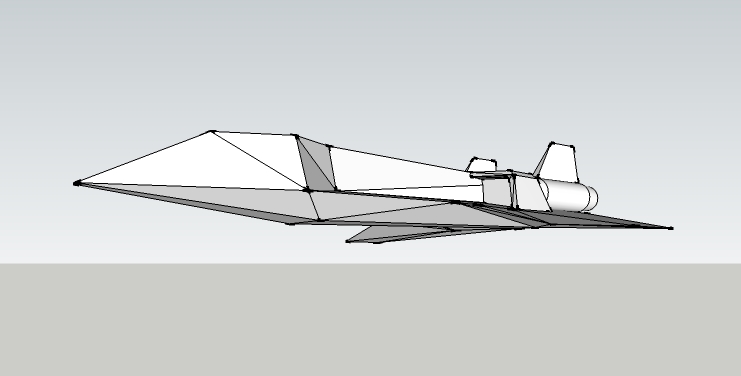
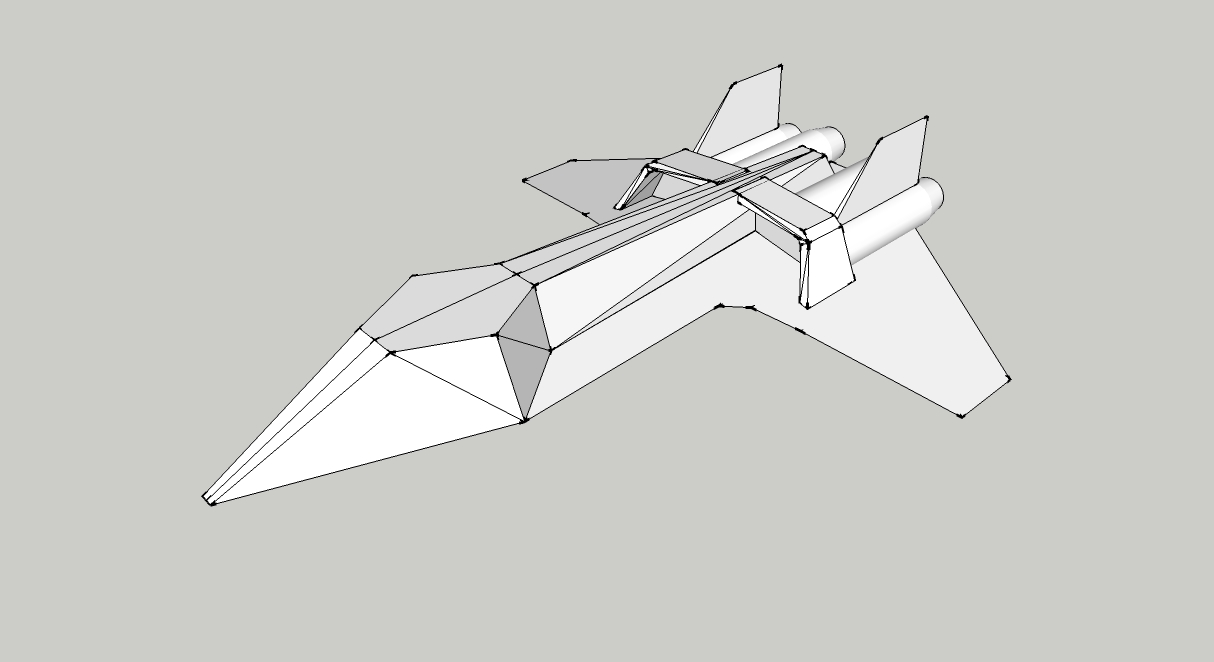
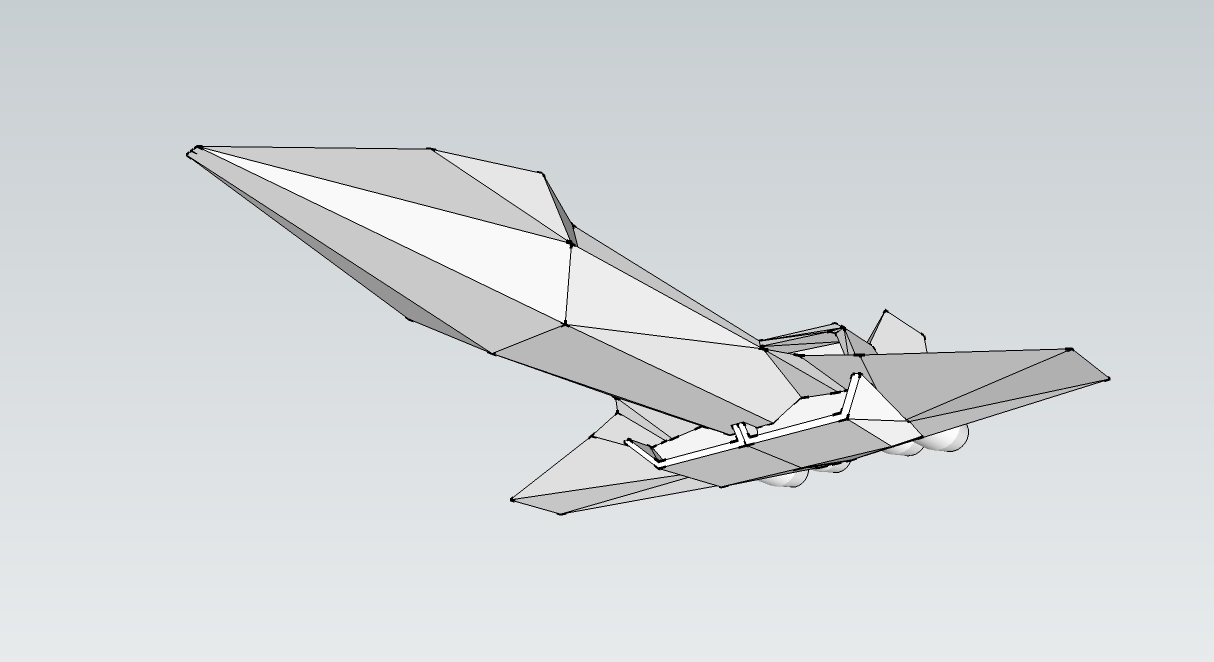
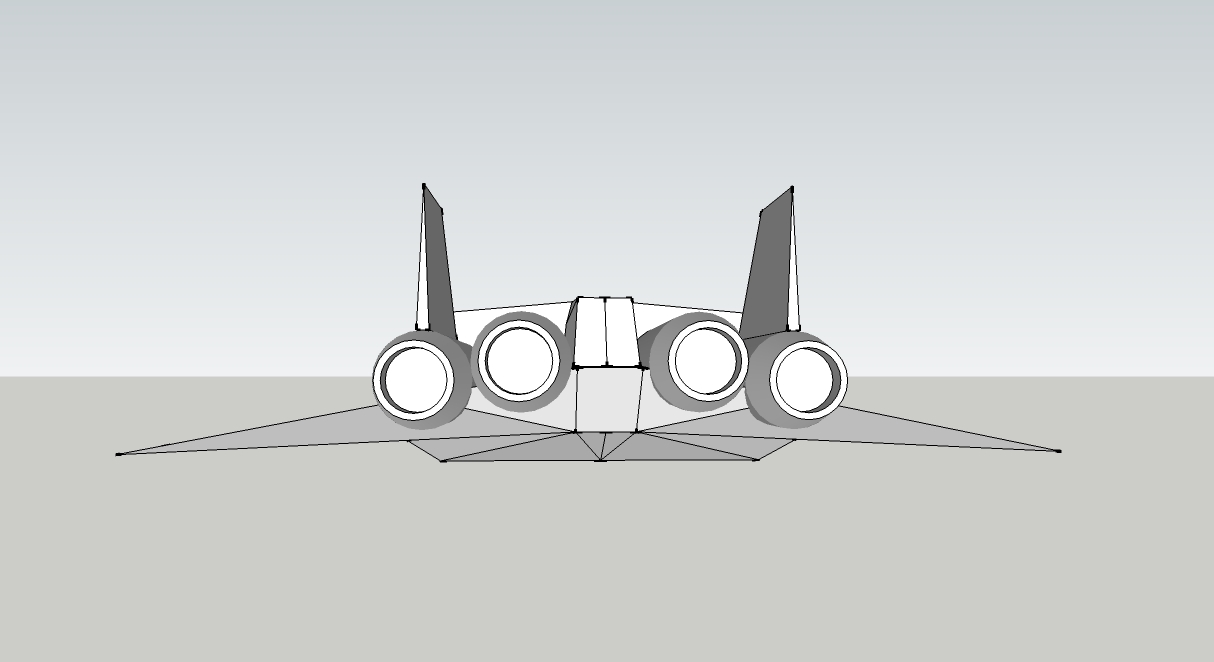
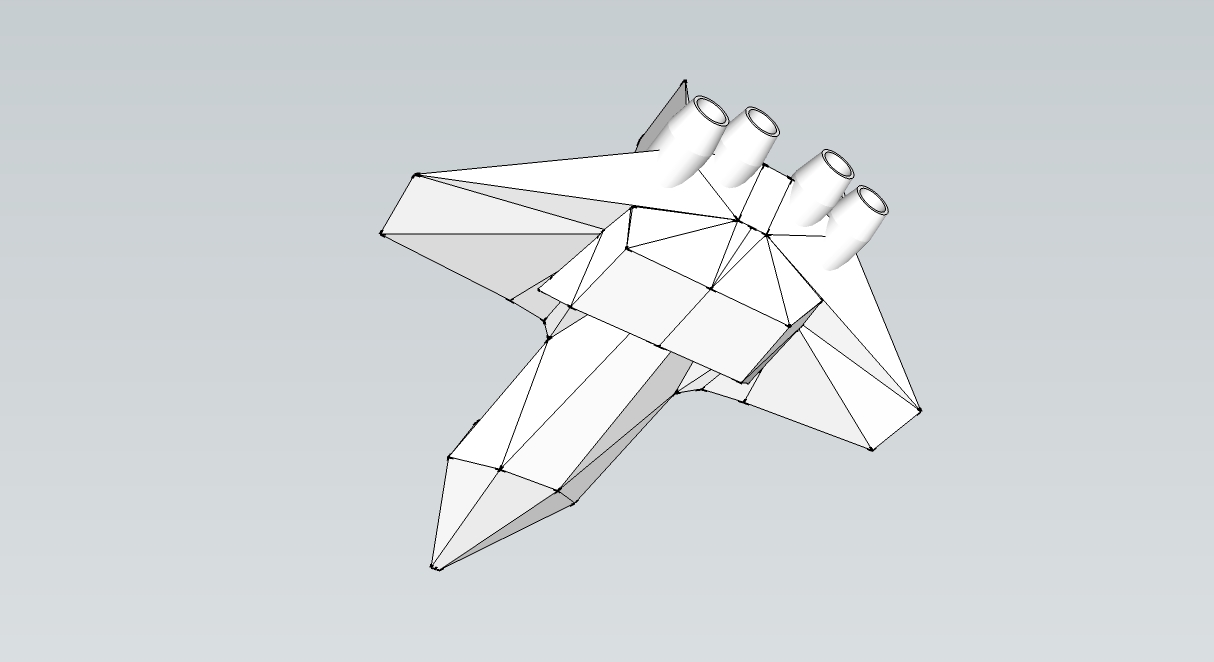
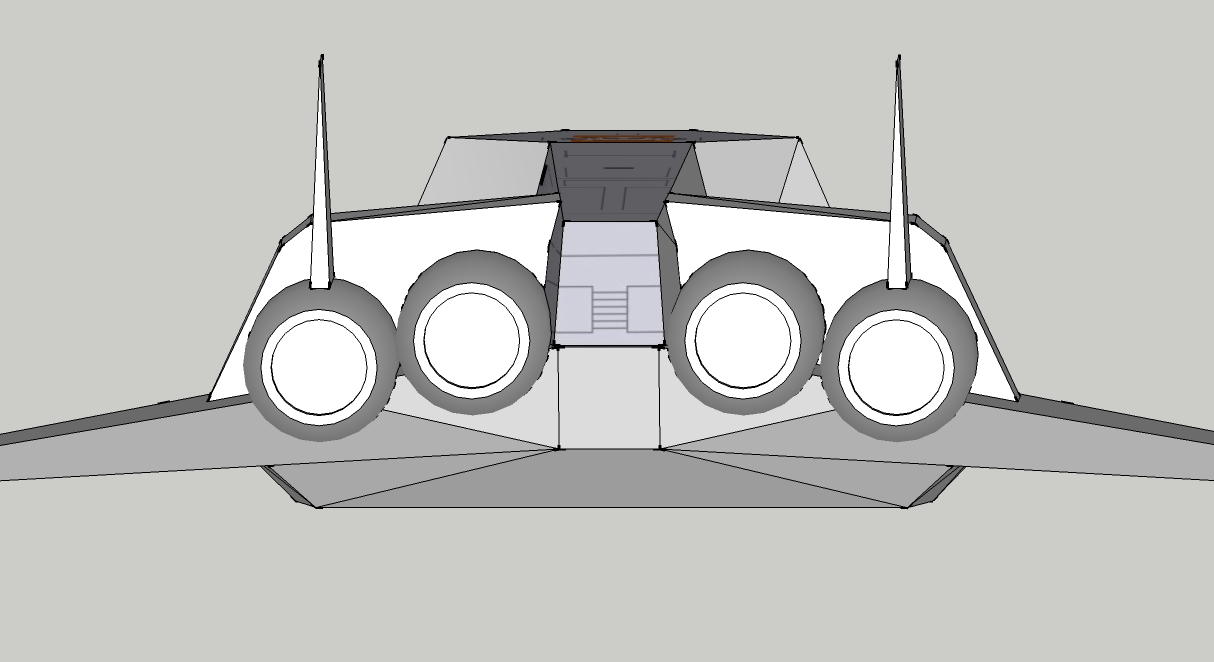
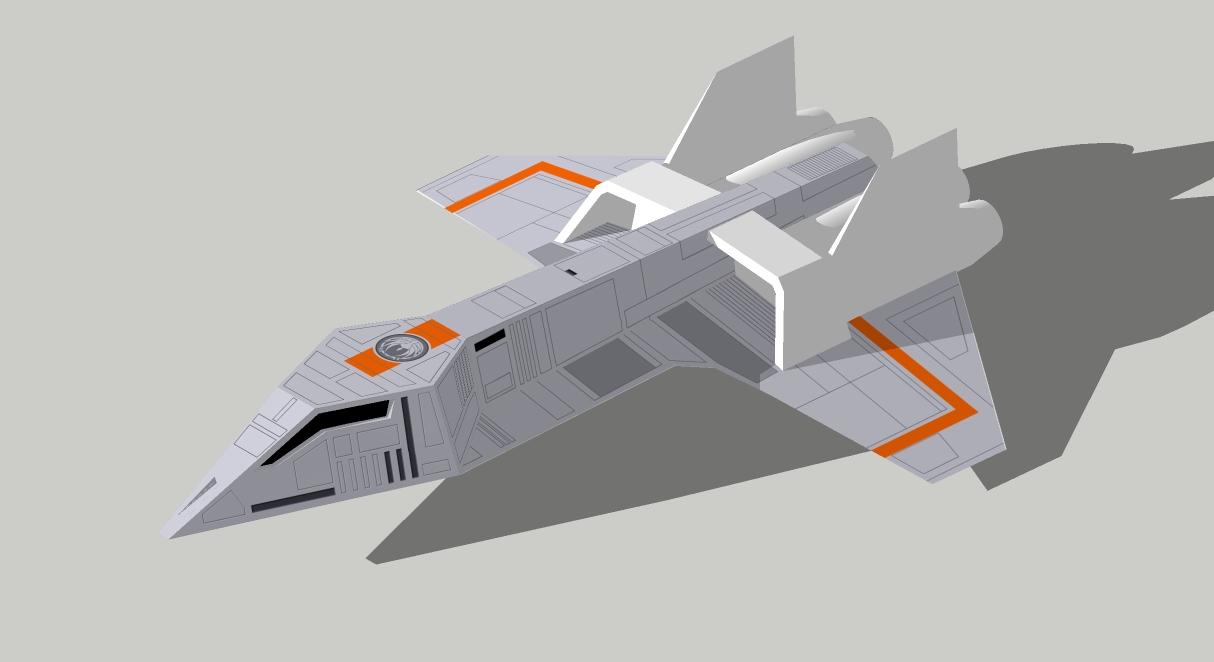
Battlestar Galactica - Light Bomber "Aurora" - Viper concept by Andrew Probert

Revell-Fan

Co-Administrator
Staff member
Administrator
Moderator
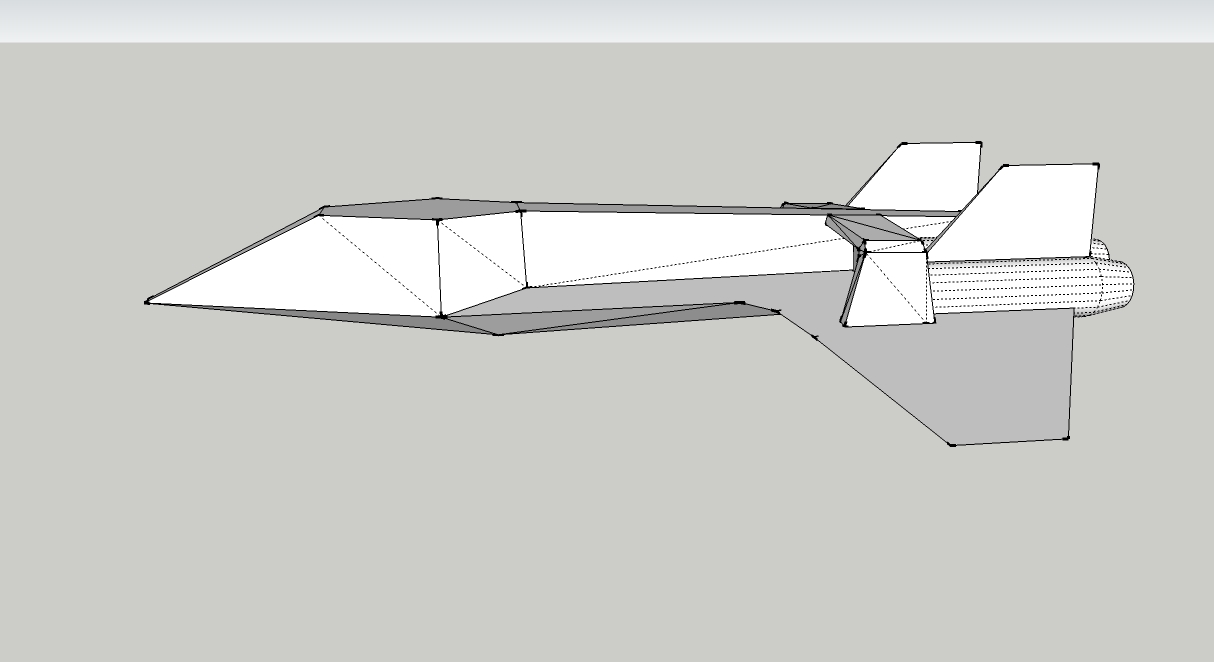
OK folks, I couldn't keep myself from tackling this little bugger :D:

APV SpaceCruiser1.jpg
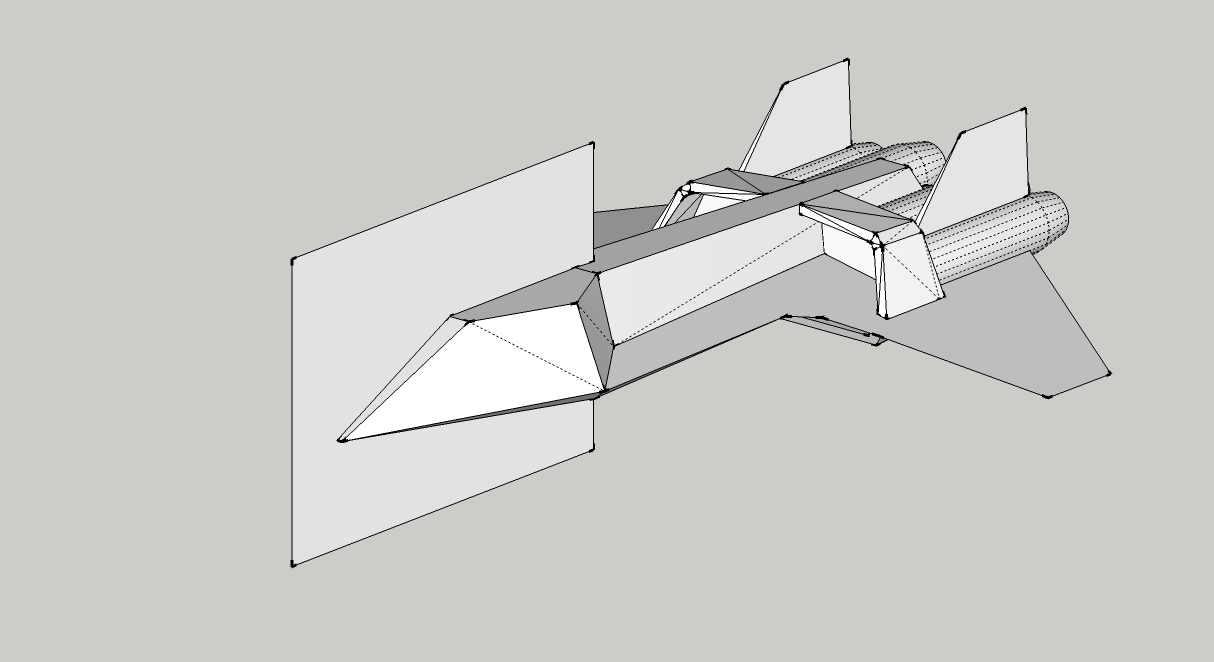
This is another unused Colonial Viper concept by Andrew Probert. Like the Stellar "Scarab" Probe concept (which you can see here: http://www.zealot.com/threads/battlestar-galactica-stellar-scarab-probe-concept-viper.177064/ ) this vessel has no official name. Judging from its shape I think it could be a futuristic consular or private transport vessel like a Learjet or a reconaissance probe. Since the background of this ship hasn't been explored yet I call it the "APV Space Cruiser" ("APV" stands for "Andrew Probert Vessel" ;)).

The modelling is in its early stages. Next will be the bottom and the engines. :)
 

bgt01

Exemplary Confidant
Just replied in the other thread that this looks like something Buck and Hawk would build together during all that Searcher downtime.
 

Rhaven Blaack

!!!THE MAN BEHIND THE CURTAIN!!!
Staff member
Administrator
Moderator
Another suggestion for the name is "MANTA" APV (Armed Personal (or Personnel) Vehicle).
I am looking forward to seeing how this one will turn out!!!
 

Revell-Fan

Co-Administrator
Staff member
Administrator
Moderator
Thank you all for your comments!

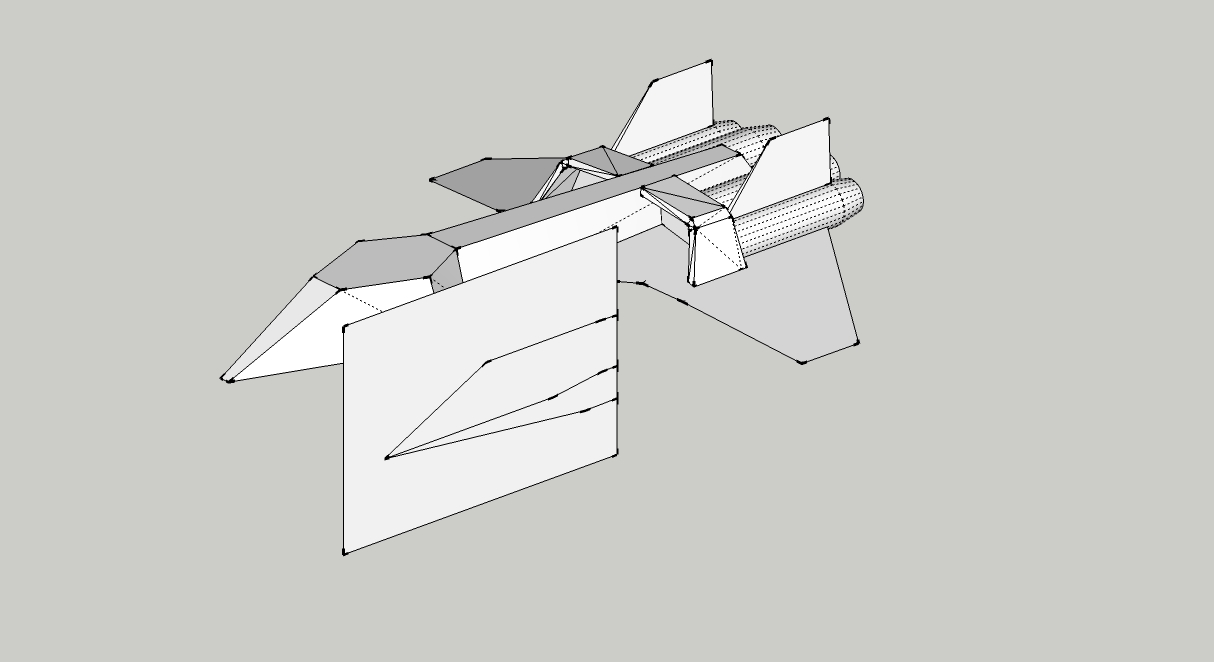
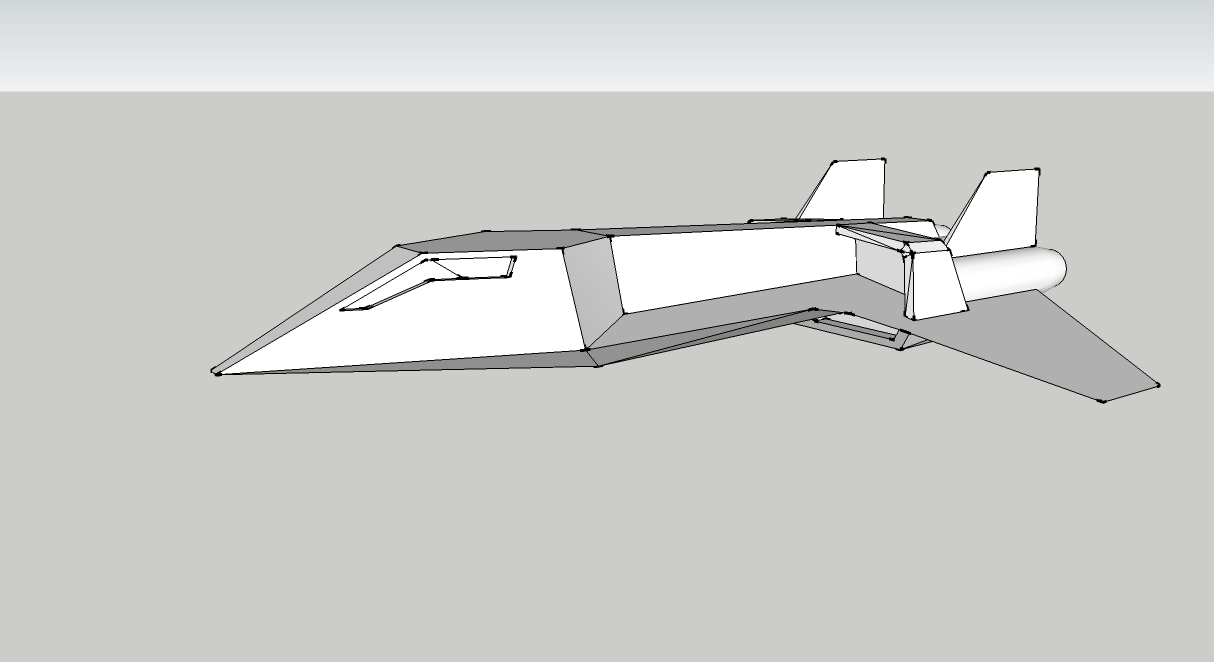
I have continued work on the cruiser:

i15980bw5474.jpg


i15981bg20vl.jpg


i15982bz0pl8.jpg


There is a certain familiarity with the Warhawk indeed, especially when it is shown from this perspective.
 

Rhaven Blaack

!!!THE MAN BEHIND THE CURTAIN!!!
Staff member
Administrator
Moderator
That loos really good and is really starting to take shape beautifully.

OK, How about EPV (Executive Personal Vehicle). You did compare it to a Learjet afterall. :D

Regardless of what ever it will be called, it will still be a GREAT MODEL!!!
 

Revell-Fan

Co-Administrator
Staff member
Administrator
Moderator
OK folks, this is gonna be a LOOONG post. :)

I have cleaned up the model and made some tweaks to reduce the poly count and to make assembly easier, so basically it is ready for unfolding.

I noticed that the windows are recessed. This won't be a big problem later because this will be achieved by cutting out the windows, glueing them to a stack of matching frames and glueing these to the back side of the canopy, similar to the technique Martin used on his marvellous Thunderfighter. However, for those who are about to build a CG model in SketchUp, too, and who want to know how this is done in the CG realm I have prepared a little tut on that.

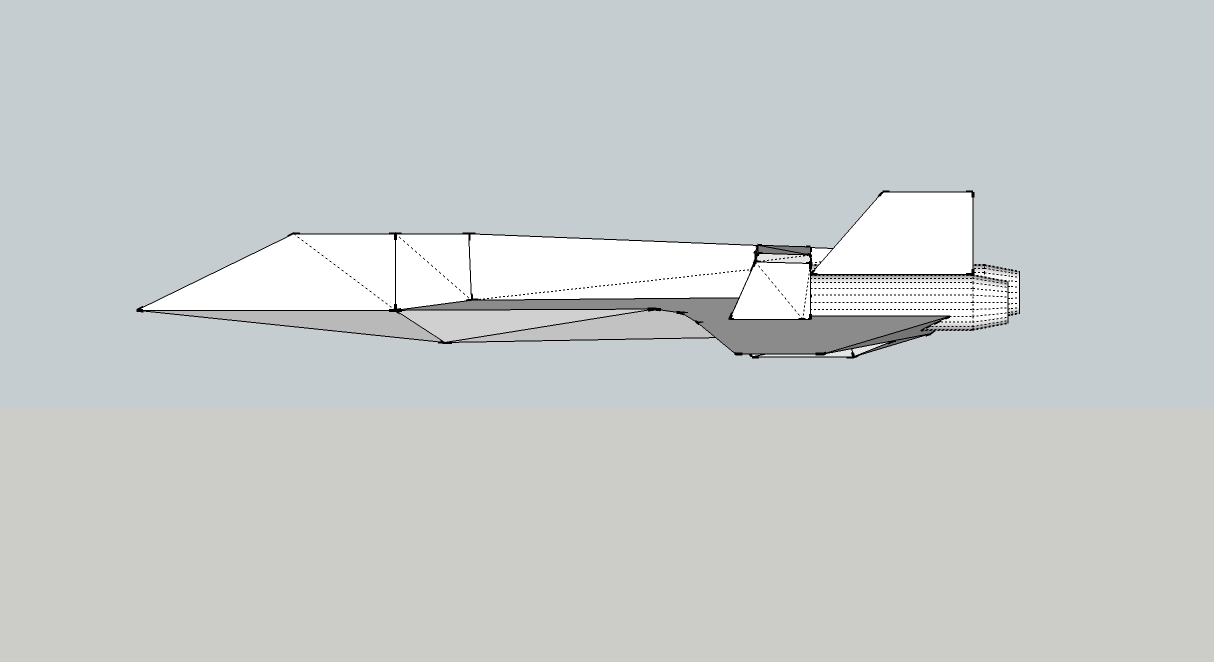
Switch to parallel view (Camera - Standard views - right):

i15999bb479q.jpg


i16000bkj4am.jpg


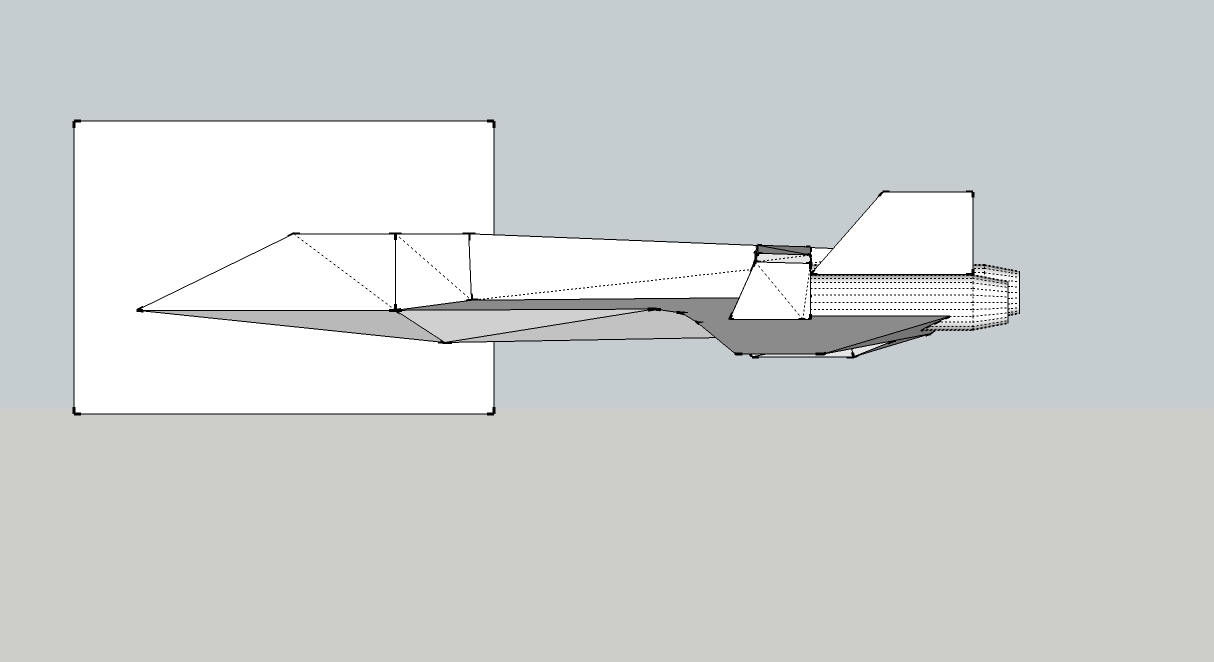
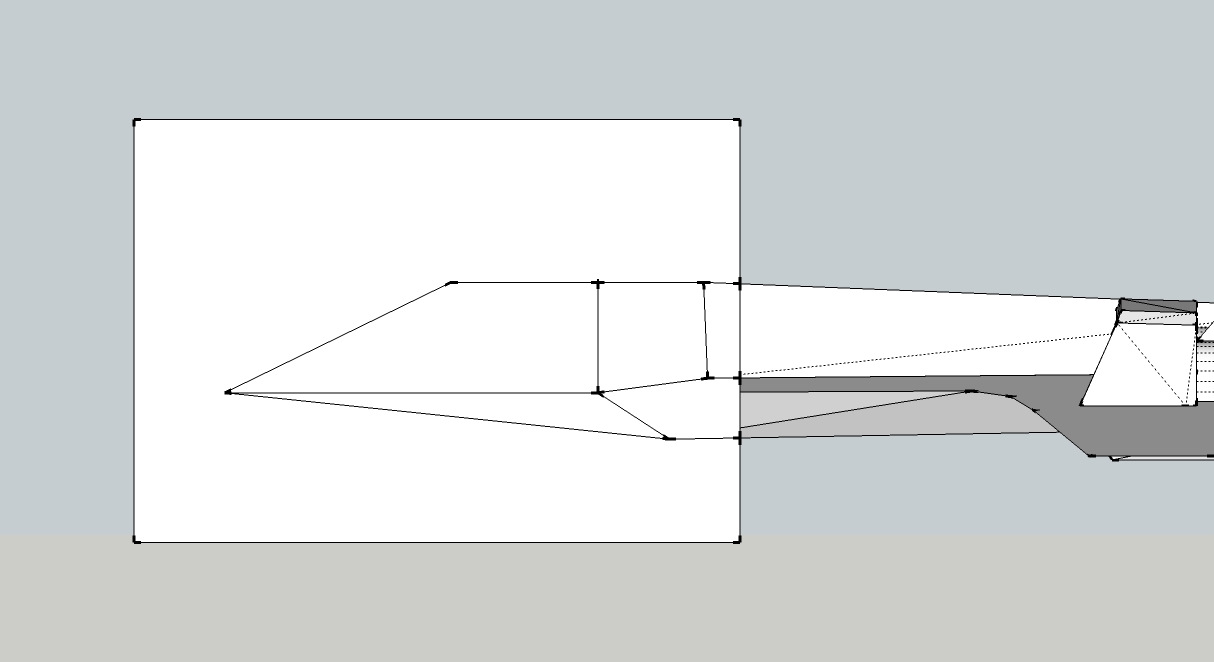
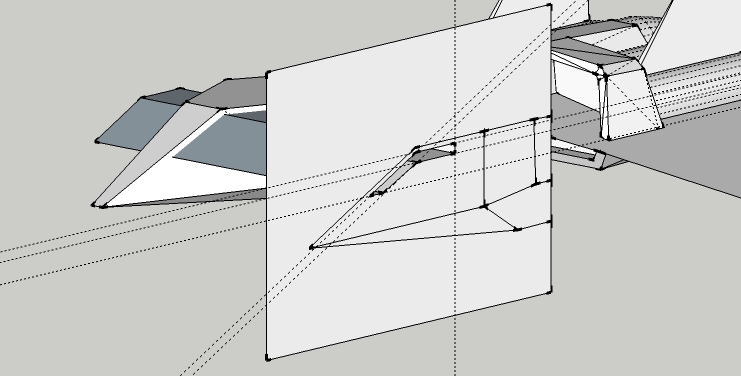
Group the model (Ctrl+A - right-click - group). Draw a rectangle around the cockpit area:

i16001bppfz5.jpg


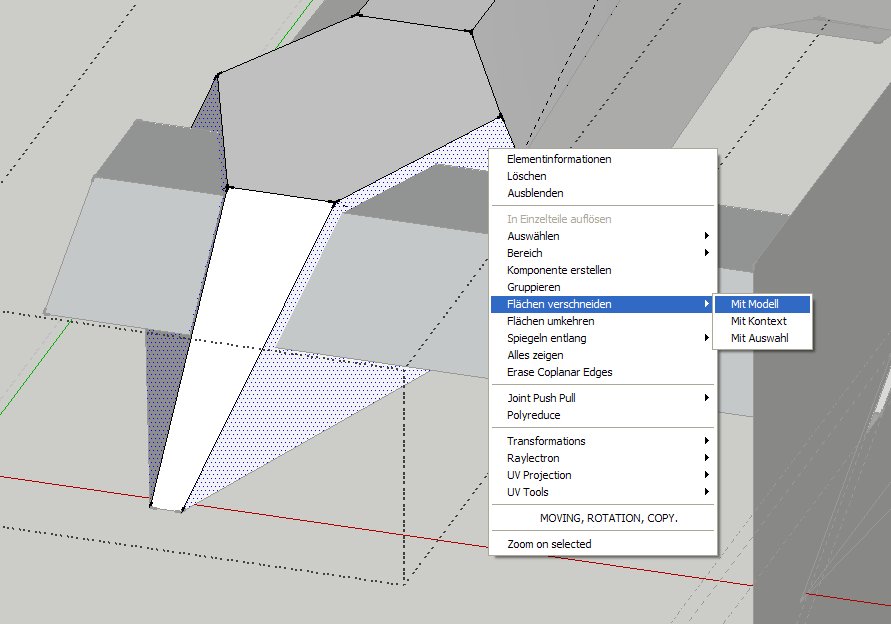
Move the rectangle to the center of the model and intersect (right-click - intersect - with model):

i16002bsmagr.jpg


i16003bxgzoy.jpg


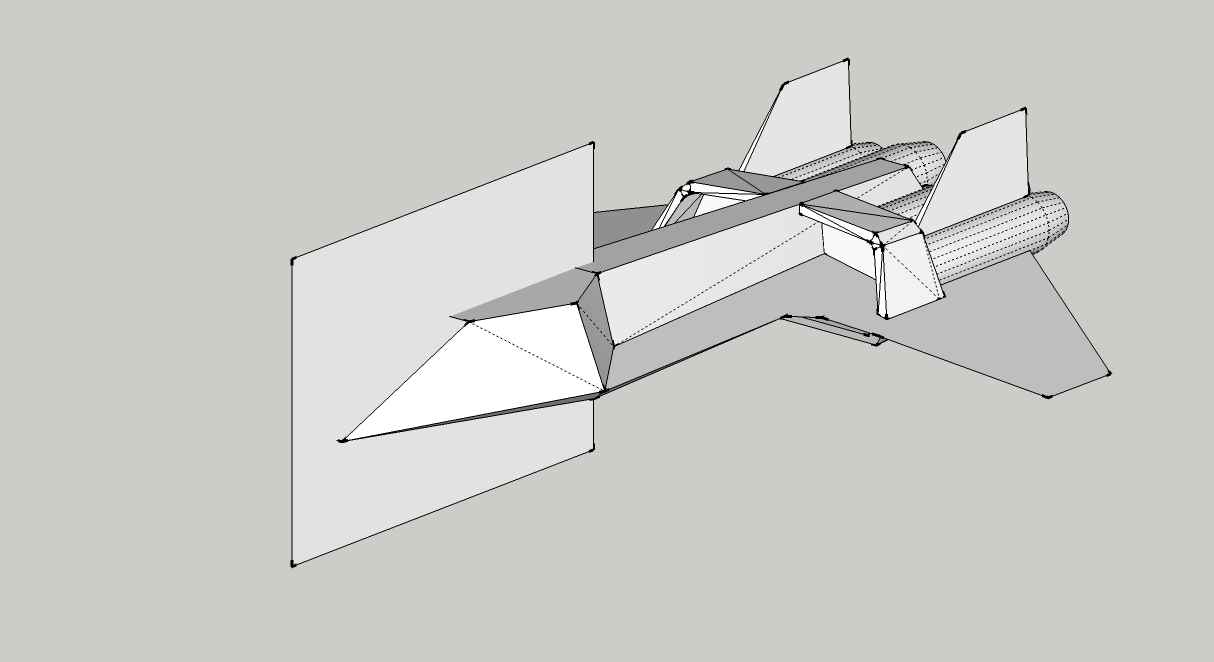
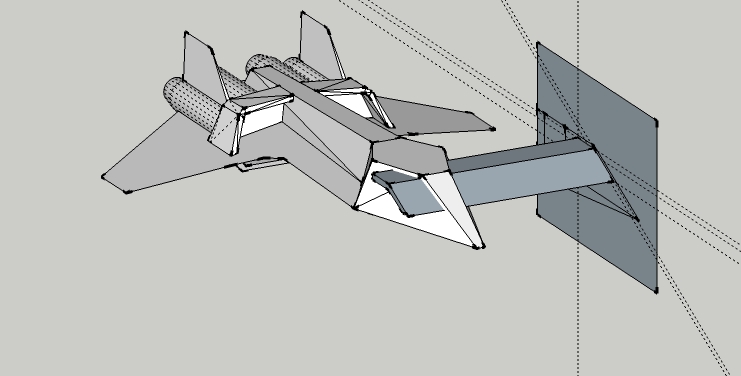
So the outlines of the cockpit are traced onto the rectangle. Double-click the rectangle - right-click - group.

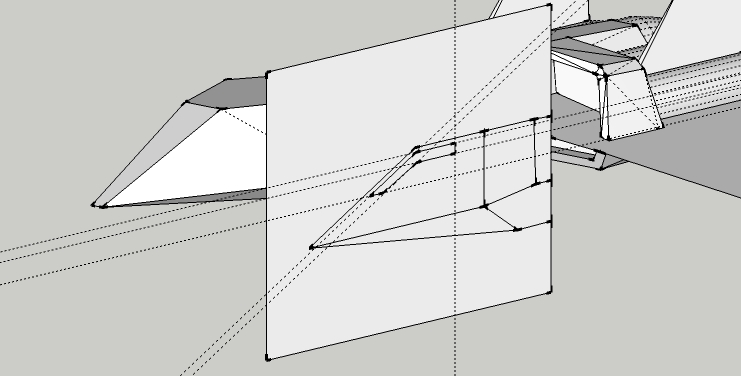
Use the Move tool to move the rectangle in front of the model.

i16004b1zfzz.jpg


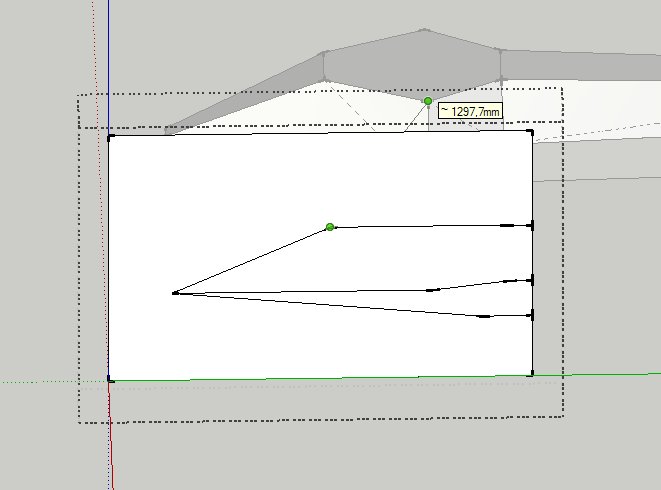
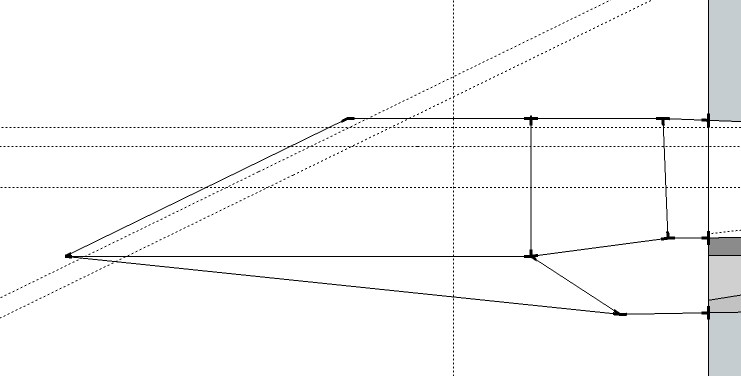
One important line wasn't punched through onto the rectangle and has to be drawn manually. Double-click the rectangle to make it accessible. Select the Tape Measure tool, click at a point near the starting point of the line to be drawn, move the Measure tool to the point where the line begins on the model and keep it there for a few seconds.

i16005bpa5ka.jpg


SketchUp now "remembers" the exact position of the point. Move the Measure tool back to the rectangle and watch a black square showing up on the outline. This is the parallel contruction point. Click it once to create a mark.

i16006b9s5v2.jpg


i16007b2l9pg.jpg


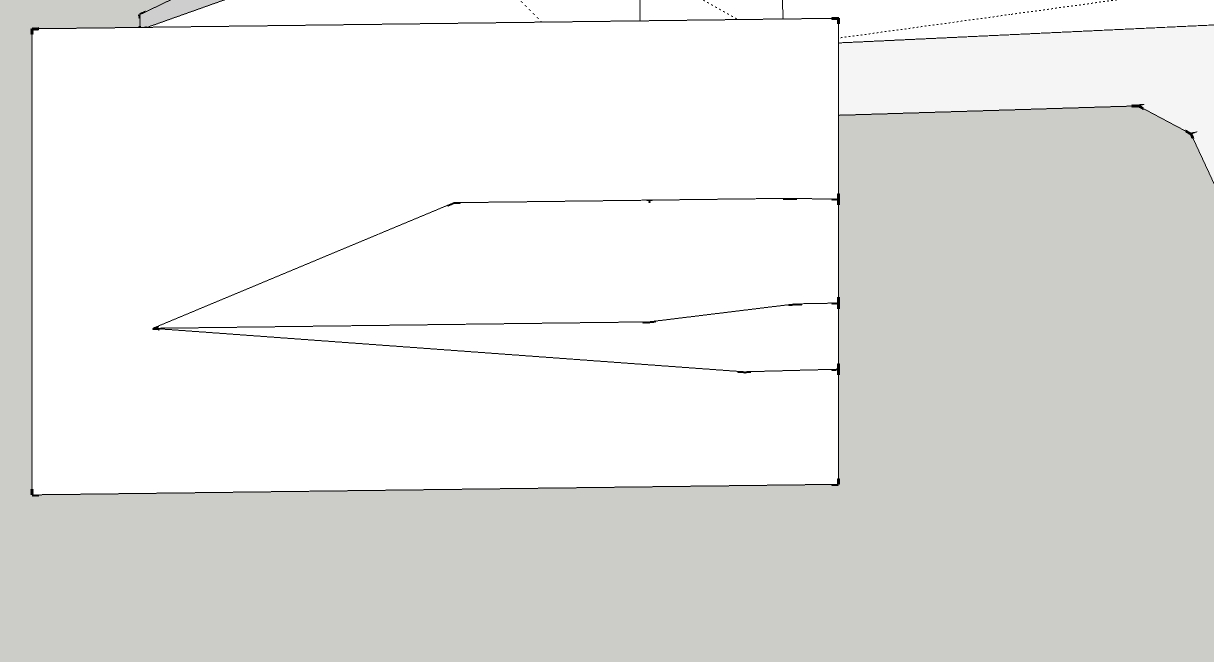
Switch to parallel side view and draw the missing line.

i16008bm5fpo.jpg


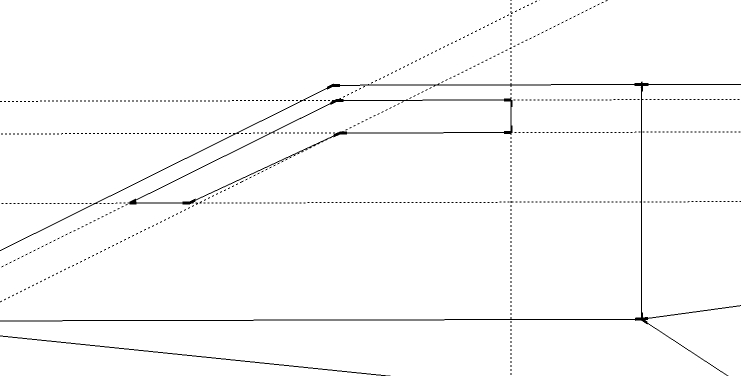
Add several guide lines parallel to the outline using the Tape Measure tool

i16009bc91j7.jpg


and draw the cockpit windows.

i16010bso8c6.jpg


i16011bh5udr.jpg


Use the Push-Pull tool to pull out the window area till it penetrates the model.

i16012b7jx7y.jpg


i16013bkb0qr.jpg


Double-click the cockpit to make it accessible (remember, it was grouped before). Then select the canopy side parts (Ctrl+left-click) - right-click - intersect with model.

i16014bl24db.jpg


Now remove the rectangle with the pulled out window or make it invisible.

i16015bhudk3.jpg


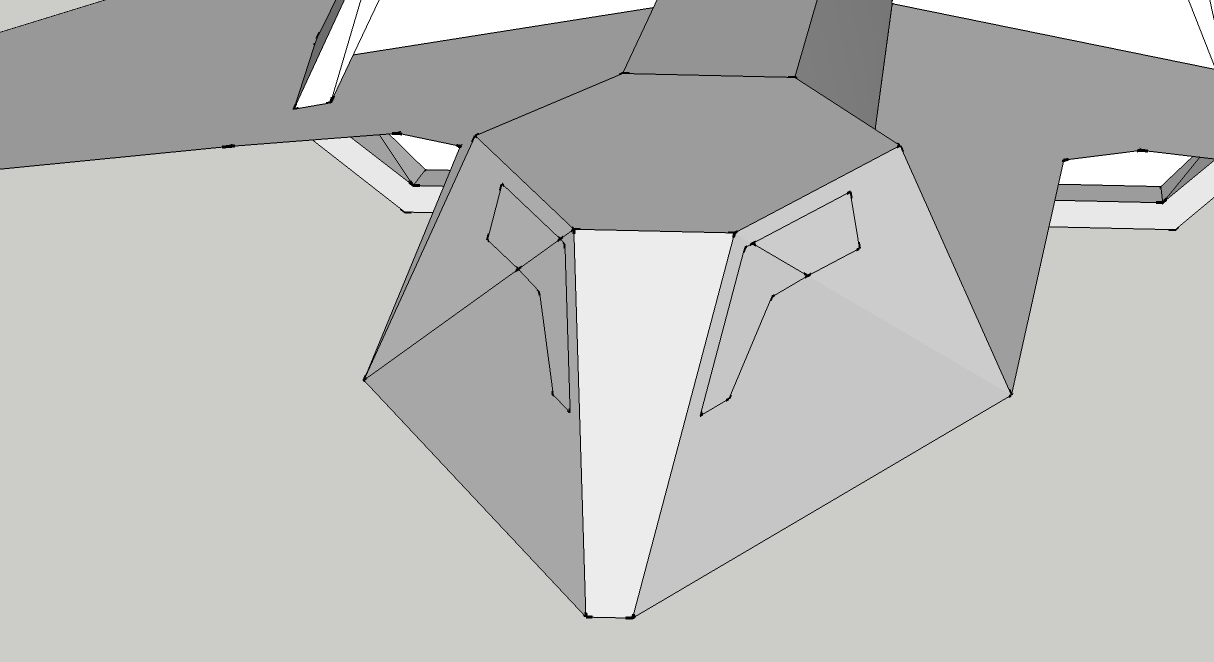
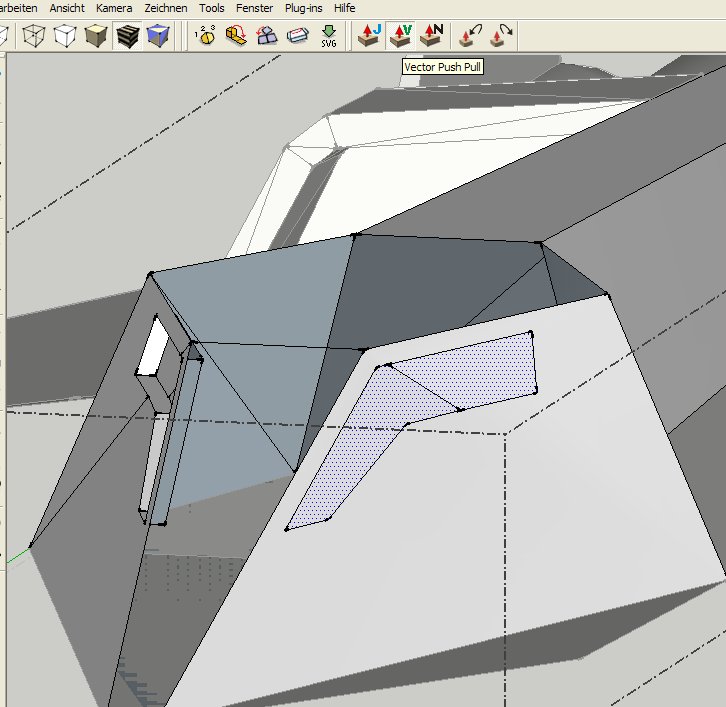
To get a better view make two of the faces invisible (right-click - hide). Then make use of a plugin called "Vector Push Pull". This does not come with the standard SU and has to be added manually (run a quick google search to find it). You can't use the regular Push-Pull tool here because the faces to be pulled out are not aligned.

i16016bhm8pg.jpg


Select the faces to be moved, move the Vector Push Pull tool to a straight line (I used the connecting line between the two cockpit halves), left-click once and move towards the left or the right. Enter the exact value using your keyboard and hit "Enter".

i16017bv8y9i.jpg


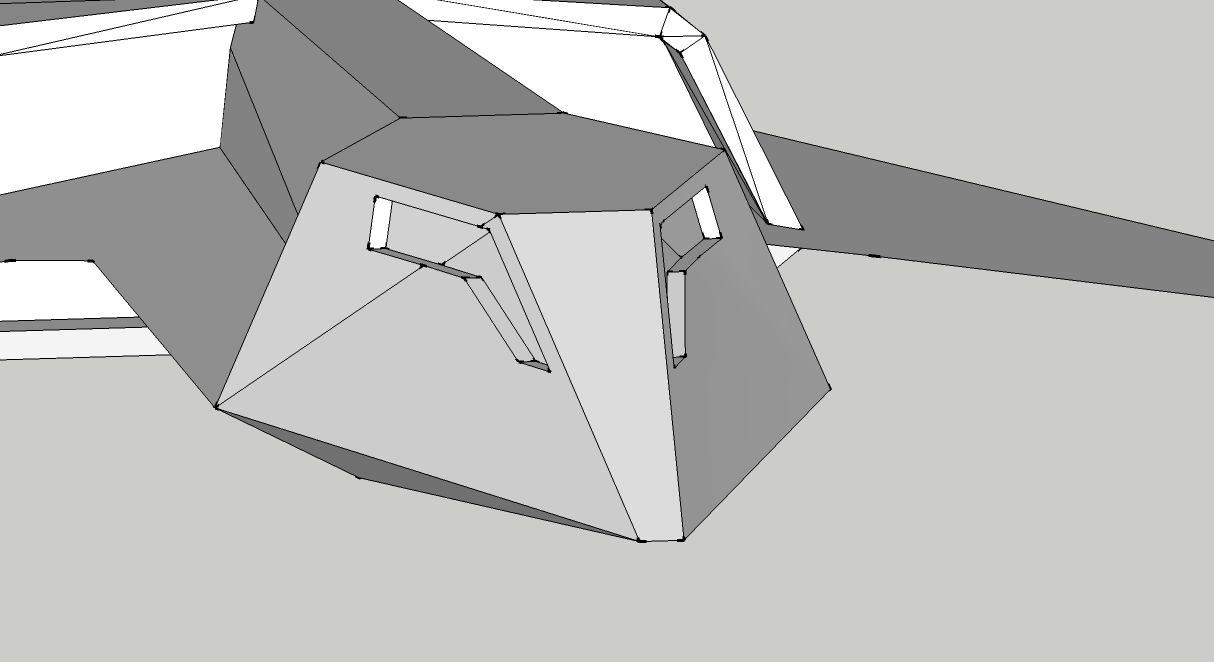
Now you may make the hidden faces visible again (view - unhide - previous) and it is done! :)

i16018b0gxnz.jpg
 

Revell-Fan

Co-Administrator
Staff member
Administrator
Moderator
You are absolutely correct! The more I look at this plane the more I see how much it resembles that Spy-Plane. I guess this is due to the Boba Fett windows (everything Boba is cool) and the simple shape with these sharp contours. It looks like a melt of the SR-71 and the F-117.
 

zathros

*****SENIOR ADMINISTRATOR*****
Staff member
Administrator
Moderator
I look the look of the windows very much!! :)
 

Revell-Fan

Co-Administrator
Staff member
Administrator
Moderator
To be honest, I have modified the shape of the windows a bit to make them look cooler! ;)

Here is a first preview at the texture. I make it in CorelDRAW and edit it in Gimp. I'll have to see how the look can be improved. ;)

i16019bpiju1.jpg


I apply the textur directly to the unfolded parts. Then I export it as image and import the image as a texture in SketchUp. The CG model is used to check the overall appearance only. It tells me whether the texture looks good or not in certain areas. The aft section for example looks a bit weak on the model whereas it looked good on the sheet:

i16020b3zmok.jpg


Thus it has to be reworked.
 
Last edited:

Revell-Fan

Co-Administrator
Staff member
Administrator
Moderator
ARGH! Just noticed a flaw in the mesh! While reworking the bottom I stretched it a bit but forgot to stretch the upper section as well. Now they are not flush any more. I corrected the CG model but now I have to redo the texture of the "spine"..! o_O
 

Rhaven Blaack

!!!THE MAN BEHIND THE CURTAIN!!!
Staff member
Administrator
Moderator
Thank you for the tutorial. It was quite informative.
I have to agree with ASC Mclaren, It reminds me of the "Aurora" as well.
The more I see, the more I think this will be a fun and interesting build!
 

Revell-Fan

Co-Administrator
Staff member
Administrator
Moderator
You are welcome! :)

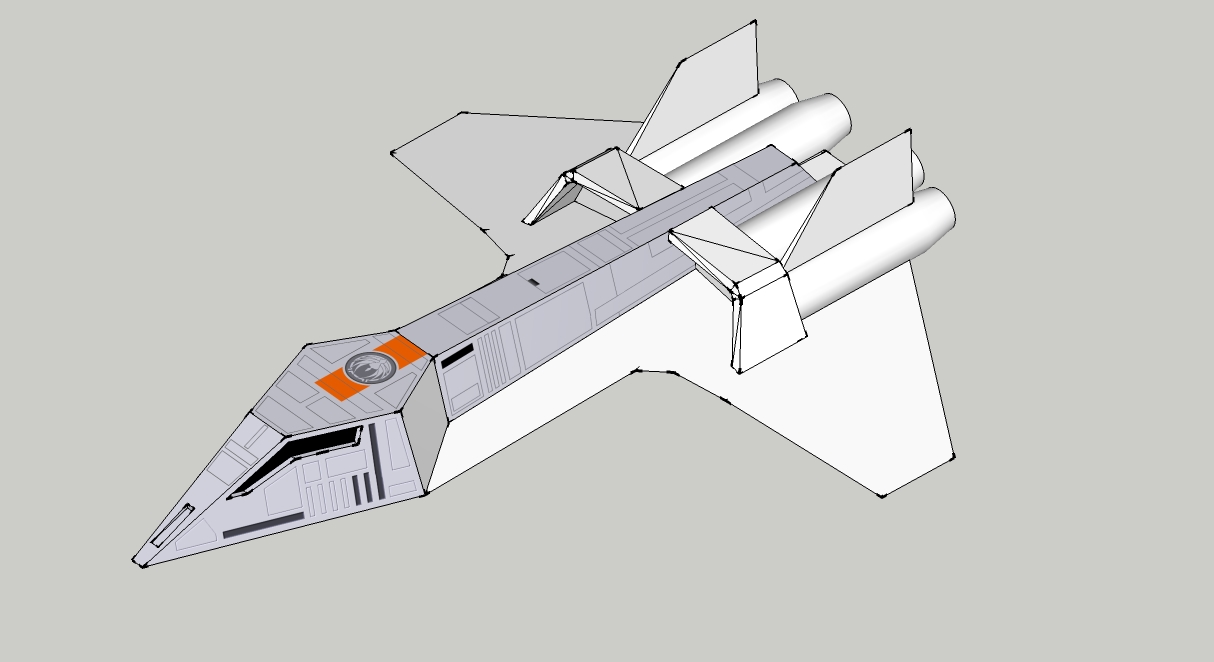
More colour:

i16023bwsq6h.jpg


The wing stripes will be changed.

In the meantime I was thinking about how big the spacecraft would be. Unlike the Scarab there are no familiar objects shown which could be used to "guesstimate" the "real" size of the vessel. You can't see how many pilots are in the cockpit, it could be a one-man vessel like Ranger 3 or a bigger plane with a crew of four or five like a Boeing. Nobody knows. However, when I was making the texture for the side walls I noticed something which could be a door or a hatch. That would make sense since there is no hinged canopy, hence the pilot(s) would have to board the ship either through an opening in the ceiling (not very comfortable), from below or from the side. I am referring to the area below the small black window located on top of the vessel. In the sketch there are some armour plates or something like that which also could be a door. In addition, the area on the wing directly below that plates looks like a short catwalk (the first dark grey rectangle on the wing). I'm fleshing out this idea and will use the heigth of the door to determine the final size of the plane.
 
Last edited:

ASC Mclaren

Well-Known Member
That looks amazing! And your working it so fast! I agree the tutorial is very valuable for someone (me) who is toying with design. My 2 Pfinnig says this is ship has a crew of 2, possibly with additional 2 jump seats on the flight deck (The B-1B can seat 6).
 

bgt01

Exemplary Confidant
It would be nice to have this in similar scale to the Starfighters for display purposes.
 
Top