Star Wars B-Wing(Blade-Wing)

ennder

Well-Known Member
Now I can start the new project, the B-Wing. The B-wing's origin (as the Blade Wing), was designed by the Mon Calamari engineer Quarrie
(according to StarWars.com).
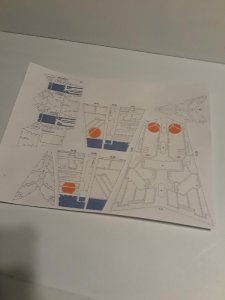
As stated in the other thread, I only have the printed copy. Because I DO make mistakes, I made 2 copys that I will be working from.
This leaves the original intact in case I really mess up and need more copys.

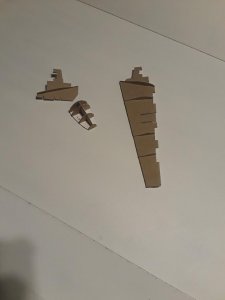
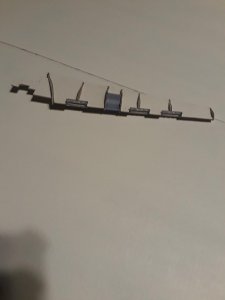
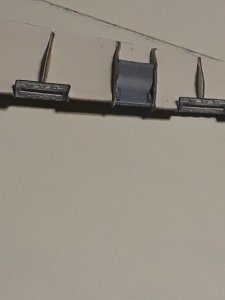
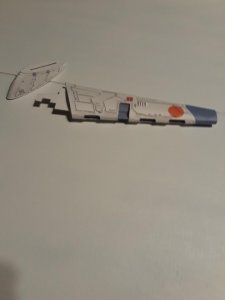
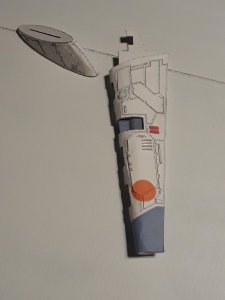
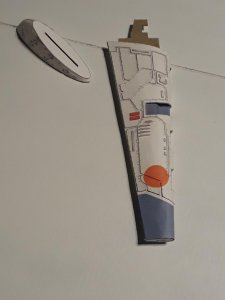
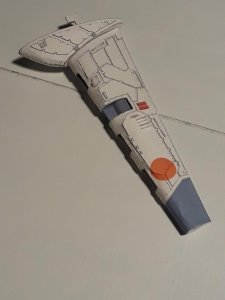
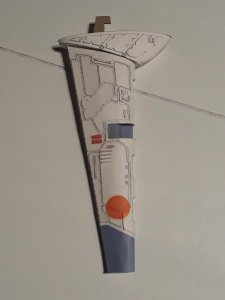
So on to the build: I just started today, so I don't have much done as yet. Also, this is a very detailed model,.... so it will probably be a long build.
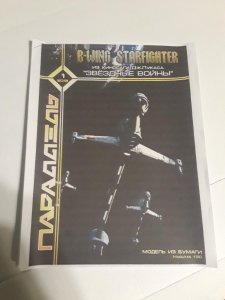
20191207_155557.jpg20200102_150306.jpg
 

Revell-Fan

Co-Administrator
Staff member
Administrator
Moderator
:Drinks:

EXCELLENT!

I'm closely following this report. That thing has a lot of parts and a beautiful texture. :)
 

Rhaven Blaack

!!!THE MAN BEHIND THE CURTAIN!!!
Staff member
Administrator
Moderator
When you made the copies, did you scan it into your computer, so that you can print out more copies easier.
 

ennder

Well-Known Member
Sometimes when I scan things into my computer I end up with what looks like a white film over the picture. If I just scan and print I don't get that white film. I think there might be something wrong with the software in my computer, because the white film doesn't happen every time I scan something. It only happens about 40% of the time.
 

Revell-Fan

Co-Administrator
Staff member
Administrator
Moderator
A scan never displays the original correctly because you are dealing with a print. The kind of paper used and the way it was printed affects the scan. The colours will always be different. Printing a scan is another issue and further alters the colours. With some tinkering you may end up with a good compromise though.
Sometimes when I scan things into my computer I end up with what looks like a white film over the picture. If I just scan and print I don't get that white film. I think there might be something wrong with the software in my computer, because the white film doesn't happen every time I scan something. It only happens about 40% of the time.
Do you mean black is scanned as grey? That might be an issue of the scan unit (too bright) or the paper used (glossy might be a problem). Adjusting the black value could solve it. That has to be done in a graphic program like Gimp.
Strangely my printer behaves similarly, albeit in regards of moirés. A simple copy print produces less moirés than a saved scan. The colours look different, too. I haven't found out a way to solve that. I guess it is something you have to live with (cheap tech ;) ).
 

Gandolf50

Researcher of obscure between war vehicles...
Staff member
Moderator
It will matter what type of scanner, also...your "All -n - Ones" are not the greatest in the world...I will never use one. I have a REALLY OLD Canoscan5600f and it is wonderful! I have none of the problems described above as I can set everything internally from the driver. Moirés, click a box, and GONE. Called moiré reduction...but it just flat gets rid of it.
If you don't have the equipment, you got to eyeball it, and just get the best scan as possible...at a minimum of 600dpi. Make sure everything is color-matched between Monitor>Scanner>and Printer... if the software will allow you to.

Of course, I don't care much about it ... since I'm so sloppy I paint everything anyway! ;)
 

ennder

Well-Known Member
Do you mean black is scanned as grey? That might be an issue of the scan unit (too bright) or the paper used (glossy might be a problem). Adjusting the black value could solve it. That has to be done in a graphic program like Gimp.
Strangely my printer behaves similarly, albeit in regards of moirés. A simple copy print produces less moirés than a saved scan. The colours look different, too. I haven't found out a way to solve that. I guess it is something you have to live with (cheap tech ;) ).

Yep, this is what is happening.
However, I found the missing file last night.
I was looking through a stack of data DVDs for some old family photos and found one marked "starwars papermodels"
So I looked at it and the file was there. :)
 

zathros

*****SENIOR ADMINISTRATOR*****
Staff member
Administrator
Moderator
If those first cuts are the beginning, the rest will be fantastic! :)
 

starbuck

Well-Known Member
I myself have planned to build this beautiful model. Please send as many pictures as you can. Maybe some comments on the thickness of the used paper or problems coming up - good luck for this masterpiece building.
 

ennder

Well-Known Member
I myself have planned to build this beautiful model. Please send as many pictures as you can. Maybe some comments on the thickness of the used paper or problems coming up - good luck for this masterpiece building.
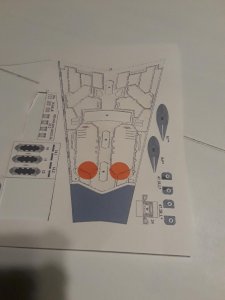
I normally use 110# card stock, however there is a page included with this model that suggests paper thickness for each page. the pages that contain
the cannons are 20# copy paper the rest was printed on the 110# card stock.

To get the raised panels, I use a trick I learned building the Warhammer 40K models and glue them to another sheet of card stock for double
thickness,as shown below
20200104_010817.jpg.
this gives a beautiful effect.
20200104_192837.jpg20200104_192849.jpg

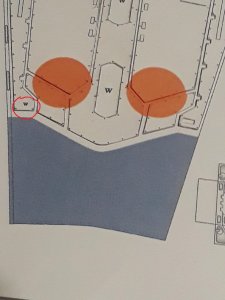
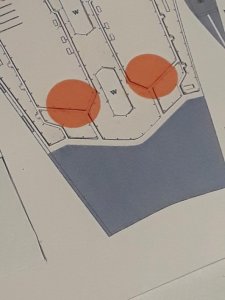
I found something that I don't know if it is just missing lines or he forgot to remove the "W" circled in red.
20200104_192914.jpg
 

Rhaven Blaack

!!!THE MAN BEHIND THE CURTAIN!!!
Staff member
Administrator
Moderator
Layering is the easiest way to add more detail to any paper/cardstock model. I use this technique regularly. You can also recess components to get interesting effects as well.
KEEP THE GREAT WORK!!!
 

Rhaven Blaack

!!!THE MAN BEHIND THE CURTAIN!!!
Staff member
Administrator
Moderator
I also use the layering technique, can also be doe to recess levels. Maybe something sticks over the "w" and it will be covered?
I too do the same with recessing, as well as recessing the main component and raising some inner components.
As for getting rid of the "w", you can print that panel on regular printer paper (without the "w") and layer it over that panel, or you whitewash a a thin layer of paint to cover the "w".
 

Rhaven Blaack

!!!THE MAN BEHIND THE CURTAIN!!!
Staff member
Administrator
Moderator
It looks good! I like the solution that you came up with! thumbsup
 

Gandolf50

Researcher of obscure between war vehicles...
Staff member
Moderator
The other areas are for inset (Lights)? as I modeled them but I didn't have anything on the smaller W areas..Your solution works as far as I can tell if you inset the other areas.
It was one of the "LOST" meshes from the crash of 2019...so all I got left is this lousy concept video.

 
Top