[Soviet/Russian] Antonov An-14 -- Build Thread

Awry_Chaos

OKB-4155
Yes, it is that time again! Time for another update! I'm starting to see the light at the end of the tunnel!

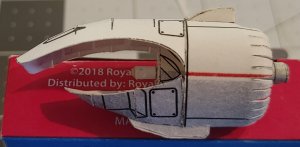
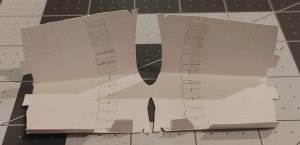
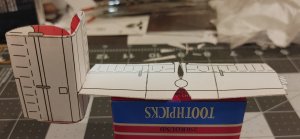
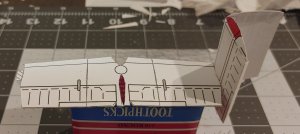
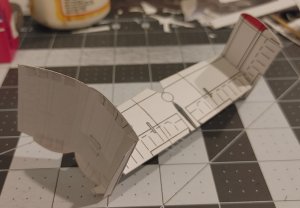
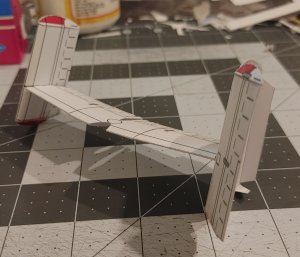
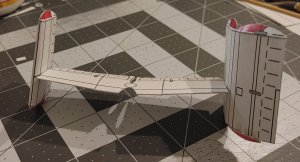
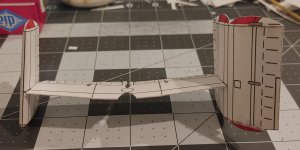
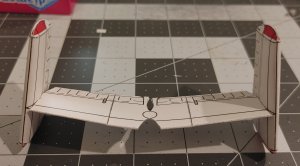
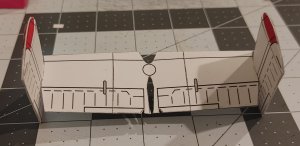
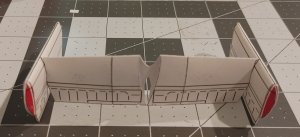
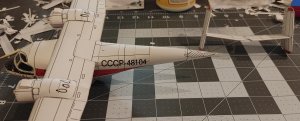
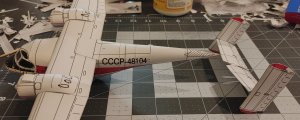
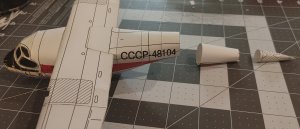
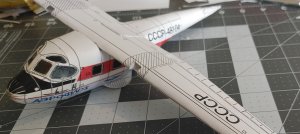
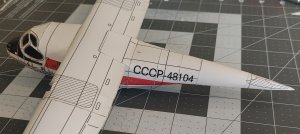
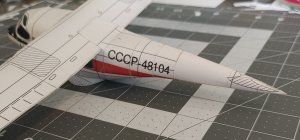
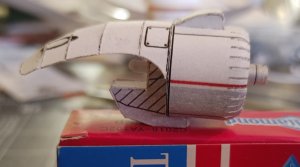
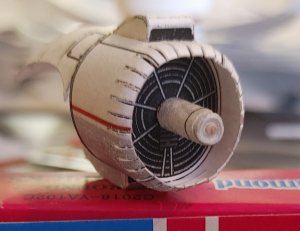
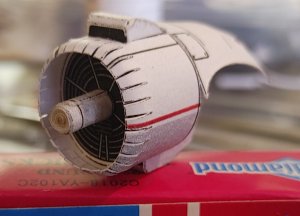
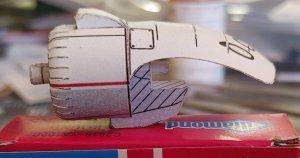
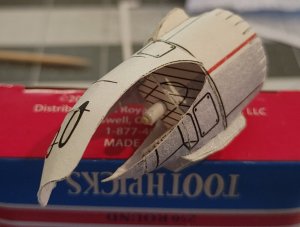
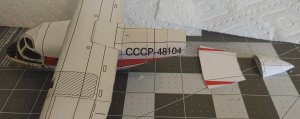
Here I am finishing the fuselage, getting all the sections cut out and glued into place. I'm using internal tabs as before, which make the seams match up better and gives the model a cleaner profile. Also, it adds strength to the model along with the glue. Though, Mod Podge is technically more of a sealant than a glue but it works well. And once it dries it is pretty tough.
 

Attachments

  • Antonov_0121.jpg
    Antonov_0121.jpg
    1.3 MB · Views: 2
  • Antonov_0122.jpg
    Antonov_0122.jpg
    861 KB · Views: 2
  • Antonov_0123.jpg
    Antonov_0123.jpg
    1 MB · Views: 2
  • Antonov_0124.jpg
    Antonov_0124.jpg
    1.5 MB · Views: 3

Awry_Chaos

OKB-4155
The pieces for the left ''engine'' cowling. As you can see here, the left engine is little more than a disc of paper glued to a internal support box. This works for the illusion of an engine. I doubt that the model will be scrutinized to the point that most would notice the difference between this method and actually building, constructing and using a 1:48 scale rotary engine.

At some point, I may try to build a paper 1:48 scale rotary engine, but not with this model!
 

Attachments

  • Antonov_0128.jpg
    Antonov_0128.jpg
    1.2 MB · Views: 3

Awry_Chaos

OKB-4155
The ''engine'' partially installed into the cowling. This is the fruits of my labor after about 3 attempts. I had to figure out how to assemble everything and how to form the parts so that they would fit together. The next step will be finish the bottom half of this cowling, then build the right ''engine'' cowling and install them onto the main wing!
 

Attachments

  • Antonov_0129.jpg
    Antonov_0129.jpg
    560.5 KB · Views: 3
  • Antonov_0130.jpg
    Antonov_0130.jpg
    298.5 KB · Views: 3
  • Antonov_0131.jpg
    Antonov_0131.jpg
    326.6 KB · Views: 4
  • Antonov_0132.jpg
    Antonov_0132.jpg
    416.2 KB · Views: 3
Last edited:

Rhaven Blaack

!!!THE MAN BEHIND THE CURTAIN!!!
Staff member
Administrator
Moderator
Everything looks really good and is coming together nicely!
I have to say that I quite surprised that there are no internal formers for he main body of the plane.
I like how the engine is coming together. If I may make a suggestion, When you cut the front section of the cowling, try to make your cut at an inward angle (to essentially bevel the "pedals"). This will help with forming the cowling and the pedals will (should) come together to form a more cohesive piece. You will also want to line the inside of the cowling to help hold the pedals together.
KEEP UP THE GREAT WORK!!!
 

zathros

*****SENIOR ADMINISTRATOR*****
Staff member
Administrator
Moderator
The wing fits great on the fuselage, and the engine cowlings came out great. This will be a really nice display piece when done. ;)
 

zathros

*****SENIOR ADMINISTRATOR*****
Staff member
Administrator
Moderator
It's the only time I've ever seen this model built. It's a great, and uncommon model. :)
 

Awry_Chaos

OKB-4155
Time for another update.

Here is the right ''engine'' fully assembled, ready to be installed and glued onto the main wing. This one was easy to do after assembling the other one. Once I figured out the assembly process, it was a simple task of putting the pieces together.
 

Attachments

  • Antonov_0133.jpg
    Antonov_0133.jpg
    319.9 KB · Views: 4
  • Antonov_0134.jpg
    Antonov_0134.jpg
    558 KB · Views: 4
  • Antonov_0135.jpg
    Antonov_0135.jpg
    472.4 KB · Views: 4
  • Antonov_0136.jpg
    Antonov_0136.jpg
    225.6 KB · Views: 4

Awry_Chaos

OKB-4155
The completed tail section! If you notice it looks like a mini Tie Fighter without the center sphere. This arrangement of the elevator and rudder section is a common design motif on the Antonov design bureau's aircraft. For instance, the Antonov An-225 Mriya, one of the world's largest aircraft:


And also another one of my favorites, the An-22:


And, yes, I do have those on my to-build list!
 

Attachments

  • Antonov_0146.jpg
    Antonov_0146.jpg
    1.2 MB · Views: 2
  • Antonov_0147.jpg
    Antonov_0147.jpg
    743.6 KB · Views: 2
  • Antonov_0148.jpg
    Antonov_0148.jpg
    778.8 KB · Views: 2

Awry_Chaos

OKB-4155
And here we are able to see the aircraft with both engines installed on the main wing. I'm about to attach the tail section to the fuselage. At this point, I would say I'm about two-thirds the way done. After this attachment, I have to do the landing gear, the winglets and struts, and some external detailing.

I hope to have another update in a couple days or so. Thank you for watching!
 

Attachments

  • Antonov_0149.jpg
    Antonov_0149.jpg
    1.5 MB · Views: 3
  • Antonov_0150.jpg
    Antonov_0150.jpg
    1.5 MB · Views: 3
Top