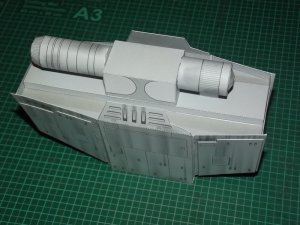
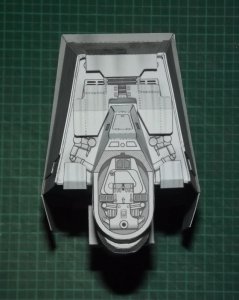
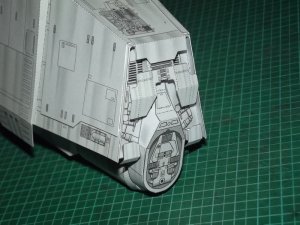
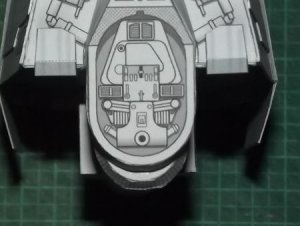
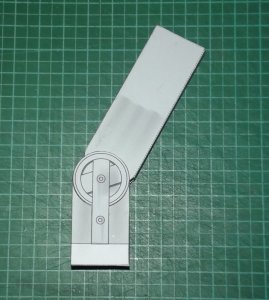
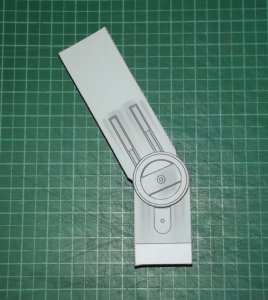
Shunichi Makino's AT-AT (Christmas AT-AT)

Revell-Fan

Co-Administrator
Staff member
Administrator
Moderator
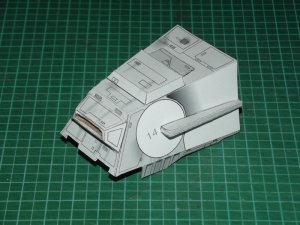
Christmas is coming and I needed a new present for my colleague who has already received the TIE Fighter for his BD. The plan was to make an X-Wing as a companion piece but like last year (and the year before, and before, and before ... ) X-mas took me totally off-guard. There was not enough time for the X but I think I can make something smaller as an alternative. Since Shunichi Makino released his magnificent rework of his AT-AT I wanted to build it. Now the perfect time has come. :)

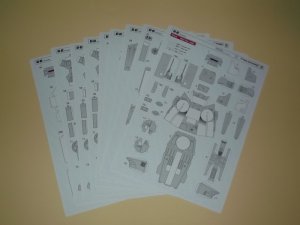
DSCF8364.jpg

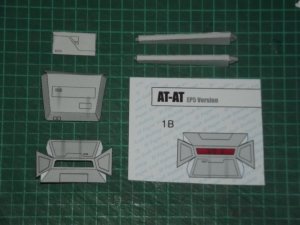
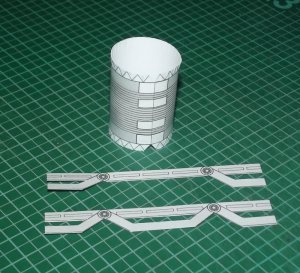
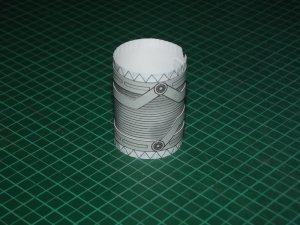
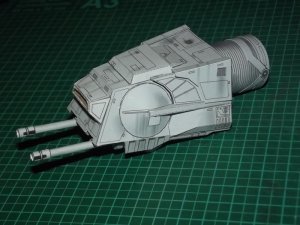
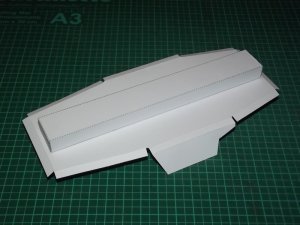
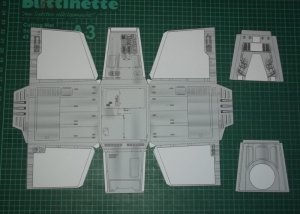
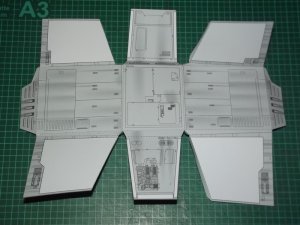
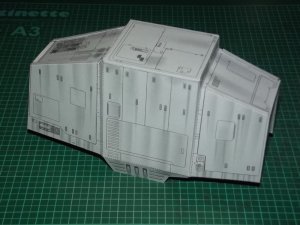
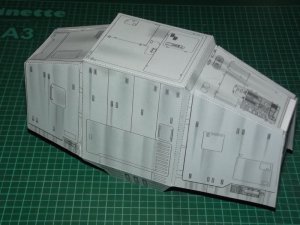
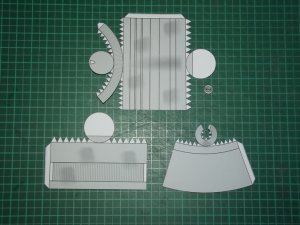
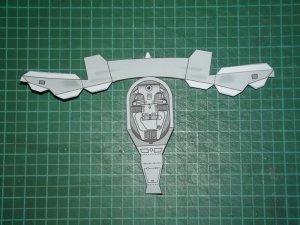
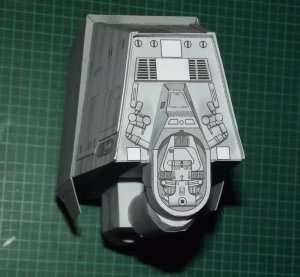
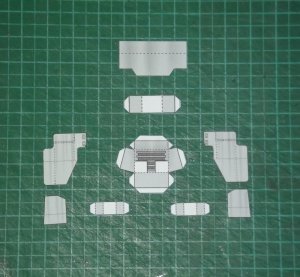
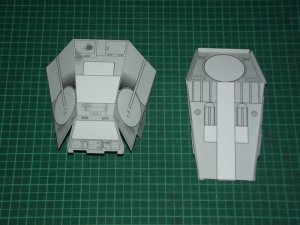
I'm building the model mostly as-is without any major modifications. The pages printed nicely and the first parts were cut out. I started with the head.
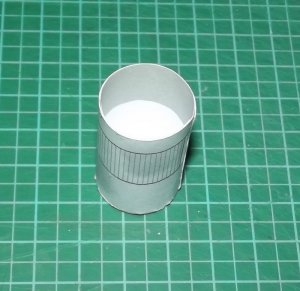
DSCF8365.jpg

The instructions are clear and can be understood without having to learn Japanese.
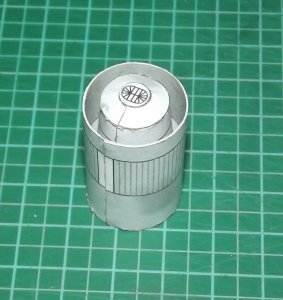
DSCF8366.jpg

DSCF8368.jpg

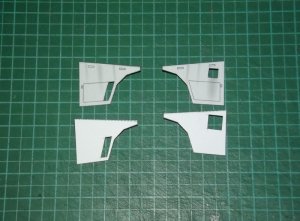
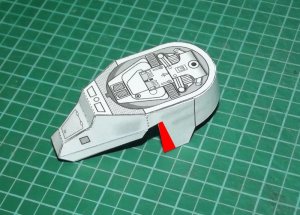
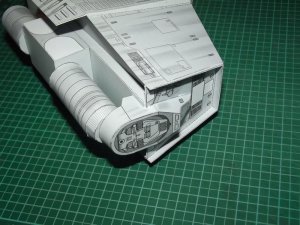
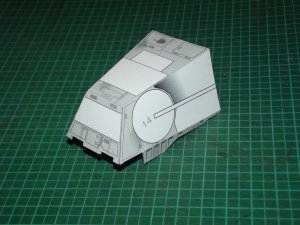
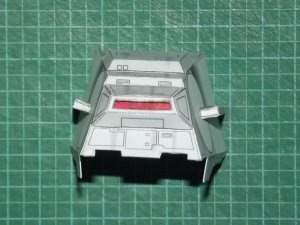
One smaller mod takes place pretty early: I cut out the window, recessed the area and glued the red window behind.
DSCF8369.jpg

DSCF8370.jpg
As a side effect we have some X-mas colours here which is not too bad. :Grin:
DSCF8371.jpg

DSCF8374.jpg

DSCF8373.jpg

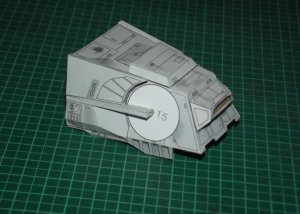
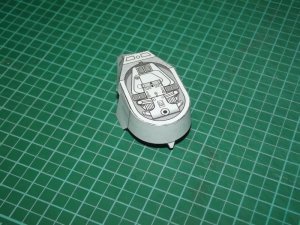
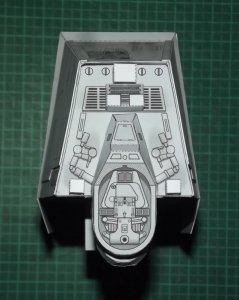
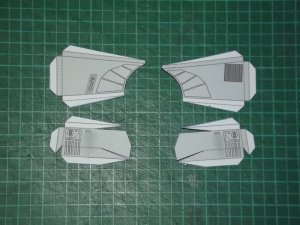
So far the parts fit well. Some minor adjustments have to be made to parts 7 & 11 (too high by 0.2 mm) and 14 & 15 (cutout slightly too small) but I think this was due to the accuracy of my assembly and the paper I used. Nothing wild. :)
DSCF8375.jpg

DSCF8376.jpg

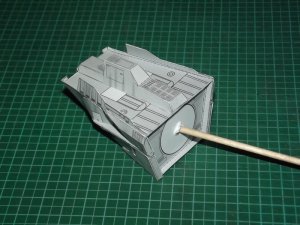
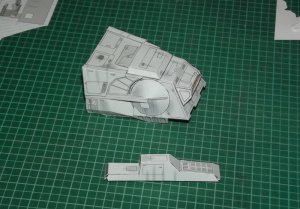
When I attached part 6 I had to cut a hole into the back to apply pressure to the part from the inside with a rod while glue was curing. The head could benefit from some internal formers and I suppose this will be the case with the main body, too. Stay tuned! :)
 
Last edited:
Rhaven Blaack

!!!THE MAN BEHIND THE CURTAIN!!!
Staff member
Administrator
Moderator
It looks like you are off to a good start! I am certain that your friend will like this!
I should try my hand at this model as well.
 

zathros

*****SENIOR ADMINISTRATOR*****
Staff member
Administrator
Moderator
I wonder when you give a gift like this if people (in general) realize how much the time, the most valuable thing you own, the time of your life, is the fundamental of the gift. ;)
 

Revell-Fan

Co-Administrator
Staff member
Administrator
Moderator
Thank you all for your comments! :)

The size is interesting. When I finished the head I had a suspicion. Then, when I was building the main body I got curious. I put out my old mpc AT-AT model kit and compared it to Shunichi's. The sizes matched pretty closely! So it is safe to say that this is 1/100 scale and will be about 27 cm long. Now then, here are the latest build pics! :)

DSCF8403.jpg

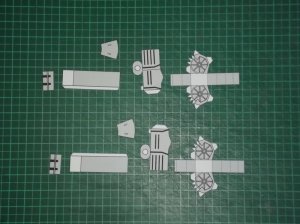
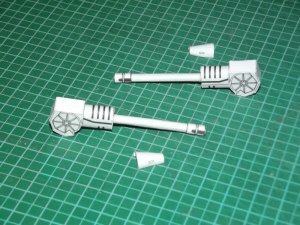
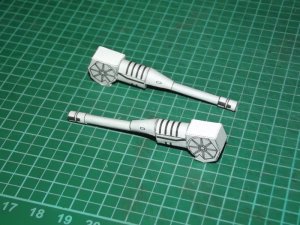
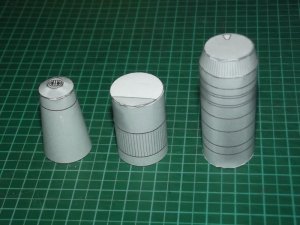
The chin barrels are pretty straight-forward. The parts are assembled with a mix of flaps and edge-glueing.

DSCF8404.jpg

DSCF8405.jpg

DSCF8406.jpg

DSCF8407.jpg

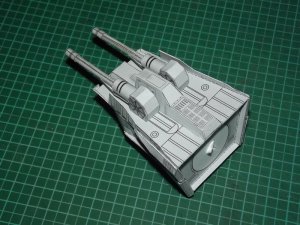
The neck:

DSCF8408.jpg

DSCF8409.jpg

DSCF8410.jpg

Looking at this pic I noticed that one gun tip was attached the wrong way. I corrected that later. ;)

I too saved the side guns for later. They are flat; maybe I can put some toothpicks to good use. :)
 

Revell-Fan

Co-Administrator
Staff member
Administrator
Moderator
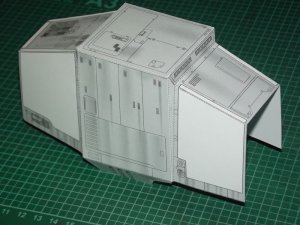
The main body:

DSCF8411.jpg

DSCF8412.jpg

Part 78 is glued to the middle of the backside of part 31. You don't need to be exact, the beam's only function is to strengthen the bottom.

DSCF8413.jpg

DSCF8414.jpg

The foldings of the top part reminded me of origami.

DSCF8415.jpg

Everything fell in place smoothly and looked GREAT! :)

DSCF8416.jpg

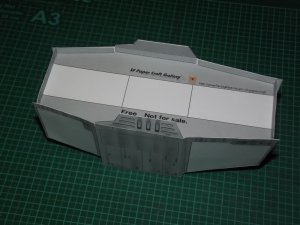
I learned my lesson from the head and reinforced the inside of the main body with scrap card. In this case I recycled an old envelope. Then the top and bottom piece were put together.

DSCF8417.jpg

This is a tight fit but it fits like a glove! The bottom piece makes the part extremely stable.

DSCF8418 (2).jpg

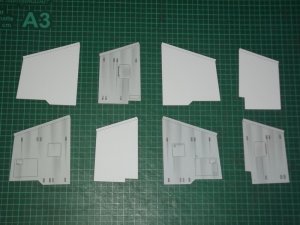
These are the side panels. They are laminated to the main body.

DSCF8421.jpg

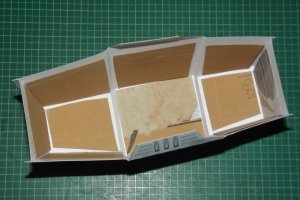
However, I encountered a problem: Parts 28/28B and 30/30B do not fit precisely. Their white counterparts have to be trimmed. Once that has been achieved everything looks like this:

DSCF8422.jpg

DSCF8423.jpg
 

Revell-Fan

Co-Administrator
Staff member
Administrator
Moderator
Now comes the "pelvis".

DSCF8424.jpg

DSCF8425.jpg

Assembly is straight-forward.

DSCF8426.jpg

DSCF8427.jpg

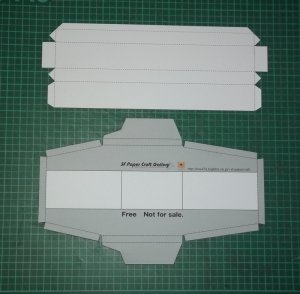
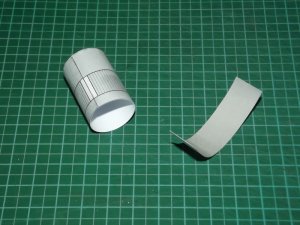
Part 53 is insertd into part 54. Since there is no backside print the inside of 54 is completely white. I was afraid that this would be visible on the final model and printed out a big grey rectangle on regular paper for makeup purposes. I cut out a small strip and glued it inside 54:

DSCF8428.jpg

DSCF8429.jpg

Then 53 was glued inside:

DSCF8430.jpg

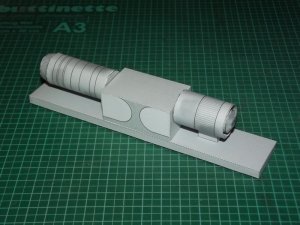
And everything attached to the main beam:

DSCF8431.jpg

DSCF8432.jpg

The parts were aligned so that the seam faced up towards the fuselage. However, the little white glue mark on 55 faced the other direction so it does not meet part 51 later. However, that is not a big problem because 51 will cover everything.
 

Revell-Fan

Co-Administrator
Staff member
Administrator
Moderator
Now comes the "butt":

DSCF8433.jpg

I was amazed that assembly was very easy despite the missing flaps. However, here is something important:

DSCF8434 (2).jpg

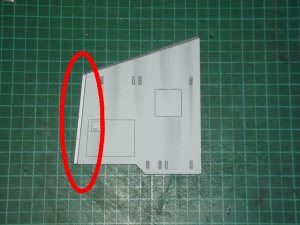
The part does not fit. If you look at the instructions you can see that 51 is going down straight. On the original model it goes down at an agle, angling towards the fuselage. When I tried to attach 51 I noticed that the cutout was wrong. I had to cut off the area marked in red to make it fit.

DSCF8435.jpg

As a result of this the part began to angle down, just like it should. My theory is that Shunichi noticed that the part was wrong and changed it after finishing the instructions, however he forgot to revise the cutout. Nothing wild but it should be noted for future AT-AT builders. I don't have a cutting template so I recommend to carefully work your way through till the part fits. Test-fit again and again till it is OK. However, once you have the right cut everything falls in place marvellously:

DSCF8436.jpg

DSCF8437.jpg

Some plates make the butt complete:

DSCF8438.jpg

DSCF8439.jpg

DSCF8440.jpg

DSCF8442.jpg

:)
 

Revell-Fan

Co-Administrator
Staff member
Administrator
Moderator
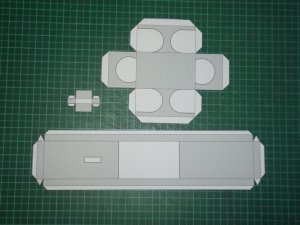
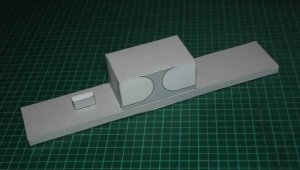
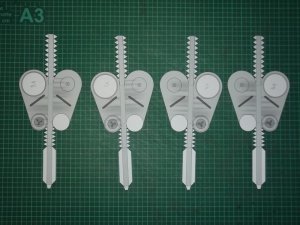
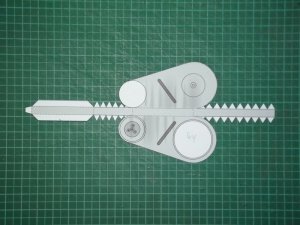
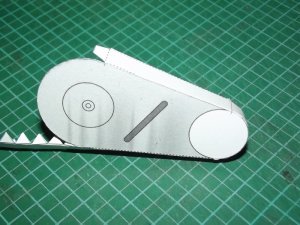
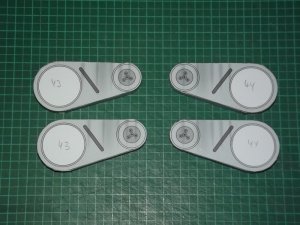
Now we are approaching the hips. There are four pieces in total.

DSCF8443.jpg

DSCF8444.jpg

Tiny red markings on the side show where the long strip must be attached. Please note that the dotted lines on the long strip are no folding marks.

DSCF8483.jpg

DSCF8484.jpg

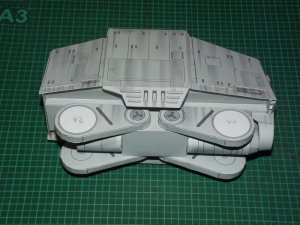
All four are completed and attached. :)

DSCF8485.jpg
 

Revell-Fan

Co-Administrator
Staff member
Administrator
Moderator
Short sitrep: I have finished the first leg. It was pretty easy - almost too easy. It was so easy that I did not pay enough attention to the instructions and promptly screwed up the alignment. Twice. ... :explode: I was able to fix it without printing a new sheet but since the pictures I took show a wrongly assembled leg I decided to delete them in order not to misguide anyone. I'll take new pics of the second (hopefully correctly built) leg and post these instead. Please stay tuned! :)
 

micahrogers

Moderator "Where am I, and how did I get here?"
Staff member
Moderator
you could post the pics of your mistake, so we could know what not to do.
 

Revell-Fan

Co-Administrator
Staff member
Administrator
Moderator
Well, here we go! :)

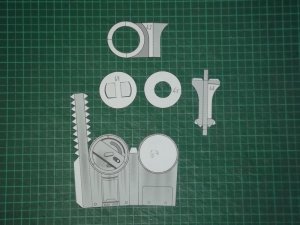
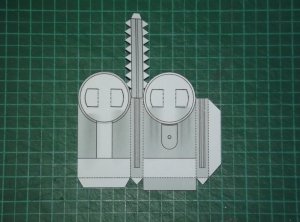
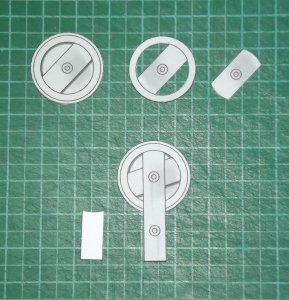
These are the parts for the upper thigh.

DSCF8486.jpg

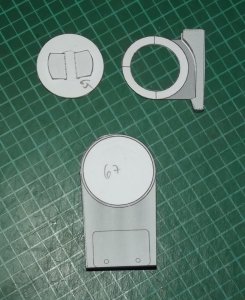
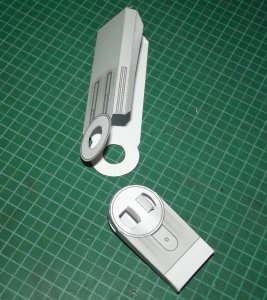
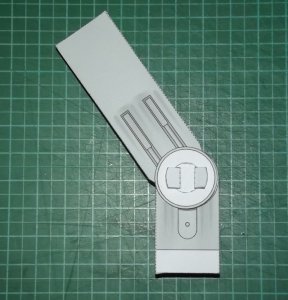
Assembly is straight forward. Part 64 has two flaps which are folded up and put through the hole in part 65. 64 & 65 are not glued together. 66 has one open side. I was worrying that you could look inside it when it was finished. To my surprise the open side casts an additional shadow on the finished piece which gives it more depth. thumbsup

DSCF8487.jpg

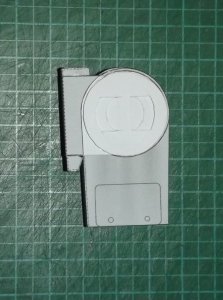
67 is glued to 63. 63 is turned around. Glue is applied to the ring on 63 and 65 is attached with the flaps facing 67.

DSCF8488.jpg

This allows the ring to rotate later.

DSCF8489.jpg

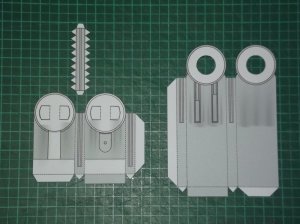
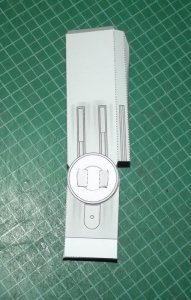
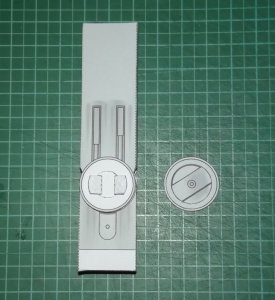
77 has the same kind of flaps like 64.

DSCF8490.jpg

The instructions clearly tell you what to do. If you look at the pictures you cannot fail. Before 76 is closed the flaps of part 77 are put through the holes in 76.

DSCF8519.jpg

DSCF8520.jpg

@micahrogers : If you do NOT look at the pictures and build models way after midnight like me you assemble the pieces the other way around and have to fiddle them out again after you have glued them tightly together. :hammerhead:;)

DSCF8521.jpg

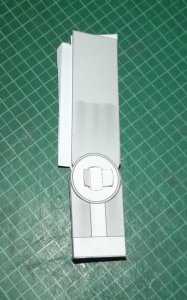
Part 76 is closed.

DSCF8493.jpg

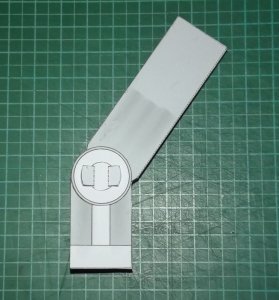
Both pieces rotate.

DSCF8494.jpg

71, 72, 73, 73B & 75 are laminated together and glued to the flaps.

DSCF8495.jpg

DSCF8496.jpg

DSCF8497.jpg

The rotation center is covered and both pieces rotate very well.

DSCF8498.jpg

:)
 
Last edited:
Top