“Electricity is really just organized lightning”~ George Carlin
It was time to get the lighting system circuitry installed and tested, before going any further......
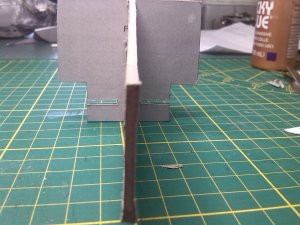
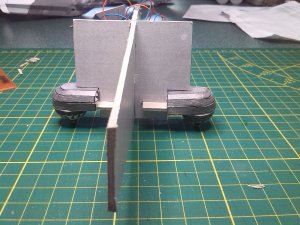
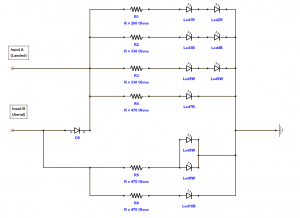
I installed the tube that runs internally, between the engine mounts and cut a slot in the middle to allow me to run the associated engine wiring into the fuselage for connection to the circuit. I soldered the relevant resistors to the '+' leads of each LED. The bare wires and the resistors themselves were covered with heat-shrink to protect from electrical shorts. All the '-' leads were joined together and the wiring tidied up as best as possible. (Not that you are gonna see it anyway!) The wires running out of the engine mounts will be permanently connected to the engines, after the fuselage has been sprayed.
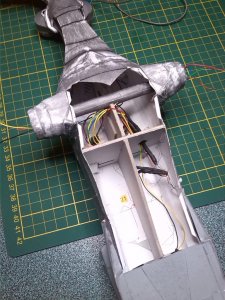
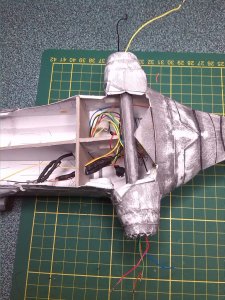
Once I had triple checked everything with a continuity tester, I temporarily placed the nose in position and connected up the spotlights and the engines for the big test ......
I connected the power leads from the power supply into the engine power input plug. (This would be the 'landed' configuration, where the port engine and the spotlights are off.)
Again, I triple checked everything, and with fear and trepidation in my heart :nailbiting:, I plugged in the power supply ........
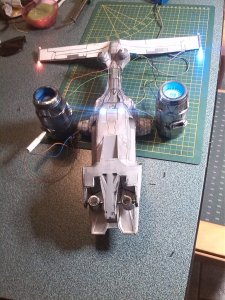
PHEW!!!! Nothing blew up!!!!


The lighting configuration is how it should be too......


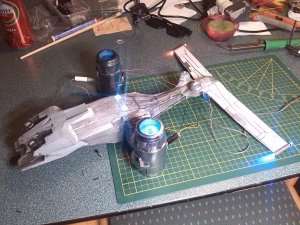
And for test 2, I then connected the power leads from the power supply into the fuselage input plug. (This would be the 'aerial' configuration, where all LEDs are on!)
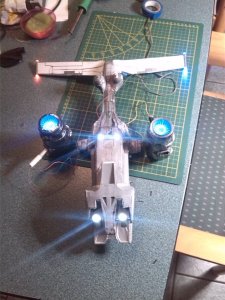
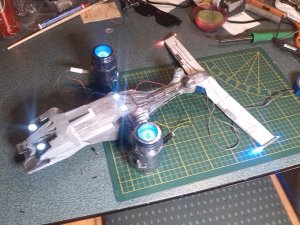
YAHOOOOO!!! The diode 'gate' works perfectly.

Pity about the lens flare from the camera, but you get the general idea!


I'm pleased with that! Now I need to finalize the wiring and move on to the next stage .....
See y'all soon.


.


