Don't spare the horses....!
Apologies for the lack of updates lately, but life has gotten in the way of modelling at the moment.
I am also working hard at getting the Discovery project finished now too, but the lighting of the display case is more difficult than what I envisaged.
But, fear not, there has been plenty going on in the background on this project.

The available horse power of the HK has now been doubled, with the completion of the second engine.

The build of the second engine was exactly the same as with the first one, but with one exception.......
As previously mentioned, there are going to be two display bases/dioramas for this model.
In both instances, I need to get power to the internal lighting of the model.
With the one display where the HK is on the ground, getting power to the model is a simple task.....
But, in the flying display, the whole model is suspended from a beam of light .......

And getting power to the model is going to be a tricky endeavour.
I will explain this idea a little later in the build.....

Anyway, back to the 'landed' display .........
I have a 'gimmicky' idea on how to get power to the model, but I won't spoil the surprise of exactly how I'm gonna do it, until the display is finished.

The power input for the landed configuration will be via a connector in one engine. This connector will be covered by an access panel when in 'flight mode'.
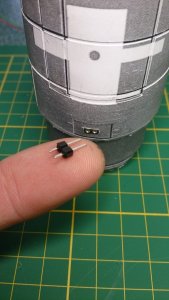
I used a female pcb pin-header as a connector, the same sort that I used in the Discovery project.
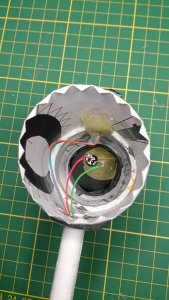
So, during the build of the second engine, I cut a slot and used copious amounts of hot glue to bond the wired up connector solidly to the chosen area of the engine, which is just below the assembly attached to the side of the engine.
So, this engine now has two sets of wires exiting via the tube, one set for power input, the other for the engine lights.

I am hoping to get the engine primered up, sanded and base coated this evening.
And if all goes well, I should be getting the first engine back from the chroming process in a day or two.
I will post pics of that as soon as I get it. I can't wait to see how it turned out. But the chroming is only the start of the finishing process of the model. There will be a lot more work to do on the finish yet.......

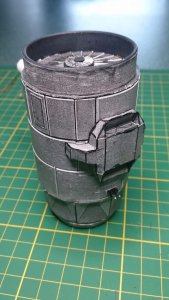
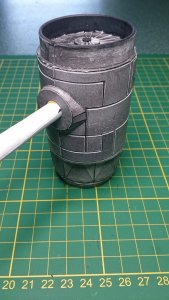
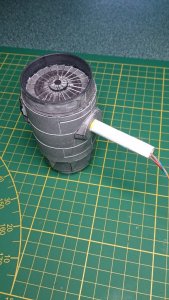
But, in the meantime, here are a couple of pics of the completed second engine, (waiting for paint.)
The male counterpart of the connector is left plugged in, which will serve as a paint mask for the attached female half.
See ya.

 The dude I saw looked like this: