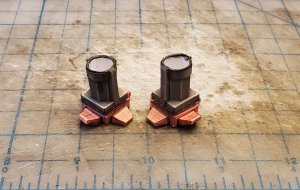
Looks good, so much detail in these little guys. Who's gonna win the card game?
Maintenance robots 'Dewey', 'Huey' and 'Louie' designed by UHU02
- Thread starter Rhaven Blaack
- Start date
You are using an out of date browser. It may not display this or other websites correctly.
You should upgrade or use an alternative browser.
You should upgrade or use an alternative browser.
To answer your question, all three will have a royal flush, but each one will be a different suit.Looks good, so much detail in these little guys. Who's gonna win the card game?
The robots CHEAT!!!
SO, my fiancé has been asking me (for awhile) to finish this collection of droid for her! It is now time to continue this thread with the third (and final) Maintenance Droid (LOUIE).
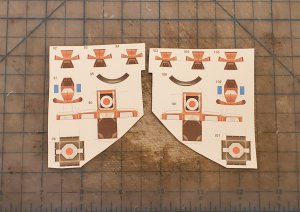
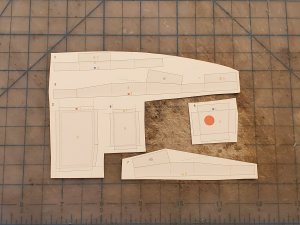
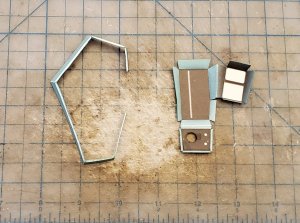
So, for this section, here are the parts for the main body.
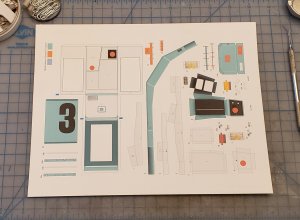
Starting with the main body.
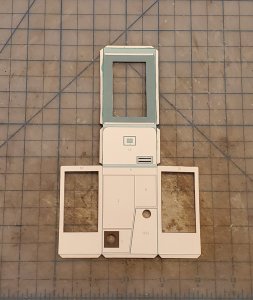
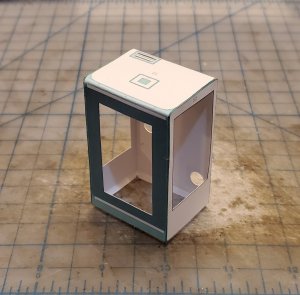
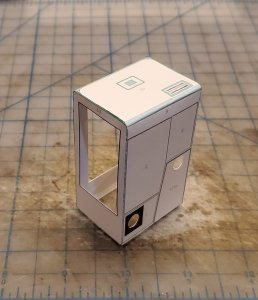
Here are the parts for the base structure of the front face.
The base is assembled.

The base is attached to the main body.
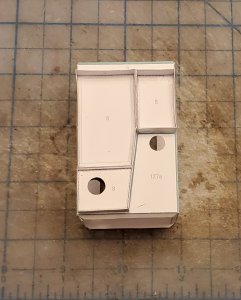
Here are the rest of the parts for the face.
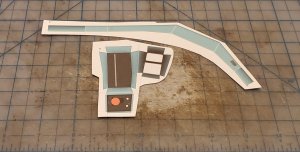
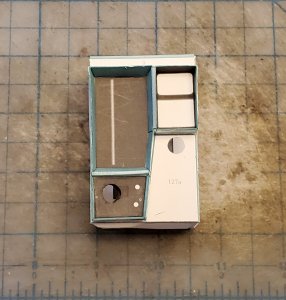
The texture is attached.
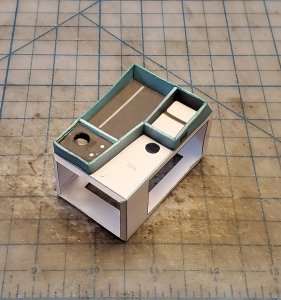

Here are the parts for the top façade of the droid.
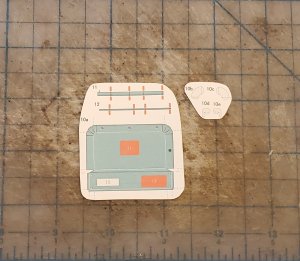
Here are the parts for the top façade of the droid.
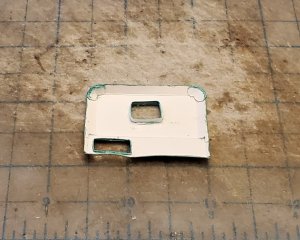
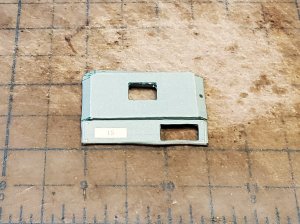
The top façade is attached.
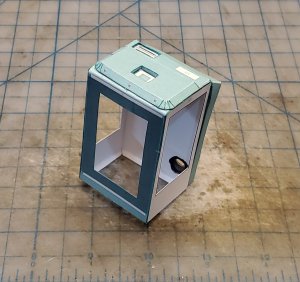
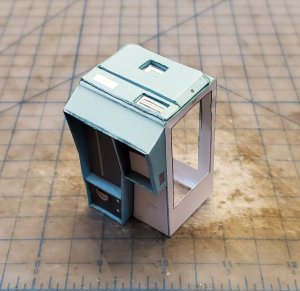
So, for this section, here are the parts for the main body.

Starting with the main body.


Here are the parts for the base structure of the front face.

The base is assembled.

The base is attached to the main body.

Here are the rest of the parts for the face.


The texture is attached.


Here are the parts for the top façade of the droid.

Here are the parts for the top façade of the droid.


The top façade is attached.


So, here is the the next installment of photos.
Here are the parts for the inside of the center of the façade.
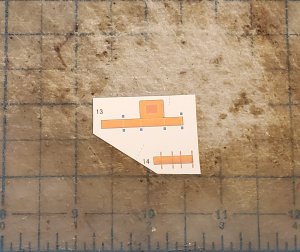
The center piece of the façade is assembled.
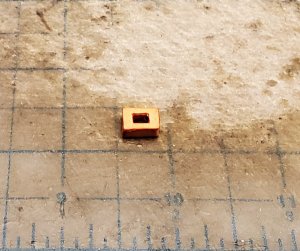
The center piece of the façade is attached.
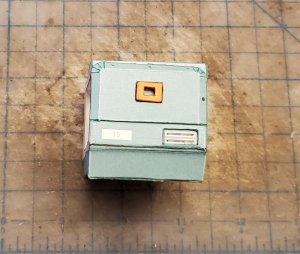
Here are the data cards.
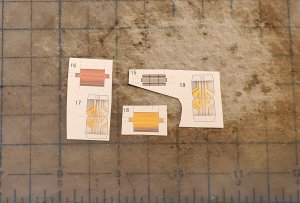
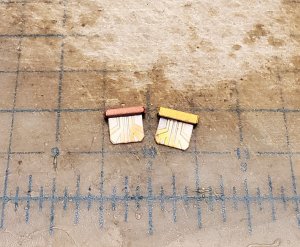
Data cards are inserted.
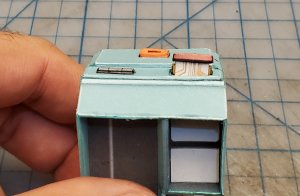
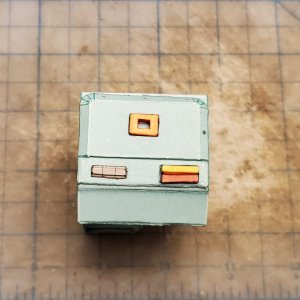
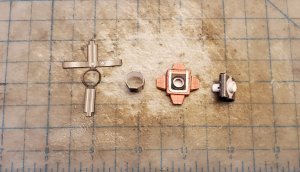
Parts for the front dials.
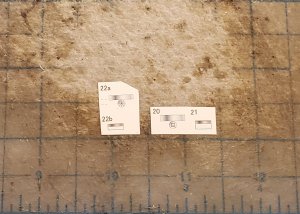
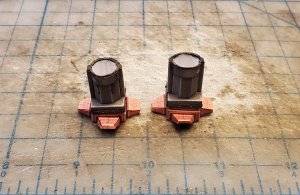
The front dials are assembled.
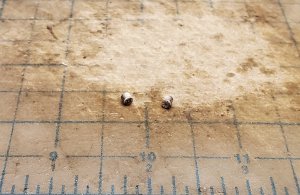
The front dials are attached.
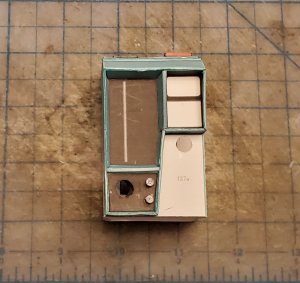
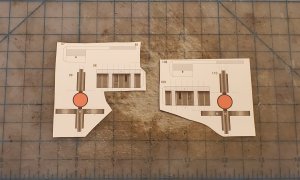
Here are the parts for the back plate (the back plate is moveable).
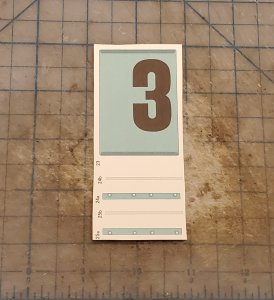
The slides are attached.
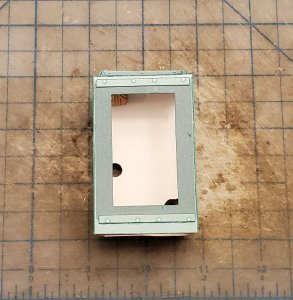
The plate is in place.
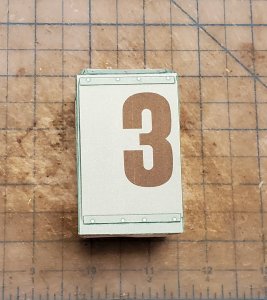
Here are the parts for the inside of the center of the façade.

The center piece of the façade is assembled.

The center piece of the façade is attached.

Here are the data cards.


Data cards are inserted.


Parts for the front dials.

The front dials are assembled.

The front dials are attached.

Here are the parts for the back plate (the back plate is moveable).

The slides are attached.

The plate is in place.

I have already loved the first two, I will follow this last robot diligently. Superb start
SO, it is time again to update this thread.
I worked on the sides of the main body (This is where the legs protrude).
Here are the parts for the framework.
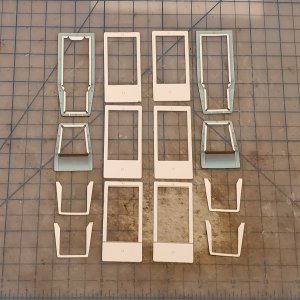
The framework is assembled.
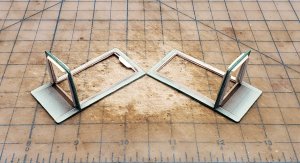
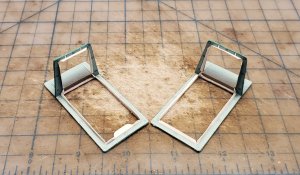
Here are the parts for the sides.

Here are the top halves.
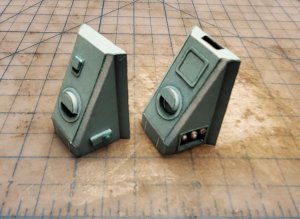
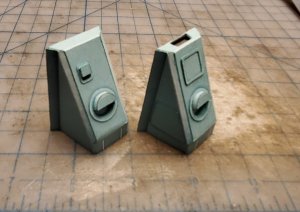
Here is the bottom halves.
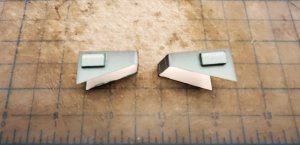
Both side components are assembled. (*NOTE* The top parts are a bit of a pain to attach. So, take your time with it. I strongly recommend that you attach one side at a time.)
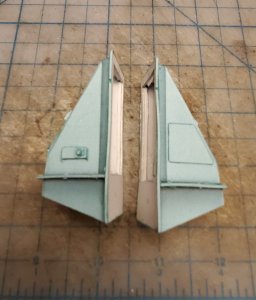
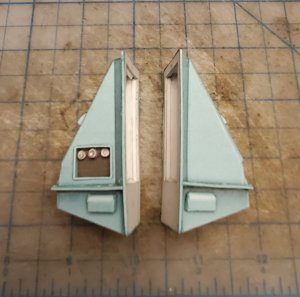
Here are the main body and both sides.
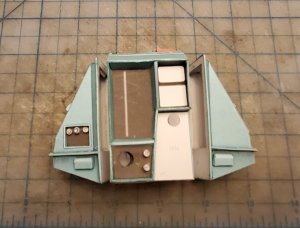
Now on to more of the front façade (of the main body) and the legs.
I worked on the sides of the main body (This is where the legs protrude).
Here are the parts for the framework.

The framework is assembled.


Here are the parts for the sides.

Here are the top halves.


Here is the bottom halves.

Both side components are assembled. (*NOTE* The top parts are a bit of a pain to attach. So, take your time with it. I strongly recommend that you attach one side at a time.)


Here are the main body and both sides.

Now on to more of the front façade (of the main body) and the legs.
- Apr 5, 2013
- 13,876
- 10,216
- 228
So many parallel projects!! Weird how all the pics in the beginning of the thread have disappeared.
thumbsupYou're doing a fantastic job on these guys.
thumbsupYou're doing a fantastic job on these guys.
It is time for another update! I worked on the front façade (the grill-work, light and circuit board).
Starting with the "grill-work".
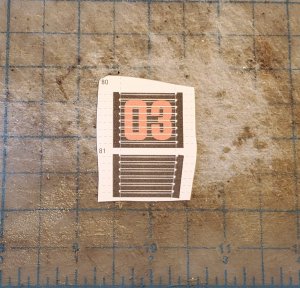
The "grills" were cut out.

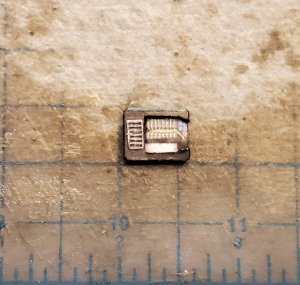
Here are the parts for the circuit board.
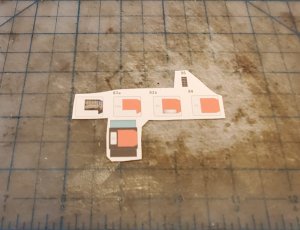
The circuit board is assembled.
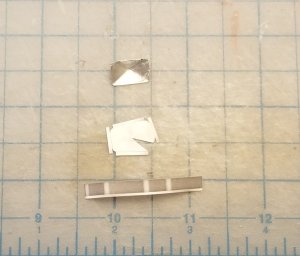
Here are the parts for the light. I cut another piece for the light bell and used super glue to attach it to aluminium foil (the top part).
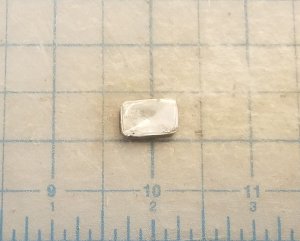
The light is assembled.
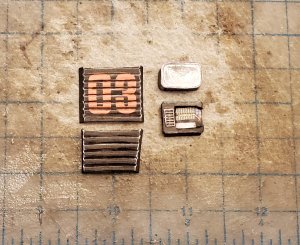
Here are the grill, circuit board and the light.
The grill, circuit board and the light are put in place.
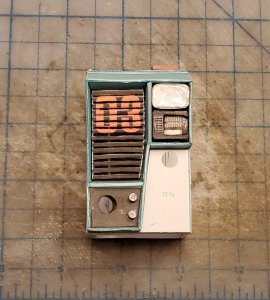
The legs are next.
Starting with the "grill-work".

The "grills" were cut out.

Here are the parts for the circuit board.

The circuit board is assembled.

Here are the parts for the light. I cut another piece for the light bell and used super glue to attach it to aluminium foil (the top part).

The light is assembled.

Here are the grill, circuit board and the light.

The grill, circuit board and the light are put in place.

The legs are next.
Here are the parts for the legs and "hip" assembly.
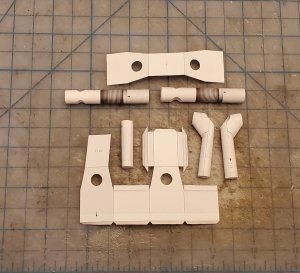
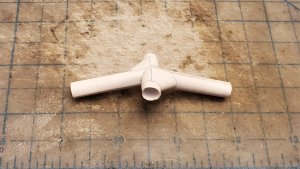
The legs and "hip" are assembled.
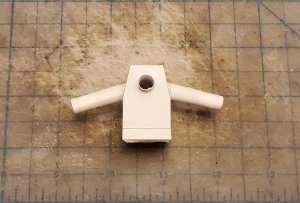
This is the lower section of the body.

The lower section is assembled.
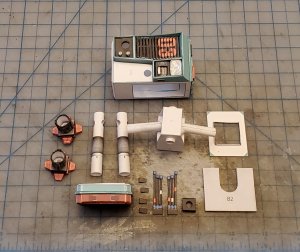
The lower section is attached.
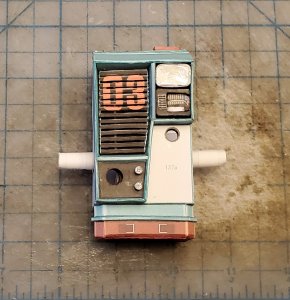
The side pieces are attached.
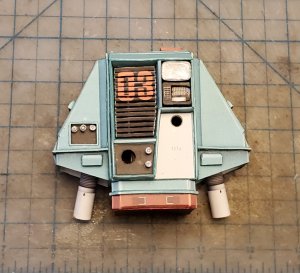
The lower legs, cables and feet are attached to the legs.
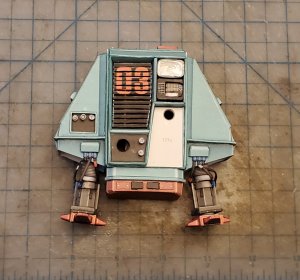
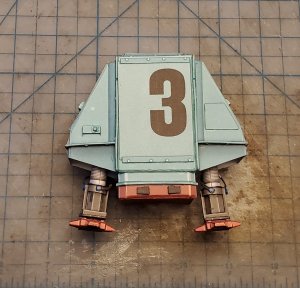
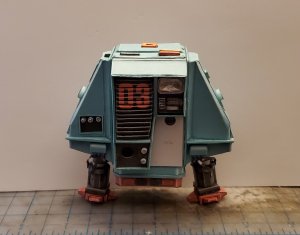
Next will be the rest of the front face and actuator arm.

The legs and "hip" are assembled.


This is the lower section of the body.

The lower section is assembled.

The lower section is attached.

The side pieces are attached.

The lower legs, cables and feet are attached to the legs.


Next will be the rest of the front face and actuator arm.
- Apr 5, 2013
- 13,876
- 10,216
- 228
I can't say they look good, they look "real", like the ones in the movie. 
I am quite certain that if it wanted to, it could.I thinks its going for a walk


