M4A4 Sherman VC Firefly, Halinski 1:25

snake7

Well-Known Member
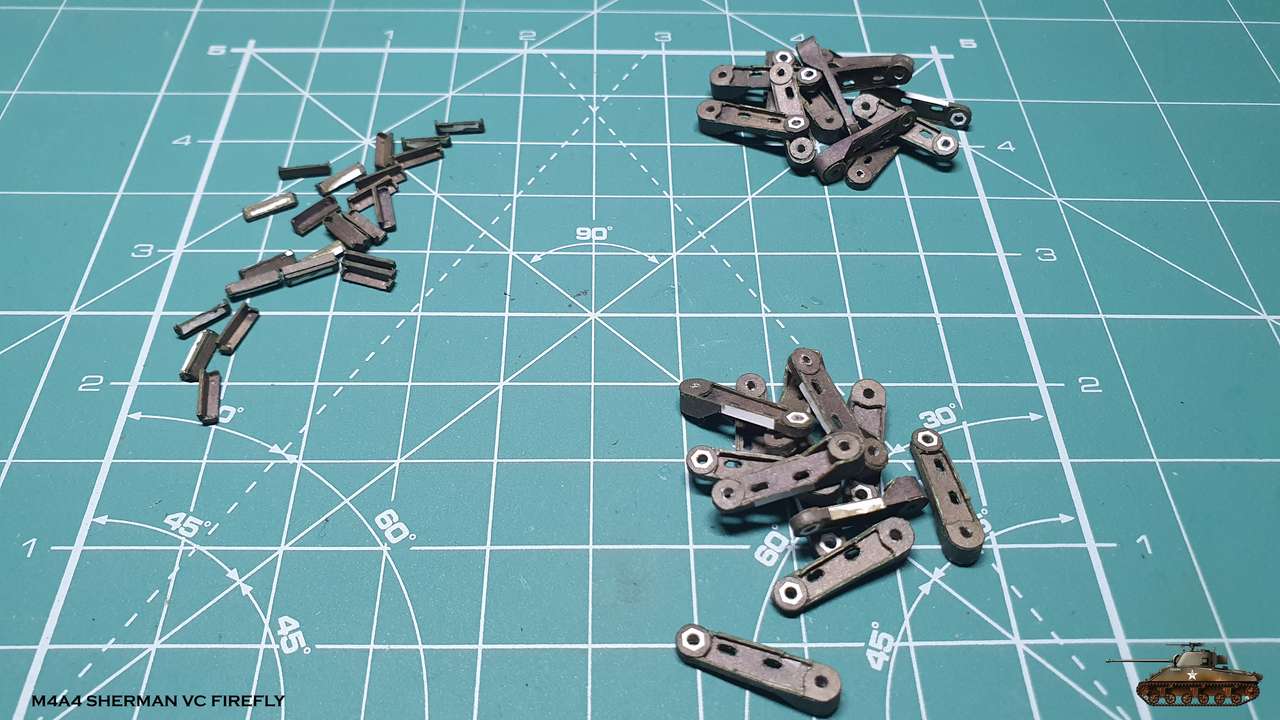
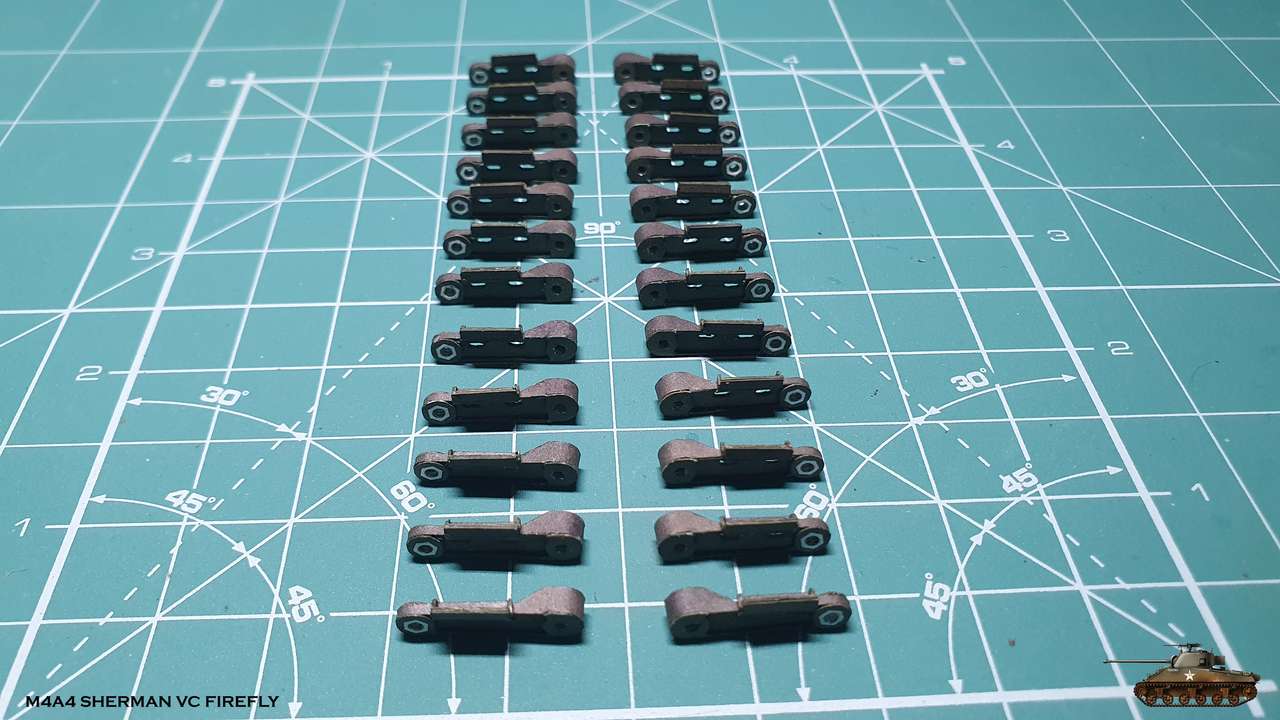
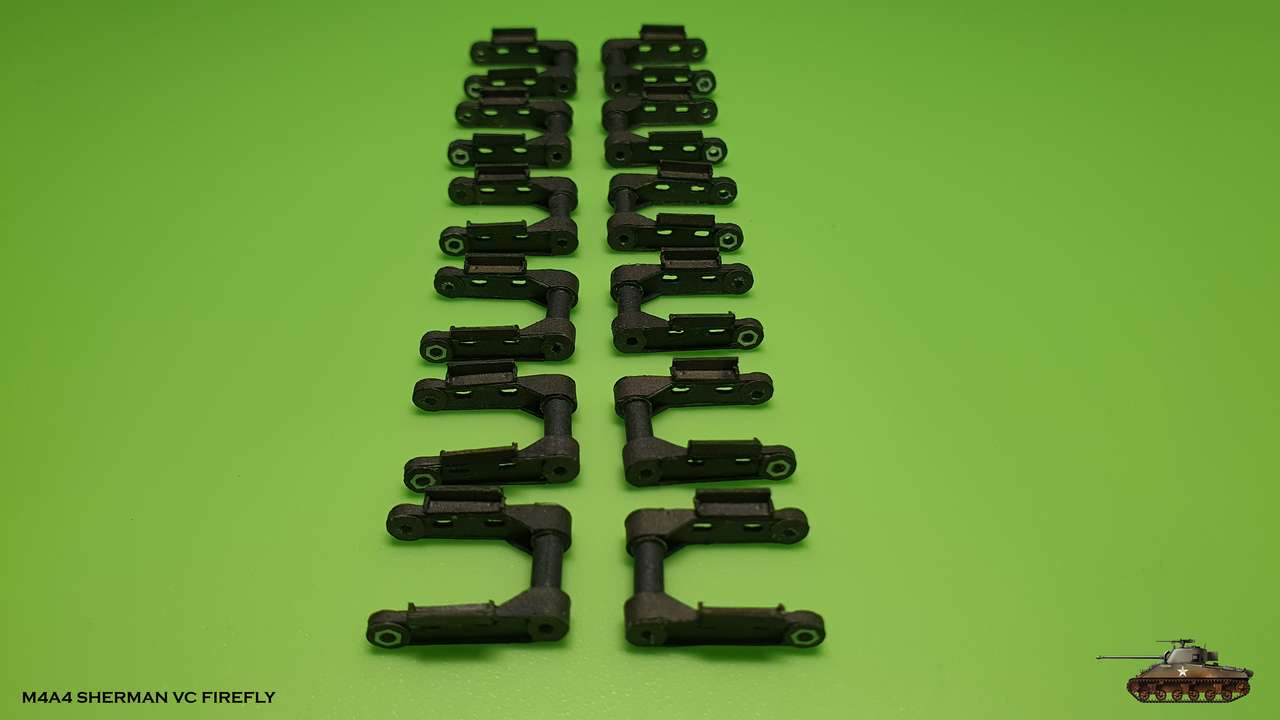
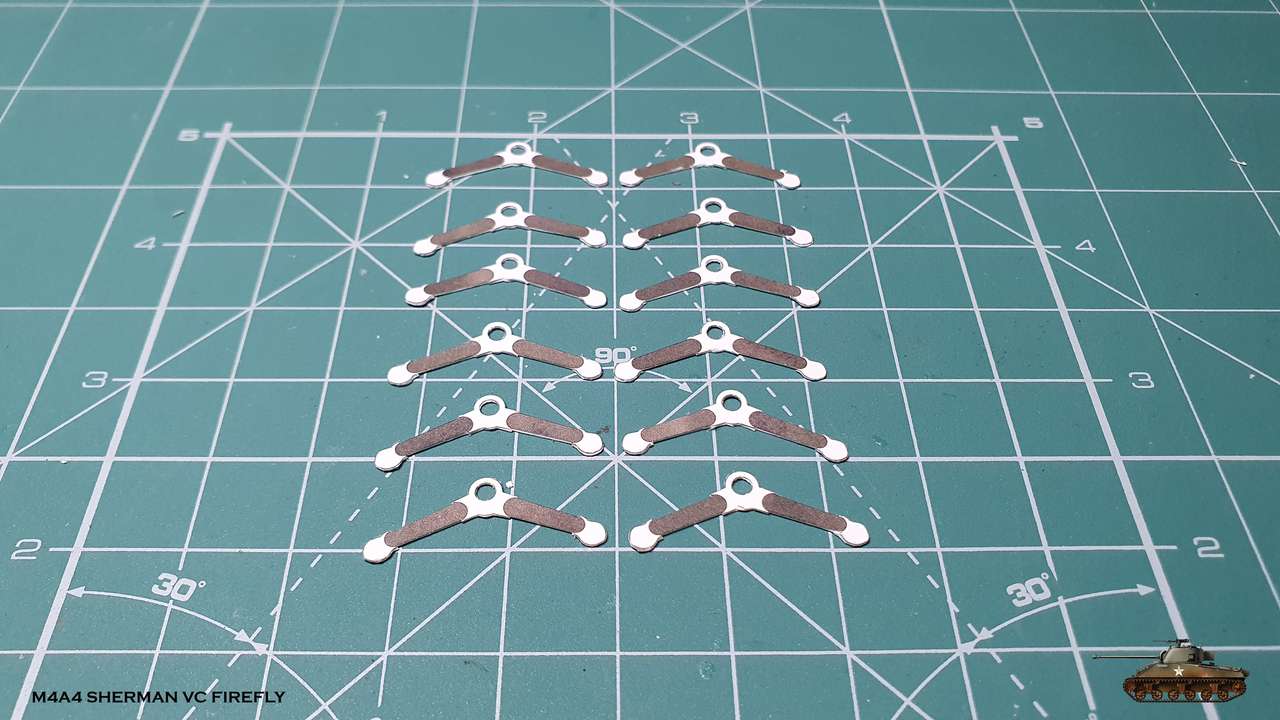
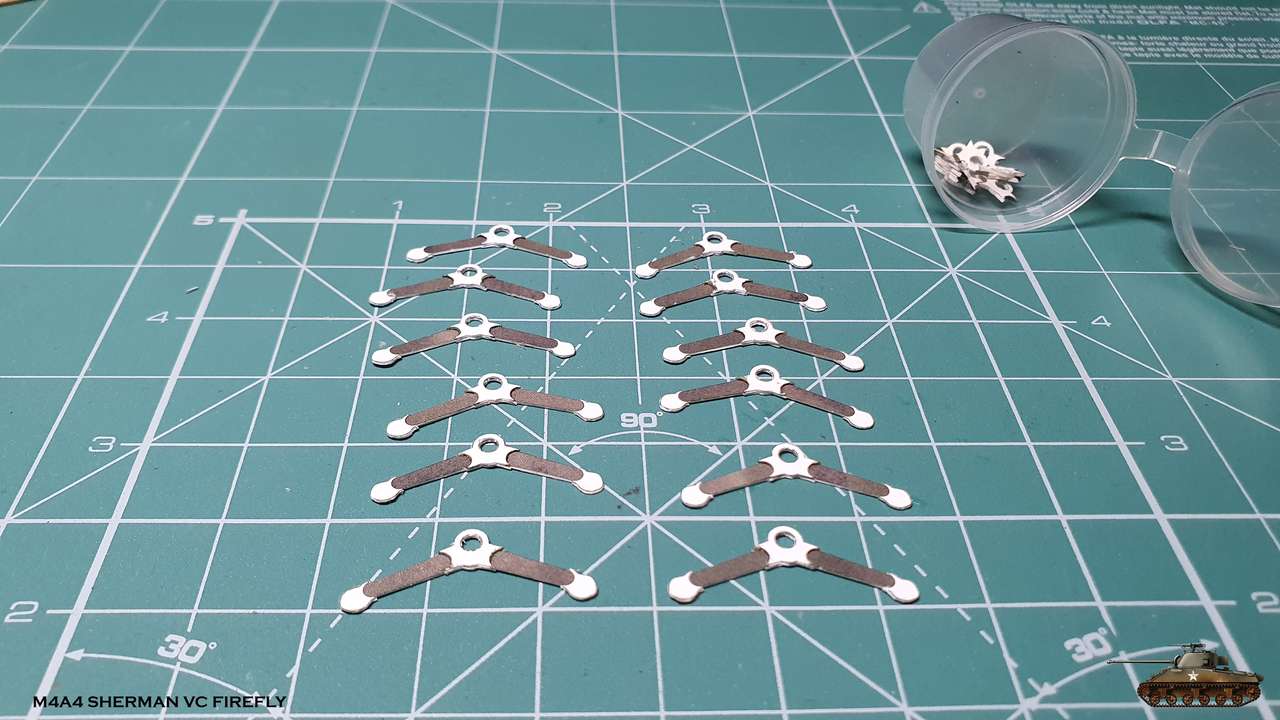
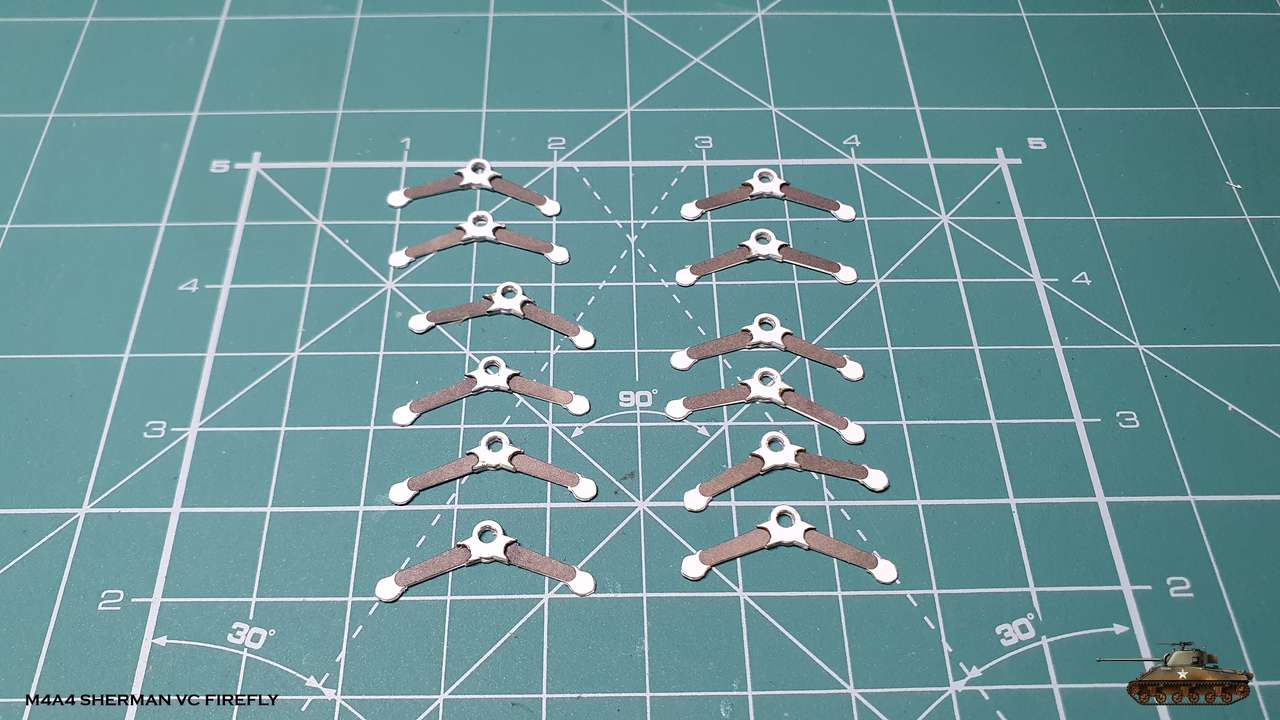
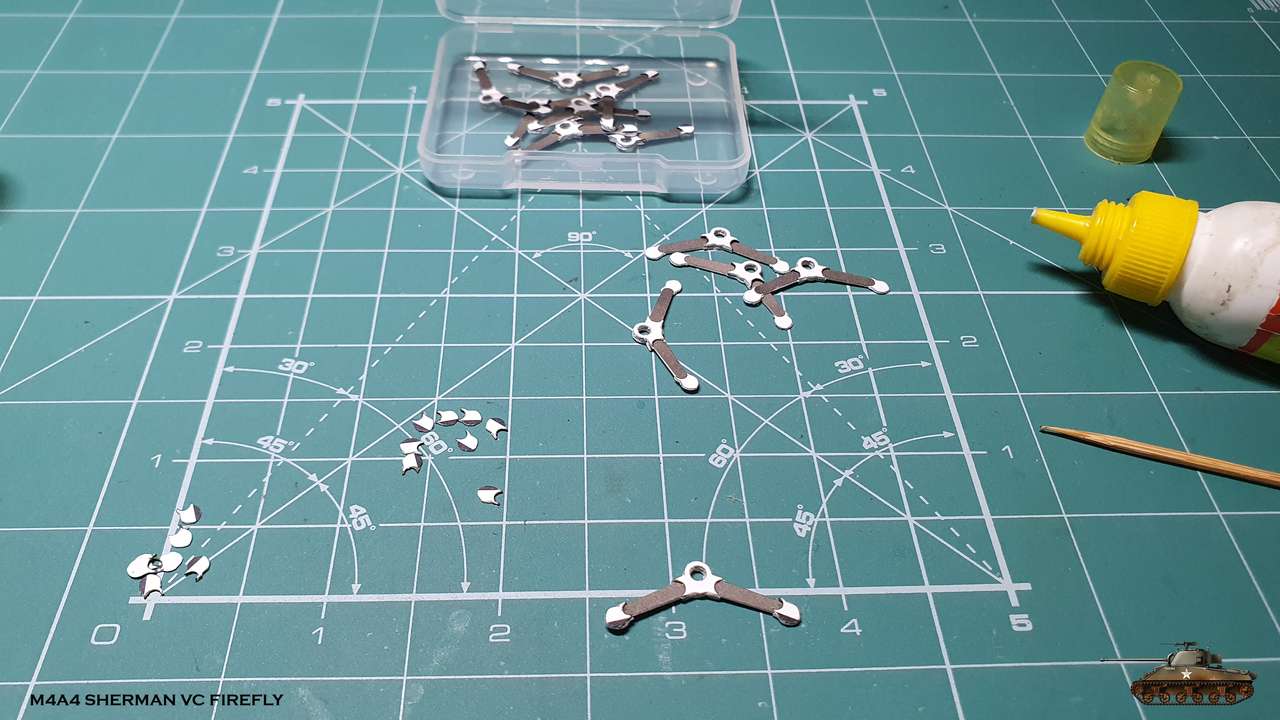
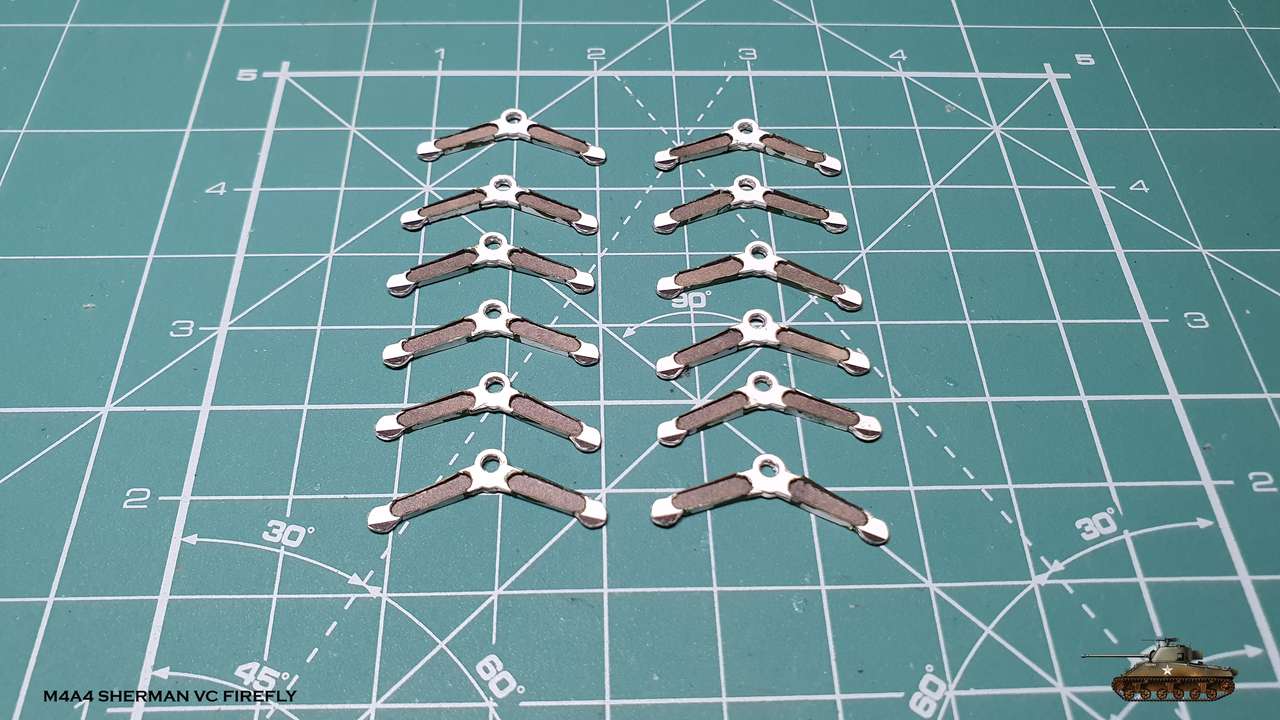
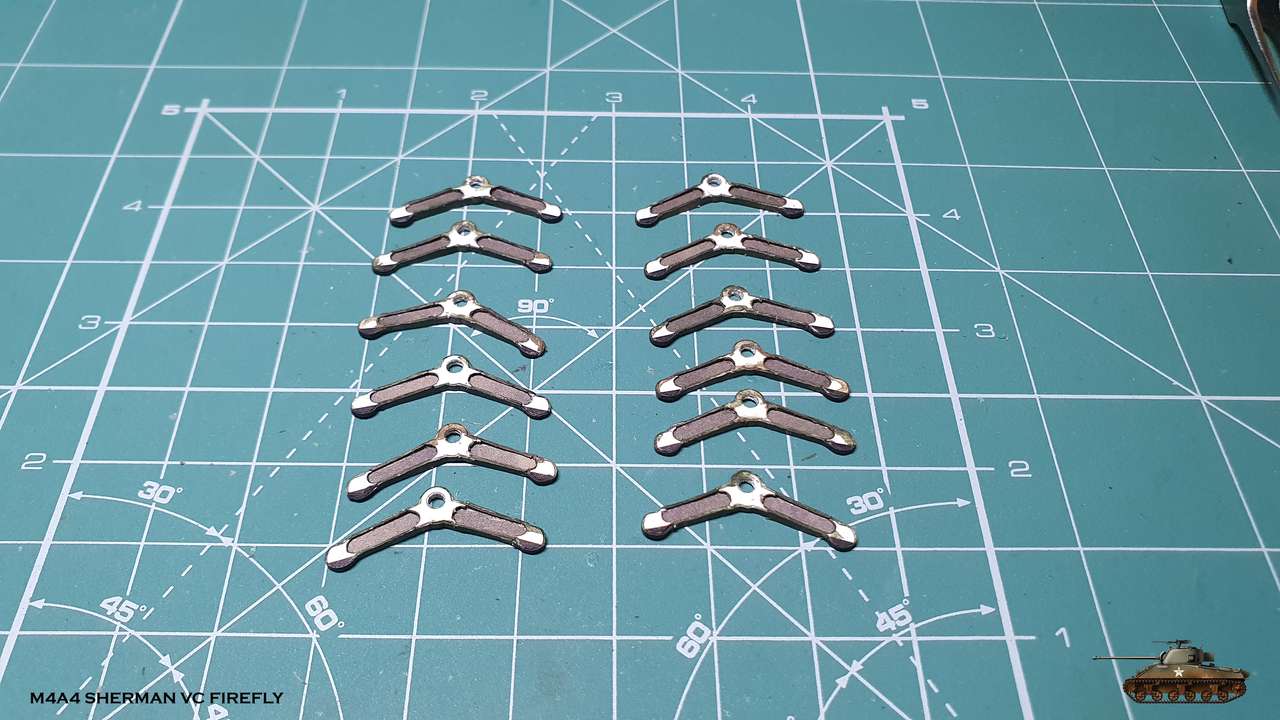
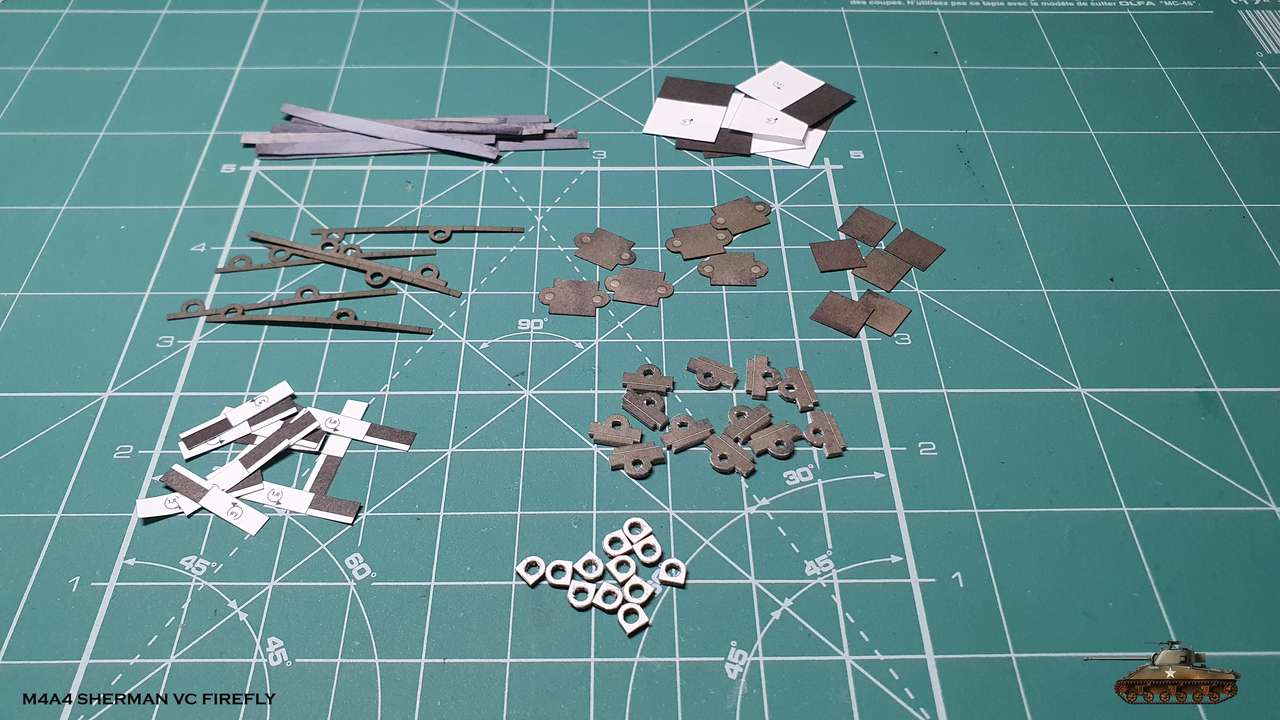
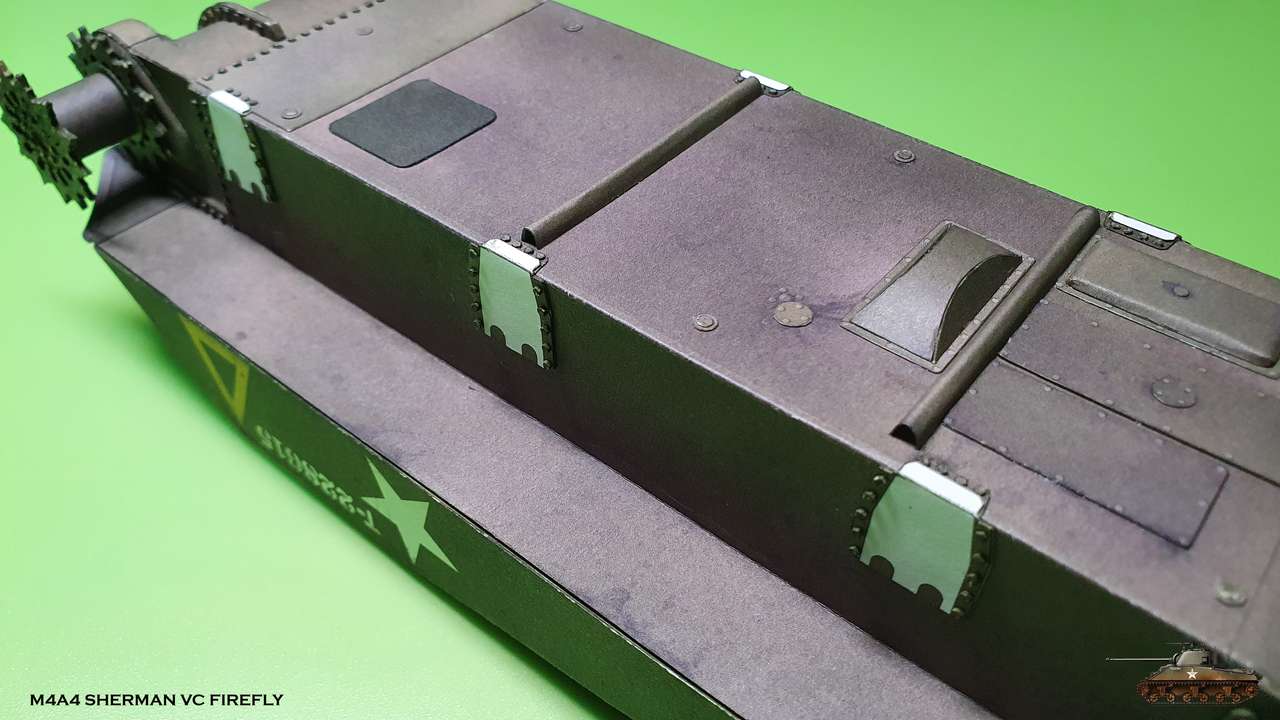
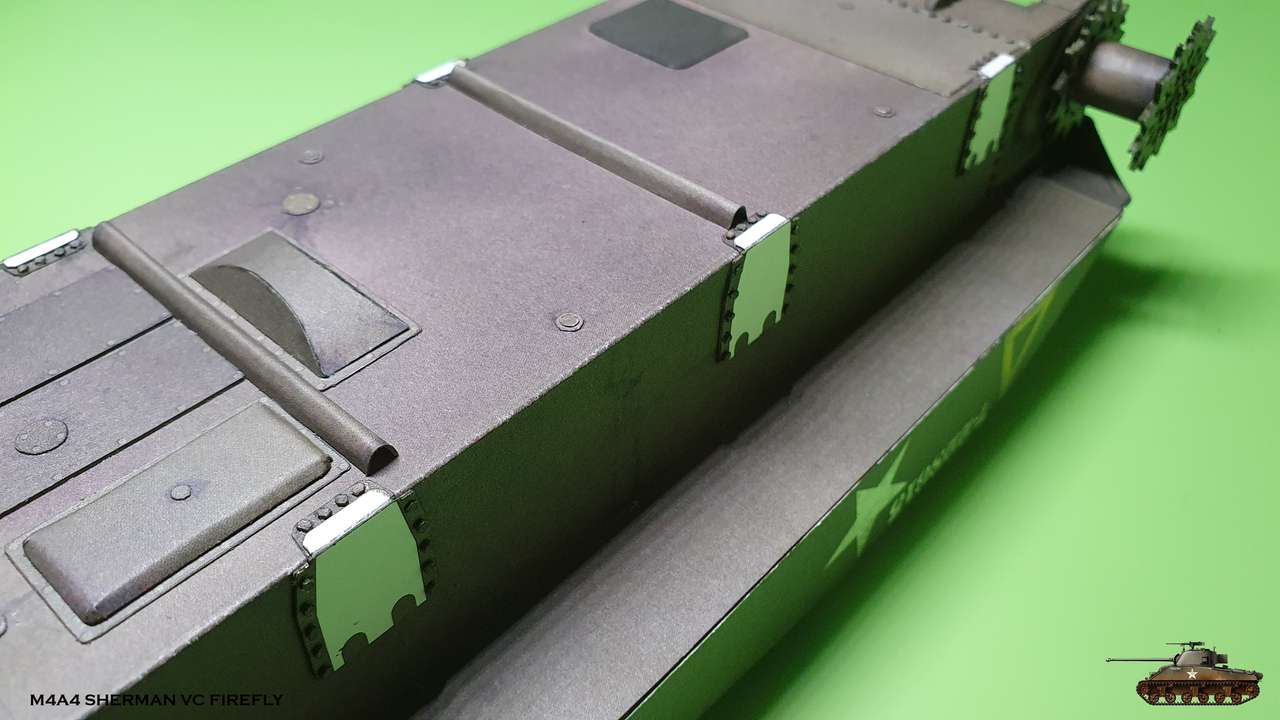
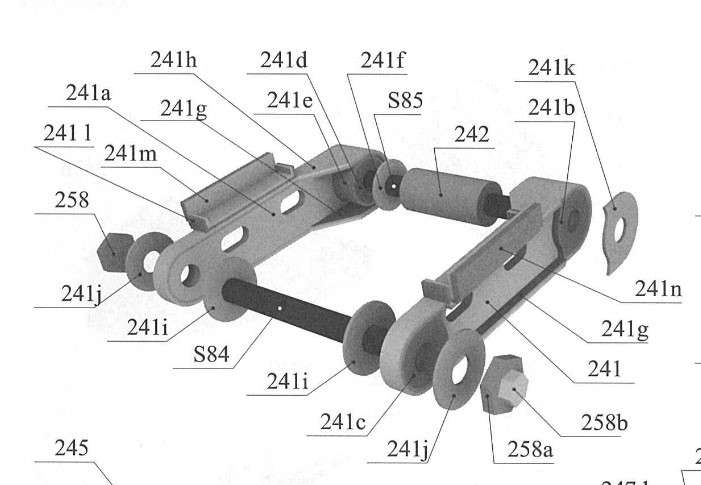
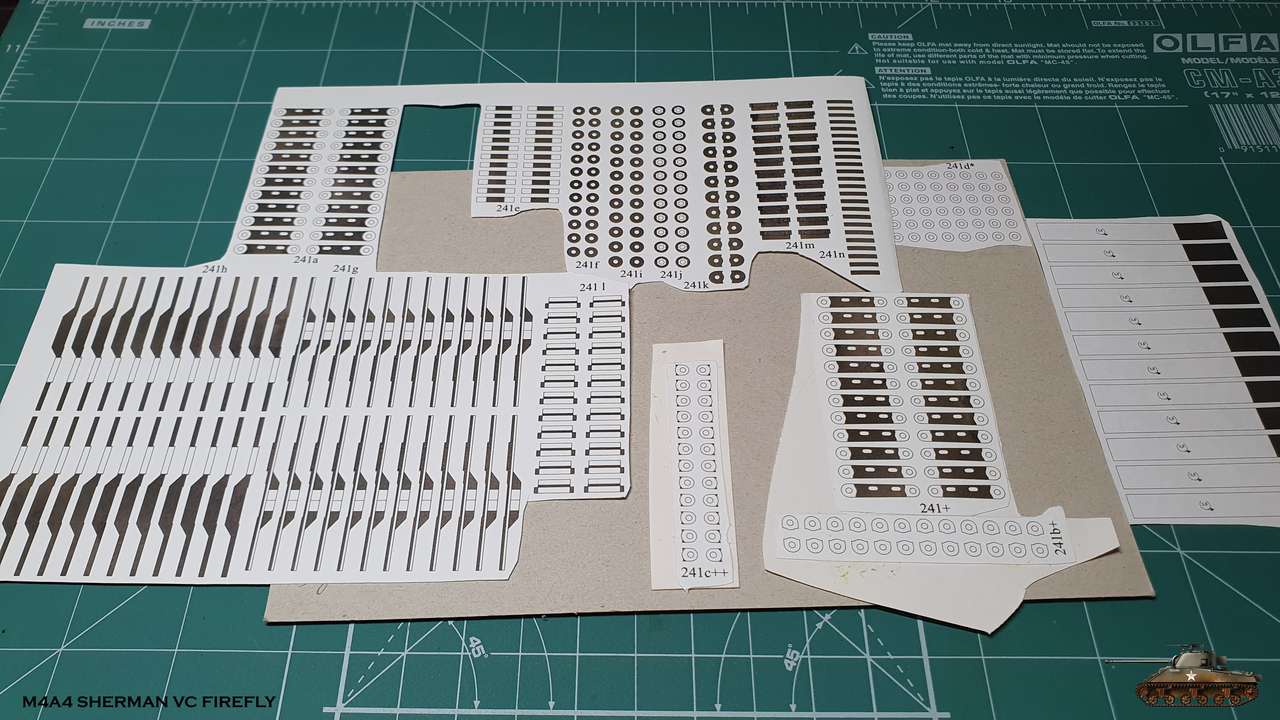
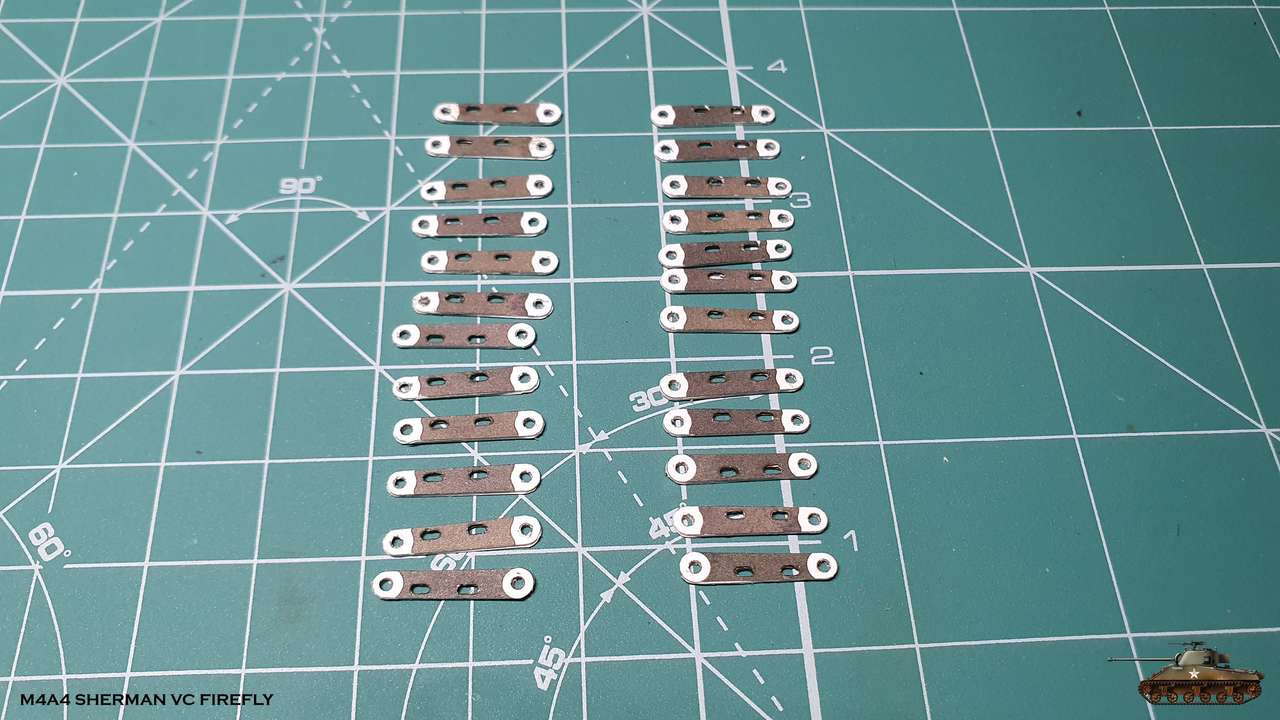
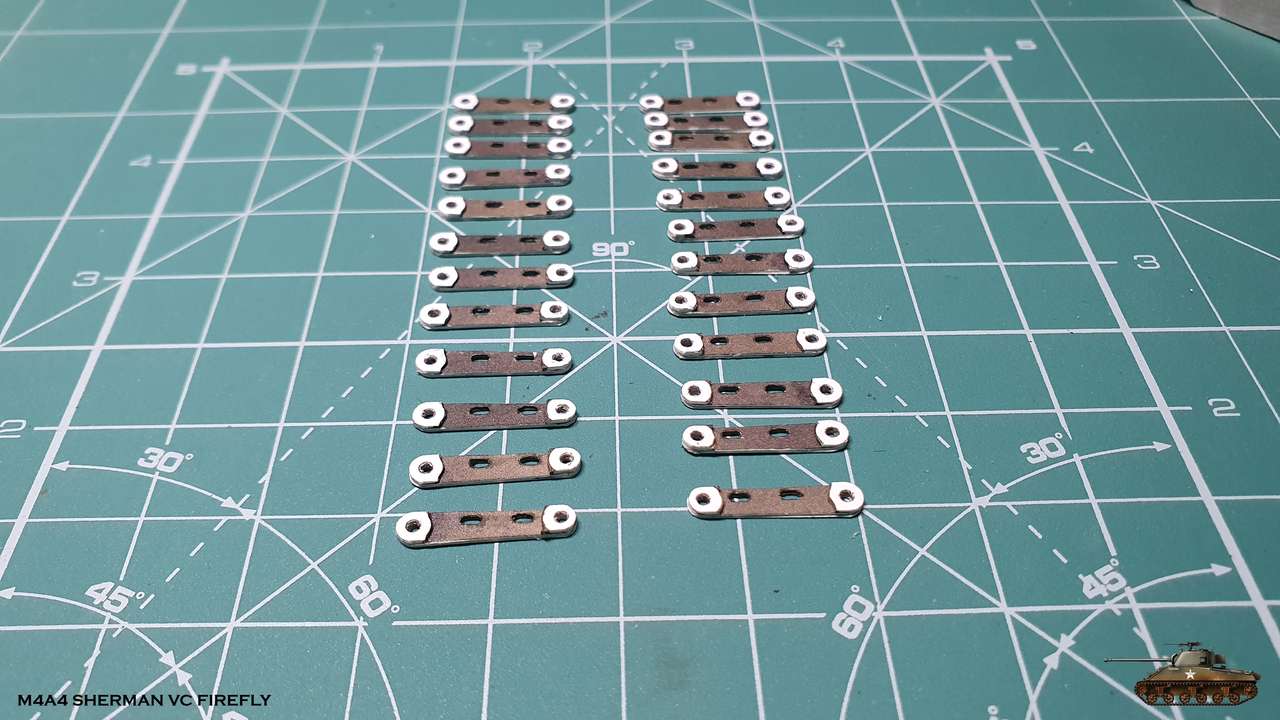
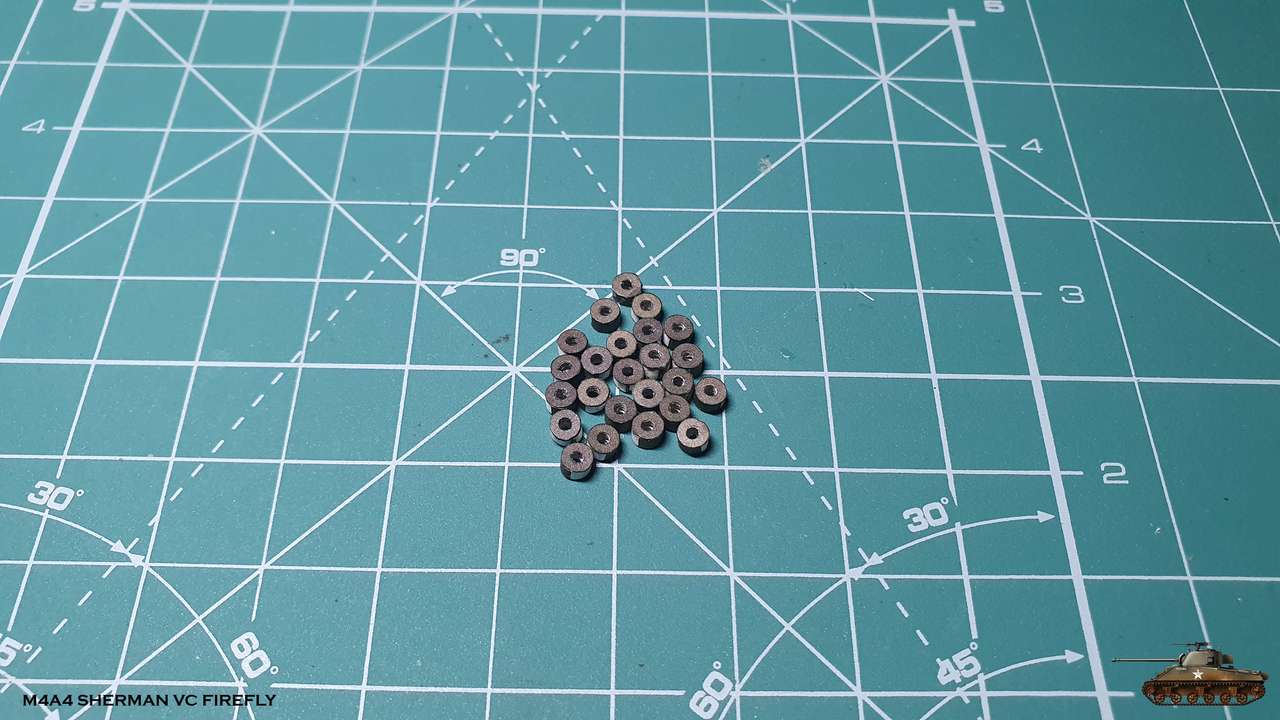
Bogey mounts. Simple details, but there are a lot of bolts to glue. The other side of them i already did in the beginning of hull assemble.

ePo9JM.jpg


SNqm4R.jpg


Nlt8B4.jpg


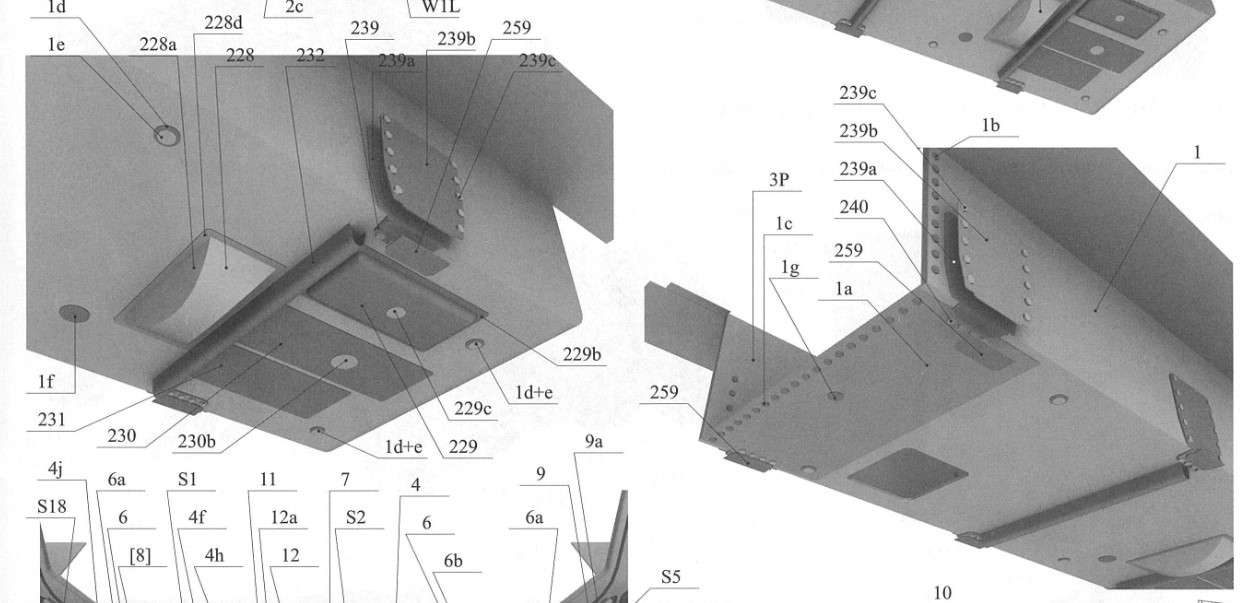
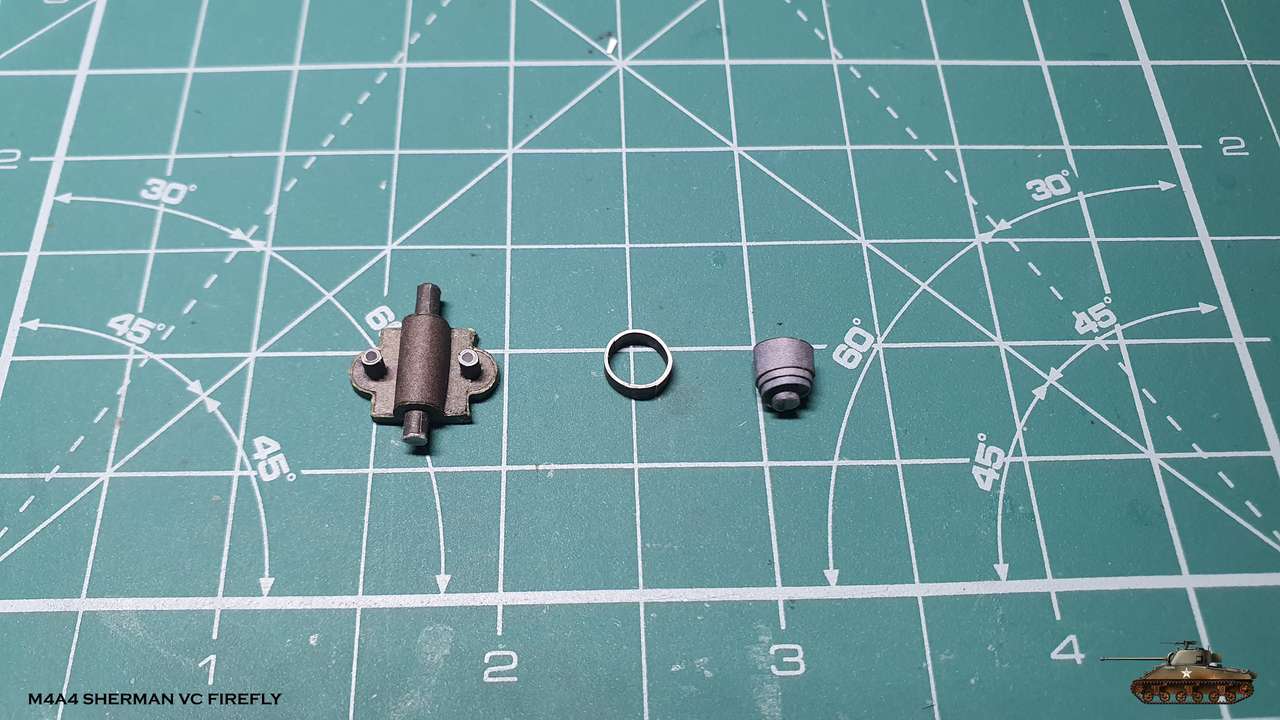
Also, drawings aren't clear about how to glue it on main body (bad choice of grey drawings color).
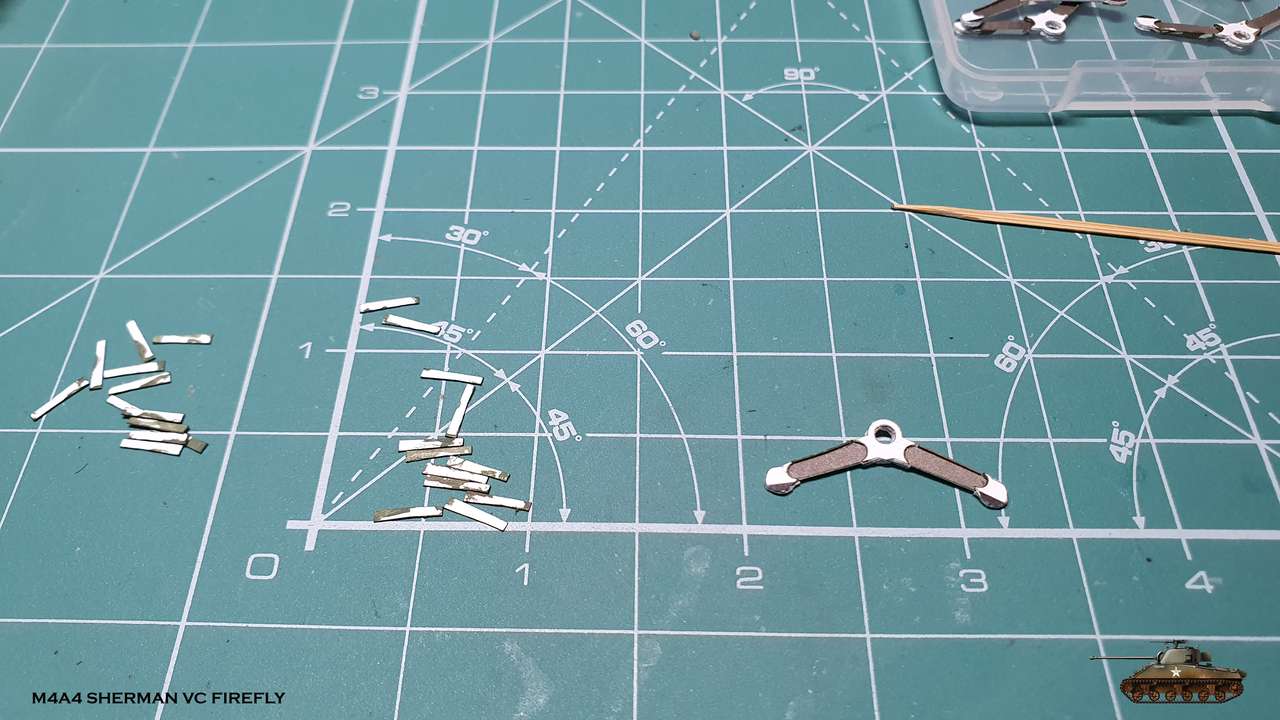
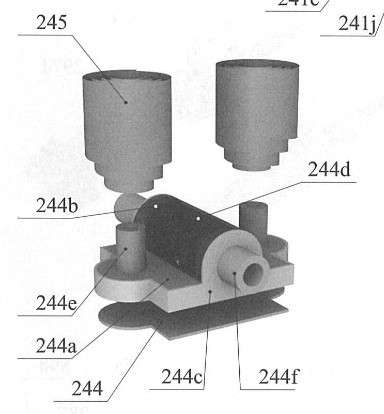
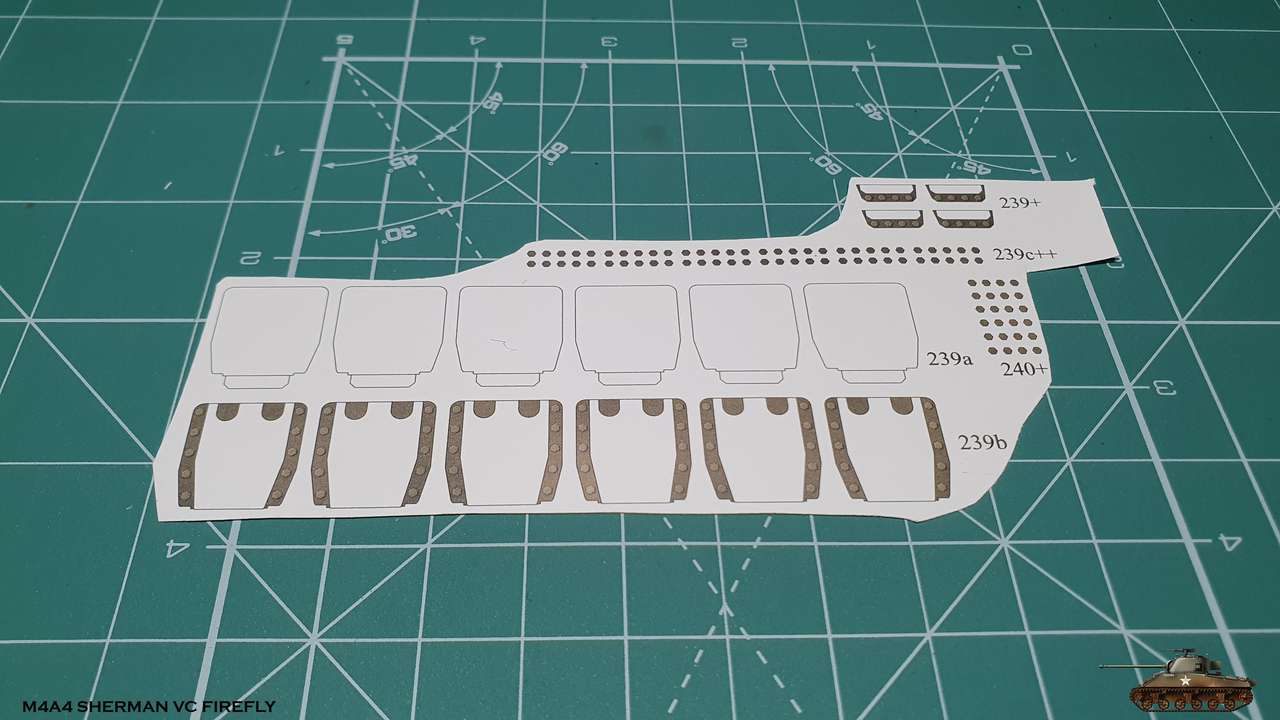
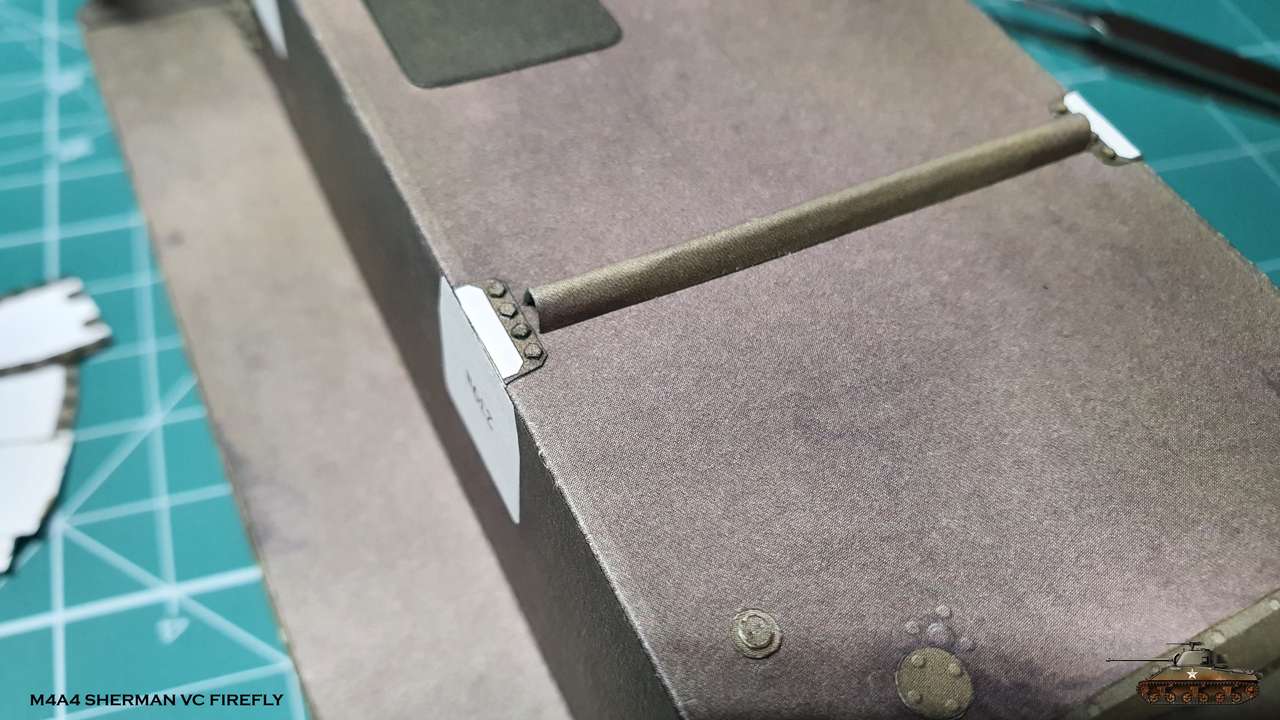
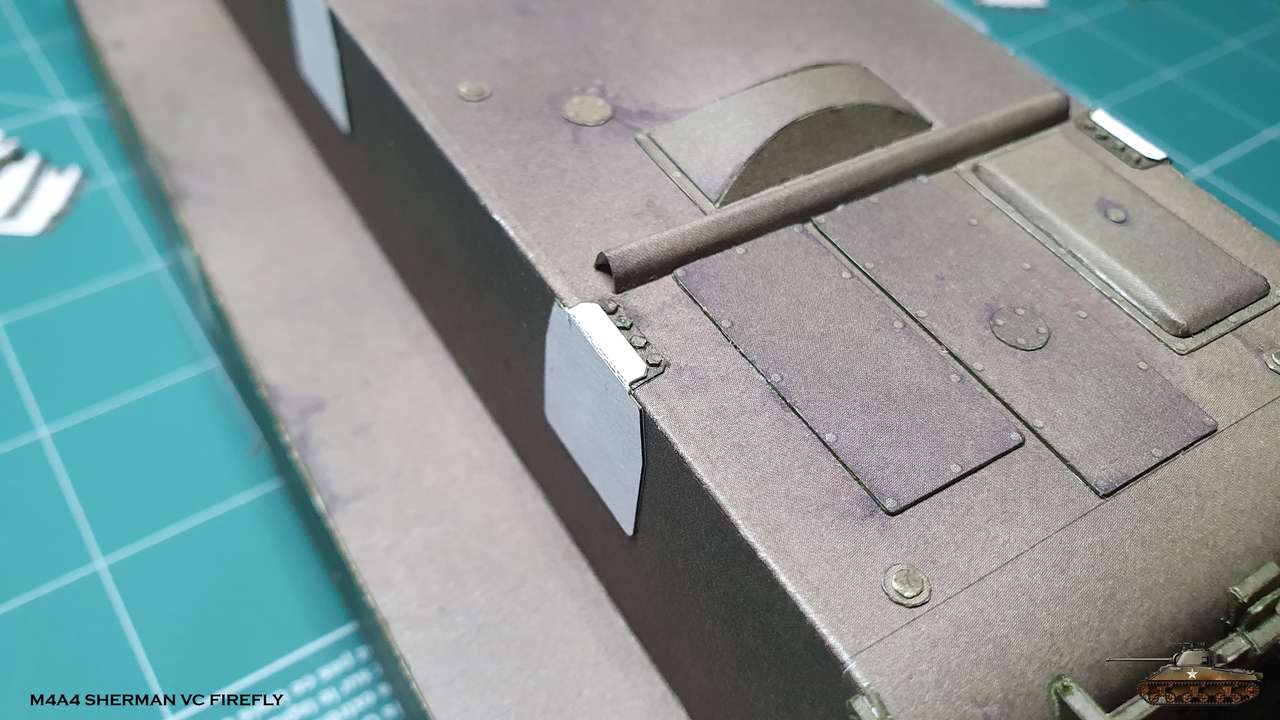
I figured out eventually: first you must glue part 239, then on top of it folded part 239a and then 239b. It must be very precise and straight, because this is the base for suspension. The order can be seen below in pictures

eLfT6P.jpg


cmilHM.jpg


YANV8C.jpg


oYrywA.jpg
 

snake7

Well-Known Member
So, it was a busy period last month, so time for modeling was reduced.
Nevertheless i continued to build in small portions.
As i mentioned before, i moved on to bogies.
The designer went nuts here and designed them with almost every detail as in real thing.

A lot of work done, a little to show
Started from suspension wheel arms

a35hig.jpg


Conveyor method is very useful here.
First of all is cutting all the parts

FdUEjv.jpg


Then start to assemble every detail repeatedly. So here is the unfinished process by far

NDmaud.jpg


KFnoaz.jpg


t2yyOA.jpg


OgQv21.jpg


lLCcGZ.jpg


U8YlOc.jpg


gR6f72.jpg


MvkH3B.jpg


Stay tuned for more :)
 
Last edited:

zathros

*****SENIOR ADMINISTRATOR*****
Staff member
Administrator
Moderator
If I woke up to all those links, I'd roll over and go back to sleep. Excellent job
! ;)
 

snake7

Well-Known Member
Thanks mijob, Boris and Zathros

I continued with wheel arms.
This are rubbing plates on which suspension levers seat and move.

jH8MI2.jpg


1be5aH.jpg


bvHZ2A.jpg


And last are connecting hubs.
They join two arms together and eventually we got 12 pairs of wheel arms one for each wheel.

Arms finished and i want just to mention that you need to pay attention for left and right side. Each part is given as one number but there is a difference between left and right along all the assembling.

gFeY3j.jpg


dSePIg.jpg


7TnPJR.jpg
 

snake7

Well-Known Member
Thanks to all :)

Next part was suspension lever.
A lot of lamination here to make a very detailed part.
And again a lot of repetitions.

EEx5IB.jpg


HU7ngm.jpg


In this picture you can see that i didn't cut the parts all the way, so i can touch edges with paint in comfort way.

pWaUWr.jpg


Here is conveyer process of assembling
I choose certain order, that i though was optimal.

fbC5Ks.jpg


BaDawF.jpg


WYv2Pq.jpg


fkCno1.jpg


j1lWKS.jpg


NyKKOI.jpg


X9EMz4.jpg


WtVd28.jpg


Last details put on and the levers are ready

kO8QGE.jpg
 
Last edited:

fatalbert

Member
Wow! Those tracks and wheels are more work than the long row of lifeboats and davits on a transatlantic liner. And those 20 or 30 boats and double the davits uses up all my patience. You are doing a wonderful job here.
 

snake7

Well-Known Member
Thanks again for you amusing comments :)

One more step is made - spring seat with volute suspension spring.
There are six, one for each bogey.

rYQhm0.jpg

vJHYWk.jpg


I made one ring where spring will enter at top, so i can know the diameter spring must be rolled. (There no marking or explanation ho to roll it)

4OUNlG.jpg


Ready

zc6kyA.jpg

vdEcAW.jpg
 

zathros

*****SENIOR ADMINISTRATOR*****
Staff member
Administrator
Moderator
This reminds me of walking down the assembly parts lines at Sikorsky Aircraft. These do not look like paper parts, they look like parts! :)
 
Top