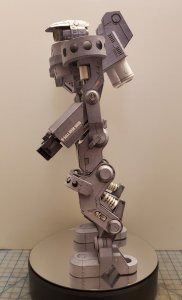
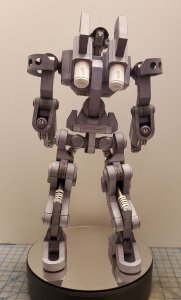
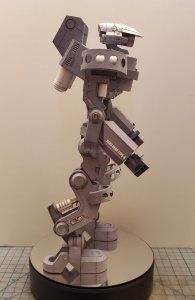
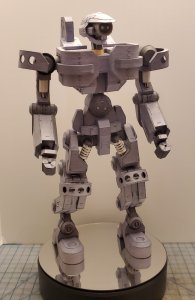
Lenshead Type B (CHARCOAL) (rebuild with greebles)
- Thread starter Rhaven Blaack
- Start date
You are using an out of date browser. It may not display this or other websites correctly.
You should upgrade or use an alternative browser.
You should upgrade or use an alternative browser.
- Apr 5, 2013
- 13,876
- 10,215
- 228
Thank you sir! The camouflage is even more complicated and detailed. There is going to be even more work involved in making that one, once I start on it.Man, this is one tough and superbly clean build!!
- Apr 5, 2013
- 13,876
- 10,215
- 228
Thank you sir. The more that I get into this hobby as a whole, the more I want to put as much detail and greebling into the model as I possibly can. So, with every part, I will look it over and (attempt to) determine how the detail and greebling should be. This model has really made me focus on the smallest of details and look at how detailing is done and how things work to achieve the level of "realism" in my models.You really took the time on each part and it shows!!
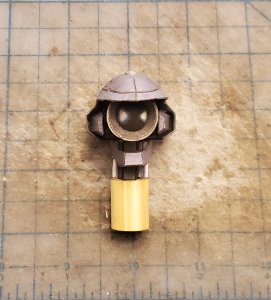
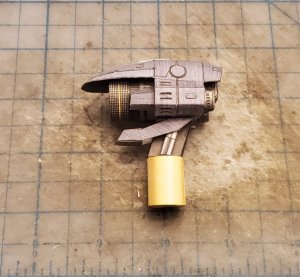
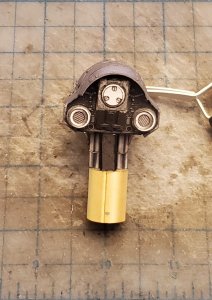
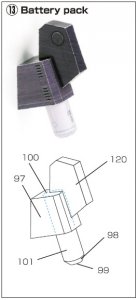
Here is section 12 (HEAD).
As you can see by the diagram, there are several components to it.
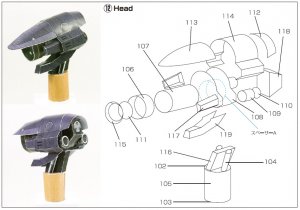
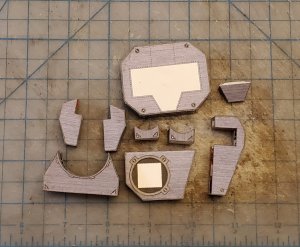
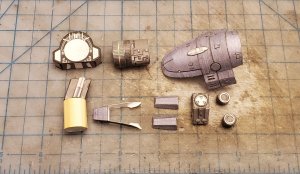
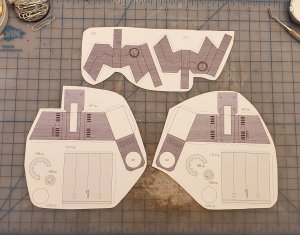
Here are all of the parts for the head as a whole.
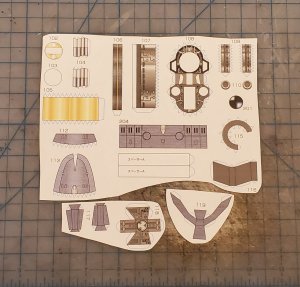
Starting with the components for the neck.
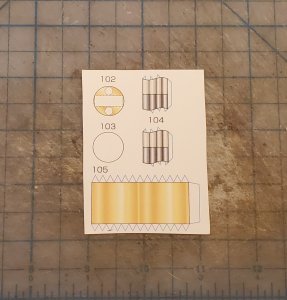
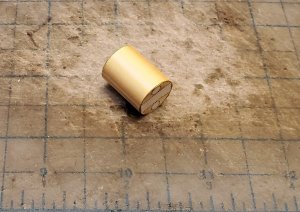
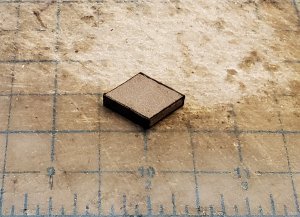
I laminated the center piece to the needed thickness of the component.
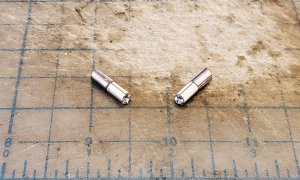
I raised the darker part to make the tubes to look more like a pneumatic actuator.
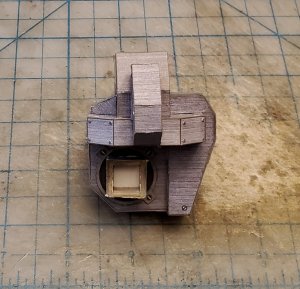
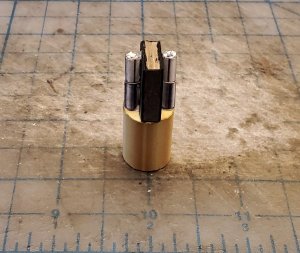
The neck it assembled.
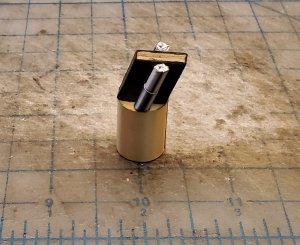
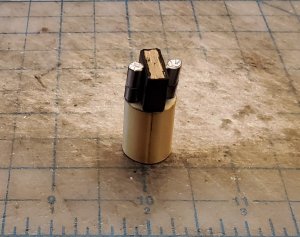
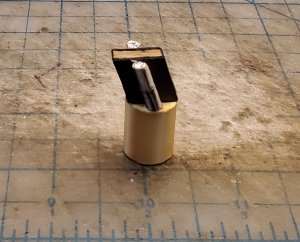
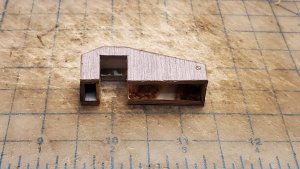
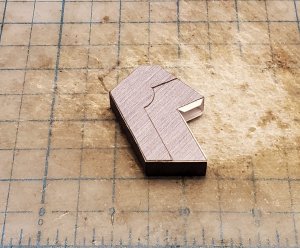
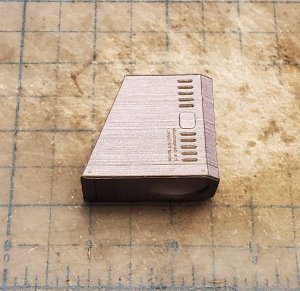
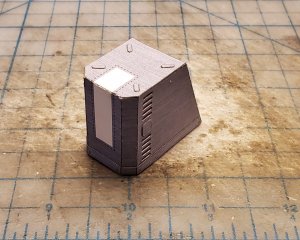
This is the maim component of the head.

I laminated the sides to the needed thickness of the component.
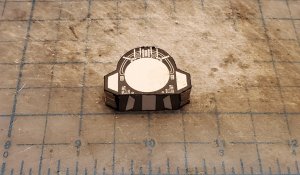
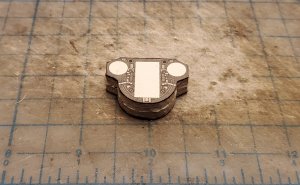
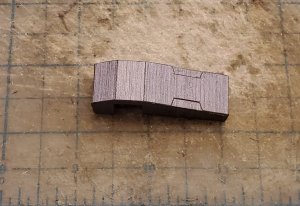
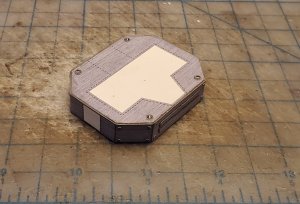
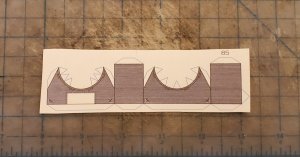
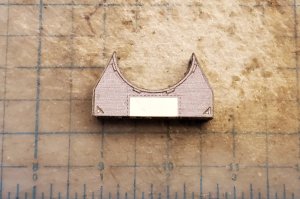
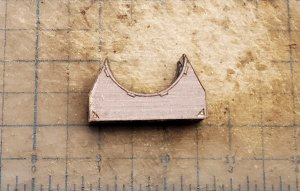
This is the part for the jaw/mandible.

The jaw/mandible is assembled.
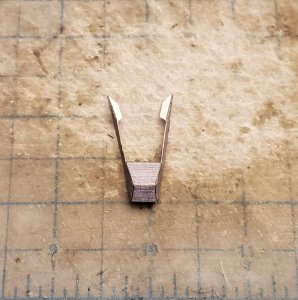
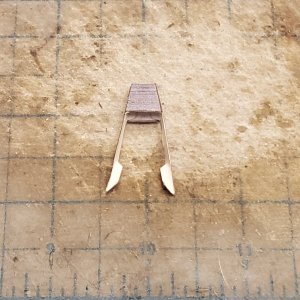
As you can see by the diagram, there are several components to it.

Here are all of the parts for the head as a whole.

Starting with the components for the neck.


I laminated the center piece to the needed thickness of the component.

I raised the darker part to make the tubes to look more like a pneumatic actuator.

The neck it assembled.


This is the maim component of the head.

I laminated the sides to the needed thickness of the component.


This is the part for the jaw/mandible.

The jaw/mandible is assembled.


Continuing on with the head.
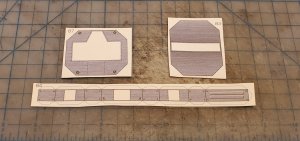
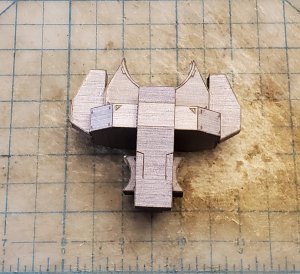
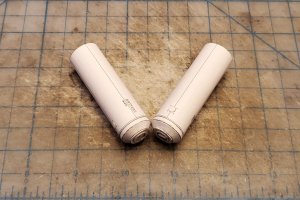
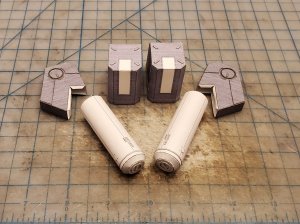
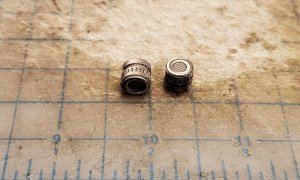
These are the parts for the tubes that go on the back of the head.
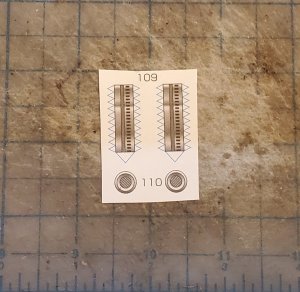
The tubes are assembled.
This part also goes on the back of the head (between the two tubes).
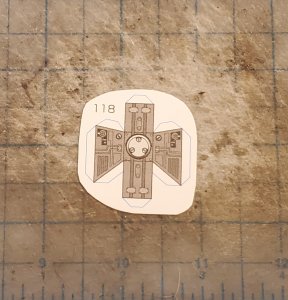
This component is assembled.
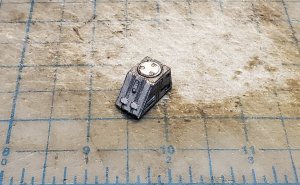
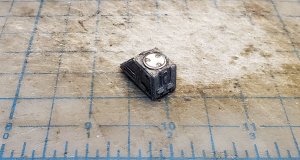
Now moving to the front of the head.
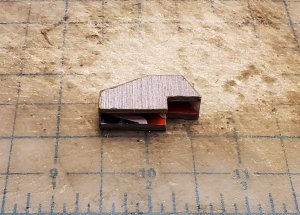
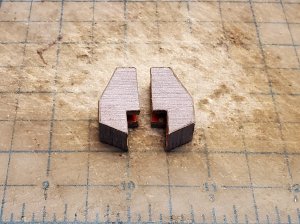
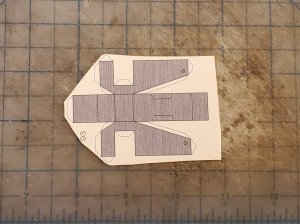
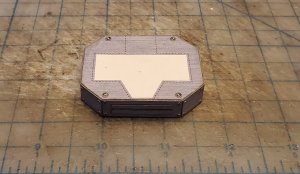
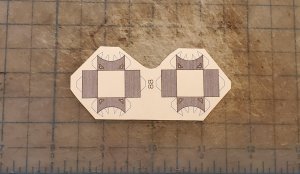
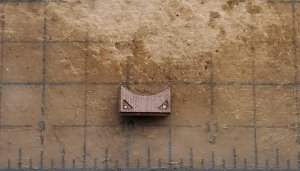
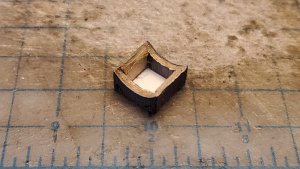
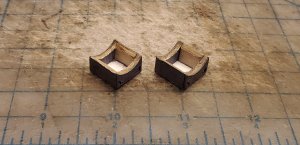
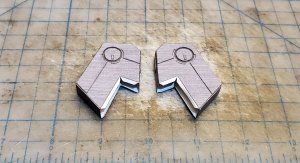
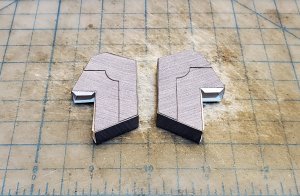
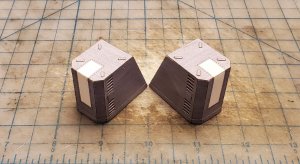
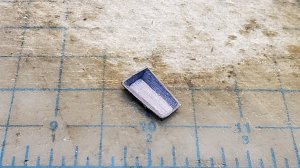
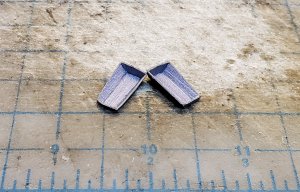
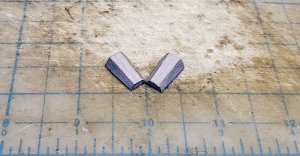
These parts go on either side of the lens.
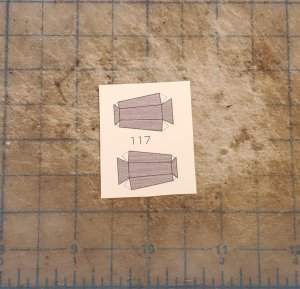
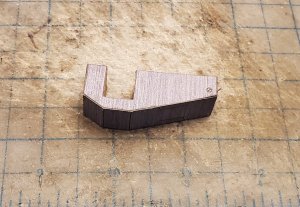
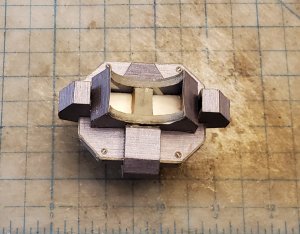
These side pieces are assembled.
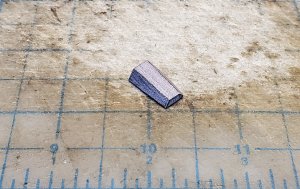
I decided to line the insides to make it look like the whole thing is metallic.
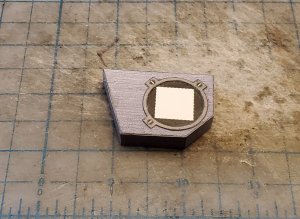
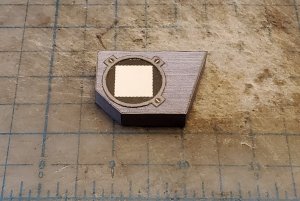
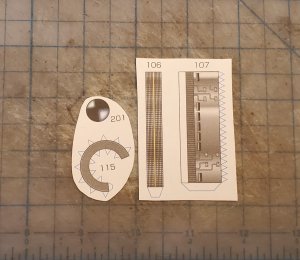
These are the parts for the lens.
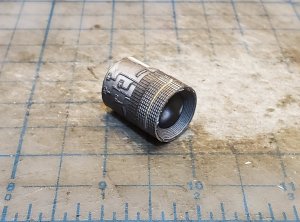
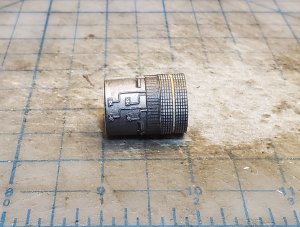
The lens is assembled. I raised the "wires" and "domed" the actual lens itself.
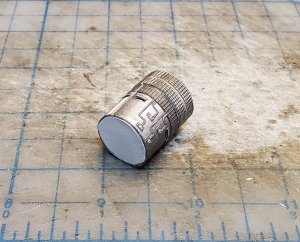
I laminated a disc to about 2mm to seal the back end and give the component more stability and rigidity.
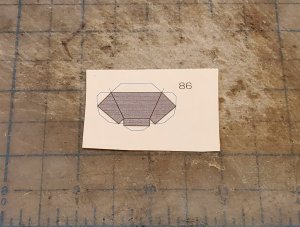
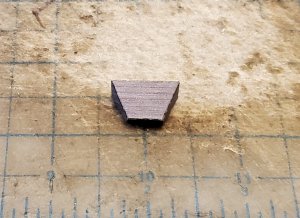
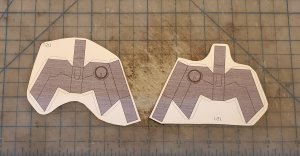
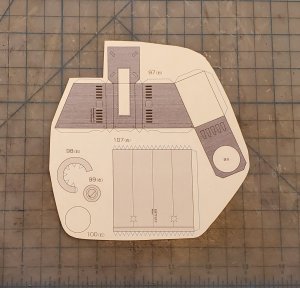
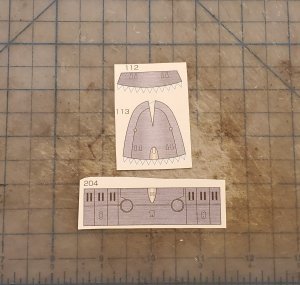
Here are the parts for the shroud for the head.
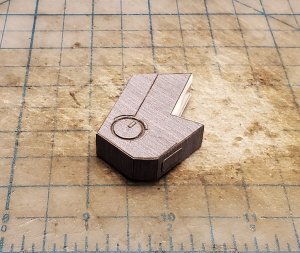
The shroud is assembled.
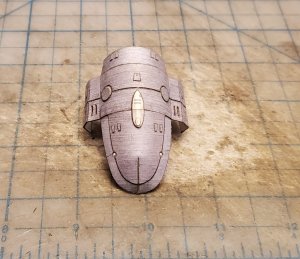
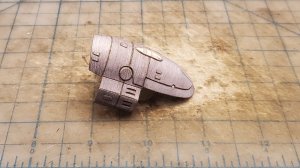
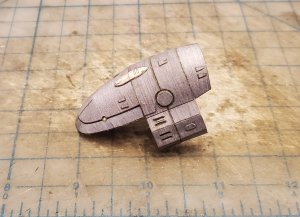
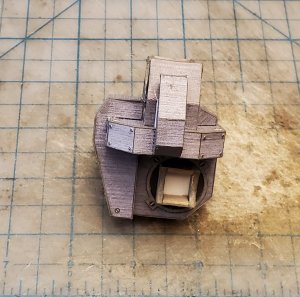
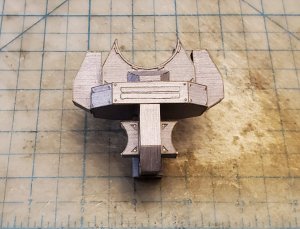
On to assembling all of the components together.
These are the parts for the tubes that go on the back of the head.

The tubes are assembled.

This part also goes on the back of the head (between the two tubes).

This component is assembled.


Now moving to the front of the head.
These parts go on either side of the lens.

These side pieces are assembled.

I decided to line the insides to make it look like the whole thing is metallic.


These are the parts for the lens.

The lens is assembled. I raised the "wires" and "domed" the actual lens itself.


I laminated a disc to about 2mm to seal the back end and give the component more stability and rigidity.

Here are the parts for the shroud for the head.

The shroud is assembled.


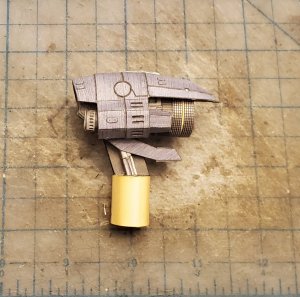
On to assembling all of the components together.
Thank you sir!!!that looks like a real lens to me... job well done
I'm speechless, it's really impressive
Not a deviation from sticking, respect
Not a deviation from sticking, respect
- Apr 5, 2013
- 13,876
- 10,215
- 228
I wish I knew the diameter of that lens, I might have one around. Another option would be getting U.V. hardened clear epoxy. It could be dropped on, and when hit with U.V. light would look like class. It dries perfectly clear. Home Depot has it, it's not very expensive, and fixes many things. It's holding my glasses together. Titanium frames, and rimless. I wound the wire of wire, and used the U.V> activated glue, instant fix. They were very expensive glasses. Kind of disappointed with the quality, but I did step on them by accident. It came out excellent!! 
I have some liquid that home crafters use to make jevelery. It is some kind of epoxy too. I use it to simulate glass and birds eyes
The lens is approximately 12mm. As for the U.V. hardened clear epoxy, I will have to look into that. Thank you for the tip!I wish I knew the diameter of that lens, I might have one around. Another option would be getting U.V. hardened clear epoxy. It could be dropped on, and when hit with U.V. light would look like class. It dries perfectly clear. Home Depot has it, it's not very expensive, and fixes many things. It's holding my glasses together. Titanium frames, and rimless. I wound the wire of wire, and used the U.V> activated glue, instant fix. They were very expensive glasses. Kind of disappointed with the quality, but I did step on them by accident. It came out excellent!!


