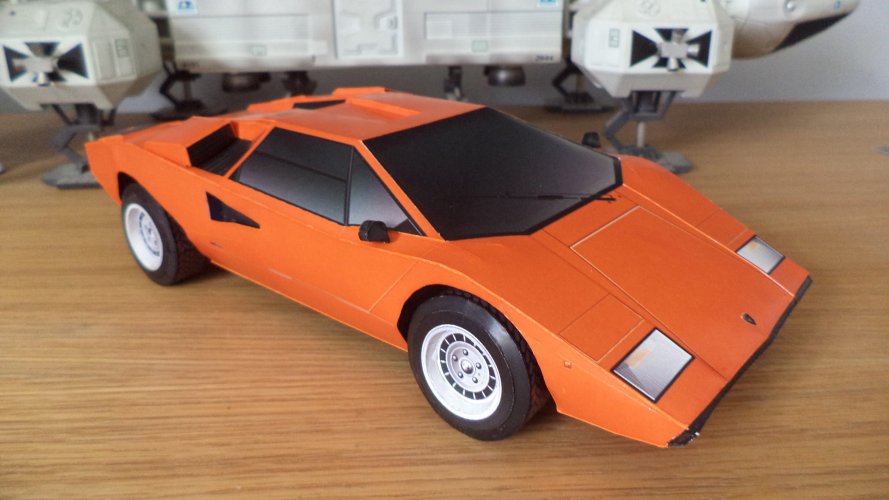
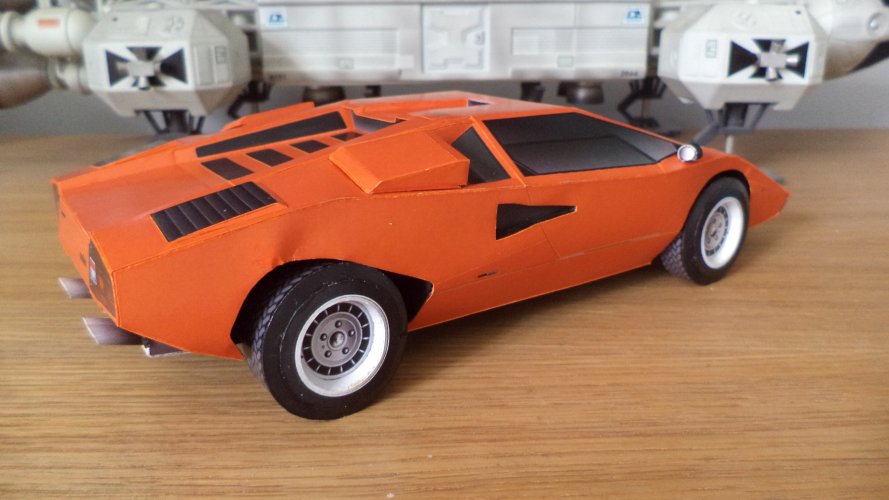
Lamborghini Countach - A simple build

Chuffy70

Well-Known Member
Jun 5, 2022
842
1,708
75
Norwich UK
As a kid my brother Dale had his cabinet full of spaceships, but in the midst of them all was this lone car - The Lamborghini Countach.

Its sublime and futuristic design stuck with me all through my childhood and whenever possible I would buy Matchbox and other toy cars of this beautiful automobile.

I have never made a model of the Countach before, so I thought as a little side project from my main builds I would give this a spin.

This is not a tutorial on this build, but my take on how I did it, some parts of this build are not photographed, but hopefully they will give you a better idea on how it looks than the website. - There are pictures on the site its from, but believe me they lack any informative instruction.
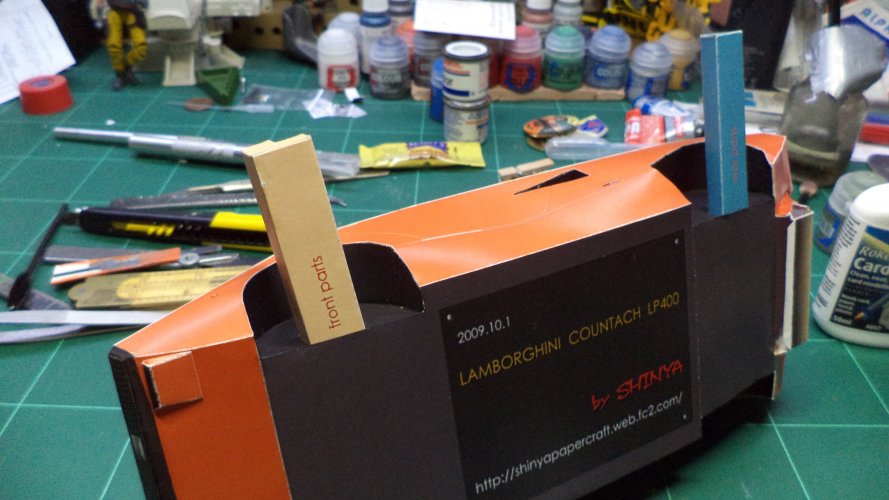
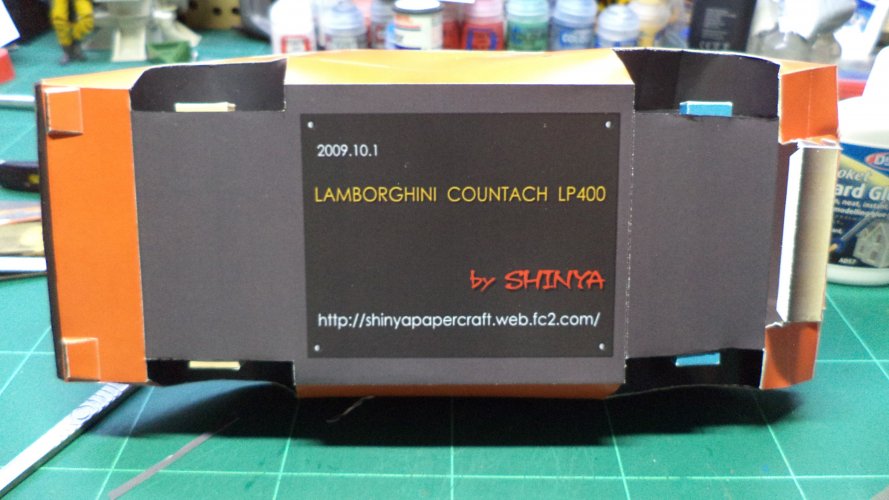
***MODEL DESIGNER AND WEBSITE ON THE CHASSIS***


Meet the Parts - Just two sheets - as per my usual, I had these blown up onto A3 paper
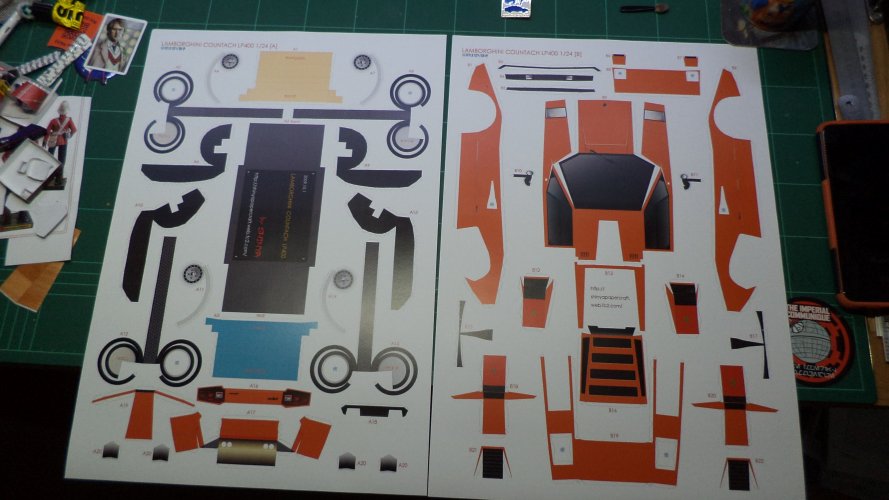
DSC02536.JPG

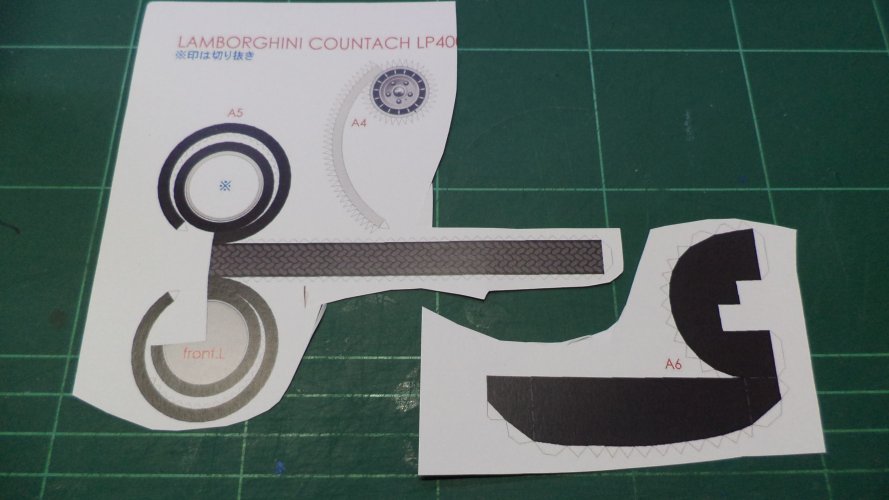
Simple parts first - floor pan and oddly coloured axles
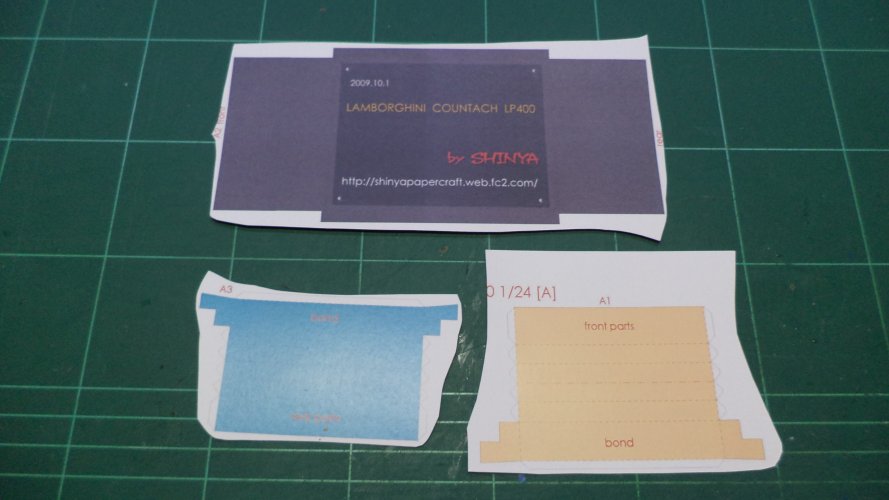
DSC02538.JPG

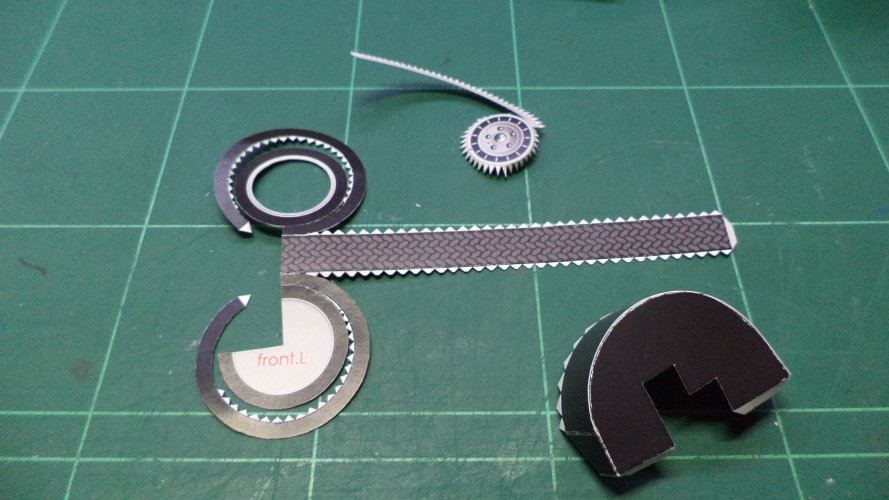
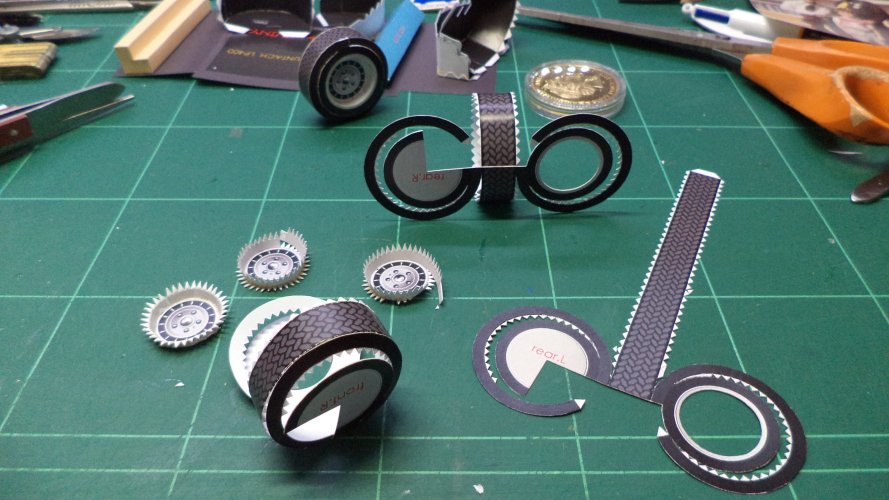
Tyres and wheel arch
DSC02539.JPG
DSC02540.JPG

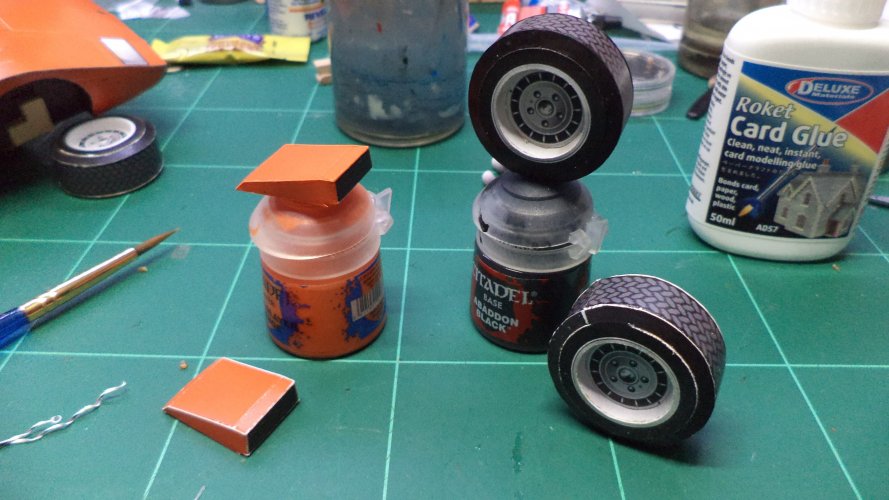
Tyres and the inside wheel hub were fairly easy, but I hate anything round, best to do these first and get them out of the way!
DSC02541.JPG

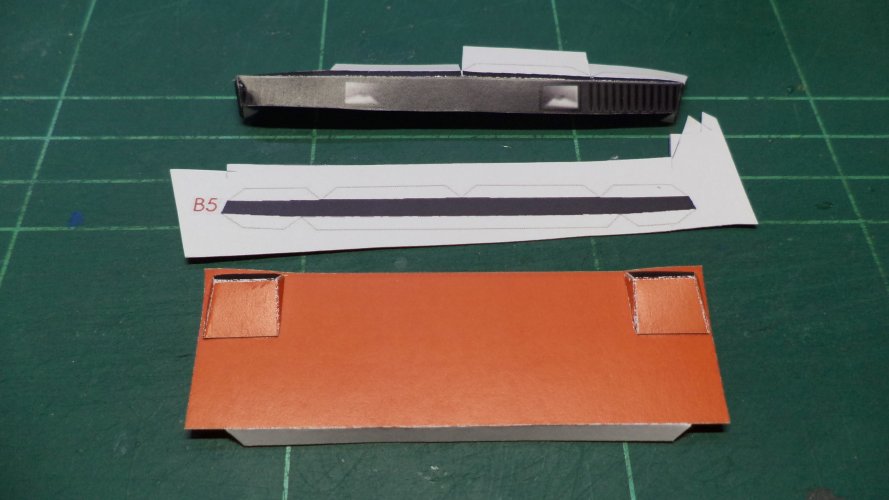
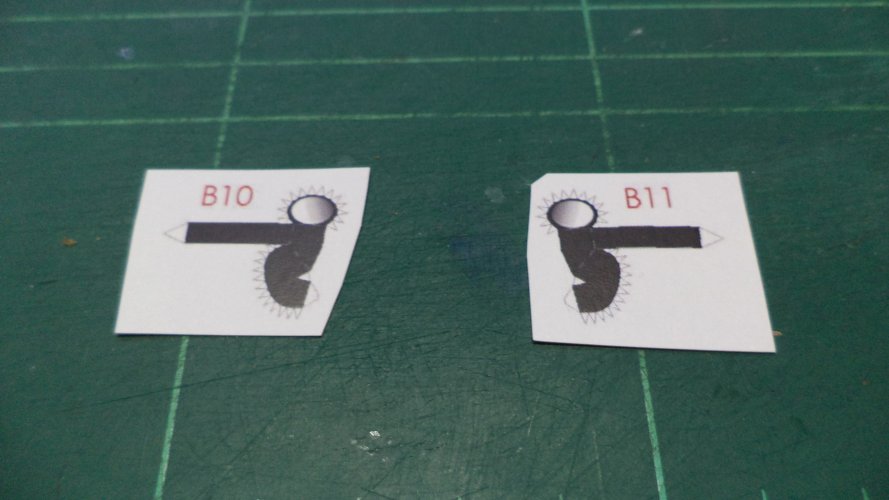
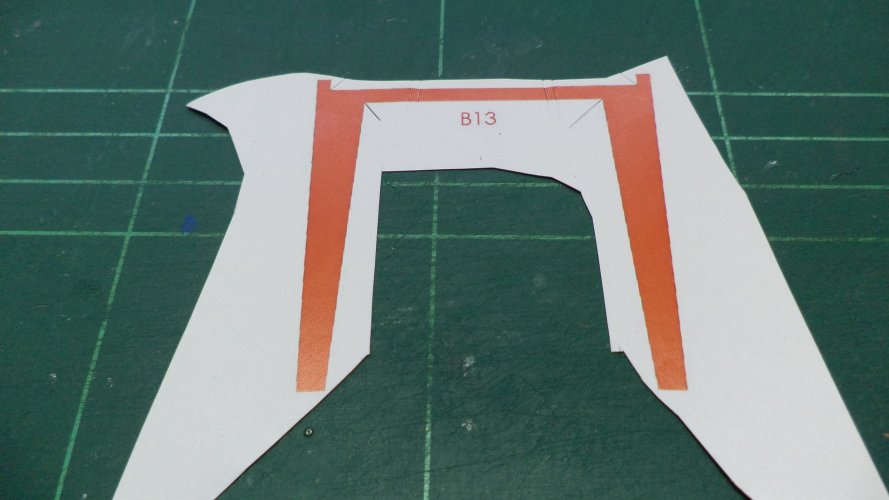
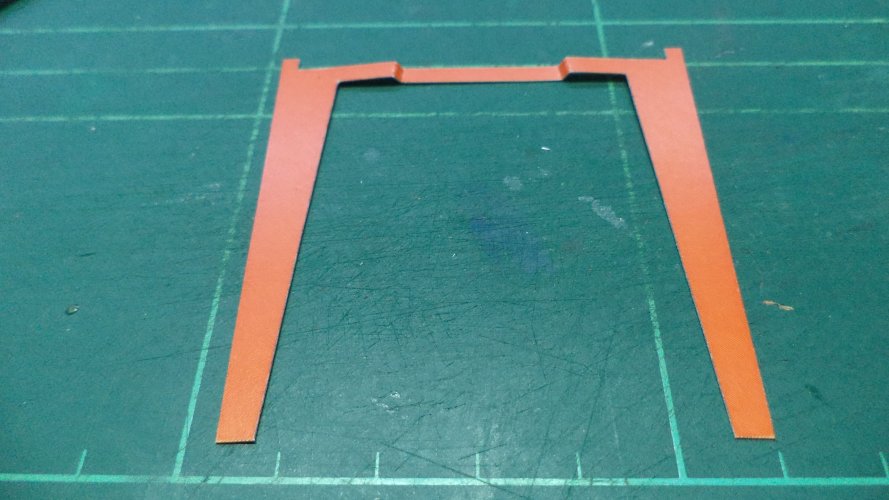
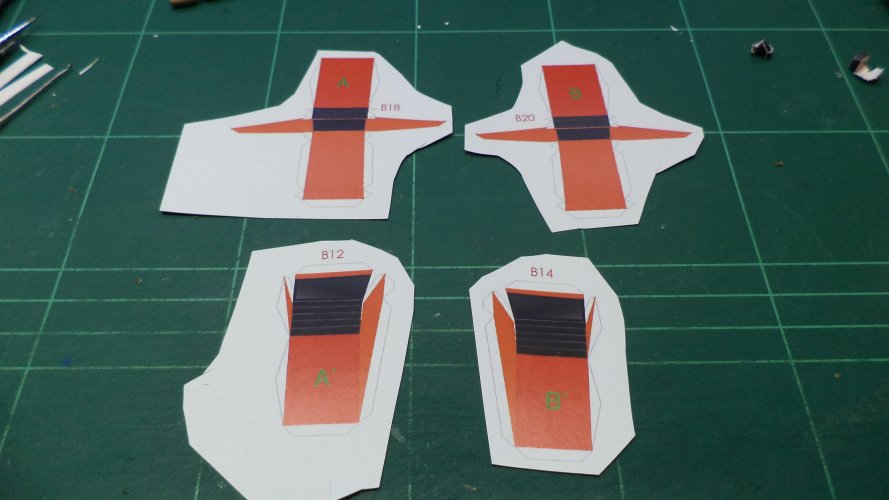
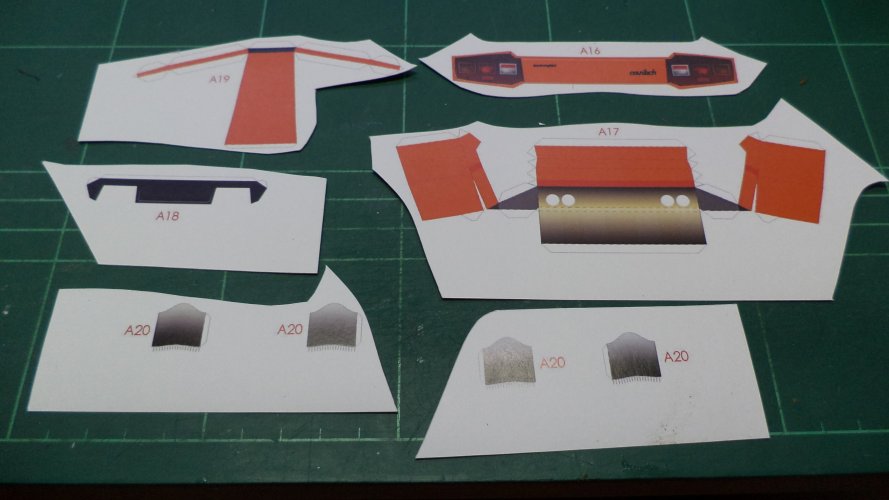
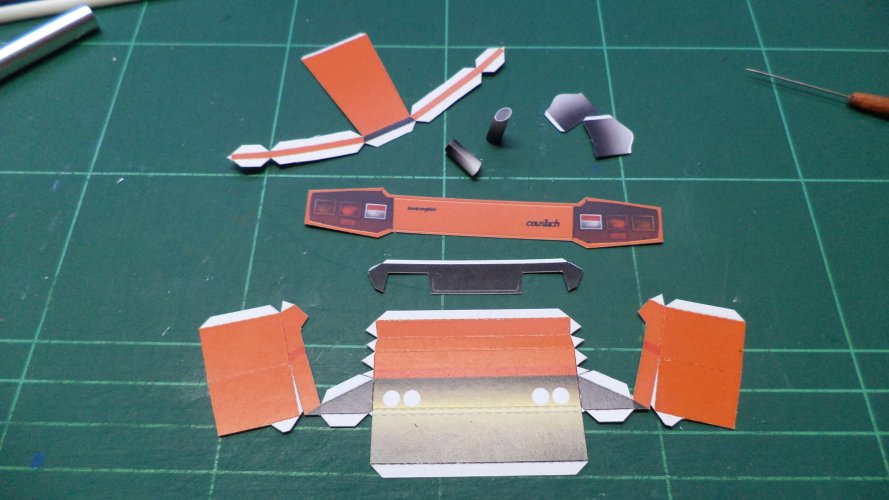
Middle top roof section, rear light cluster, rear underside, exhaust shroud and exhausts
DSC02542.JPG

The middle roof section was easy, also the little exhausts - the rear undersection was an absolute nightmare! More on that later
DSC02543.JPG

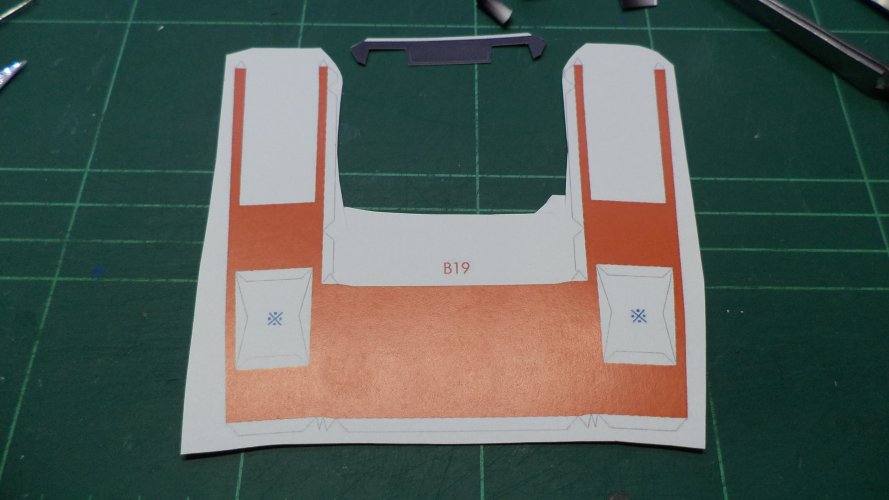
Upper rear back plate
DSC02544.JPG

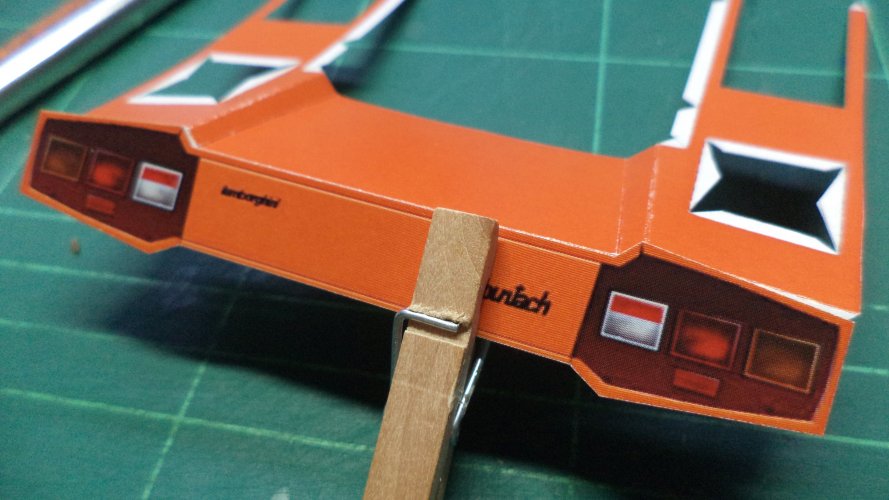
With no idea where to start on the body, I plumped for attaching the rear lights panel to the upper rear deck - held with a peg to ensure everything lined up I glued from the middle outwards
DSC02545.JPG

Rear engine cover
DSC02546.JPG

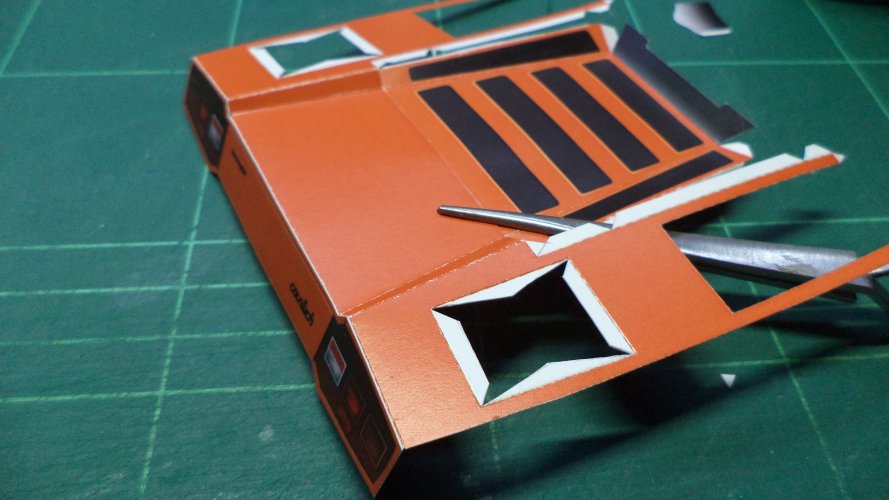
With some careful dry fitting I added the bottom of the rear engine cover to the rear section
DSC02547.JPG

MORE ITALIAN AUTOMOTIVE FUN TO FOLLOW SOON....
 

Revell-Fan

Co-Administrator
Staff member
Administrator
Moderator
Aug 1, 2009
11,613
12,353
228
Vreden
Cool stuff! I'm looking forward to seeing the "troubled areas". :)
 

Chuffy70

Well-Known Member
Jun 5, 2022
842
1,708
75
Norwich UK

Chuffy70

Well-Known Member
Jun 5, 2022
842
1,708
75
Norwich UK
Righty, lets plow onwards...
As I had started without any reference, like a fool I thought I knew every inch of this car, but the mind can't quite remember everything!
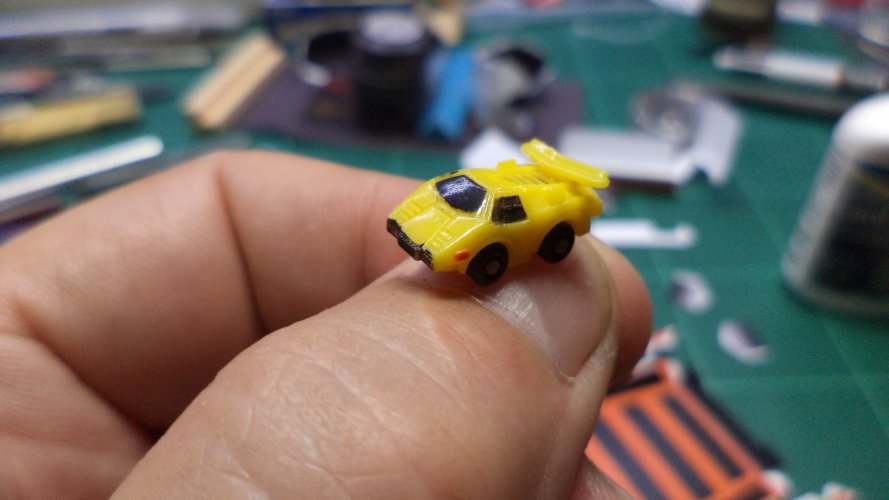
So a quick search trough my stored boxes, I found this little gem - a tiny Countach.
Not much use, but a least I found all my toy Lambo's

DSC02548.JPG

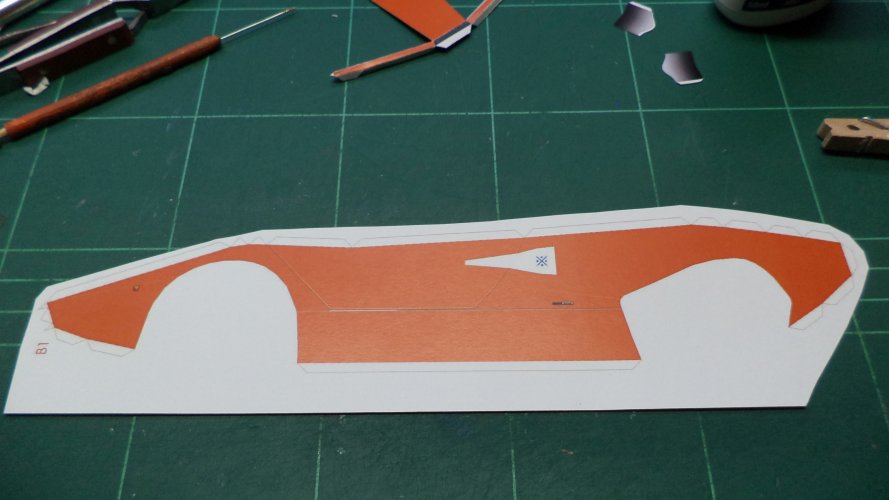
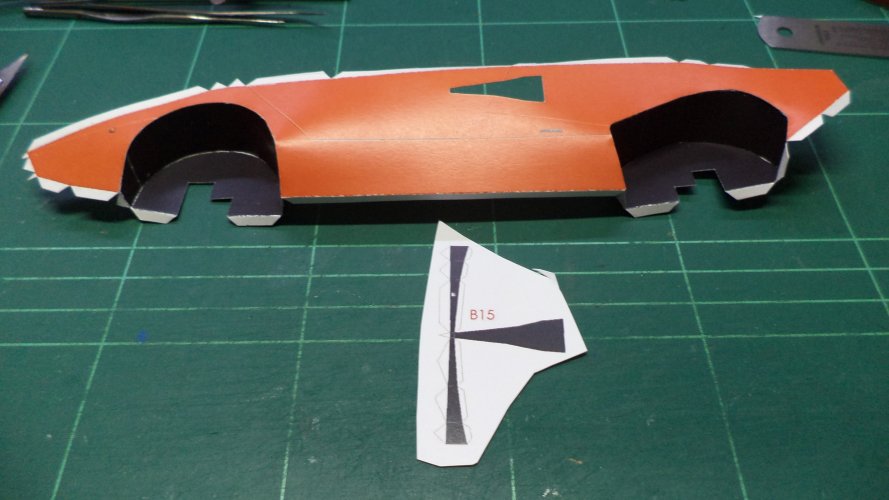
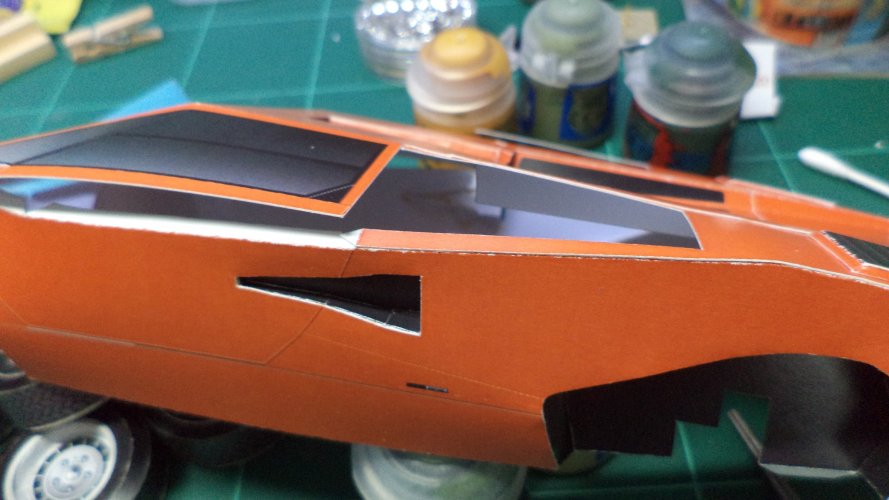
The sides are a simple affair, but the fold lines on this print are almost impossible to see.

DSC02549.JPG

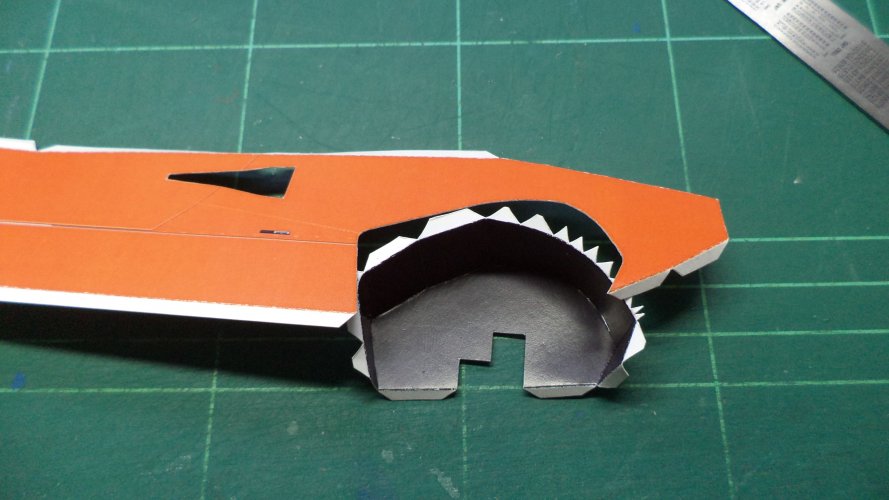
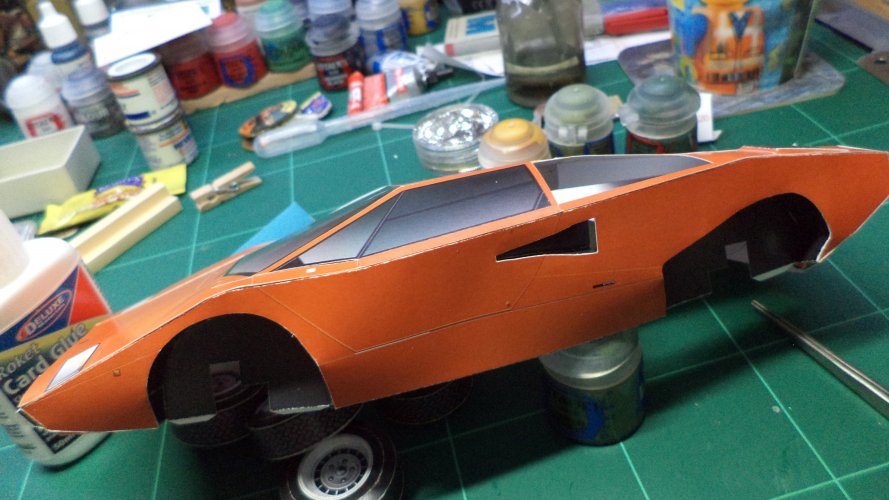
Wheel bays are a simple affair and fitted without any issues.
DSC02550.JPG

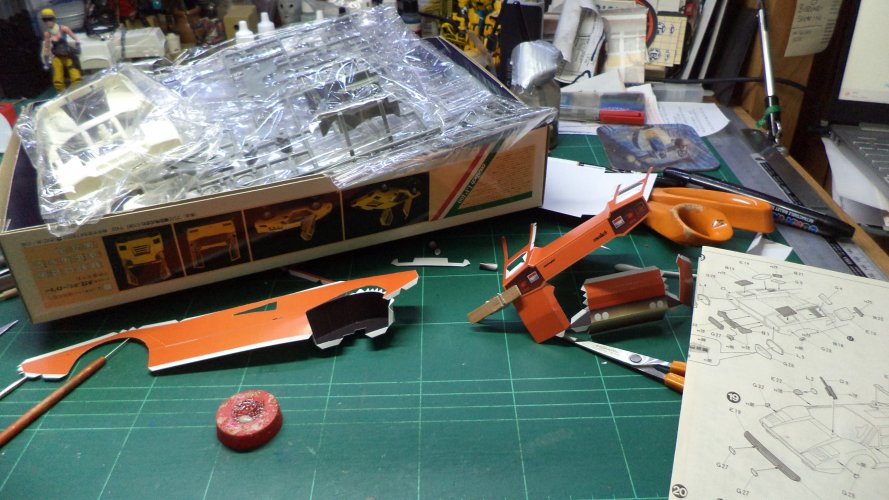
A call to my brother Dale, and I asked if he could find my old model kits at the old' homestead.
Two un-built Fujimi Lamborghini's were brought round - these were very detailed kits for their day and much better reference than I could find on the web - plus all my Lambo books were too heavy for my brother to carry, must make an effort to go and collect them!

DSC02551.JPG

DSC02552.JPG
DSC02553.JPG

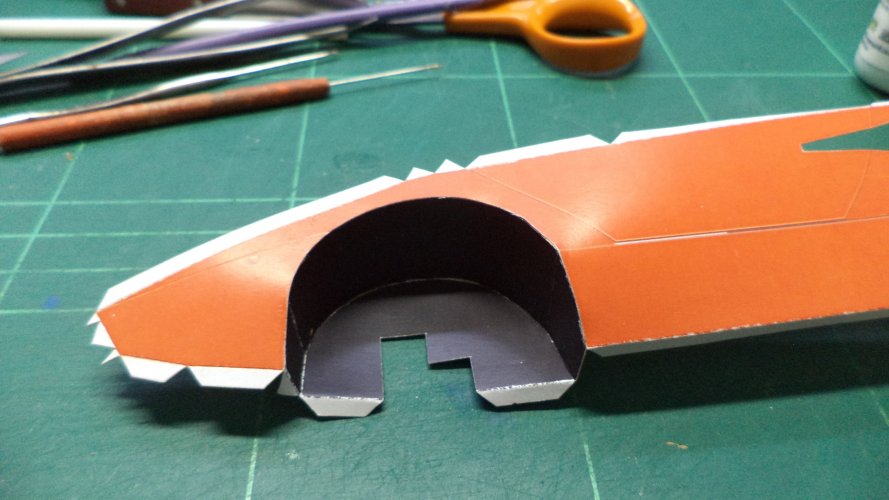
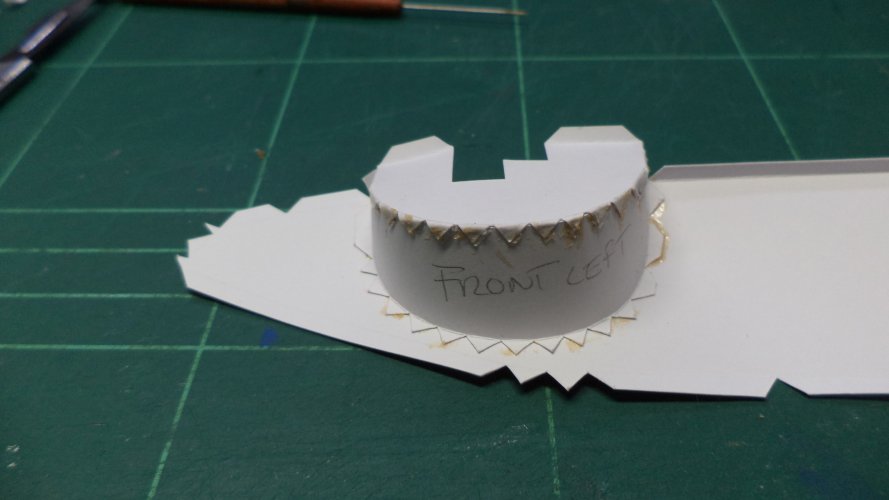
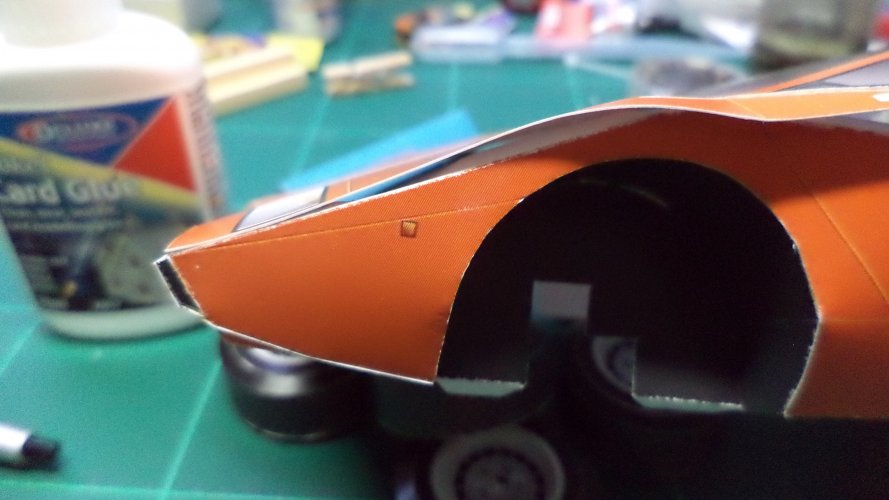
The front wheel-wells went in nicely too
DSC02554.JPG
DSC02555.JPG

One side with both bays in, it was time to put the door opening in.
DSC02556.JPG

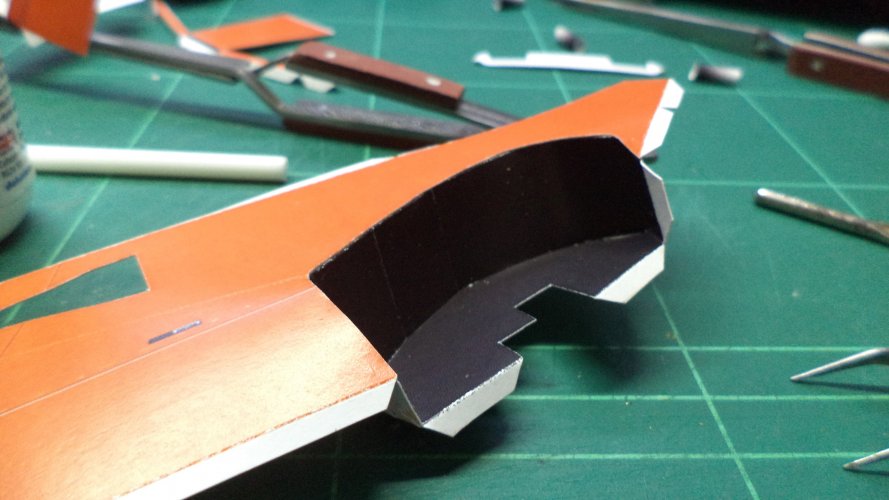
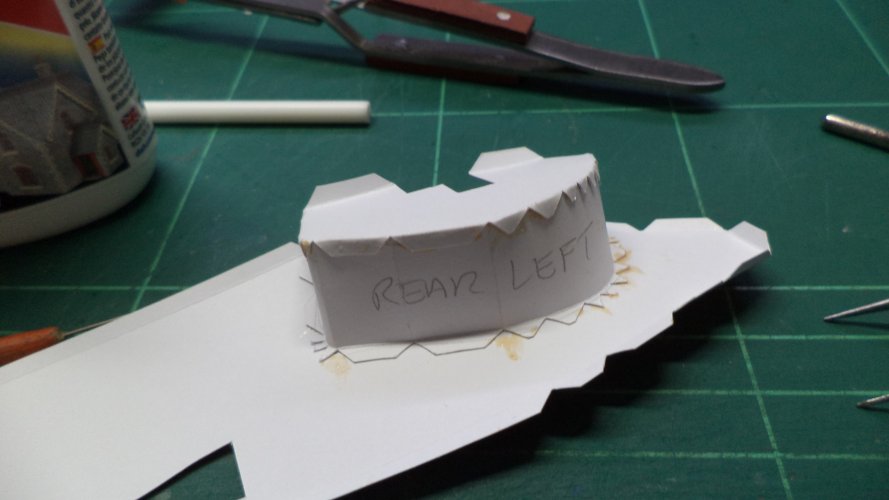
Back-end madness Part 1 - I must have folded, glued - un-glued and folded it inside and out, but I just couldn't get it to fit.
S with large amount of swearing, I just thought bollocks to it glued in the best I could... We'll see how this turns out later!
DSC02557.JPG

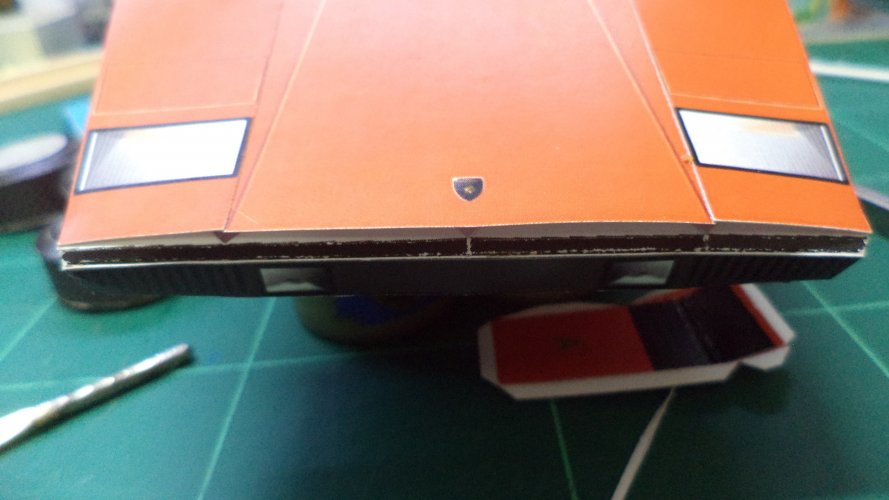
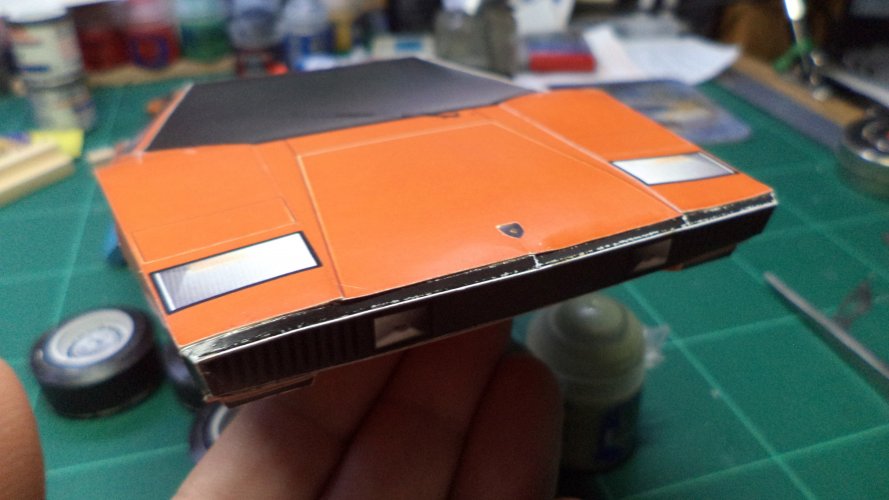
Front bumper parts, and the under-nose section
DSC02558.JPG

The little air vents fitted nicely
DSC02559.JPG

Top, middle and bottom
DSC02560.JPG

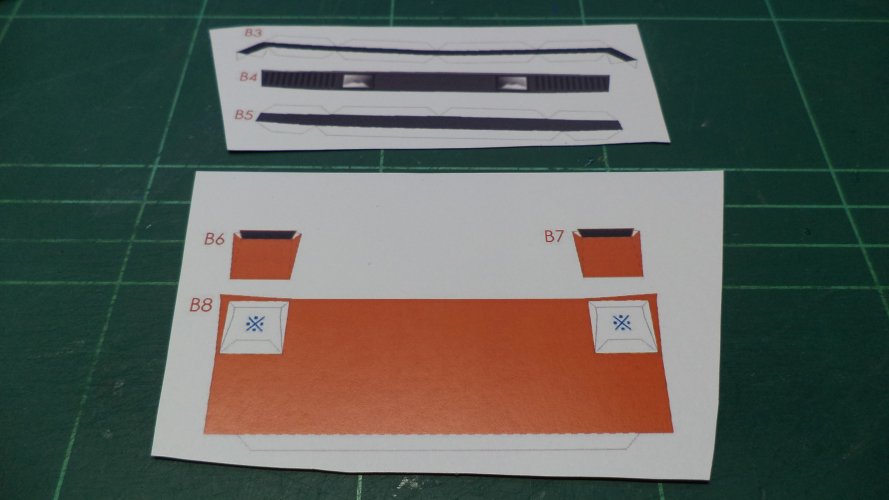
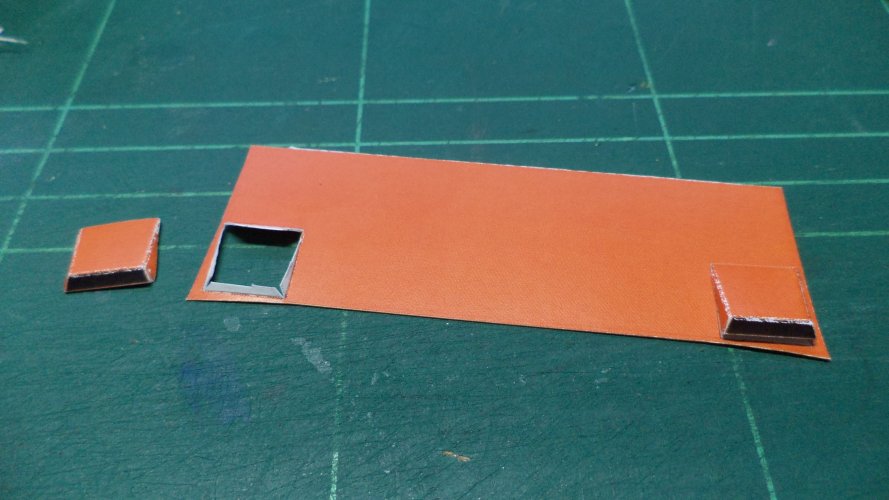
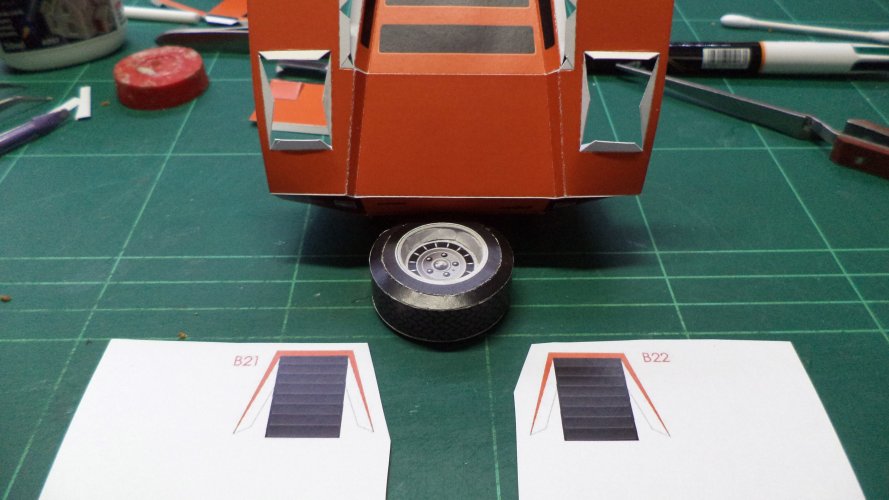
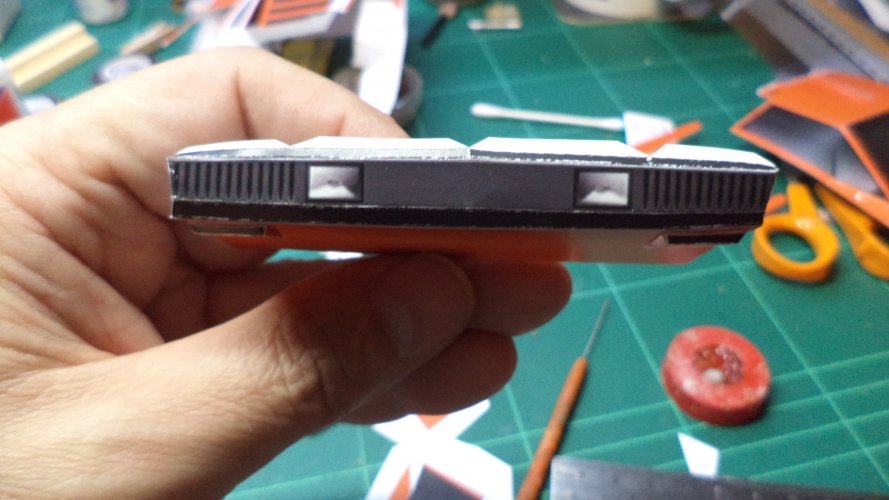
Rear vents, these fitted nicely too, just like the front underside ones
DSC02561.JPG
DSC02562.JPG

...AND THAT MY FRIENDS IS IT FOR TODAY...
TUNE IN AGAIN TOMMORROW FOR MORE CAR-NAGE!
 
Last edited:

Chuffy70

Well-Known Member
Jun 5, 2022
842
1,708
75
Norwich UK
Onwards Supercar lovers!

More head scratching on the rear underside, resulted in frequent swear words, but no-one will see it other than a few of you guys, so I just joined the lefthand side to the rear wheel arch.

DSC02563.JPG

Wing mirrors, crease fold and done (no pics-sorry!_
DSC02564.JPG

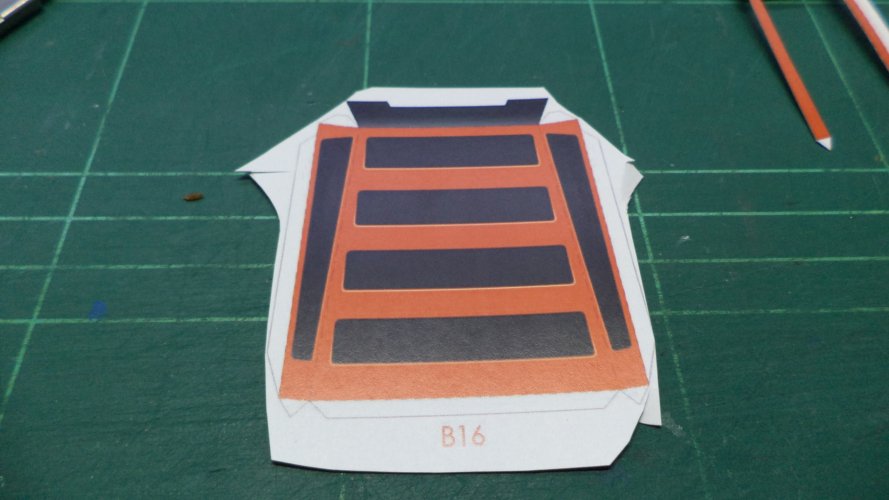
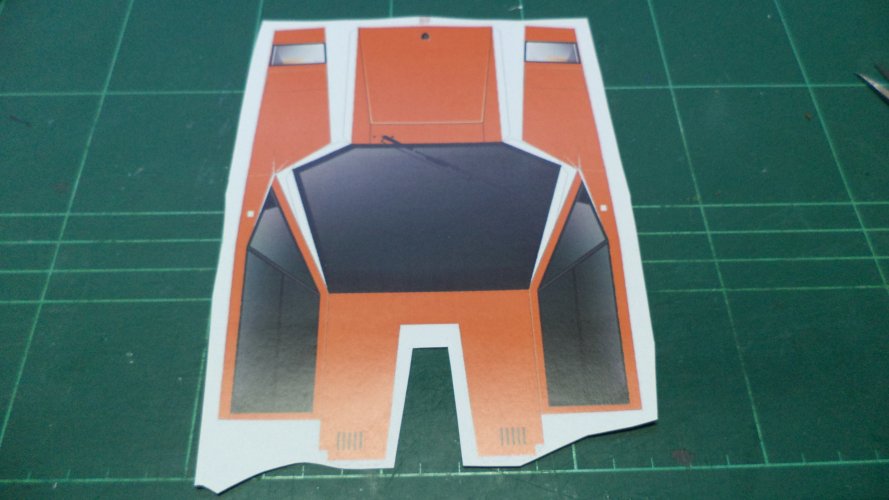
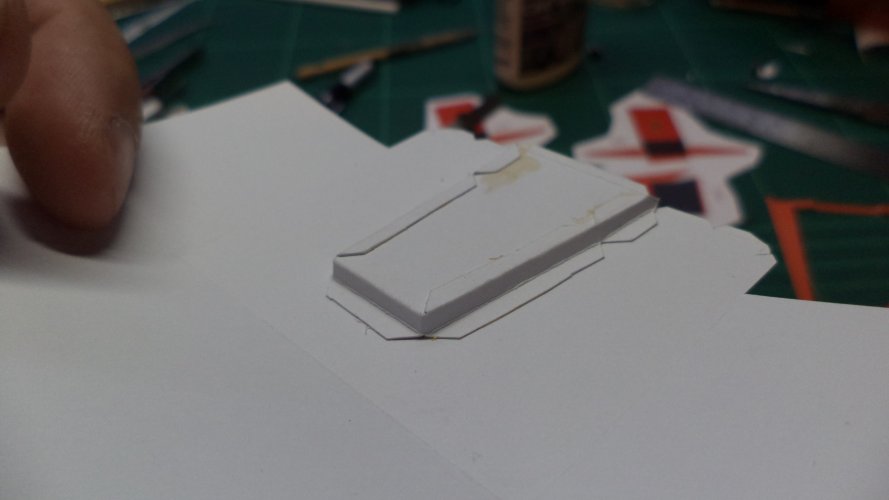
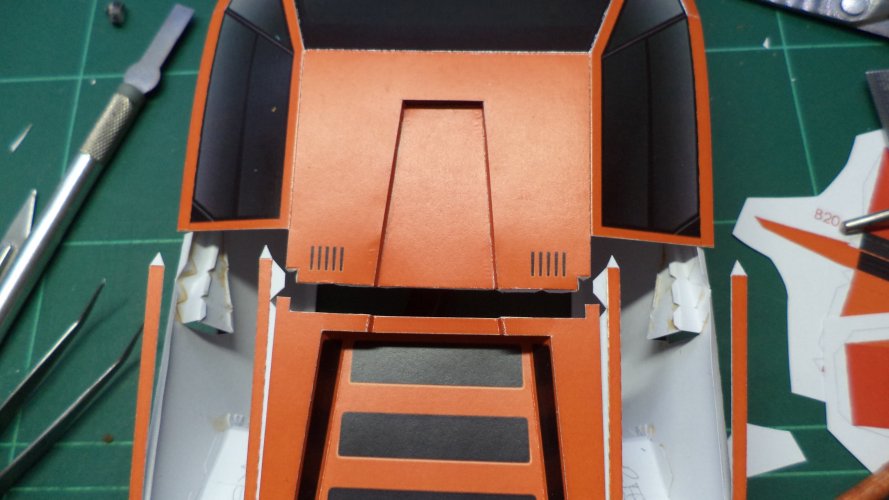
Top half of the engine cover

DSC02565.JPG

Cut and creased
DSC02566.JPG

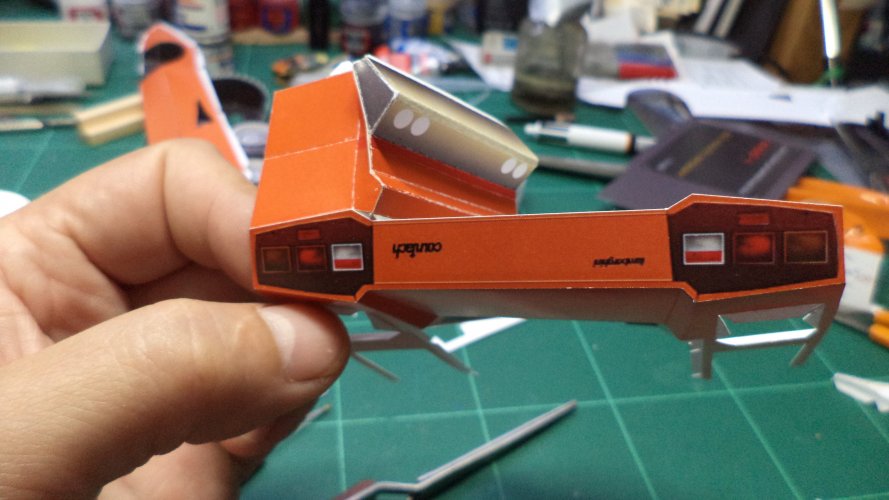
Rear air intakes an quarter panel windows
DSC02568.JPG

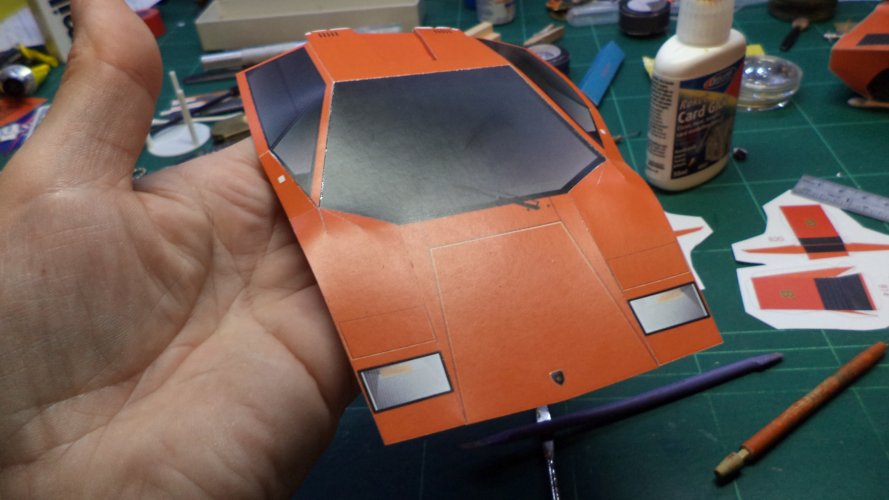
Front half upper - careful to pick out crease marks.
DSC02567.JPG

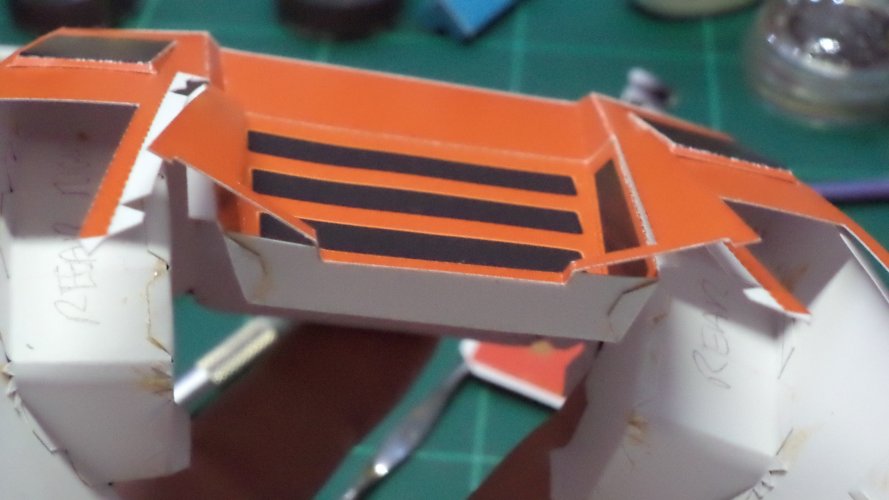
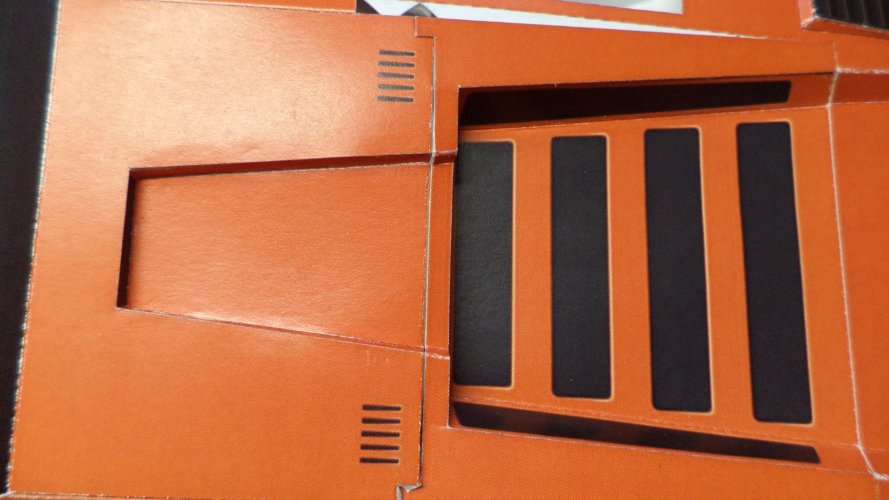
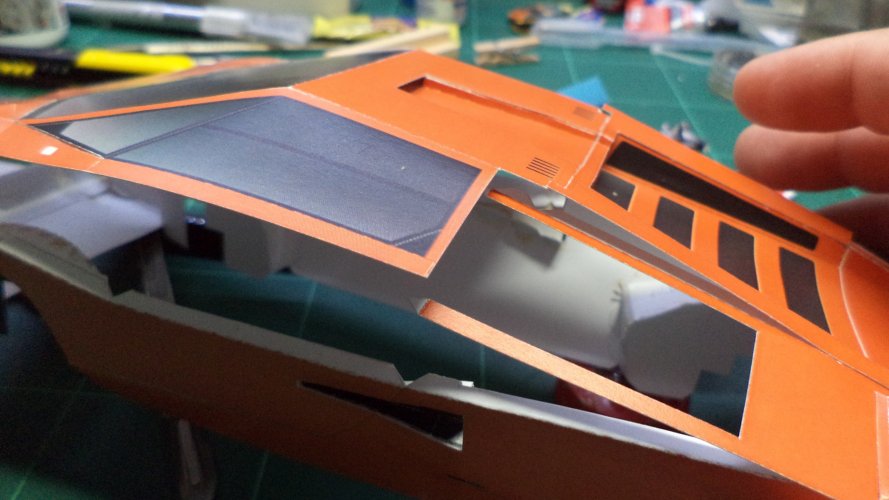
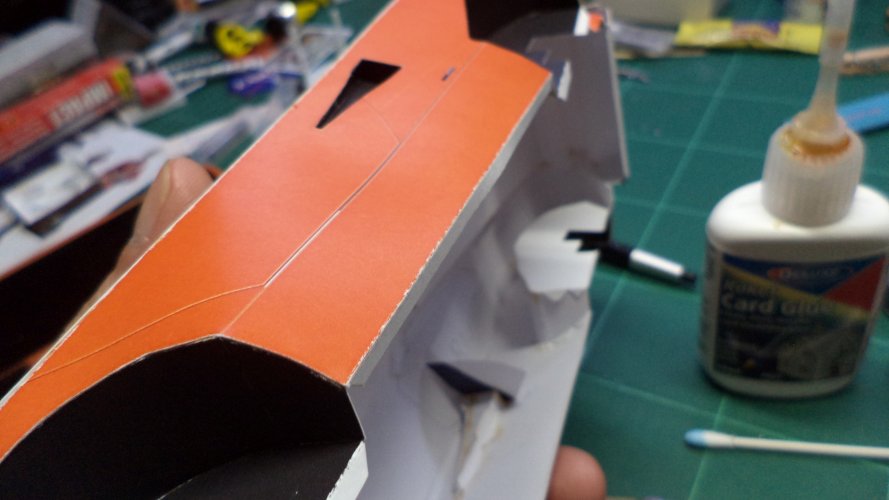
Top recessed roof panel, for those who don't know - the black square represents the rear view periscope as it was called.
DSC02574.JPG

Front half formed, and looks not too bad...
DSC02573.JPG

Front underside, spacer and light section complete.
DSC02572.JPG

Underside of roof
DSC02575.JPG

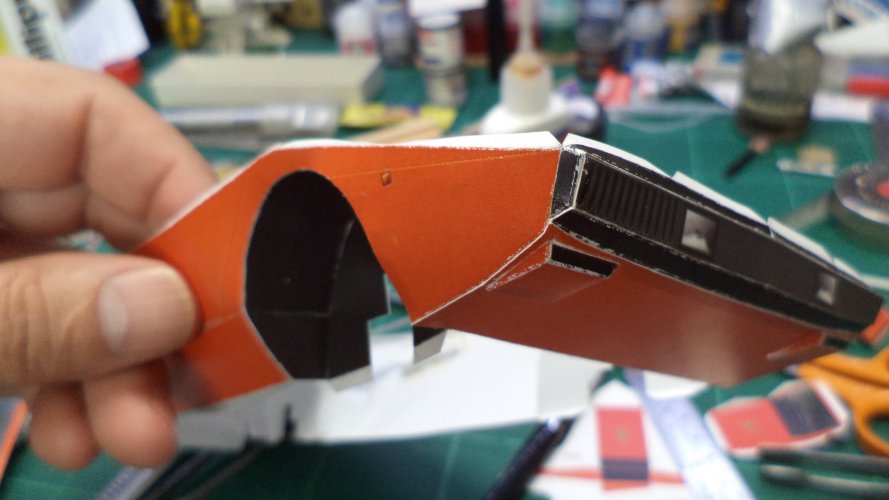
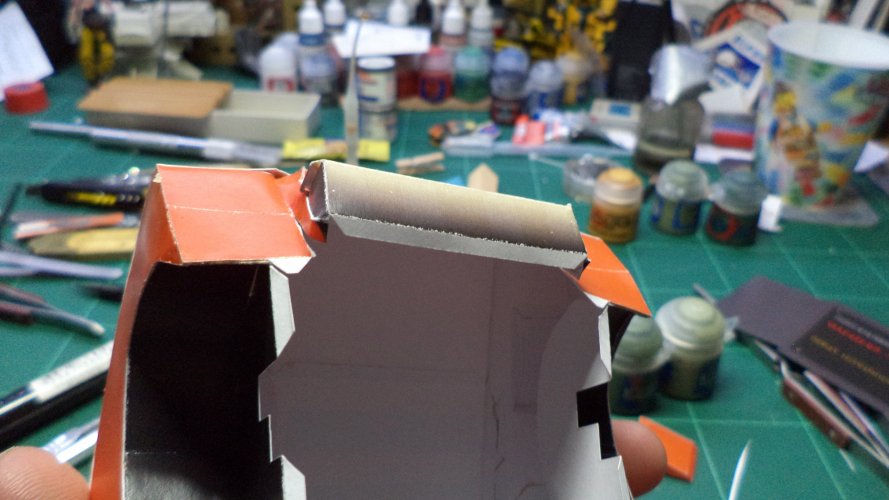
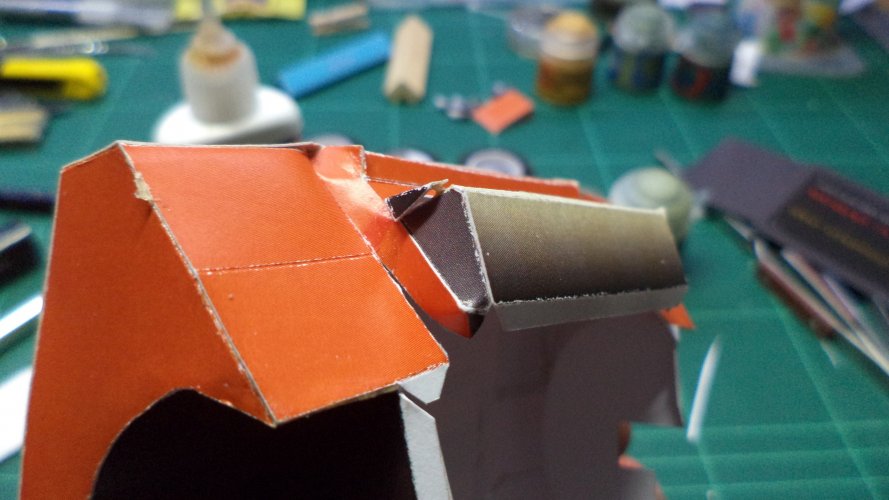
Top part of engine cover added to the leading edge front of the leading edge
DSC02576.JPG

Underside/front spotlights added to sides
DSC02578.JPG

Underside front assembly fitted
DSC02579.JPG

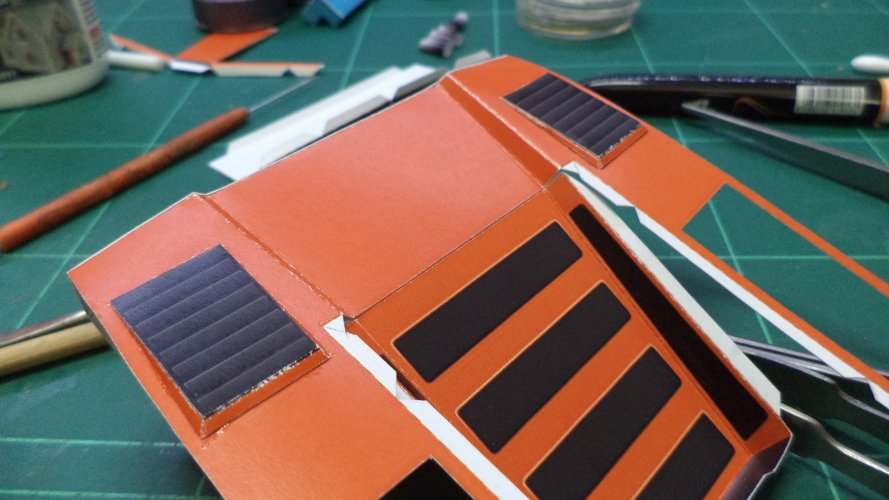
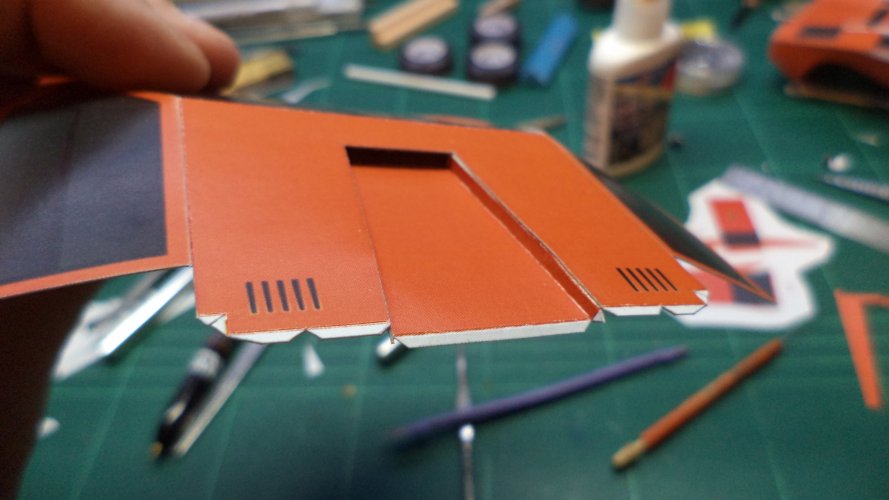
Engine top cover fitted at this moment to the four black slatted cover first, then onto the body parts.
DSC02580.JPG

Test fit to so how things are lining up - all was within 0.5mm, which was acceptable to me
DSC02581.JPG

ALL FOR NOW, MORE BULL LATER...
 
Last edited:

zathros

*****SENIOR ADMINISTRATOR*****
Staff member
Administrator
Moderator
Apr 5, 2013
13,498
9,549
228
Get some Black paper and follow the shape of the Windshield Wiper, and fabricate one. It will add much to the car without much effort. ;)
 
  • Like
Reactions: Chuffy70

Chuffy70

Well-Known Member
Jun 5, 2022
842
1,708
75
Norwich UK
Great job my friend.
Many thanks, always appreciated :)
You are doing a great job on this project!
The only advice that I could give, would be to paint the edges to match the colour of the parts, prior to assembly. This will give a more "finished" look.
When I build models just for myself and ones I have never built before I tend to paint my seams/parts at the end of the build - if they are for friends or family a more professional approach is taken, which I'll do them as I go along.
Constructive help always welcome R.B, but all is in hand my dear fellow. ;)

Get some Black paper and follow the shape of the Windshield Wiper, and fabricate one. It will add much to the car without much effort. ;)
Duly noted Zathros, I'm not putting that 'much effort' into this, if I do another one (the Miura looks tasty) then I will consider some laminations & pimping :cool:
 

Chuffy70

Well-Known Member
Jun 5, 2022
842
1,708
75
Norwich UK
Racing along with another installment

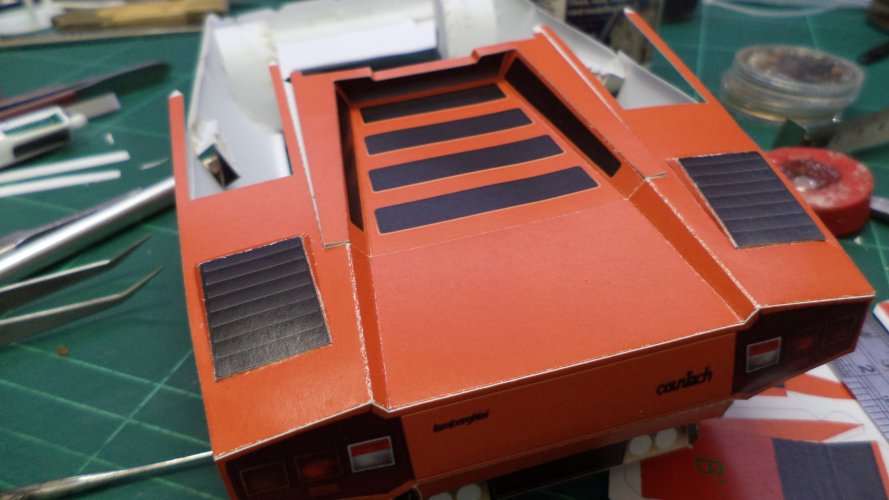
The top of the engine cover mated very well to the roof section, nice and clean.

DSC02582.JPG

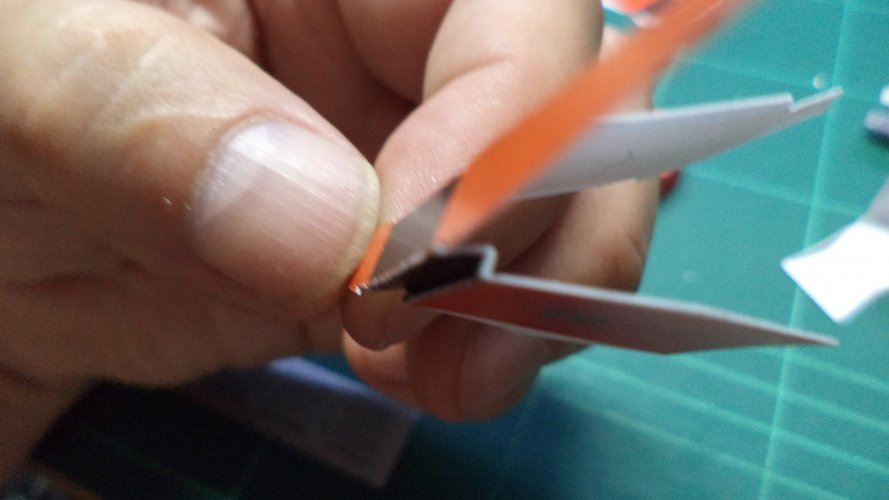
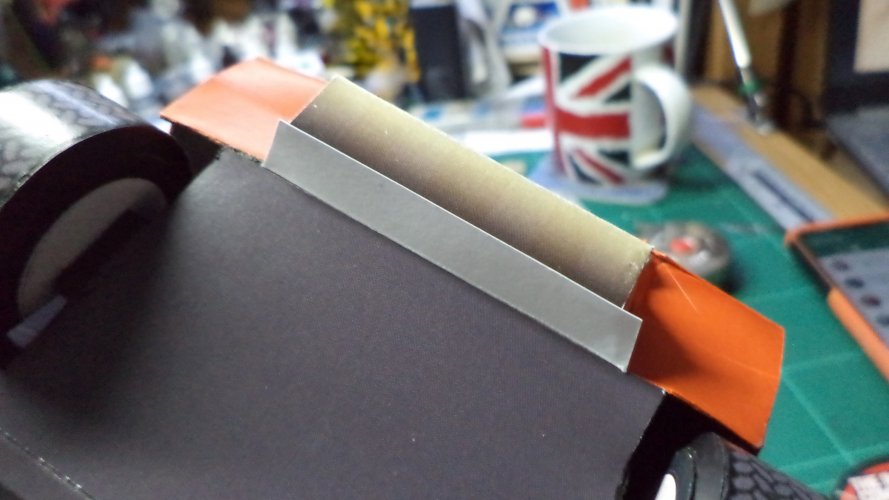
The back side pod air intakes required a double bend, zig zag if you will.
DSC02583.JPG
DSC02584.JPG

For gluing the top of the body work down there was no order given, multiple dry runs were made and the decision was as you have seen - mount the engine cover to the roof section, then work along the edges.
DSC02585.JPG

Working from the back to the middle, I stopped short, just above the door handle
DSC02586.JPG

Next was to work from the front of the car and meet at the middle where I had stopped previously,
DSC02587.JPG

The result was pleasing to my eyes, very impressed it went so smoothly.
DSC02588.JPG

Front of the car was next up
DSC02590.JPG

A couple of little issues, but nothing I'm fussed with, job done
DSC02592.JPG

The roof seam, with skinny strips either side of the rear vents all fitted together and the quarter panel window with lower vent were fitted from underneath
(*NOTE I HAVE LEFT THE BOTTOM PANEL/CHASSIS OFF - AS THIS WILL BE THE LAST PIECE TO ADD)

DSC02593.JPG
DSC02591.JPG
DSC02594.JPG

UNTIL TOMMOROW, WHERE WE WILL CANNONBALL INTO ANOTHER SESSION
 

Chuffy70

Well-Known Member
Jun 5, 2022
842
1,708
75
Norwich UK
Well, we are on the home straight here to a somewhat so-so finish, but enough of that misery, read on.

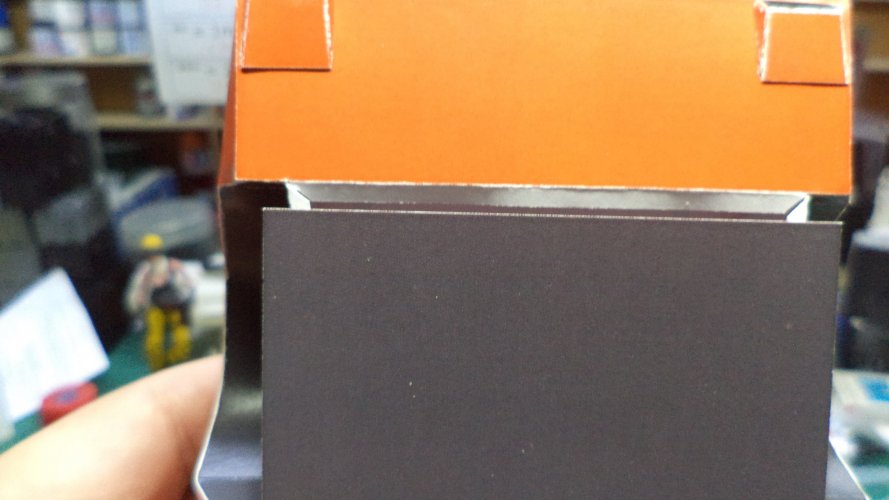
The doors have no ends to them, So rather than paint the inside black, I just blanked them off.
DSC02596.JPG
DSC02597.JPG

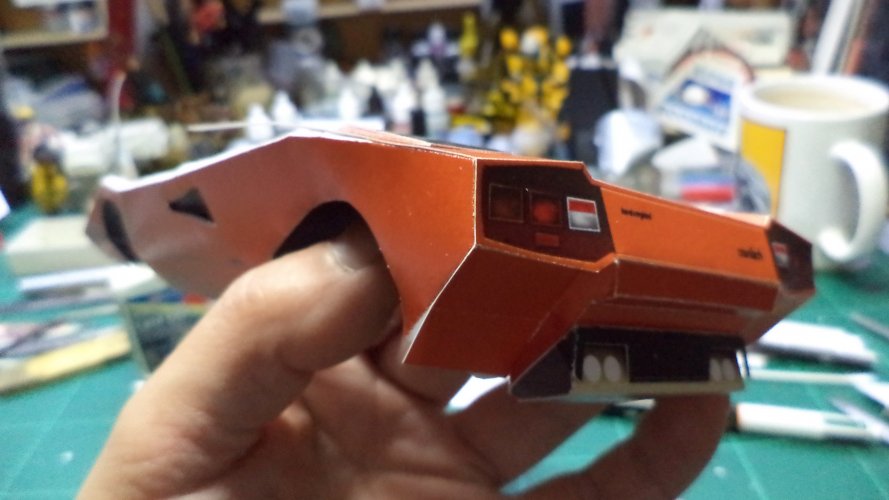
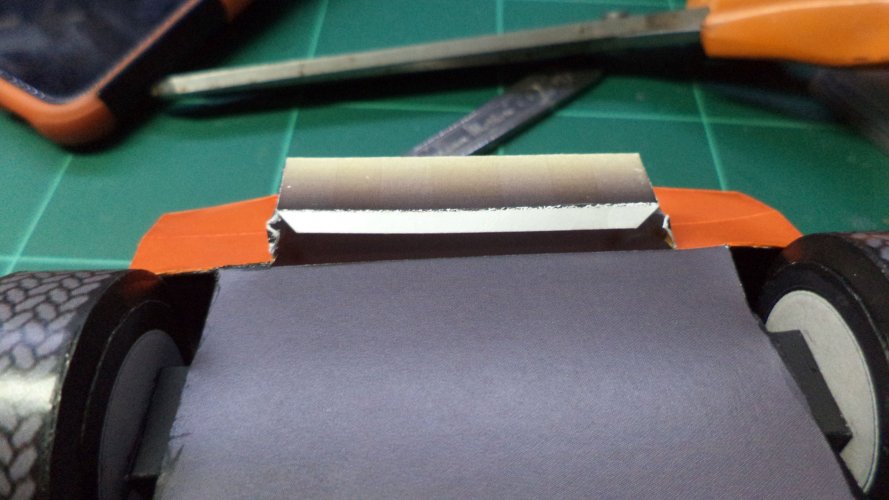
The rear end was now looking if the poor owner couldn't reverse, and I was truly fed up with trying to sort it out,
Maybe I'll print this piece out again and have another look, but there are other models to build and no one will see this rubbish work.

DSC02598.JPG

Truly abysmal!
DSC02599.JPG

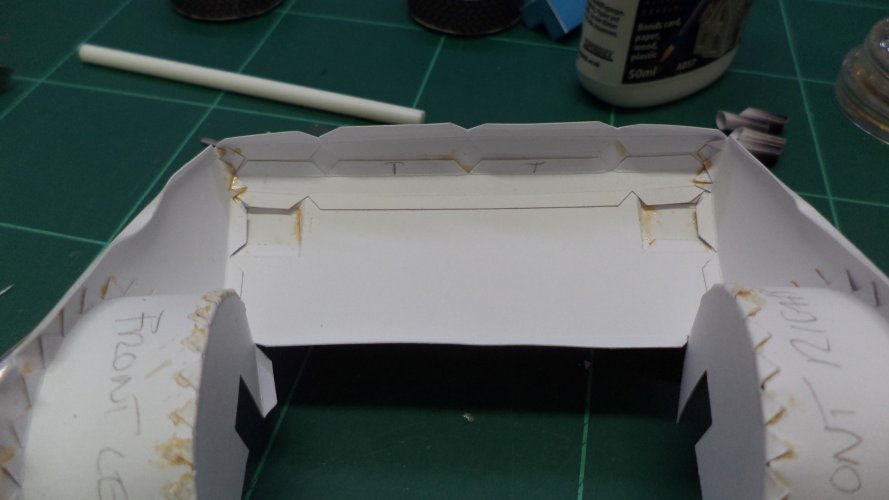
With the top all finished it was time to install the floor pan, but this was too wide at the front and back.
DSC02600.JPG

A couple of millimetres were taken off either side an all was well.
DSC02601.JPG

Floor in and the oddly coloured axles were added - painted black before I put the wheels on.
DSC02602.JPG

Now all that was left was to fill the gap where the rear was not touching the floor.
DSC02603.JPG

"mind the gap!"
DSC02606.JPG

Just added a blank over the hole and trimmed and painted. Out of sight and out of mind.
DSC02607.JPG

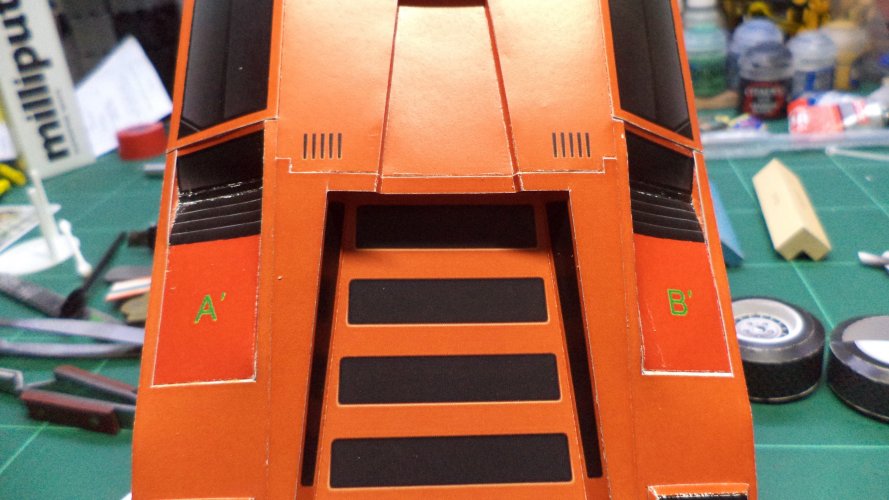
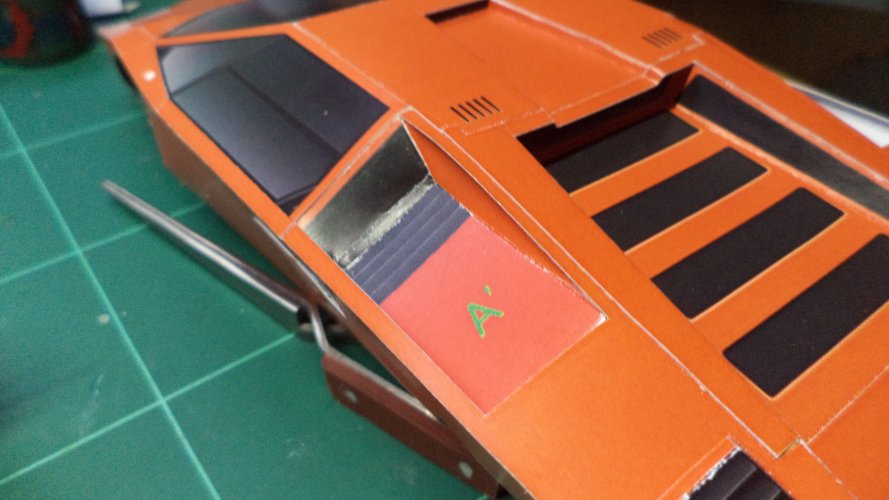
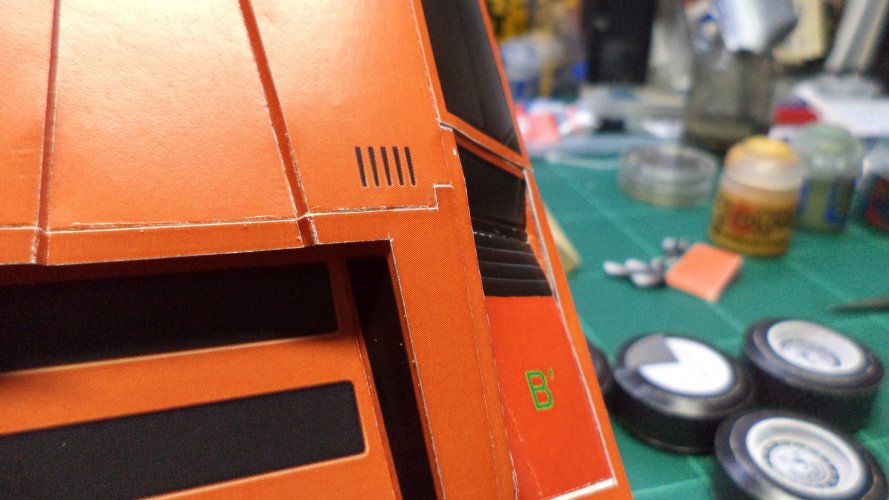
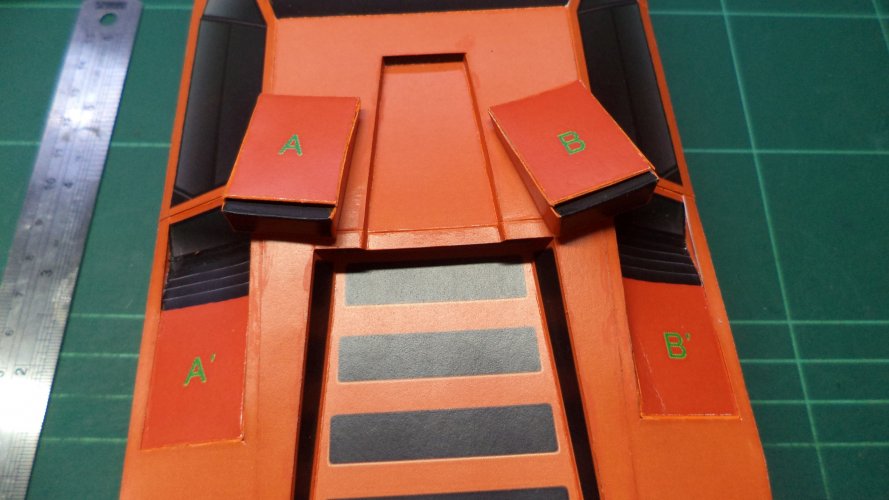
Last parts on, were the top vents, you can't mix these two up!
DSC02605.JPG

A few licks of paint on all the seams was the last thing to do
DSC02604.JPG

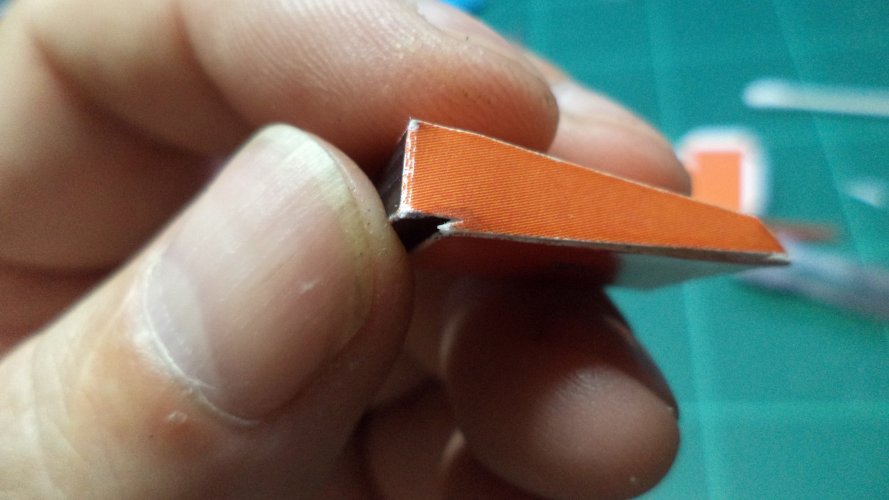
One of the quirks of the finished piece was the sides would pop in, but they were just as easy to pop back out again.
DSC02608.JPG

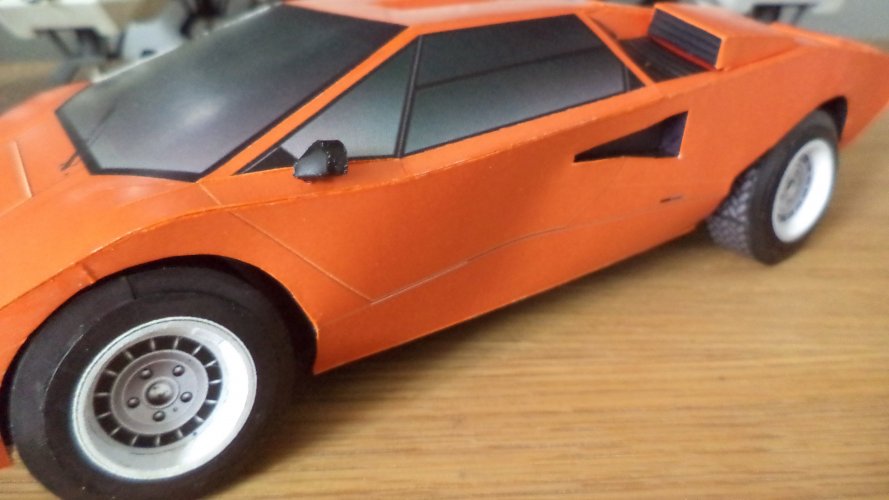
The finished raging bull!
DSC02609.JPG
DSC02610.JPG

Whilst I enjoyed the build, the back rear-underside really did elude me as to how it was supposed to be.

I might have another go some day, but there's other things to do, but it was an interesting build and my first go at a car model.