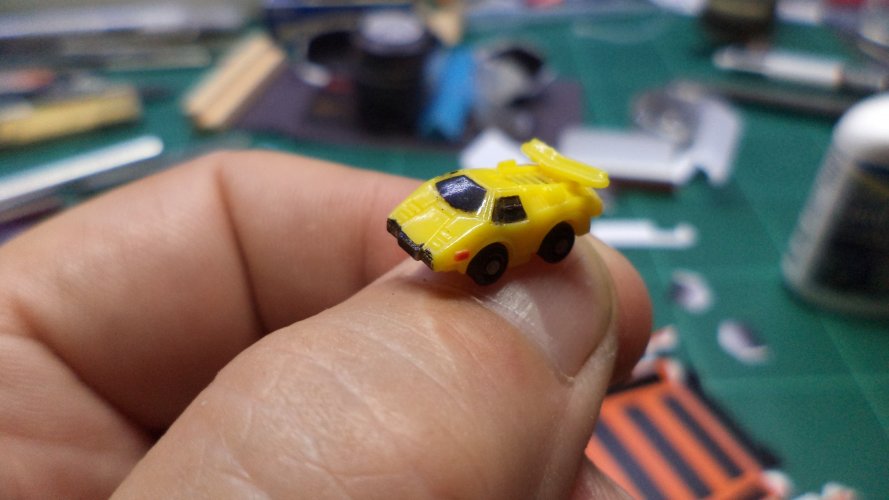
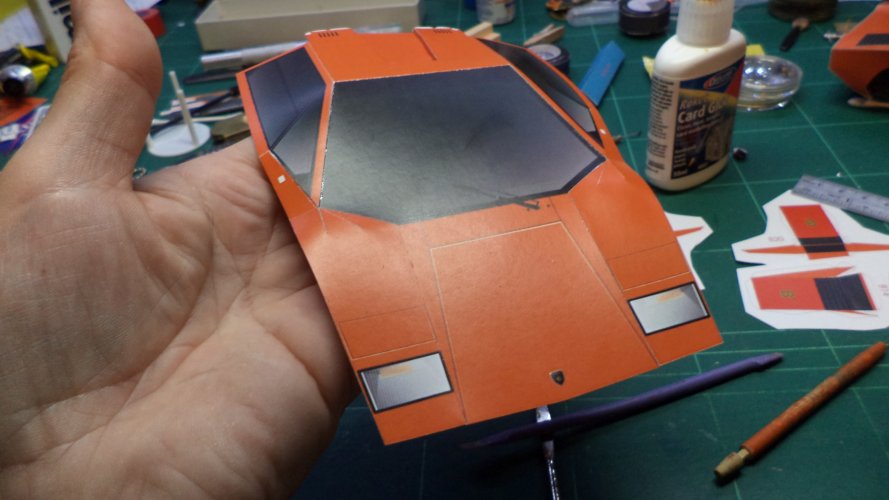
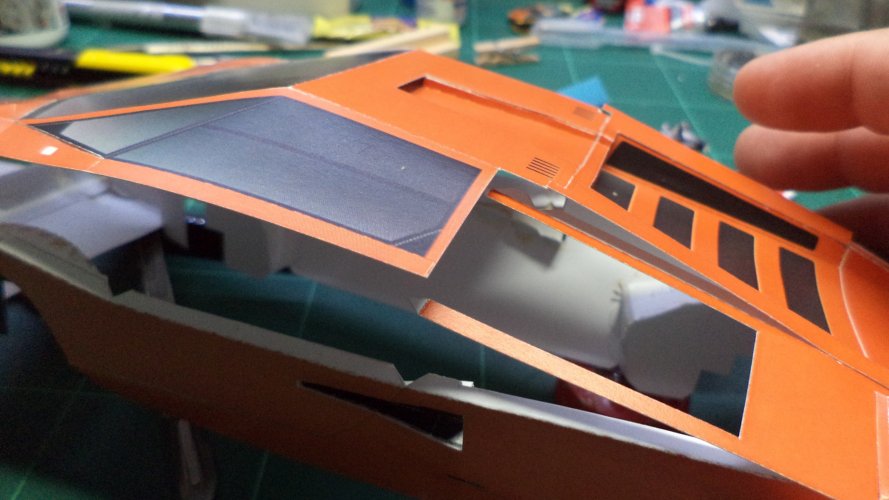
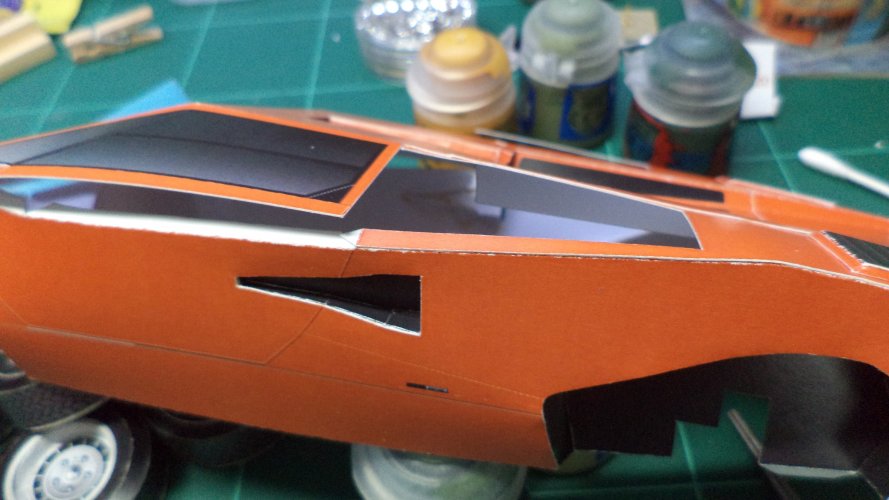
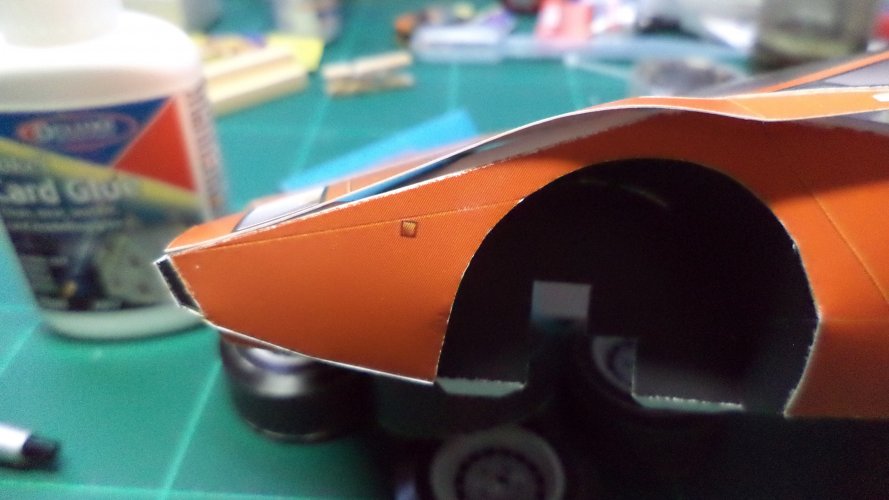
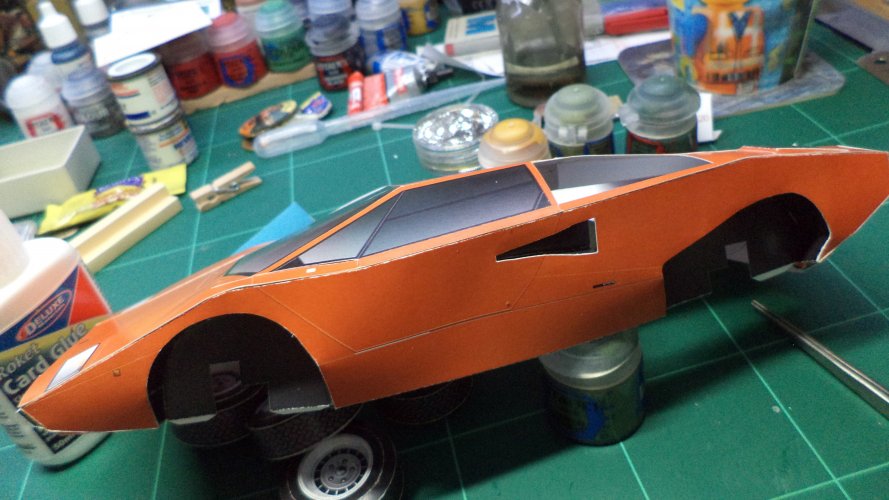
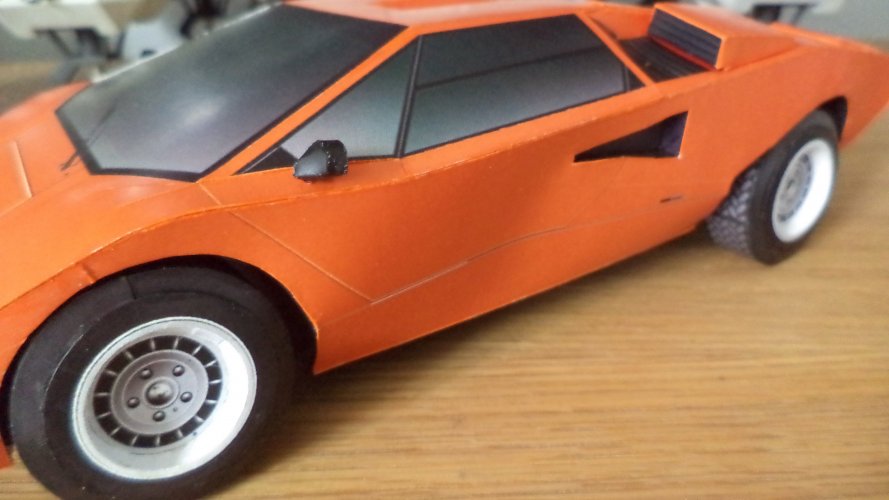
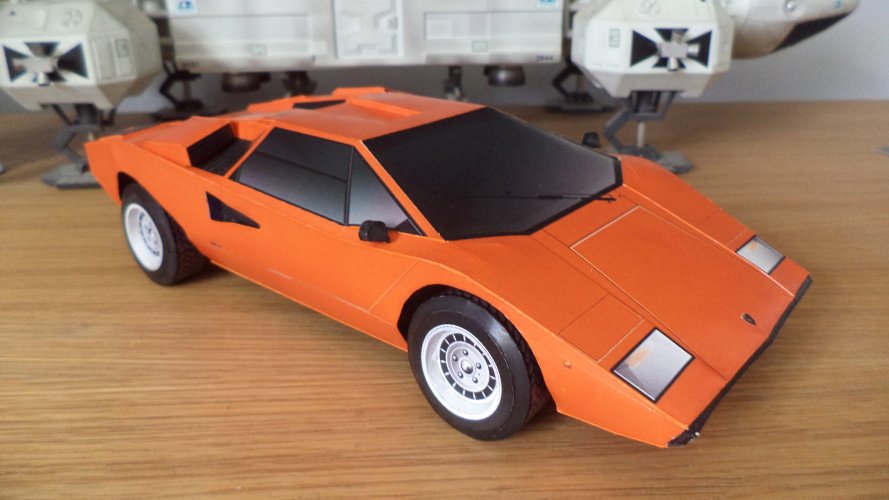
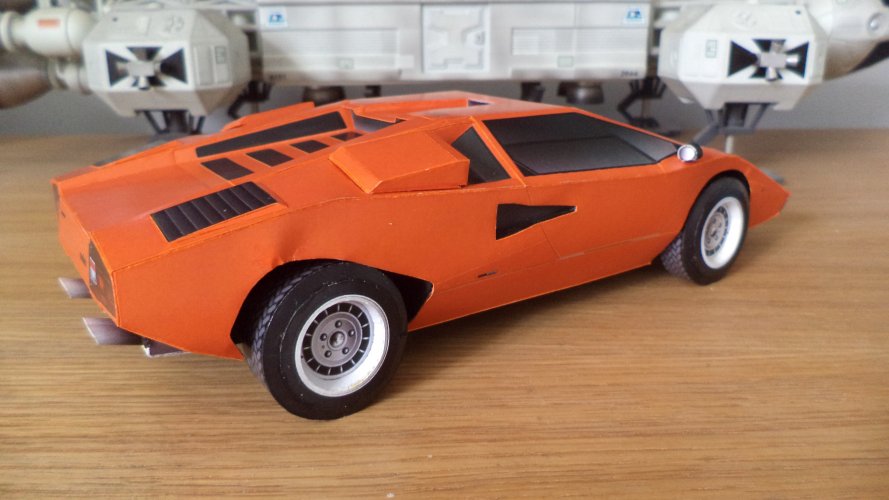
As a kid my brother Dale had his cabinet full of spaceships, but in the midst of them all was this lone car - The Lamborghini Countach.
Its sublime and futuristic design stuck with me all through my childhood and whenever possible I would buy Matchbox and other toy cars of this beautiful automobile.
I have never made a model of the Countach before, so I thought as a little side project from my main builds I would give this a spin.
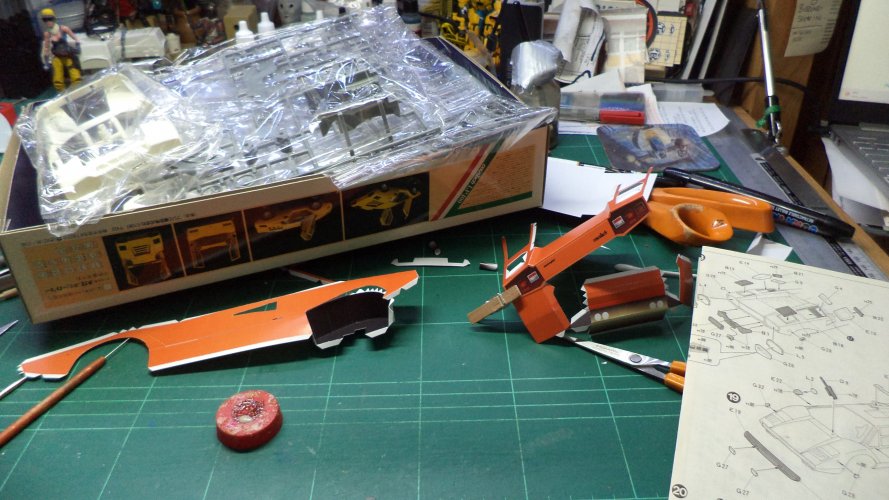
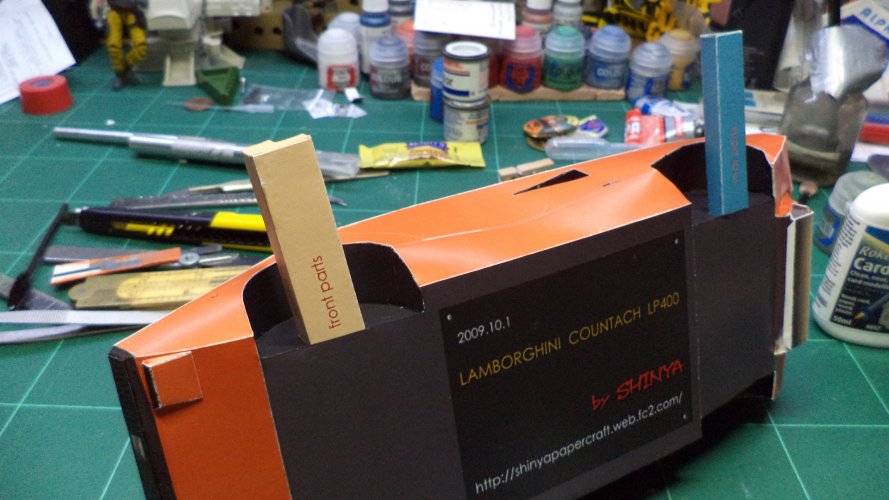
This is not a tutorial on this build, but my take on how I did it, some parts of this build are not photographed, but hopefully they will give you a better idea on how it looks than the website. - There are pictures on the site its from, but believe me they lack any informative instruction.
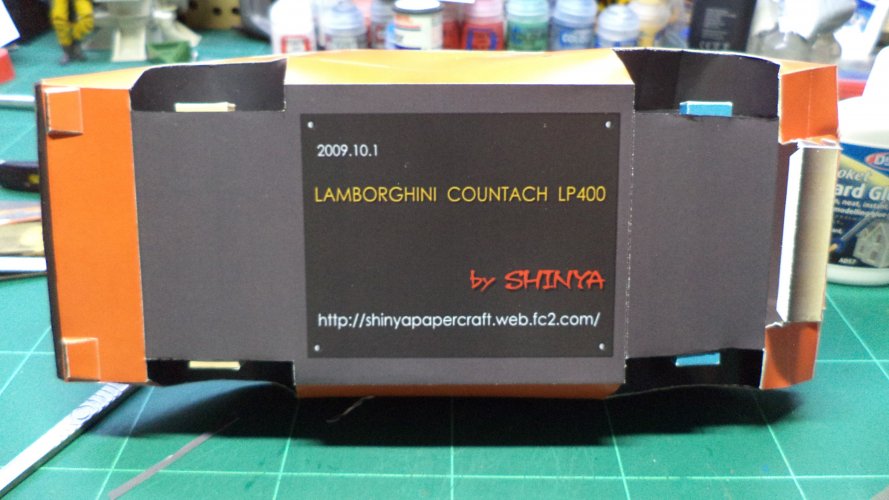
***MODEL DESIGNER AND WEBSITE ON THE CHASSIS***
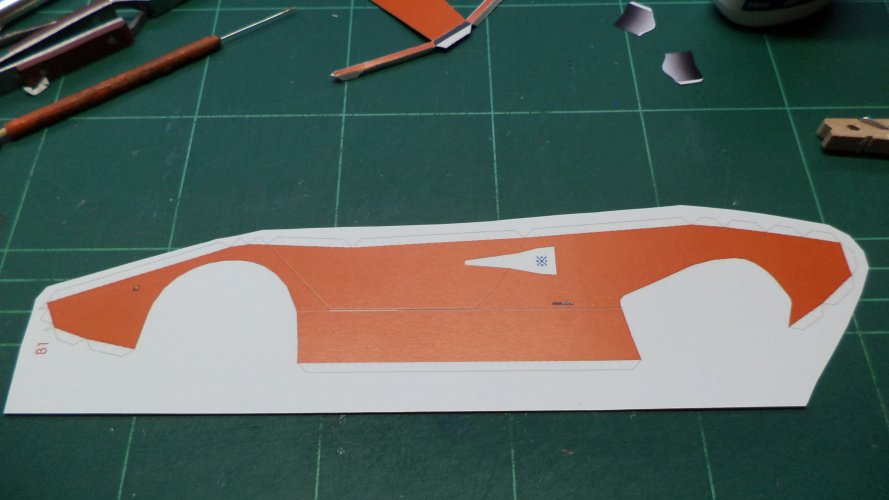
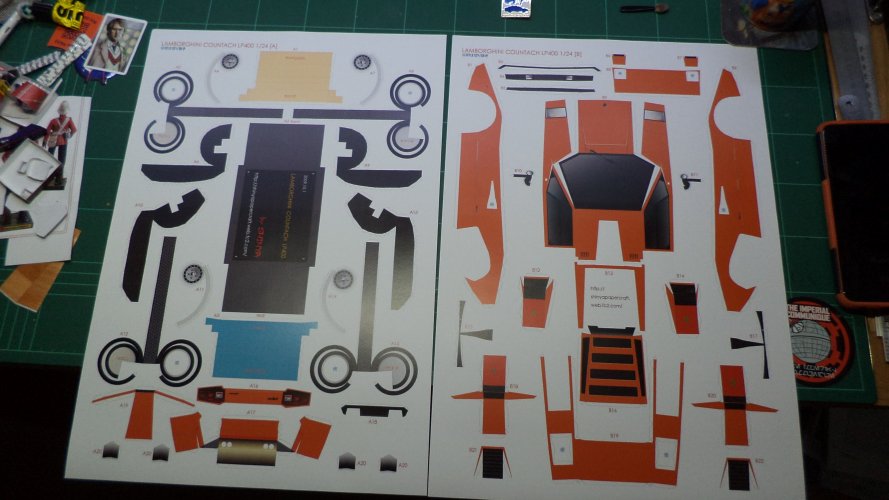
Meet the Parts - Just two sheets - as per my usual, I had these blown up onto A3 paper
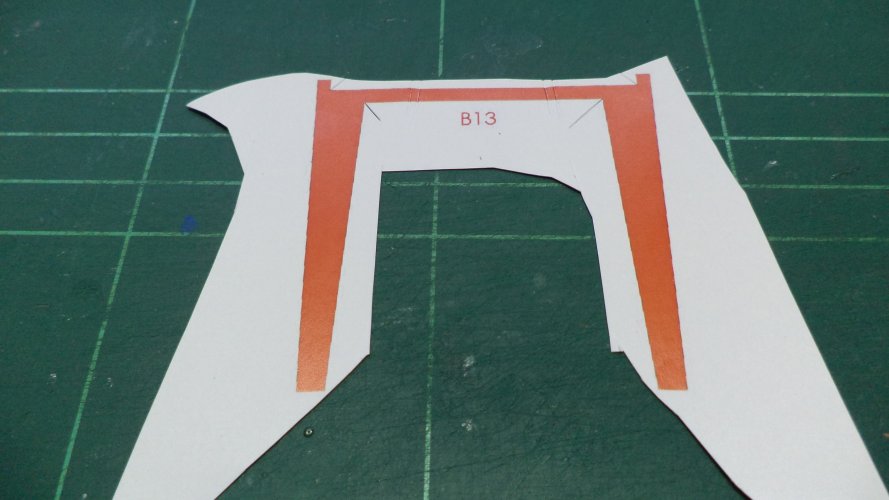
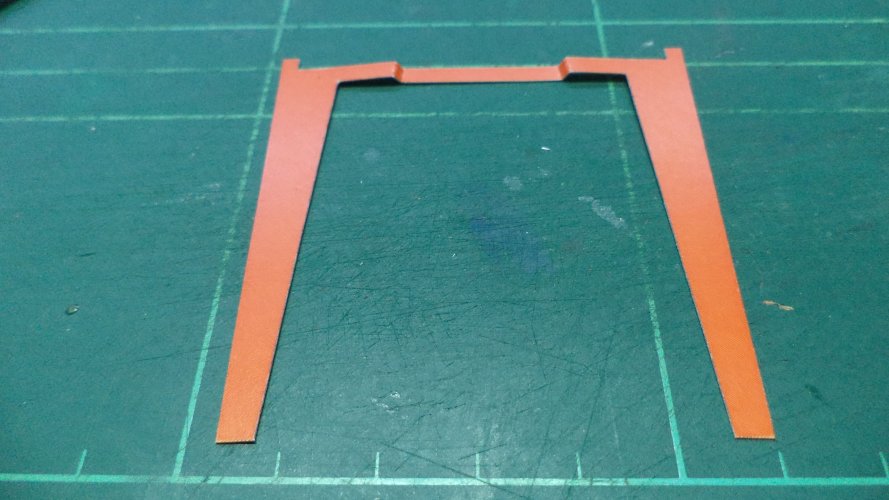
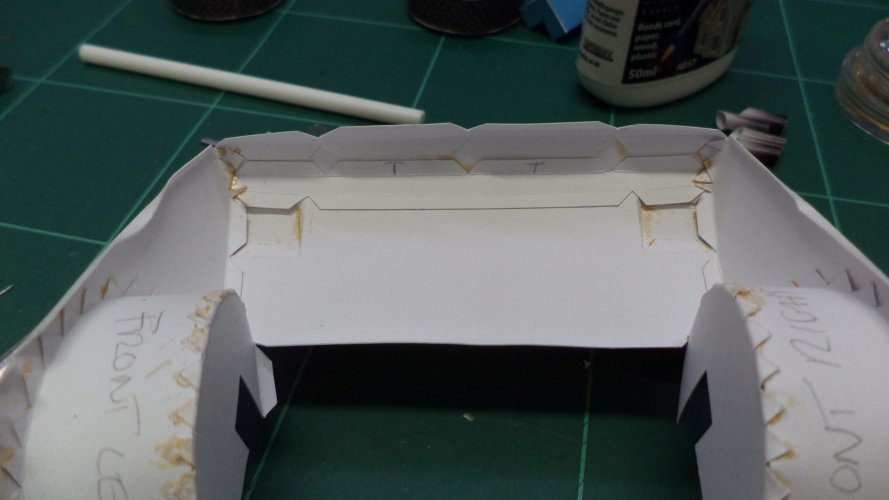
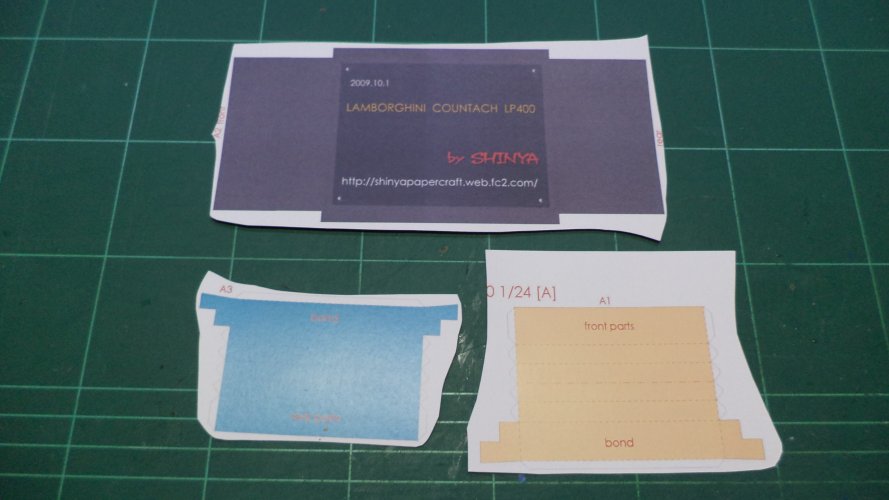
Simple parts first - floor pan and oddly coloured axles
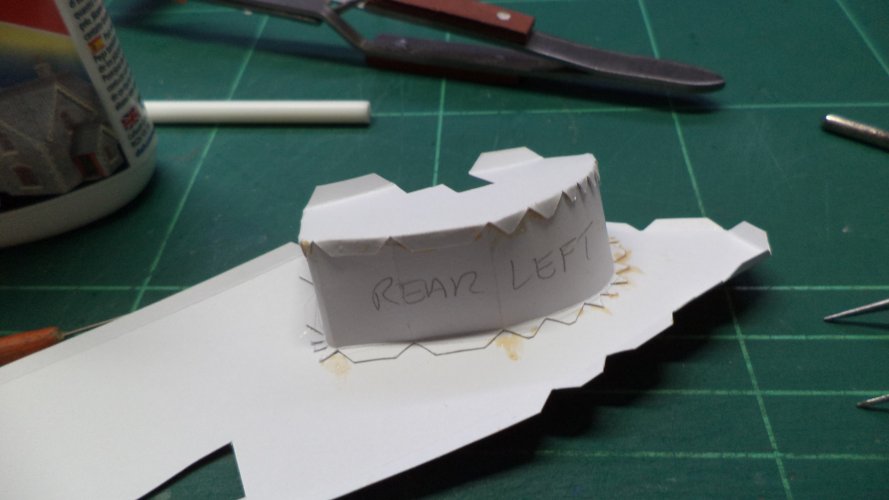
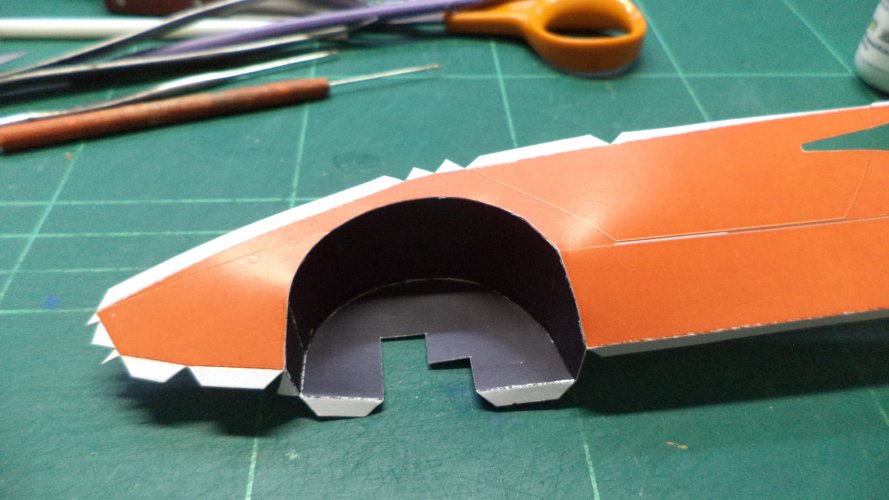
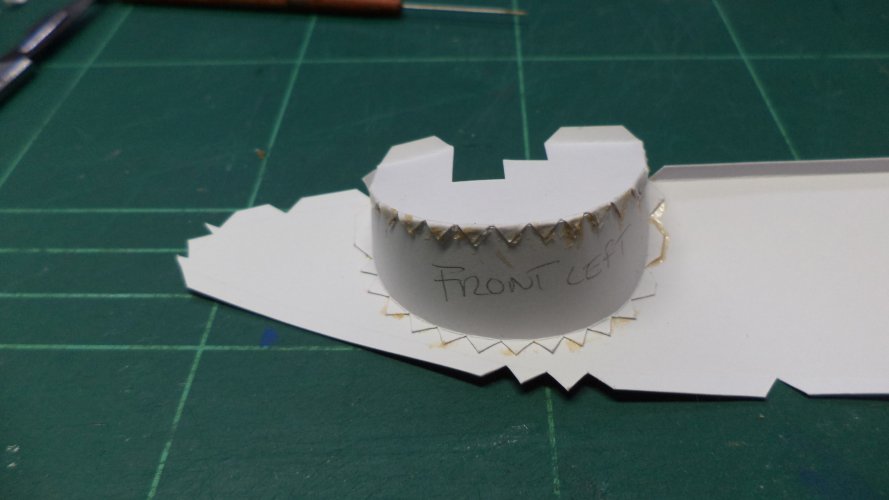
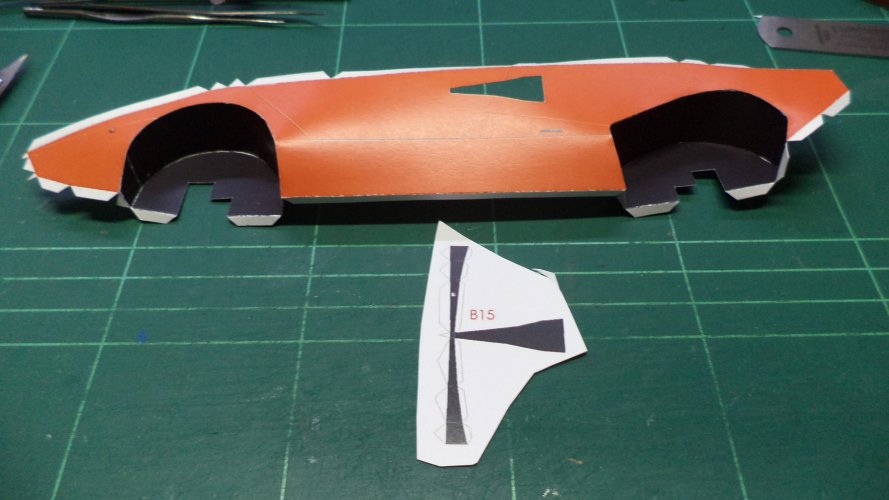
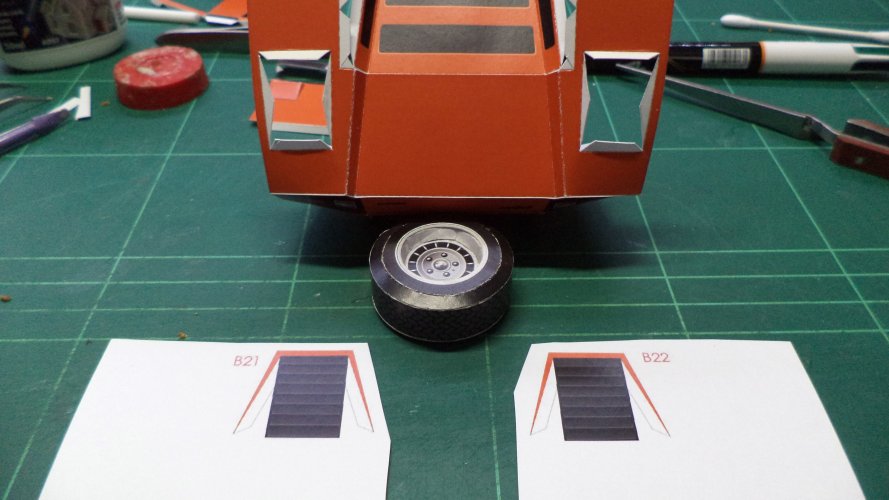
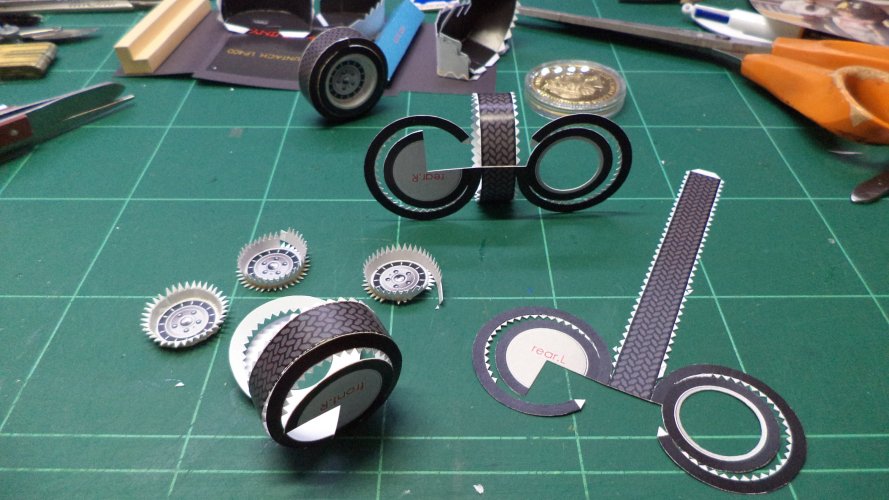
Tyres and wheel arch
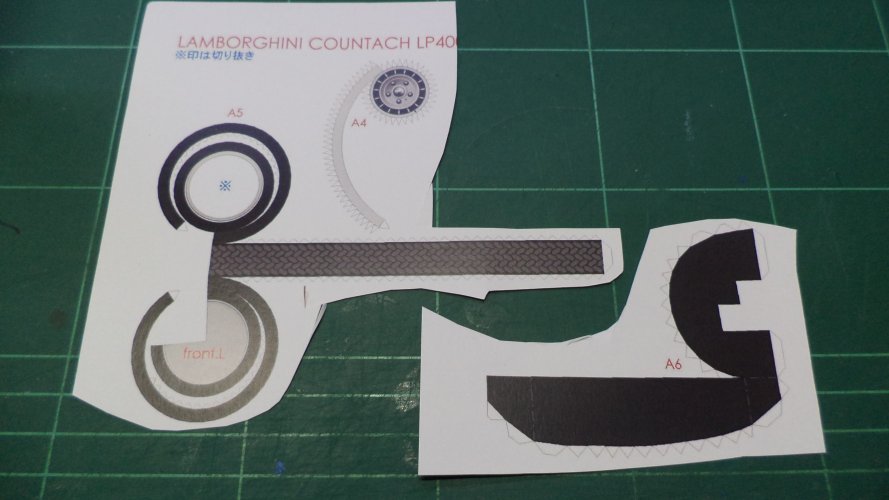
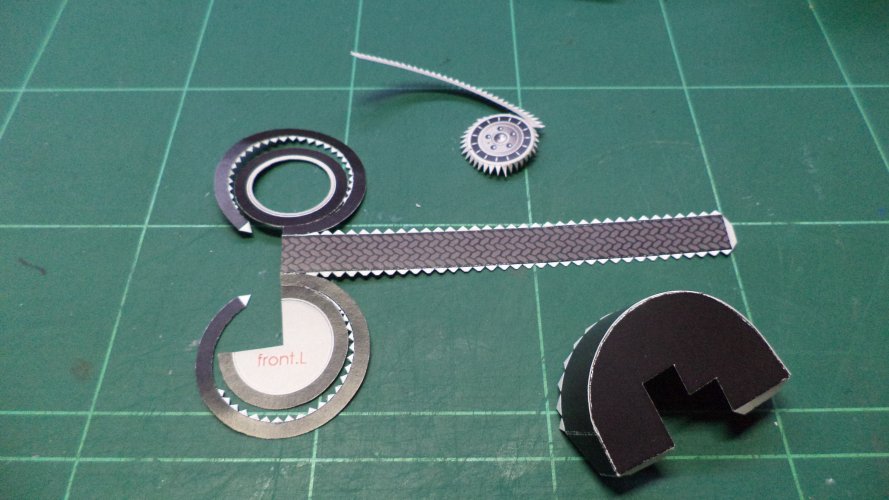
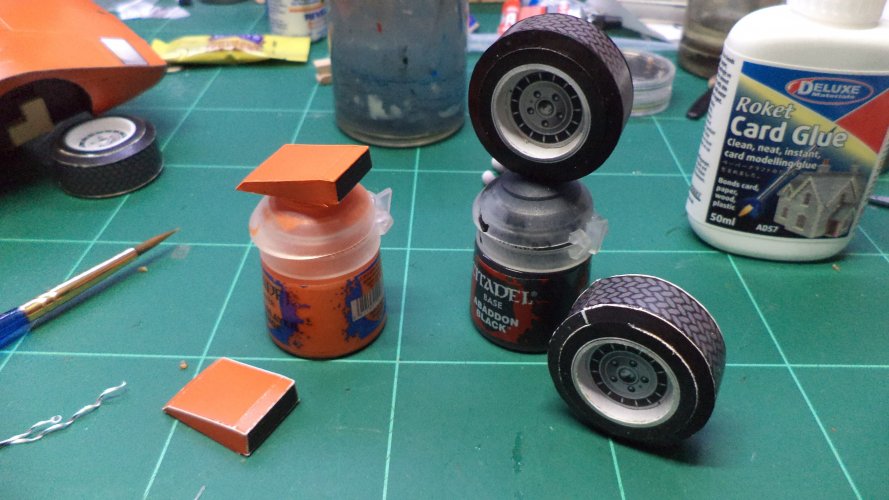
Tyres and the inside wheel hub were fairly easy, but I hate anything round, best to do these first and get them out of the way!
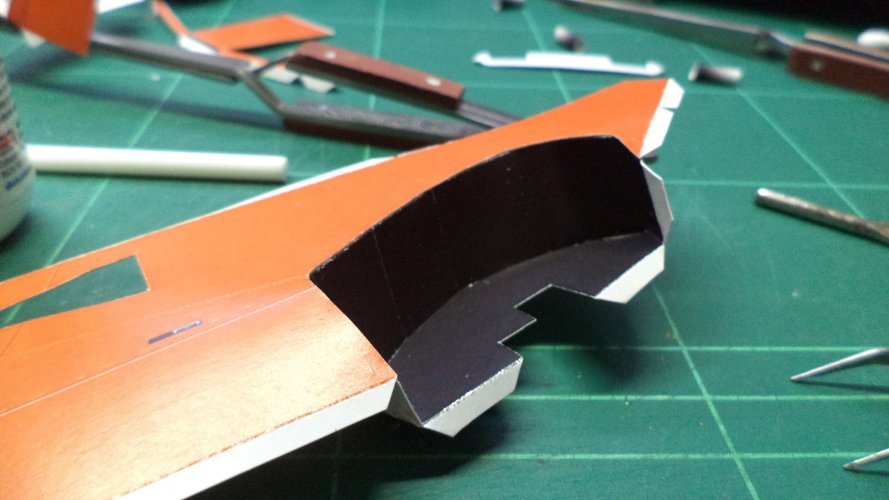
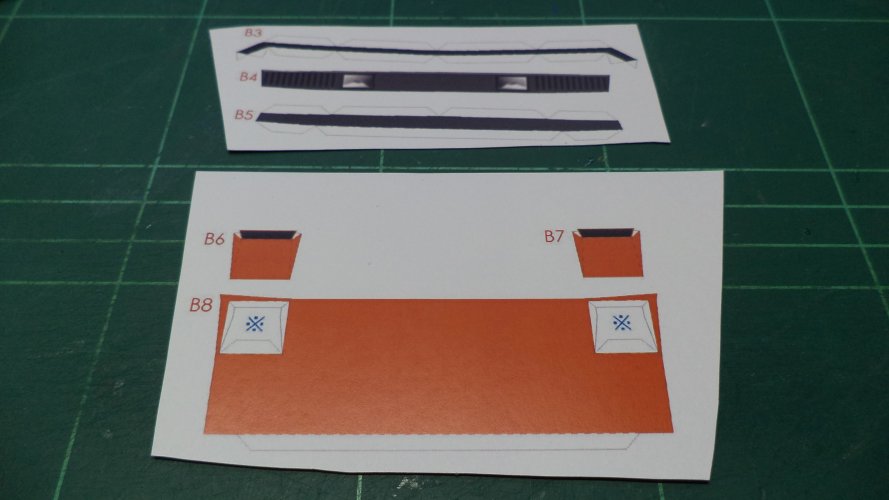
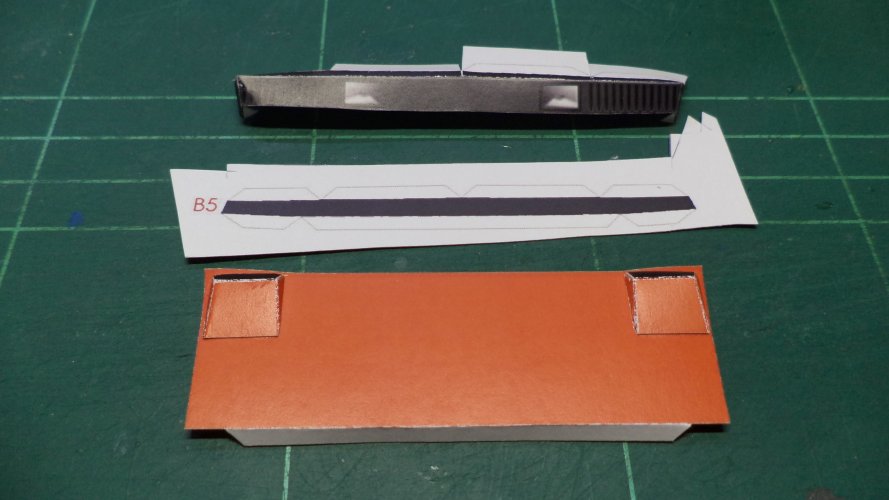
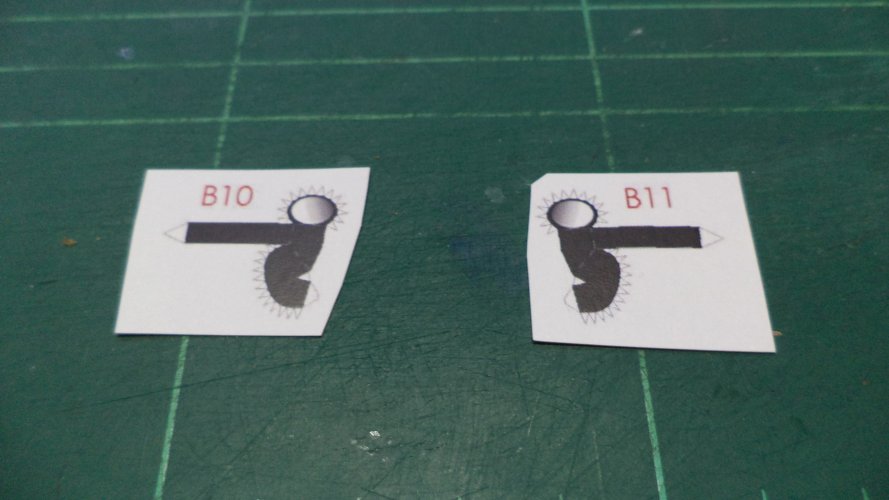
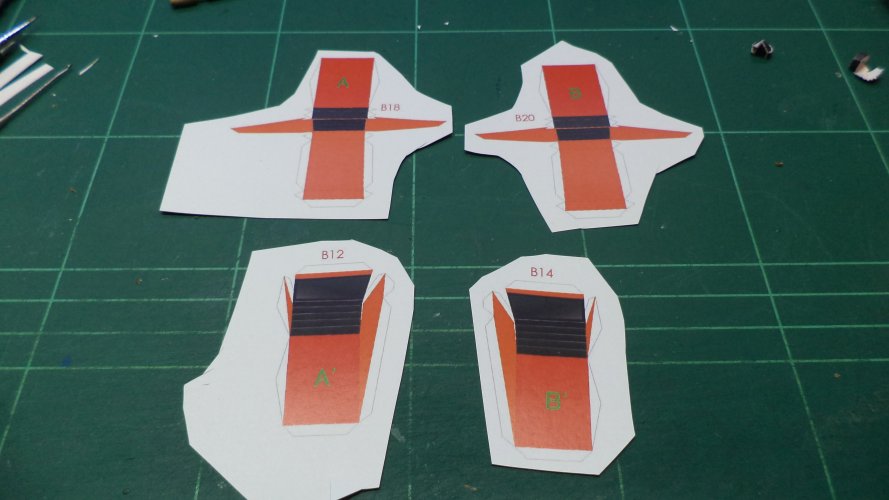
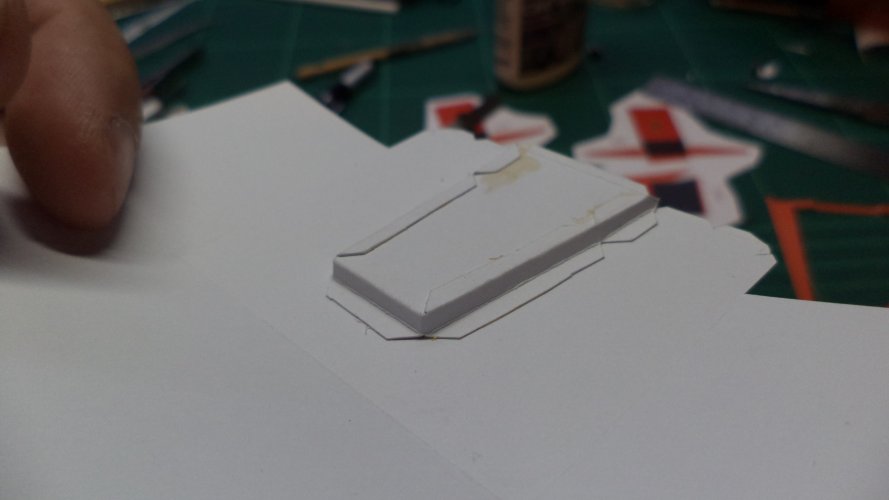
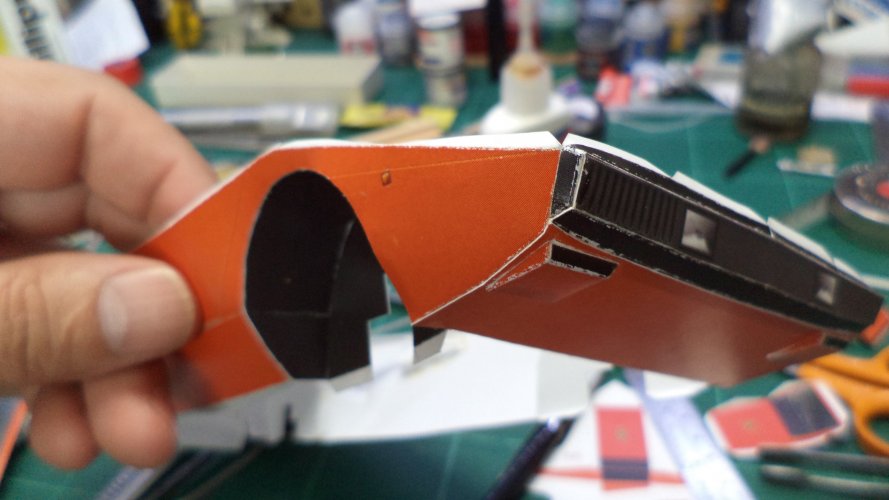
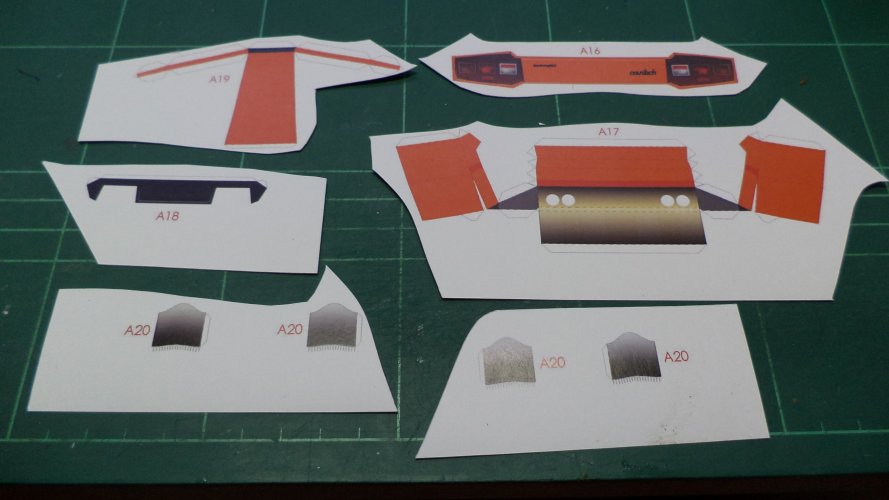
Middle top roof section, rear light cluster, rear underside, exhaust shroud and exhausts
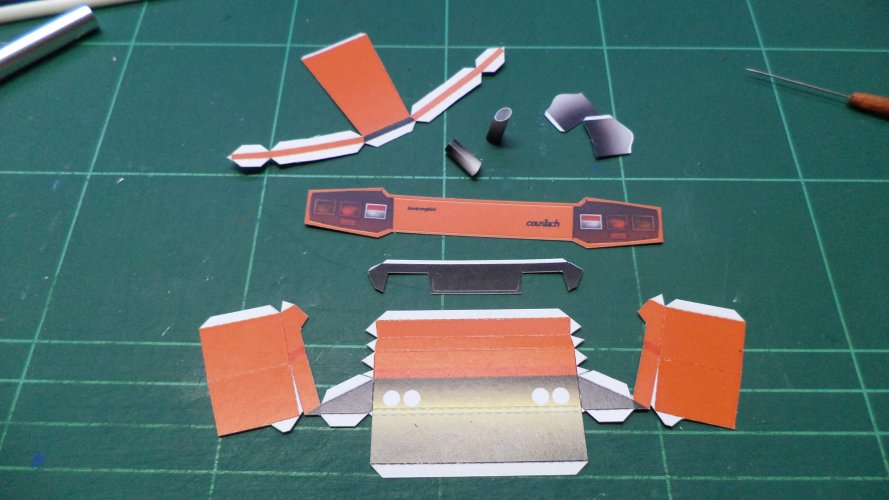
The middle roof section was easy, also the little exhausts - the rear undersection was an absolute nightmare! More on that later
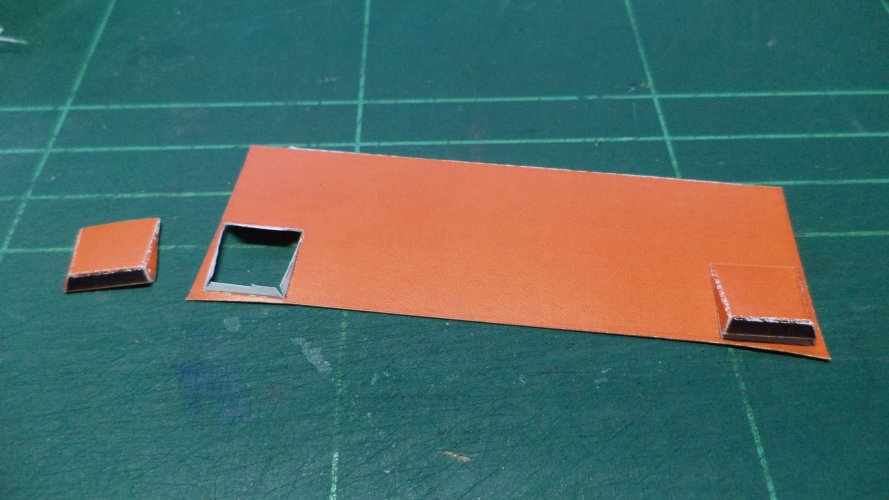
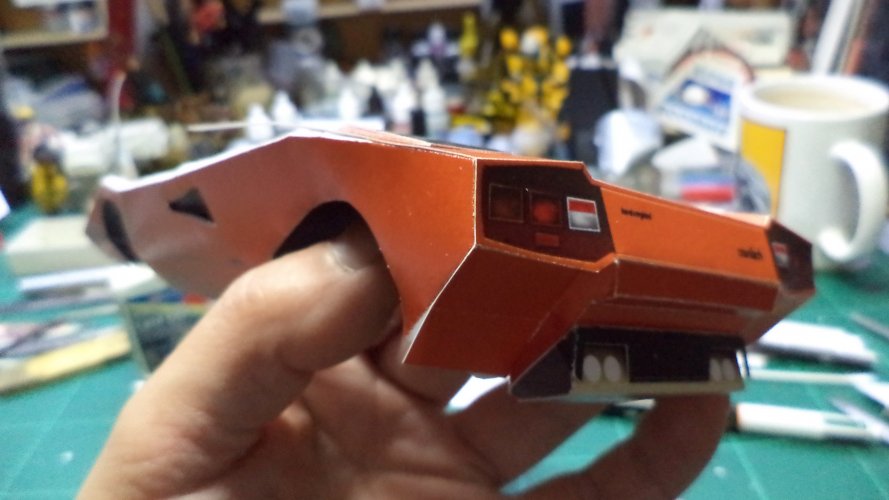
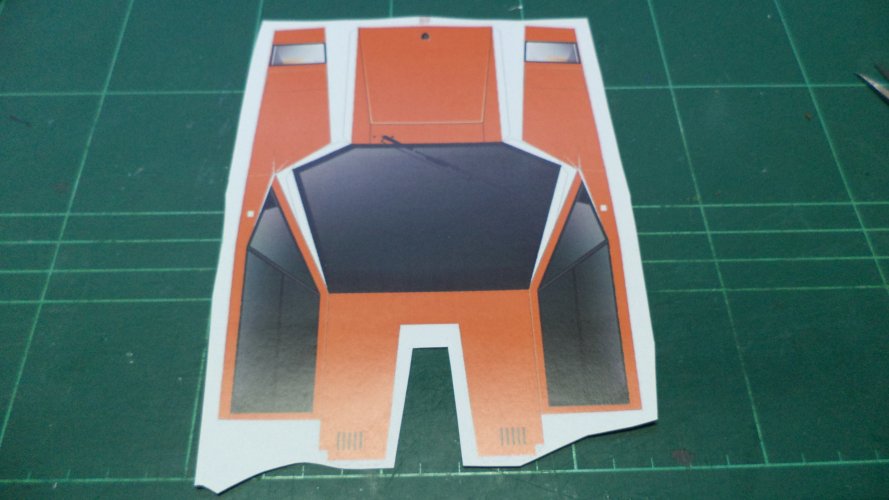
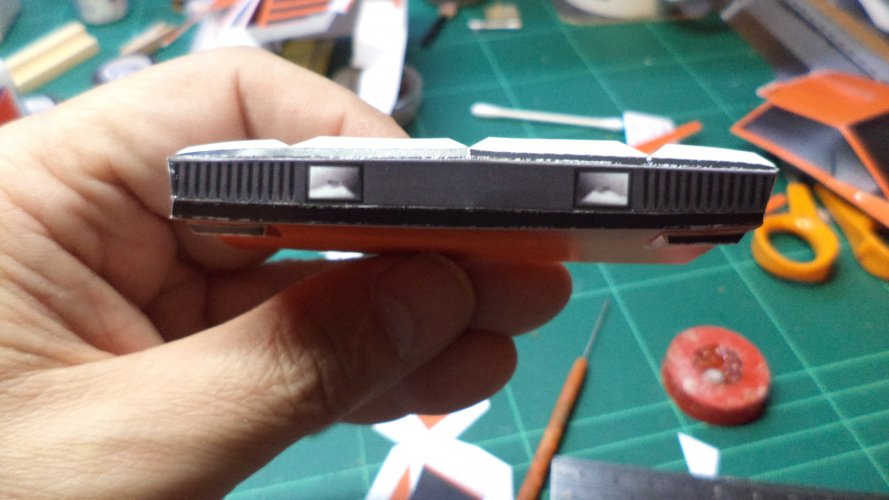
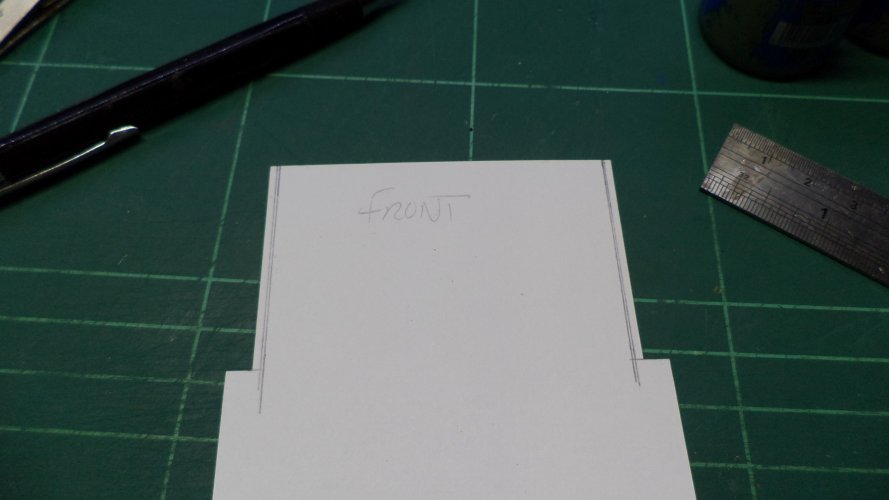
Upper rear back plate
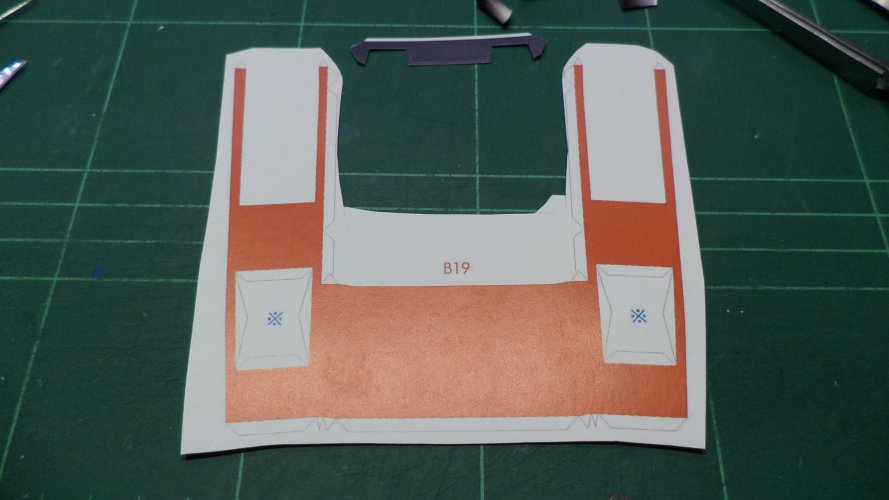
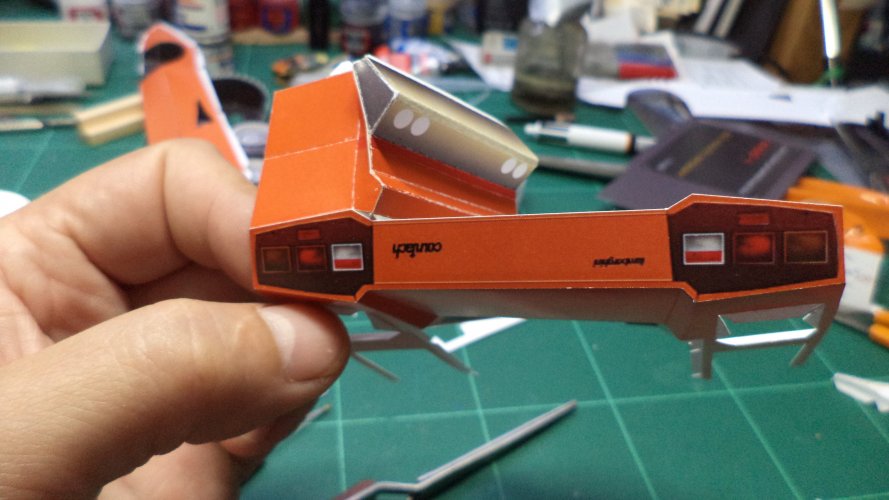
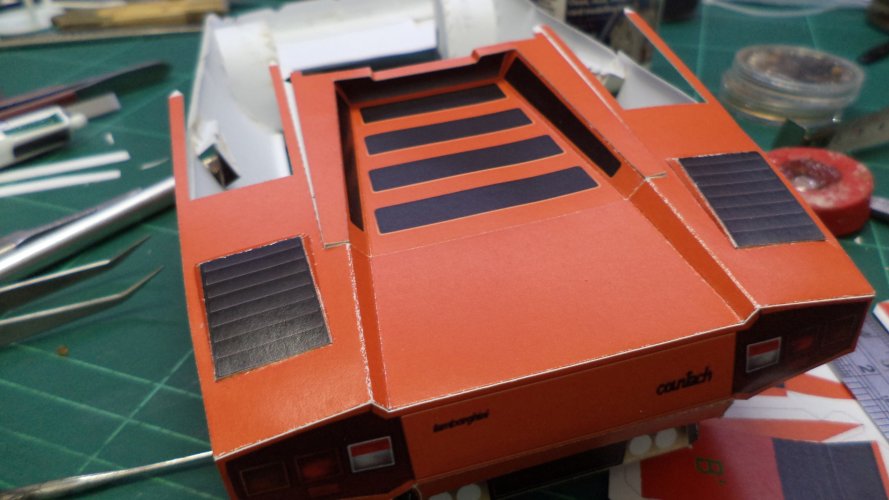
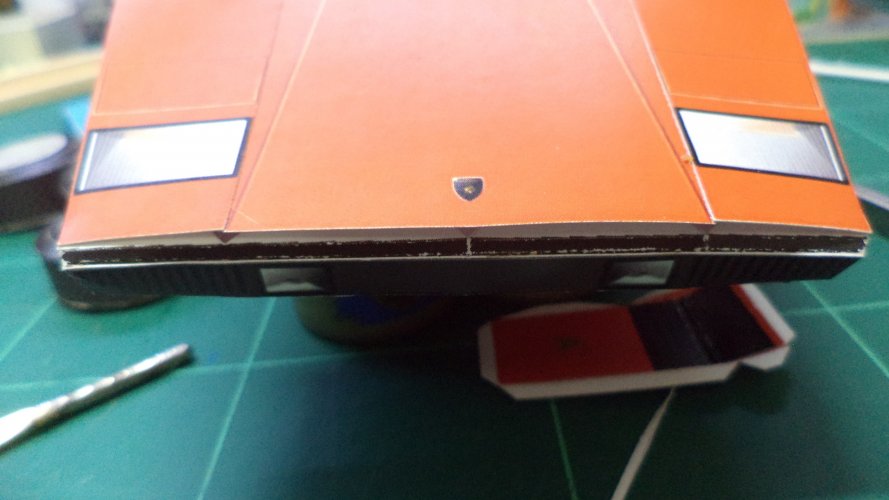
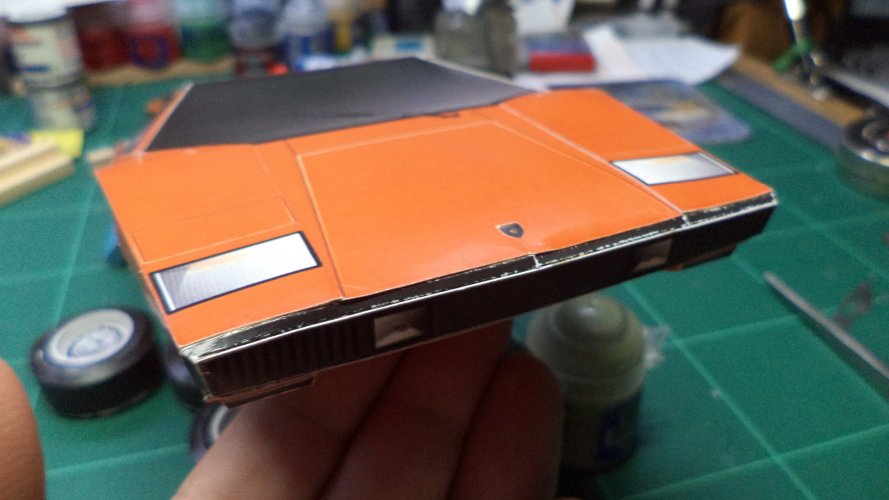
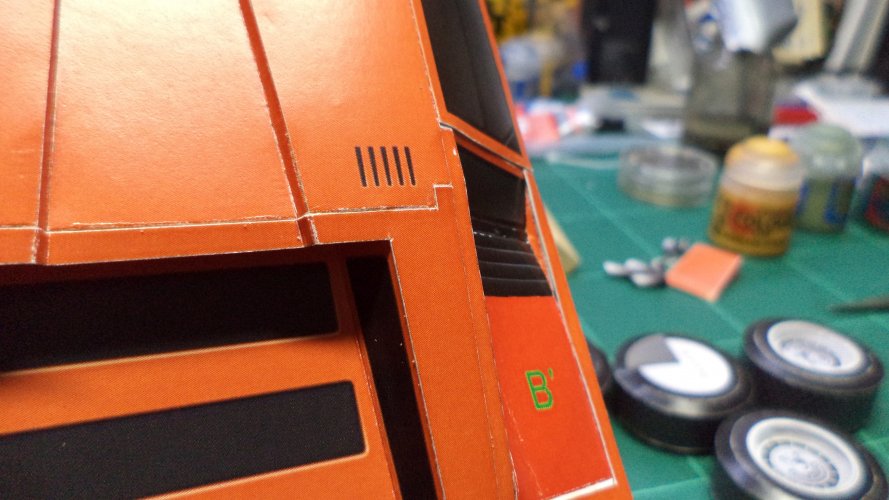
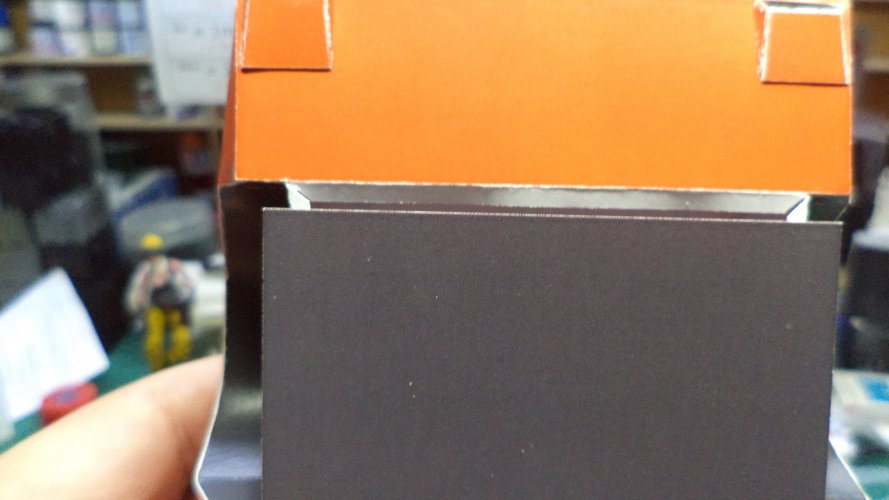
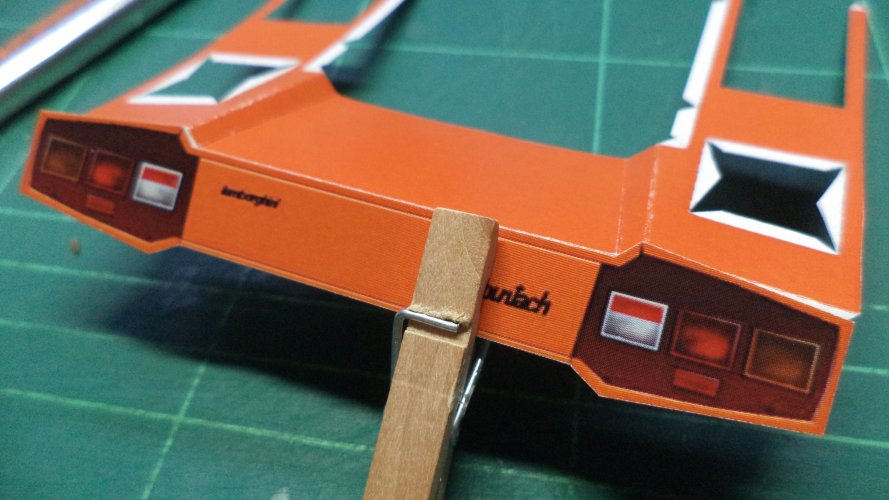
With no idea where to start on the body, I plumped for attaching the rear lights panel to the upper rear deck - held with a peg to ensure everything lined up I glued from the middle outwards
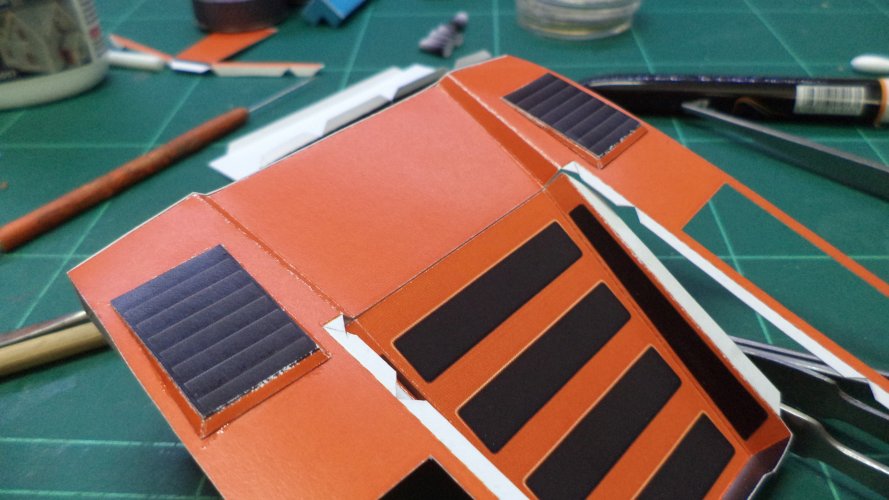
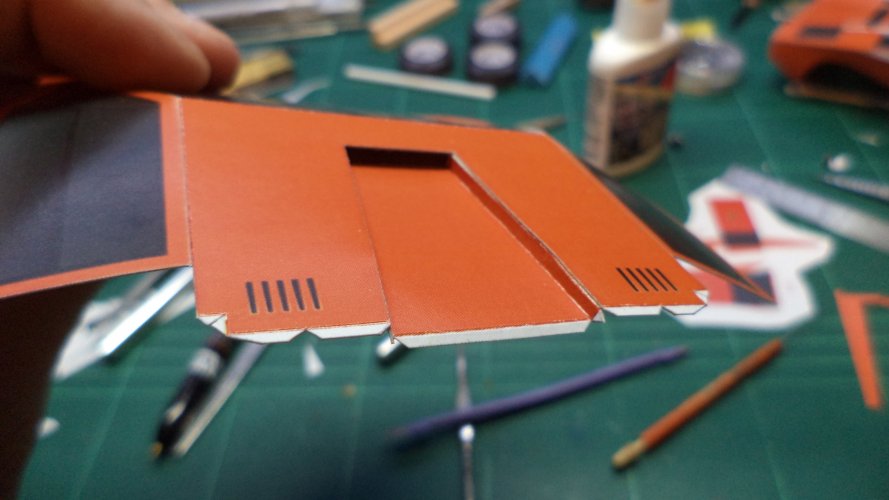
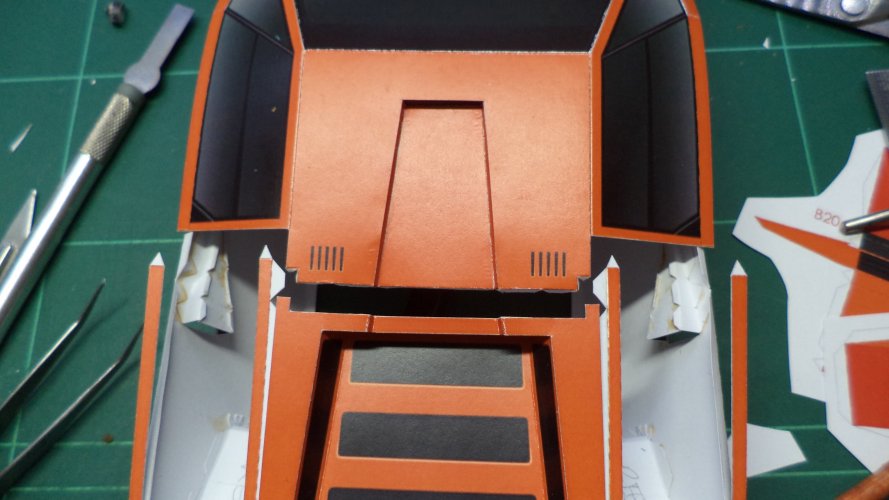
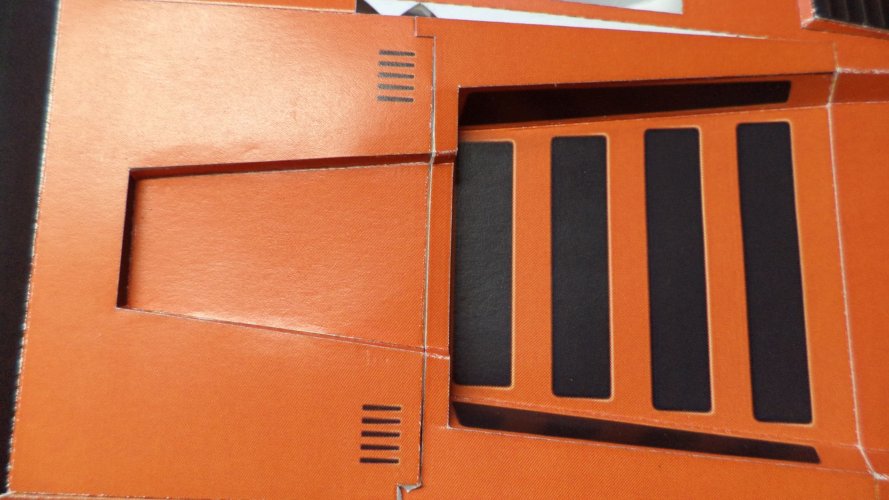
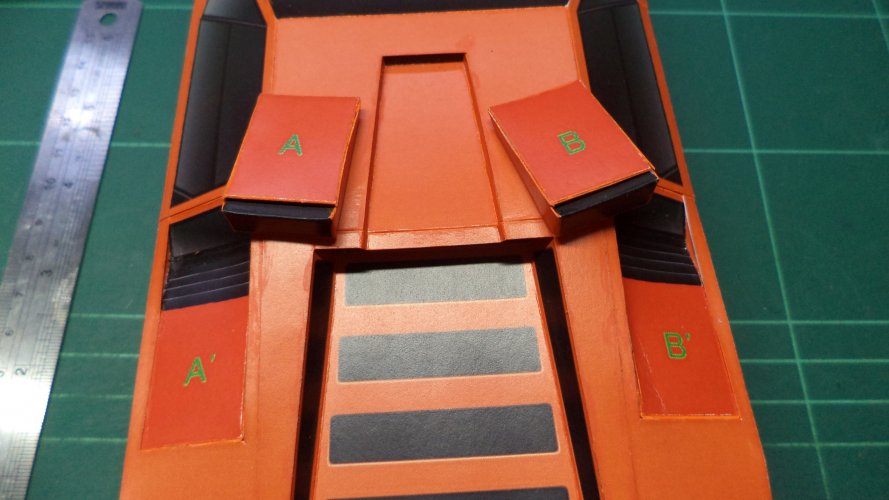
Rear engine cover
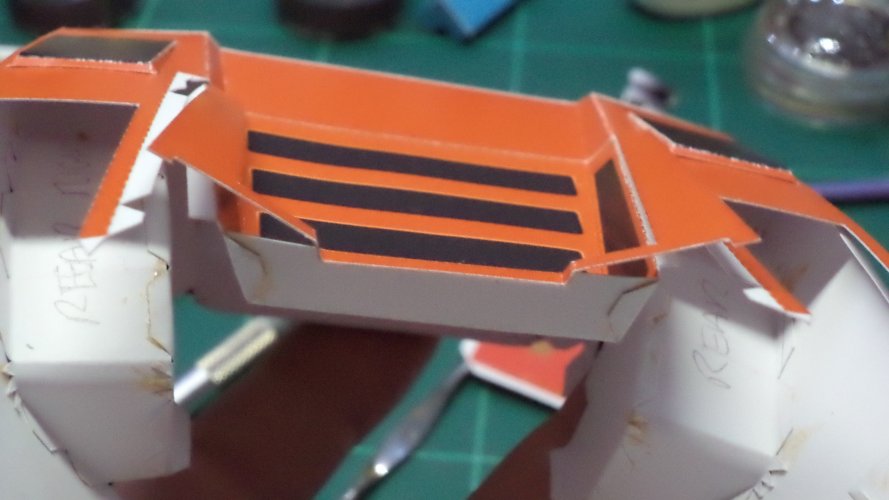
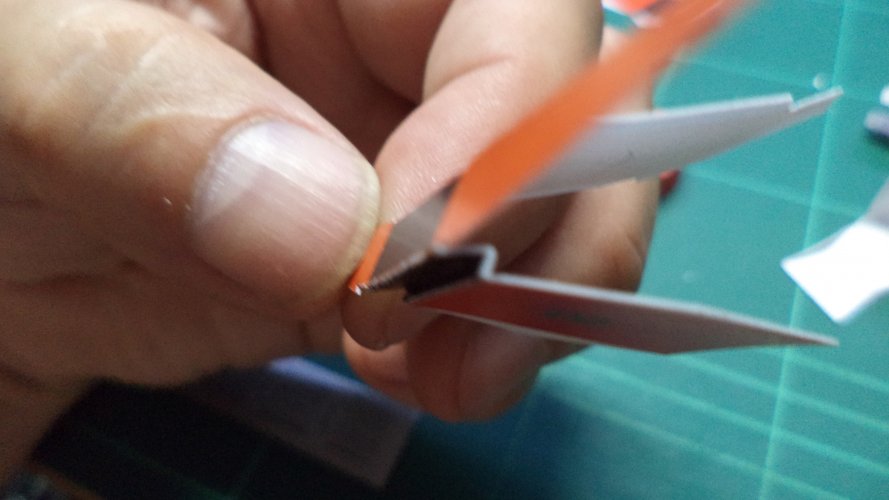
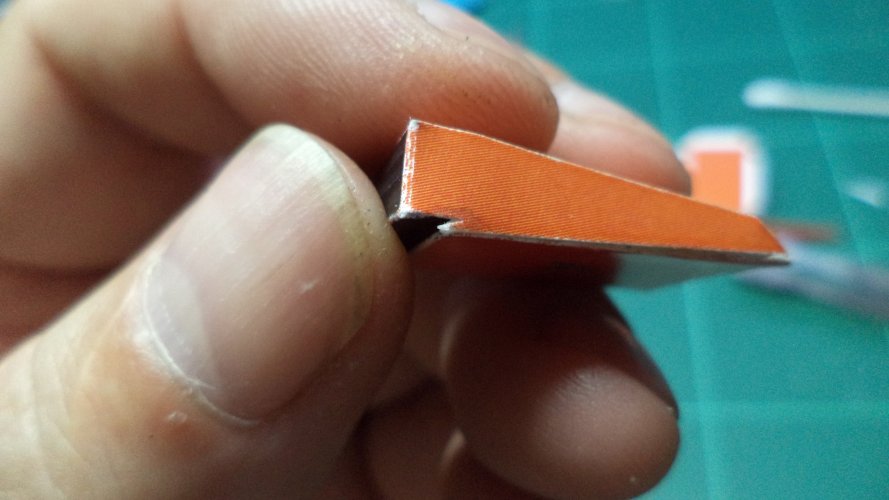
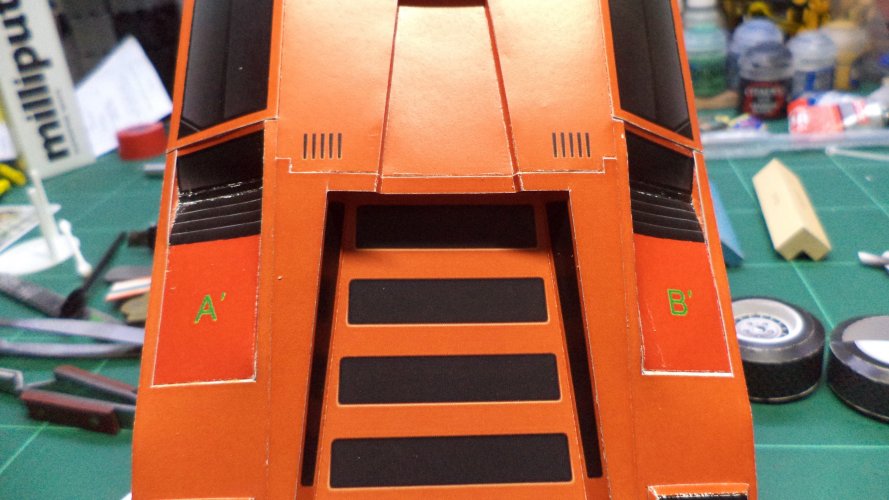
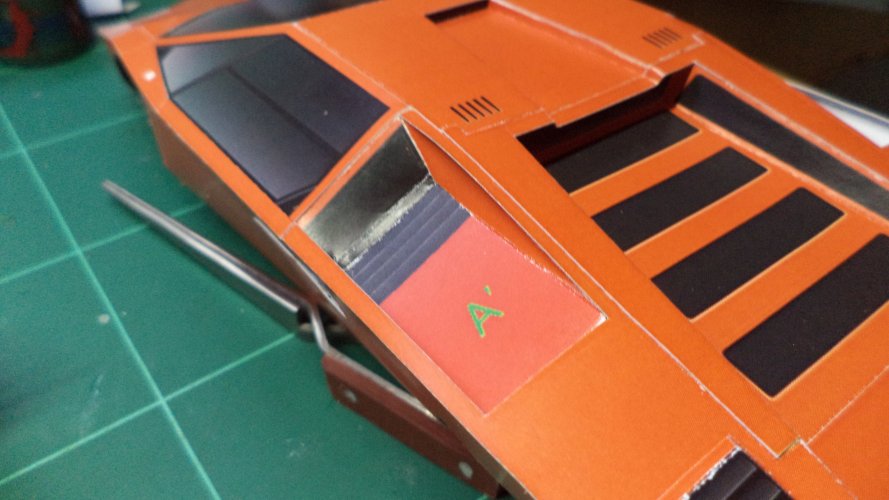
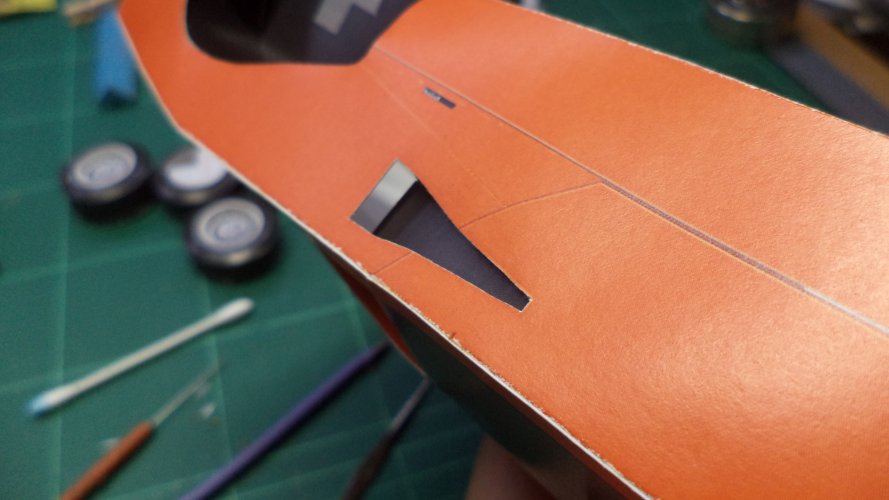
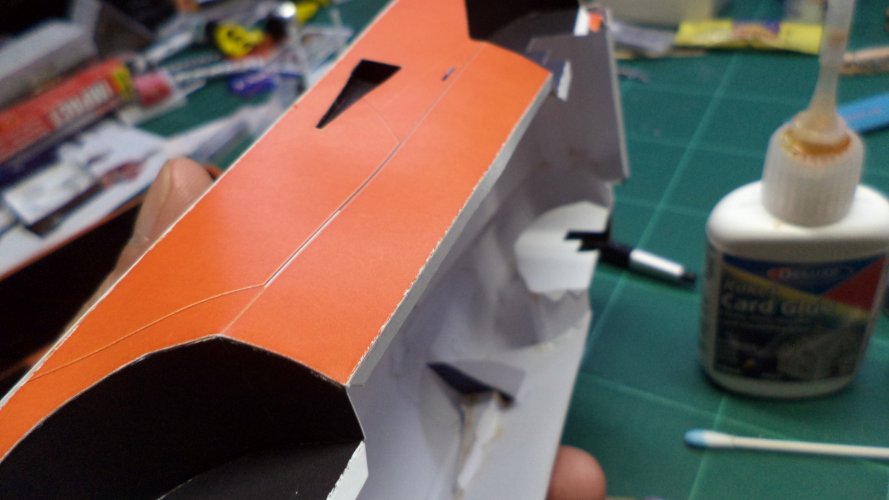
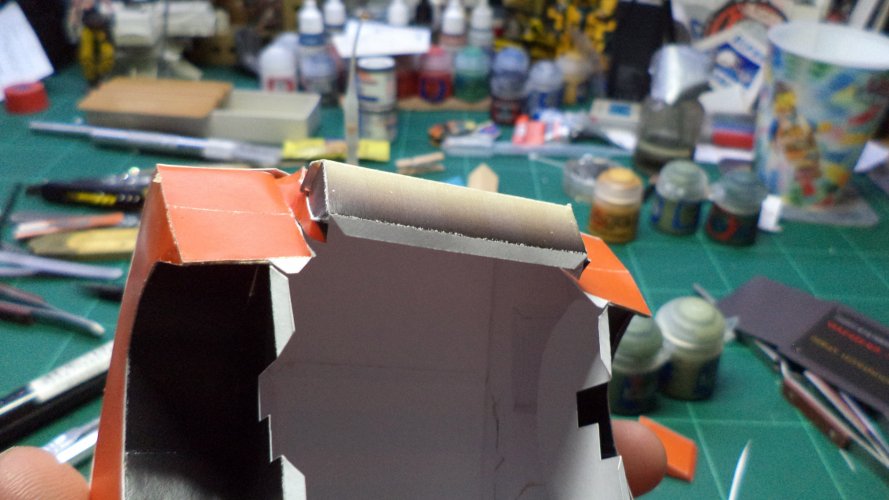
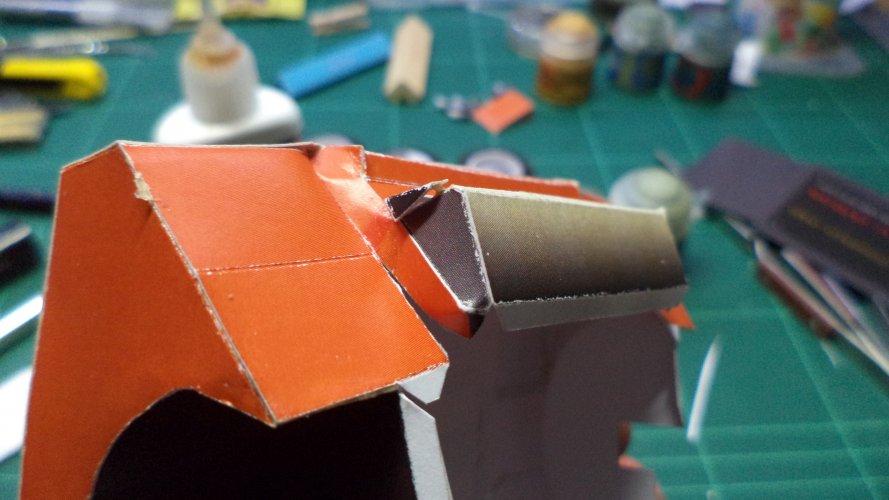
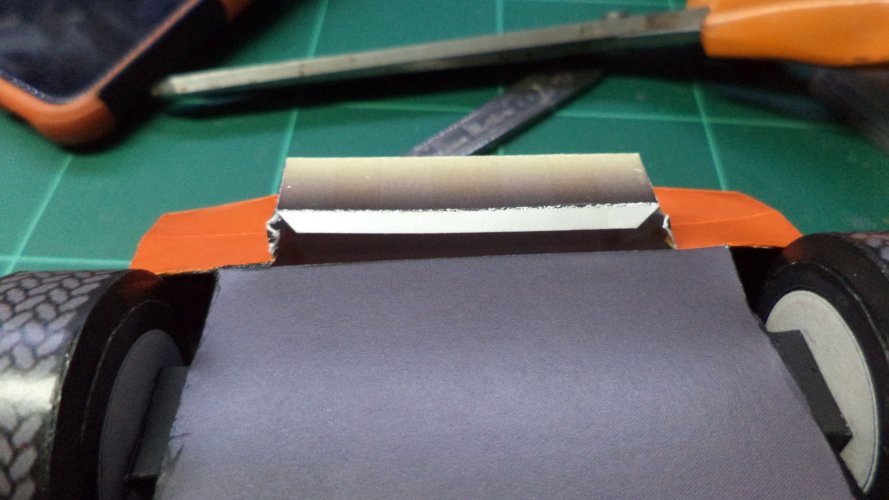
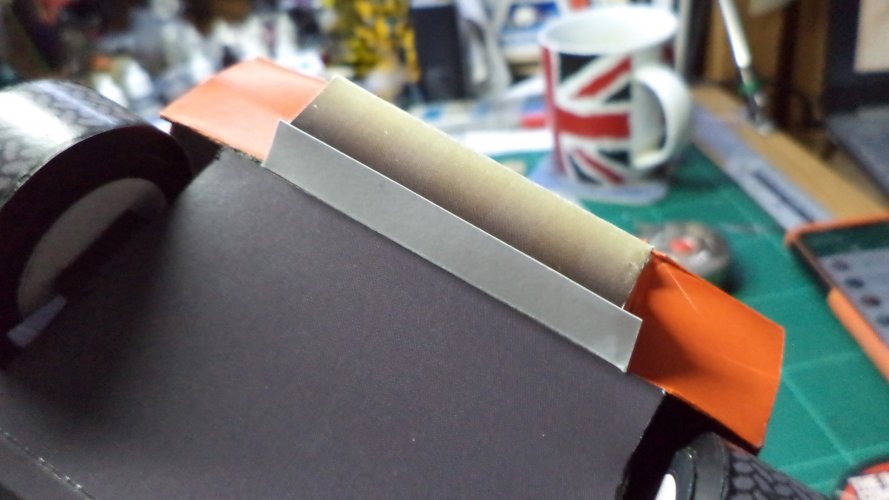
With some careful dry fitting I added the bottom of the rear engine cover to the rear section
MORE ITALIAN AUTOMOTIVE FUN TO FOLLOW SOON....
Its sublime and futuristic design stuck with me all through my childhood and whenever possible I would buy Matchbox and other toy cars of this beautiful automobile.
I have never made a model of the Countach before, so I thought as a little side project from my main builds I would give this a spin.
This is not a tutorial on this build, but my take on how I did it, some parts of this build are not photographed, but hopefully they will give you a better idea on how it looks than the website. - There are pictures on the site its from, but believe me they lack any informative instruction.
***MODEL DESIGNER AND WEBSITE ON THE CHASSIS***
Meet the Parts - Just two sheets - as per my usual, I had these blown up onto A3 paper

Simple parts first - floor pan and oddly coloured axles

Tyres and wheel arch


Tyres and the inside wheel hub were fairly easy, but I hate anything round, best to do these first and get them out of the way!

Middle top roof section, rear light cluster, rear underside, exhaust shroud and exhausts

The middle roof section was easy, also the little exhausts - the rear undersection was an absolute nightmare! More on that later

Upper rear back plate

With no idea where to start on the body, I plumped for attaching the rear lights panel to the upper rear deck - held with a peg to ensure everything lined up I glued from the middle outwards

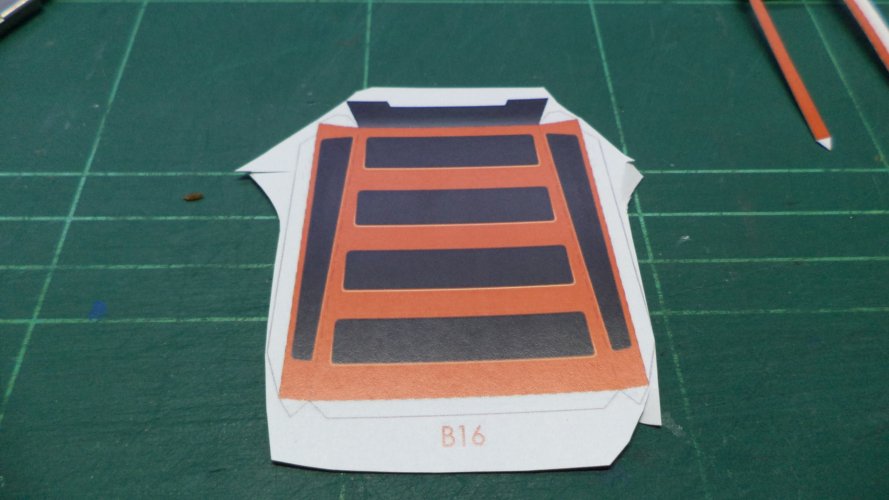
Rear engine cover

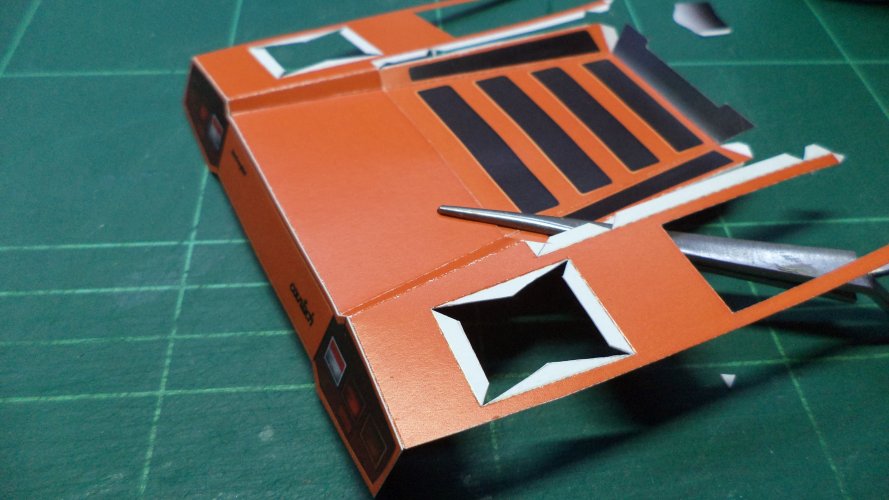
With some careful dry fitting I added the bottom of the rear engine cover to the rear section

MORE ITALIAN AUTOMOTIVE FUN TO FOLLOW SOON....


