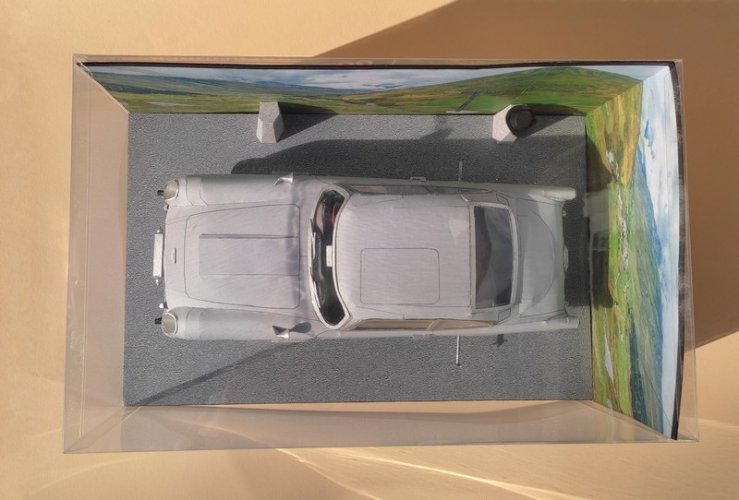
Time to wrap things up (literally!)

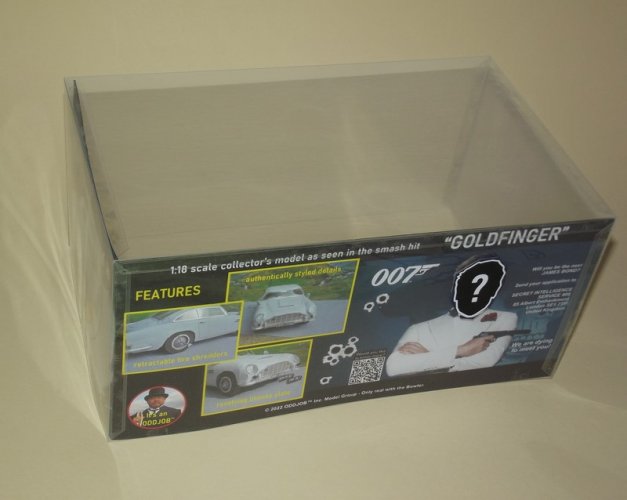
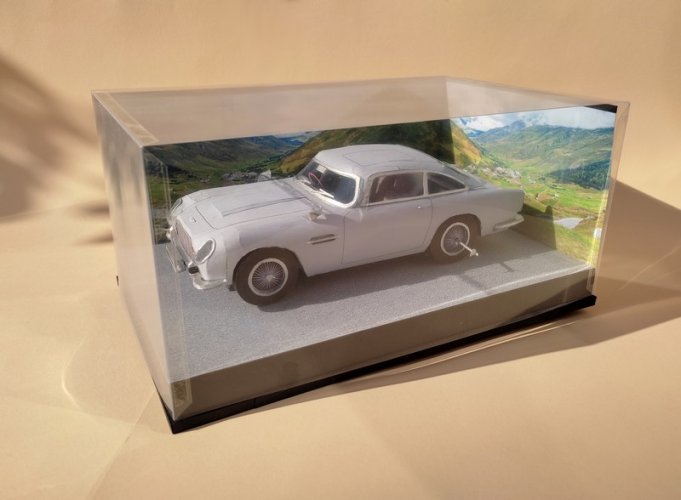
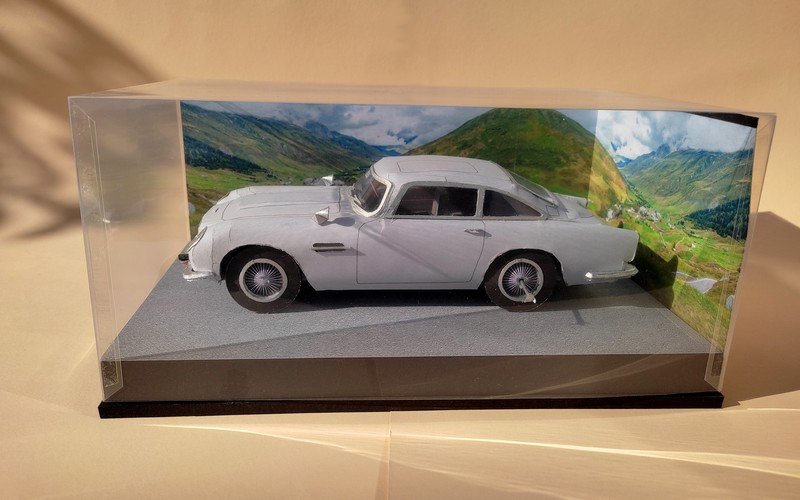
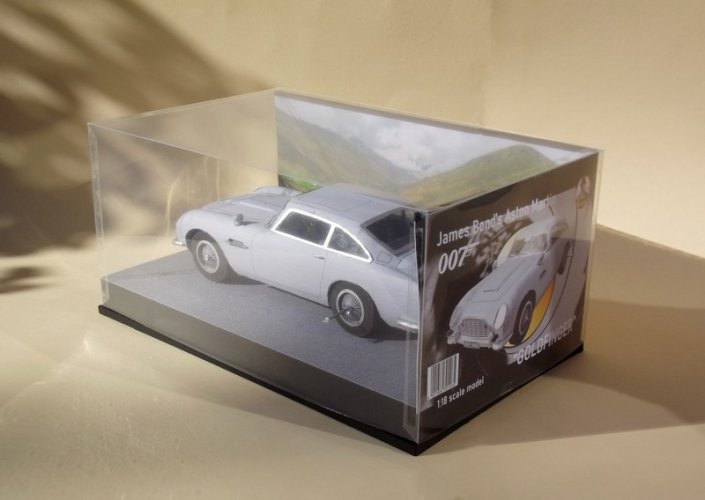
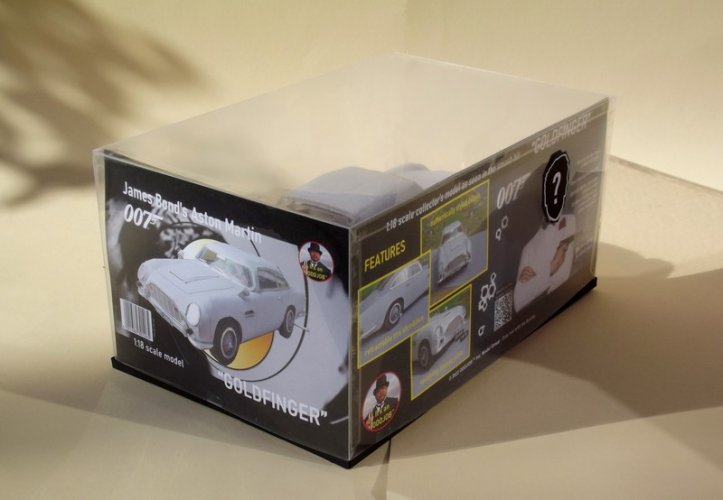
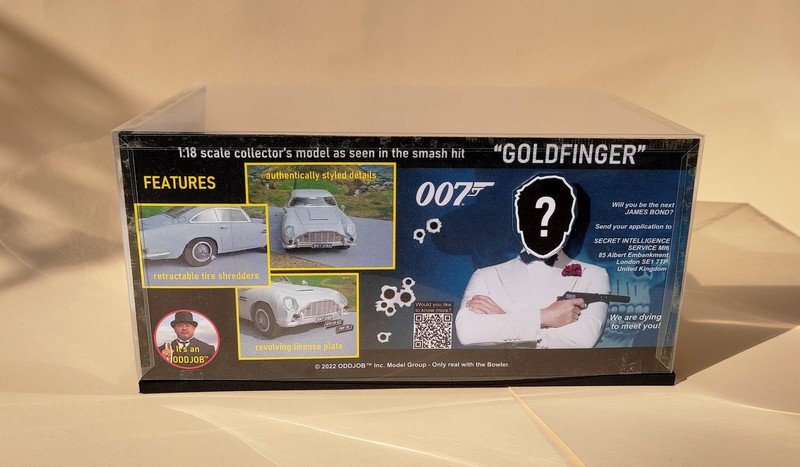
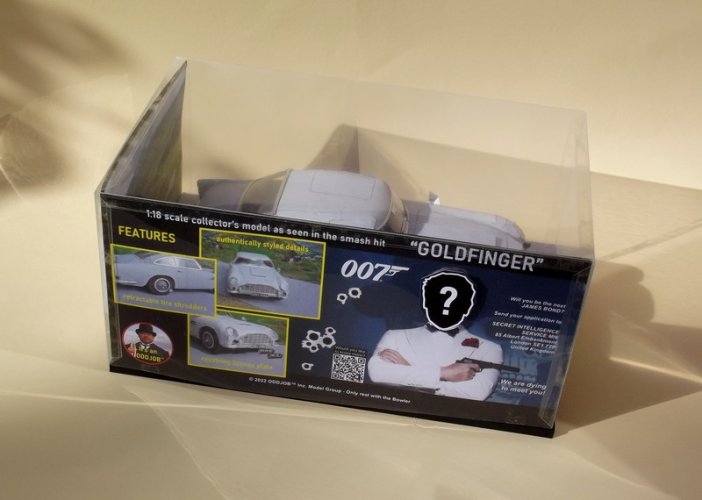
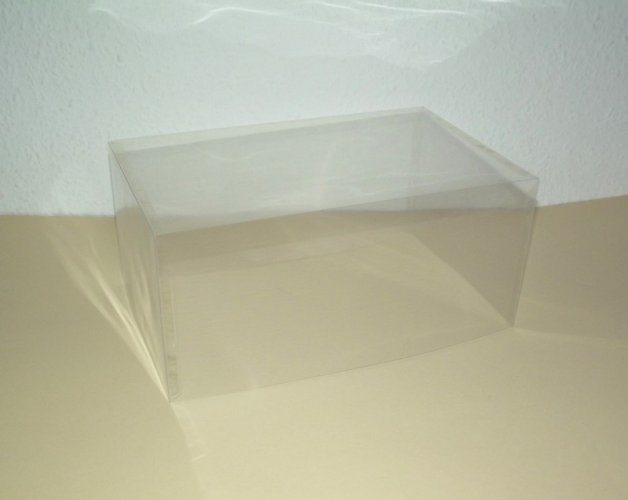
To prepare the model for transport and to protect it from dust and damage it was necessary to build a case for it. First I cut some clear sheet together and built a cover with double-sided tape.
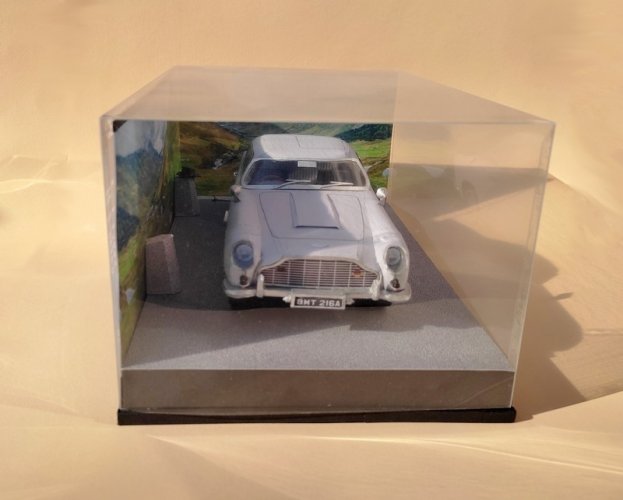
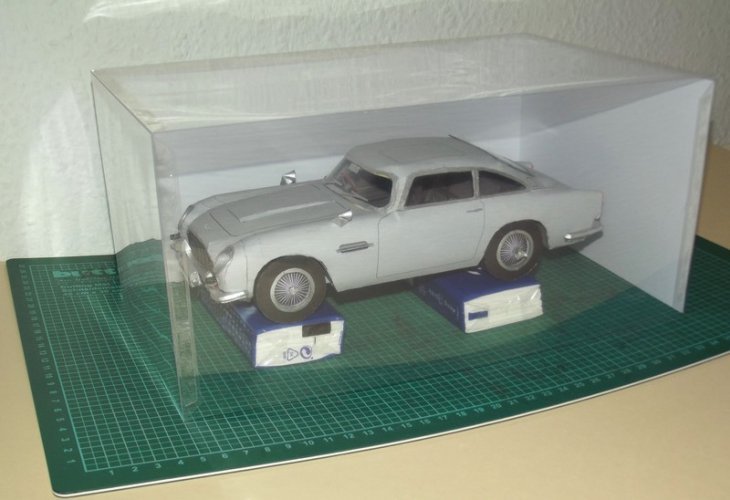
The model is supposed to be presented on an elevated platform. I used two paper towel packages to test how high it should be in the end. 2cm would do.
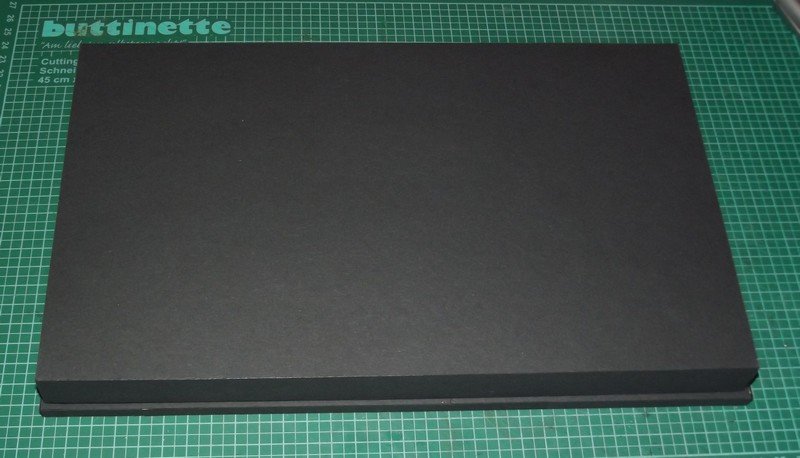
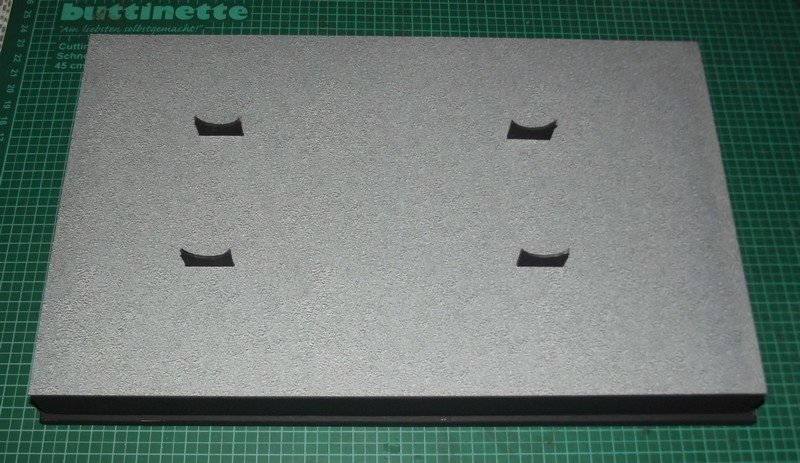
The base was made of thick card. It got a strong internal skeleton from corrugated card.
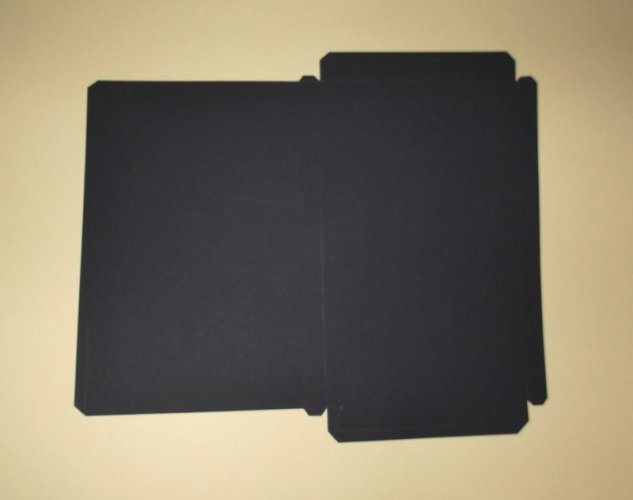
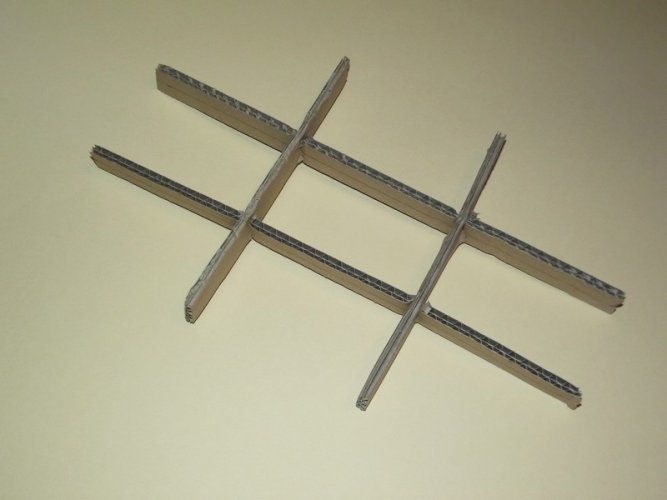
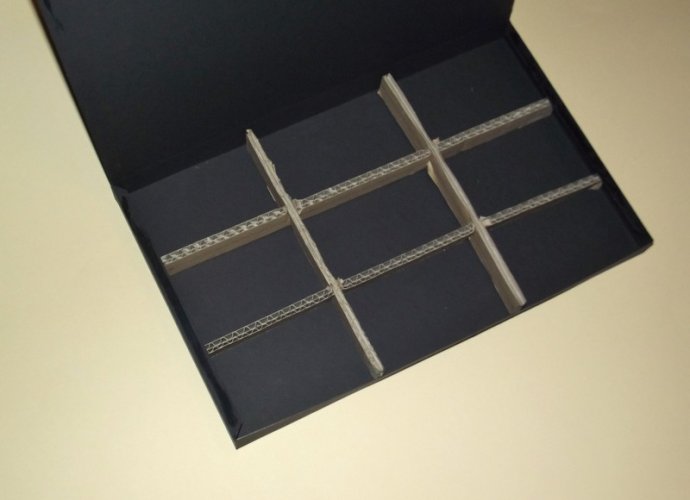
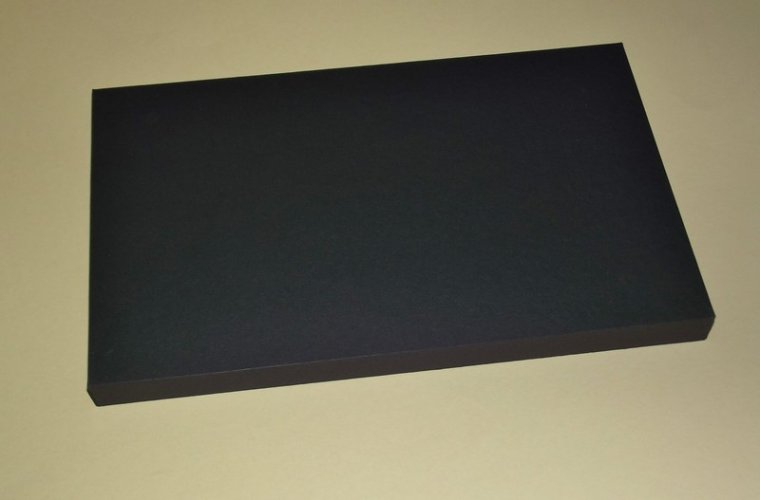
The base is slightly smaller than the clear cover so that it easily slides over it.
Next came a bottom piece made of corrugated card. This was cut slightly larger than the clear cover to prevent it from sliding down. Black card was laminated all around.
Since the base part will cover the majority of the plate I did not have to pay attention to a clean look and was able to use leftover pieces of various sizes.
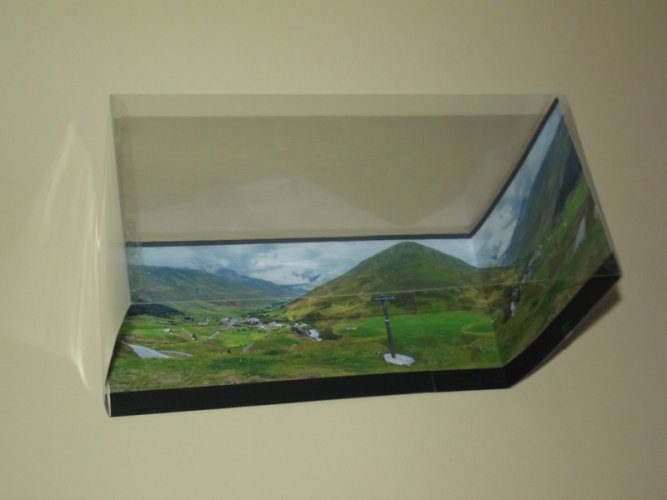
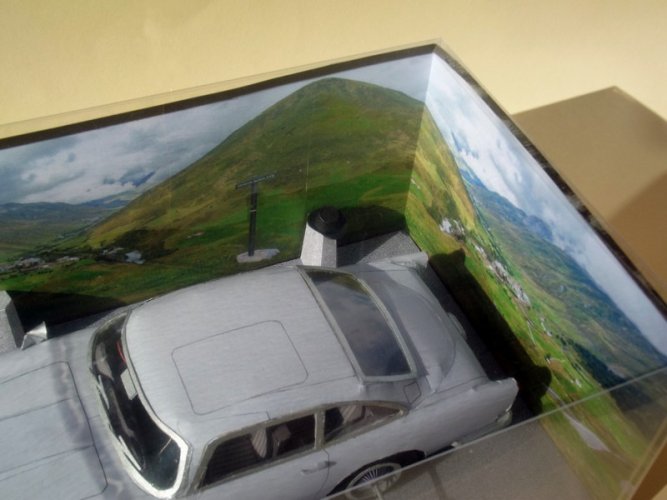
The box needed an inlay. Front and back side were printed and laminated back to back:
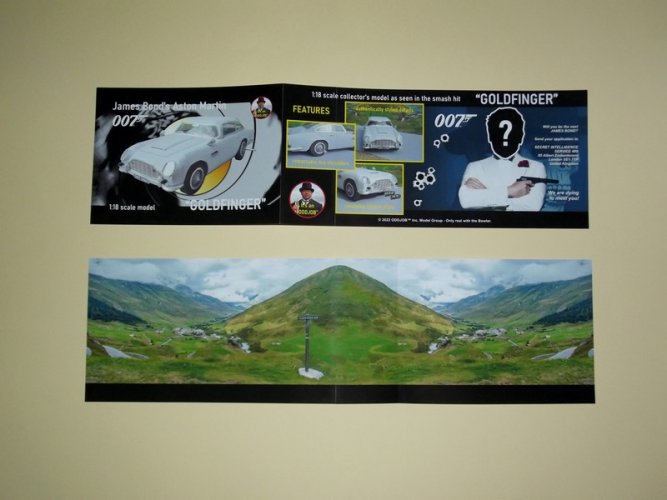
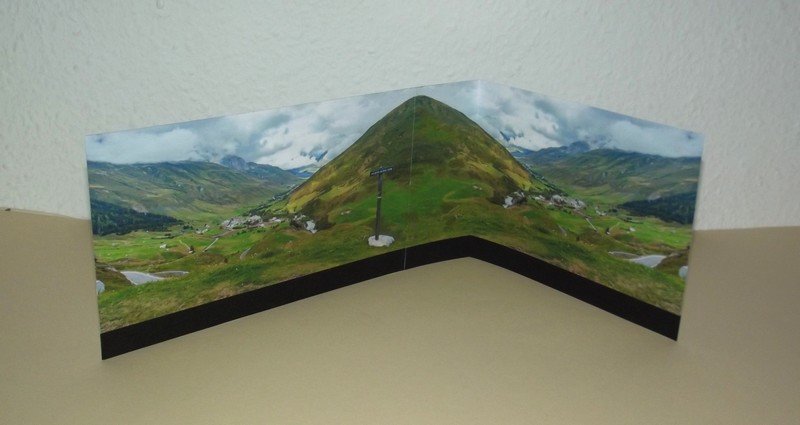
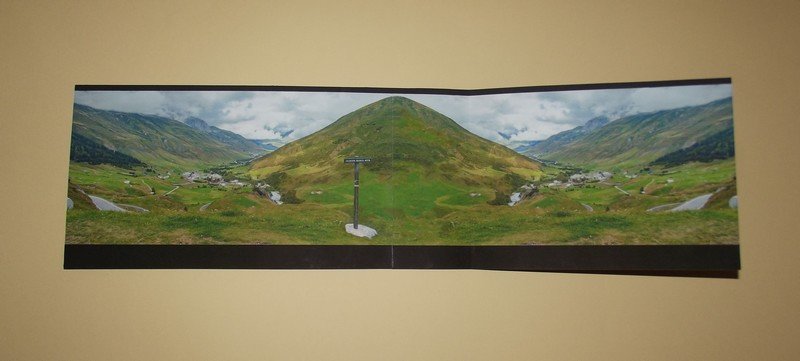
During edge-painting some of the black ink bled through to the landscape image. I fixed that by adding a 5mm wide strip of black card. The result looked even better than before because the black rim gave everything a widescreen look.
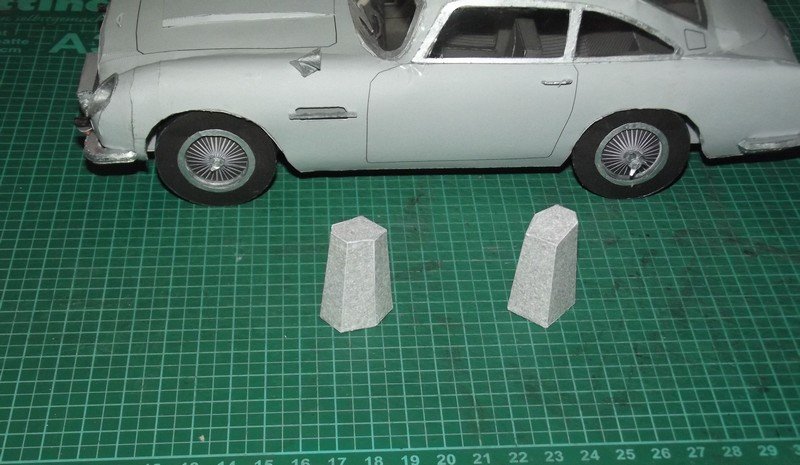
To flesh out the scene I made two stone pillars.
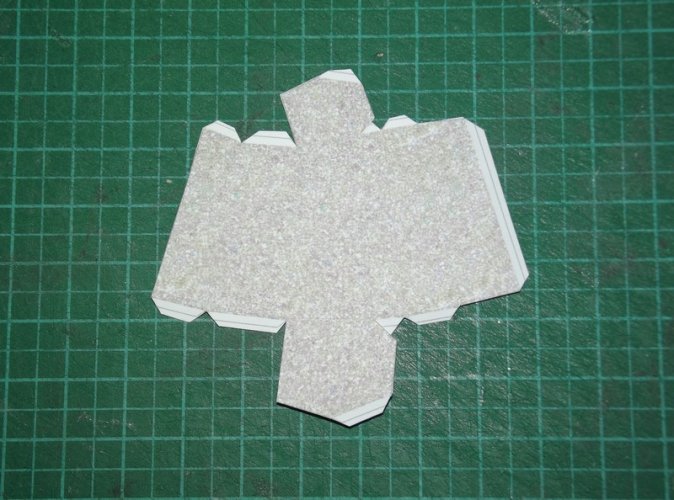
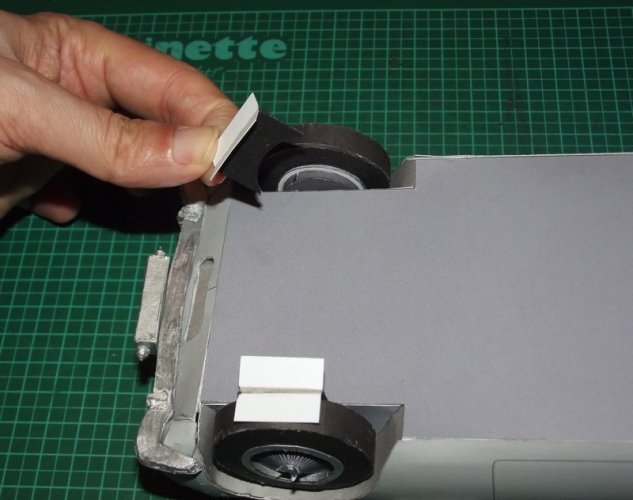
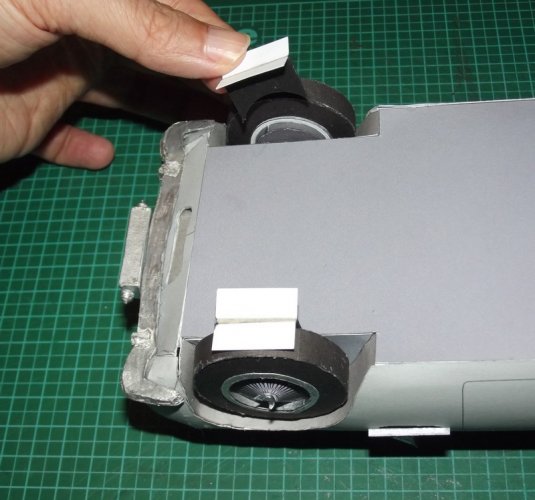
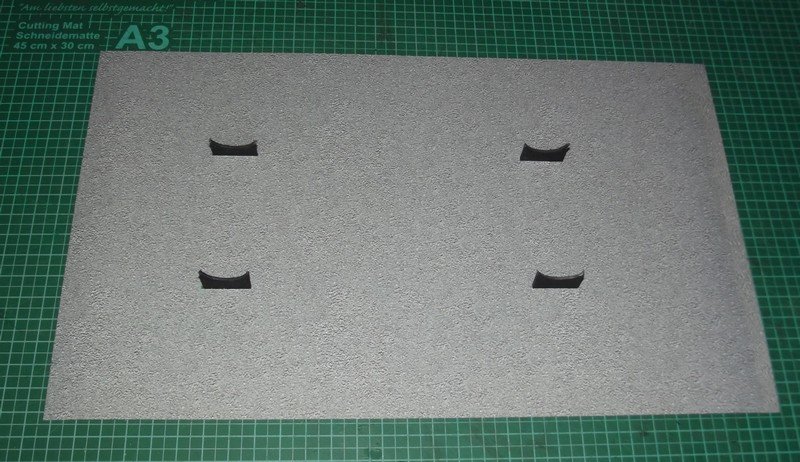
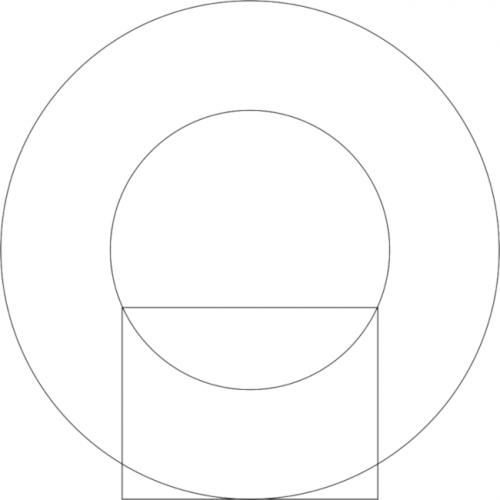
To make sure that the car does not slide back and forth I made some easy mounts. I figured that it was best to put them between the wheels and the chassis and have the wheels hide them. I made a quick sketch to determine their shape:
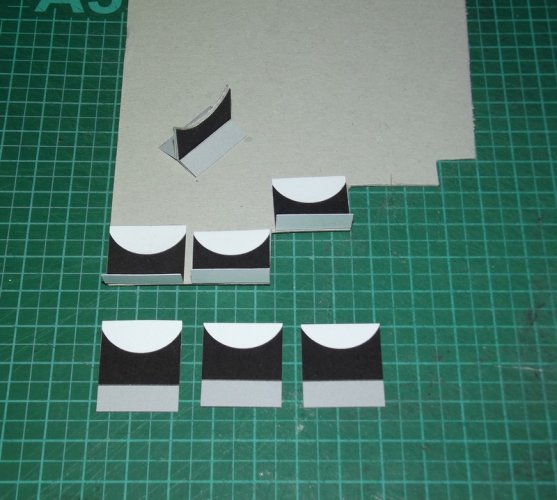
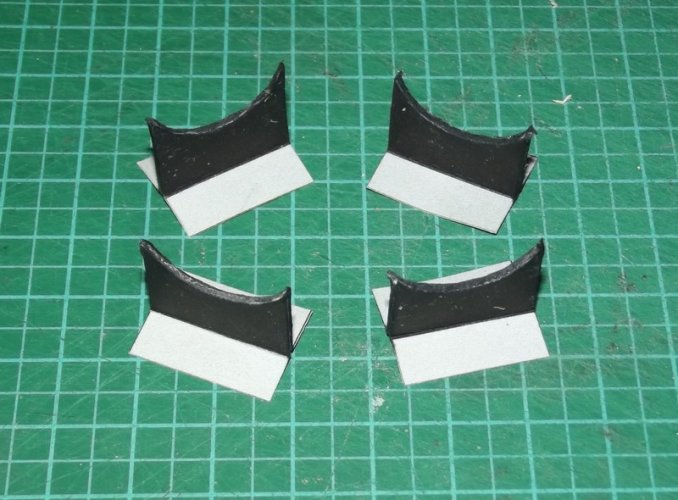
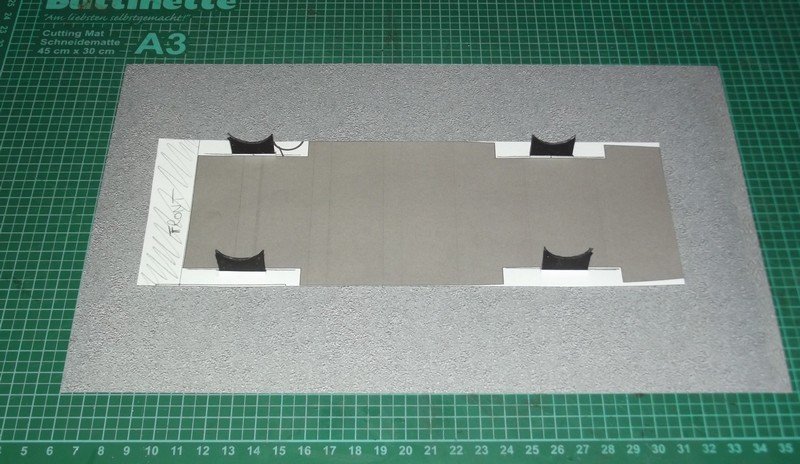
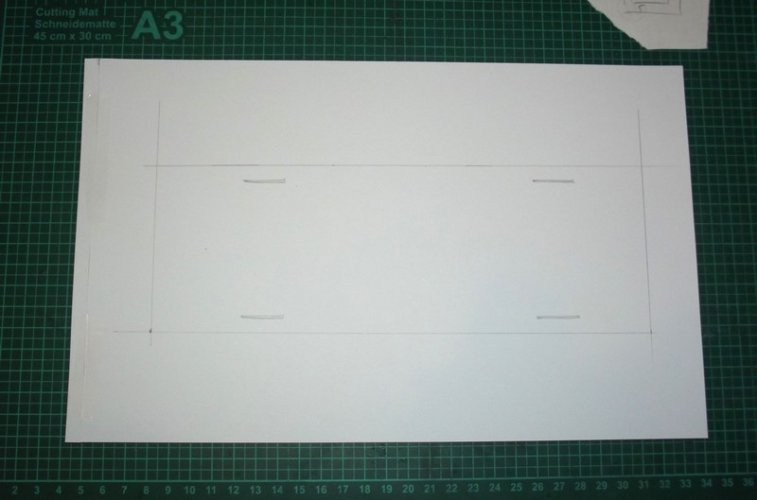
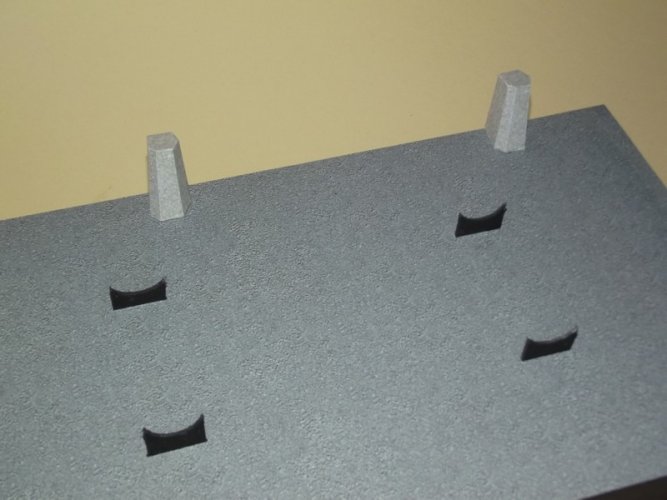
To find out where they had to be attached to the base I printed the bottom piece of the model and used this as a stand-in:
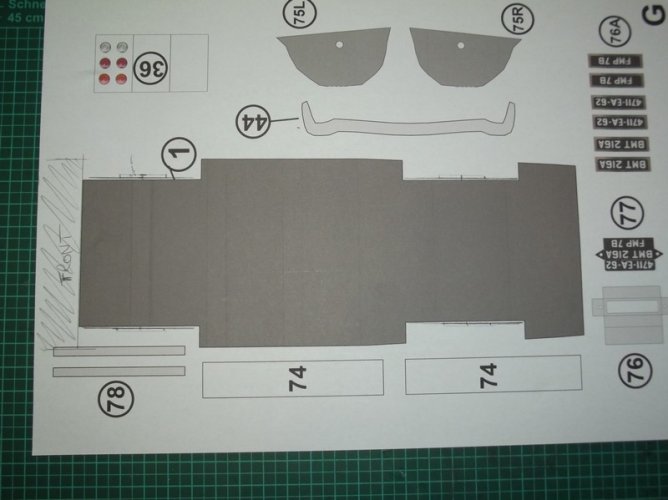
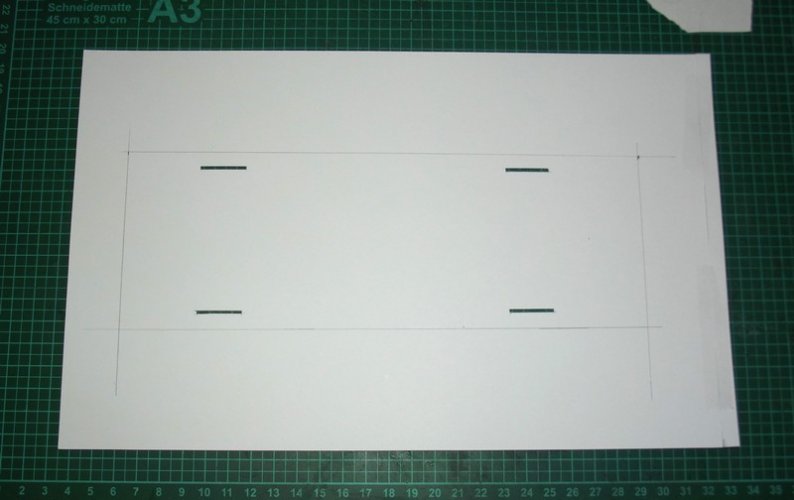
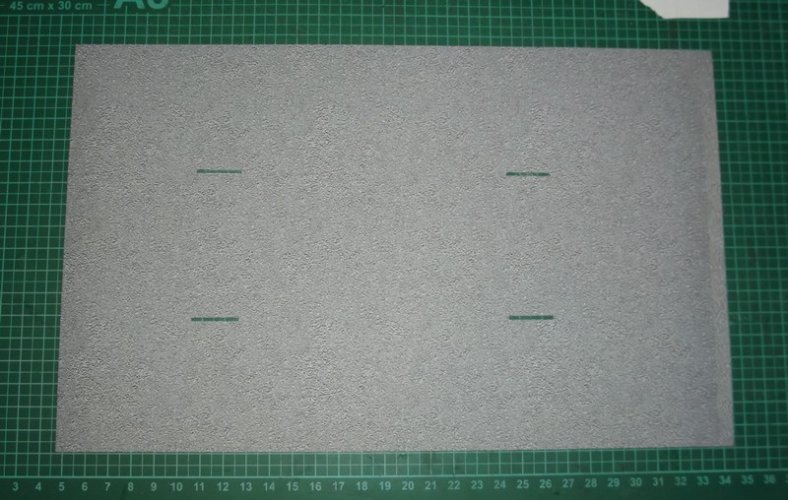
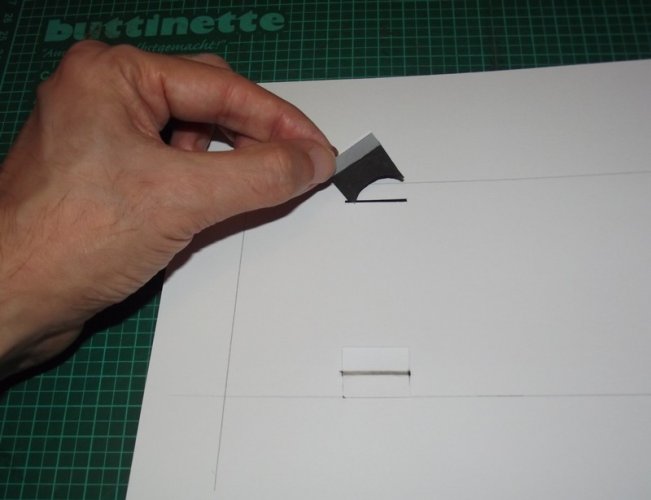
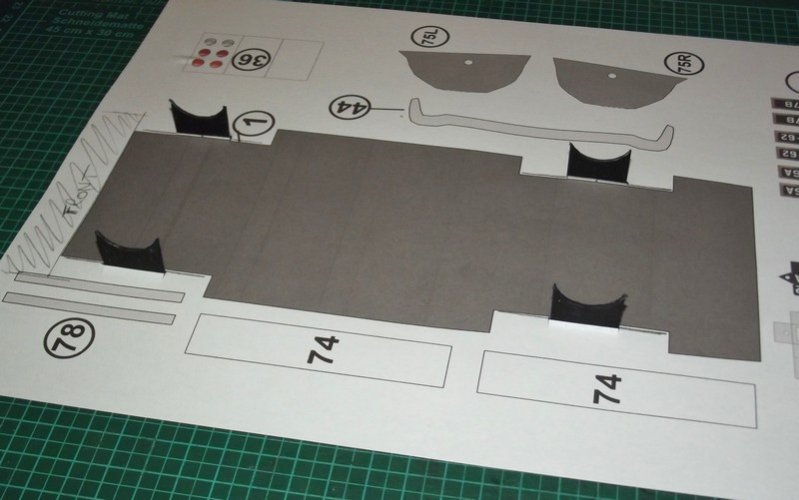
I marked the areas where the additional wheel mounts of the car were located and cut some holes into the page. Then I pushed the model mounts through the cuts:
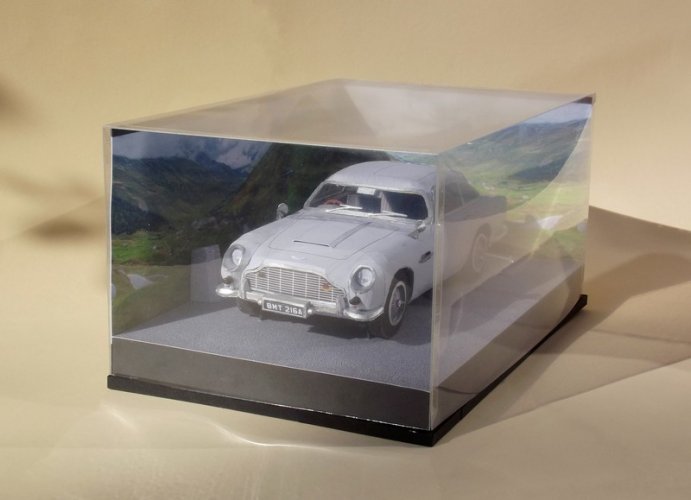
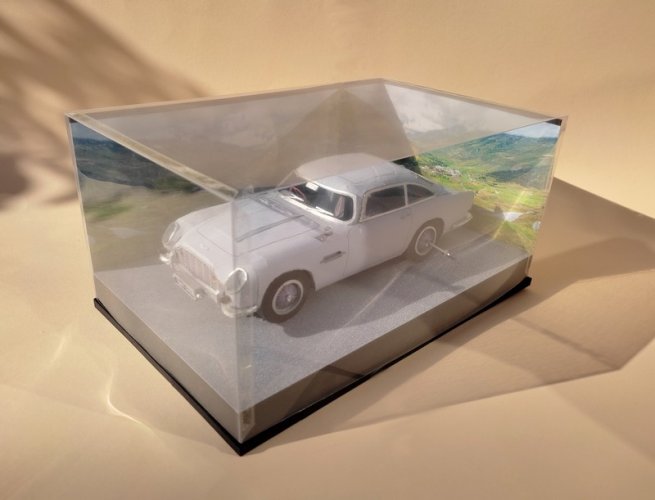
Finally the car was put into place to check if everything worked as planned:
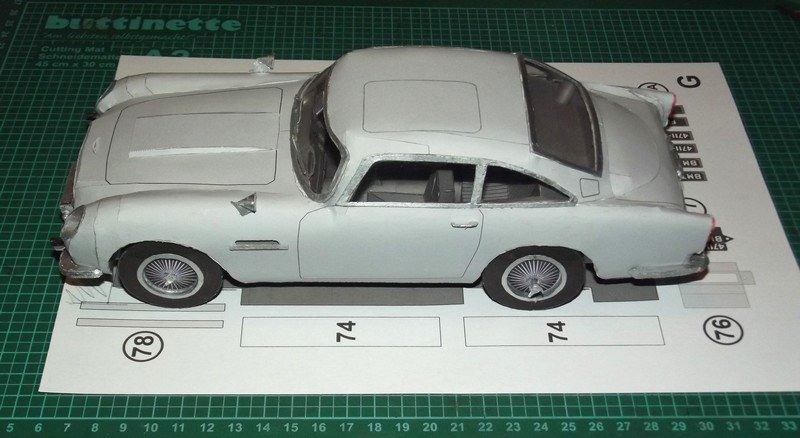
Success! The mounts are almost invisble. They grab the car between the wheels and the chassis and hold everything in place securely.


