Imperial Lambda-class T-4a shuttle TYDIRIUM
- Thread starter mijob
- Start date
You are using an out of date browser. It may not display this or other websites correctly.
You should upgrade or use an alternative browser.
You should upgrade or use an alternative browser.
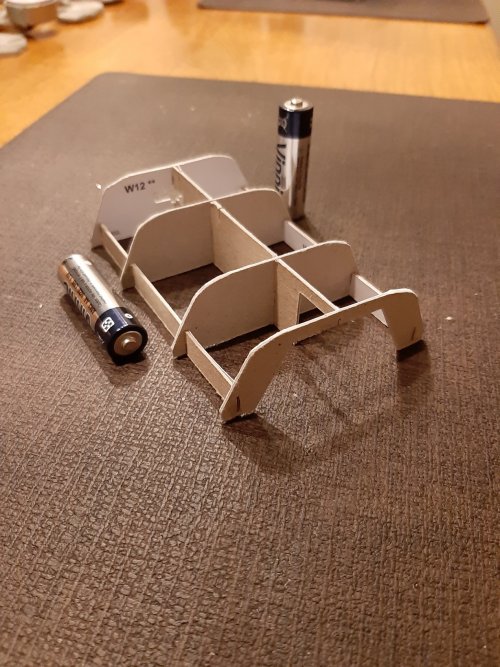
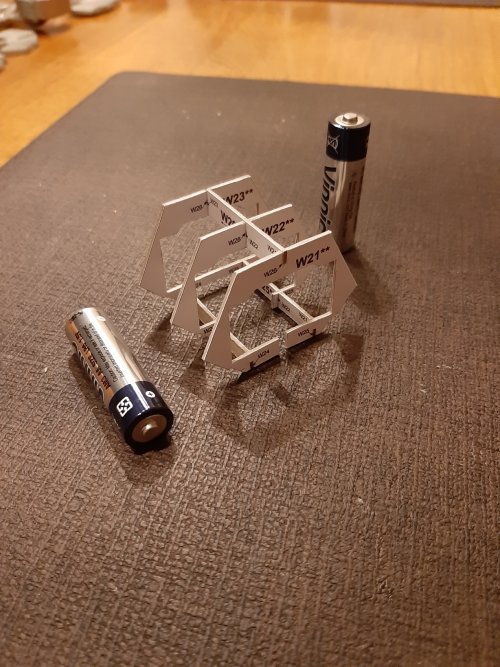
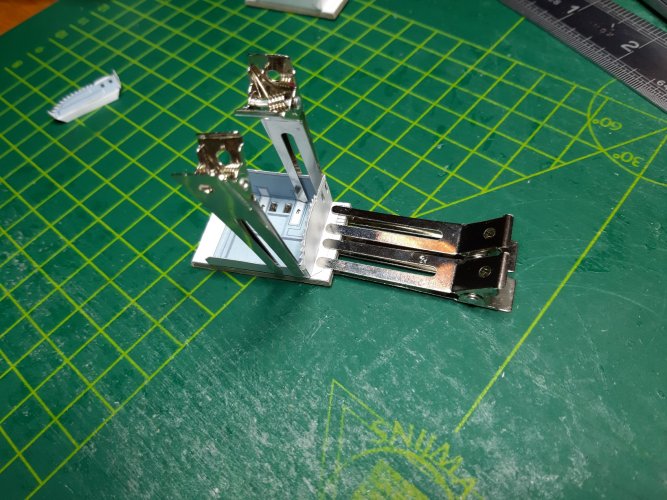
The Rebels knew for sure why they captured this one.Quite a lot of structural support in this model - some models you get nothing, and this has tons!
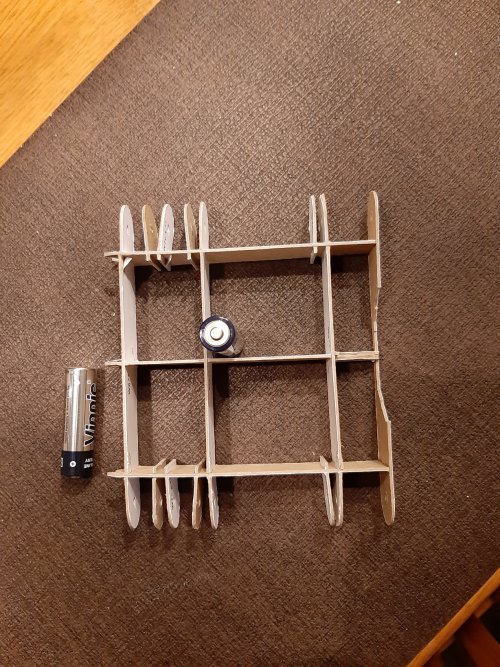
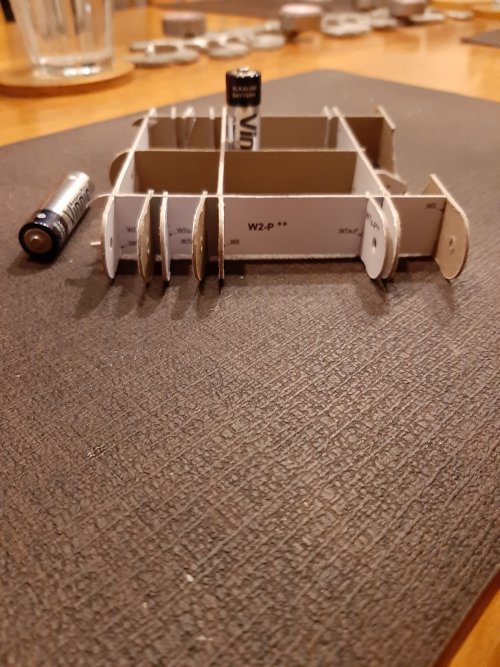
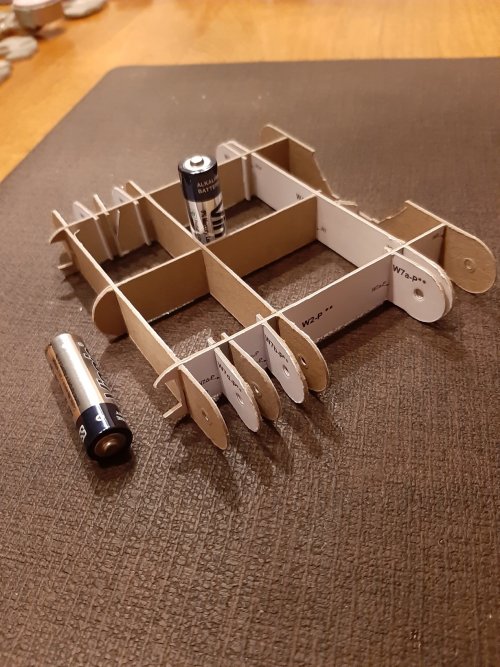
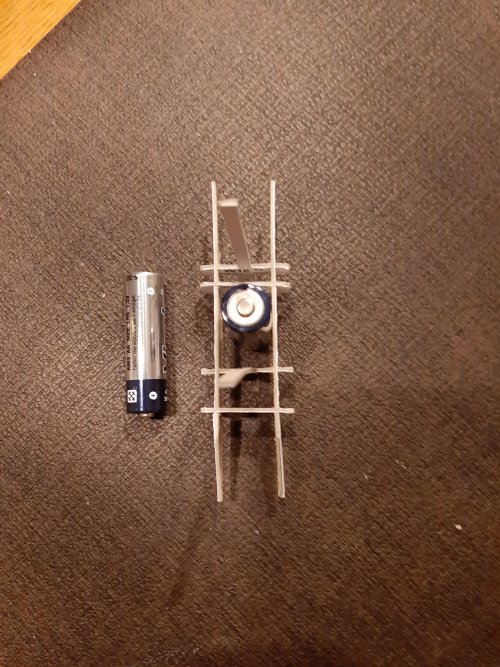
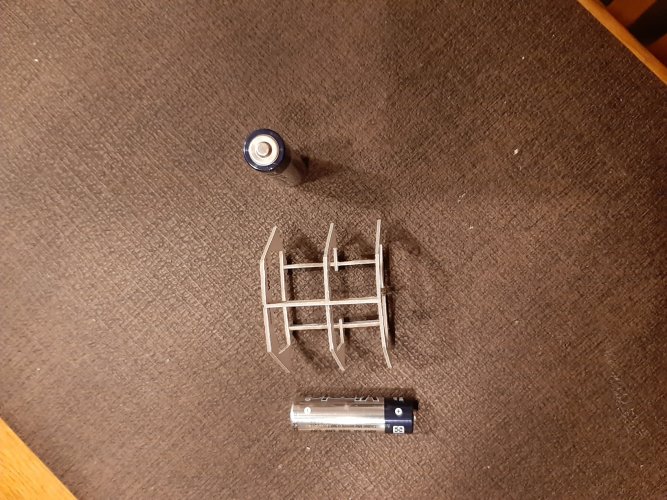
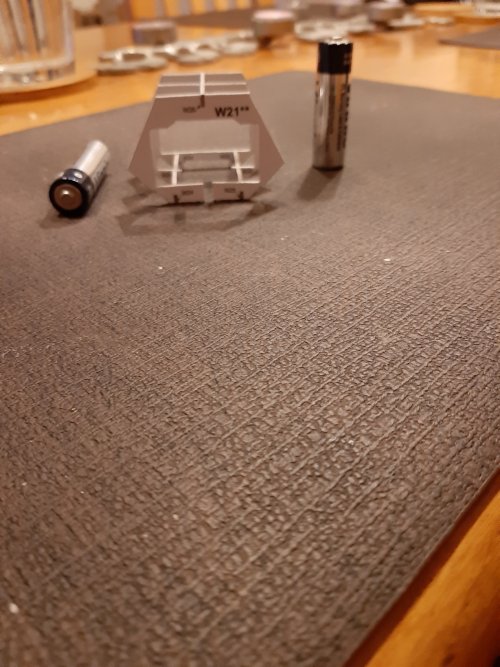
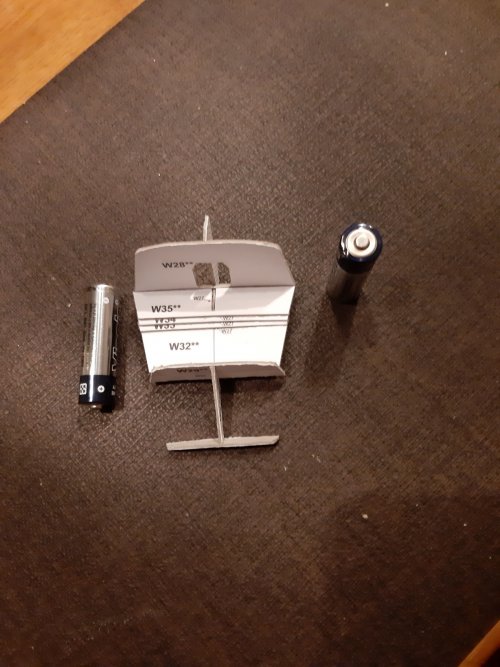
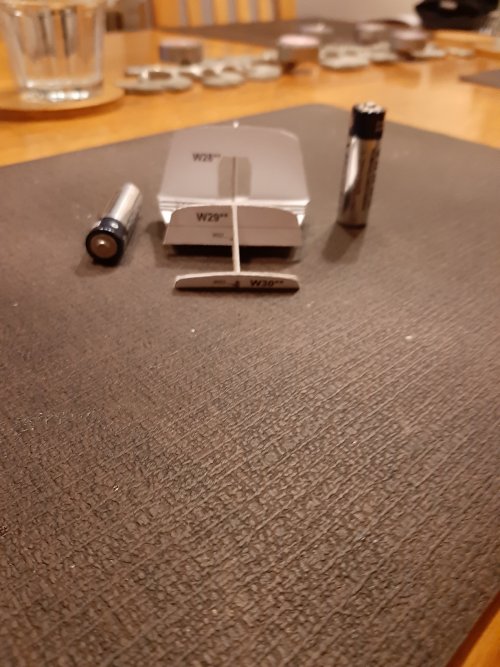
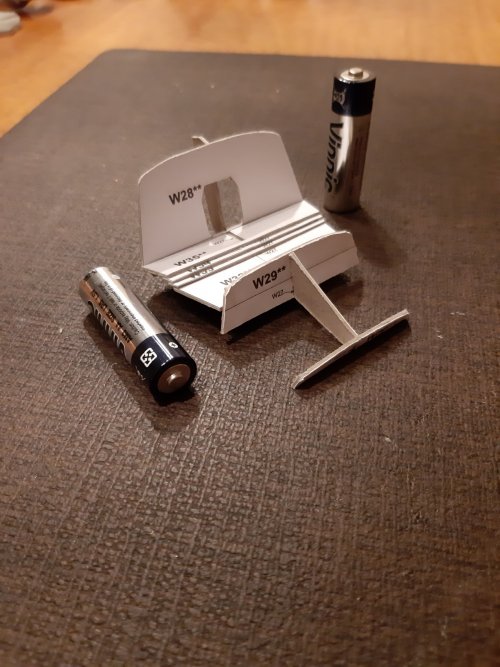
Im thinking to add some LED to this model I think I have enough space in the frame work and maybe in the wings.
I will take a good look when I assemble the rest.
And yes I already have the AA batteries Chuffy!
I will take a good look when I assemble the rest.
And yes I already have the AA batteries Chuffy!
You do indeed matey, go for it! Could prove an interesting challengeIm thinking to add some LED to this model I think I have enough space in the frame work and maybe in the wings.
I will take a good look when I assemble the rest.
And yes I already have the AA batteries Chuffy!
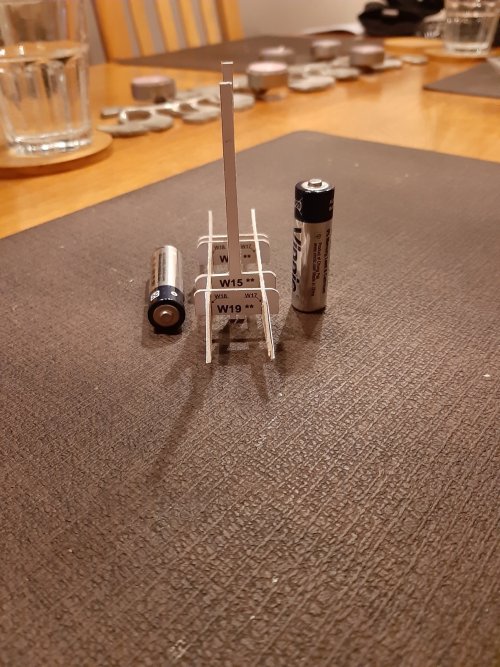
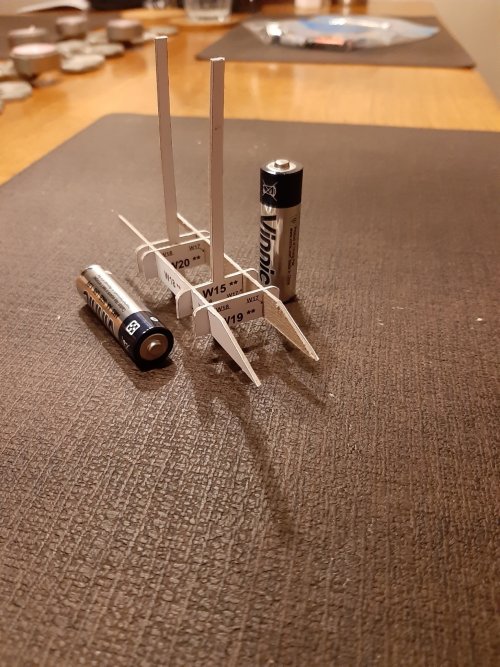
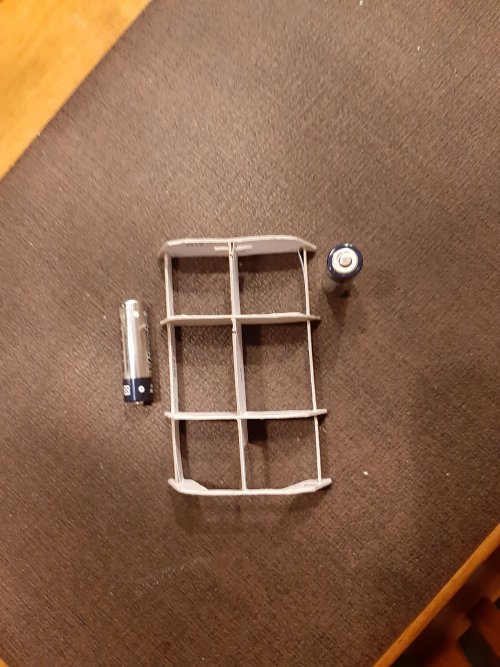
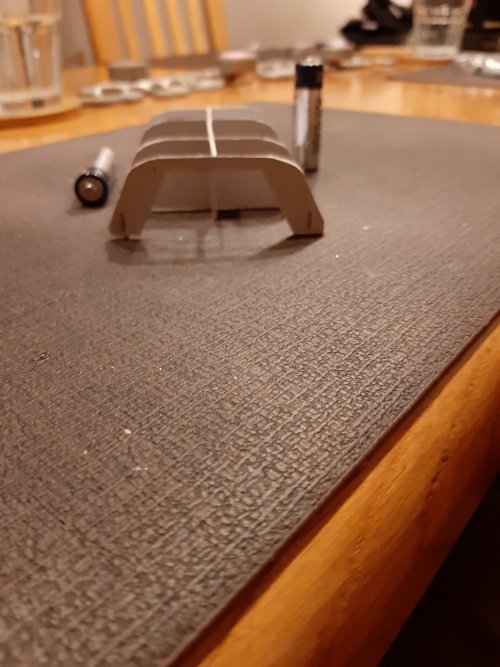
Time to make the landing gear hinge.
In advance I can tell you its a bit of a challenge to figure out to assemble it. But after a few hours I made all four hinges.
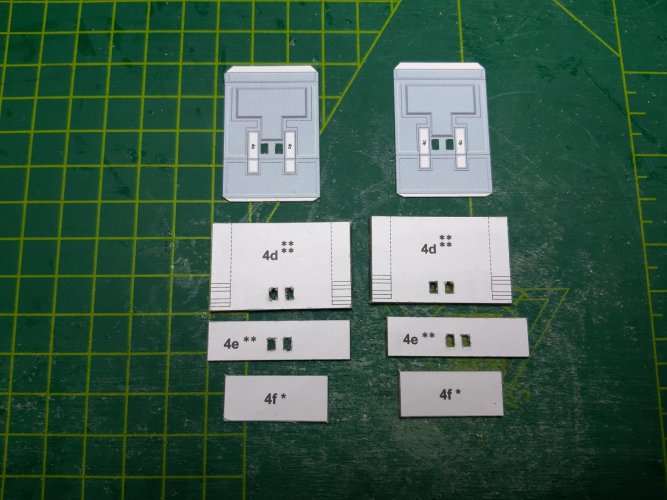
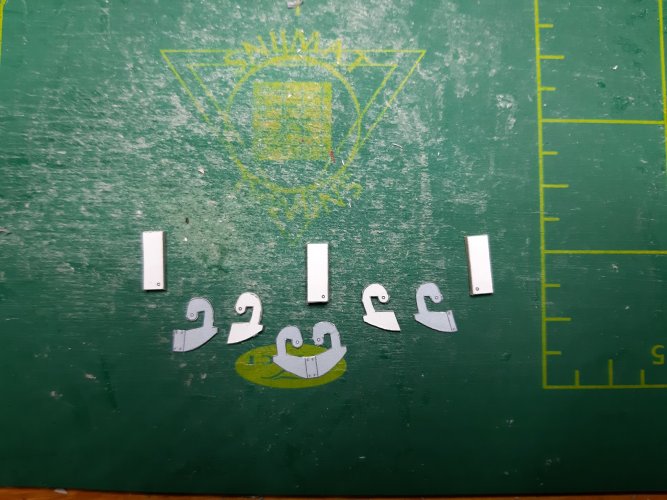
Lets start with the parts that you need to cut.
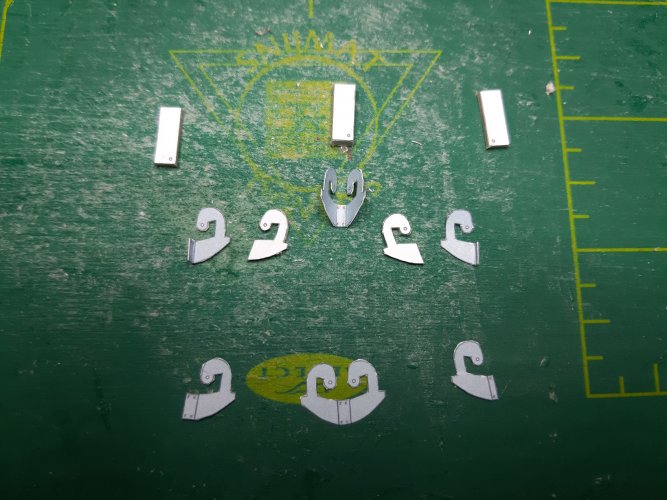
Then score and fold the parts.
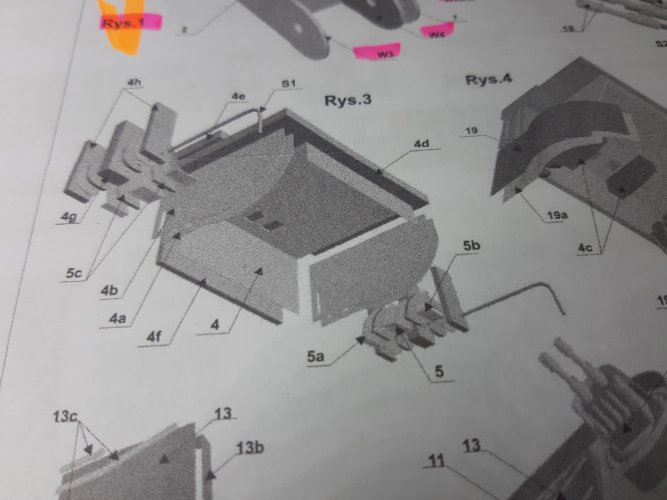
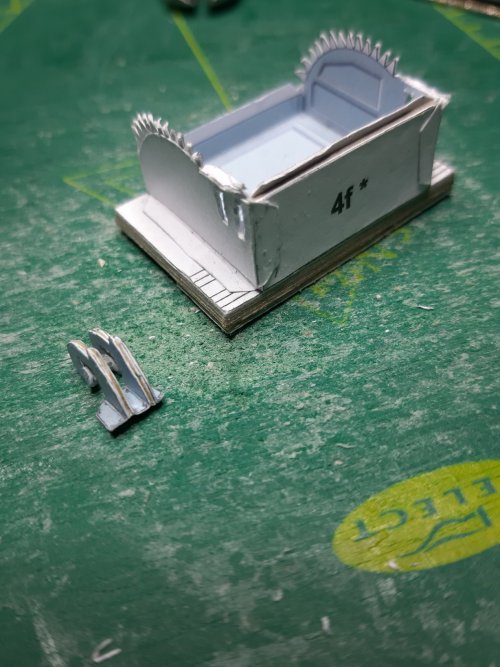
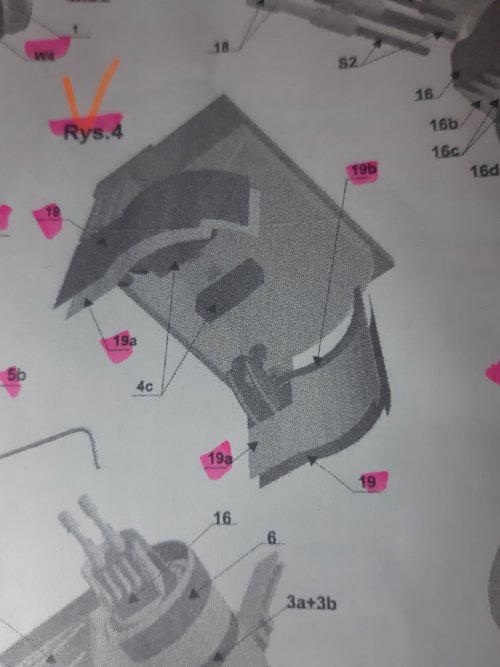
Then assemble the parts as shown in the instruction. It was a pain to figure it out.
Next up drill some holles. I used 0.4 and 0.6 mm drill. Between the drilling I used extra glue to get a cleaner holle.
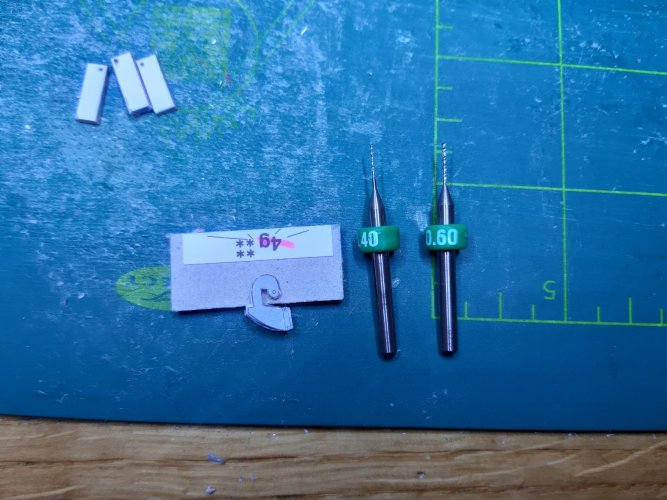
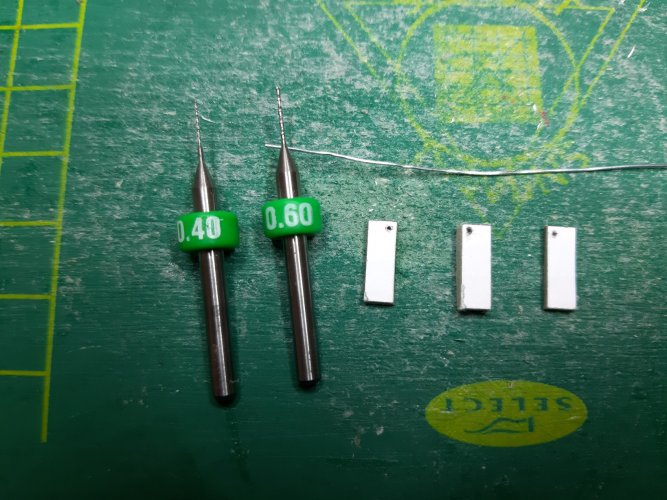
Then attach the hinge to the side panel of the well.
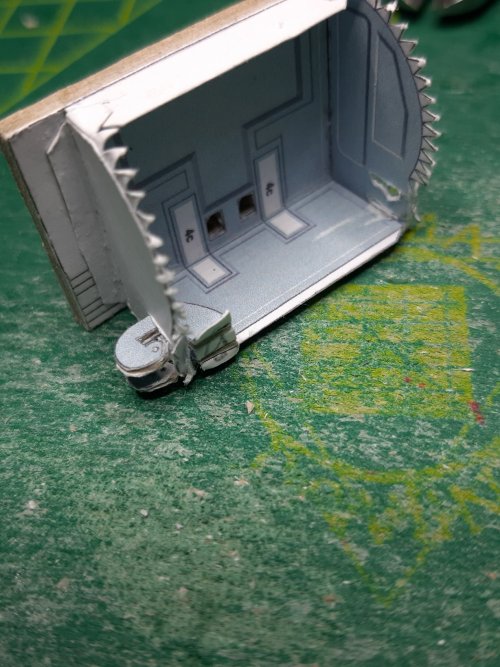
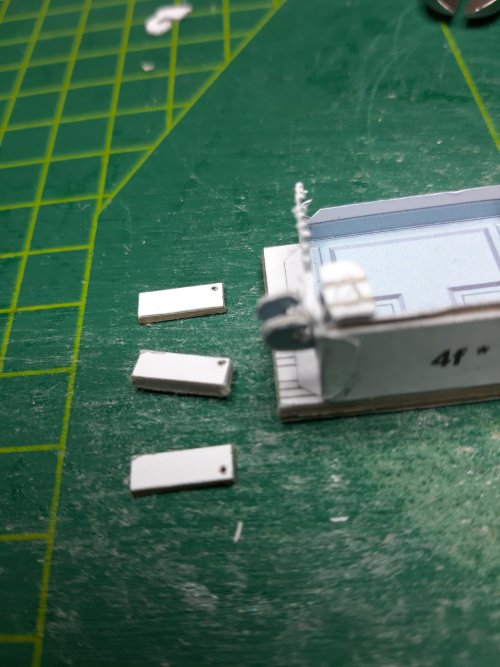
For a working hinge we need a 0.5 mm metal rod and form it. To form you can use the template.
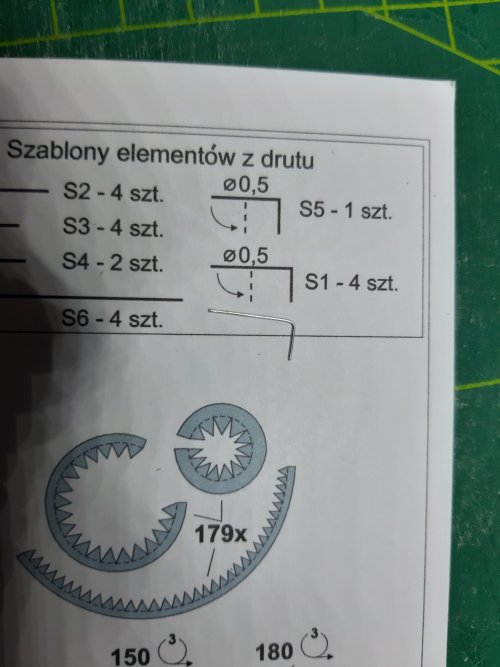
After this place it in the parts to make a working hinge. Use plenty of glue to hold the parts at the side of the well panel. See red circle.
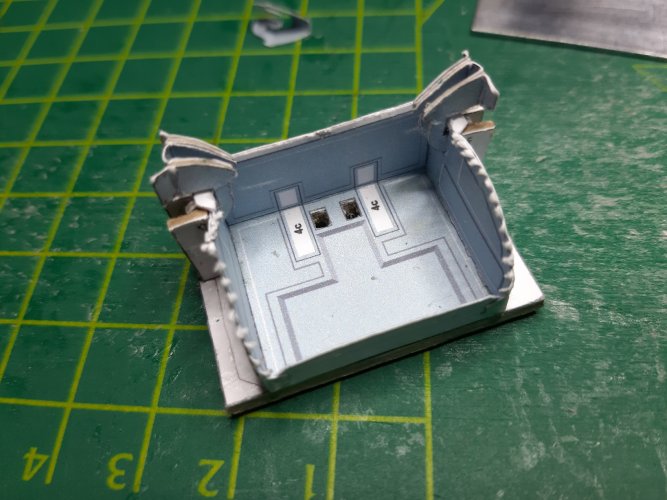
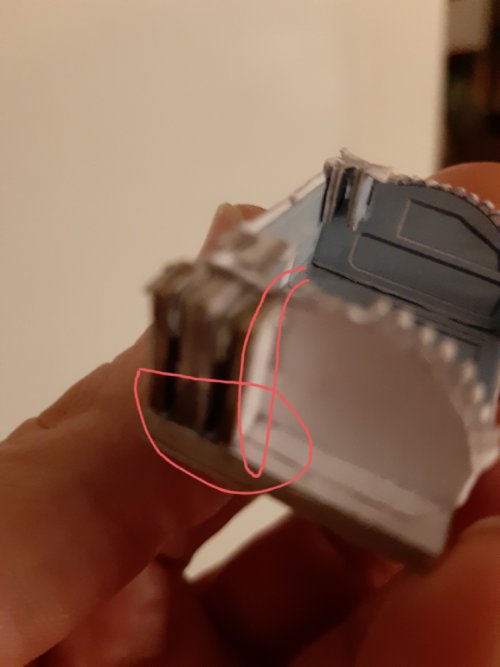
Yust only the side and the lower part. Otherwise the hinge will not work.
If all went good you end up with two working hinges.
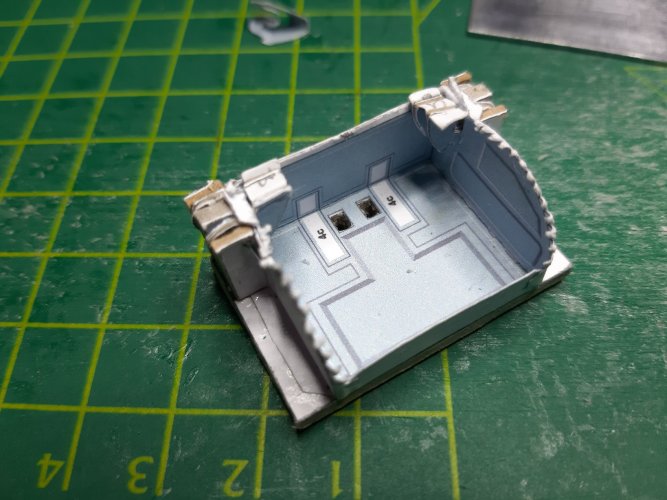
In advance I can tell you its a bit of a challenge to figure out to assemble it. But after a few hours I made all four hinges.
Lets start with the parts that you need to cut.

Then score and fold the parts.

Then assemble the parts as shown in the instruction. It was a pain to figure it out.

Next up drill some holles. I used 0.4 and 0.6 mm drill. Between the drilling I used extra glue to get a cleaner holle.


Then attach the hinge to the side panel of the well.


For a working hinge we need a 0.5 mm metal rod and form it. To form you can use the template.

After this place it in the parts to make a working hinge. Use plenty of glue to hold the parts at the side of the well panel. See red circle.


Yust only the side and the lower part. Otherwise the hinge will not work.
If all went good you end up with two working hinges.

THE DC
Highly Esteemed Member
I made the landing gear doors.
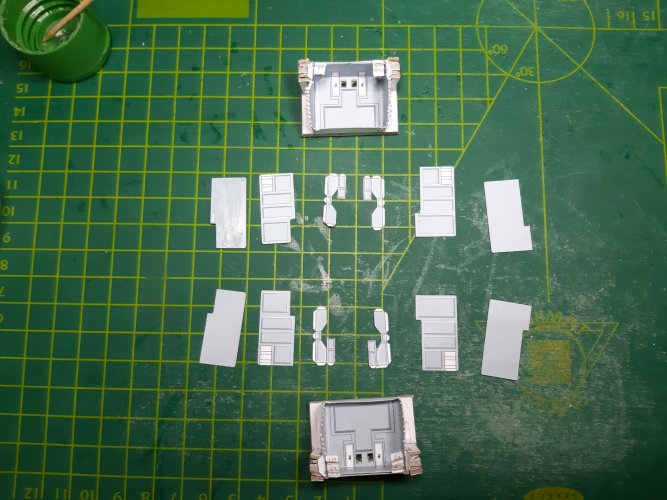
The parts that you need to cut.
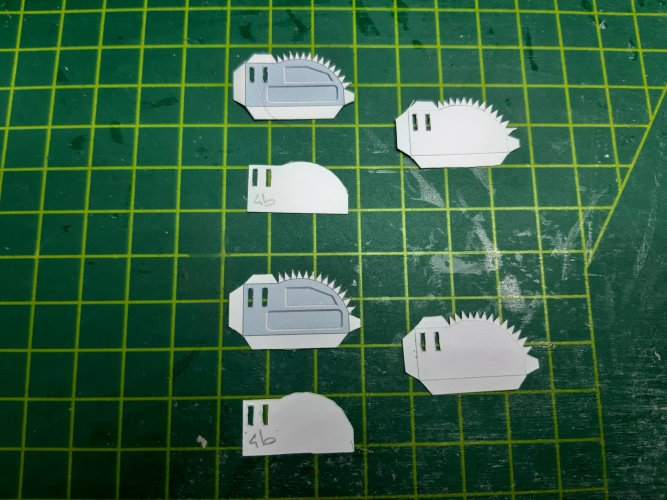
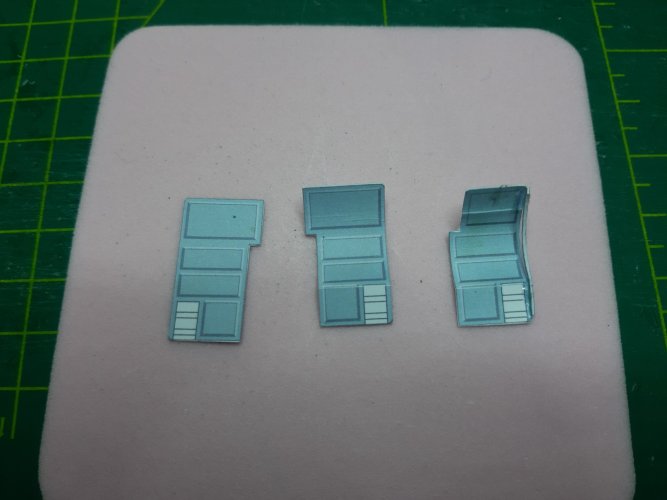
Glue the door halfs together and preform them.

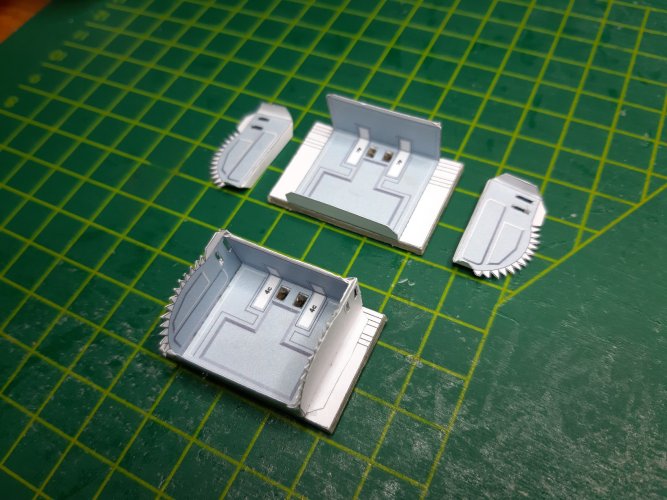
Glue the side part on the doors. First glue the part at the top. After a few minutes you can glue the rest.
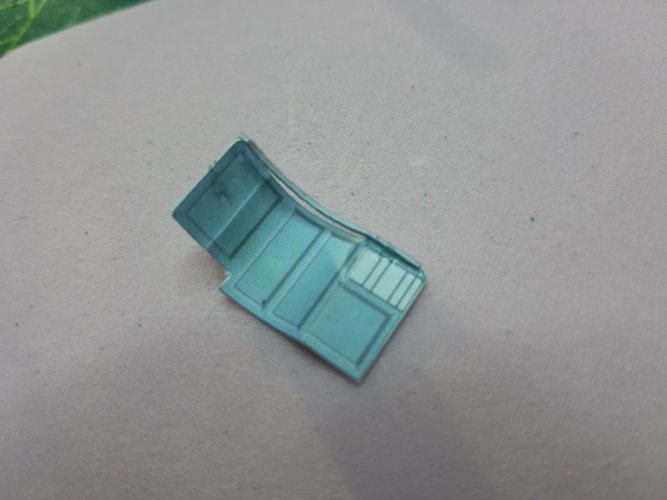
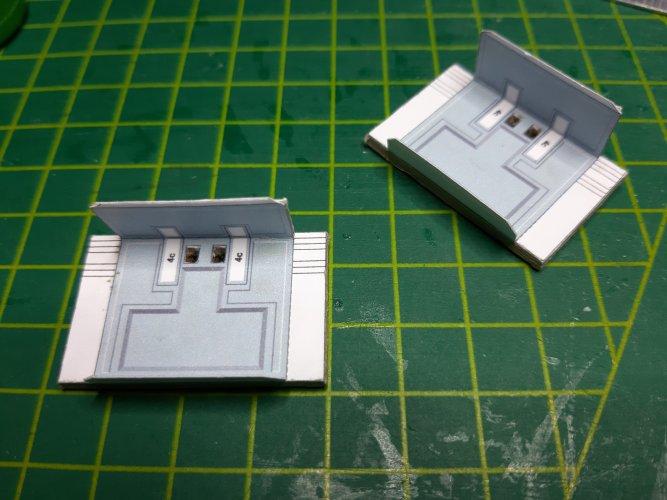
This part will be glued into the well. score and fold the lines. I have used an ectra gluetab to make the assembly easier.
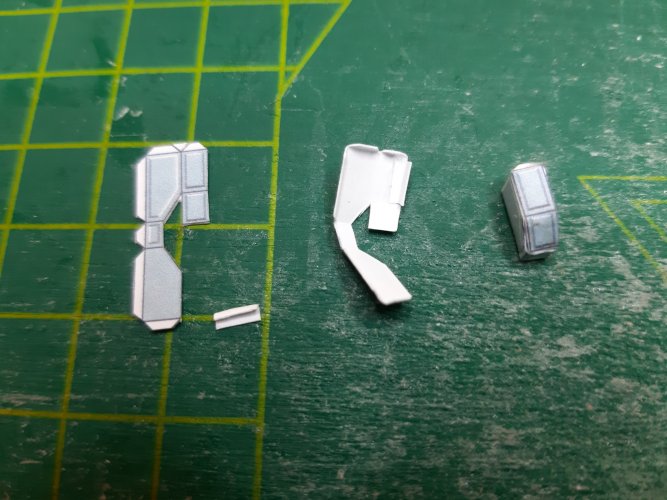
All parts are done. Dont glue the doors on the hinges yet..
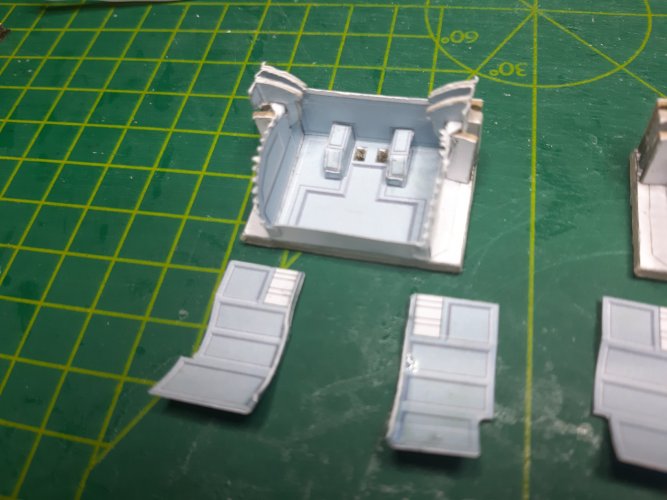

The parts that you need to cut.

Glue the door halfs together and preform them.


Glue the side part on the doors. First glue the part at the top. After a few minutes you can glue the rest.

This part will be glued into the well. score and fold the lines. I have used an ectra gluetab to make the assembly easier.

All parts are done. Dont glue the doors on the hinges yet..

Last edited:
I hope this thread will help others to build it.I believe that's why so few have been attempted. They sure do look great when finished.
This is another reason why I am following this thread. This model is on my list of models that I really want to build.I hope this thread will help others to build it.
I can already see that this template has a great deal of greebling potential.
Yes you can greeble a lot of parts.This is another reason why I am following this thread. This model is on my list of models that I really want to build.
I can already see that this template has a great deal of greebling potential.
He greebles parts you have never thought of greebling.Yes you can greeble a lot of parts.


