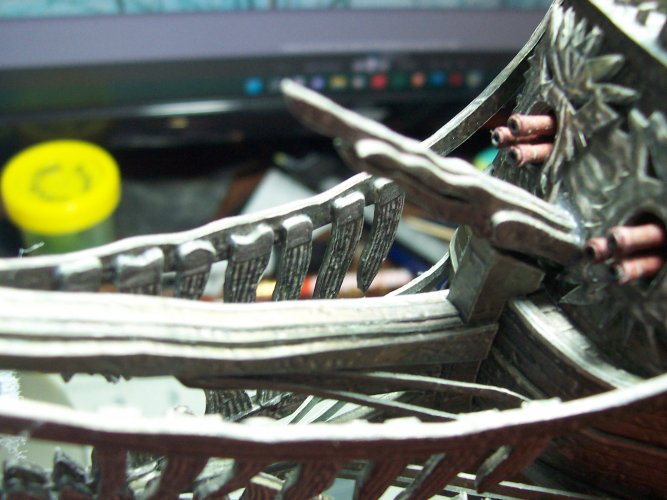
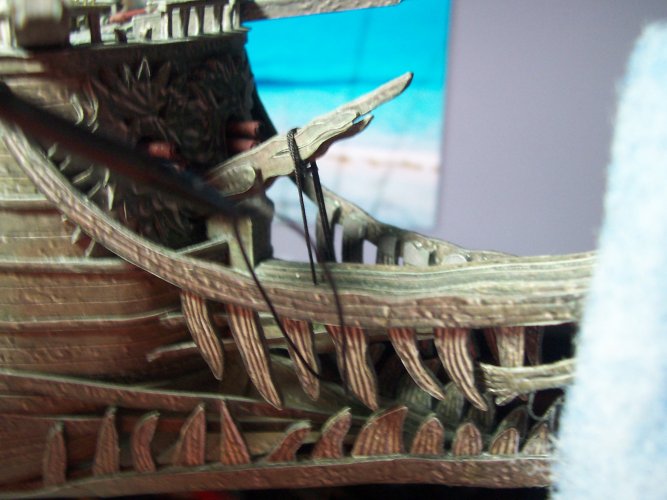
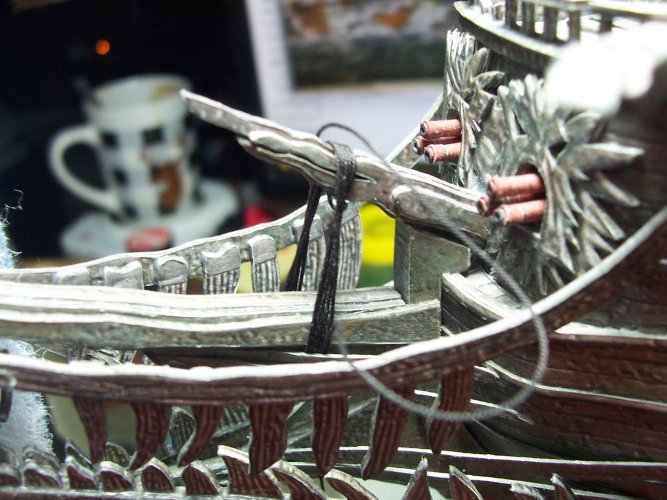
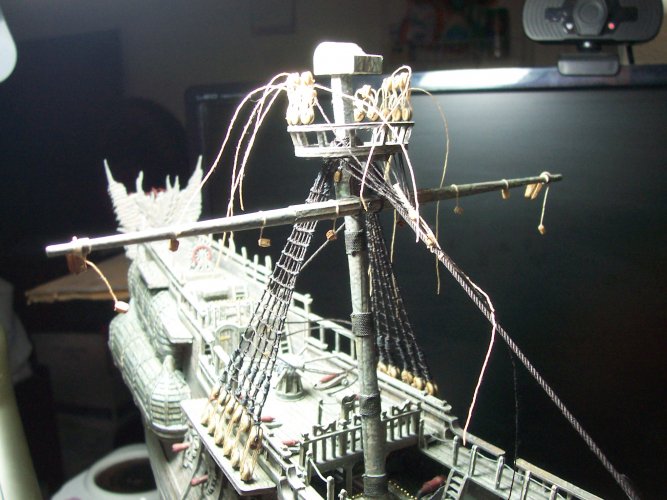
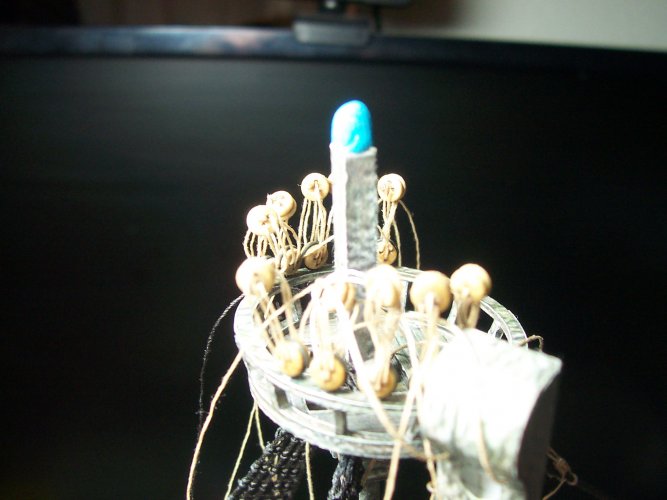
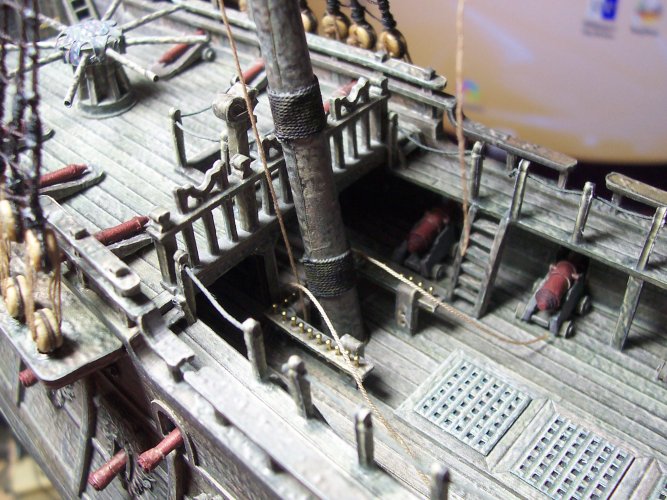
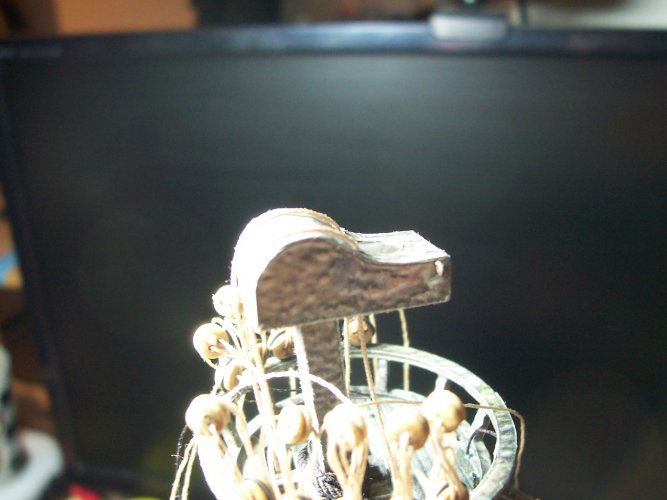
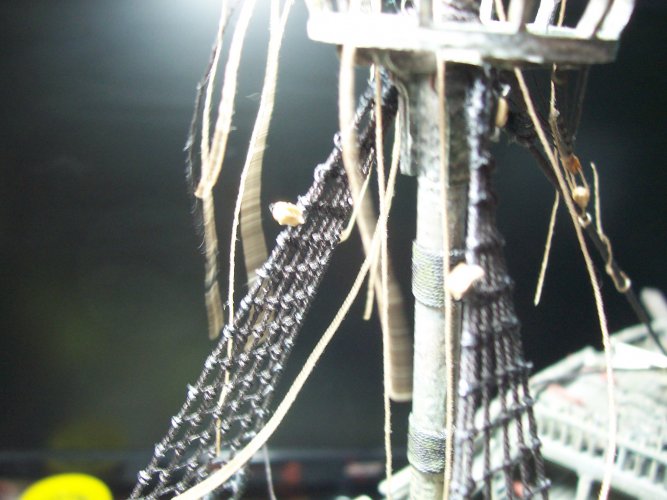
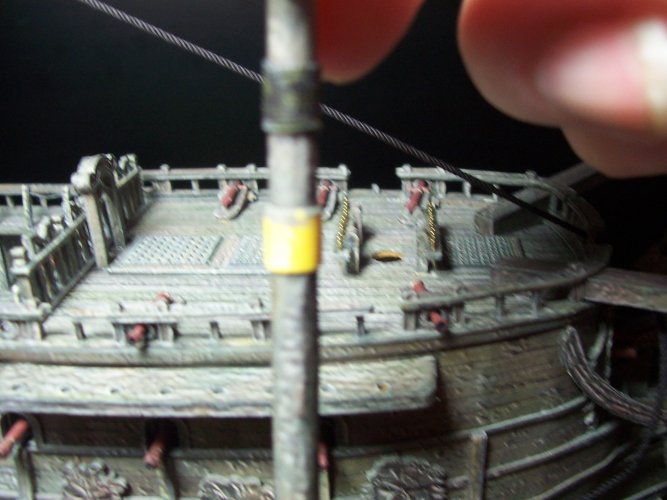
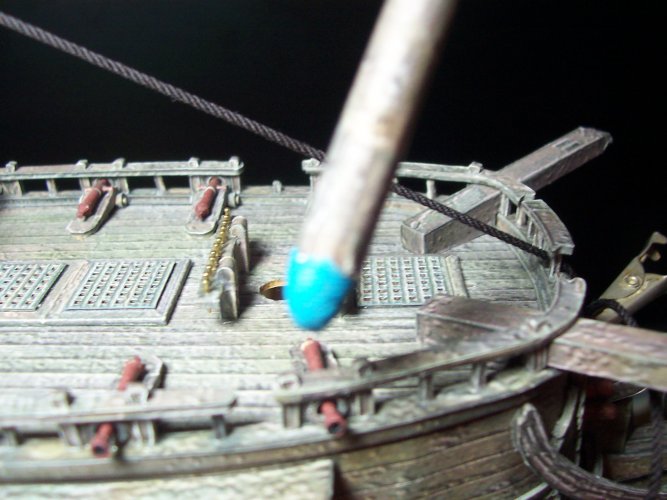
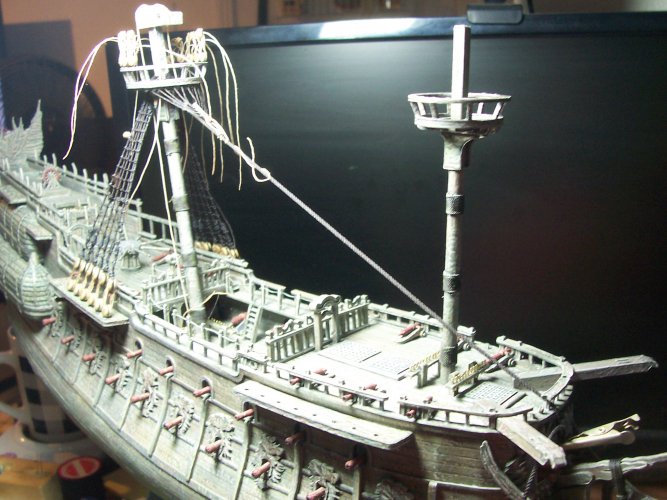
'Aaaaah, matie, shiver me timbers!'The rigging looks AMAZING!!!

Thank you Rhaven
'Aaaaah, matie, shiver me timbers!'The rigging looks AMAZING!!!

Wow! That's still freakin' awesome Micah! That is such a incredibly beautiful ship! I would love to build a model of her one day!Absolutely amazing detail.
I missed my chance to do the "Chiefs cruise" on the USS Constitution. I was made Chief at sea, and my tour didn't end until after the signing for the "Chiefs cruise" ended. I would have loved to get the training and put to sea on "Old Iron Sides", but missed it.
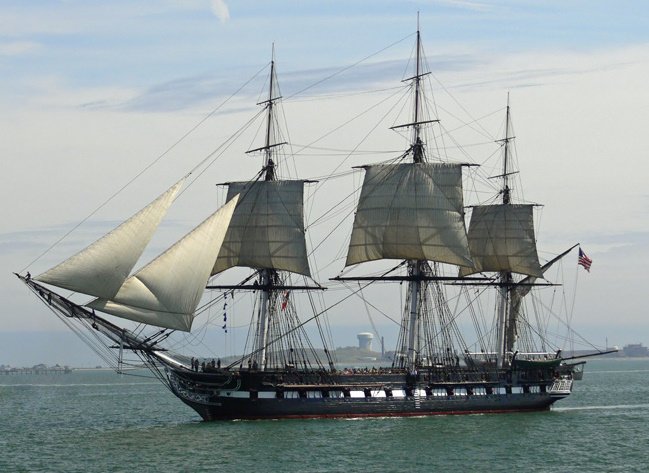
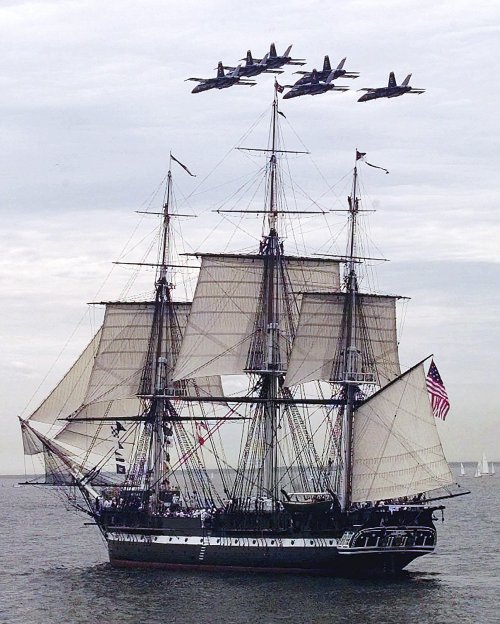
Thank you so much Spaceagent-9What attention to detail!
You are the kind of builder that I instantly admired and forced me, challenged me, to try Paper models!!


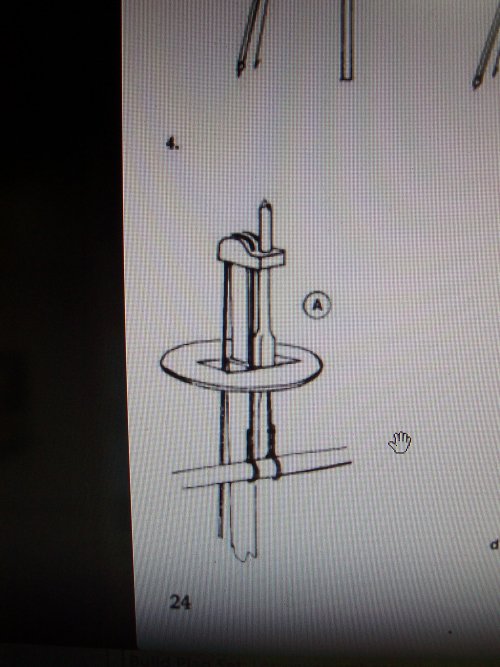
 A little planning will go a very long way here!
 no, I said futtocks
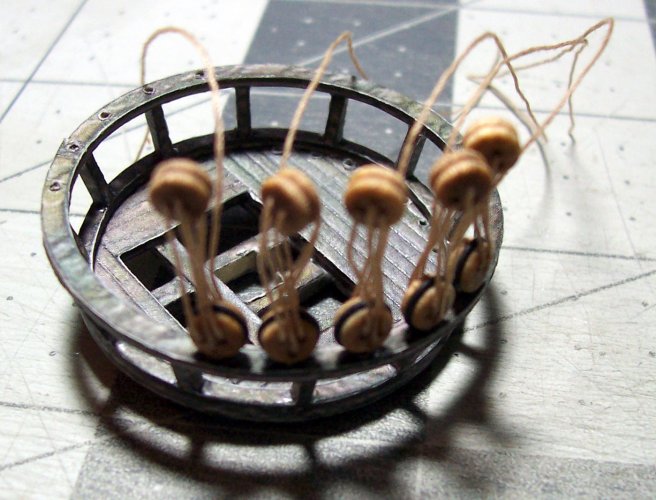


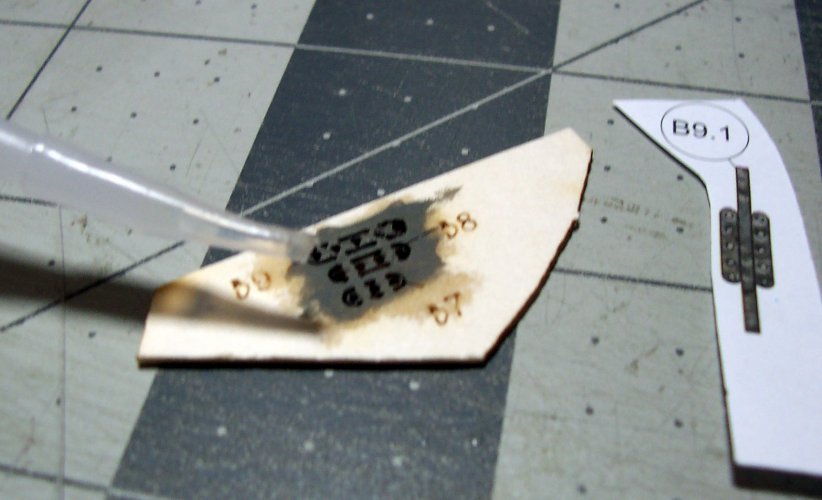
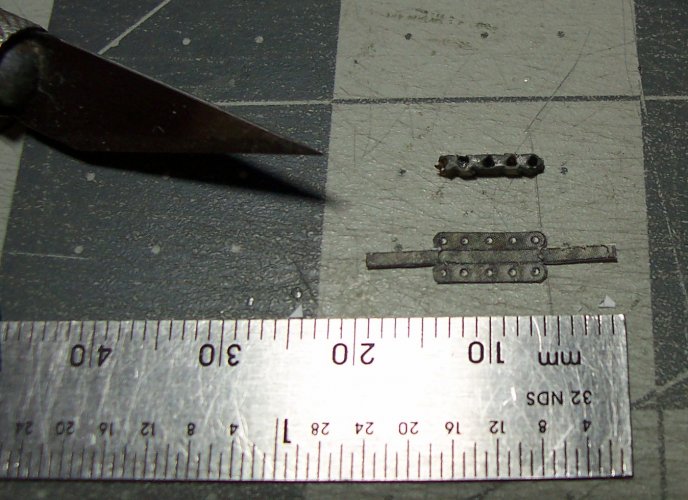

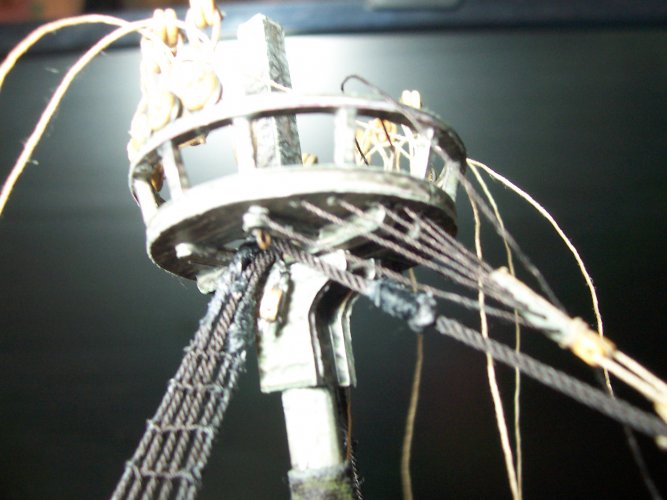
 It doesn't show how to use blocks to tension the crows feet?
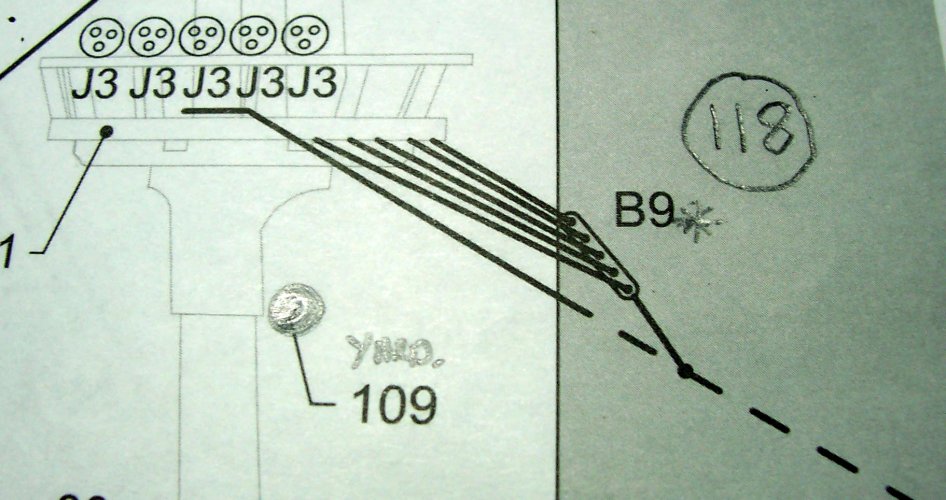
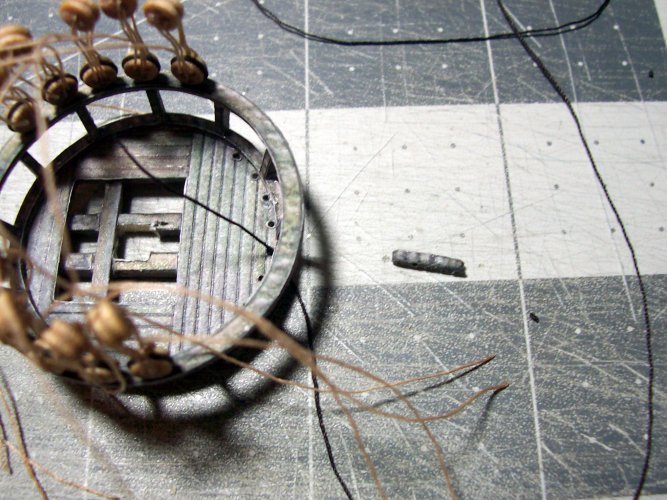
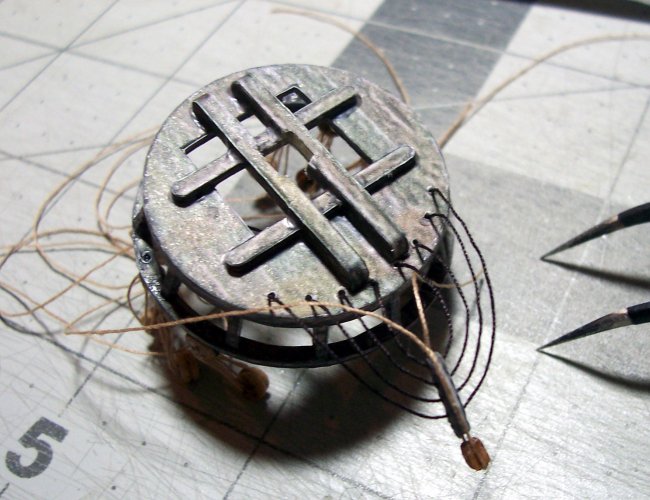
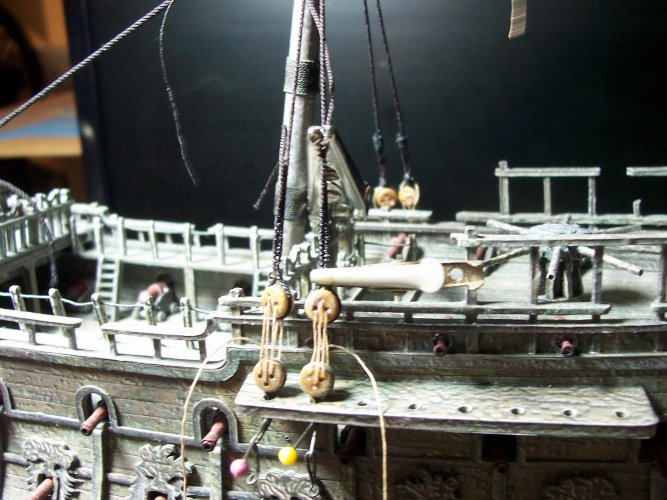
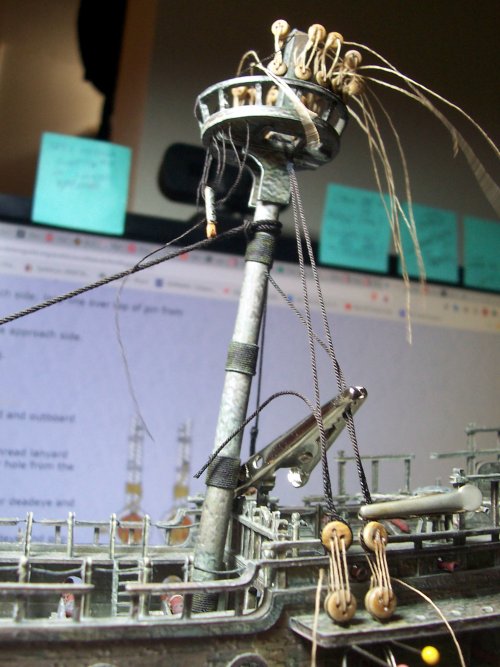
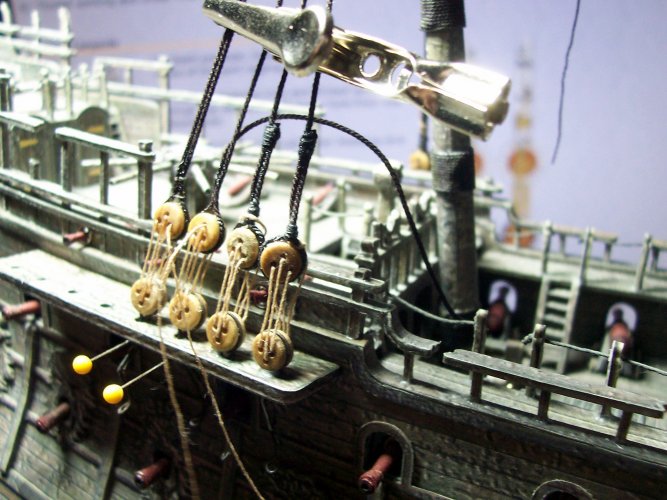
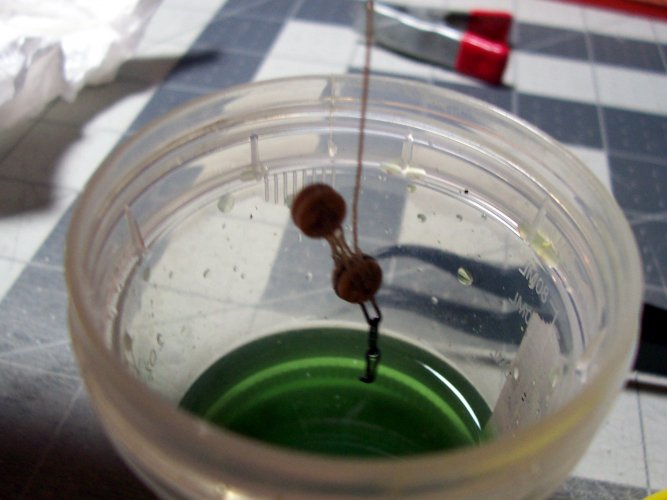
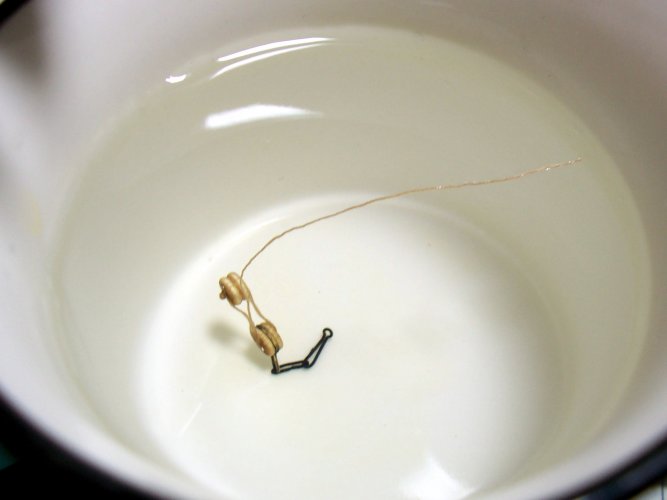
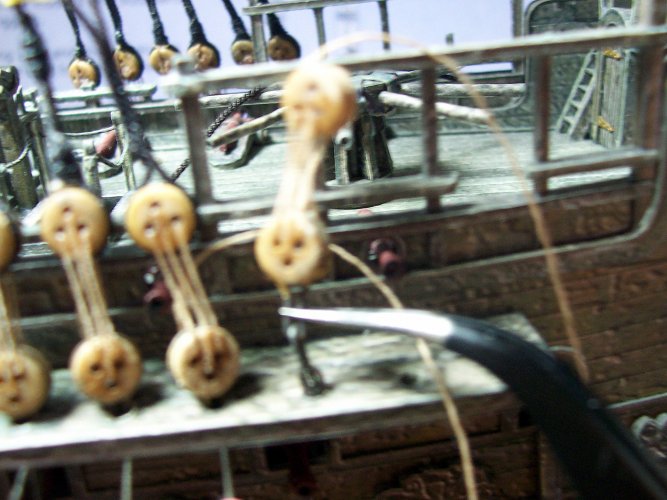

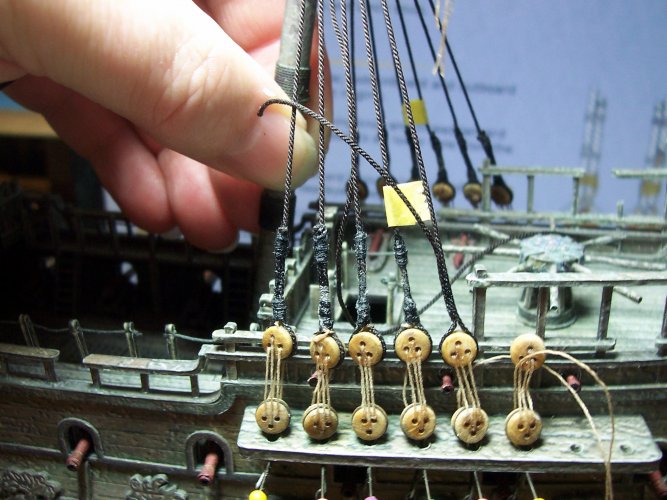

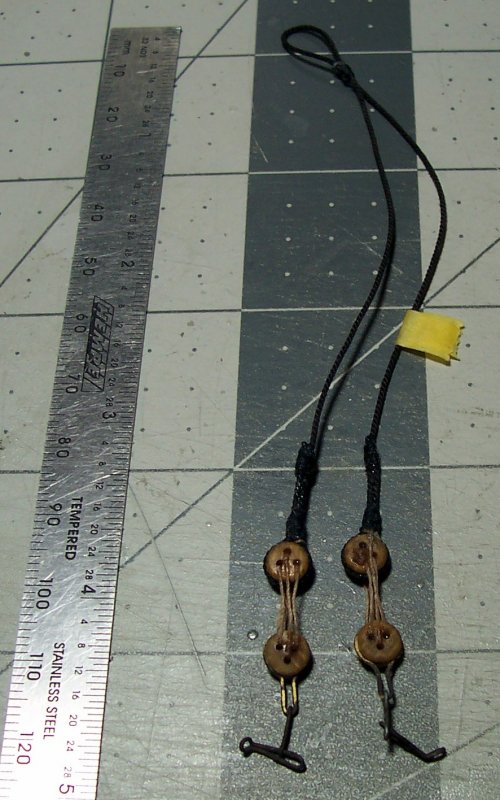
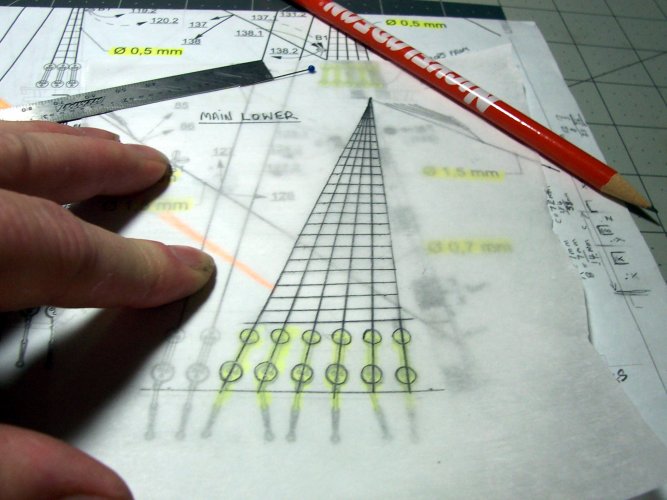
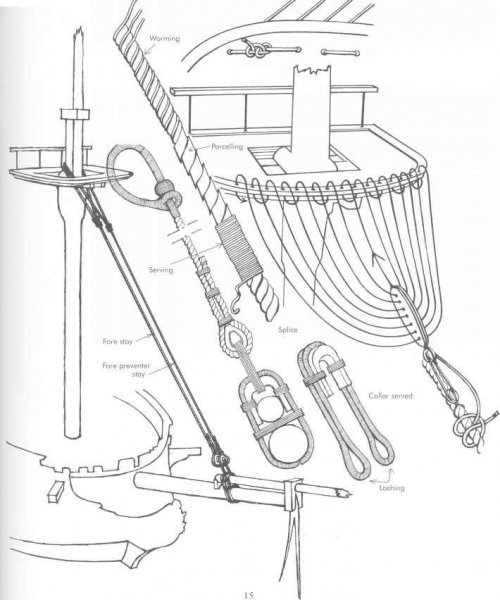

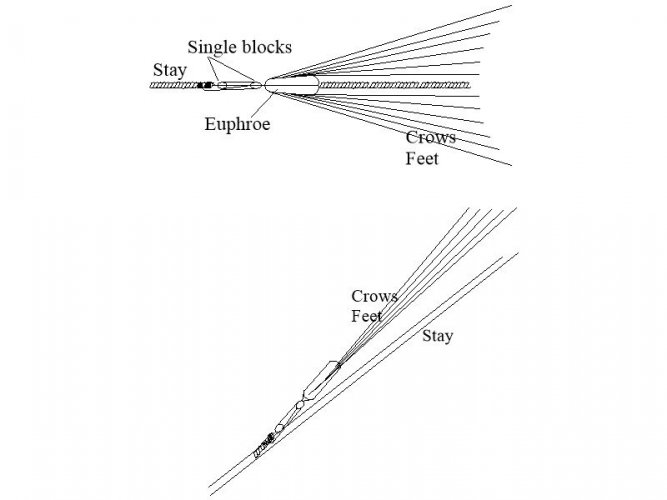
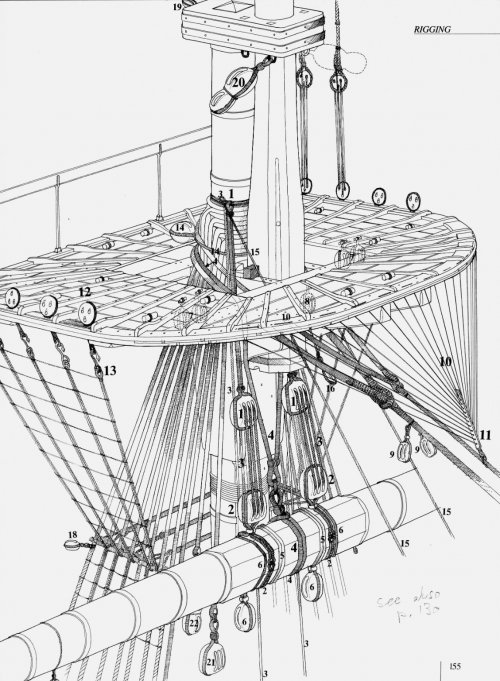
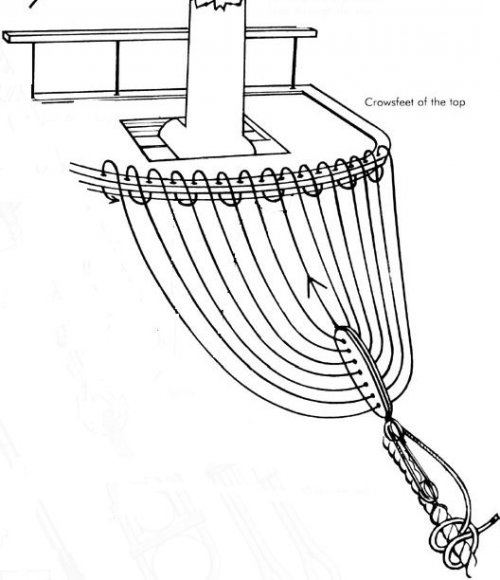
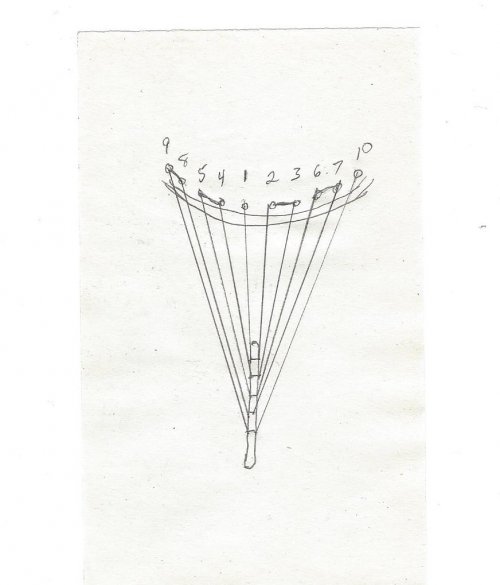
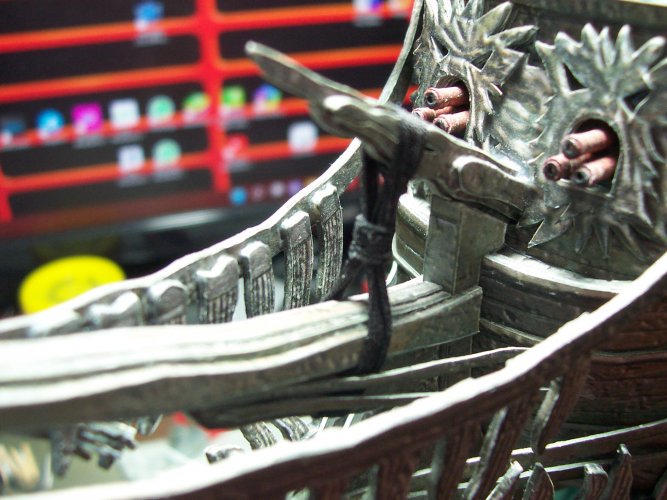
 The shrouds fall aft of the main mast to some degree and the plan shows them in an impossible place at the square end. This throws off the shape of the shrouds and rat lines
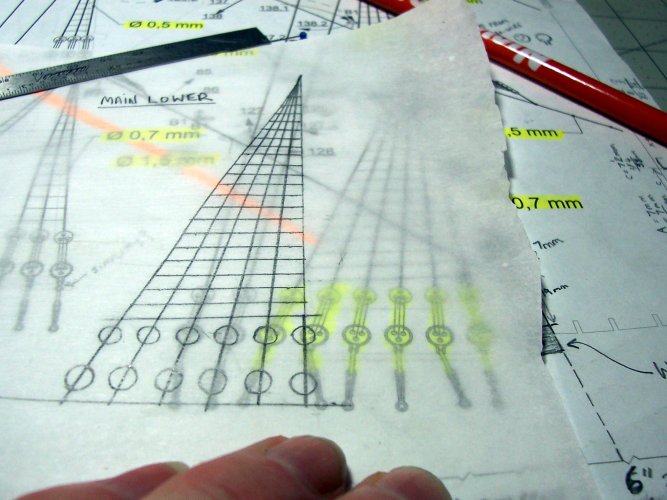


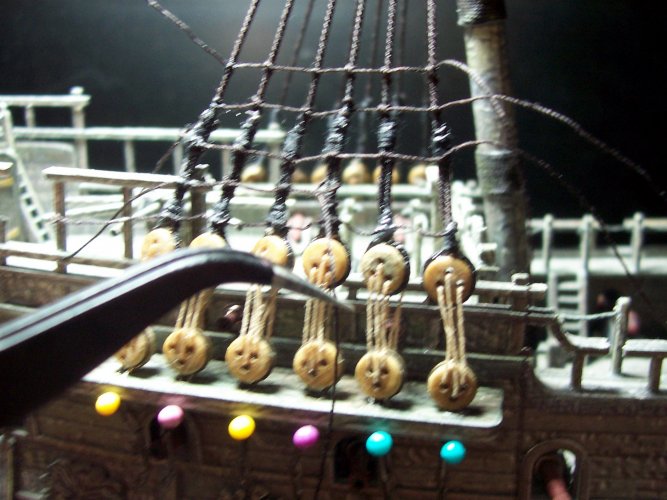
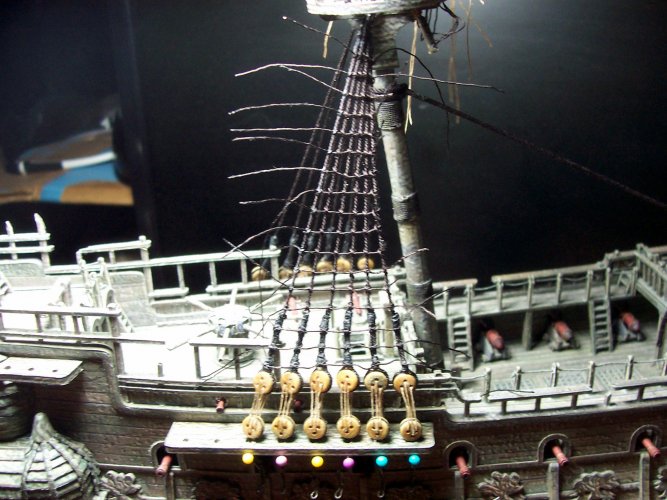
 One thing is you will be able to make clove hitches in your sleep!
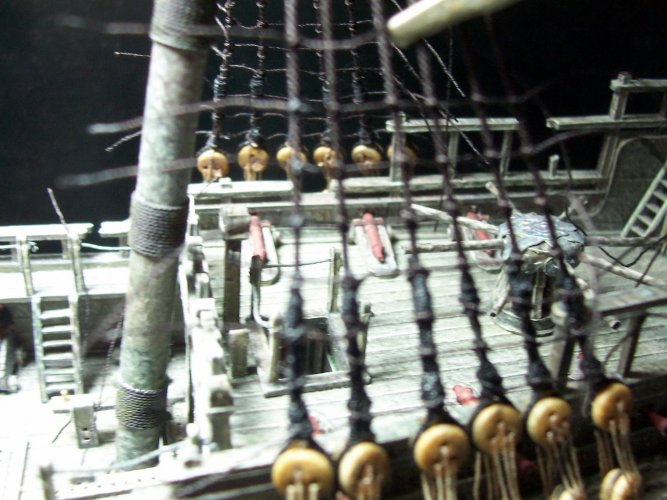
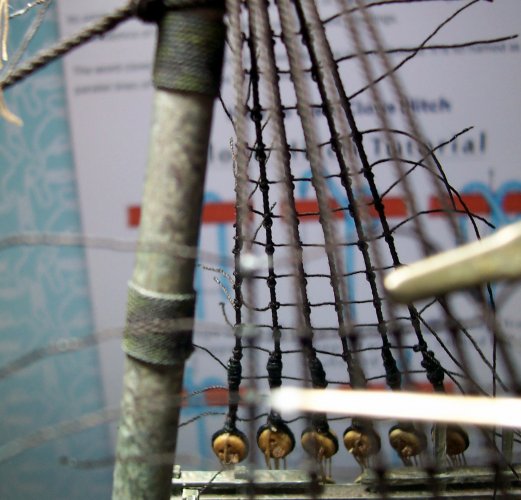

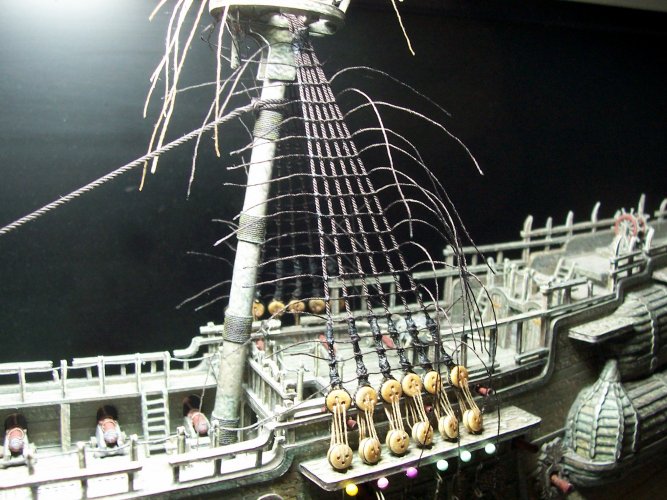
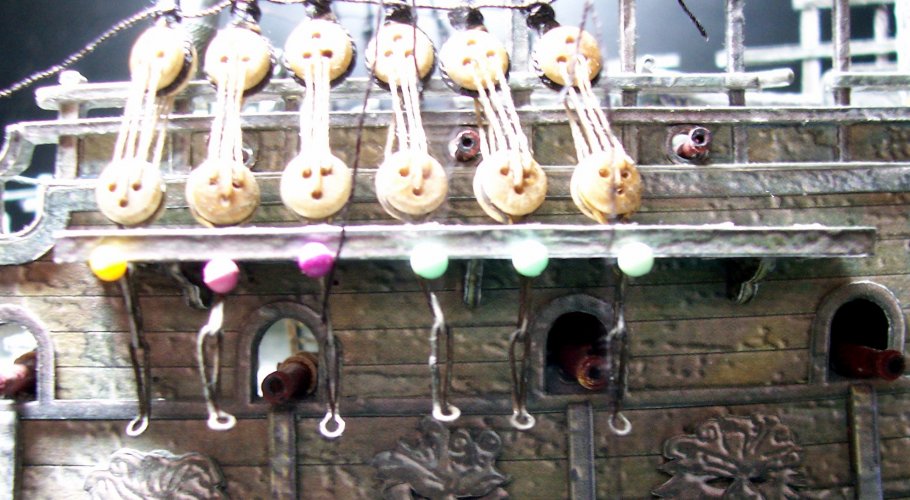
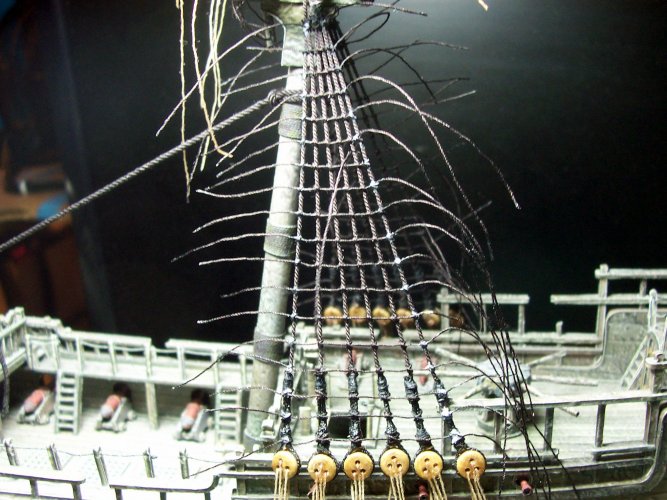
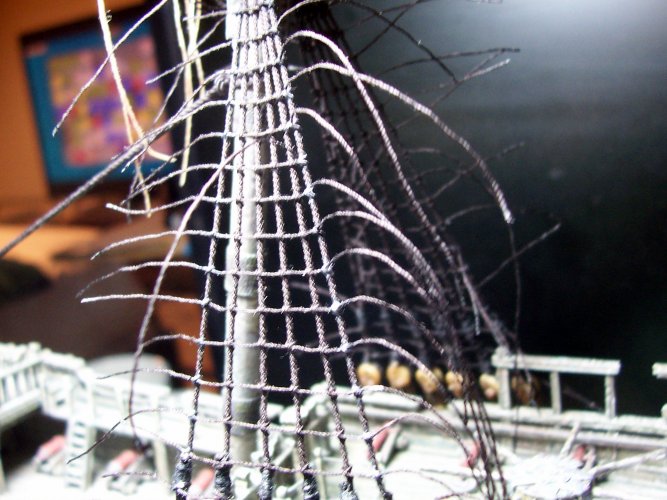
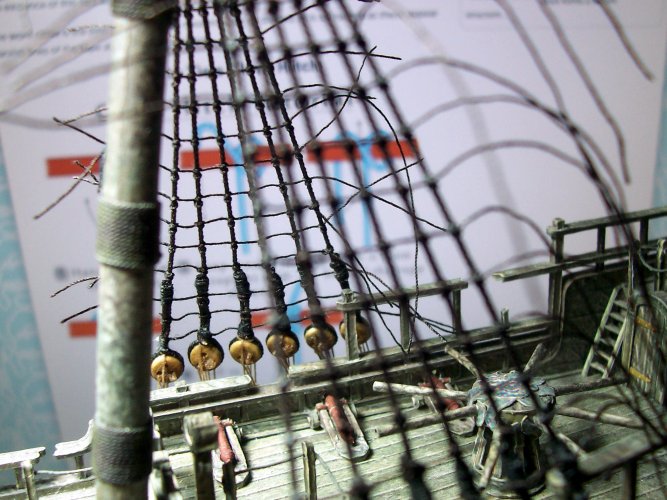
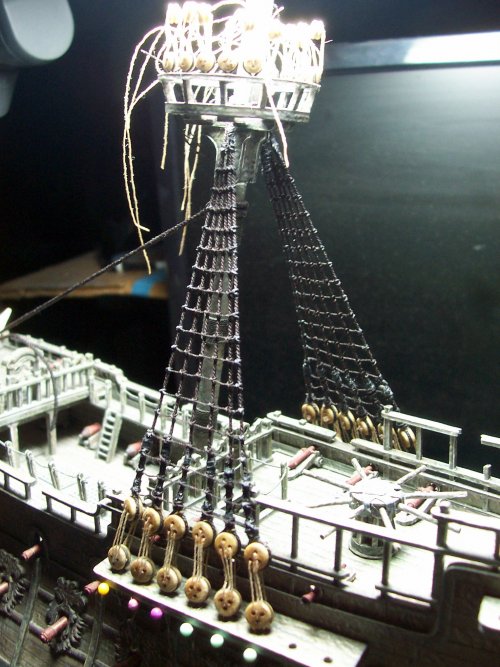
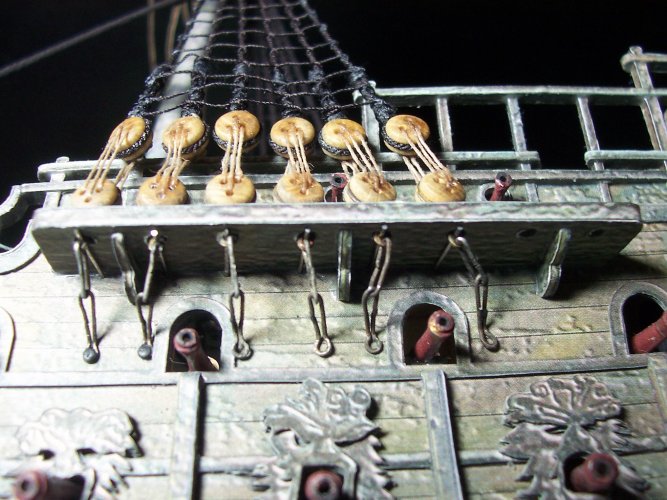

Thank you RhavenThe rigging that you are doing for this project is AMAZING!!!

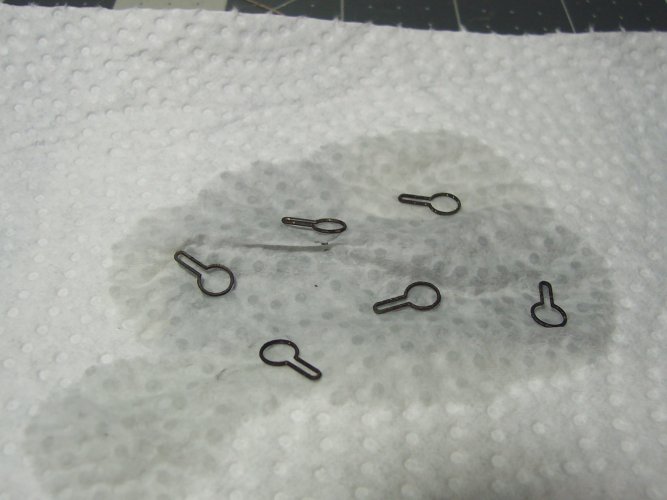
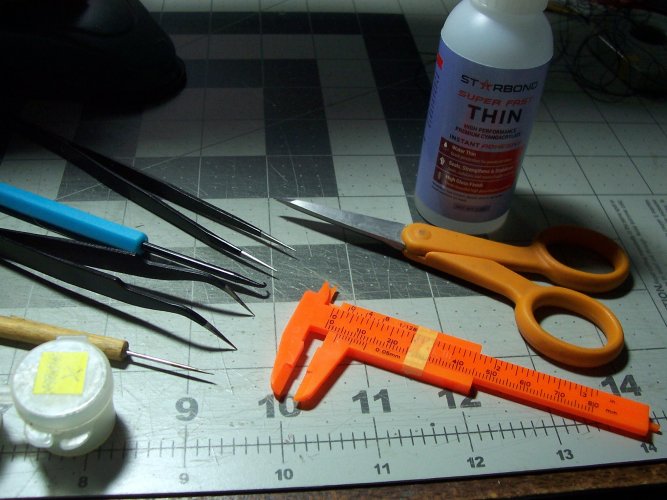
You are very kind, thank you! I am sure getting through the rope/twine on this! I'm using much more than I thought it would need, but that's okay. The house manager where we live just gave me a really nice set of hemostats and surgical tools. I got the house some food donations, so I'm in the good books (for now)Im out of words again. All those ropes are looking amazing this is the next level papervrafting.

LOL! Yeah, I know! I'd never heard of such a thing before working on this model. These ships are like the Star Wars technology of the 1600sI thought "euphroe" was a verb, like, "Euphroe it dis way, and Iphroe it dat way". Seriously though, this is a masterpiece.
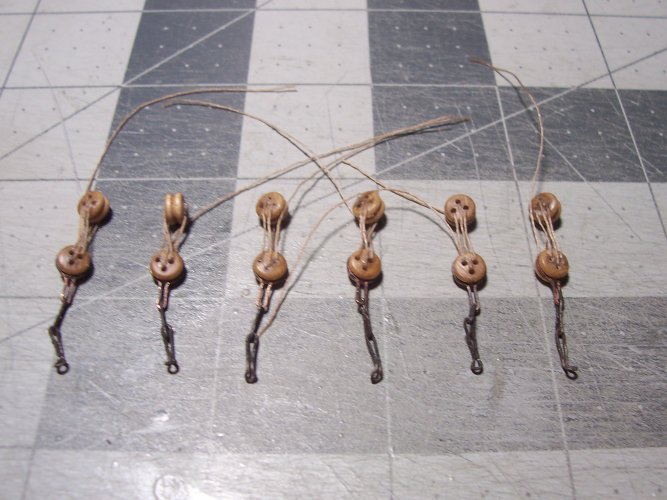
 This one I'm building would be like the equivalent to an X-Wing I guess? They share cannons, places for people to pilot the things, lamps / lights, and the ability to destroy lots of stuff, fleets of them, uniforms for the officers, amongst other things. So many different terminologies like euphroes, crows nests, crows feet, buntlines, block and tackles, top gallants, lanyards, dead eyes, sheaves, futtocks, ratlines, shrouds, and a million other things, and they were also as real as you or me. The materials were natural ropes, and wood for the most part of course from living things originally, and that seems to make them almost living and breathing vessels

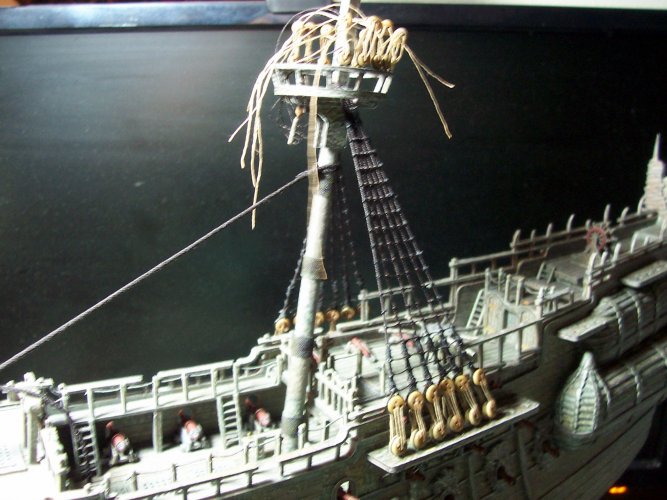
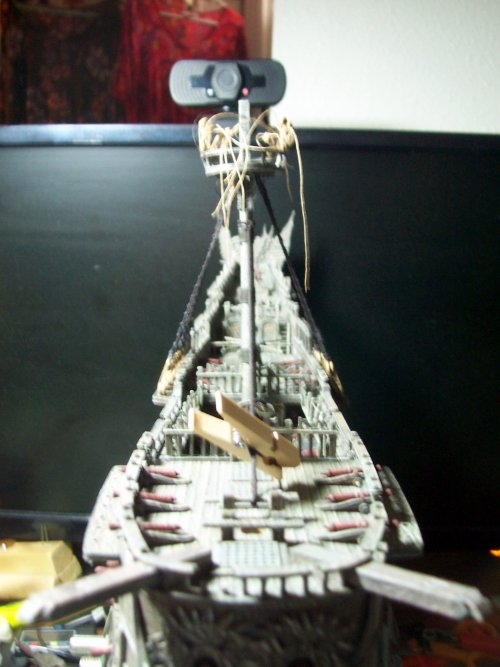
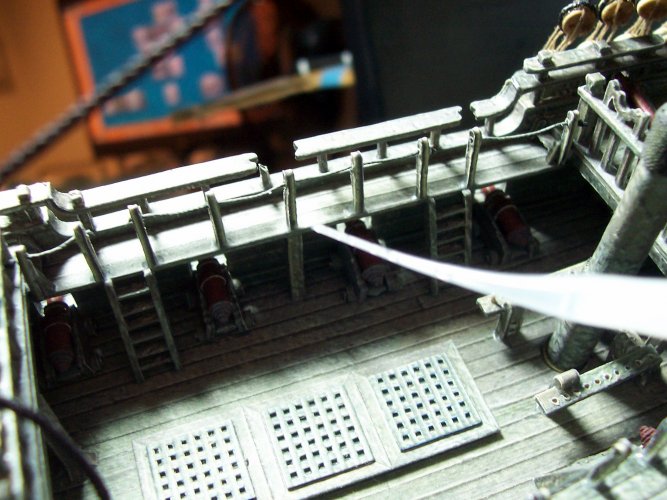
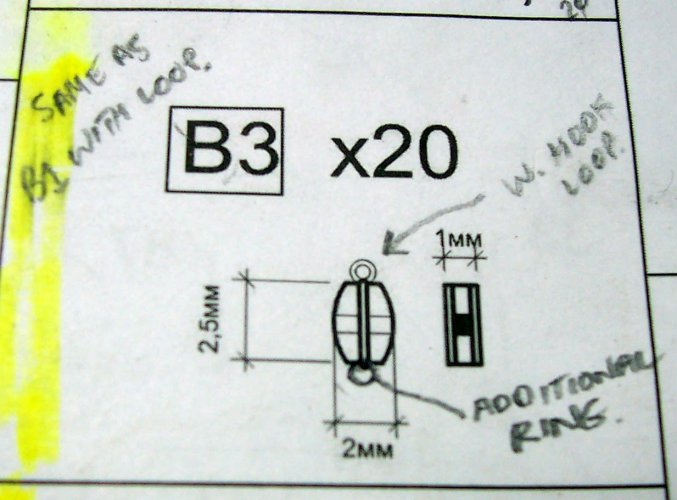
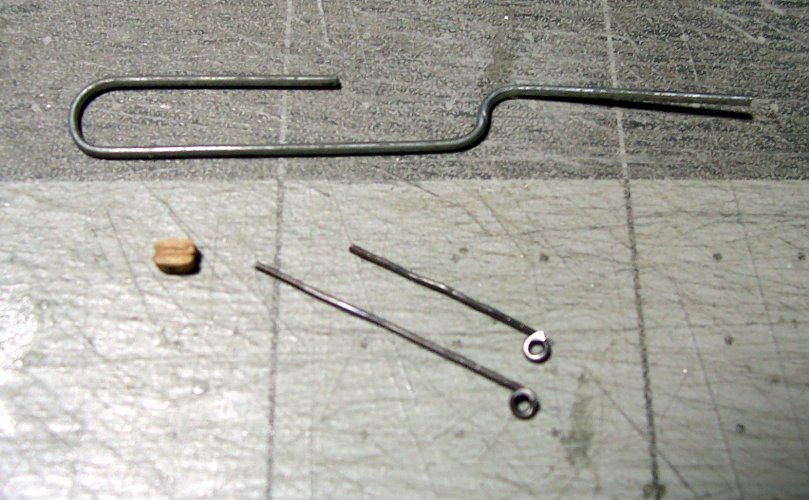
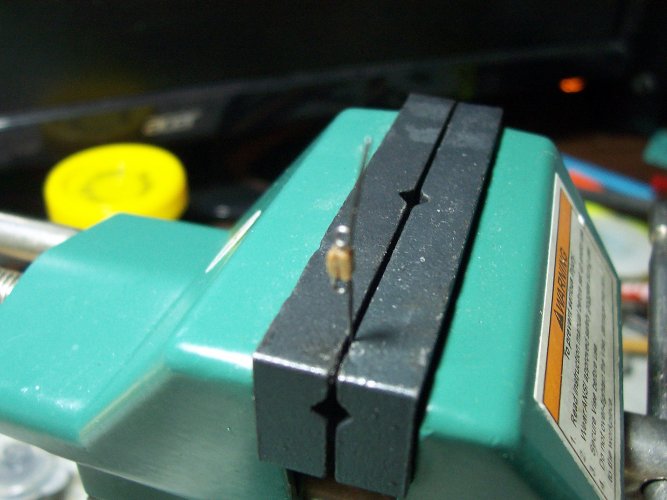
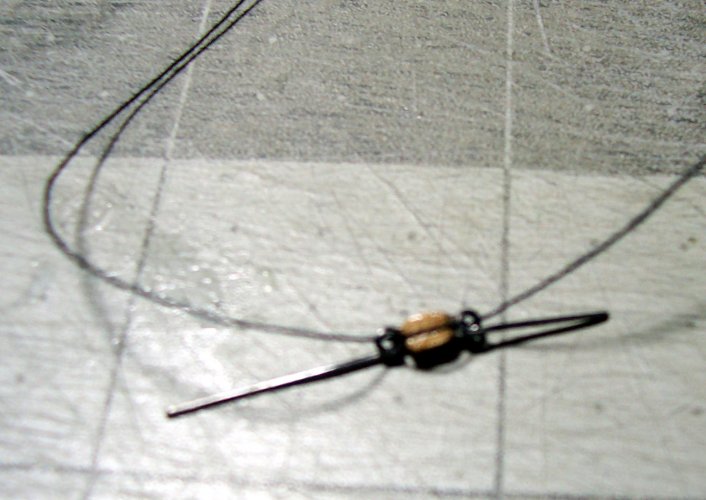

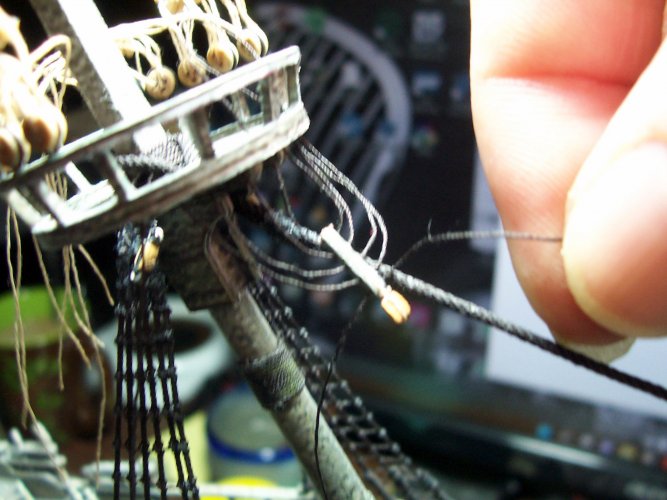
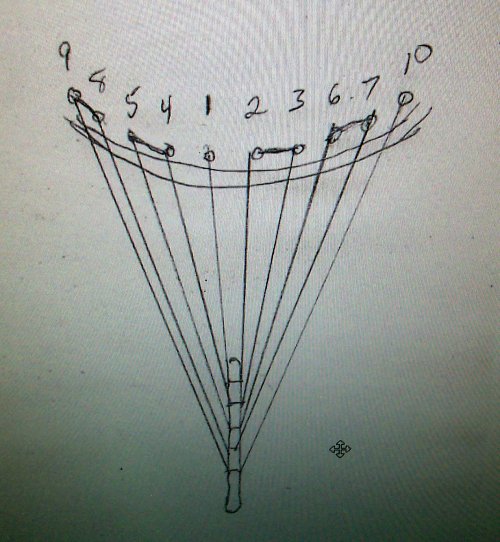
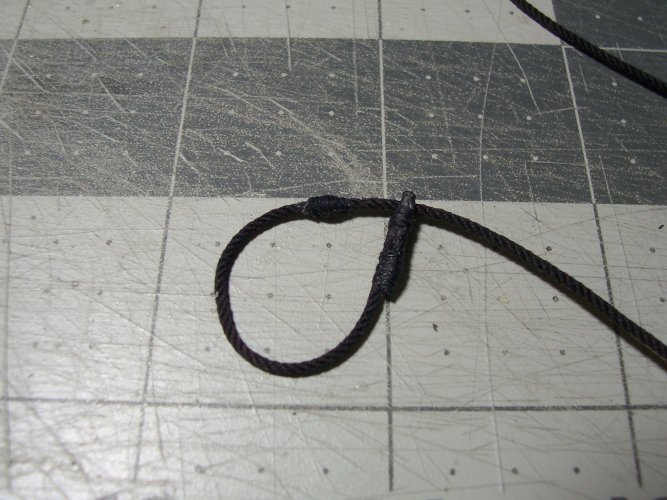
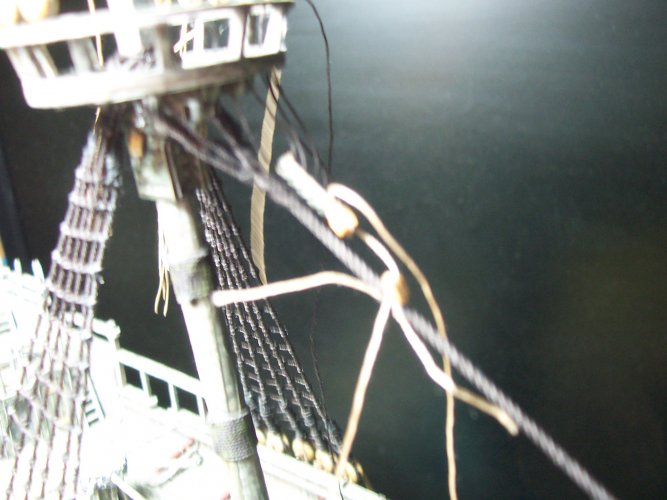
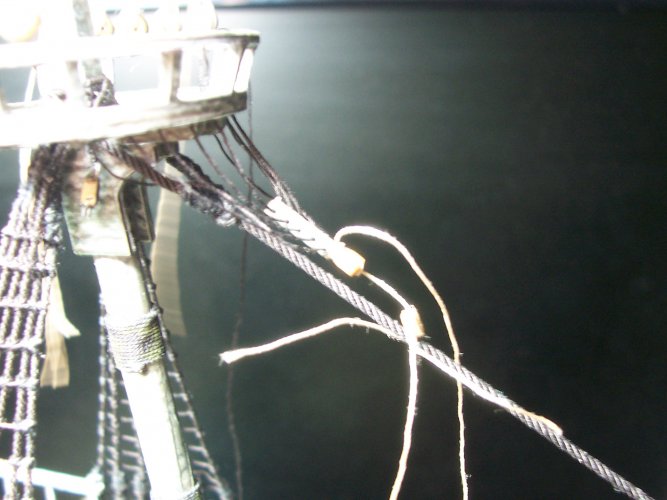
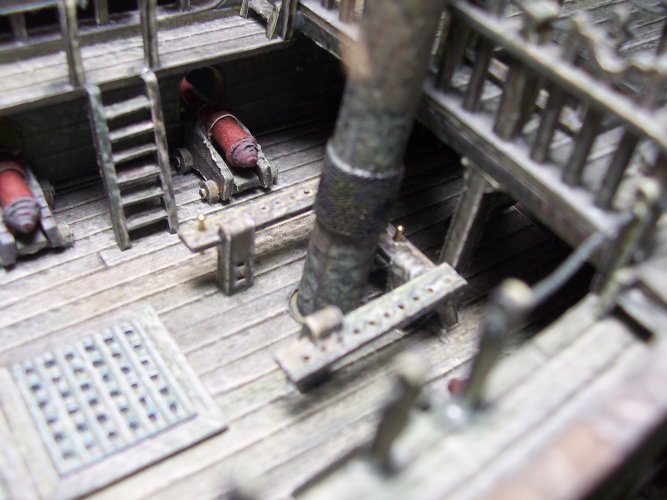
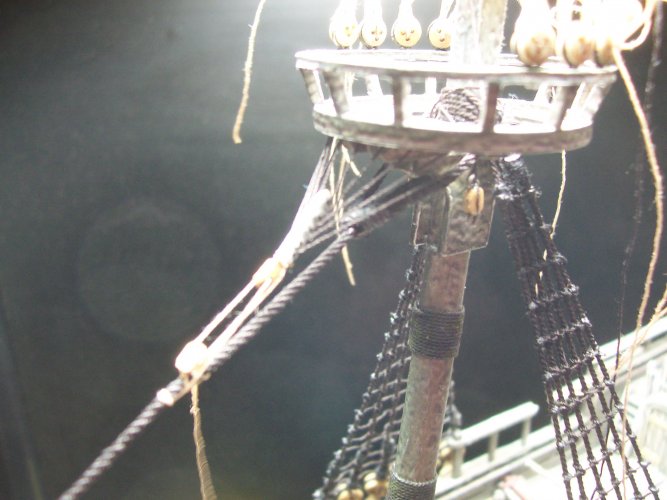

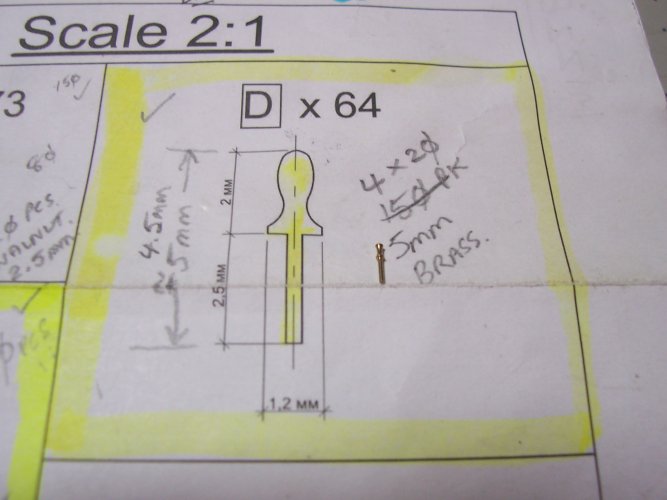
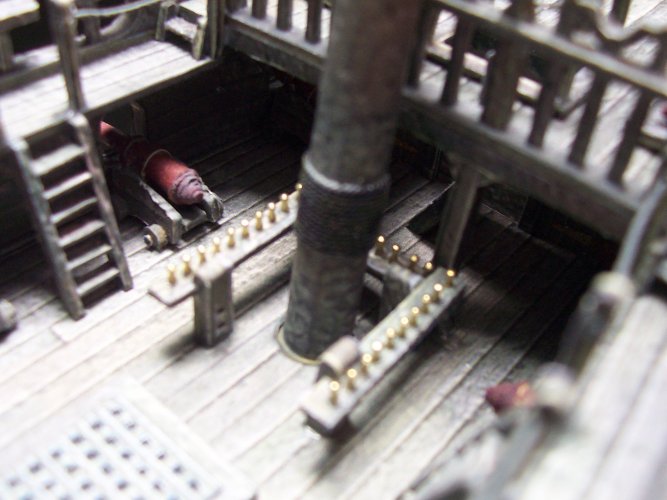
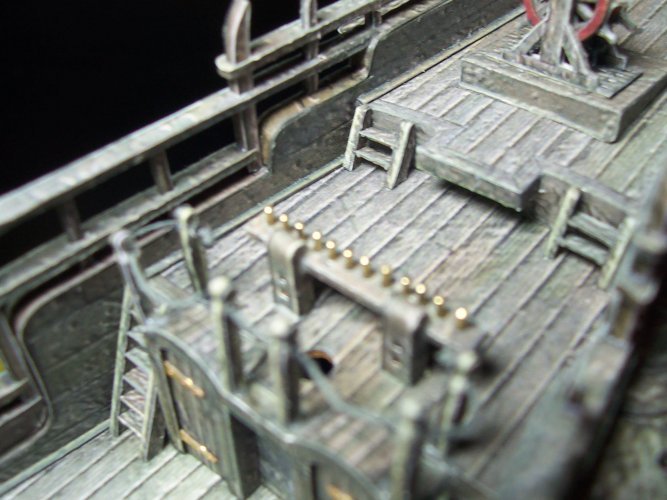
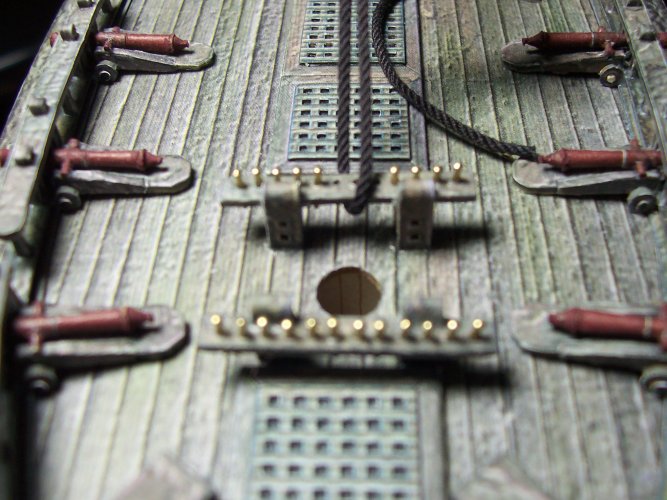
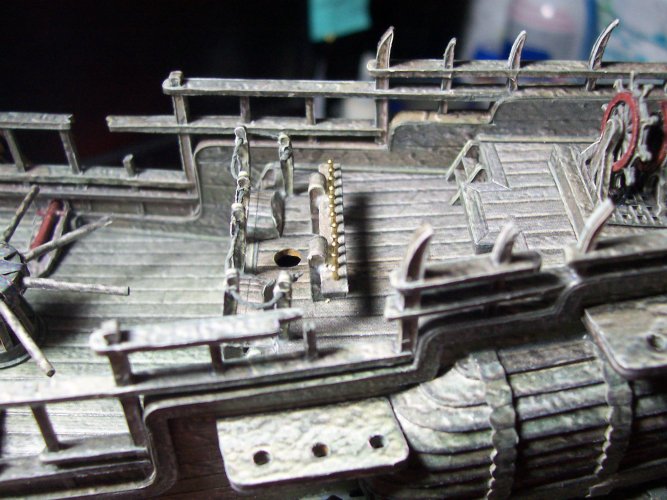
Thank you RhavenThis is really turning into a museum quality piece!

https://en.wikipedia.org/wiki/USS_Ticonderoga_(CG-47) That was awesome!!! I can't even imagine 25 foot waves! That must have been crazy stuff?We had to sail "Uncomfortably Close" to a Level 4 Typhoon in the mid pacific. I was on CG47 at that time, 25 foot waves were quite sickening, and no one was allowed to go on deck..
Keep up the amazing work on this beauty.

