Rigging of the Yards
Here is where the "rigging" of the ship really starts. It is best to complete as much as possible off the ship. The more that an be completed as separate components, the better / easier it will be to get the job done!
I found myself that I needed to get a good understanding of what each part of the rigging was called, as well as other ship naming conventions in general. This is absolutely essential to be able to follow any descriptions out there in books or online. Its a vast ocean of names, like jeers, forecastle, belaying pins, fife rails, lanyards, seizing's, futtocks, shrouds, dead-eyes, fiddle blocks, and so on. You need to get these into your head first. There is also an order to doing the rigging. You need to make sure you don't box yourself in to an area that you can't complete. Its going to be a fun-drive maties


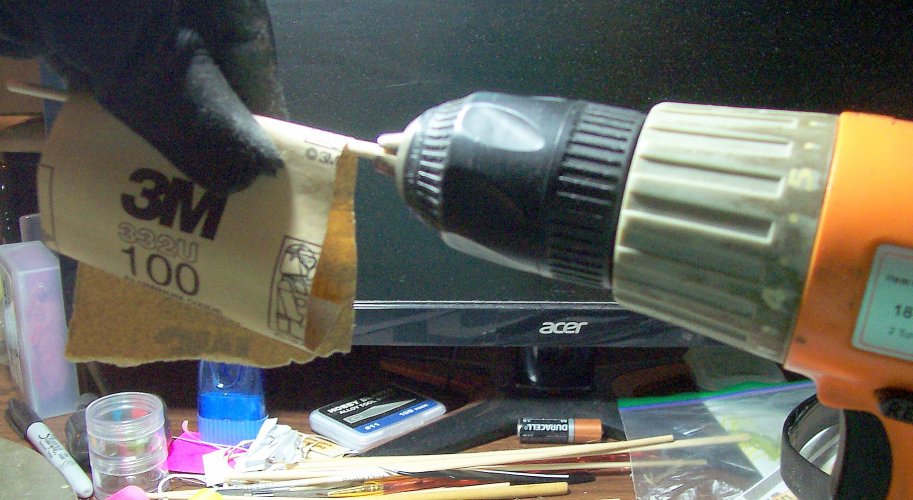
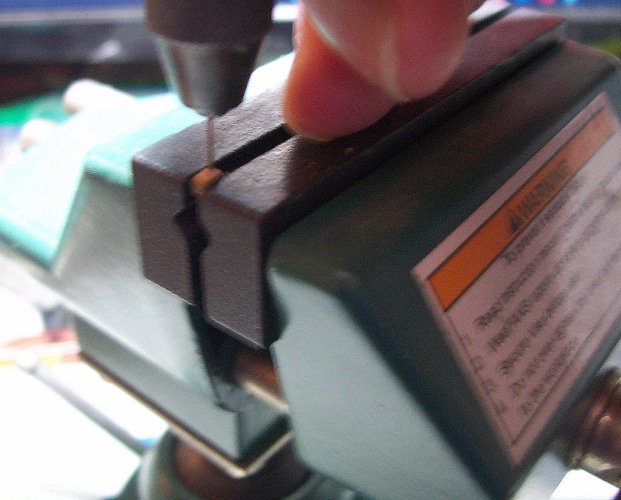
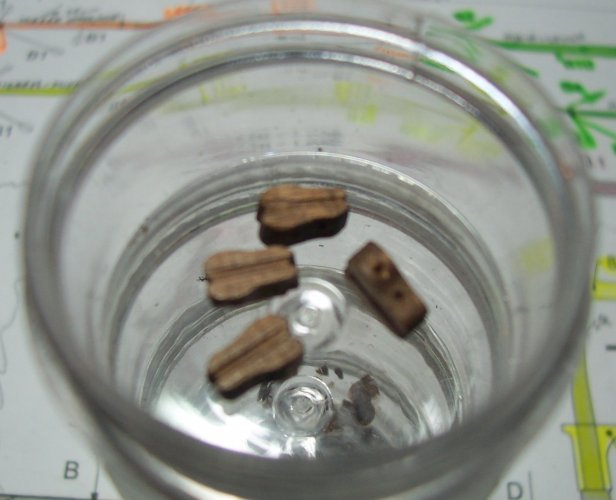
So, here I am chilling, and drilling out one of the blocks ready for rigging. This is a very tiny, oak, single block of 2.5mm long. Honestly, the paper ones provided to build with the kit are not good

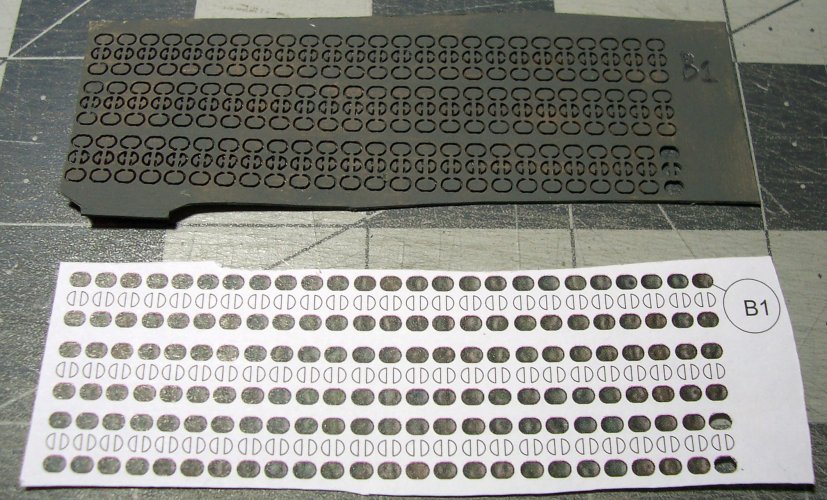
They are okay as a last resort, but they have too many problems such as weakness, accuracy of shape, functionality, and so on. You have to choose your challenges well, and my advice is to buy some third-party blocks! Its totally worth it!
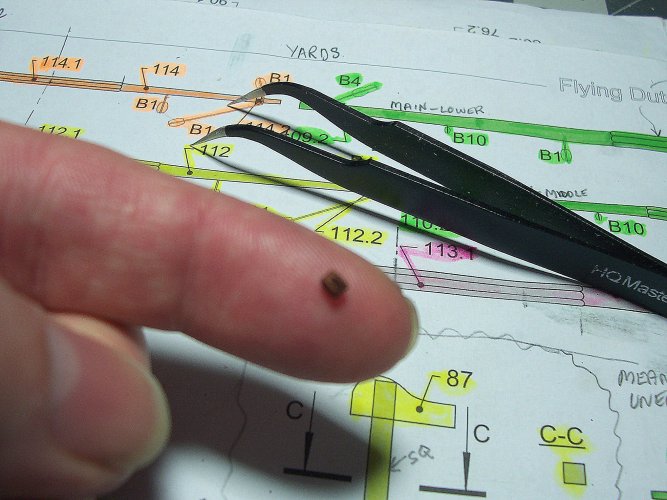
Here's one of the single blocks ready to be installed on a yard.
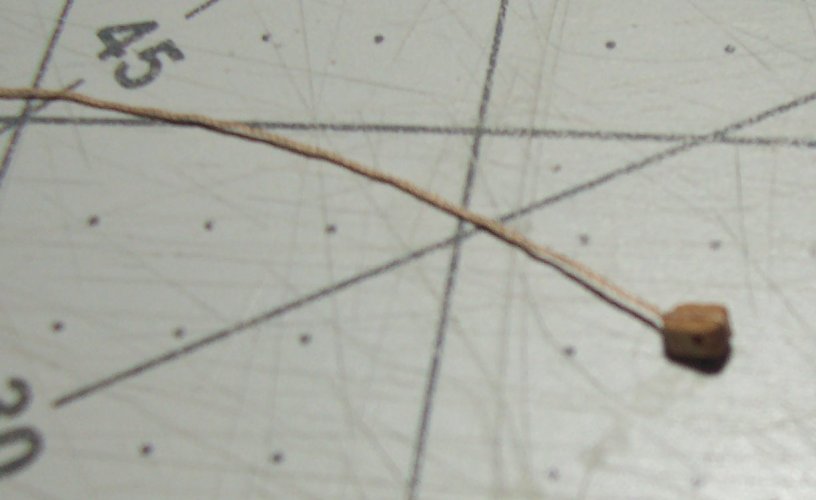
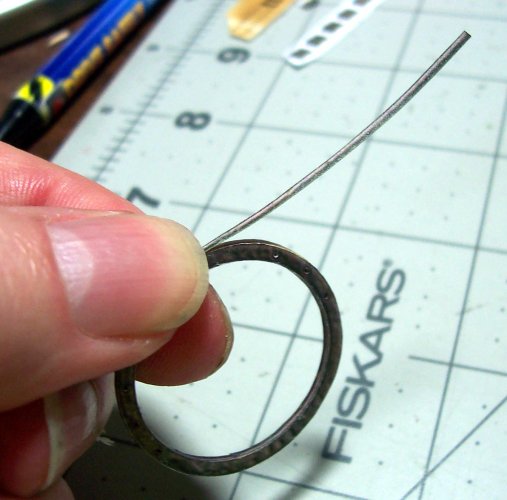
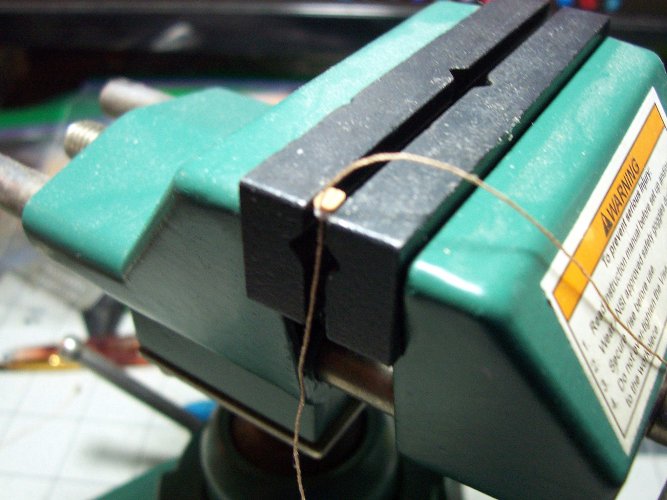
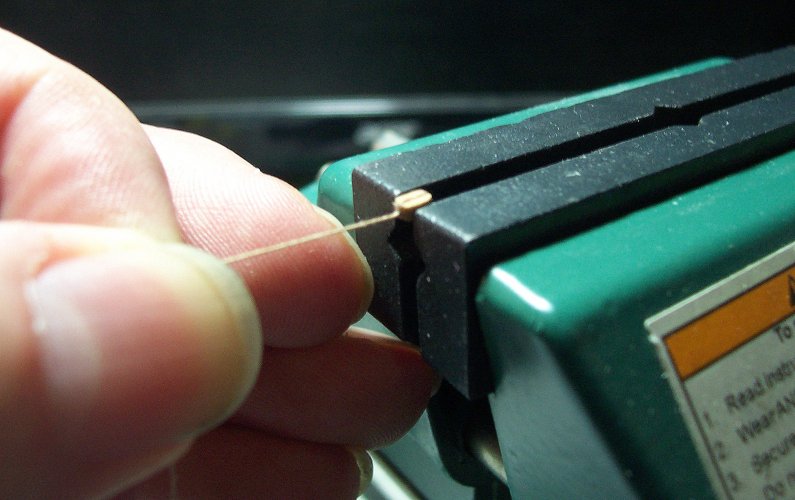
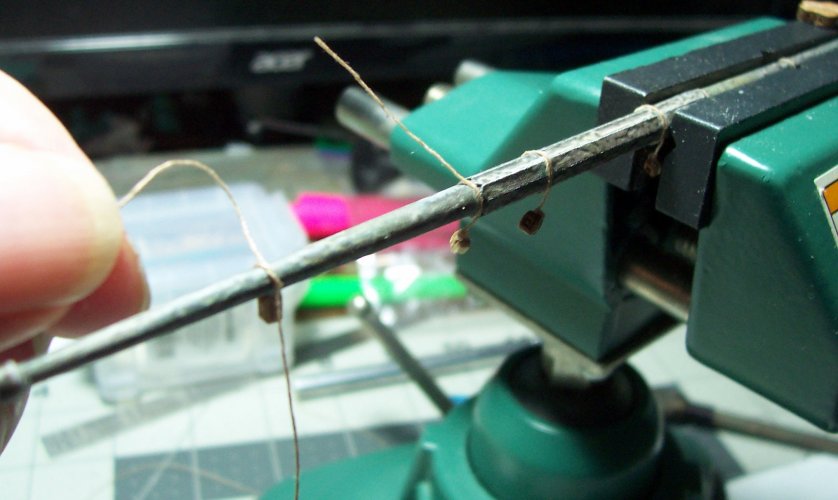
I found that gently holding the block in my ship vice works well for threading it. I always drill through the hole to make sure its clear of any wood shavings that makes it hard to thread the line. This is how I tie the line around the block. I pull it tight and use some CA glue to dap the joint. Then I trim off the one end.
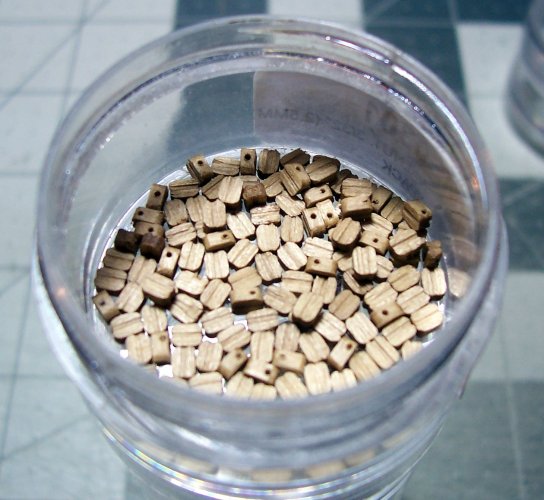
Here's my 2.5mm single oak wooden blocks to use on the yards according to the plans.
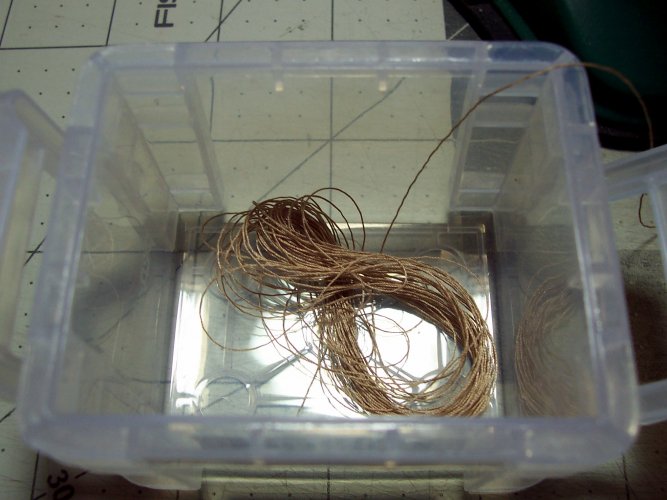
This is the rigging thread for the blocks. This is running rigging. In other words, it will not have been painted with the tar compound used on the standing rigging for other areas of the ship. It will be just bare rope, natural colored.
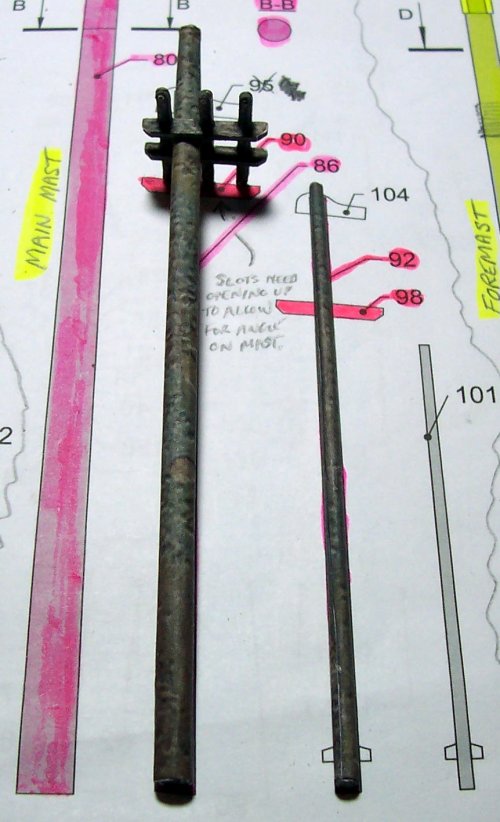
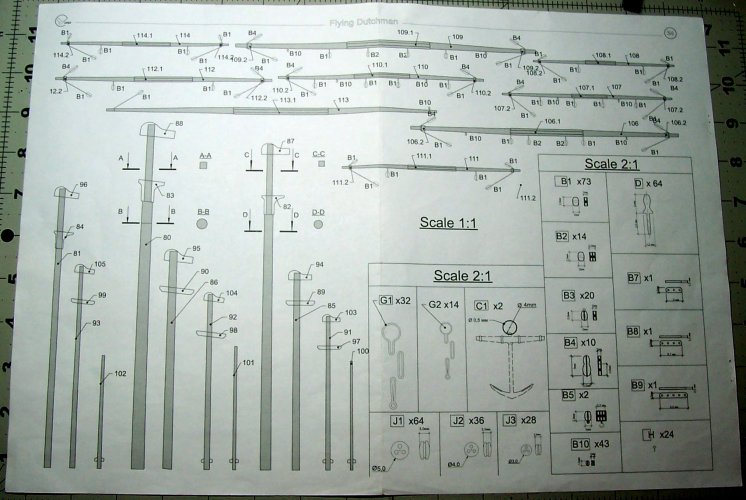
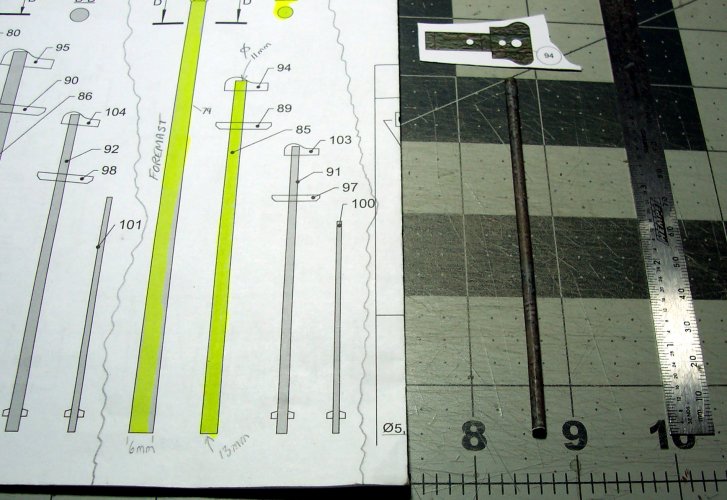
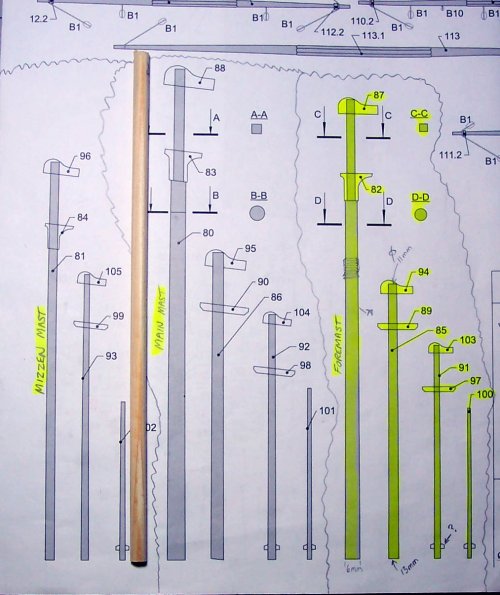
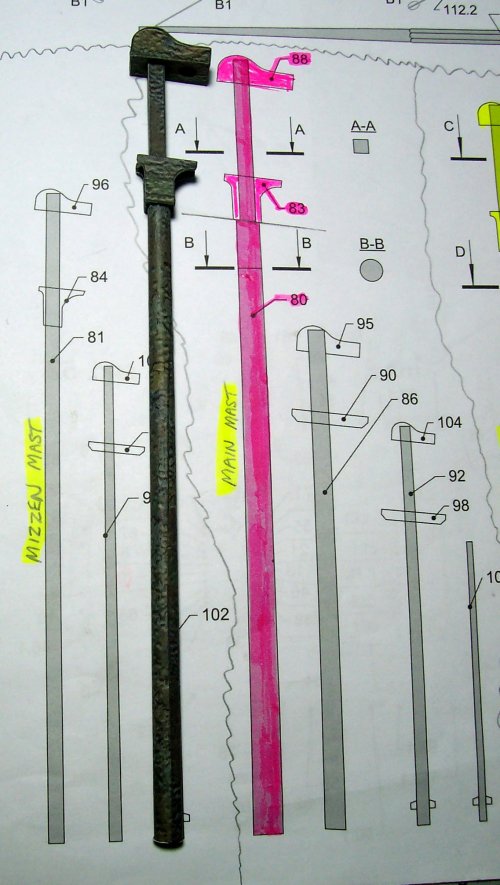
The plans indicate the correct sizes of the rigging needed.
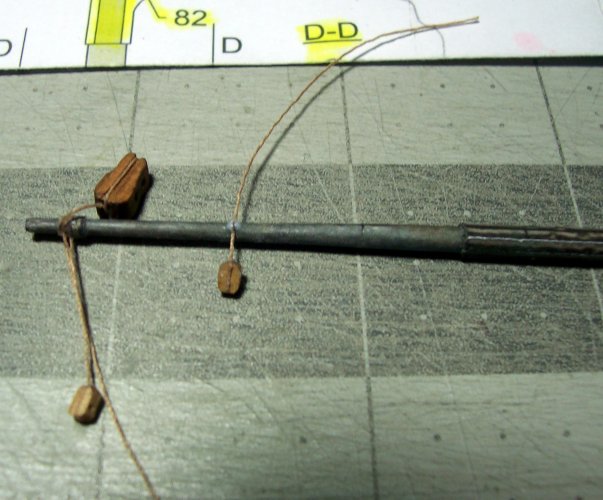
On the far left of the yard, is a fiddle-block.
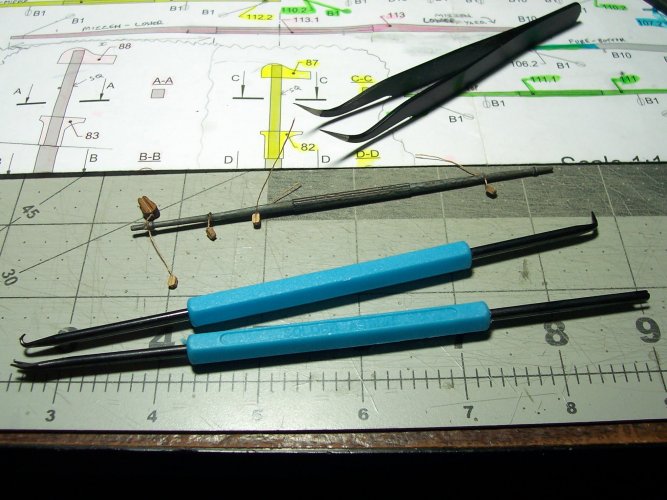
I bought a couple of ships model belaying tools (blue handles) to assist with the rigging process.
I used white glue for all the blocks on the yards. Sometimes the CA glue makes the thread too stiff to be natural.

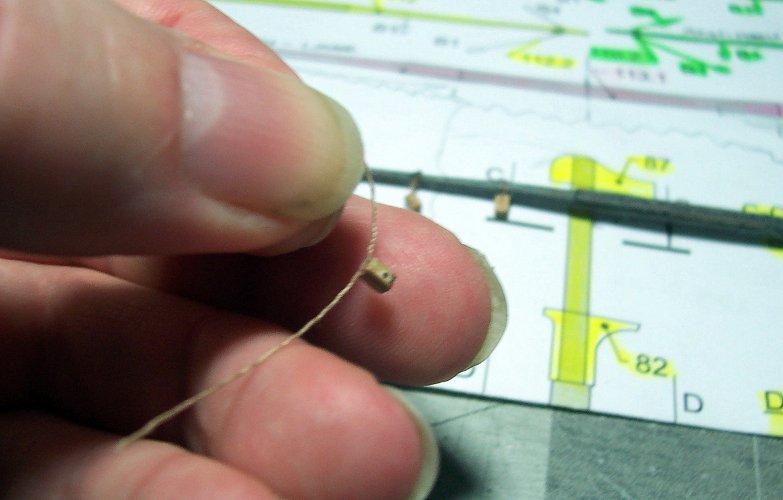
These are the fiddle-blocks ready for usage.
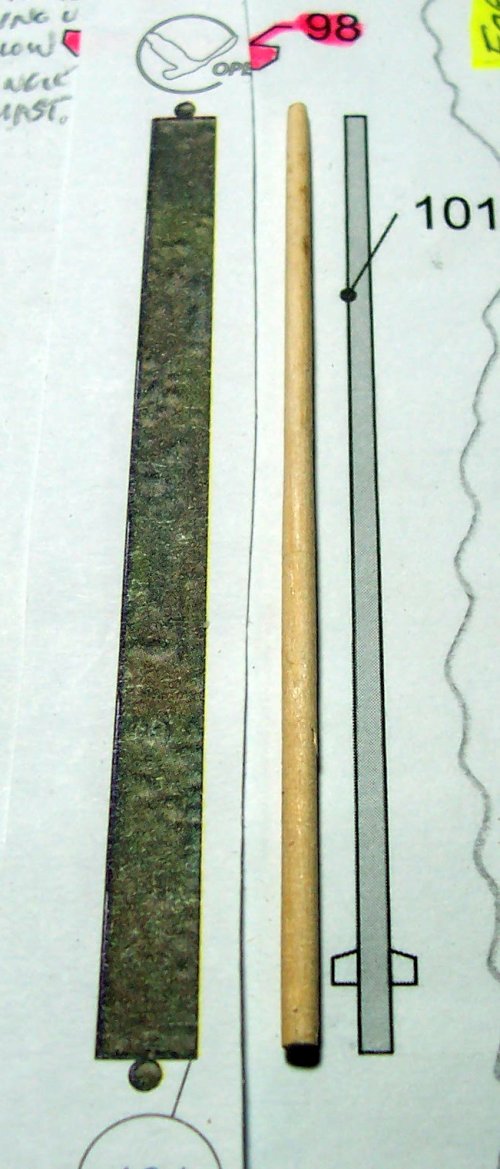
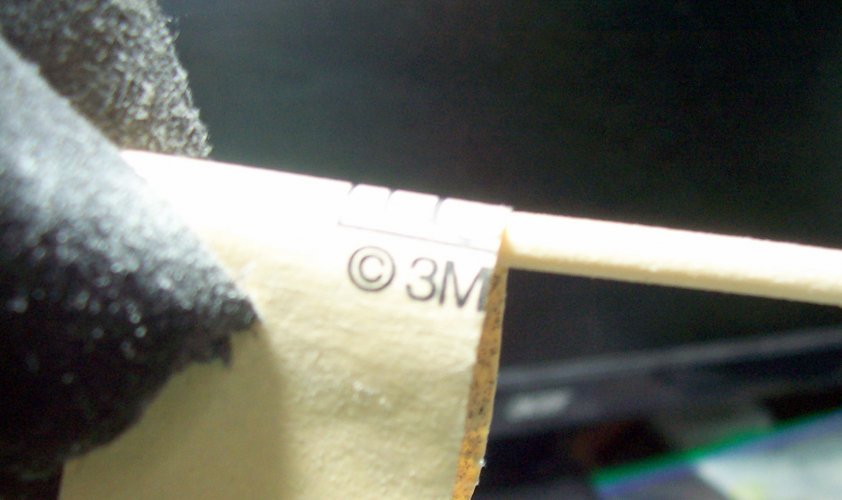
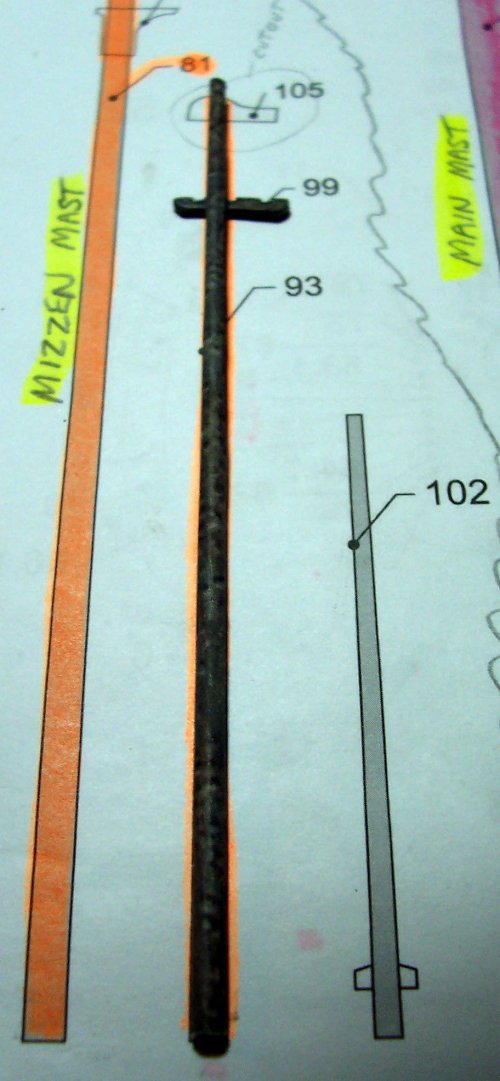
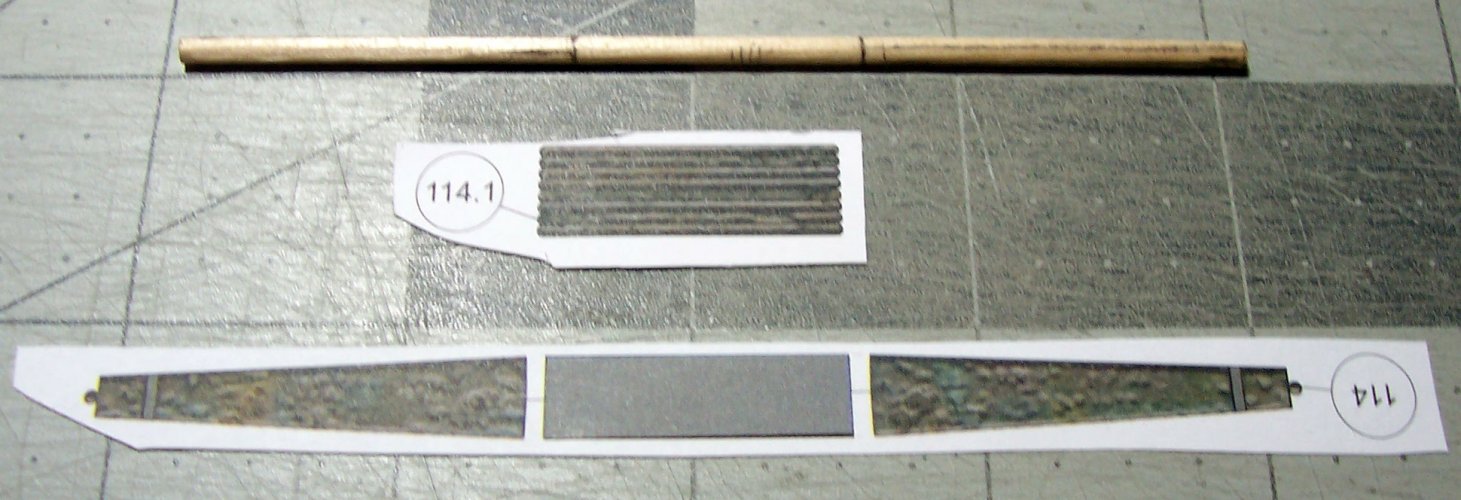
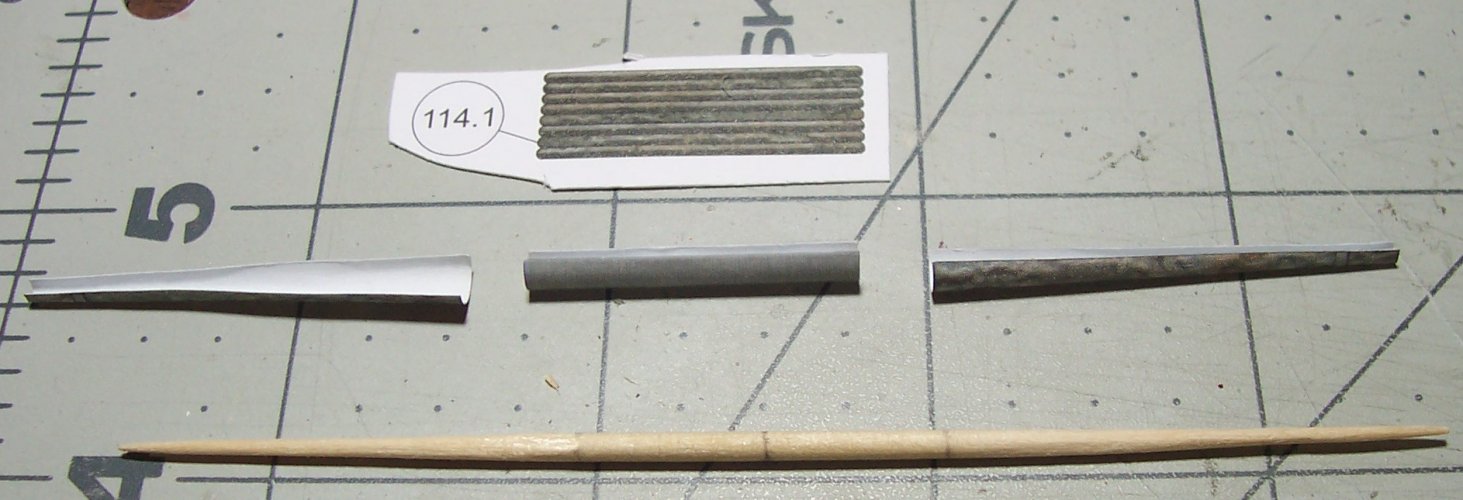
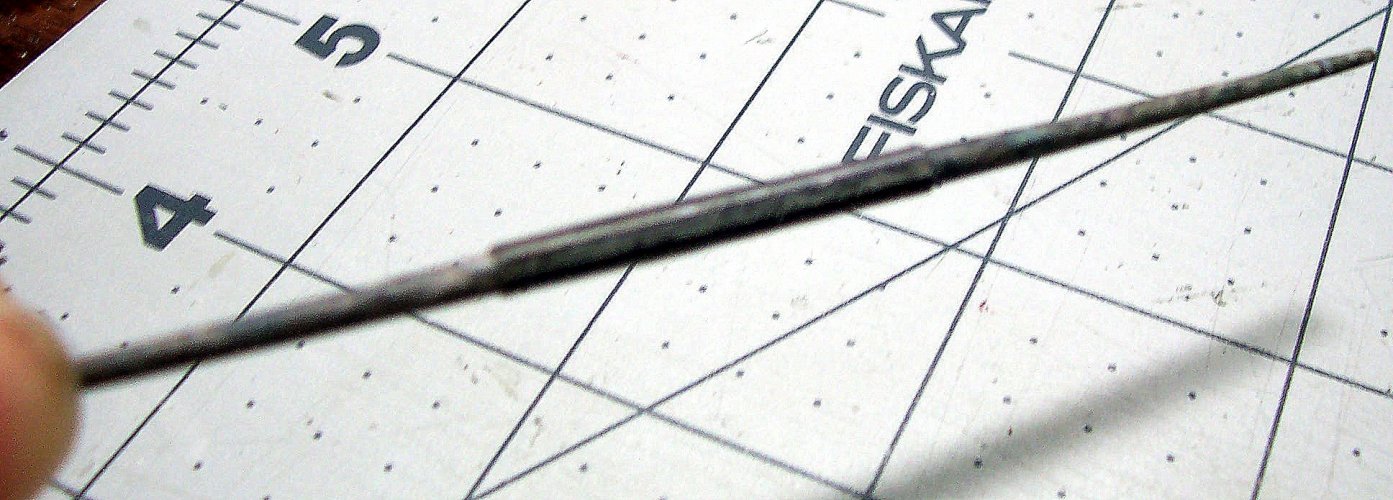
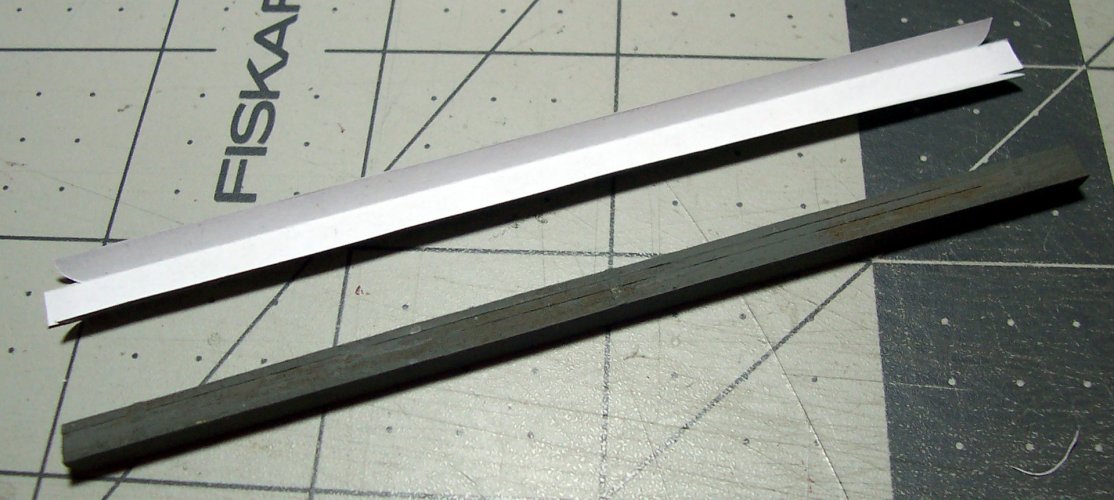
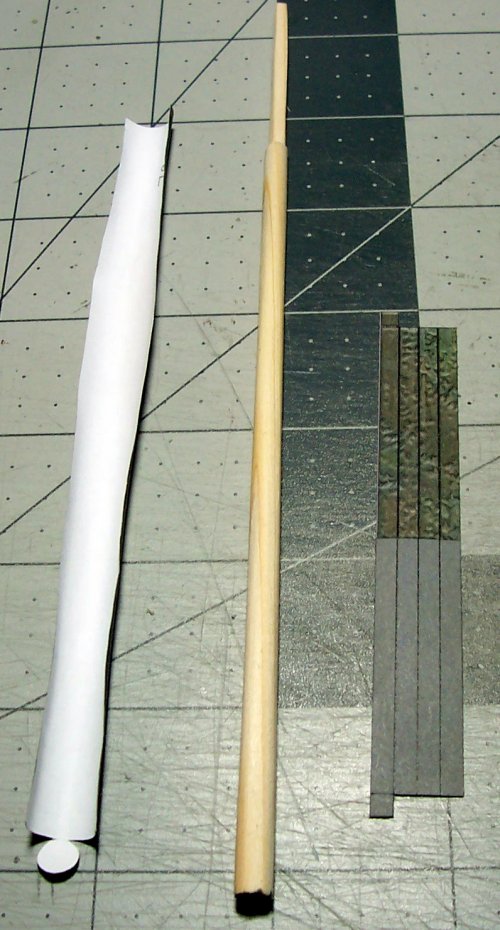
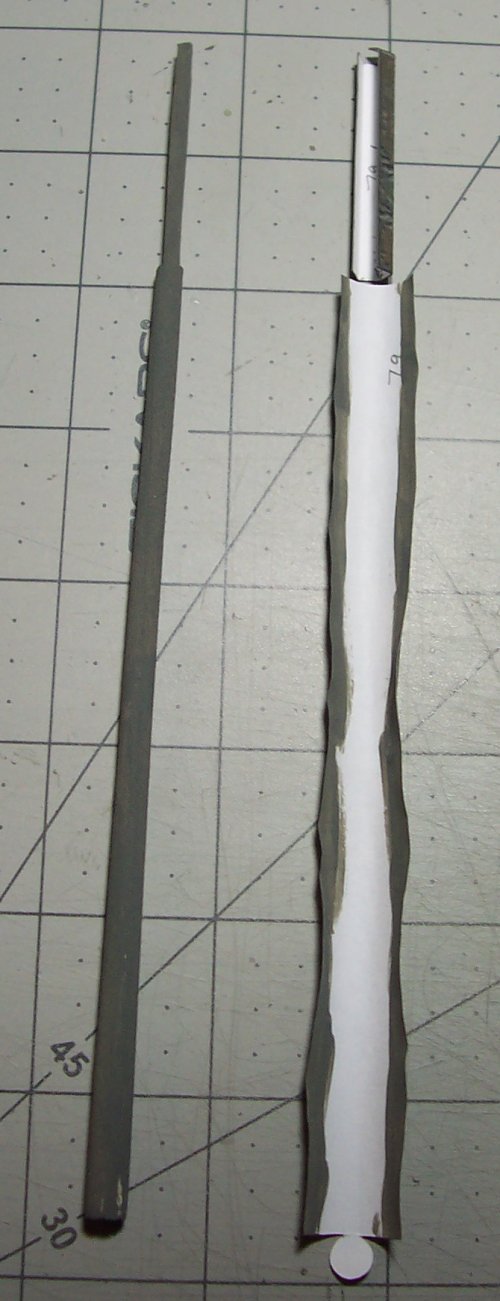
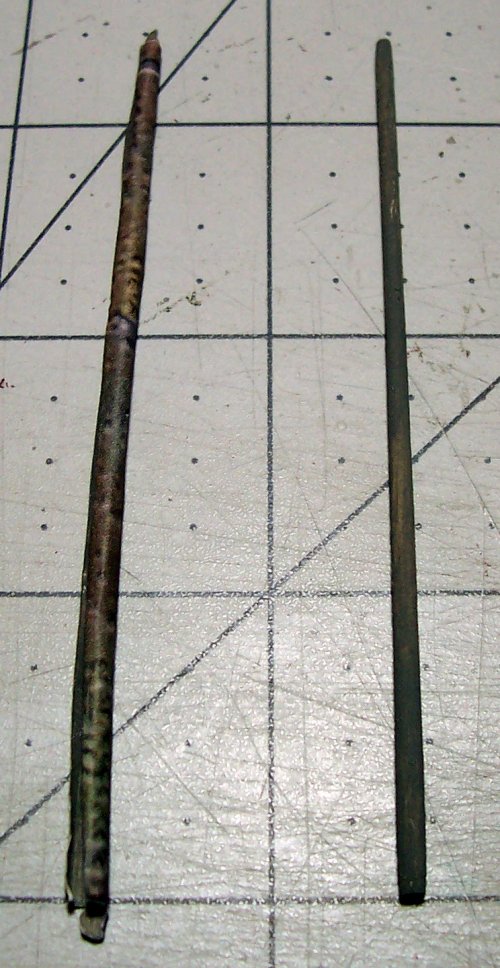
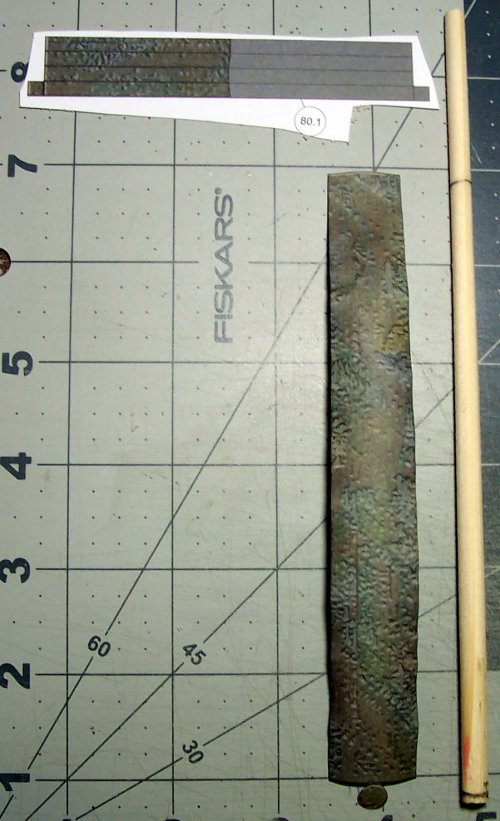
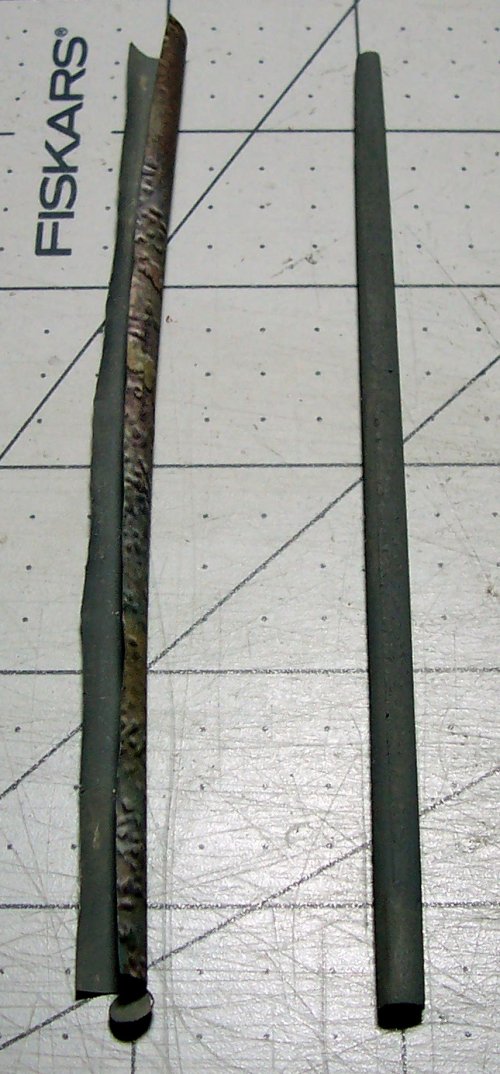
I found that rolling the spar on a flat surface is good for making sure it is nice and true.

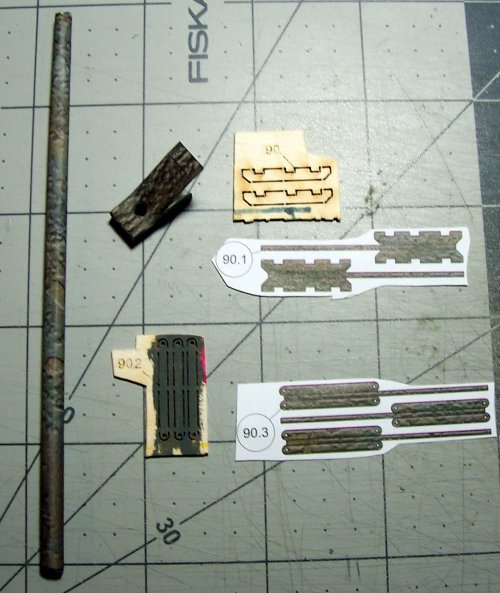
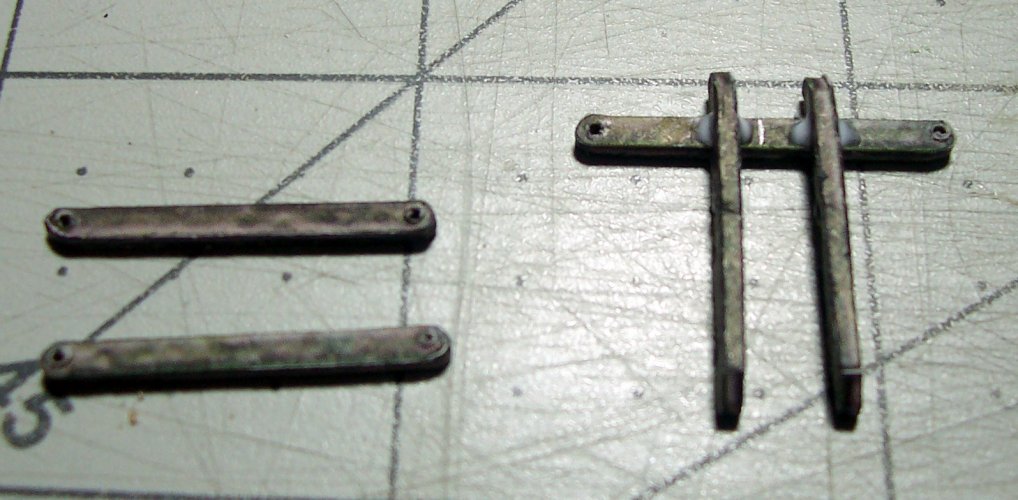
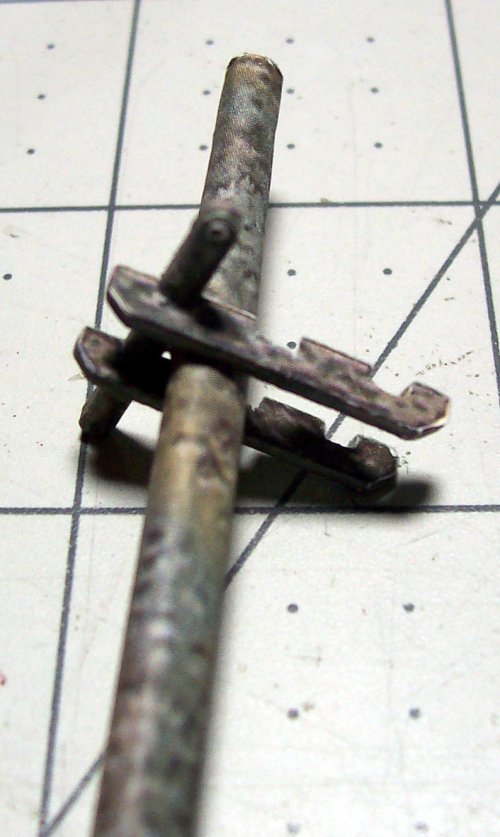
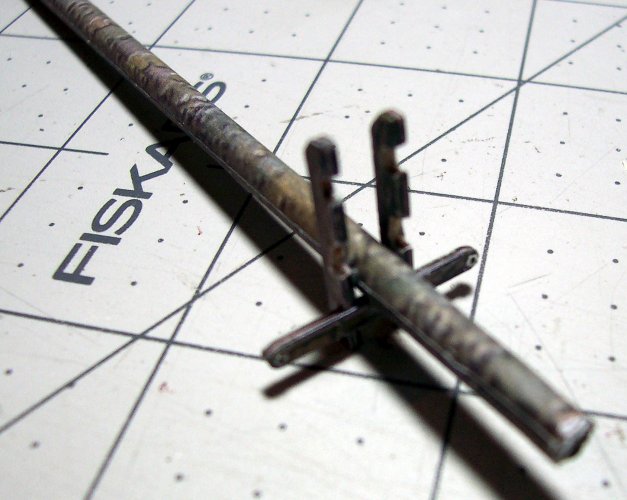
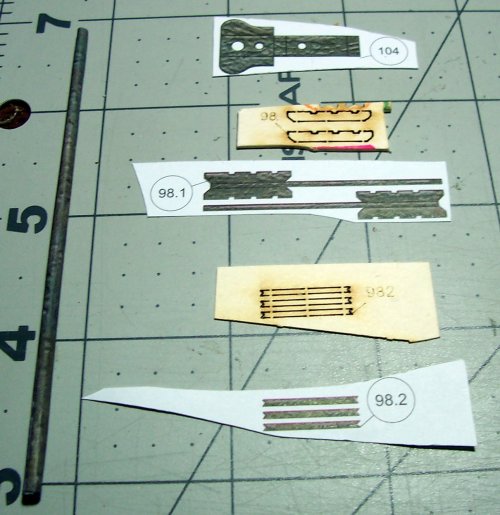
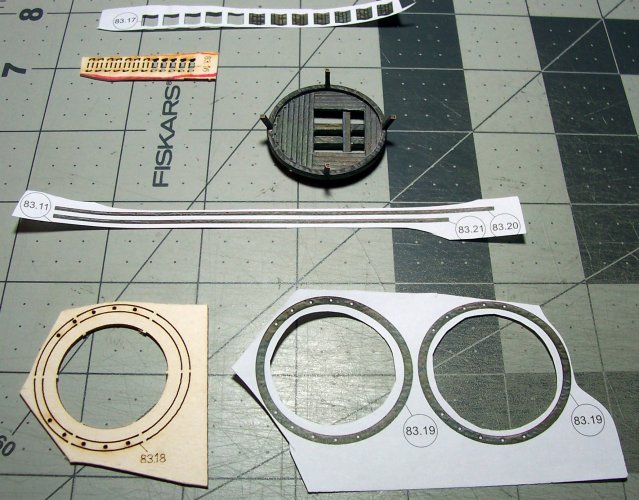
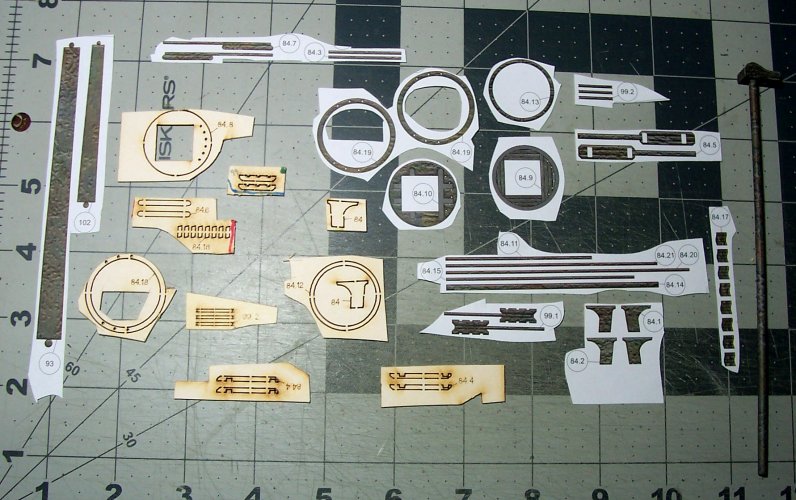
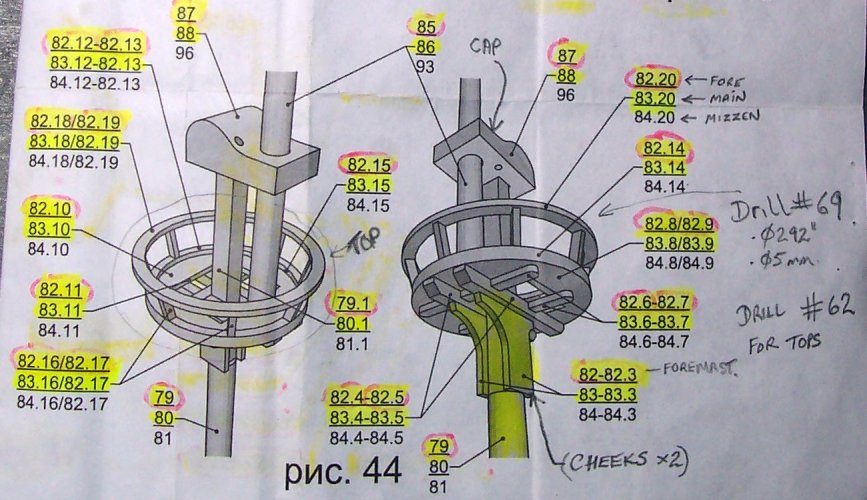
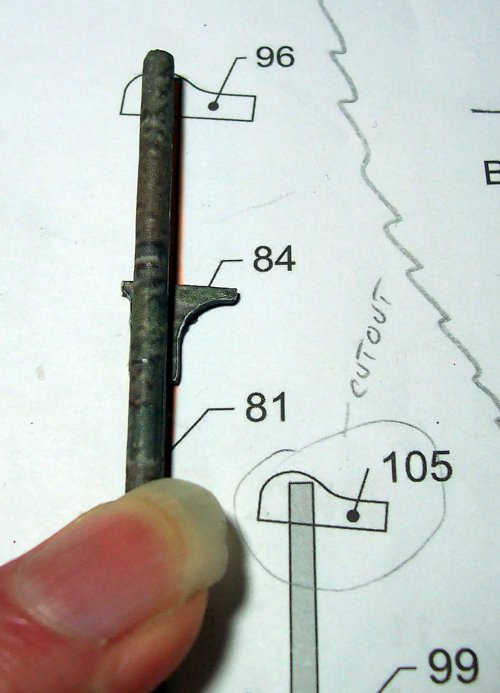
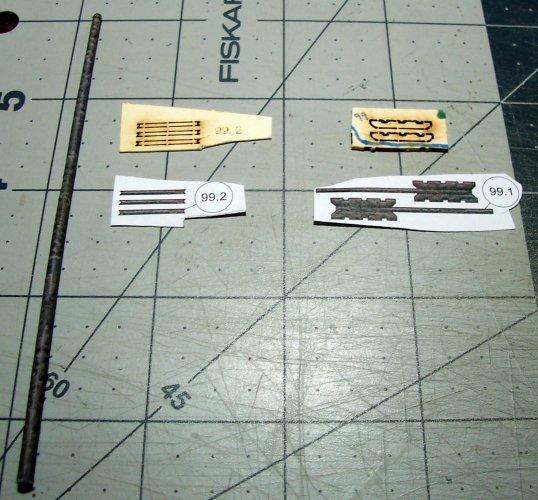
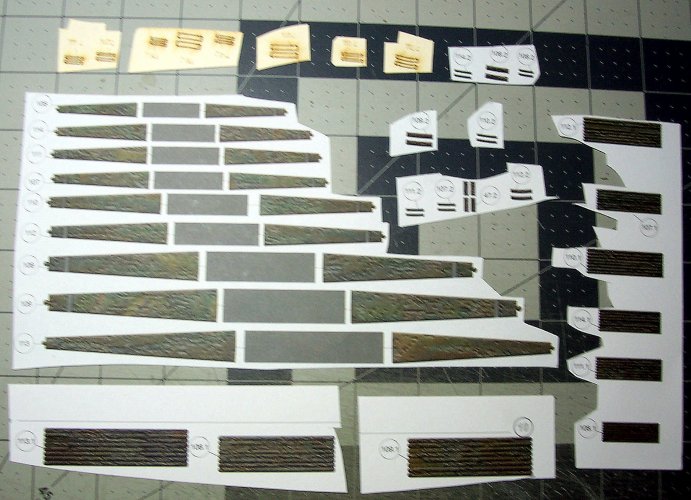
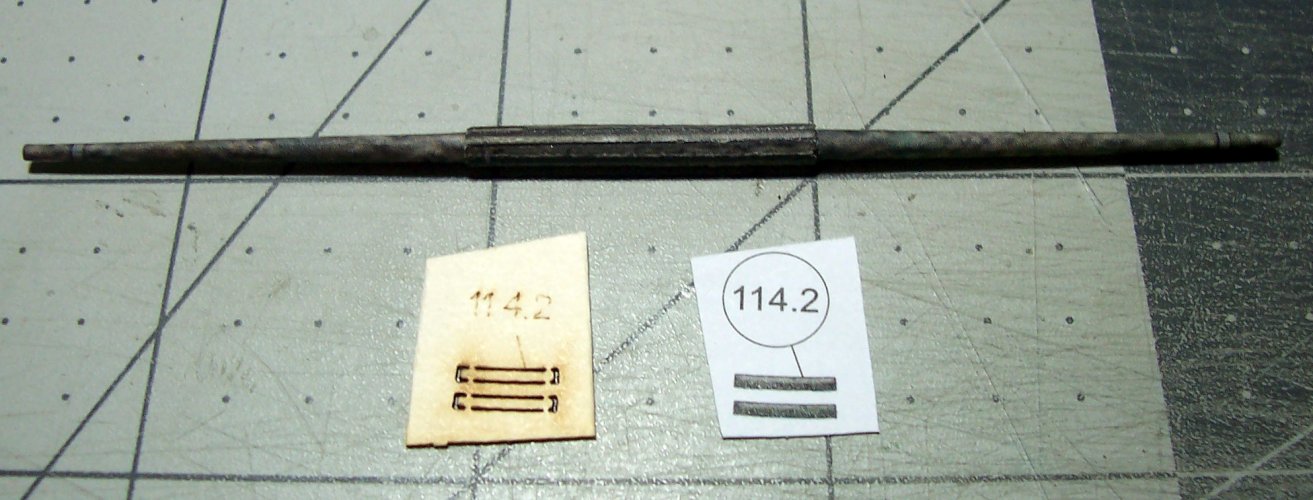
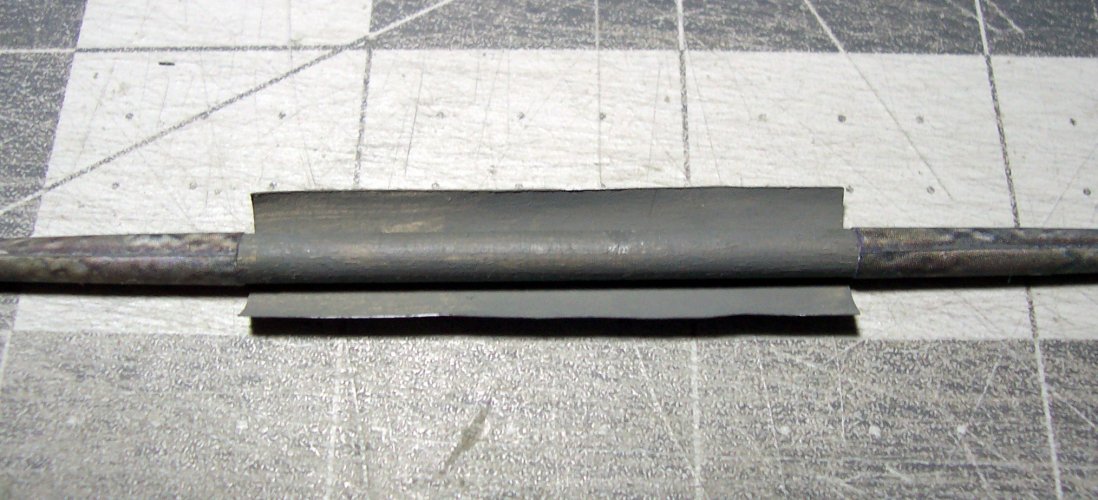
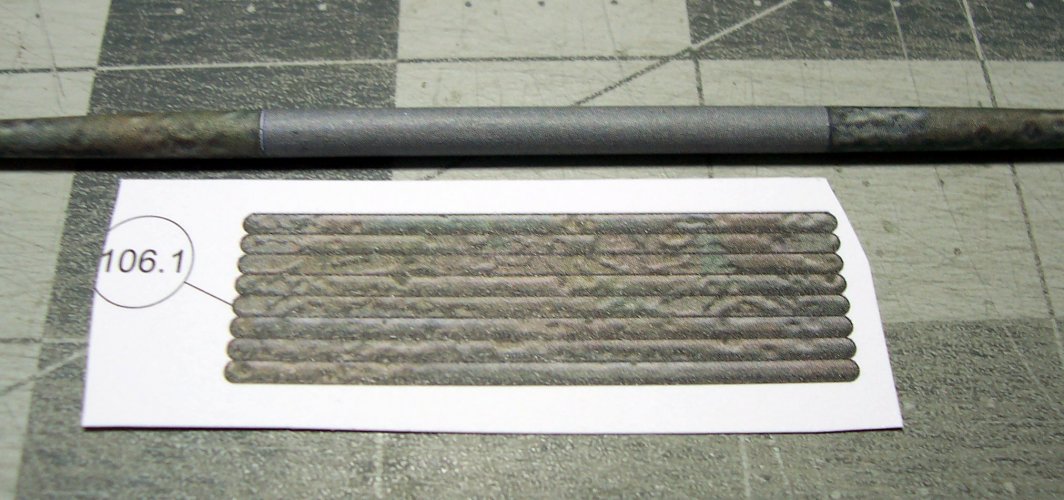
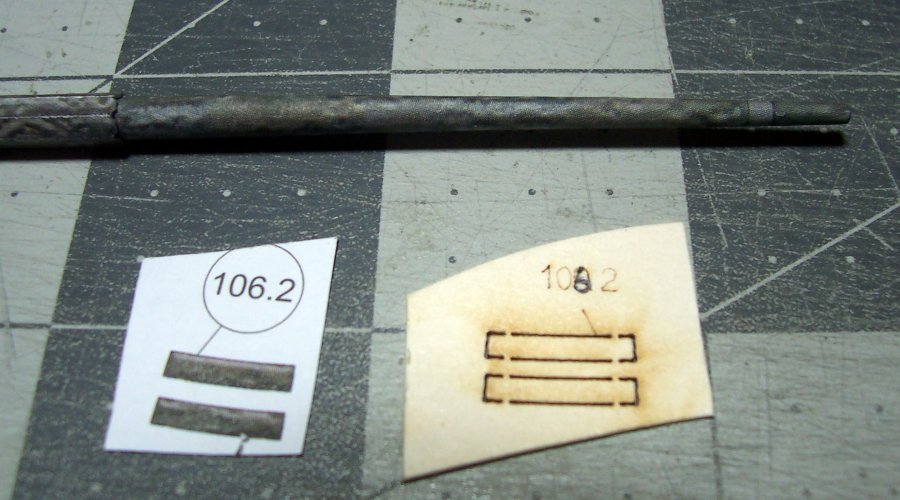
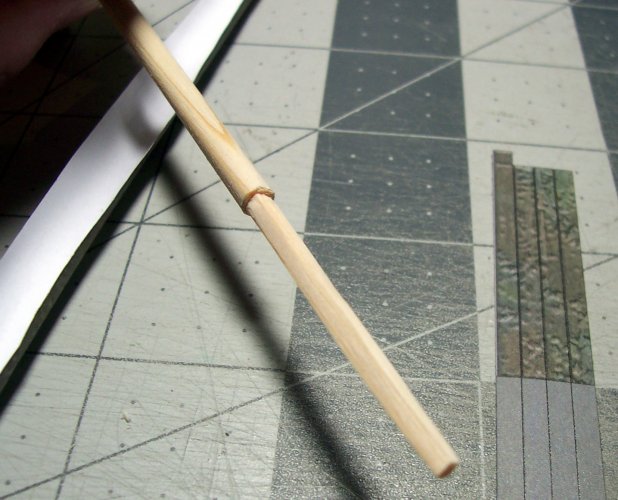
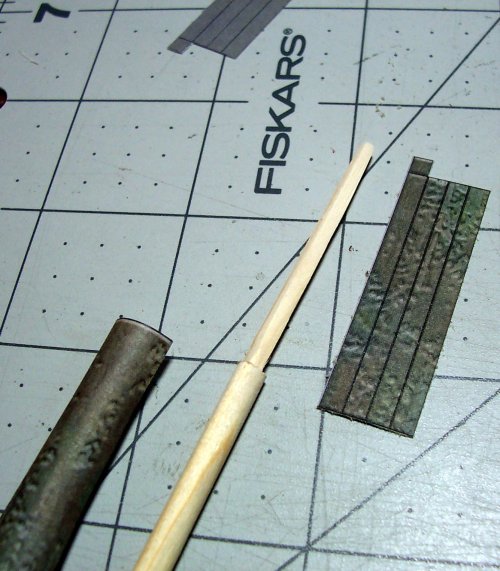
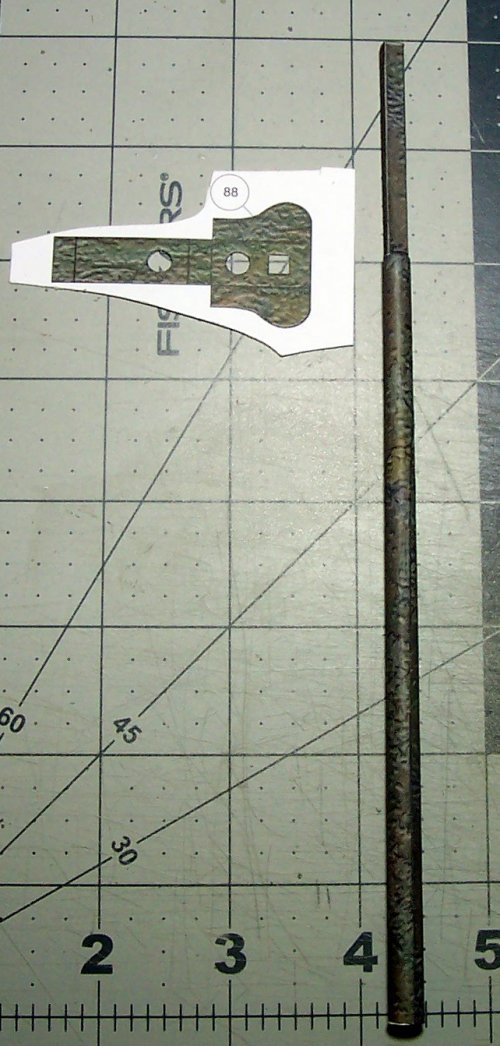
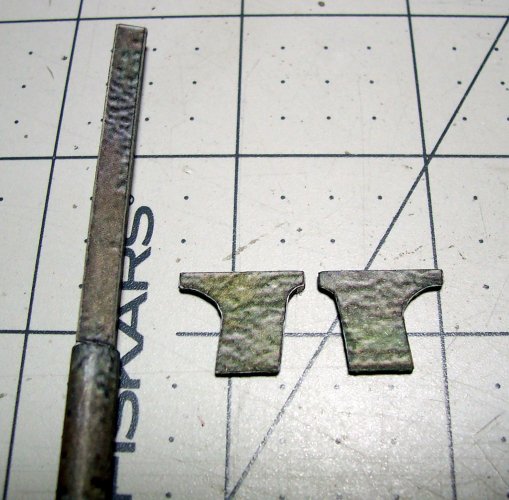
The color veneer parts help making sure that the correct shape has been ground into the dowel.
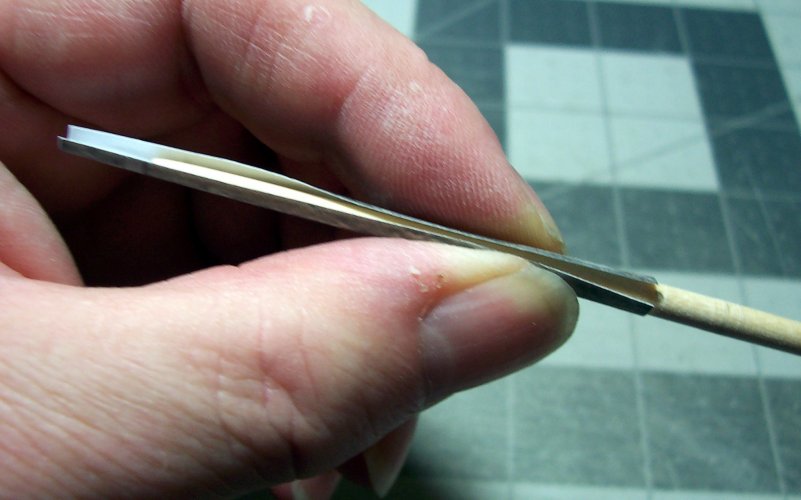
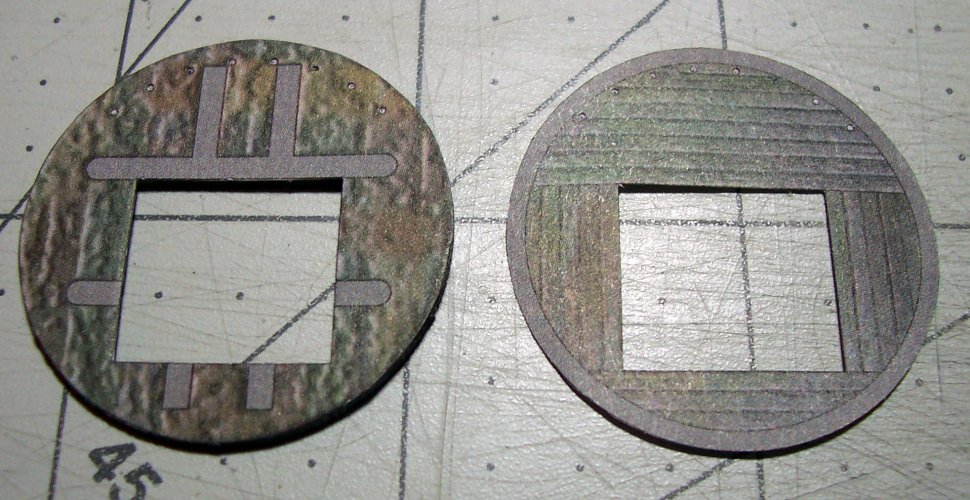
I paint the inside of the paper veneers, and the wooden spar to disguise any slight gaps that may show.

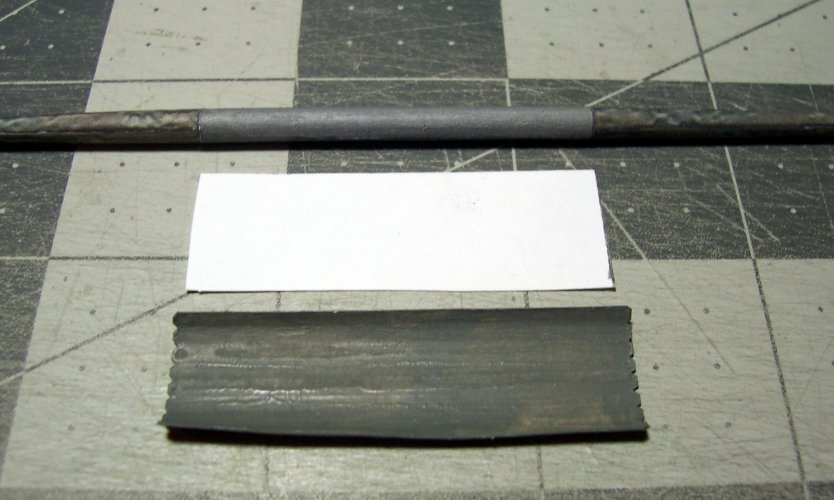
This here is a double-block. The block as it is, represents the real pulley block used on a ship. The rotating pulley inside the block is called a sheave. The blocks can either have a single, double, triple or so on set of sheaves depending on the application.



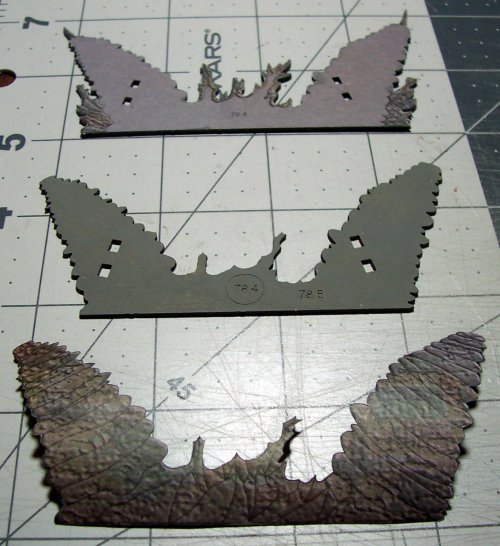

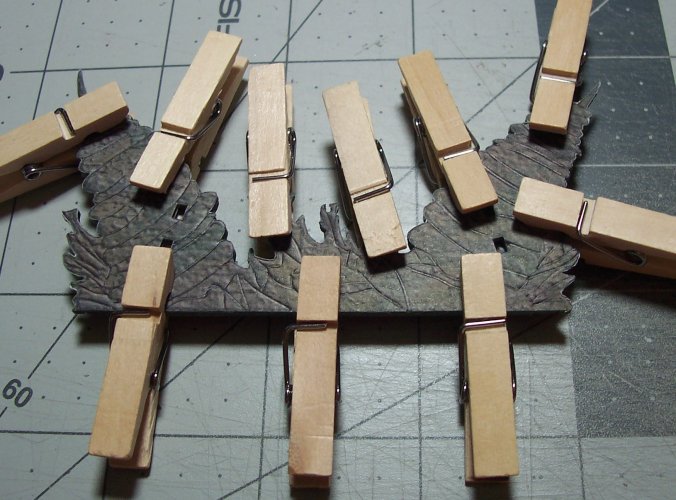
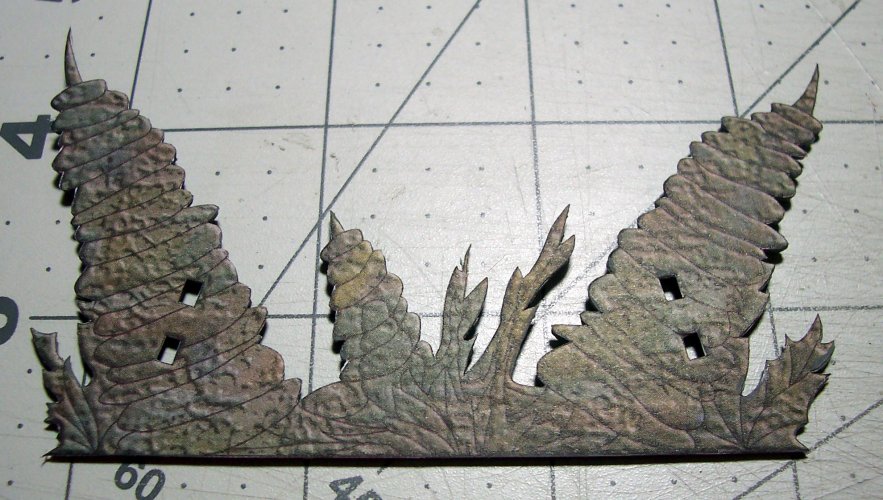
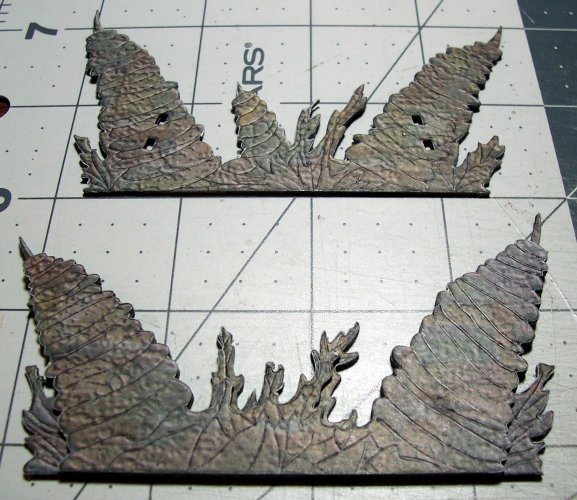
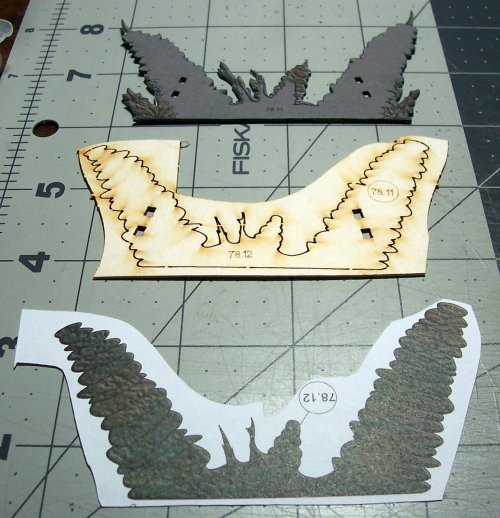
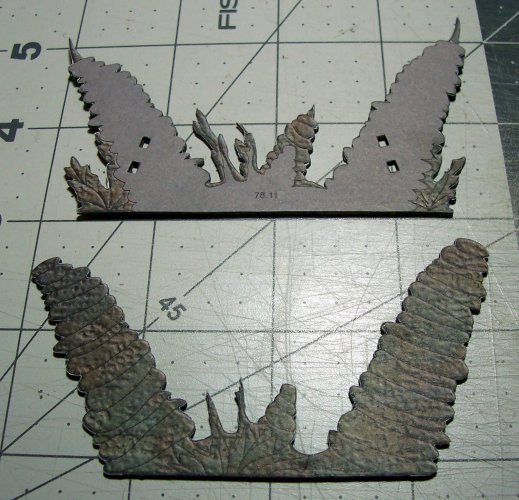
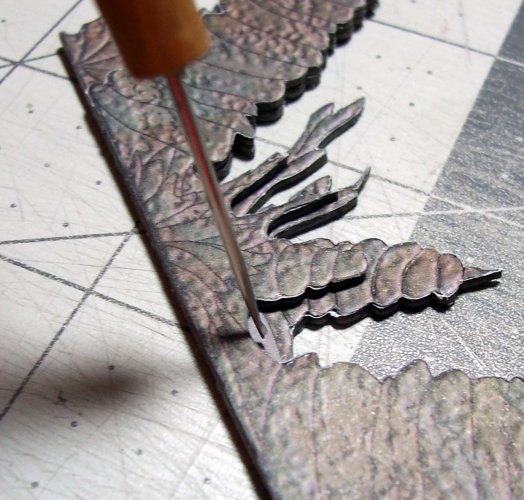
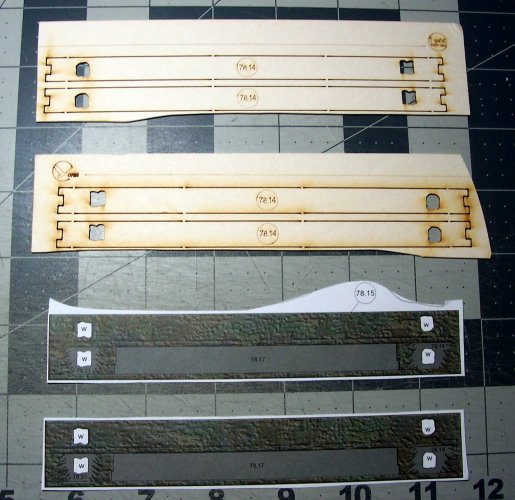
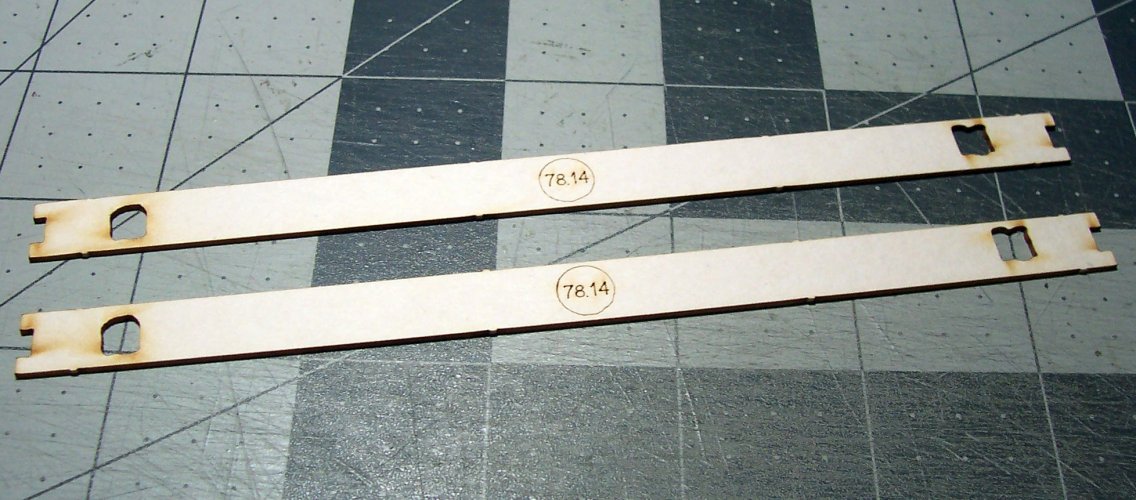
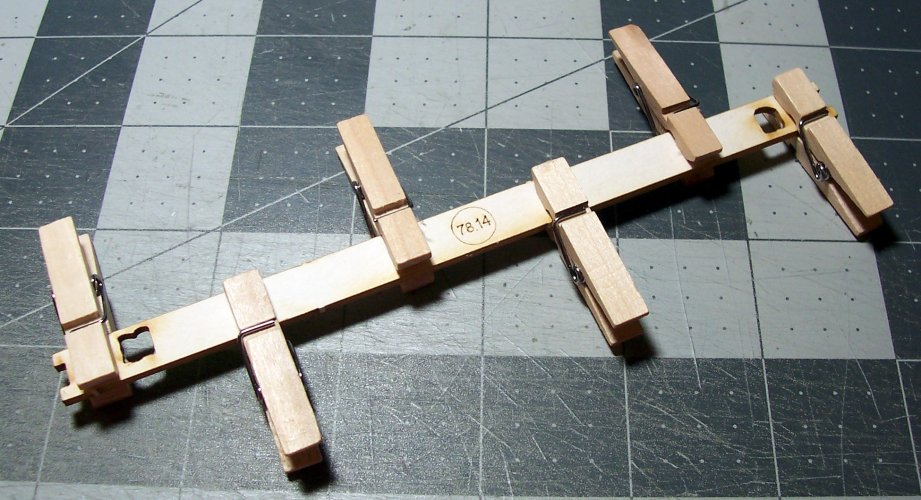

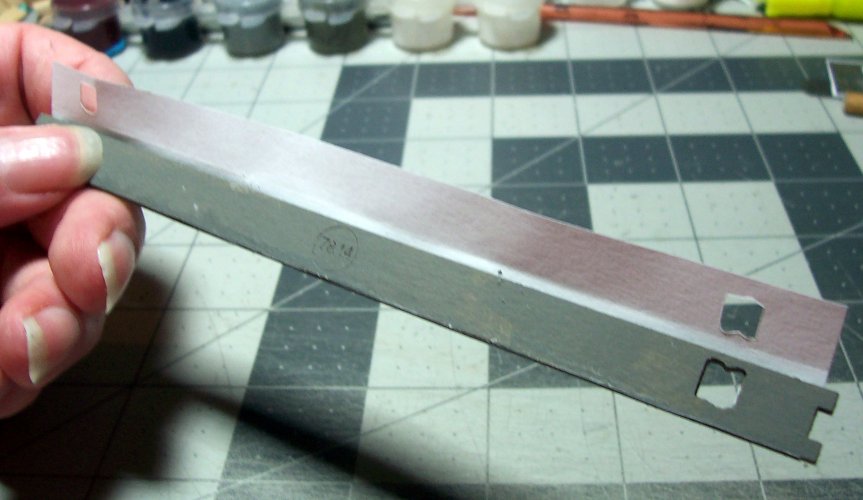
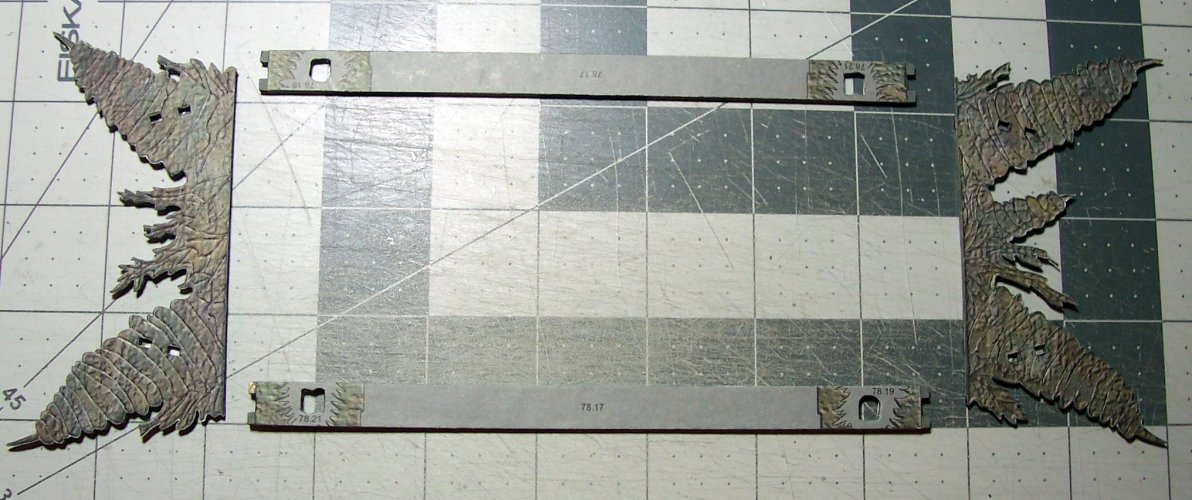

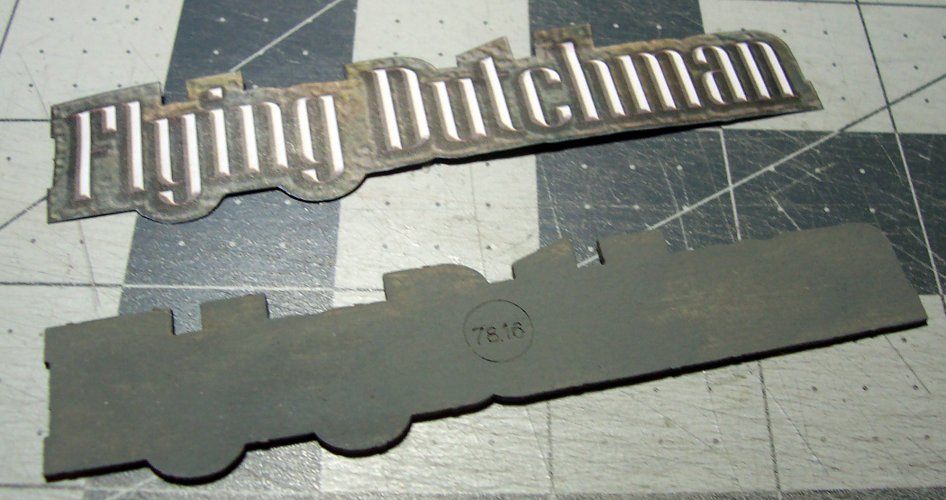
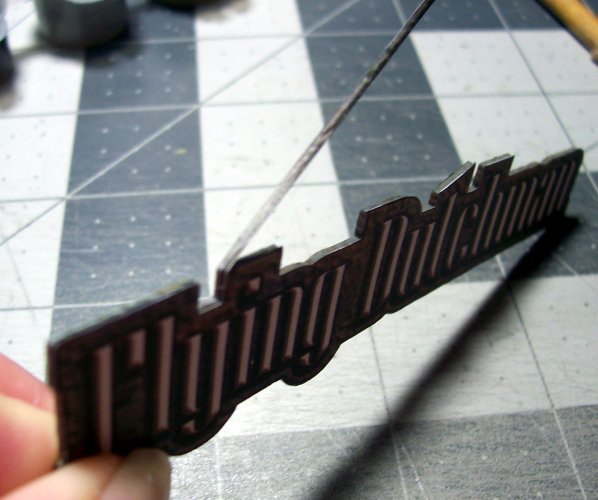
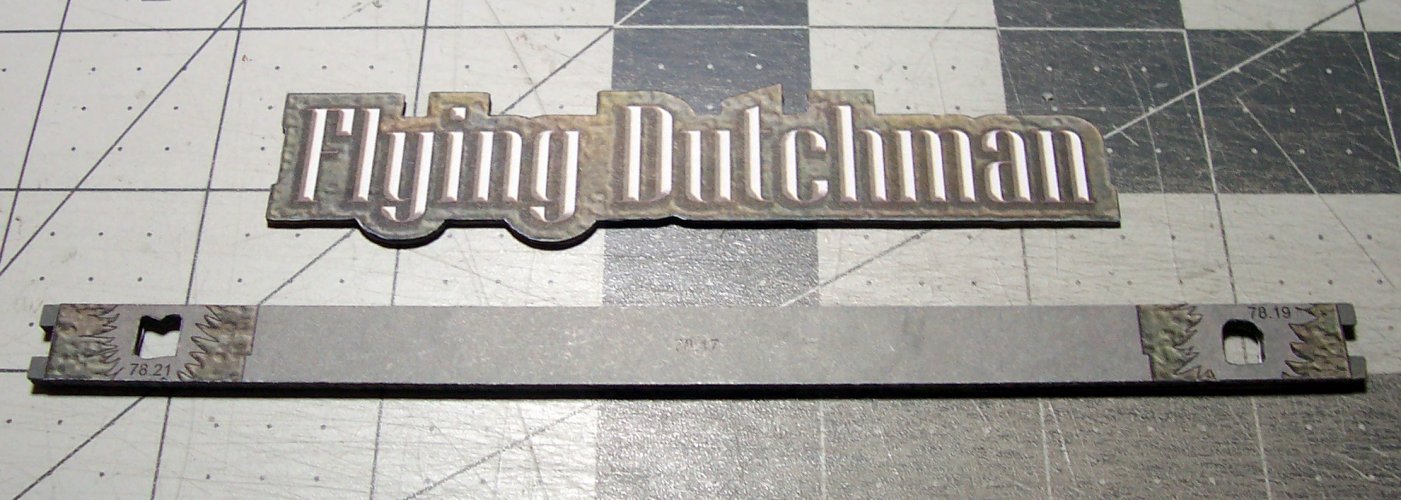
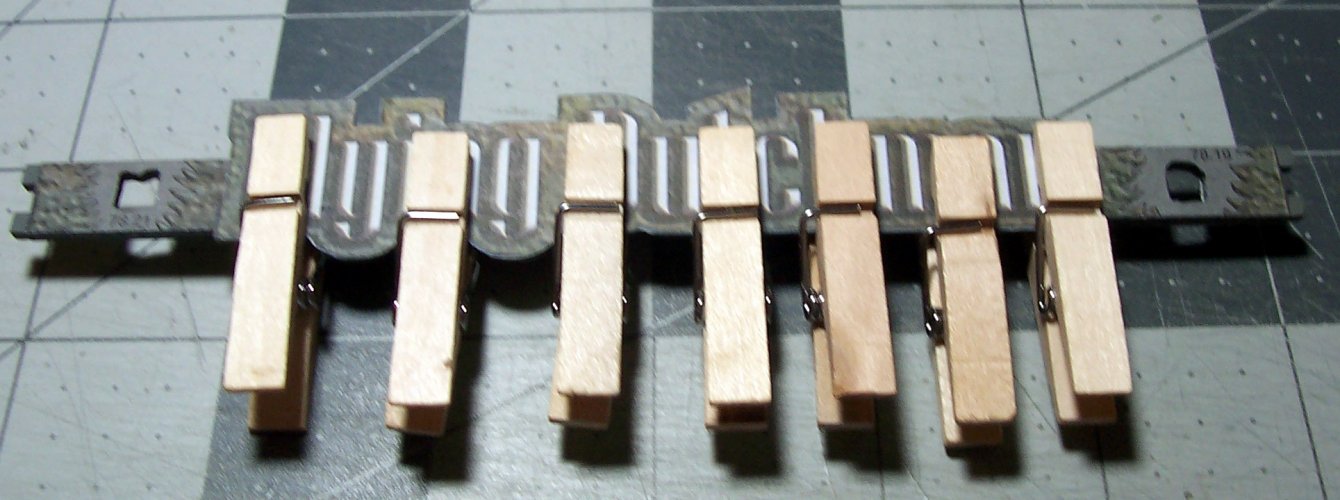
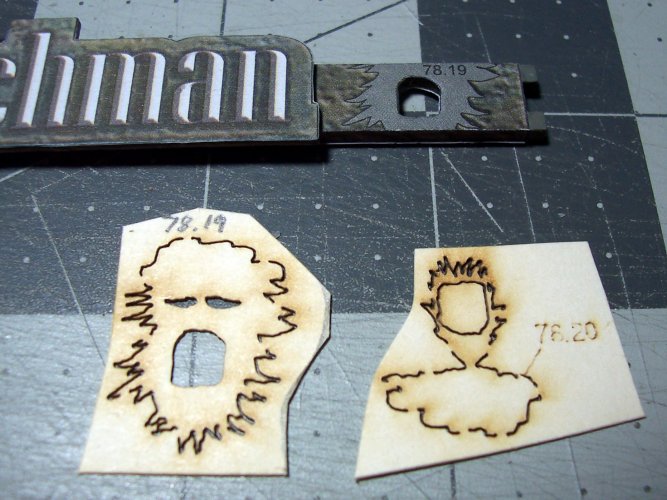

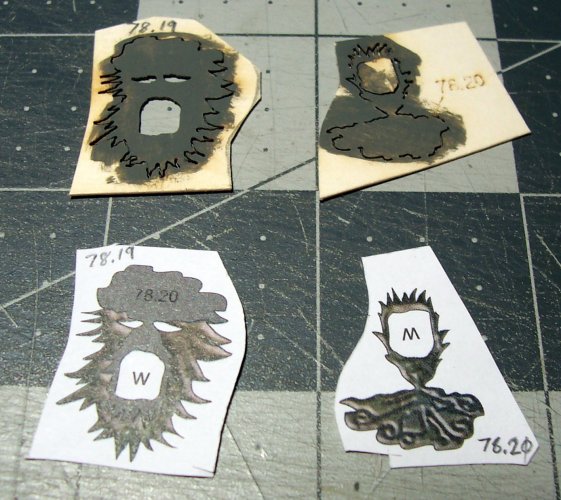
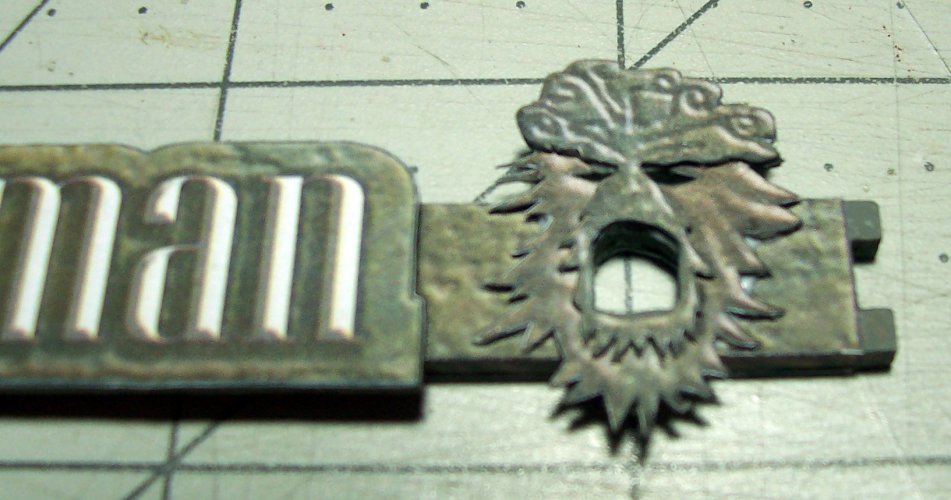
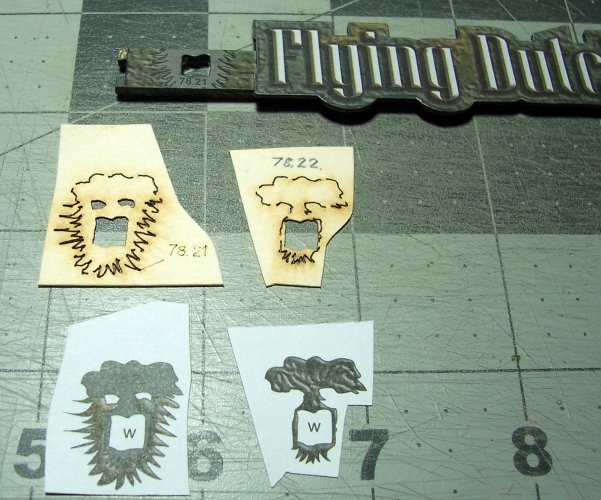
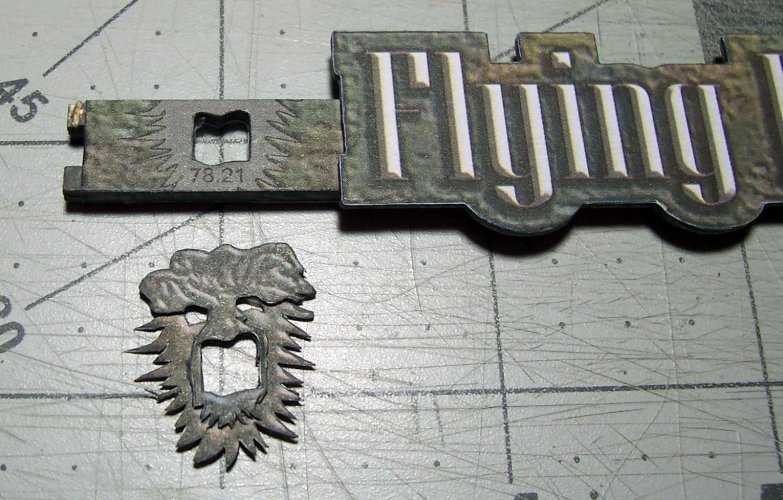
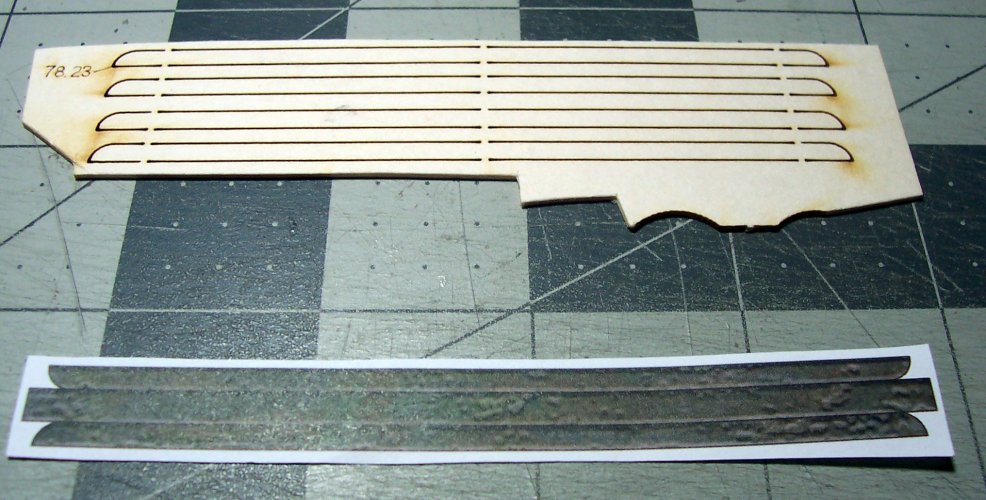


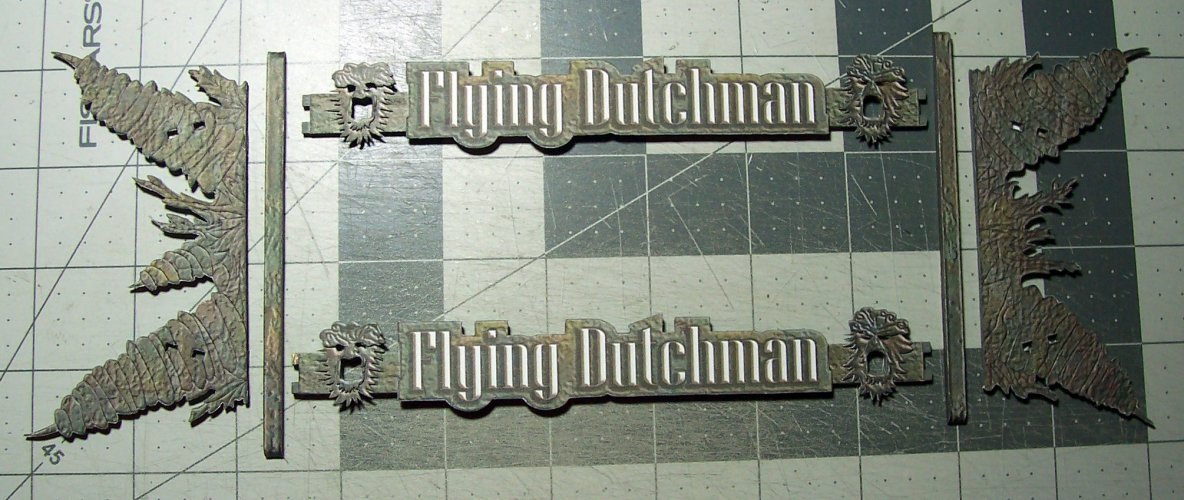
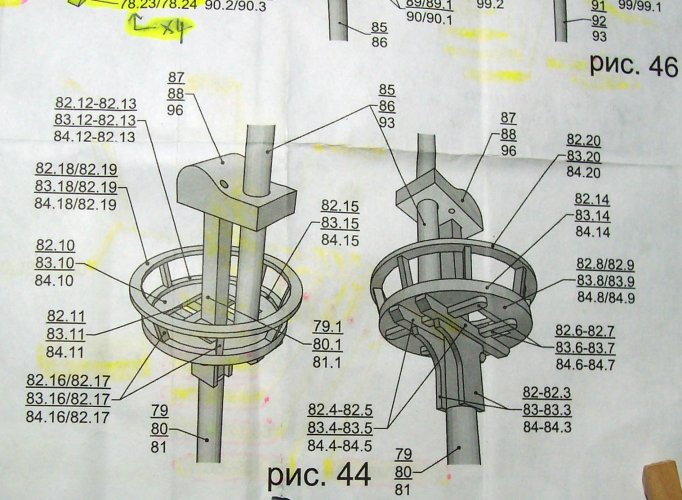

 It is California though, and used to be a desert. No air conditioning though making it nasty!
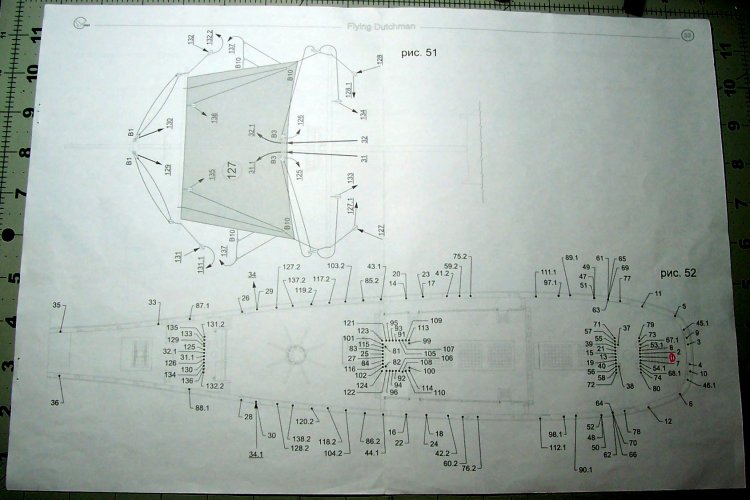
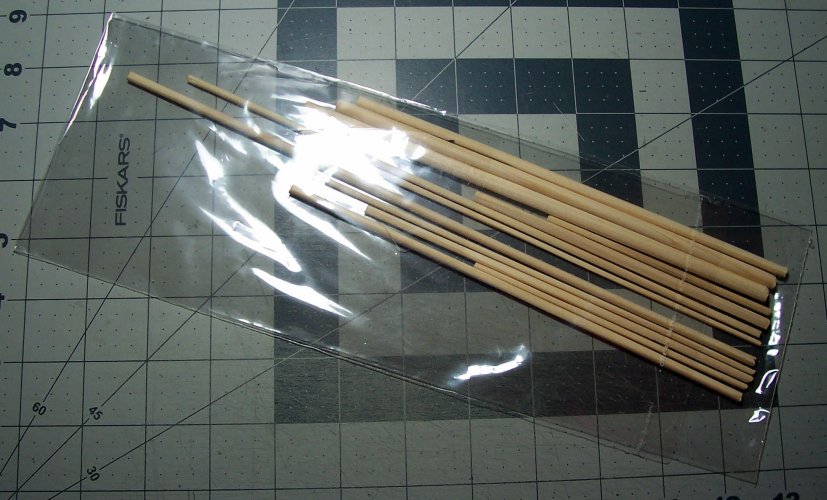
 I wouldn't recommend getting these! I looked at the online pic, and it appeared that they were stained, and machined to shape for each one. Sadly, I was told that they were no longer available when I ordered the model from the Ukraine. I think they must have cobbled together a bunch of dowel pieces to satisfy the order? I used a few of them, but I mostly just used my own dowel pieces left over from old projects. Live and learn I guess?
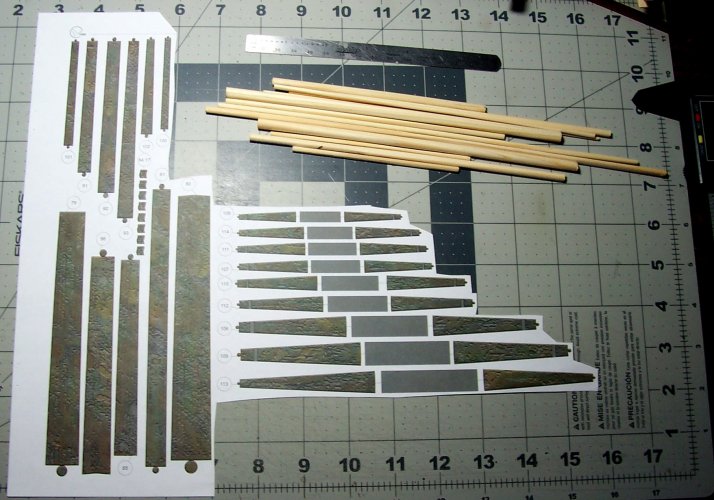
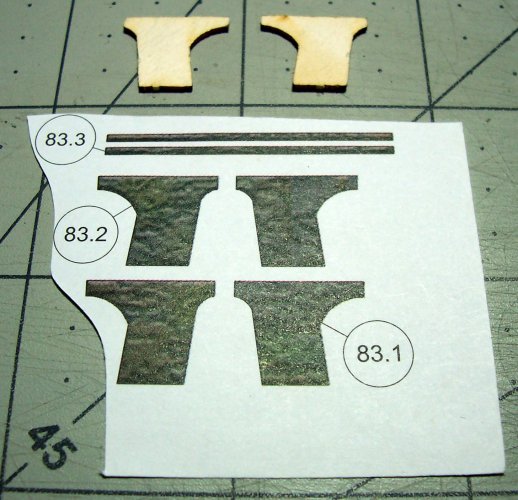
 No, the other cheeks!
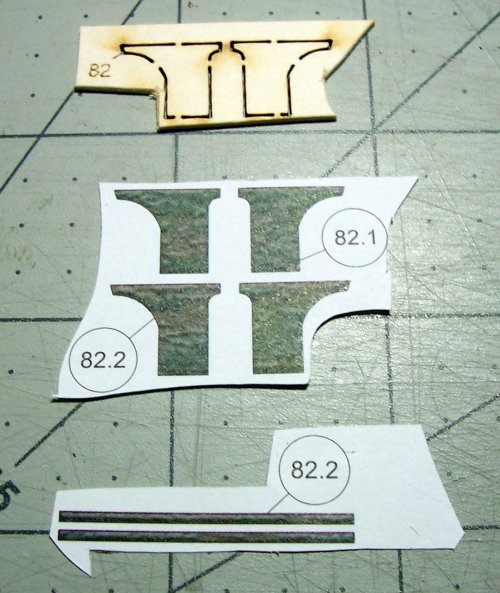
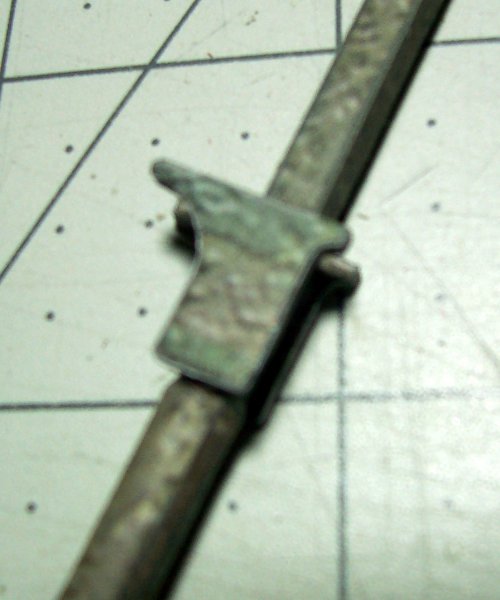

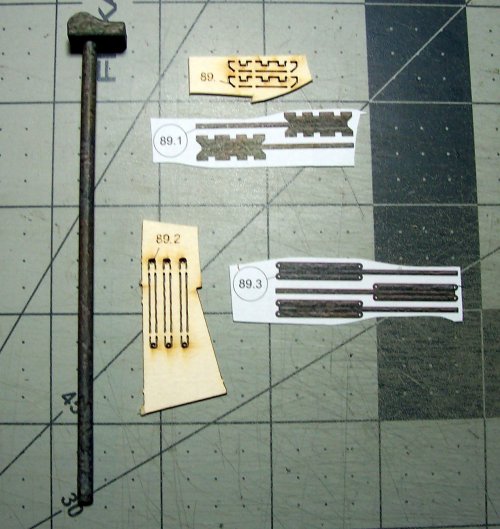
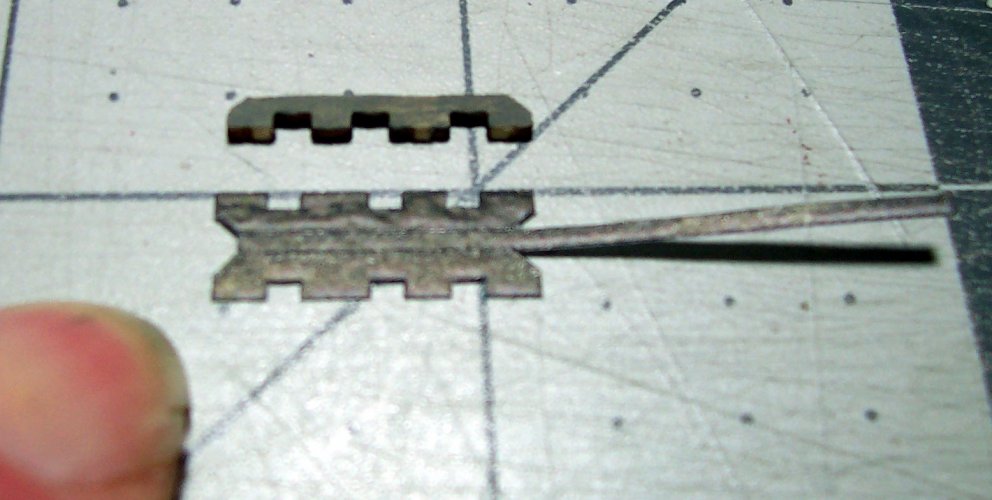
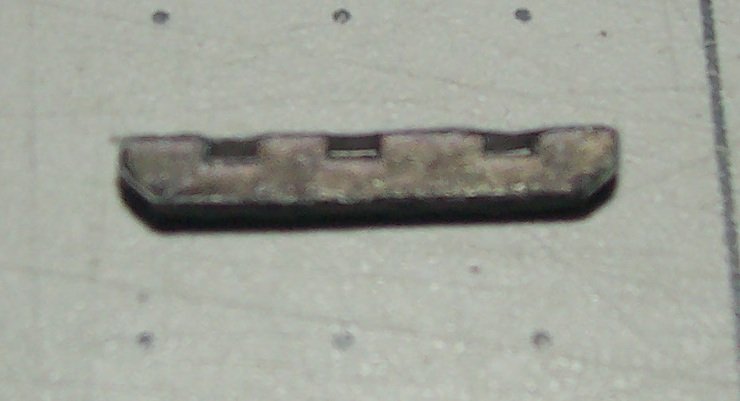
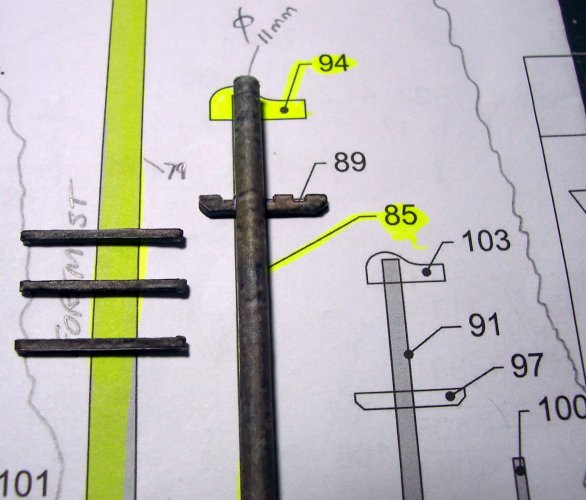
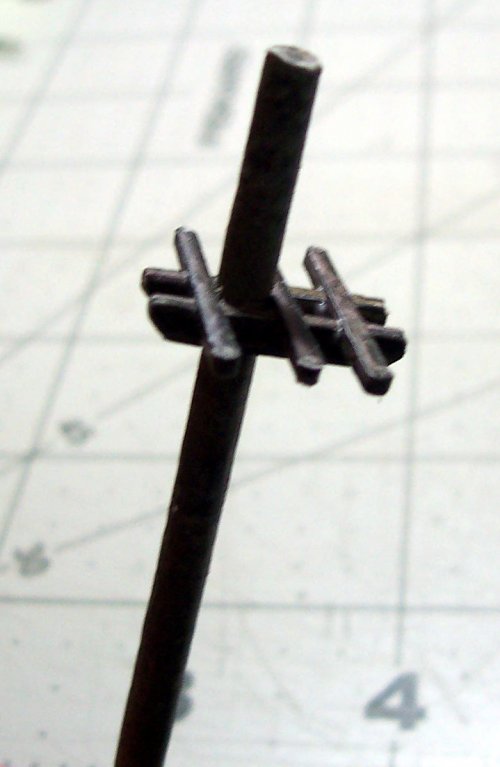
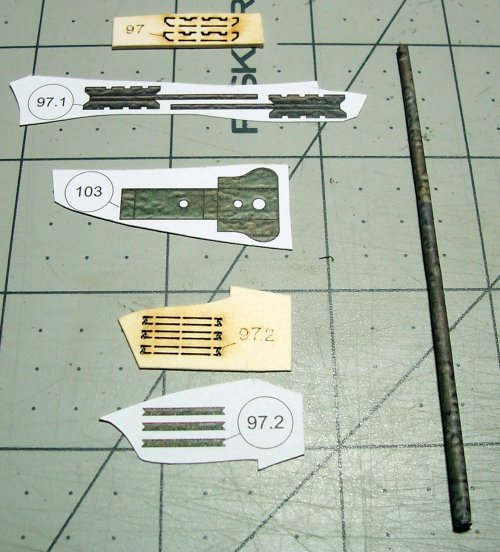
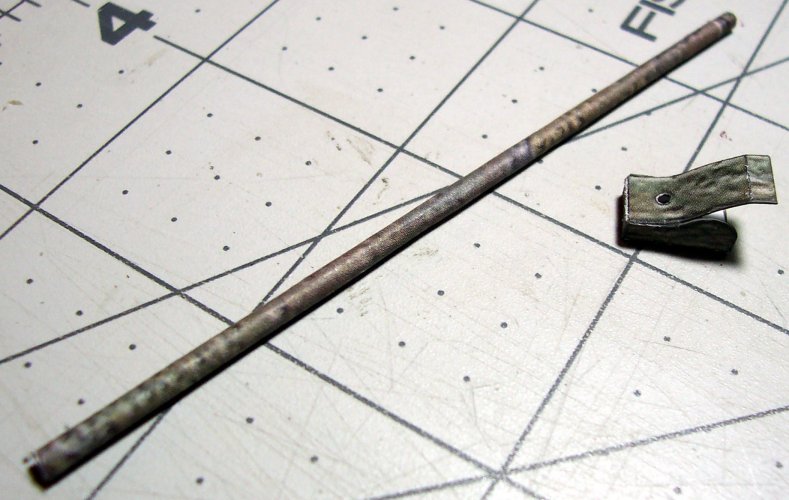
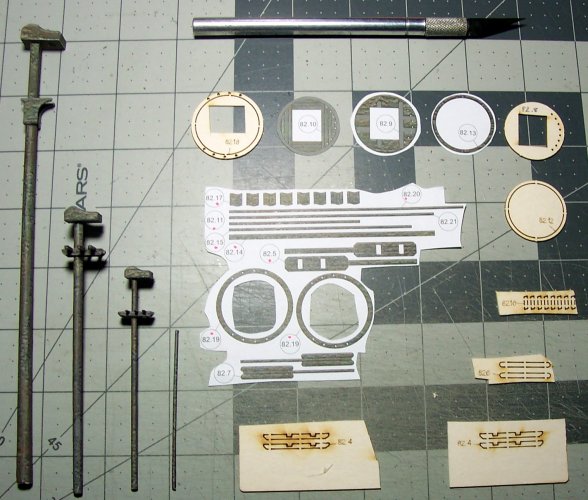
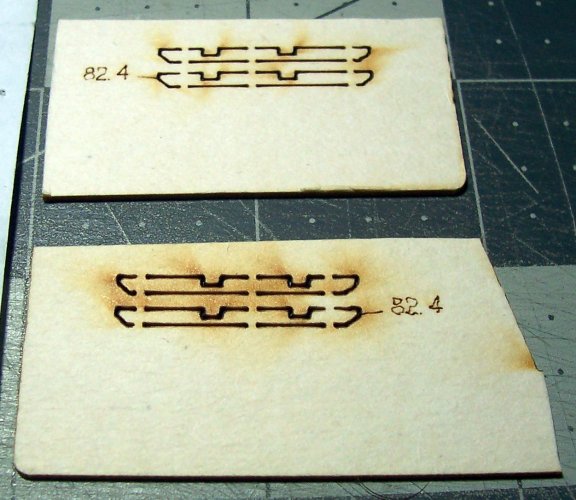
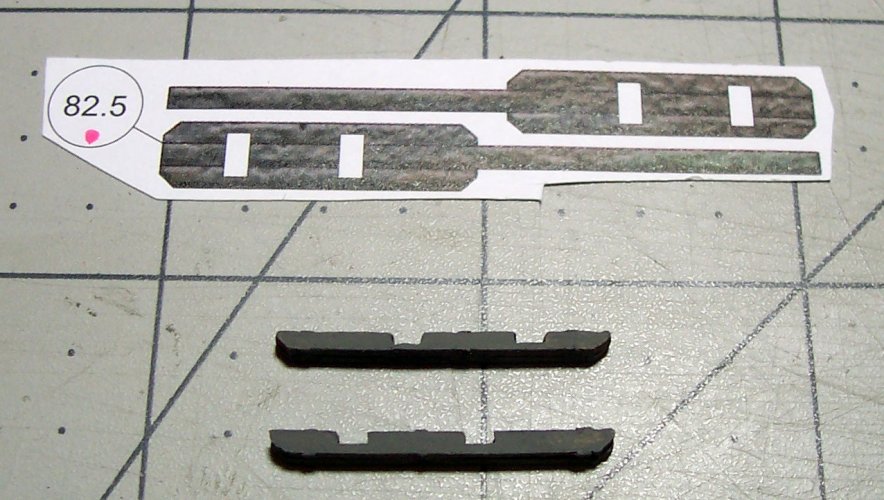
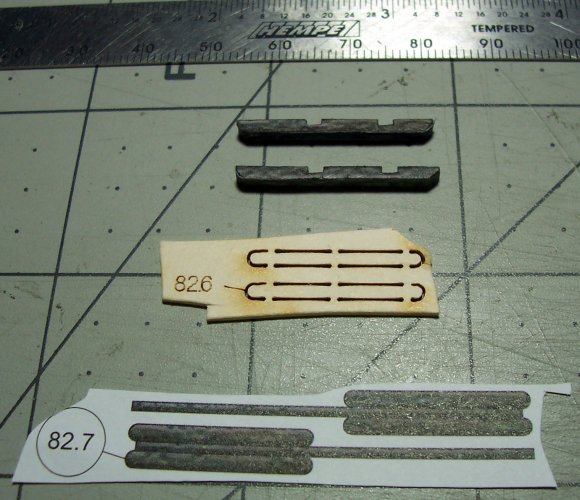
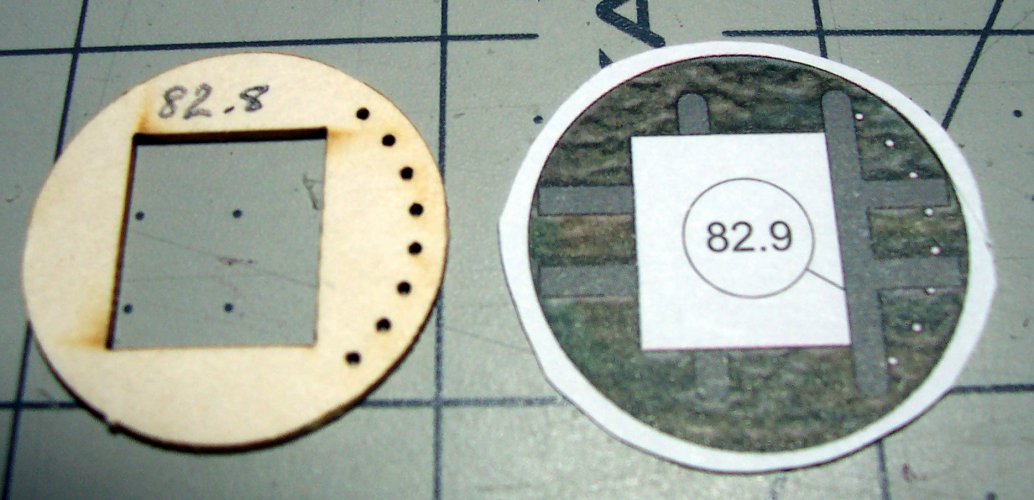
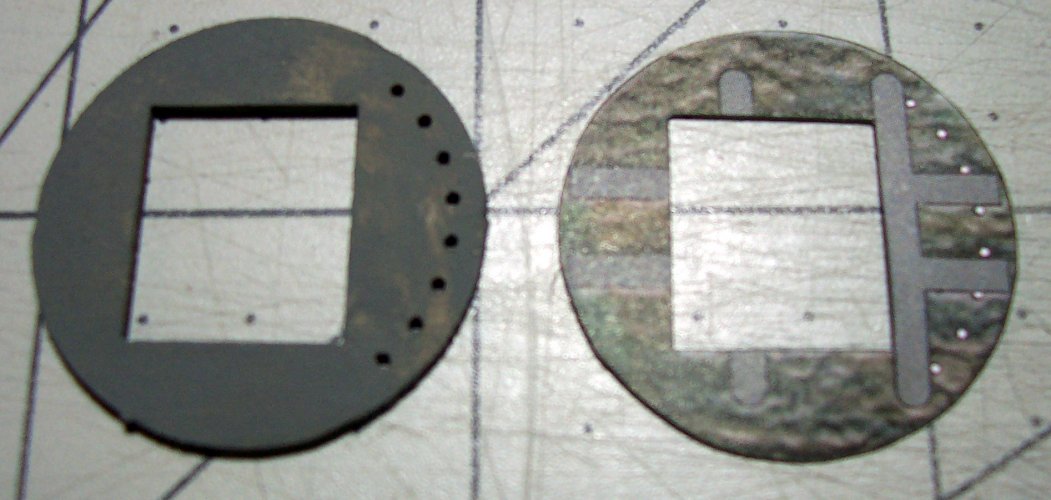
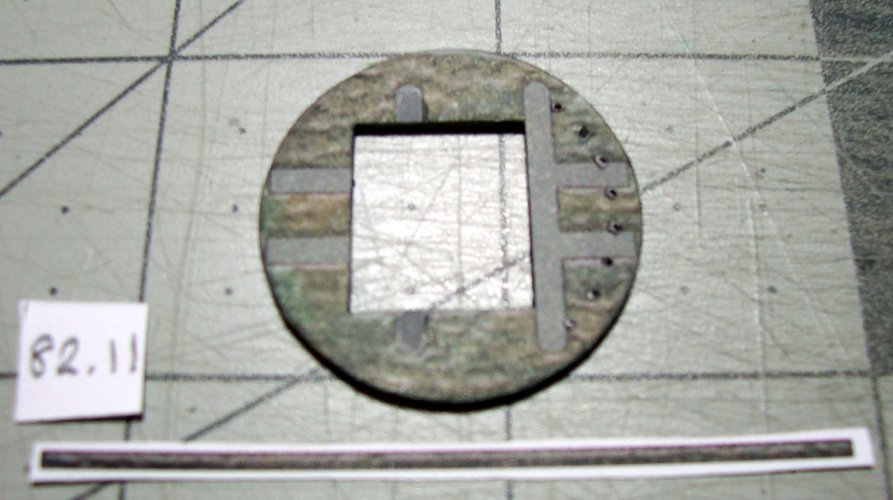
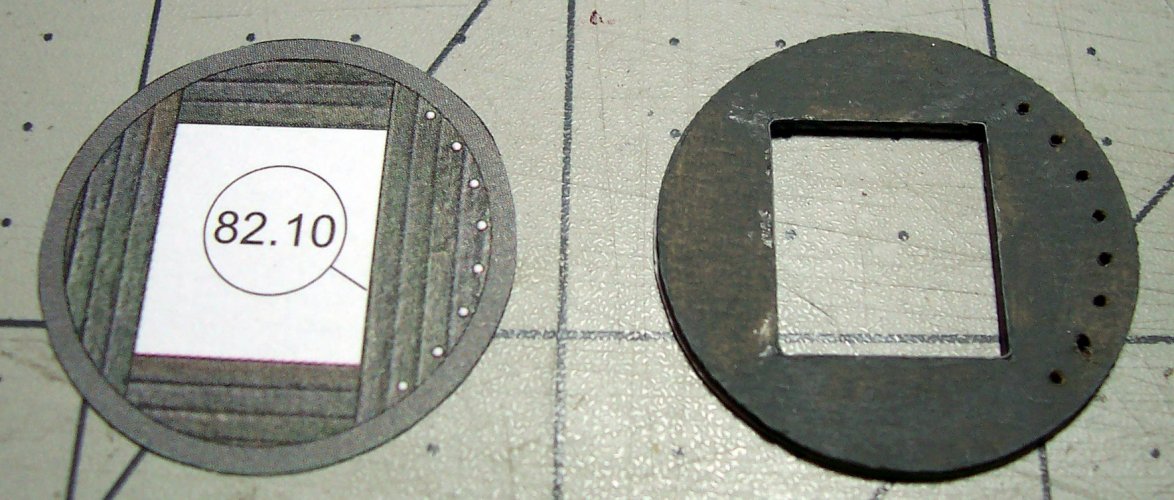
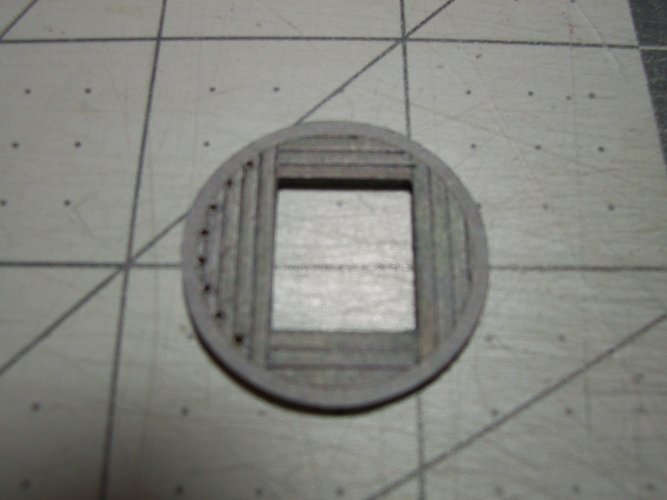
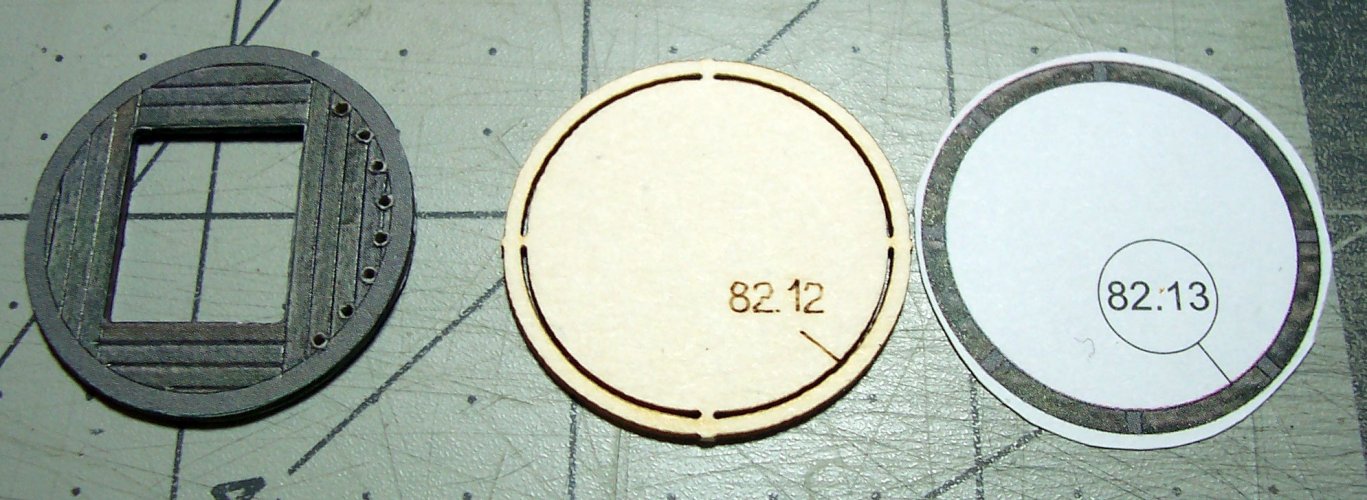
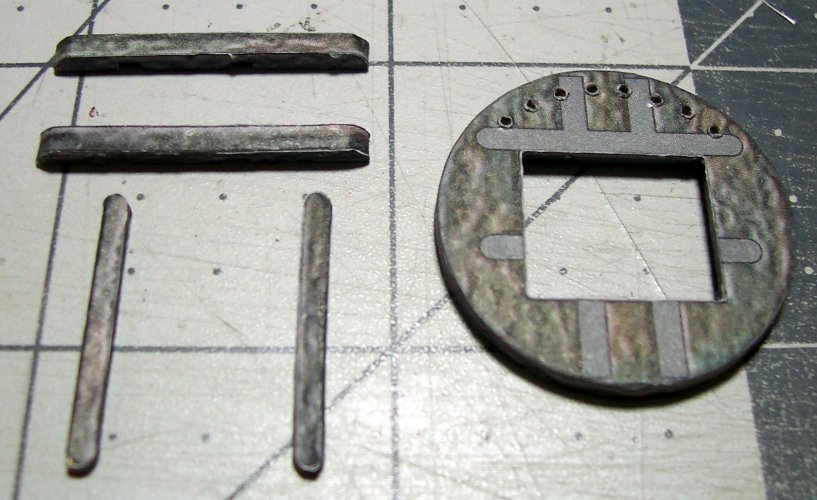

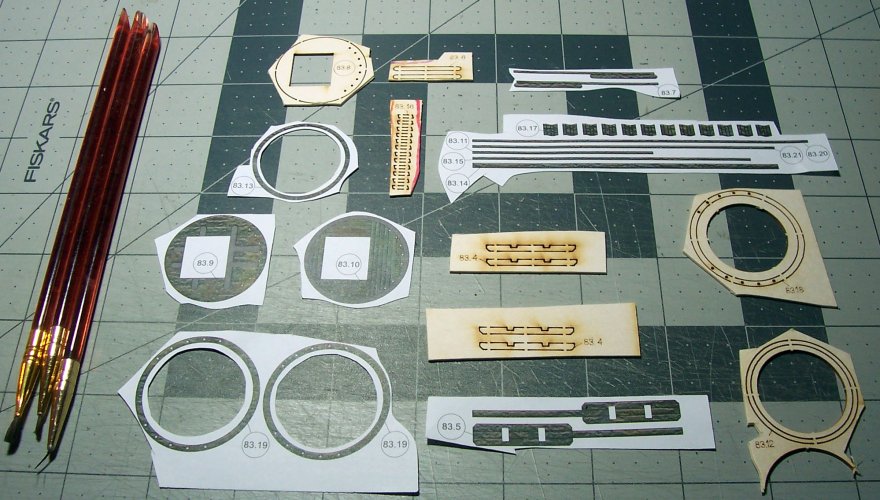
 Go easy though as the base of the cutouts will finish up paper thin!
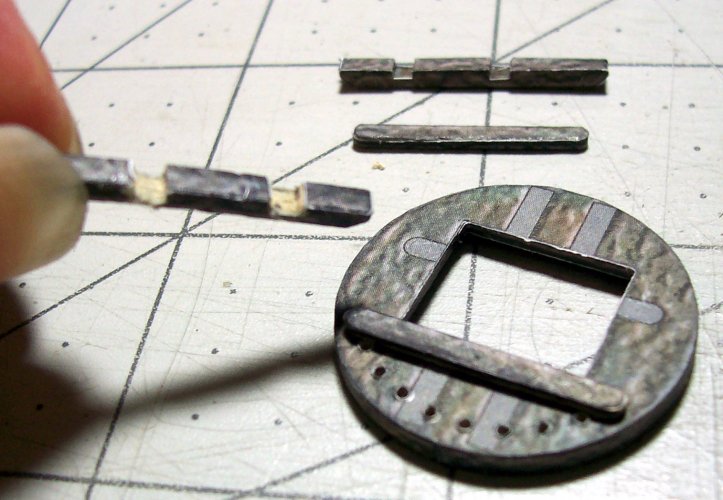
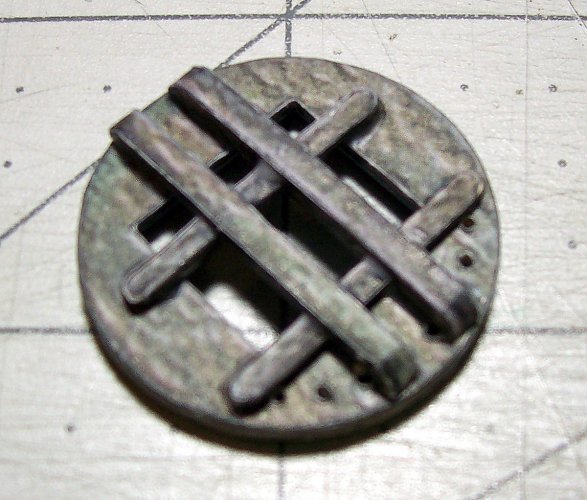
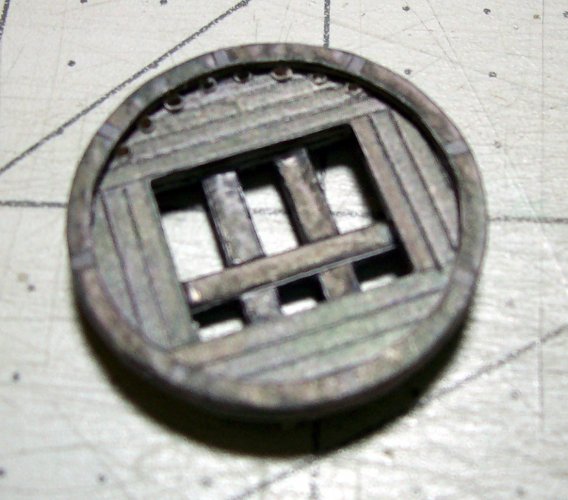
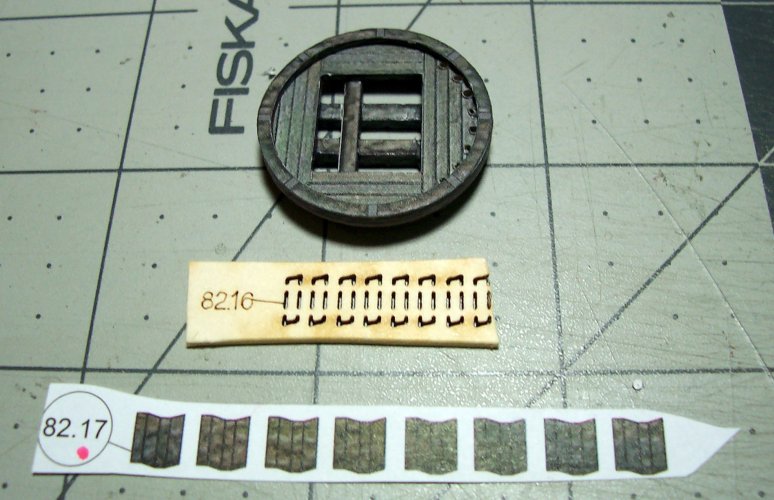
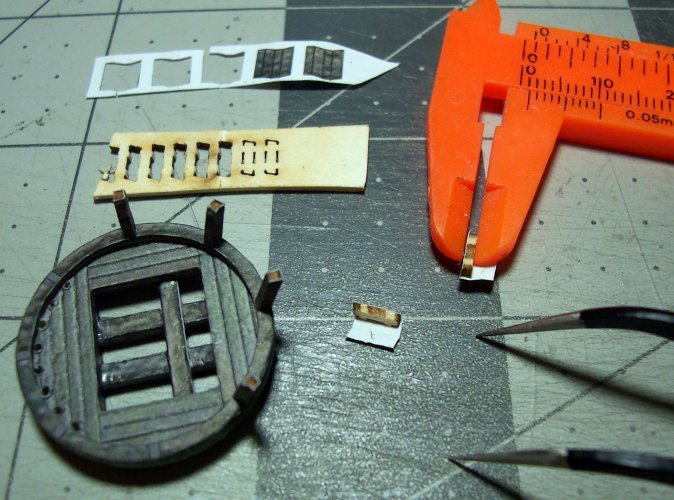
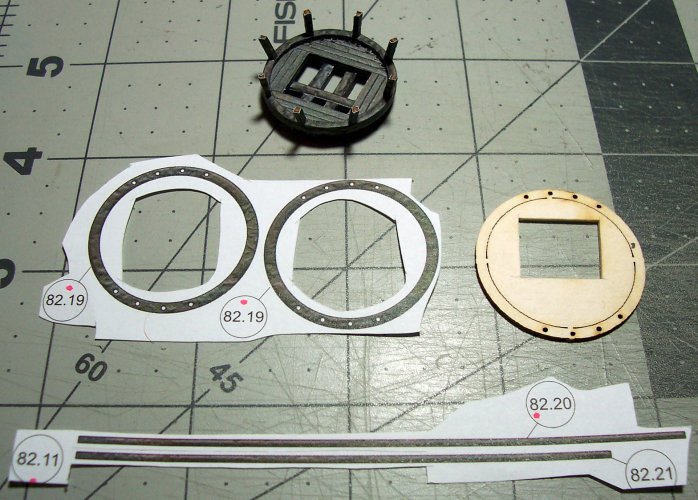
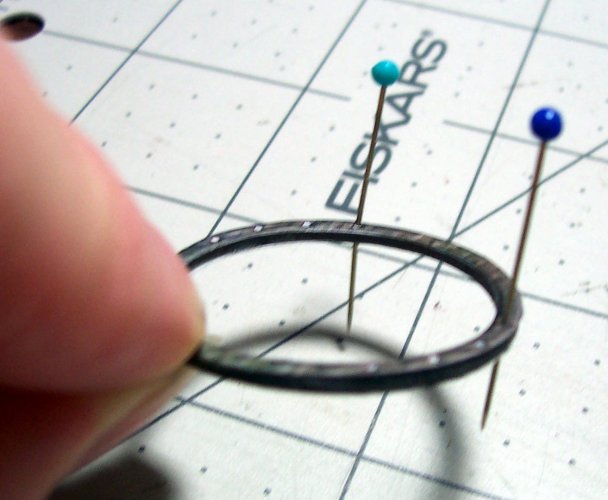
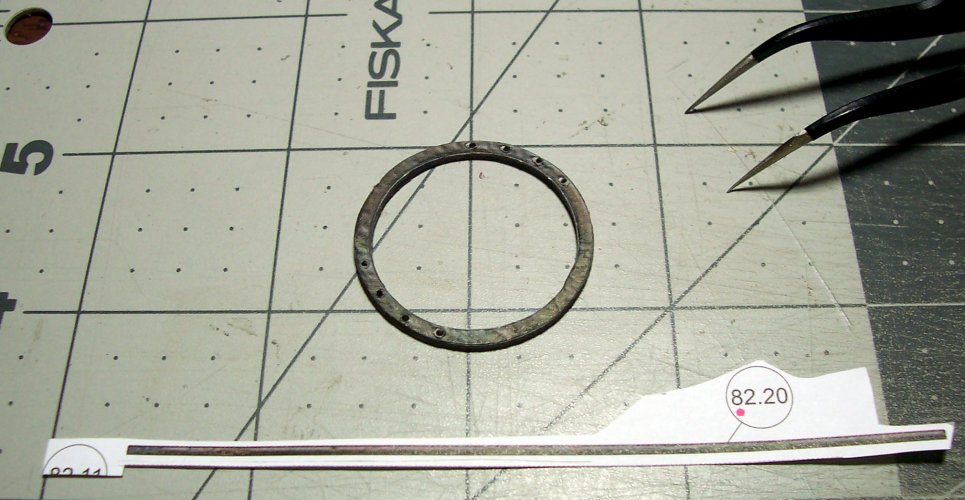

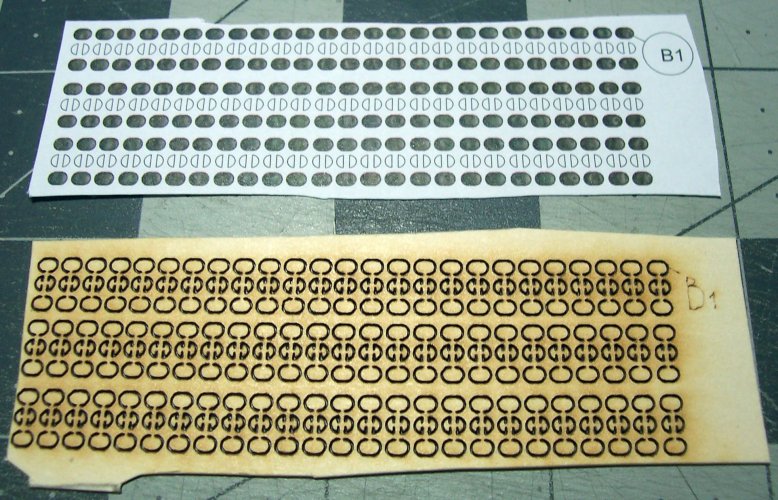
 Yep, 73 of these bad boys! That is only the B1's then there are the double blocks B2 which needs 14, B3 which needs 20, fiddle blocks 10 needed, triple sheave blocks with hooks B5 2 needed, and B10 even tinier single blocks which 43 are needed! The holes in these home-made blocks also need to be drilled a bit for allowing the finest thread to go through. There are also no grooves in the blocks for the thread to be tied around it! So, I decided that although these could be used in an emergency, I needed to get "real" blocks for the job!