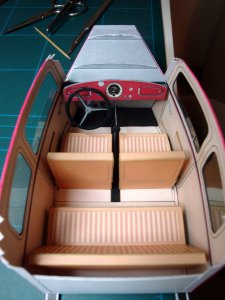
Fiat 508 "Balilla"

Tonino

Well-Known Member
OK now that drawing work is done, it's time to start build something.

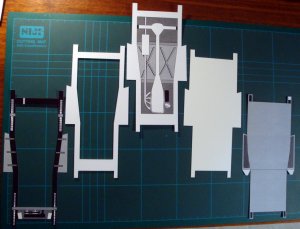
The original model provided a pre-cut heavy cardboard for the structural pieces. I'm not sure about the thickness so I tried to figure it looking other pieces that are to be glued to lateral sides of the chassis. I laminated all "white" parts to 1 mm. cardboard.
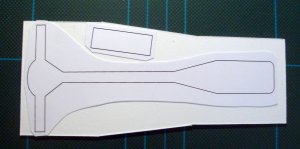
DSC07417.JPG

DSC07418.JPG
Here are all chassis parts that are to be assembled in a thick "sandwich"
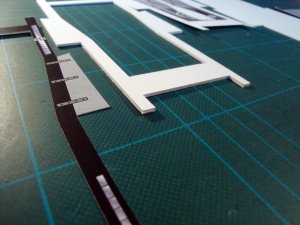
DSC07419.JPG
As the overall thickness seemed somewhat under the correct size I added an additional sheet to the part on the right.
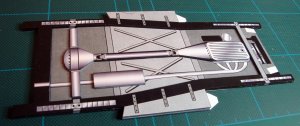
DSC07425.JPG
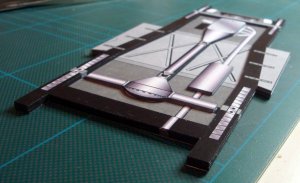
Here is the completed chassis.

DSC07426.JPG
It seems a little "flat" but I added some more "3D feeling" with my textures (shaded fillings). Not as good as real 3D parts but not so bad after all.
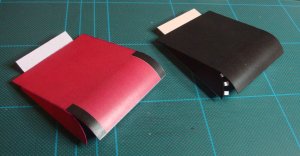
DSC07427.JPG
The part on the left was red in the original. As I want to make black fenders I think it's better to redraw it in black. I'm not sure about its visibility at the end.
I'll make some test fit as soon as I have the necessary components.
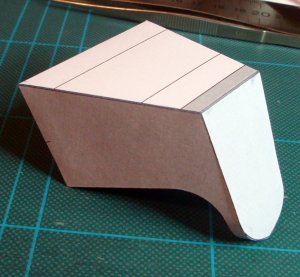
DSC07428.JPG
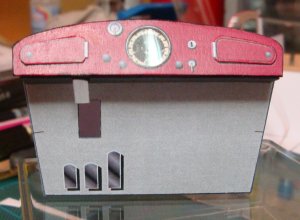
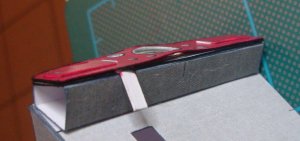
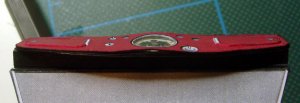
This is essentially a support for the hood parts and for the instrument panel inside. I don't think it will be seen in the finished model.

More to come soon :D
 

Tonino

Well-Known Member
Thanks Mike!
And, RB, it's always a pleasure to have you in the audience. Happy to see you here :D

A very little update.
Working on internal side walls.
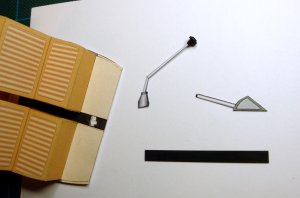
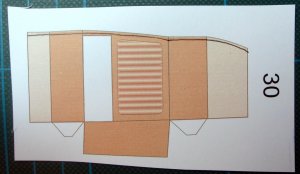
I just wanted to give some more 3D feeling so I draw additional copy of details to be able to add them on the "base level"
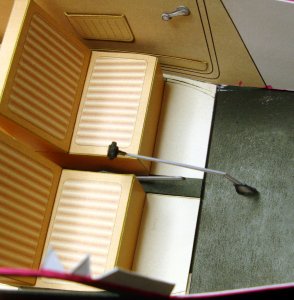
DSC07430.JPG
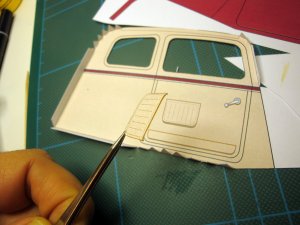
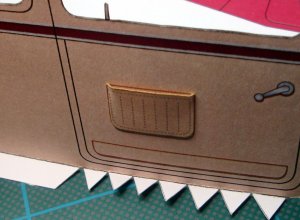
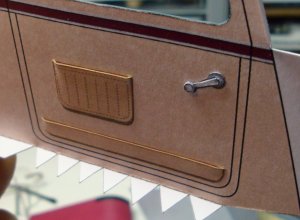
This is one of the door "pockets" (I don't know if this is the correct word). With a little curvature it becomes nearly real.
DSC07432.JPG

And this is the complete inner door.
DSC07433.JPG
The window crank is made from three separate pieces. For this reason I put many copies of those little details in the final layout. So anyone can look for the detail level he wants.

DSC07434.JPG
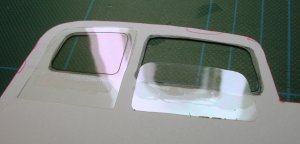
For the windows I added the front glass (that was not provided in the original model) but put it in a partially lowered position to add more realism without covering too much the view of internal details.

That's all for today. See you soon!
 

Rhaven Blaack

!!!THE MAN BEHIND THE CURTAIN!!!
Staff member
Administrator
Moderator
The pocket and the window crank looks really good and adds that perfect touch. It is the little details like that that really make projects like this POP!
KEEP UP THE GREAT WORK!!!
 

zathros

*****SENIOR ADMINISTRATOR*****
Staff member
Administrator
Moderator
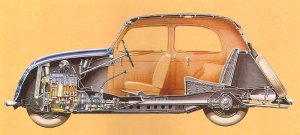
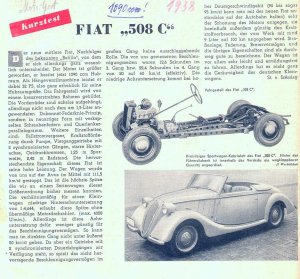
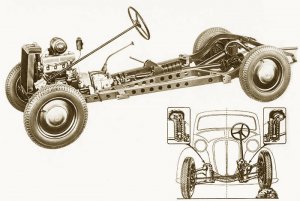
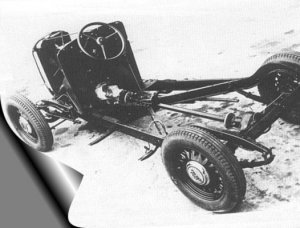
I love this. I wish I had a copy of the bottom of the car photo, I would like to make the suspension and the bottom of the engine. ;)
 

Tonino

Well-Known Member
I've searched a lot for photos of the car seen from below but had no success.
My chassis underside is generated mostly by my own fantasy...
 

Tonino

Well-Known Member
A little update with today's work.

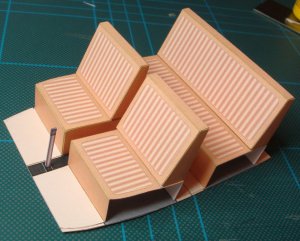
Preparing seats I realized the front ones arrive too close to the walls, there's no room for my custom pockets.
DSC07435.JPG
The soultion is simple: cutting 1 mm. of the external border. The general shape doesn't suffer from this correction.

DSC07436.JPG
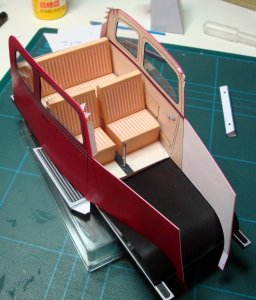
Here are the complete seats. As you see the backrest is flush with the trimmed lower seat section.

DSC07437.JPG DSC07438.JPG DSC07439.JPG
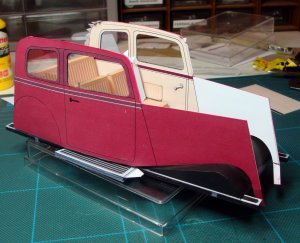
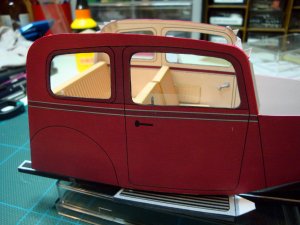
The shape of the car starts emerging from the paper...

That's all for today. Have a nice week! :)
 

Tonino

Well-Known Member
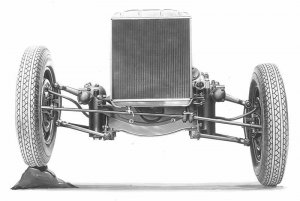
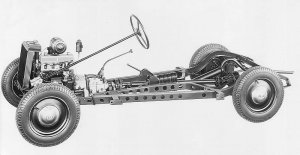
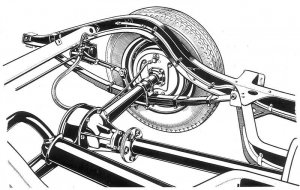
Well... Internet browsing is an art, and you, Zathros, are the Master!!! Claphands

Thanks a lot! Those pictures are pure gold. thumbsup

The chassis is now done, so I won't put my hand on it anymore, but there are two or three things I still can change after having seen your findings.
Gear and handbrake levers, just to say one, front suspension, to say another one.
 

zathros

*****SENIOR ADMINISTRATOR*****
Staff member
Administrator
Moderator
Maybe when you finish up, I'll take a stab at a chassis update, but to be honest, your model is beautiful, I don't think it needs anything. Those interior shots are incredible. I want to build this at a 1/25 scale, if not bigger!! I hope the pictures are vector images, with Photoshop, I can rearrange the pictures to make a big model, and I have a 13" wide by up to 6' feet long worth of paper printer, normally you use 13" in. x 19" in.. I wish I could get the steam up to make the body out of aluminum flashing. This model would be a perfect candidate. You turned a rock into a Gem! This car was manufactured in Lingotto, Italy, Warsaw, Poland, Neckarsulm, Germany, Suresnes, France, so a straight or curved gear shift arm is appropriate, as each country banged these little beauties out adding their own touch. I think the whole line up is a testament to the sexy engineering that Italian cars have. A cute sedan, to sexy sport cars, all built on the same basic platform. I would love to find one in a Barn somewhere!

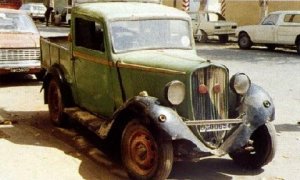
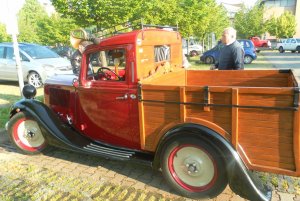
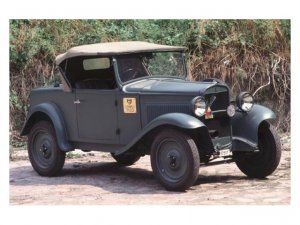
The original pick up, contrasted with the modern "Woodie" would make an interesting alternative. The military one I found today!! I believe that was produced in France. :)


std_1937_fiat_balilla_pick_up.jpg Fiat_Balilla_4 Woodie.jpgFIAT-Balilla_Militare.jpg
 
Last edited:

Tonino

Well-Known Member
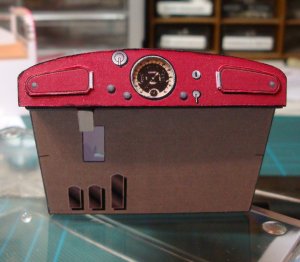
THE DASHBOARD ODISSEY

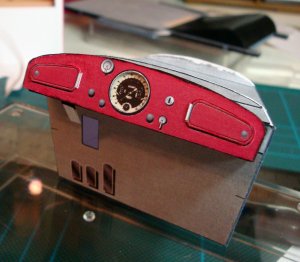
The dashboard is absolutey my favourite part of the model and, as I said before, I put the best of my efforts to have a nice instrument panel (as in ANY kind of model I build).
This time, as I explained in a previous post, I spent a lot of time redrawing the big round instrument dial, really a nice piece of design, who dominates the dashboard of this Balilla.
Unfortunately I made a big mistake this time.
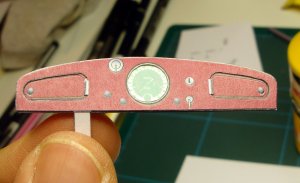
My first try seemed to be a good success, at a first glance. I didn't like much the raised doors of the glove compartments, but the dial was very good.
DSC07450.JPG DSC07452.JPG
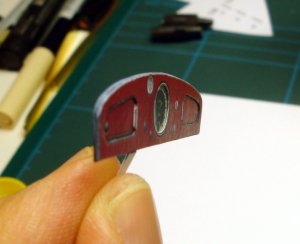
...but, after several minutes, I noticed the "glass" was curving in the middle, It was becoming cylindrical...
DSC07454.JPG
Disaster! I useda plastic piece as wide as the dashboard to have a regular thickness without a central "bump". But used a wrong glue (UHU Hart) probably the solvent was too strong and the surface too big, and the plastic warped badly.
DSC07455.JPG DSC07456.JPG
After one hour the part was totally ruined.

All to be re-done from the beginning :headbange:

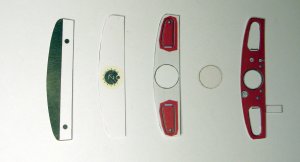
Tried several solutions. Eventually this one seemed to me the best option:
DSC07462.JPG
- a first layer with 3 apertures (the dial and the doors - this time recessed instead of raised)
- a little plastic circle (to be fixed with very little amount of glue)
- a second layer with the doors and another central hole (to give more depth to the intrumentation)
- and finally the dial itself at the center of a full size layer.
So the dashboard is a sort of sandwich with the visible parts in different depths.

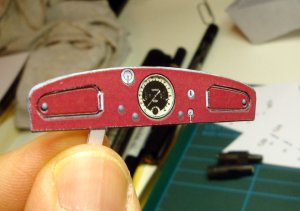
DSC07464.JPG DSC07465.JPG DSC07466.JPG
It worked much better and looks great. This will be the definitive solution for the Balilla dashboard in my elaboration.
 

Tonino

Well-Known Member
Another little update about interiors...
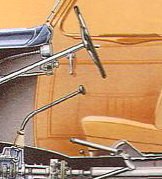
Zathros' pictures gave me another idea:
508c_b8aB.jpg
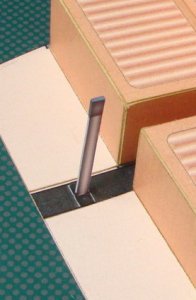
The shift lever in the model was pretty ugly, but I already had glued it.
DSC07436b.JPG
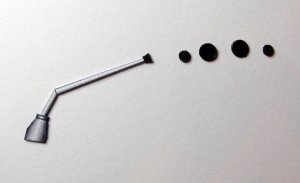
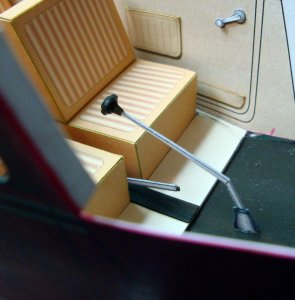
No problem. I just reopened the file for the 100th update and drew a new shift lever as well as a new hand brake.
DSC07458.JPGDSC07460.JPG
I also added another layer to the central tunnel to give more thickness and to cover traces of the previous glueing.
DSC07467.JPG DSC07469.JPG
Now the commands are much more realistic.
 
Last edited:

DanBKing

Dan the Man
Your detailing work is really bringing this model to life!!!!
Makes me almost wanna get in it and drive it away down a nice country road in the summer. :)
 

Tonino

Well-Known Member
:D This is the secret dream of ANY modeller I think: to be able to enter in his own creation.

If someone would ever invent the "shrinking machine" he could raise a lot of orders from model builders community.
 

Tonino

Well-Known Member
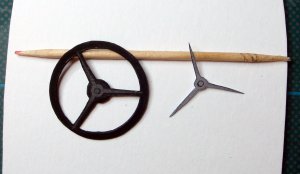
...and this is the steering wheel!
DSC07470.JPG

What you see here (on the right) is the reason for you'll find so many doubled parts in the final pdf.
You can never know when you will be caught by the need to add some additional layer. So I did for this wheel to give it a nicer look and a more "3D" feeling.

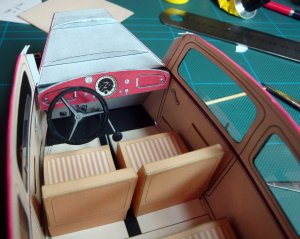
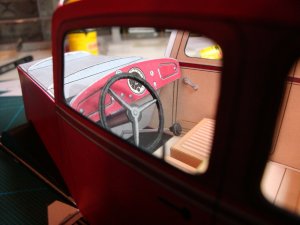
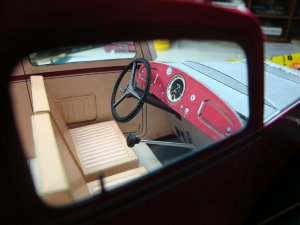
DSC07471.JPG DSC07472.JPG DSC07473.JPG DSC07474.JPG
And so the most enjoying part of the build is over.
Now that internal detail is done I'll have to deal with the bodywork... let's hope it won't be source of anger...
 
Top