Howdee fans,
when our dear member @Toutenkarton decided to add an interior to Martin Saenger's shuttle I immediately teamed up with him. Making an interior for the model had been on my todo list for quite some time and you all know by now that I only wait for a suitable occasion to tackle a project like this. I have way too many other things going on but with Benoit at my side I thought I could start on this one now. Four hands work faster and four eyes spot problems quicker. So let's see where this project will take us!
The first step was to take as many screenshots as possible. The BYC gallery delivered as usual. Much to my surprise there is no separate section for the shuttle interior but many screenshots of the actors inside the shuttle, most notably from the episode "Baltar's Escape". That was more than sufficient. The Props section provided a few looks at the main console which were extremely helpful since the actual configuration differed from the blueprints in several respects (the center monitor for example changed its position with a plate below).
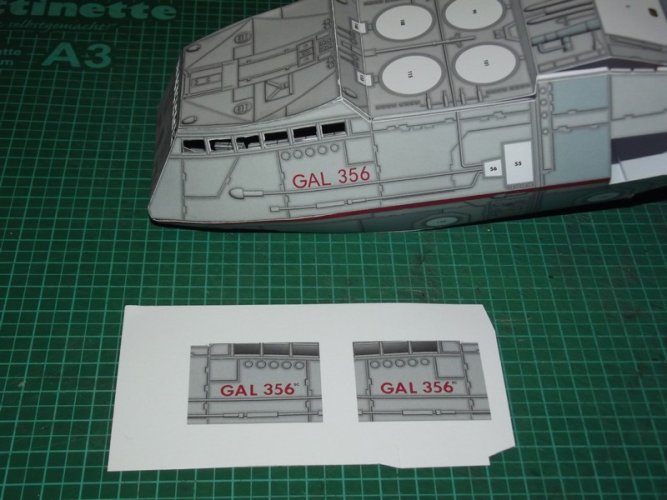
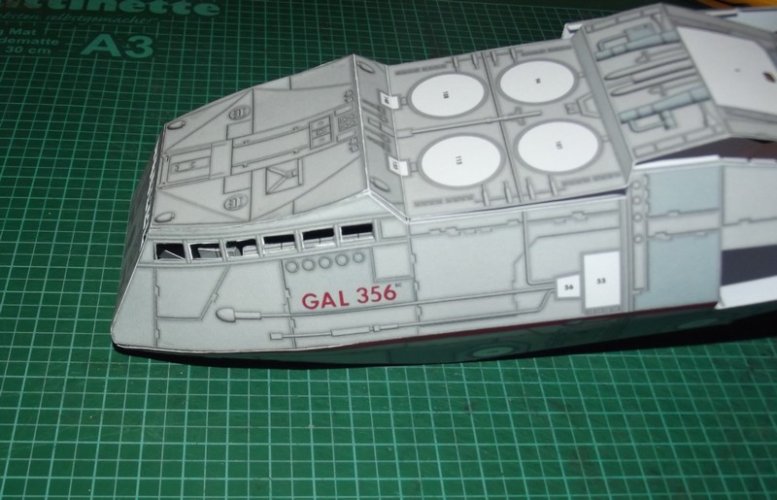
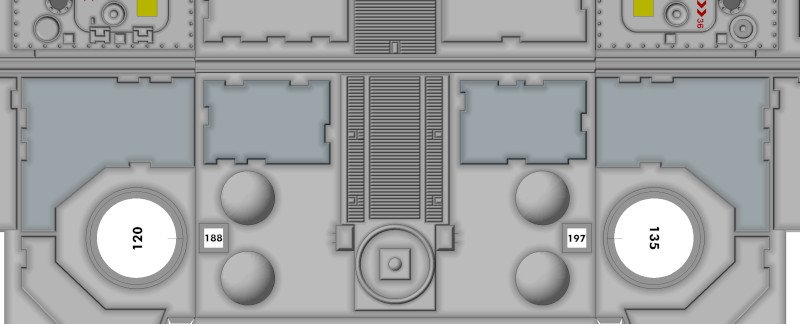
Then it was time to take a look at the model itself. Martin's kit is simply gorgeous. Every aspect of the filming miniature has been captured faithfully. After printing and assembling the parts for the main hull I found myself drooling over it, it is so damn good (it is not perfect though but more on that later). The fact that he worked with limited resources and limited time and had only three pages for the parts layout makes the final result even more impressive.
The limited page was necessary because the kit was designed for the well-known "Spacedays" exhibition at Darmstadt (which happens to take place this weekend again after the one before was cancelled because of Covid). Printed versions were given away for free to the visitors. A few weeks later the kit became available for free dowload on Martin's website Paperaviation.de . The low page count however led to two downsides:
1st. The model is a tad small. Granted, it is a nice size, suitable for a diorama and even a small shelf, but as a standalone model it should have been a bit bigger to create the impact it deserves.
2nd. The model is a hollow box. Built as is it might be strong enough to sustain its shape but any upscaled version is in desperate need of internal formers.
So the most obvious advantage of this project is that our page count is unlimited which means that we even could put one part on one page each. IF we wanted.


OK, since we Europeans are known to be cheap guys we certainly will NOT do that. But we COULD. If we wanted.

Now then. Let's take a look at what we have.
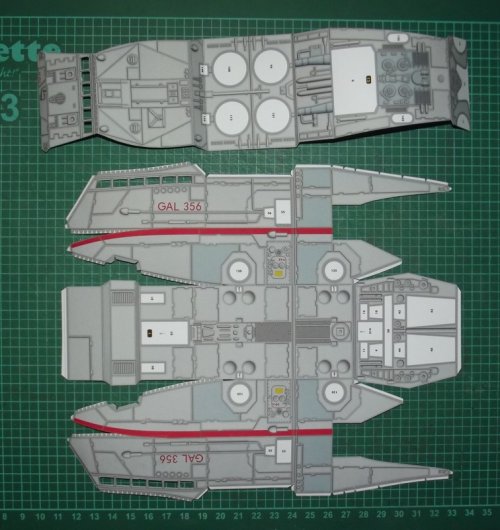
One main hull was needed to test the parts. The windows were cut out. Again, I could have left them in (IF I wanted) but in this case, ... no.
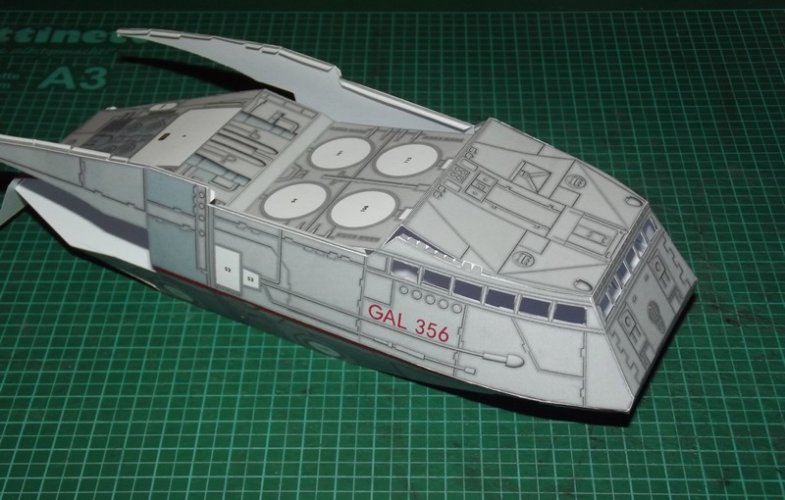
Since I do not have access to the original CG model another part of the main hull was needed to determine the shape of the new floor.
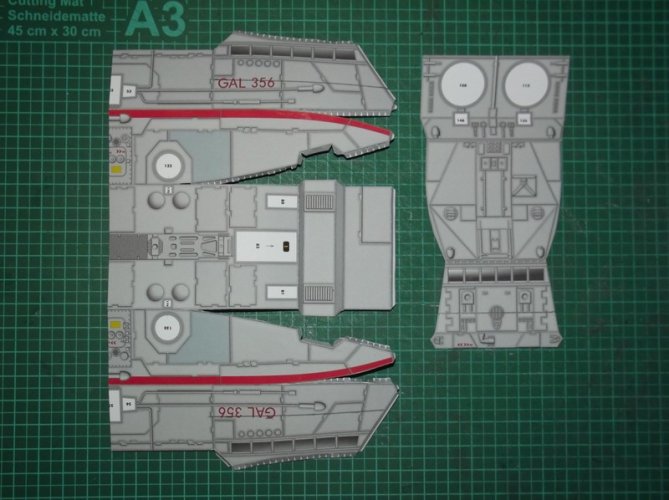
As a start I cut the template to pieces where I wanted the floor to be.
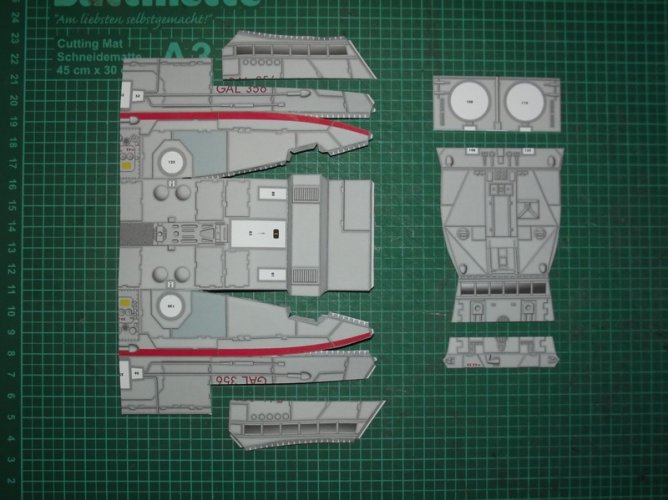
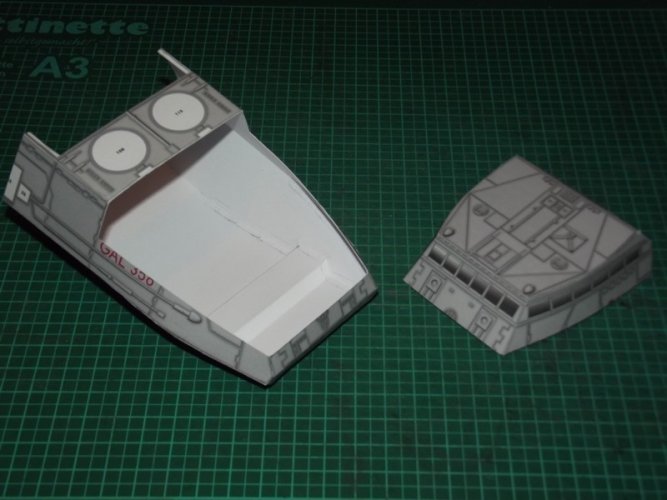
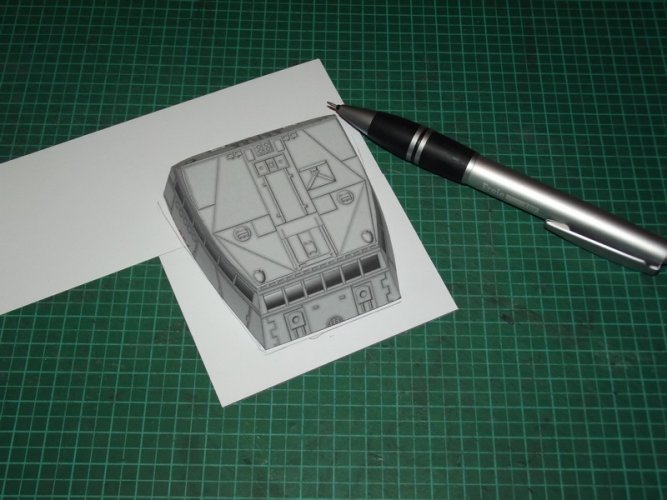
Old-school pencil technique and lots of trial and error was involved to get a first floor shape.
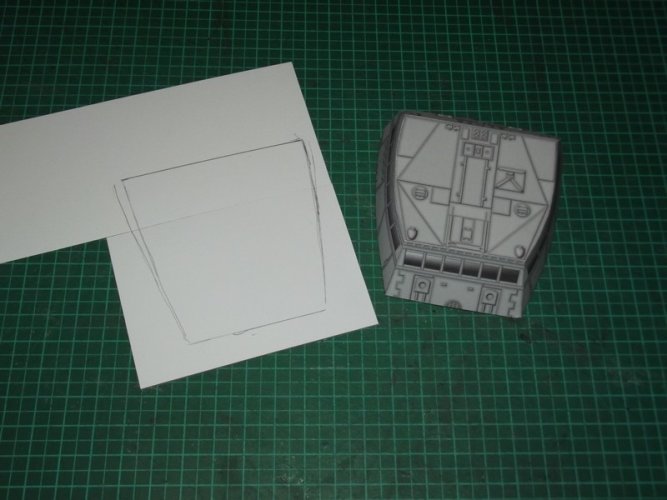
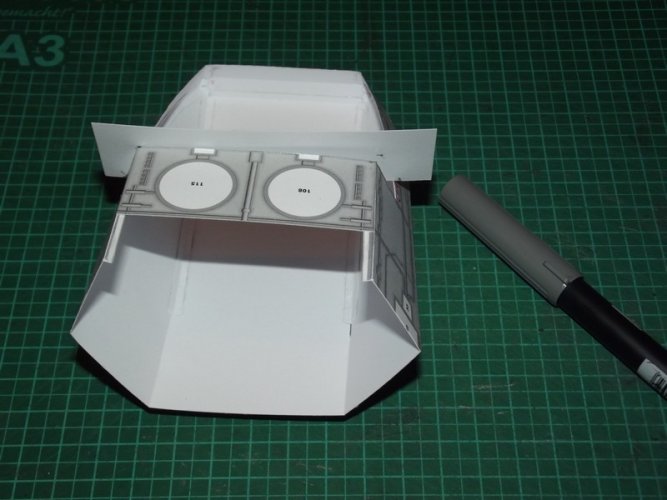
The shape of the back wall was determined.
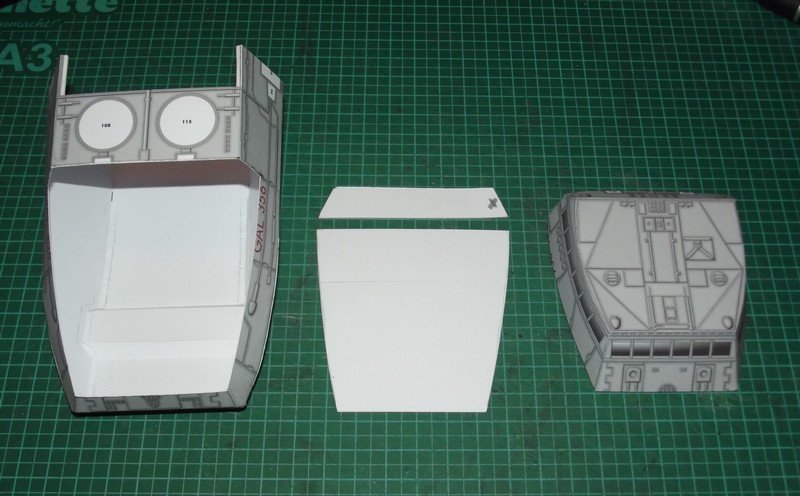
Later I found out that the back wall was no longer needed but for the time being it became very handy to hold the floor in position. Benoit and I were independantly struggling with the curvature of the sides. Replicating the exact shape was essential and any deviation would result in visible stress marks on the outer hull. So I came up with another strategy. Since the instrument panels will conceal much of the inner curve it was not necessary at all to follow the curvature precisely. I only needed a shape to hold the floor in place and the only reference point to do that (and which luckily was relatively straight) was the lower fuselage.
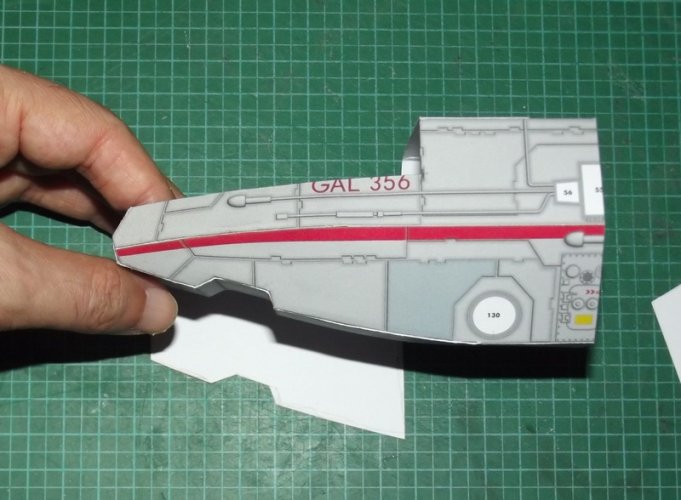
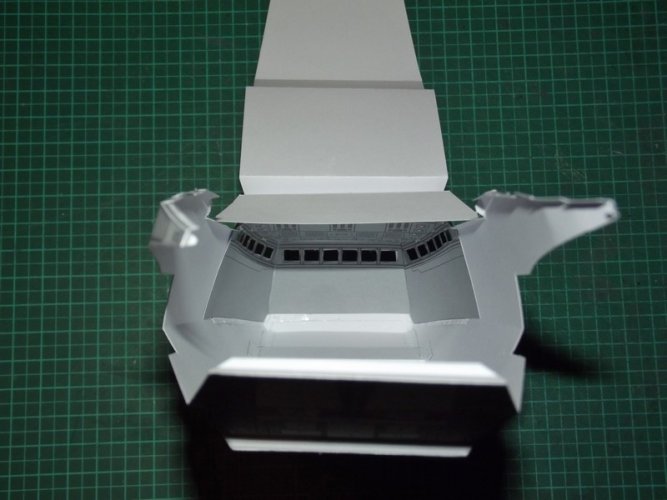
I kept the shuttle nose as parallel to the paper as possible and traced the shadow it cast. The first test fit was promising:
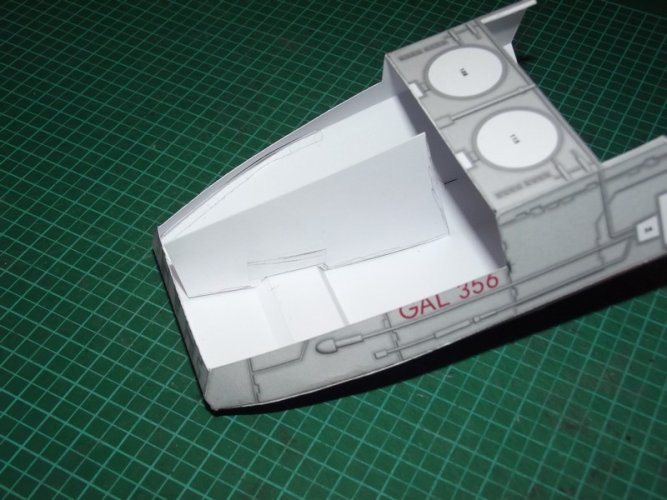
It fit! Some minor cuts later I had all I needed:
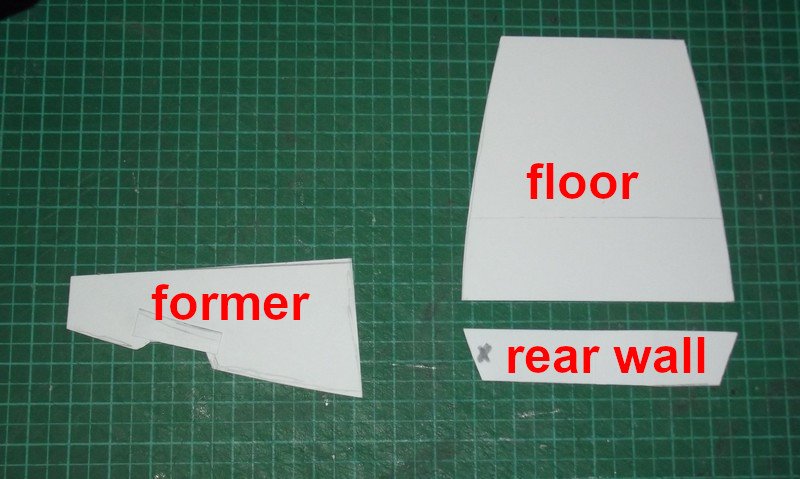
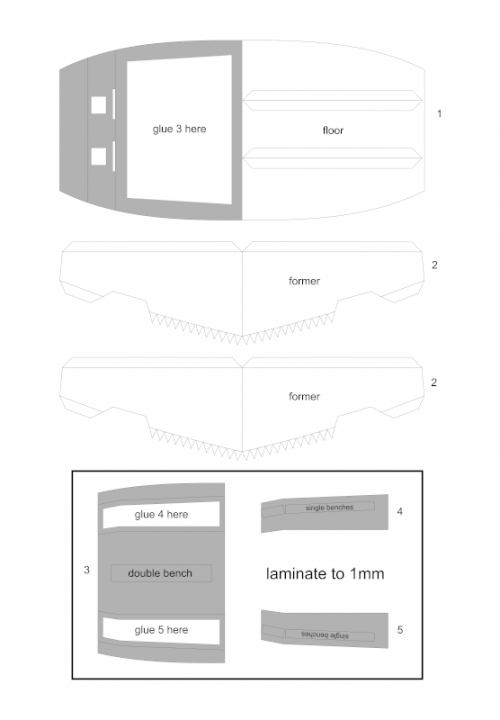
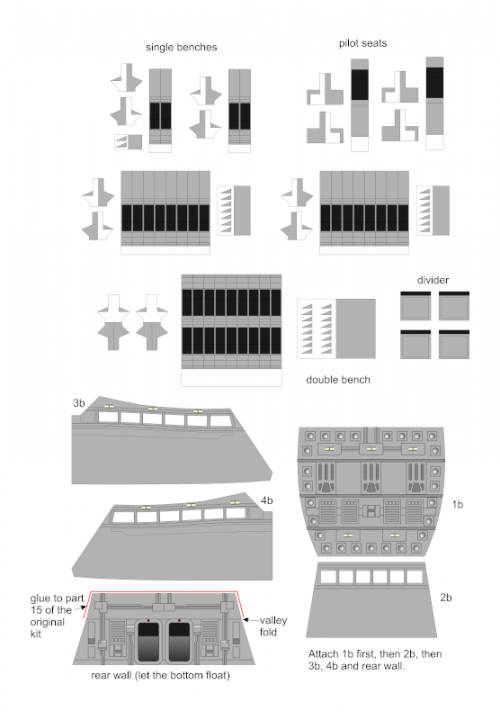
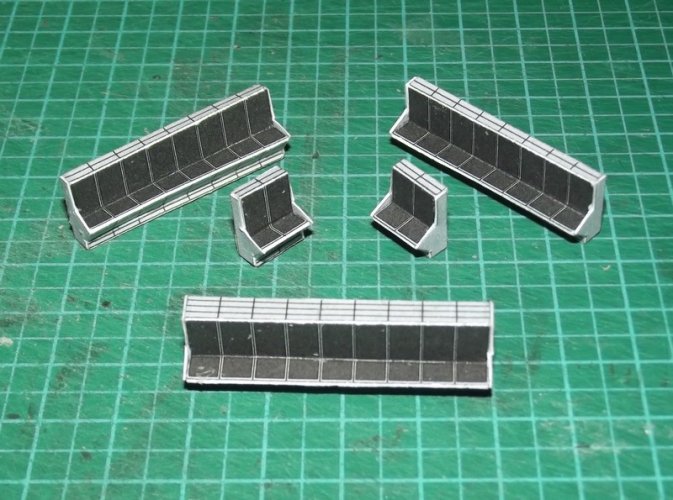
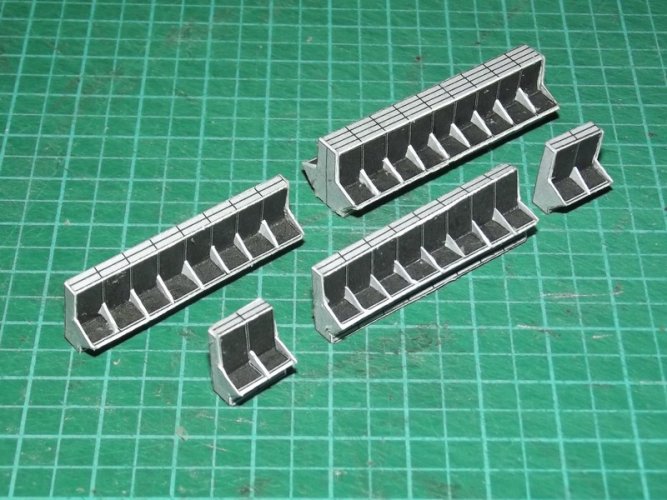
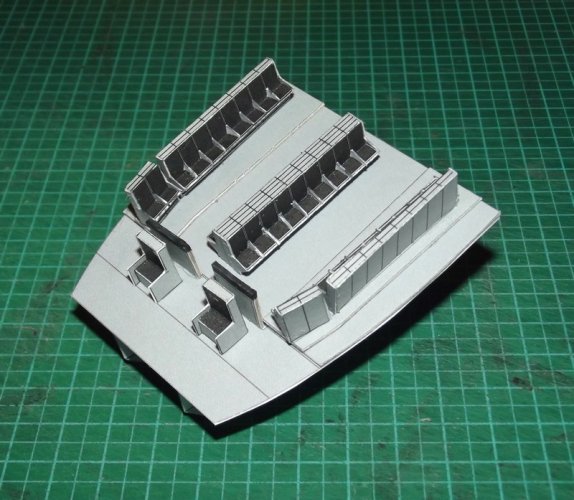
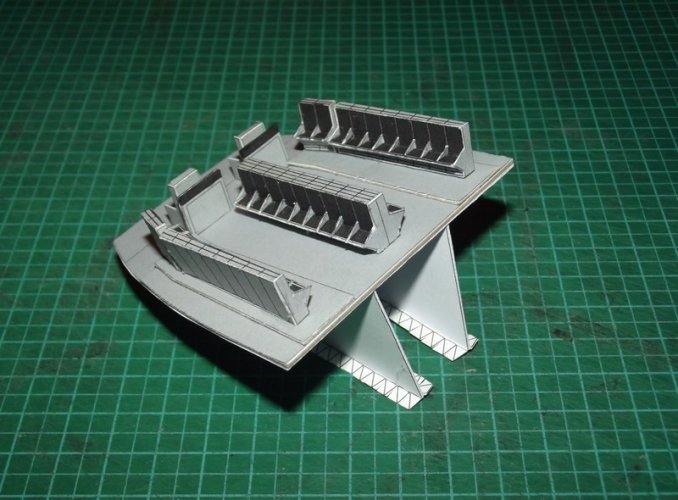
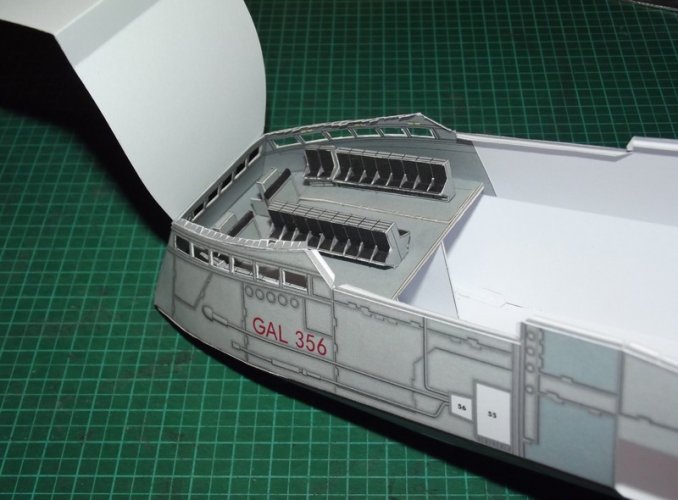
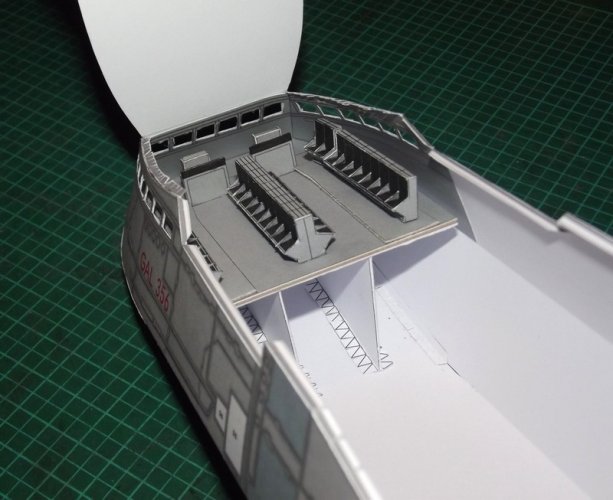
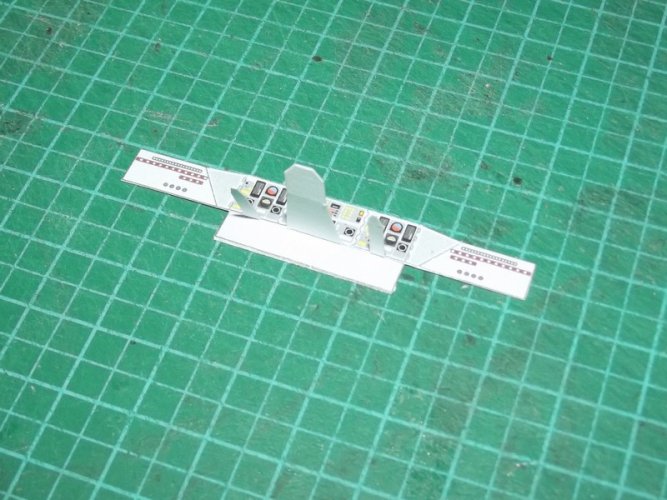
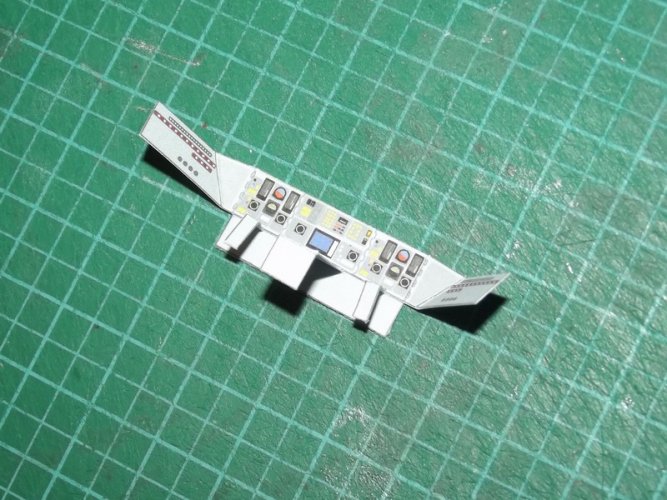
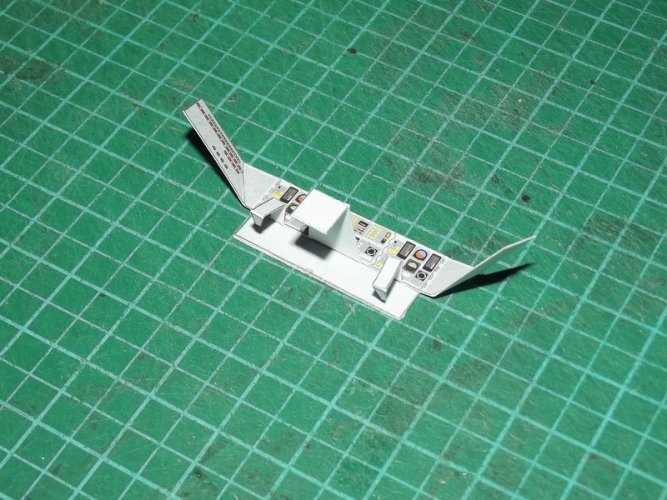
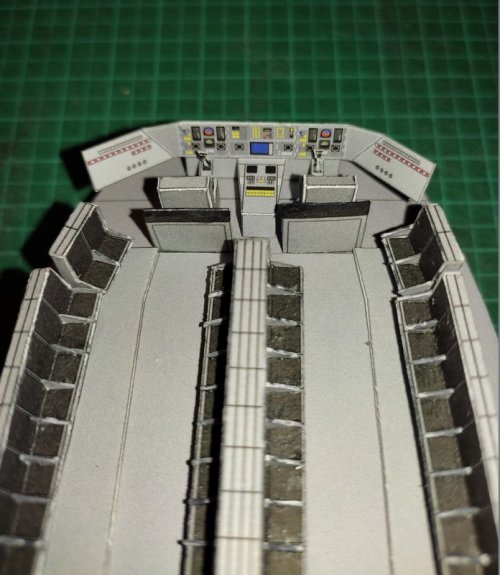
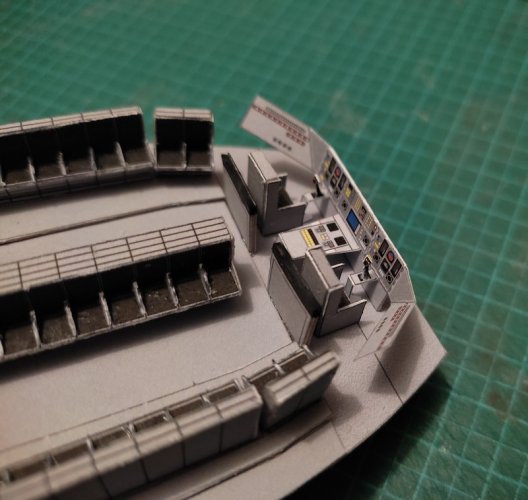
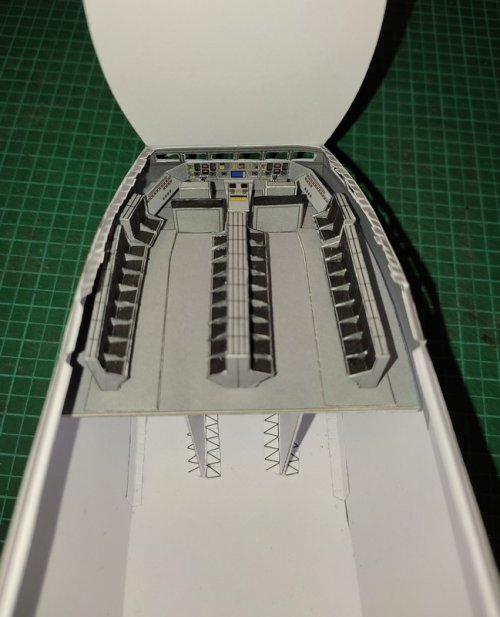
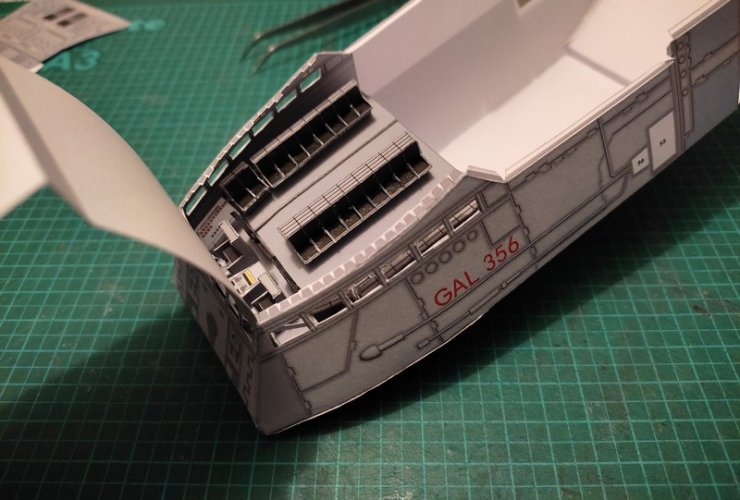
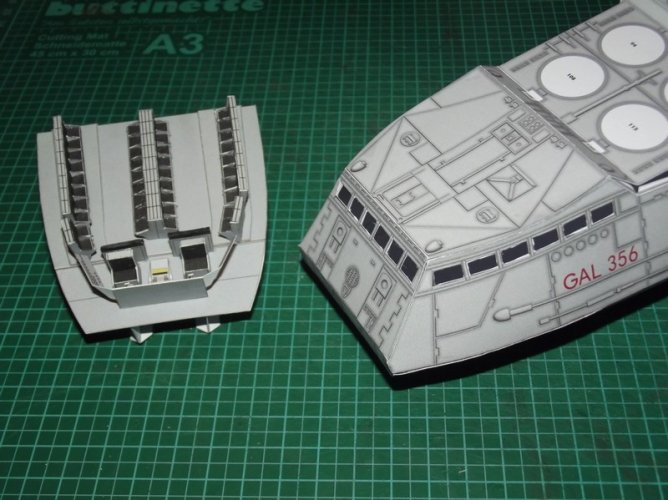
The parts were scanned and traced in Corel. Three prints and mods later I got THIS:
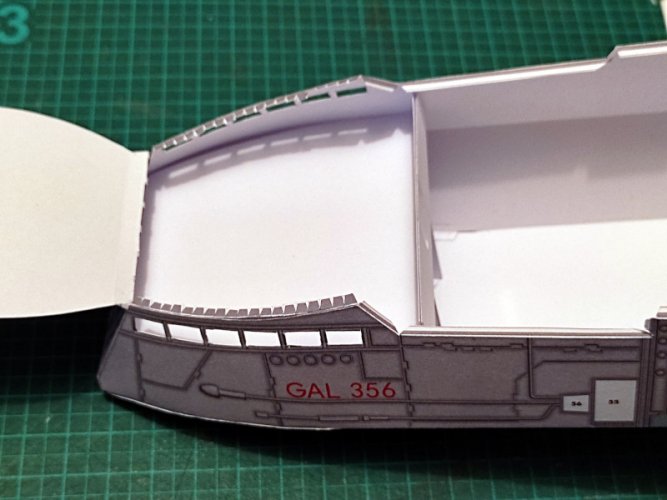
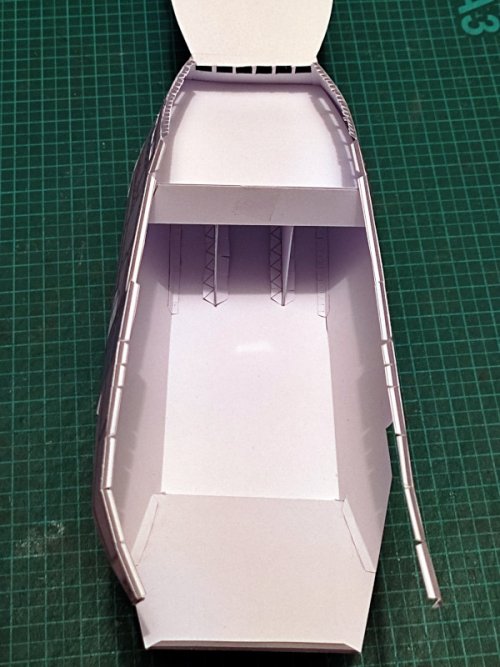
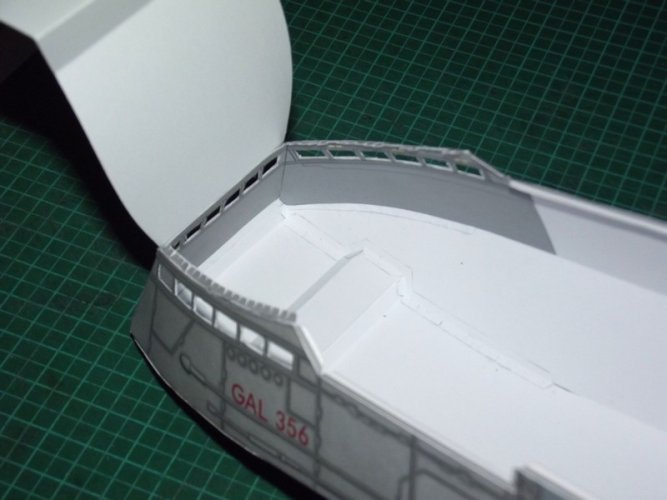
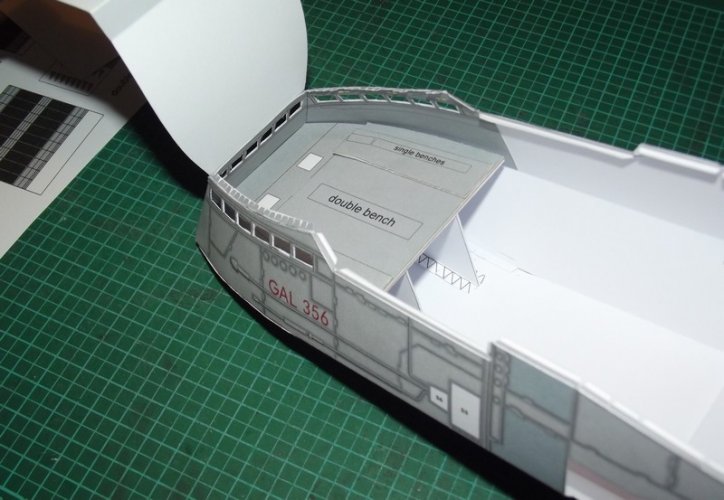
Not too bad for a start!
when our dear member @Toutenkarton decided to add an interior to Martin Saenger's shuttle I immediately teamed up with him. Making an interior for the model had been on my todo list for quite some time and you all know by now that I only wait for a suitable occasion to tackle a project like this. I have way too many other things going on but with Benoit at my side I thought I could start on this one now. Four hands work faster and four eyes spot problems quicker. So let's see where this project will take us!
The first step was to take as many screenshots as possible. The BYC gallery delivered as usual.
Then it was time to take a look at the model itself. Martin's kit is simply gorgeous. Every aspect of the filming miniature has been captured faithfully. After printing and assembling the parts for the main hull I found myself drooling over it, it is so damn good (it is not perfect though but more on that later). The fact that he worked with limited resources and limited time and had only three pages for the parts layout makes the final result even more impressive.
The limited page was necessary because the kit was designed for the well-known "Spacedays" exhibition at Darmstadt (which happens to take place this weekend again after the one before was cancelled because of Covid). Printed versions were given away for free to the visitors. A few weeks later the kit became available for free dowload on Martin's website Paperaviation.de . The low page count however led to two downsides:
1st. The model is a tad small. Granted, it is a nice size, suitable for a diorama and even a small shelf, but as a standalone model it should have been a bit bigger to create the impact it deserves.
2nd. The model is a hollow box. Built as is it might be strong enough to sustain its shape but any upscaled version is in desperate need of internal formers.
So the most obvious advantage of this project is that our page count is unlimited which means that we even could put one part on one page each. IF we wanted.


OK, since we Europeans are known to be cheap guys we certainly will NOT do that. But we COULD. If we wanted.


Now then. Let's take a look at what we have.

One main hull was needed to test the parts. The windows were cut out. Again, I could have left them in (IF I wanted) but in this case, ... no.


Since I do not have access to the original CG model another part of the main hull was needed to determine the shape of the new floor.

As a start I cut the template to pieces where I wanted the floor to be.


Old-school pencil technique and lots of trial and error was involved to get a first floor shape.


The shape of the back wall was determined.

Later I found out that the back wall was no longer needed but for the time being it became very handy to hold the floor in position. Benoit and I were independantly struggling with the curvature of the sides. Replicating the exact shape was essential and any deviation would result in visible stress marks on the outer hull. So I came up with another strategy. Since the instrument panels will conceal much of the inner curve it was not necessary at all to follow the curvature precisely. I only needed a shape to hold the floor in place and the only reference point to do that (and which luckily was relatively straight) was the lower fuselage.

I kept the shuttle nose as parallel to the paper as possible and traced the shadow it cast. The first test fit was promising:

It fit! Some minor cuts later I had all I needed:

The parts were scanned and traced in Corel. Three prints and mods later I got THIS:


Not too bad for a start!
Last edited:


