Dr. Tetrode - Valkryie Build II - attempt with color.
- Thread starter dr_tetrode
- Start date
You are using an out of date browser. It may not display this or other websites correctly.
You should upgrade or use an alternative browser.
You should upgrade or use an alternative browser.
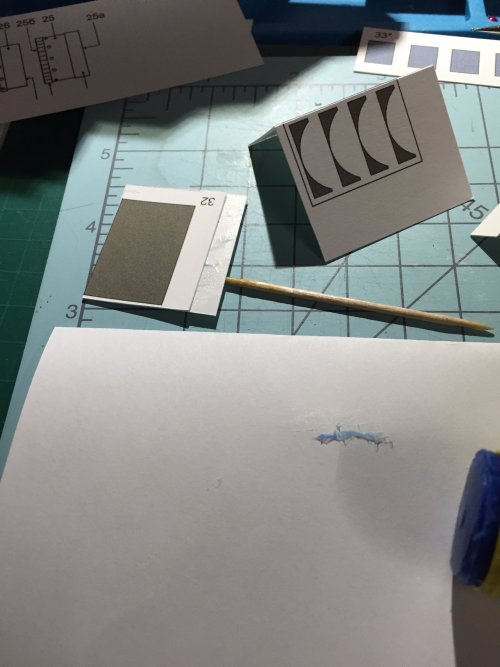
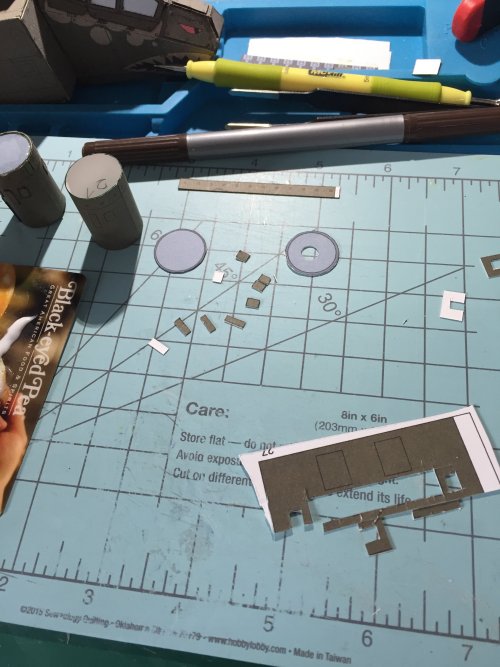
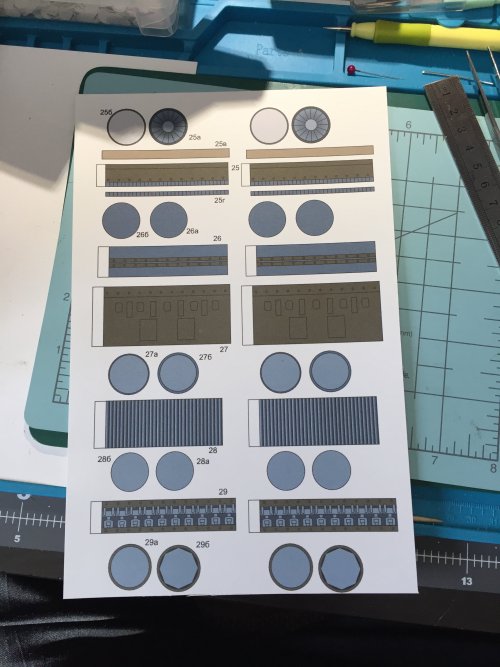
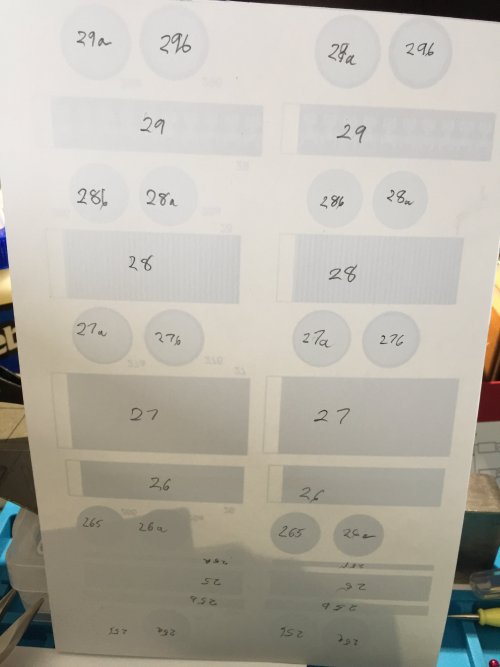
Engine Build continued, must remember to label parts! The confusion of which is which will drive me nuts! So with lamp in front of me, I label the engine parts.

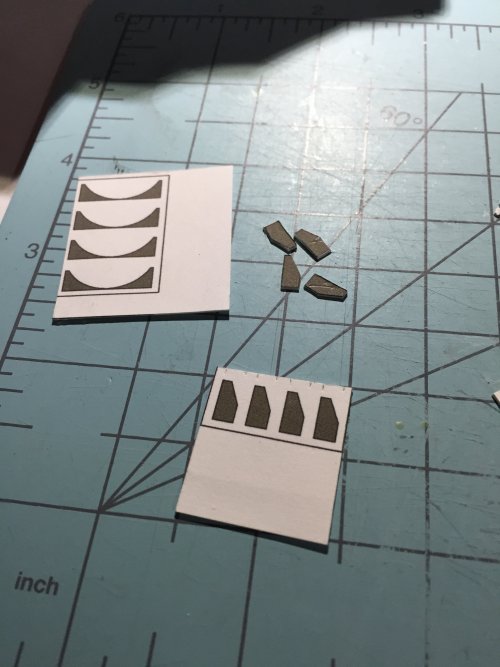
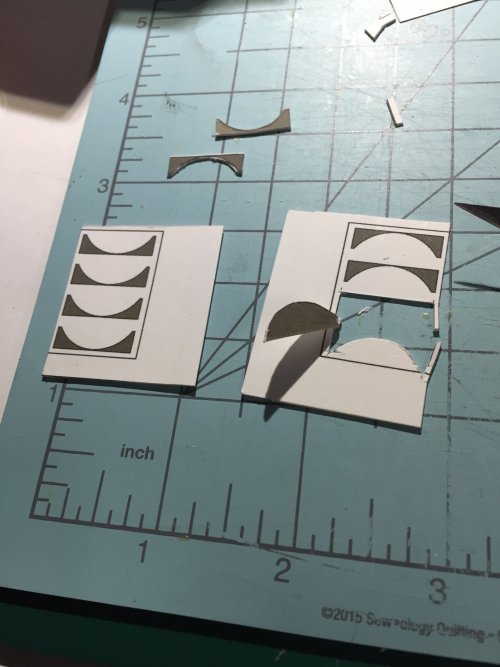
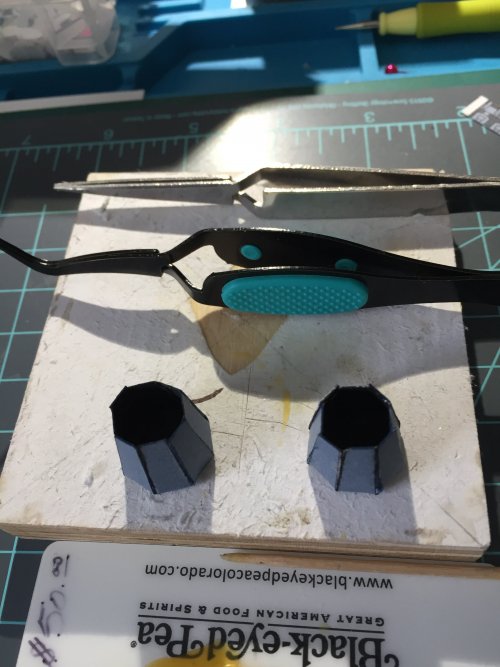
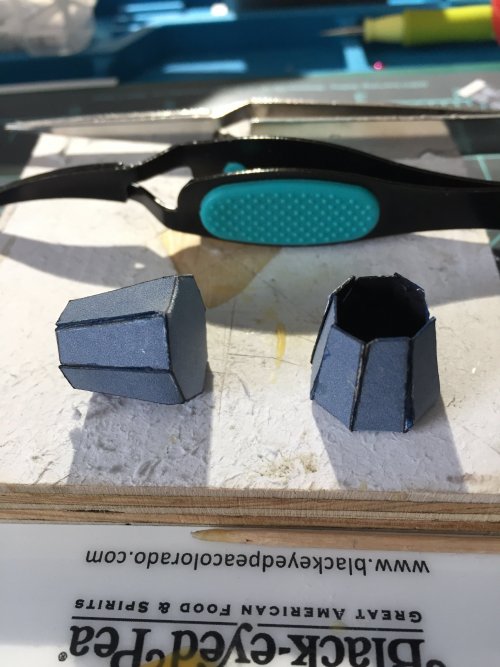
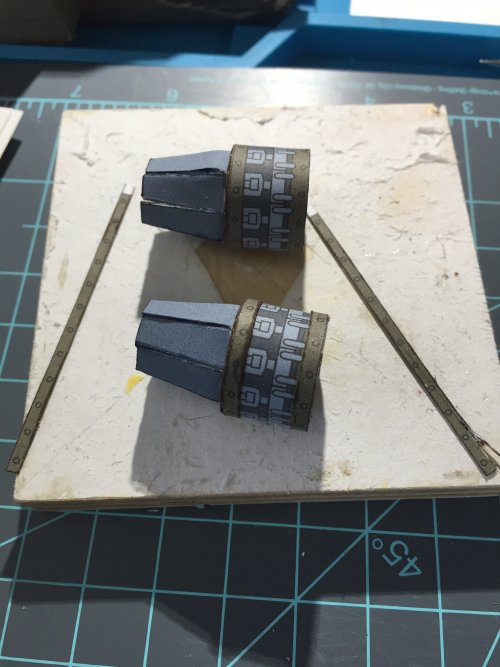
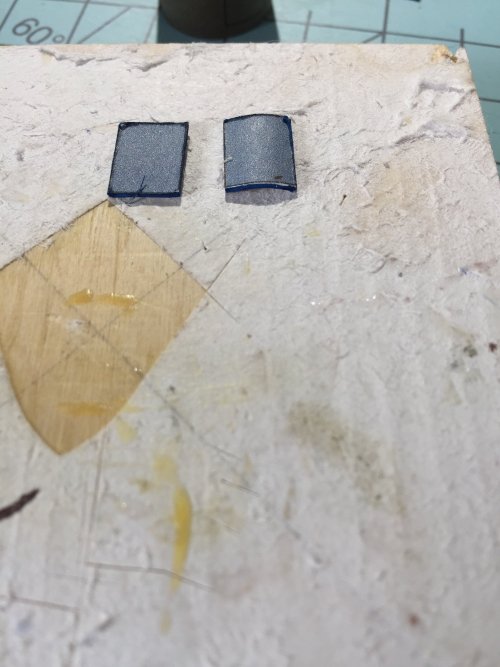
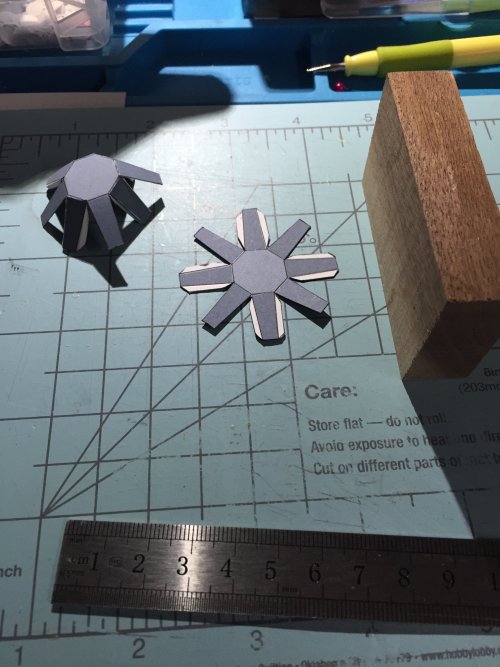
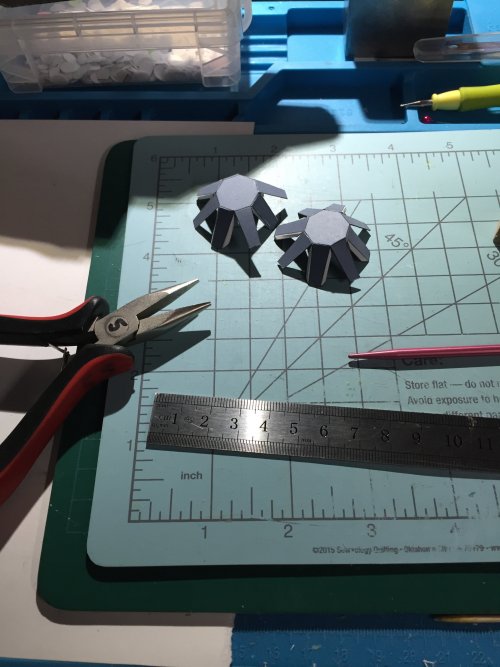
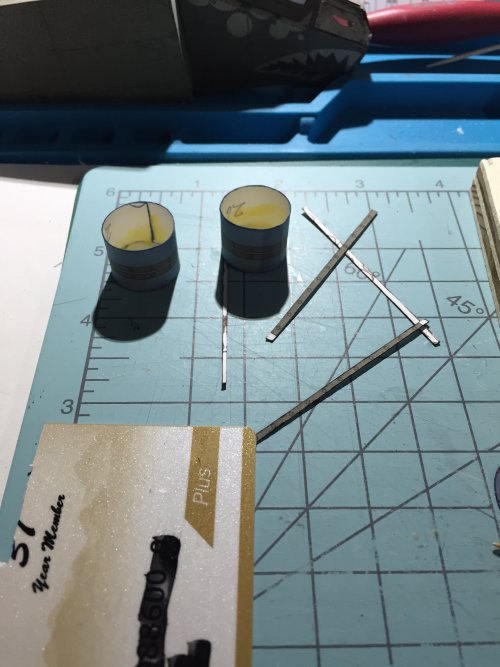
Now, for the nozzeles - cutting, scribing, and coloring edges and the back side in black using Prismal Color pen in black.
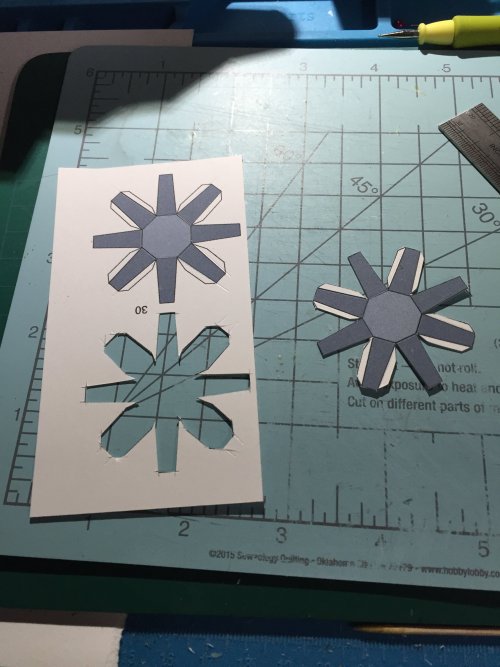
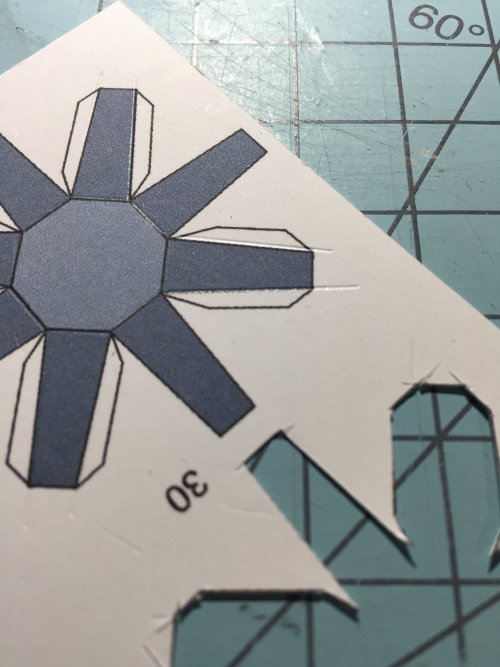
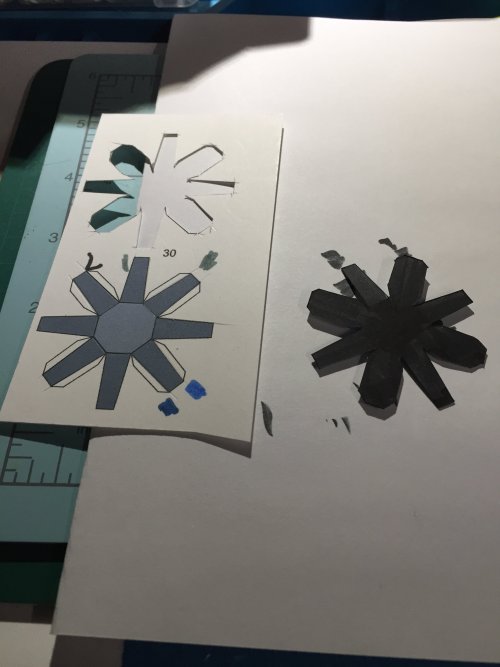
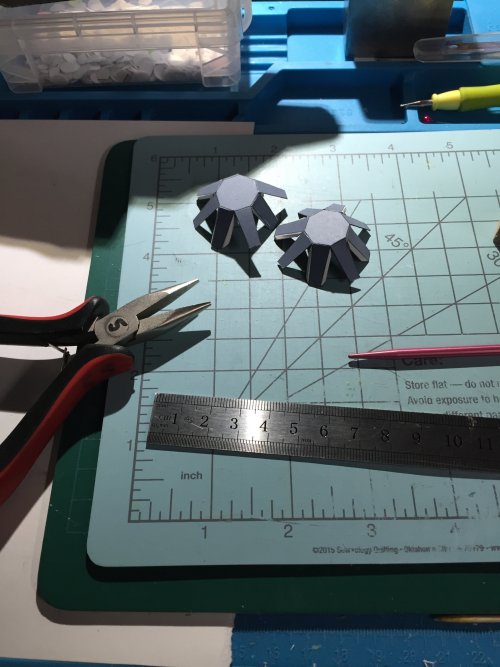
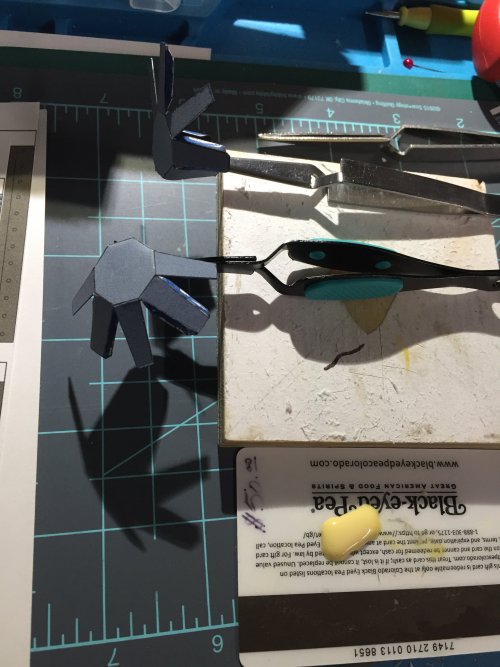
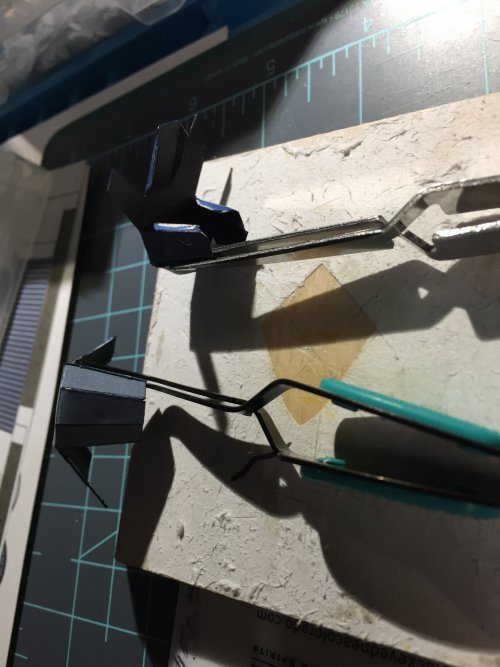
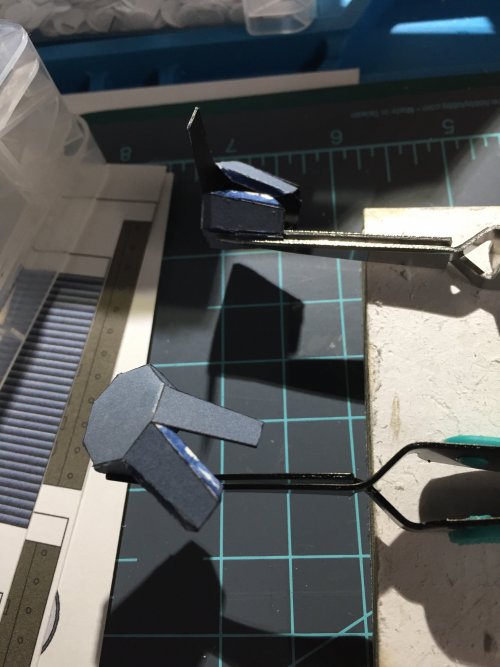
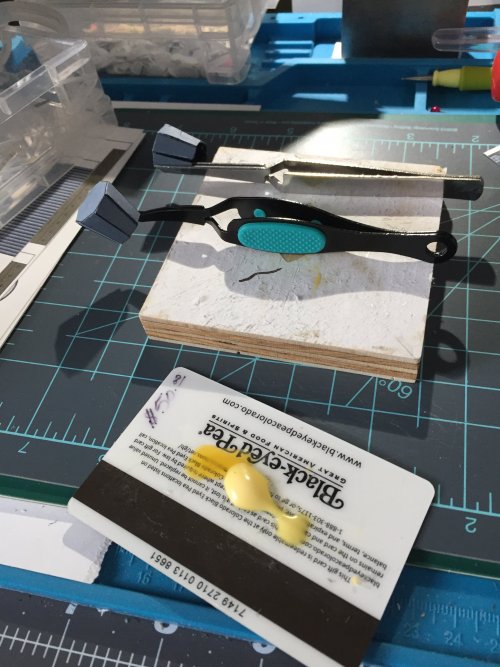
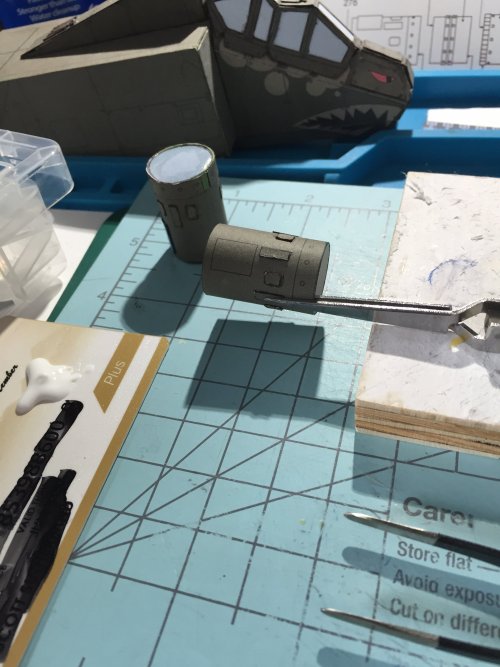
Now on to folding. I have some flat surfaced pliers, and used them to make the tab folds. That was easier than trying to break the fold over the edge of a piece of wood. This might get used more often.
Happy Making!
Scott


Now, for the nozzeles - cutting, scribing, and coloring edges and the back side in black using Prismal Color pen in black.


Now on to folding. I have some flat surfaced pliers, and used them to make the tab folds. That was easier than trying to break the fold over the edge of a piece of wood. This might get used more often.


Happy Making!
Scott
Good work so far! I don't think there should be any problems using inter-forum links. Just copy and paste them in your posts and you should be good to go!
- Apr 5, 2013
- 13,876
- 10,215
- 228
Really nice, tight build. Everything is so well put together. Great progress! 
Hi, some more work getting done, slowly.... ;-)
Thanks for comment!
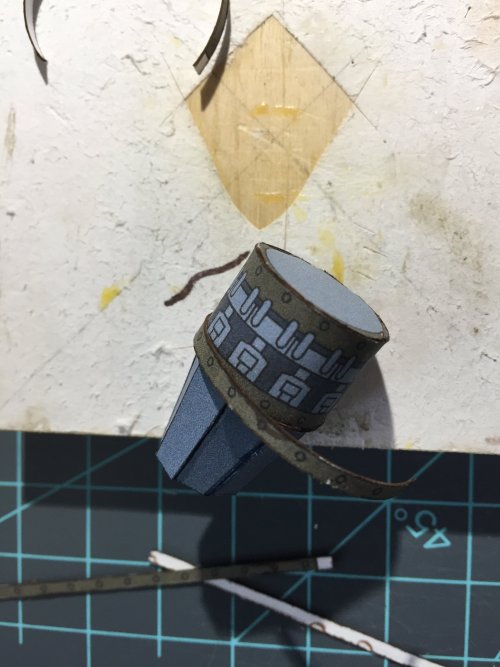
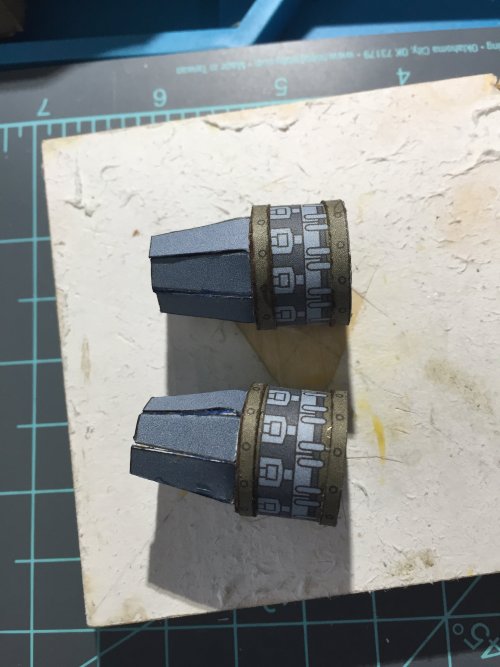
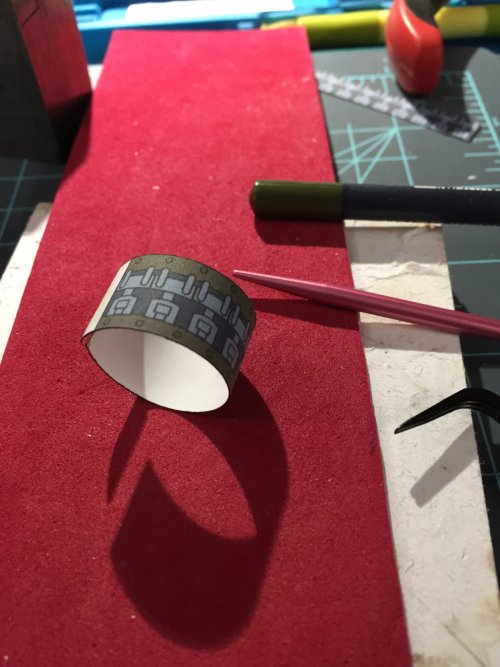
Assembling the next section of the engine from the rear. I chose to add a little dimension by printing another copy of the sheet and cutting out the 'rivet strips' and adding them on to this section. Had to glue two circles into a cylinder, then add the nozzles to that assembly.
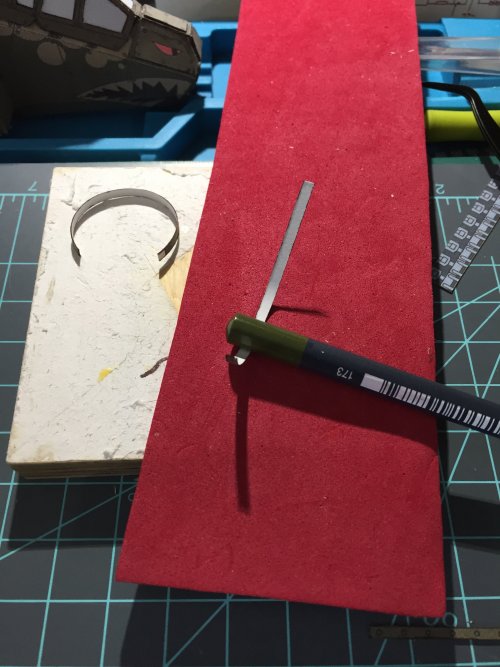
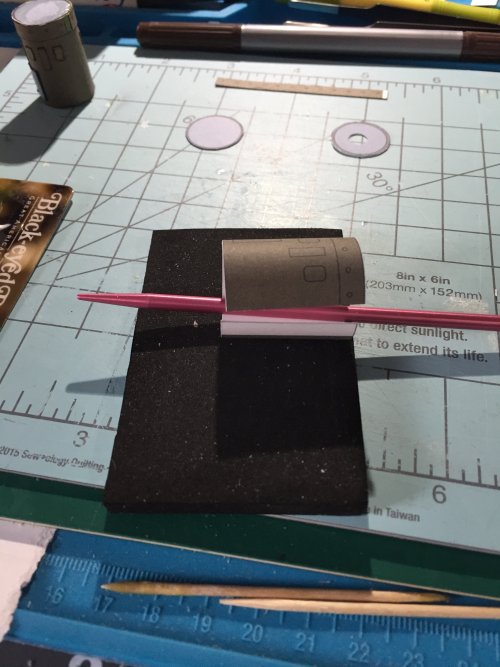
Rounding the cylinder by using a pencil and then a knitting needle to roll it against foam. Cylinder in the background with clamping tweezers. Pushed the circle down in the cylinder and glued.
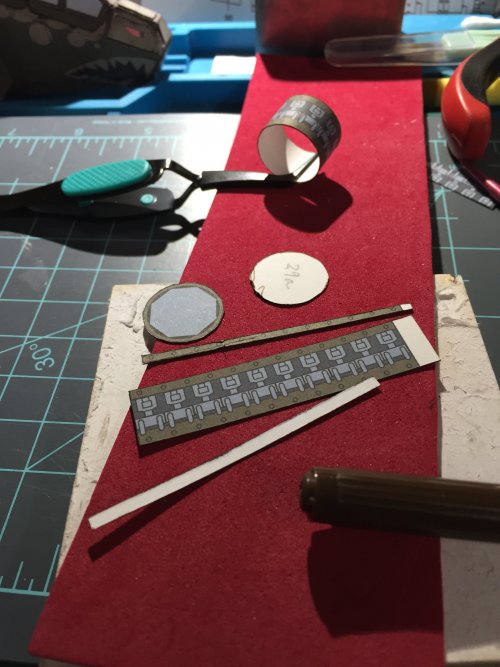
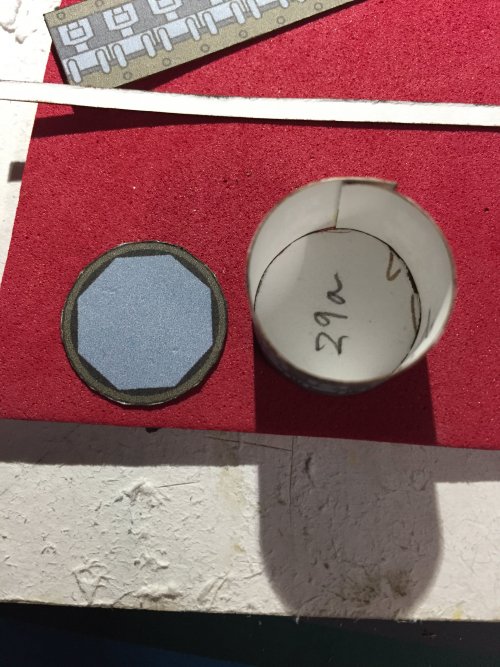
Glued nozzle to circle for final assembly.
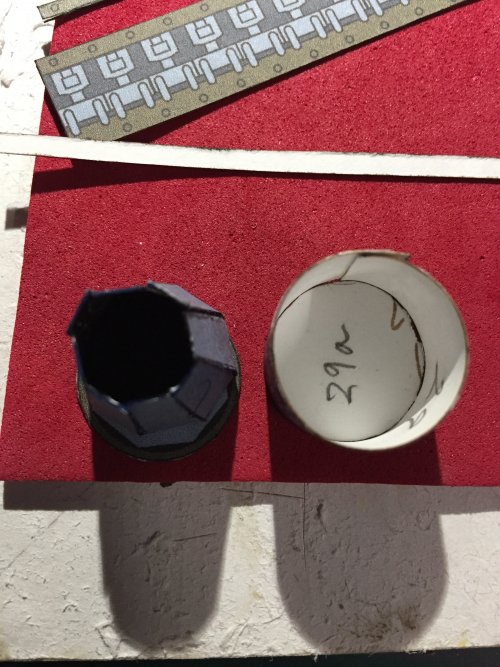
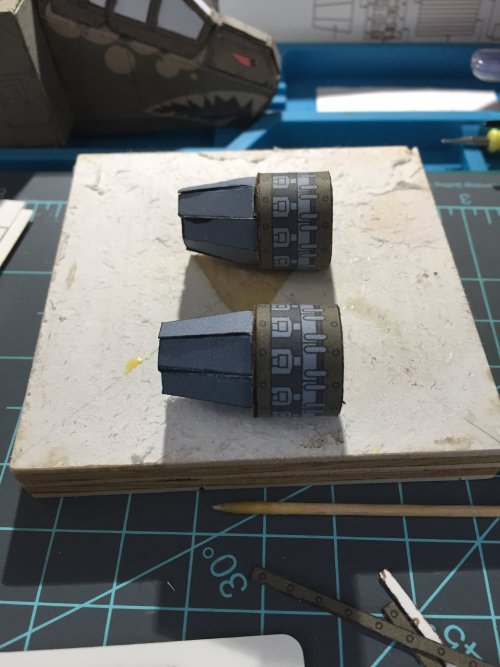
Next, some dimension.
Scott ;-)
Thanks for comment!
Assembling the next section of the engine from the rear. I chose to add a little dimension by printing another copy of the sheet and cutting out the 'rivet strips' and adding them on to this section. Had to glue two circles into a cylinder, then add the nozzles to that assembly.
Rounding the cylinder by using a pencil and then a knitting needle to roll it against foam. Cylinder in the background with clamping tweezers. Pushed the circle down in the cylinder and glued.


Glued nozzle to circle for final assembly.


Next, some dimension.
Scott ;-)
Last edited:
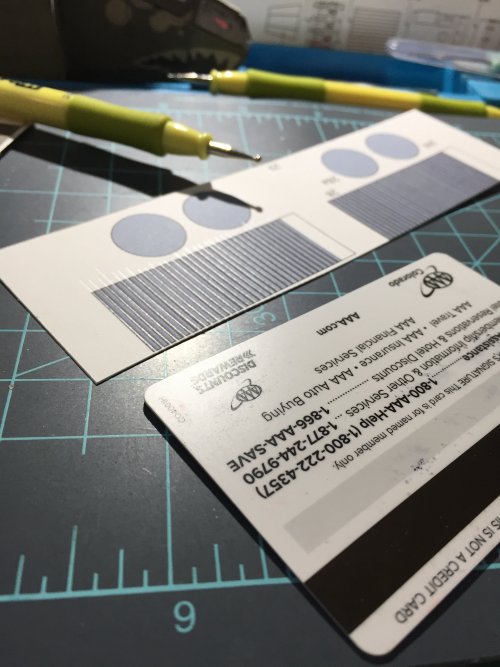
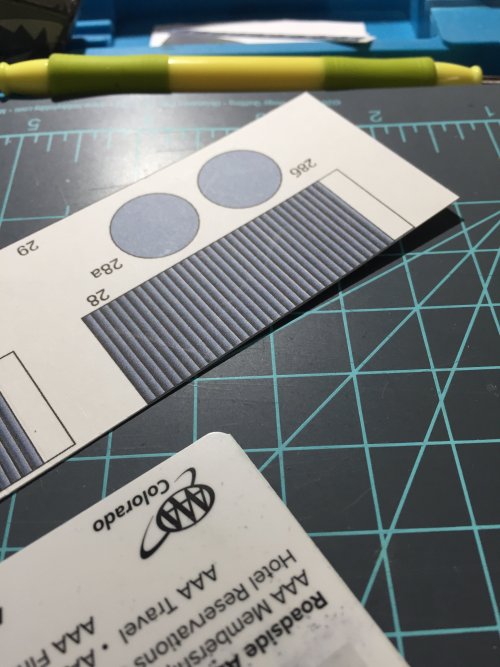
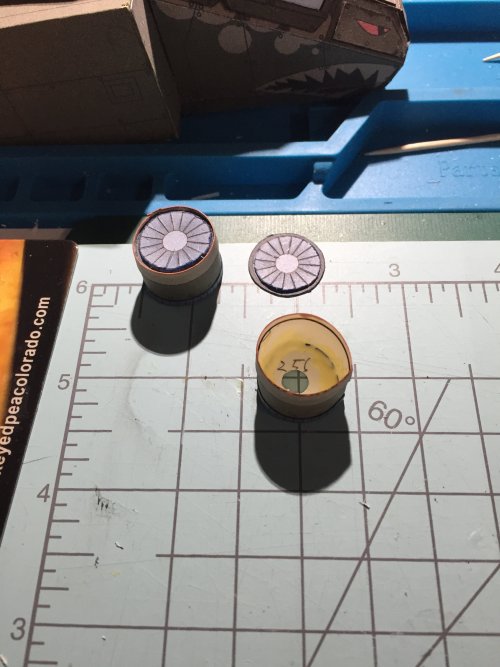
Next section, first picture shows tools and result of using the tracing stylus ball to emboss the lines. Second shows un-embossed section.
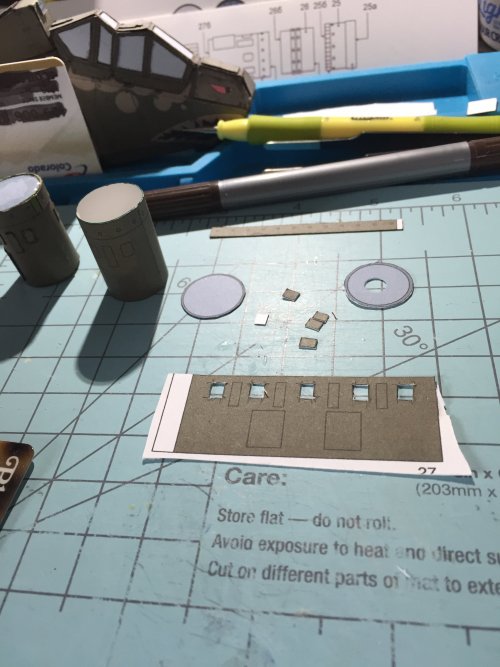
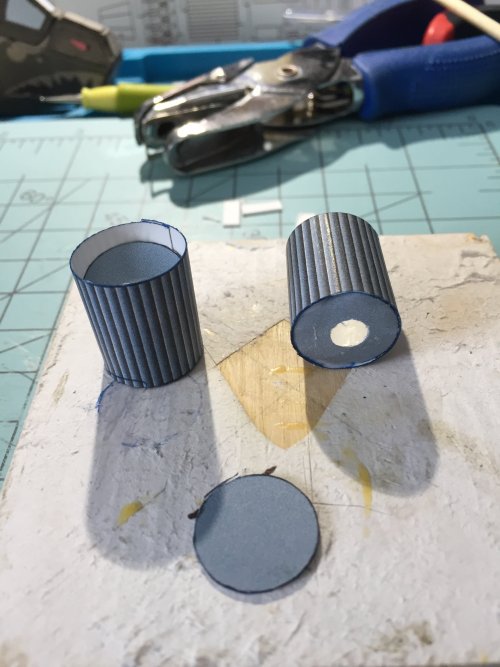
Components ready for assembly. Think I will punch a hole in one of the circles, to allow me to push the other circle to the end of the cylinder while assembling. The hole will be covered when all the engine sections are glued together.
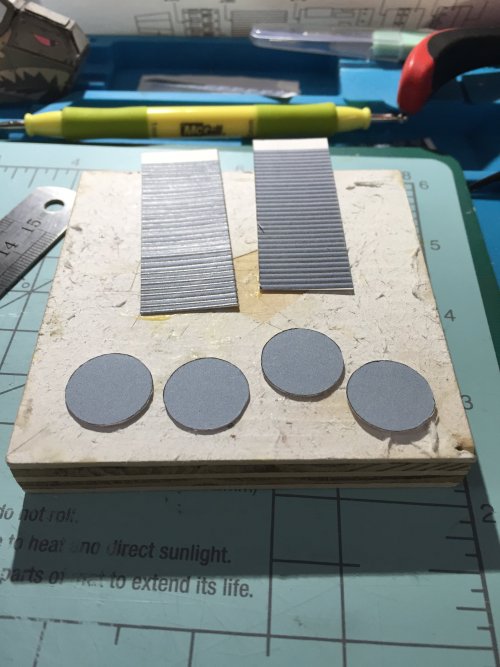
Until next time I get some time to work, keep building!
Scott
Components ready for assembly. Think I will punch a hole in one of the circles, to allow me to push the other circle to the end of the cylinder while assembling. The hole will be covered when all the engine sections are glued together.

Until next time I get some time to work, keep building!
Scott
Finish of this stage.
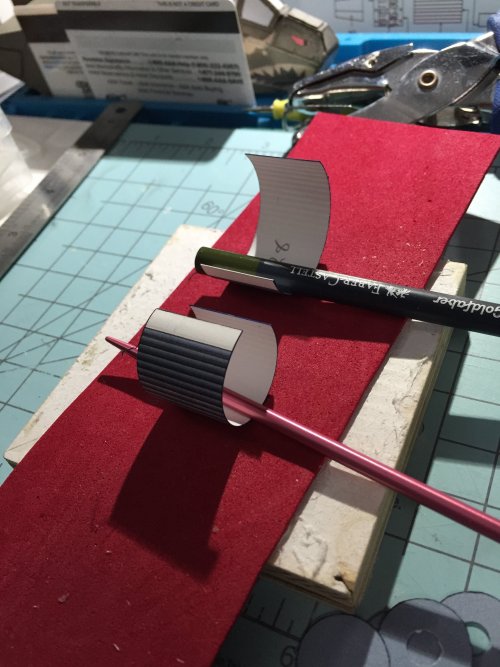
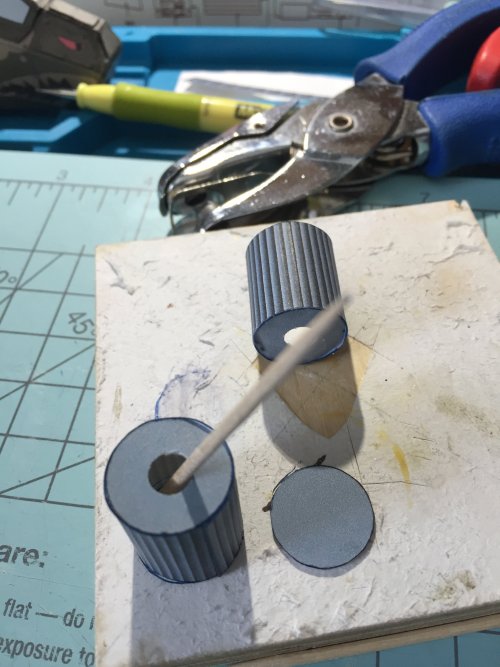
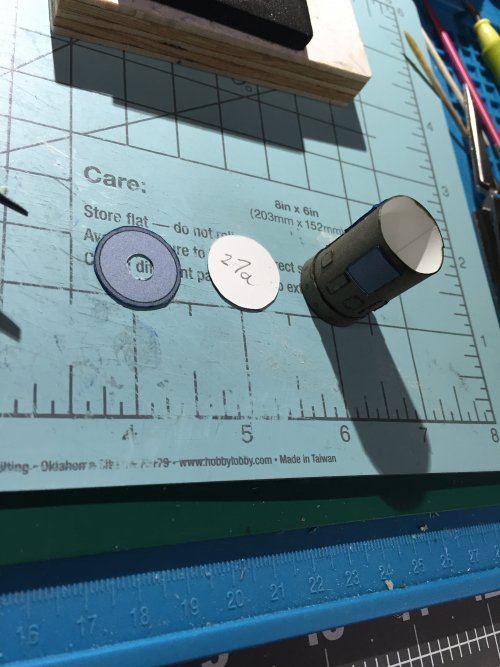
Rolling on foam to get a rounded cylinder, first picture, and then using the hole in the one end concept, to put the circles/ends of the cylinders on. You glue in the end with the hole, let dry a bit, then you put in the other end, a little too far, add glue, make sure it is clear! on top and then turn over on a non-gluing surface, and push then circle to the end of the cylinder. Yes, this leave some glue on the end of the cylinder, but in this case, they will be covered up as the engine is assembled. A WHOLE lot easier then with both ends closed and trying to put the second end on the cylinder!
Moving on the next section.
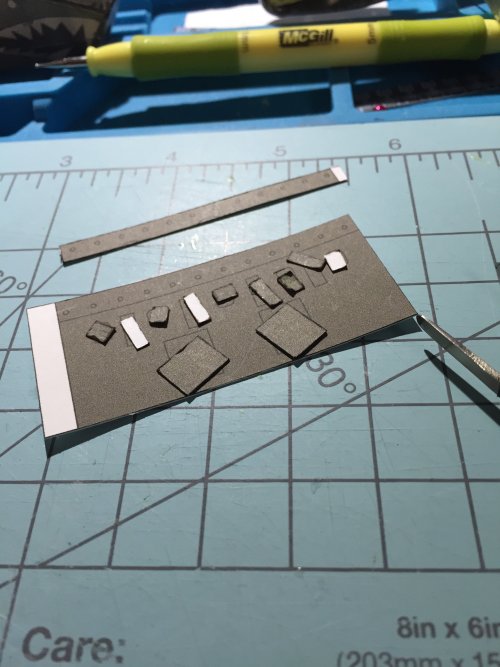
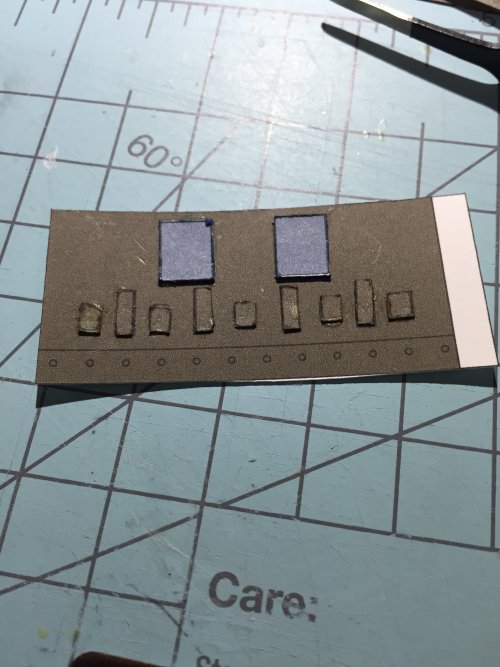
GREBLES! I printed another sheet and cut out the small parts to glue on before the cylinder was shaped. This seemed to work OK.
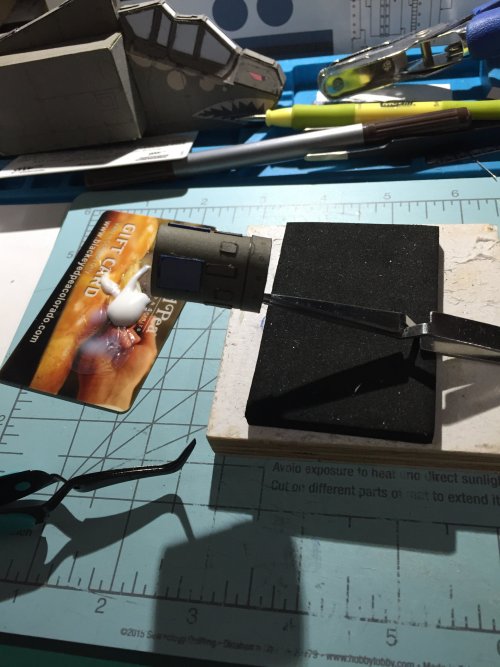
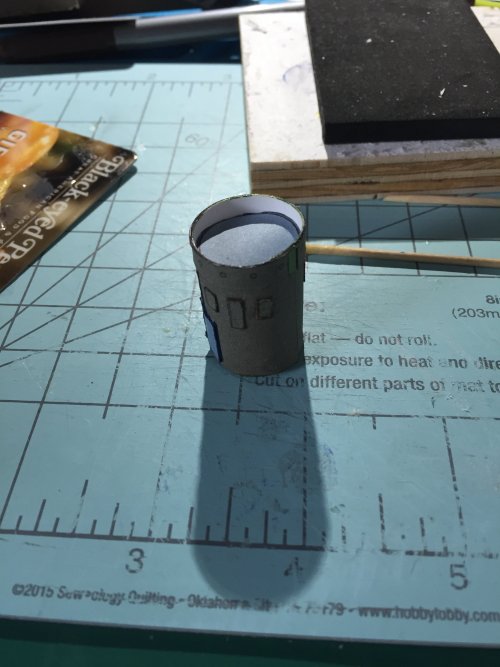
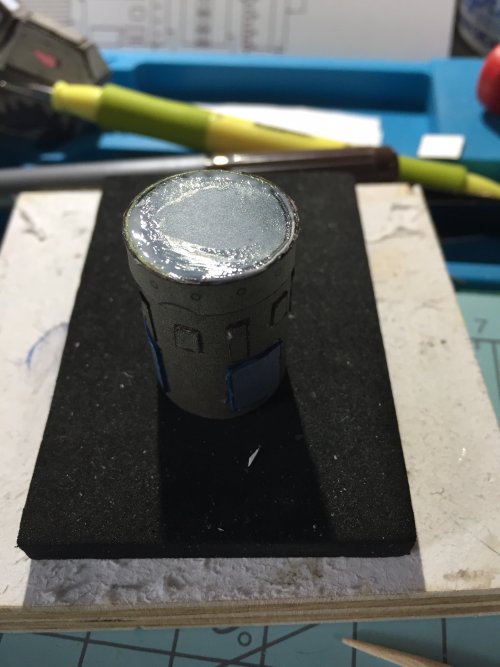
As you can see int he last picture there is glue on the end of the cylinder.
Scott ;-)
Rolling on foam to get a rounded cylinder, first picture, and then using the hole in the one end concept, to put the circles/ends of the cylinders on. You glue in the end with the hole, let dry a bit, then you put in the other end, a little too far, add glue, make sure it is clear! on top and then turn over on a non-gluing surface, and push then circle to the end of the cylinder. Yes, this leave some glue on the end of the cylinder, but in this case, they will be covered up as the engine is assembled. A WHOLE lot easier then with both ends closed and trying to put the second end on the cylinder!


Moving on the next section.
GREBLES! I printed another sheet and cut out the small parts to glue on before the cylinder was shaped. This seemed to work OK.


As you can see int he last picture there is glue on the end of the cylinder.
Scott ;-)
Last edited:
- Apr 5, 2013
- 13,876
- 10,215
- 228
Thanks for the encouragement.
Next engine section.
Parts cut out, cylinders made.
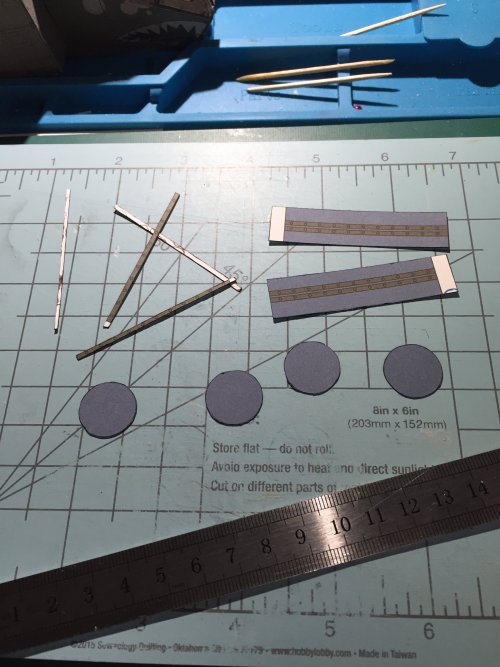
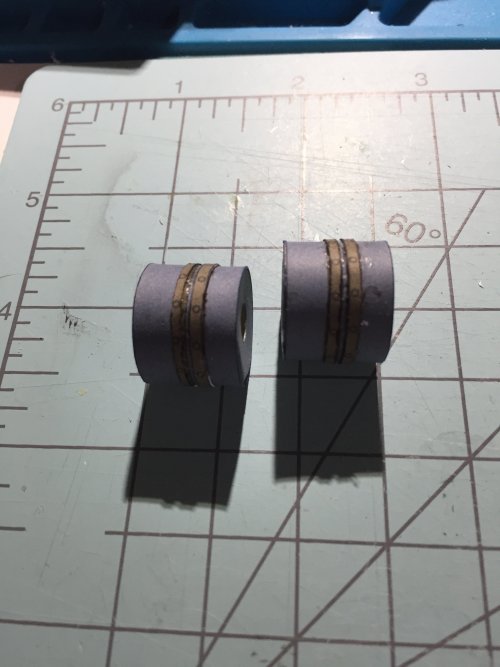
Ends placed in cylinders, and then the 'greble' strips added.
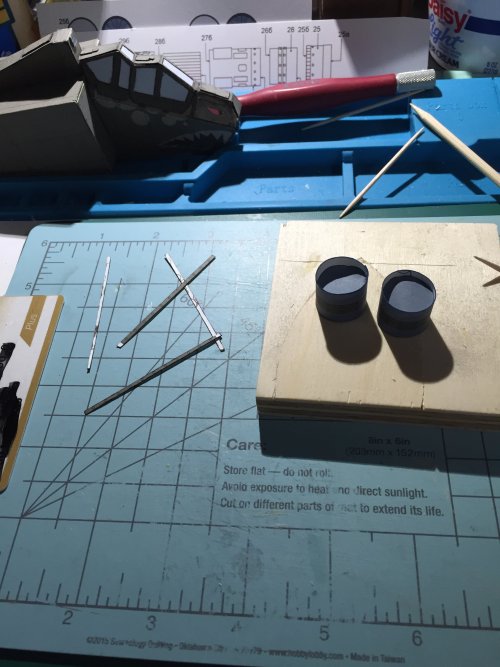
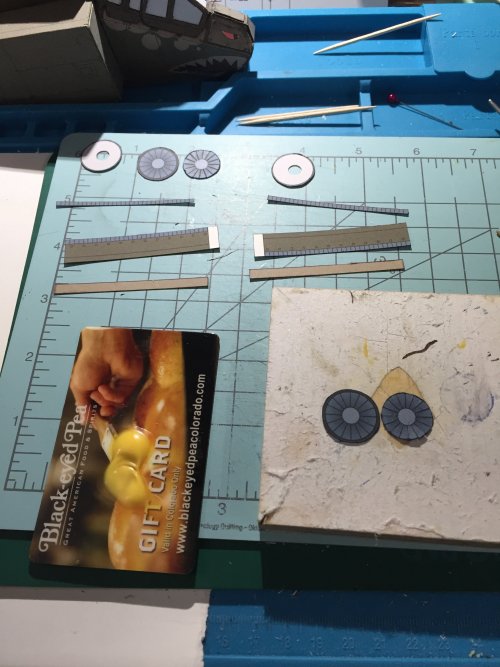
Front section of the engine, with the fan. I wanted a little more detail, so I cut another fan out, and cut each blade out.
Cut out the parts.
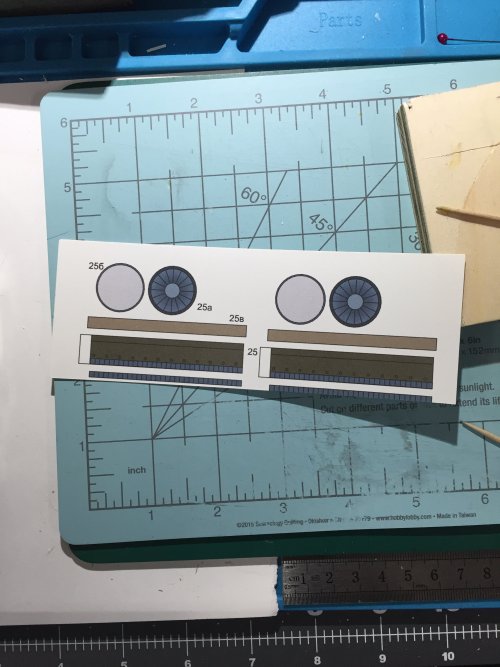
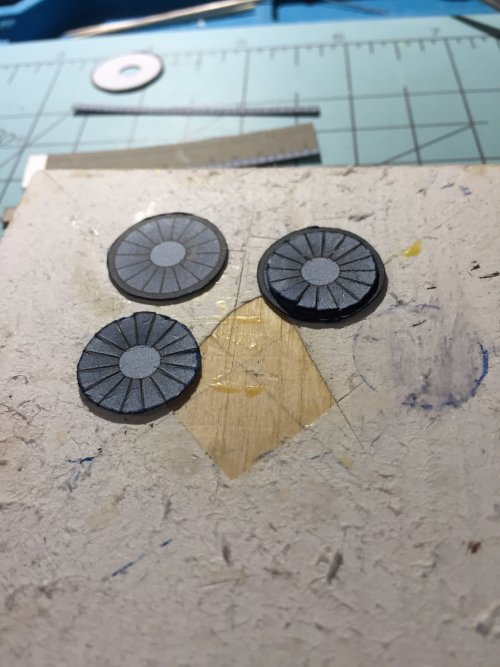
Put the fan blades together, the uncut and cut.
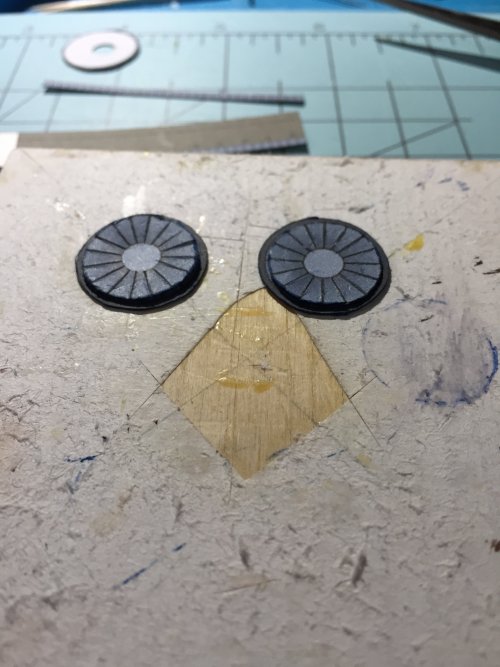
Add strips to the cylinder, insert the ends, and glue up.
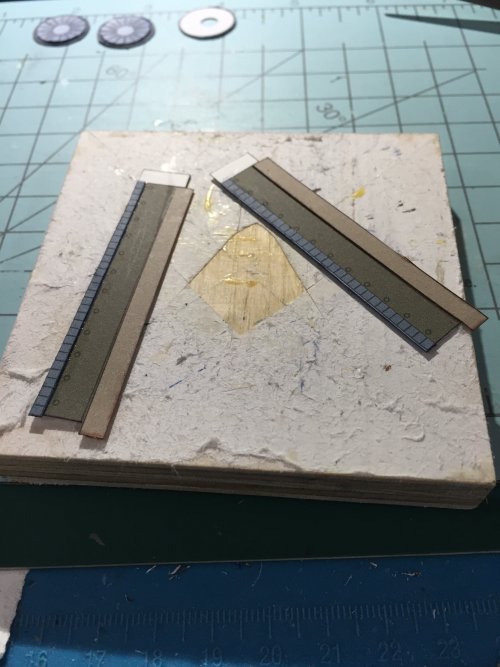
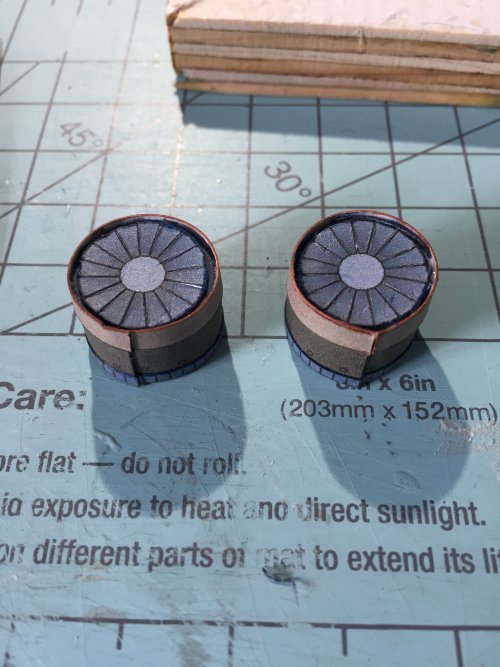
That finishes the assemblies for the engine.
Scott
Next engine section.
Parts cut out, cylinders made.


Ends placed in cylinders, and then the 'greble' strips added.


Front section of the engine, with the fan. I wanted a little more detail, so I cut another fan out, and cut each blade out.
Cut out the parts.


Put the fan blades together, the uncut and cut.


Add strips to the cylinder, insert the ends, and glue up.


That finishes the assemblies for the engine.
Scott
Final assembly of the engines. Start with the engine stands.
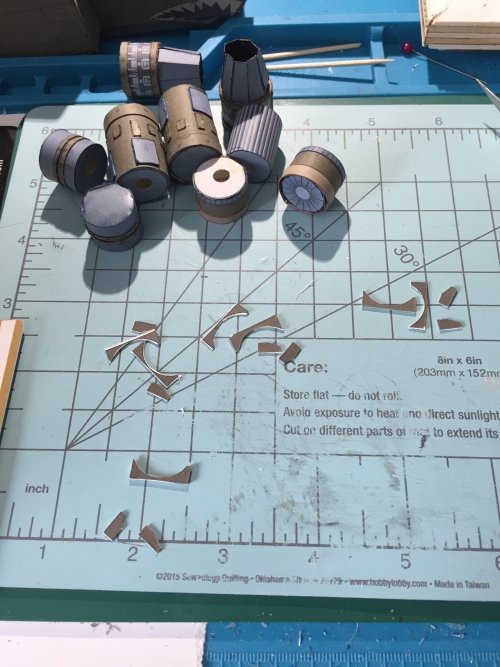
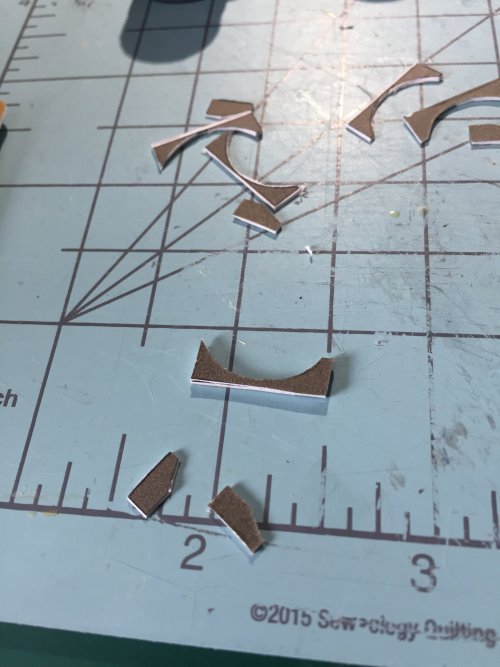
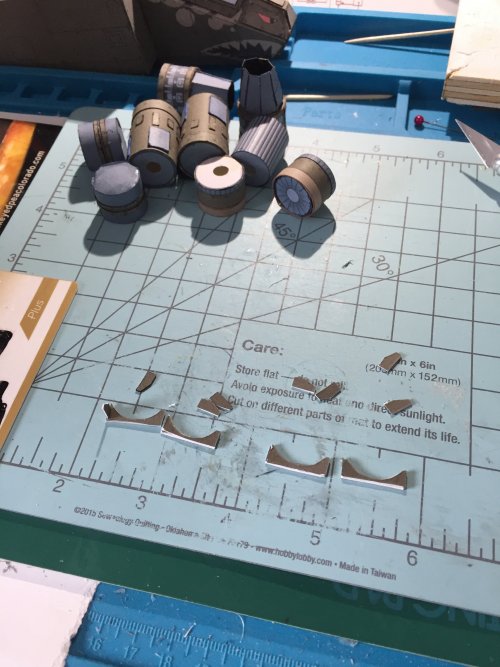
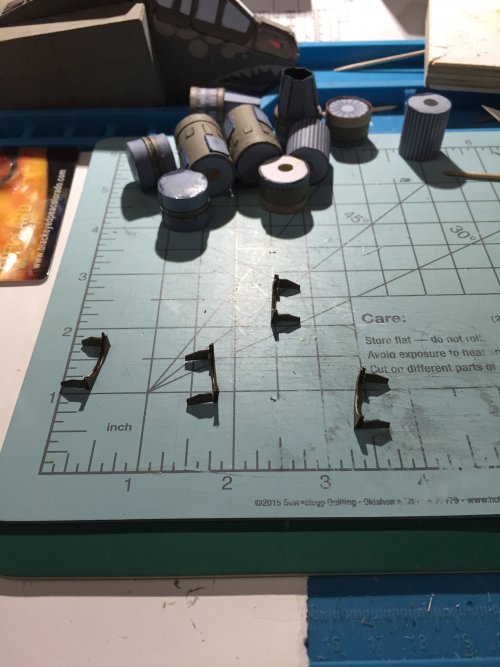
Now we glue 2 assemblies at time together, using a little weight to get things to stay kind of straight.
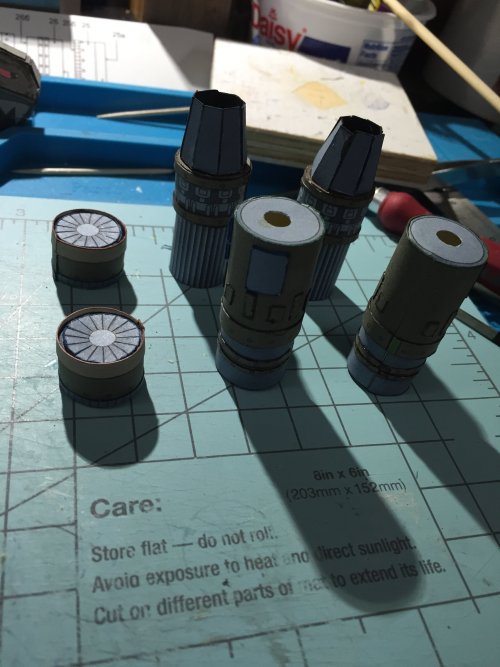
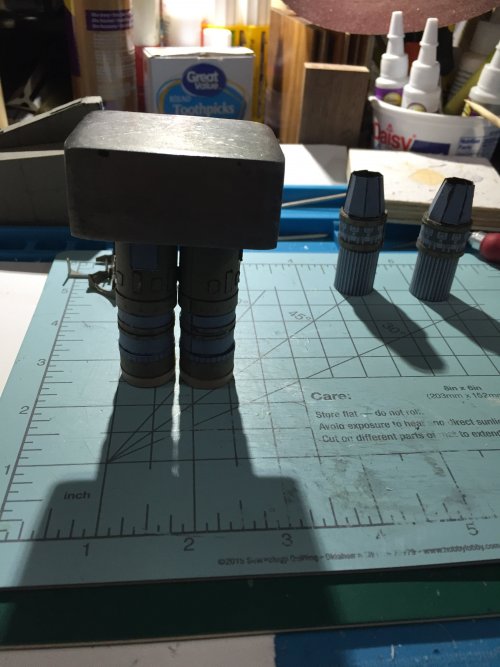
Assembled engines. I will wait until I have the tail spars glued on the main fuselage, before mounting the engines on it.

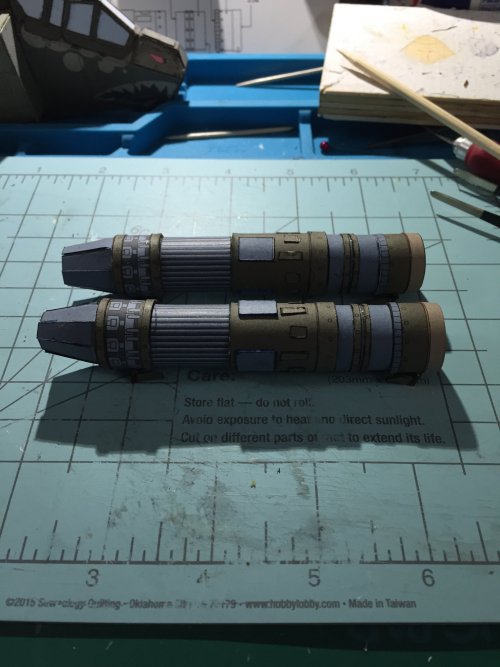
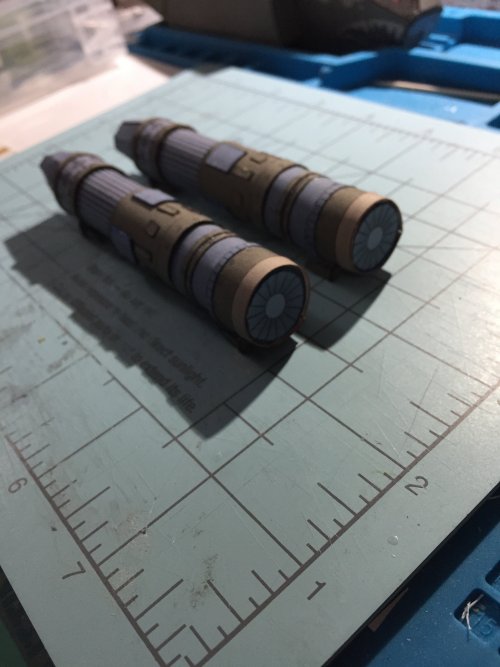
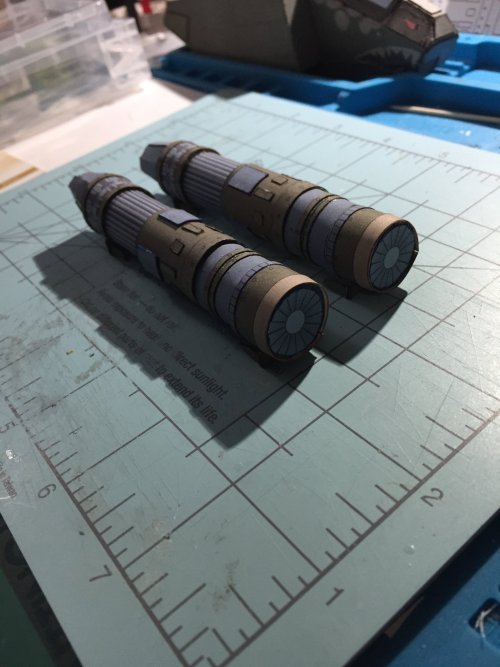
Wow! Just played with the zoom on the post! You can see my fingerprints! And all my flaws..... oh well, this is still fun.
Having fun! Hope you are too. Make some models!
Scott ;-)


Now we glue 2 assemblies at time together, using a little weight to get things to stay kind of straight.


Assembled engines. I will wait until I have the tail spars glued on the main fuselage, before mounting the engines on it.


Wow! Just played with the zoom on the post! You can see my fingerprints! And all my flaws..... oh well, this is still fun.
Having fun! Hope you are too. Make some models!
Scott ;-)
Nice!
I've always had more success rolling out the form, then adding greebles... Laminated card and glue don't roll so nice, but it's possible (with enough water, and putty to fill cracks after....).
I've always had more success rolling out the form, then adding greebles... Laminated card and glue don't roll so nice, but it's possible (with enough water, and putty to fill cracks after....).


