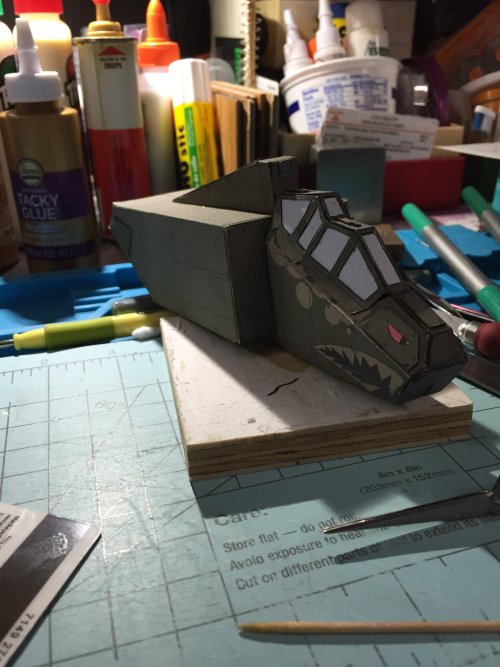
Dr. Tetrode - Valkryie Build II - attempt with color.

dr_tetrode

Active Member
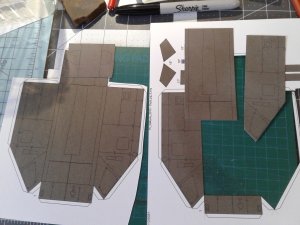
Hi, I am going to build, the Valkryie again, this time with a new set of plans, from 2010, and colored. I printed them out on 110lb cardstock, sprayed with matte clear spray, both sides, and then got them on the desk to work on them.

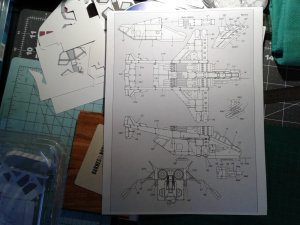
Begin with the cover and first page.
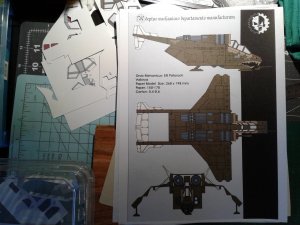
20210418_174051.jpg20210418_174133.jpg

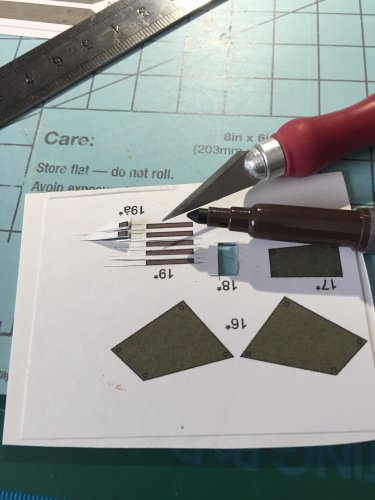
Now, a question for all of you that have built Elli Patorach models before, what is the symbol for laminating? See below picture. I see many * asterisks, is that it. I see that they seem to appear when there is an overlay. What guides you to laminate parts of the models you build?
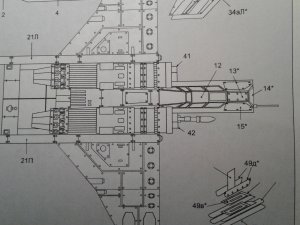
20210418_174143.jpg

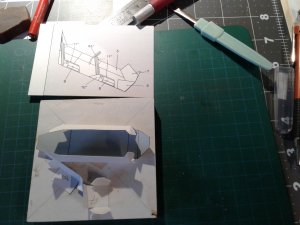
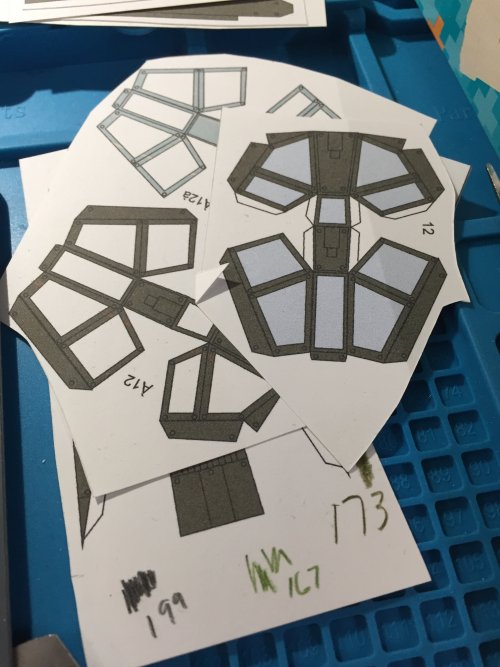
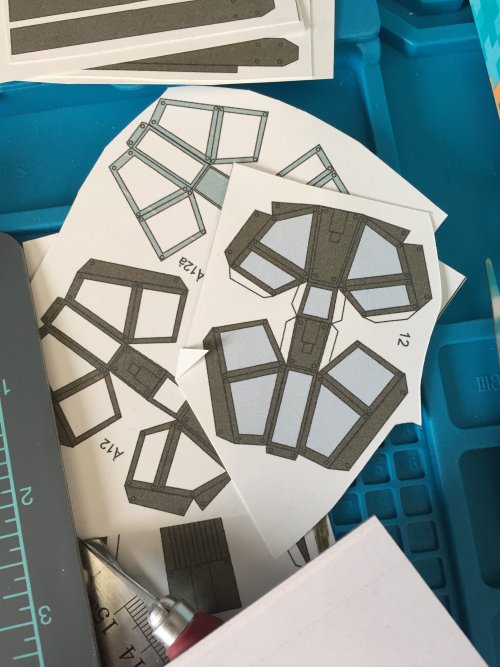
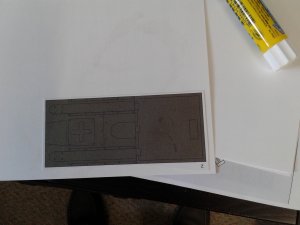
I also noticed that this model has the glass of the cockpit filled in with the blue window. So, I will not be building the cockpit interior, image on the right.
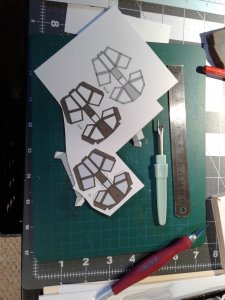
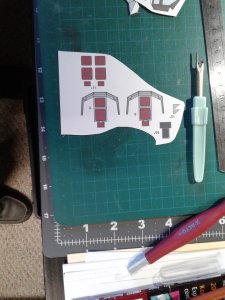
20210417_190905.jpg 20210417_190927.jpg

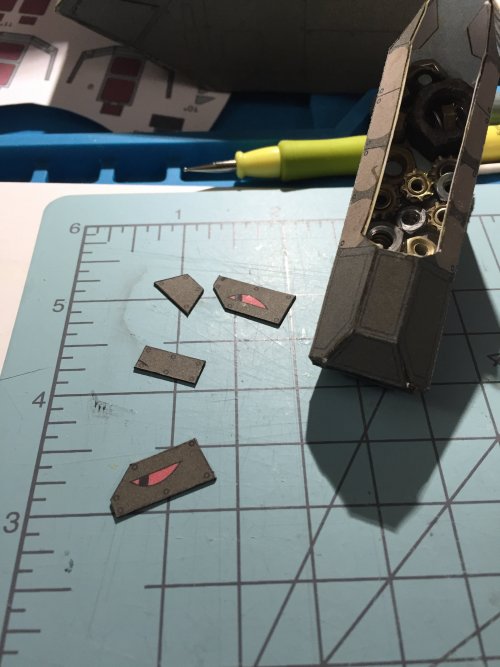
But, since I think the tub that the seats would be in is structural, I am going to build that and put my weights in there to balance the model.
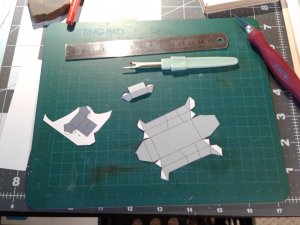
20210417_190744.jpg20210417_191806.jpg

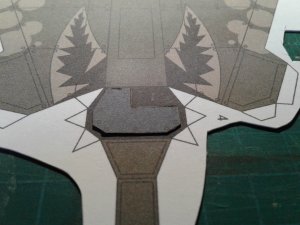
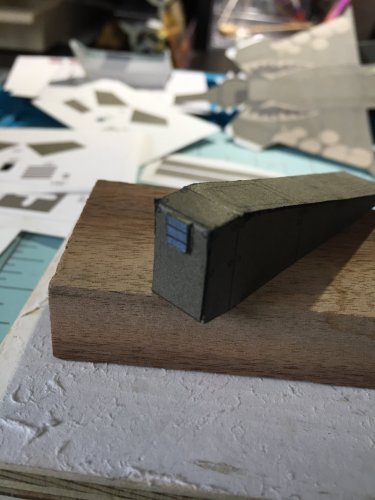
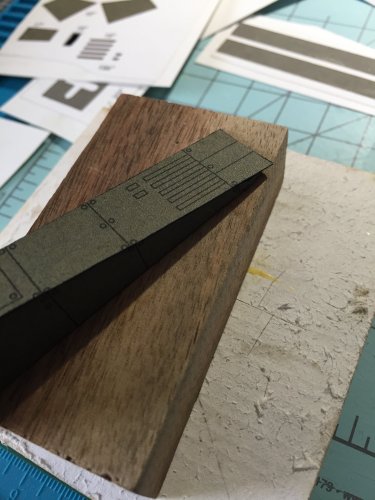
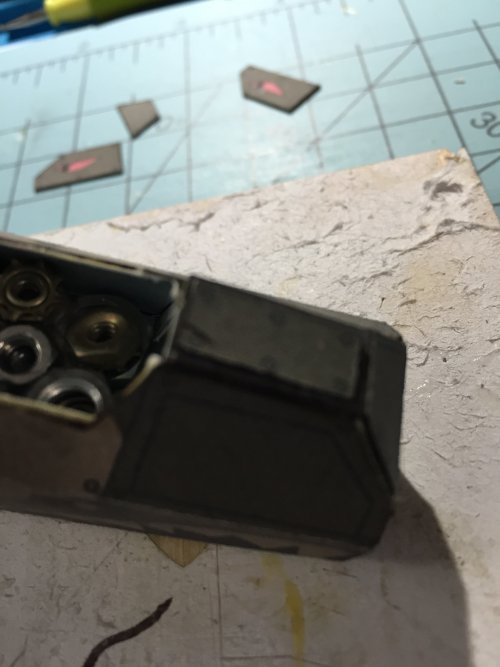
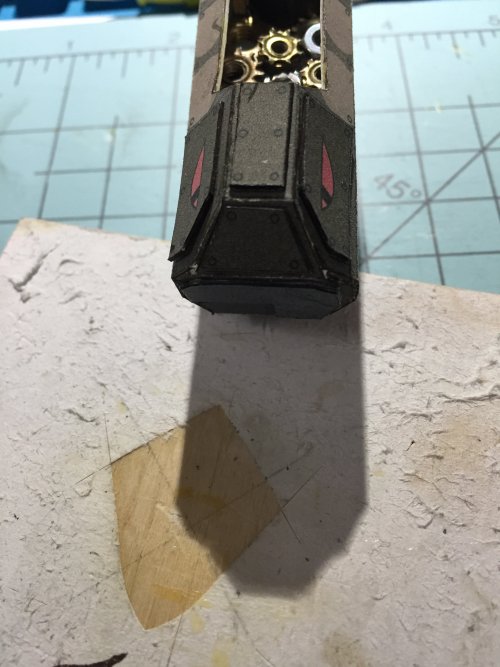
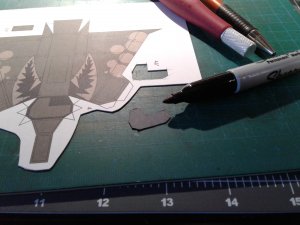
With a colored model the sides of the parts show up as white! Ooops, need to do something, on this dark part on the front, I ran a sharpie around the edge, now it will look better.
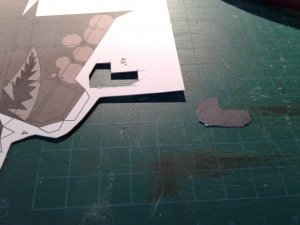
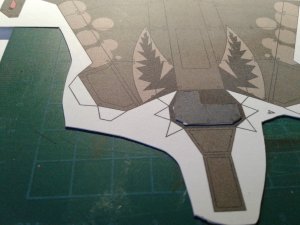
20210417_192258.jpg 20210417_192338.jpg

See image on right for the difference.
20210417_192511.jpg20210417_192658.jpg

Have fun! I am.

Scott
 
Last edited:
Sudsy

Well-Known Member
Whenever I don't paint a paper model, I cut out my parts and bend them, then use the black permanant marker (or grey, or a color I might have that matches the printed color closely). Works great, if people ignore my sloppy glue work!

I love that nose art on this build! Should be interesting. Are you going to fill that 'tub' with ballast?
 

Rhaven Blaack

!!!THE MAN BEHIND THE CURTAIN!!!
Staff member
Administrator
Moderator
@dr_tetrode Generally, the asterisks indicate thickness:
* - laminate to 0.25mm
** - laminate to 0.5mm
*** - laminate to 1mm

However this should be clarified in the instructions.
 

dr_tetrode

Active Member
No clarification in the instructions, thus the question. Thanks for responding. Trying a different technique for laminations, when it dries, will let you know if it is working. Another question, for the laminations, do the pieces in the back have to be sprayed with the matte finish, or is it OK to use plain cardstock?

Scott
 

zathros

*****SENIOR ADMINISTRATOR*****
Staff member
Administrator
Moderator
Laminated pieces only need to be glued, if I am understanding you correctly. I would bend them to shape, because accrued intolerance could creep up. :)
 
Last edited:
dr_tetrode

Active Member
Thank you, zathros, for your comment. That is what happened last build, so I am trying another method.

Here we go.

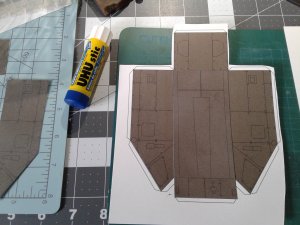
Lamination to 110 lb cardstock, using UHU glue. Belly and Door piece.
20210420_091039.jpg

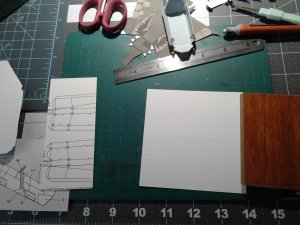
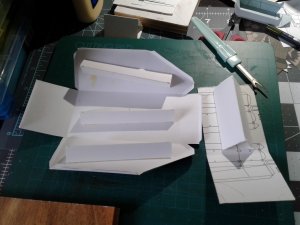
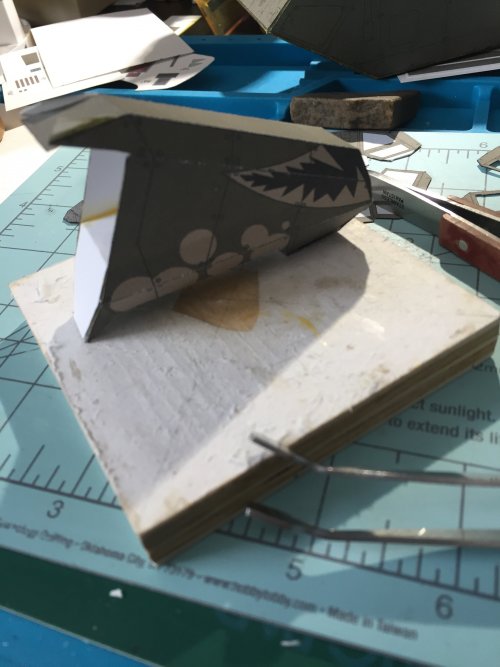
New technique for me. Break up the sides, top etc. and glue on another copy of the same pieces, leaving them on the outside of the box.

Left picture, I printed another copy of the page, and cut out the base, roughly. Right picture, I cut out the sides, top and back from the sprayed original sheet. In the Left picture, I have glued down the top piece, not shown, is where I went and glued down each of the sections to the bottom sheet.
20210420_092709.jpg 20210420_091505.jpg

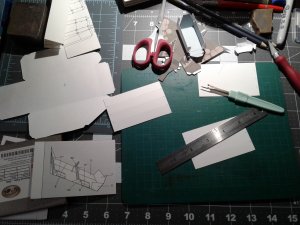
Making internal bracing, I cut a piece as wide as I wanted the braces to be long and marked 4 equal spaced lines,and then scored them with the seam ripper and cut a brace off on the fourth line. These can be then bent into triangular braces to be glued to back of the large flat surfaces.
20210420_174437.jpg 20210420_183715.jpg


Braces fit checking to pieces.
20210421_103355.jpg


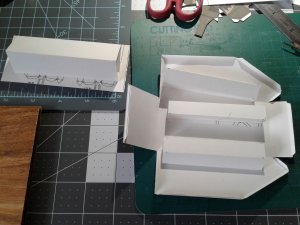
Triangles glued up, and then glued to the wide surfaces, and dry fitting to be sure all is well.
20210421_153325.jpg 20210421_153350.jpg

Proof in the pudding will come when I glue up the box.

Have fun!

Scott
 

Sudsy

Well-Known Member
I like paper supports like those triangular ones or similar. They tend to keep weight down along with the warping in the middle of large sized boxes. Laminated sheets to chip board (cereal box like material, or additional layers of card stock) only goes so far on larger spans!

On a side note, I've just noticed some "*" in my project instructions next to some steps... Which thankfully I just kinda felt needed it anyway... Picking what to laminate, or keep thinner is judgement call based on your own interpretation sometimes. However, knowing what to look for in the future, thanks @Rhaven Blaack!
 

dr_tetrode

Active Member
Hello, been a while! Cancer treatments take the stuffing out of you....

Anyhow, starting this back up, slowly.

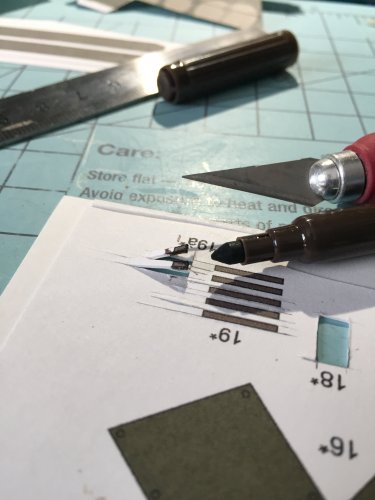
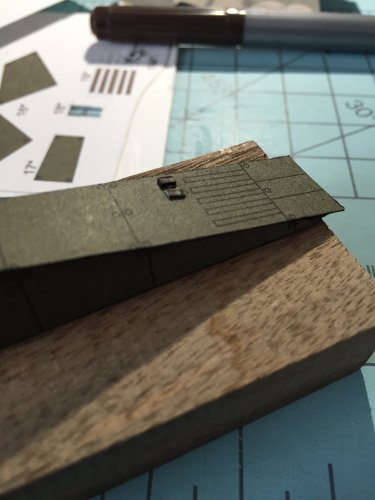
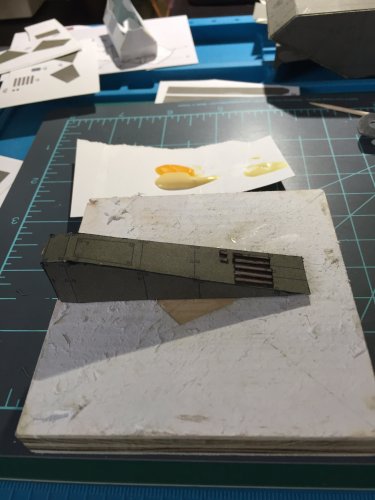
Detailing the piece between the engines, that goes on the top. Notice the edges, using a brownish 2 ended marker to just touch the edges. Best to work from behind the piece before gluing on.

IMG_3048.JPG

Next area to detail.
IMG_3049.JPG

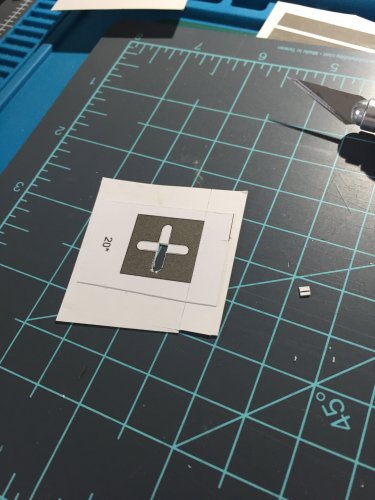
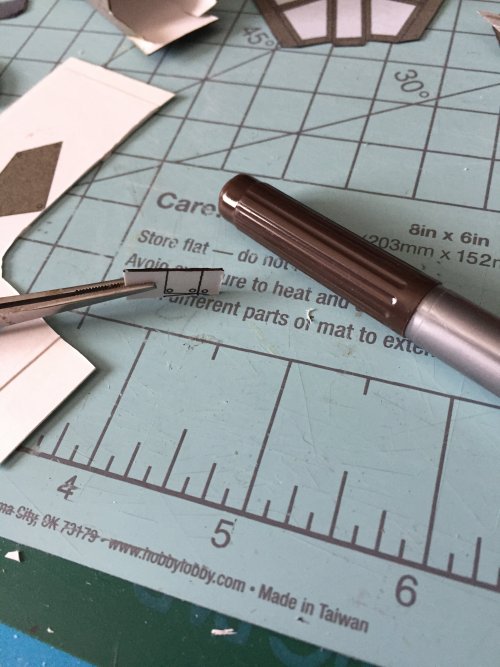
When doing the edges of these small parts, I cut them long, and then pushed them up so I could color the 2 long sides and 1 short side, cut them off and used tweezers to hold while I got the last short side.


IMG_3051.JPG IMG_3052.JPG IMG_3053.JPG IMG_3054.JPG

Game stand, I think, connection. To be cut and brown edgec.

IMG_3055.JPG

Cockpit area is next....
IMG_3056.JPG

Now, a question, has the forum handling of pictures changed in the last 8 months? My 'thumbnails' seem bigger, and if I put a full image in, it looks like it takes half the page!. I admit I am using an old Iphone as the camera, not the android tablet, resolution miss-match?

Can you guys see the full images if you want to? In this post?

I am asking to be sure things are working as I expect.

Scott ;-)

Keep on crafting with paper!
 

Awry_Chaos

OKB-4155
Good to see you're back! I'm glad things are slowly getting back up to speed for you. This build should be interesting!
 

mijob

Tie designer
Staff member
Moderator
Hello again, glad that you are back. Thanks for sharung your edge coloring techniq. Your pictures are looking great. I got no problems with the size of it. Keep on posting.
 

micahrogers

Moderator "Where am I, and how did I get here?"
Staff member
Moderator
The last I heard on pic size was the 1000 pix max per side. post thumbnails, or full pics. I mix mine up in my posts, thumbnails for little changes, full size for beauty shots... Rhaven Blaack is out temporarily, Zathros' computer is down, maby @Revell-Fan Fan knows a better answer.
 

dr_tetrode

Active Member
Thanks for all of your responses. Not going to worry about the pics, just will use thumbnails and we can click on them to see full resolution.

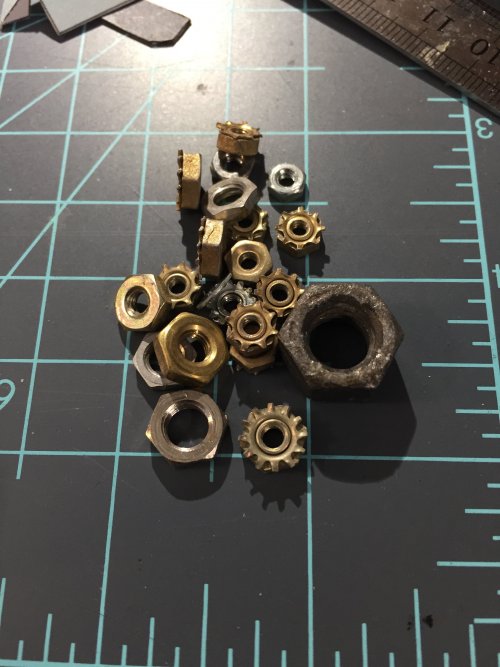
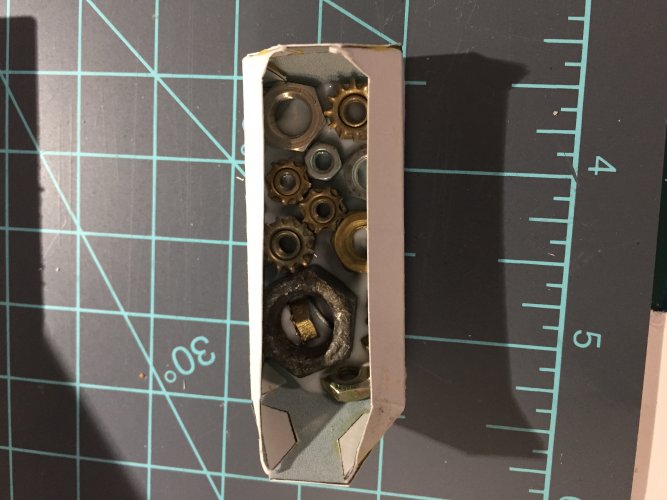
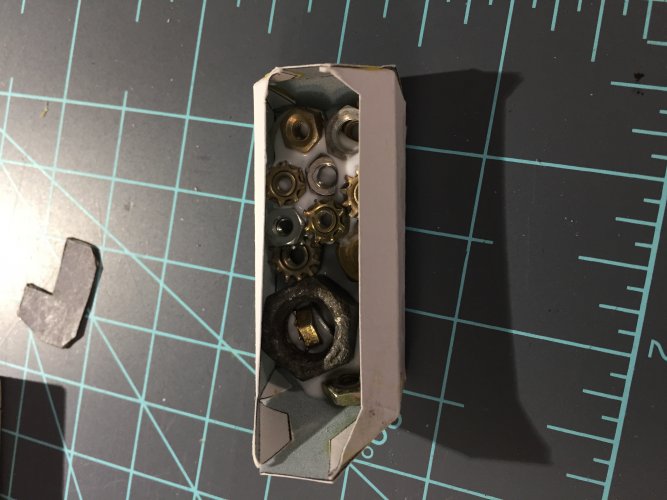
Question, I know this model will need weight in the nose, to sit correctly when I am done. What do you guys use for weight? Glue? Metal washers or nuts or nails or??? Copper wire, solder, or ???? How do you 'fasten' your weights?

Scott ;-)
 

Awry_Chaos

OKB-4155
Thanks for all of your responses. Not going to worry about the pics, just will use thumbnails and we can click on them to see full resolution.

Question, I know this model will need weight in the nose, to sit correctly when I am done. What do you guys use for weight? Glue? Metal washers or nuts or nails or??? Copper wire, solder, or ???? How do you 'fasten' your weights?

Scott ;-)
You can always use spare coins.
 

dr_tetrode

Active Member
Thanks for the input! Dug around in the garage, picked a few up and here is the result.

IMG_3058.JPG


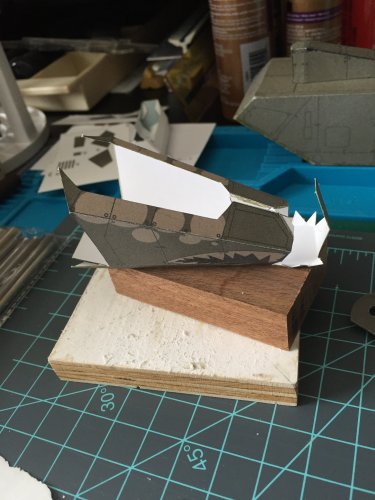
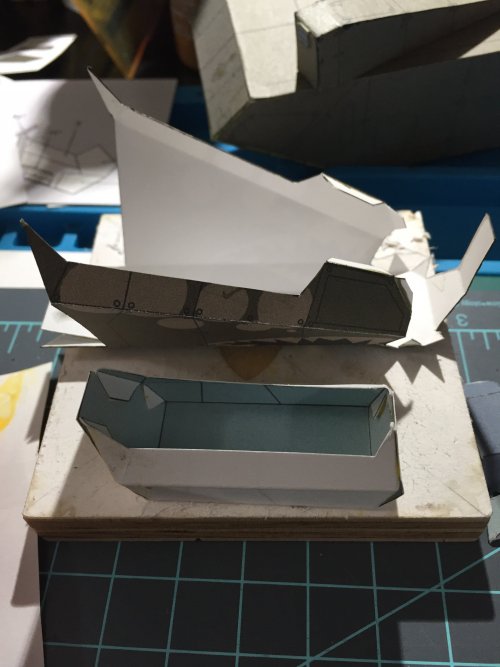
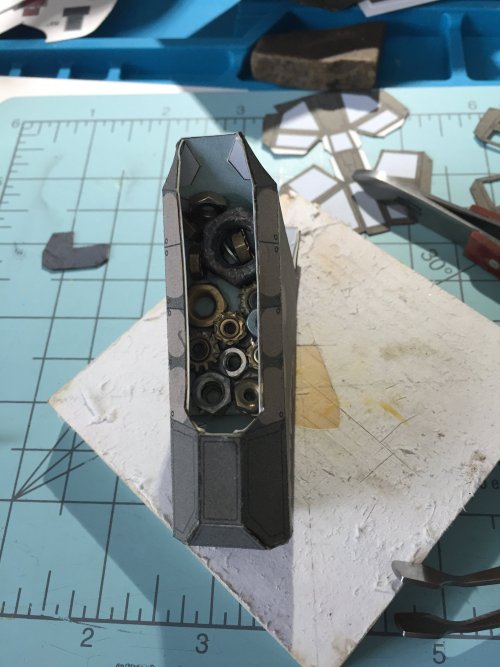
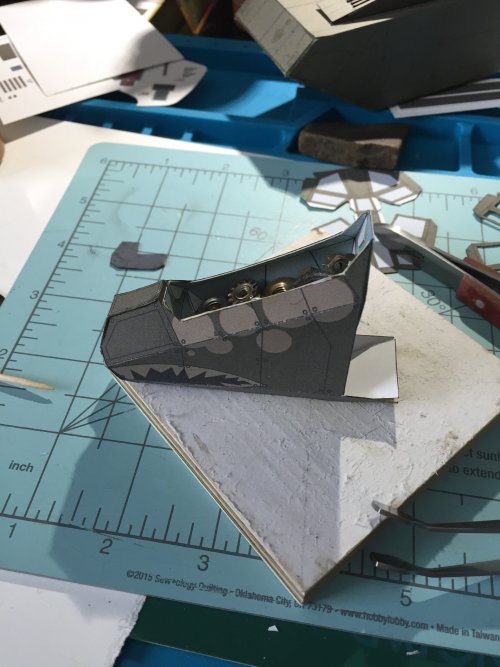
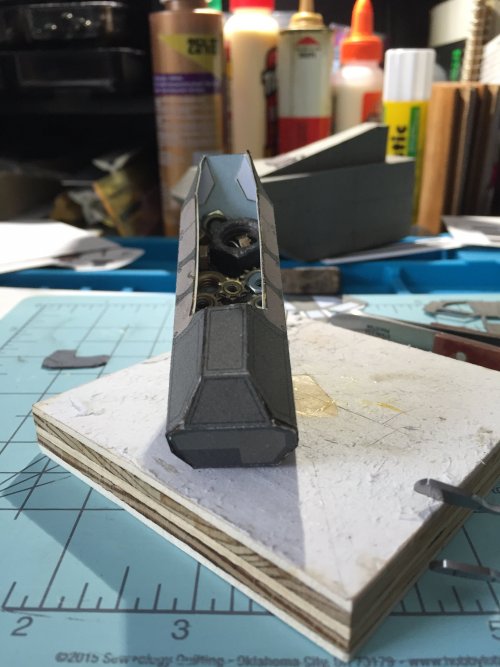
The tub- blue insides, is usually where the seats and other things go, but since this model has the windows colored, I thought the tub would be a good place to put the 'weights'. it goes in the nose section shown above the tub. Oooh! I just discovered I can change the size of the thumbnails! Added the 'weights' into' the tub, and then poured in the glue. I was worried about warping, but, that did not occur.
IMG_3059.JPG IMG_3060.JPG IMG_3061.JPG
IMG_3062.JPG


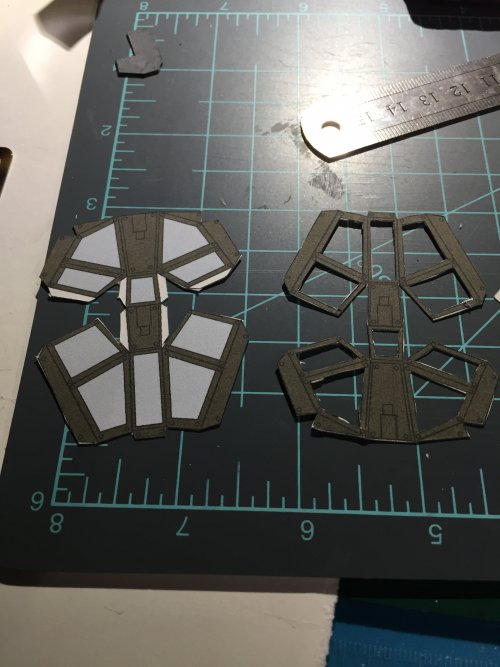
Now, while waiting for glue to dry, 2 days to be sure, working on cutting out the windows. Still trying to decide if I will cut the open frames apart and then glue to the windows, to add dimension, or try to fold them to fit over. I am inclined to the cut apart idea, color the edges and then glue on.

IMG_3066.JPG IMG_3079.JPG IMG_3081.JPG


It has been long enough, now we glue in the tub and finalize the cockpit / nose glue up.

IMG_3082.JPG IMG_3083.JPG IMG_3084.JPG

IMG_3085.JPG


Now moving on to more 'grebles'... ;-) for main body. Coloring the edges of a panel.

IMG_3086.JPG


Slowly having fun on this! Enjoying the process.

Scott ;-)

Keep up the crafting!
 

dr_tetrode

Active Member
Thanks for the responses, now on to the model.

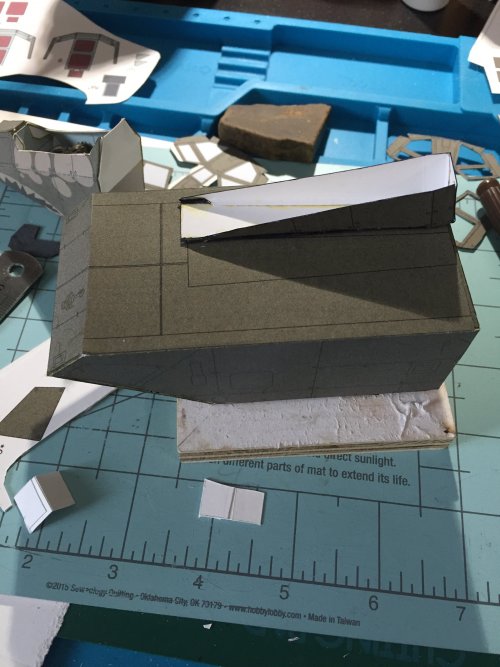
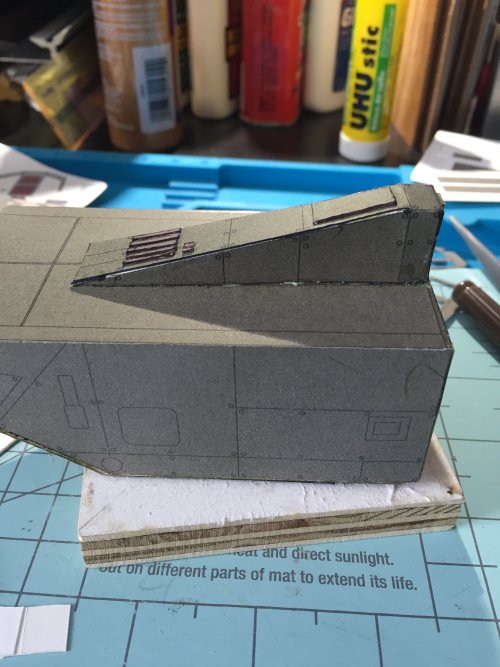
Prepping and gluing the shroud between that sits between the engines.

IMG_3088.JPG IMG_3089.JPG


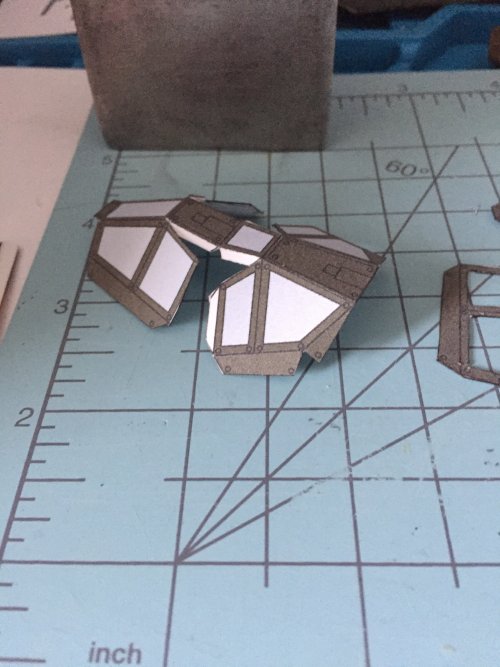
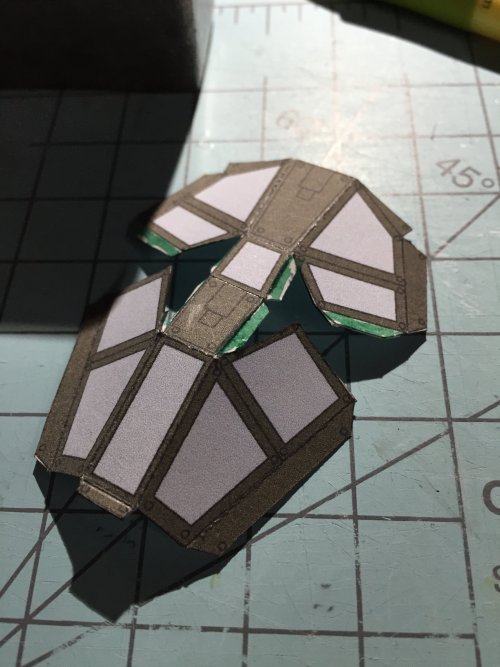
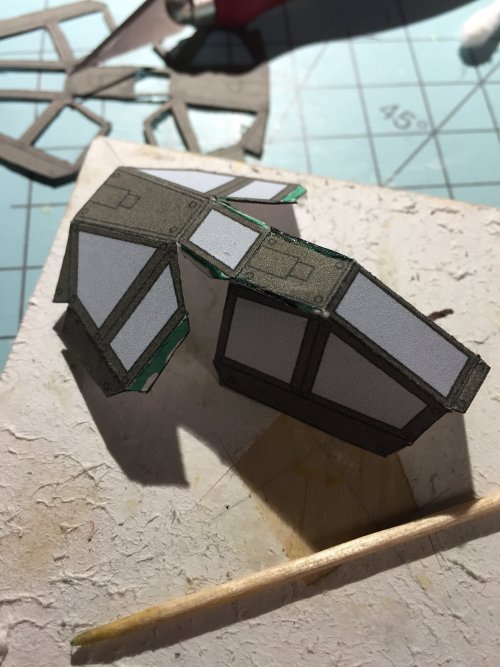
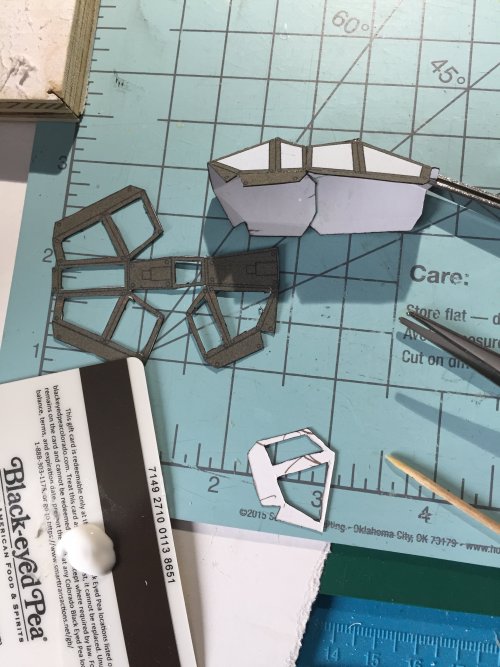
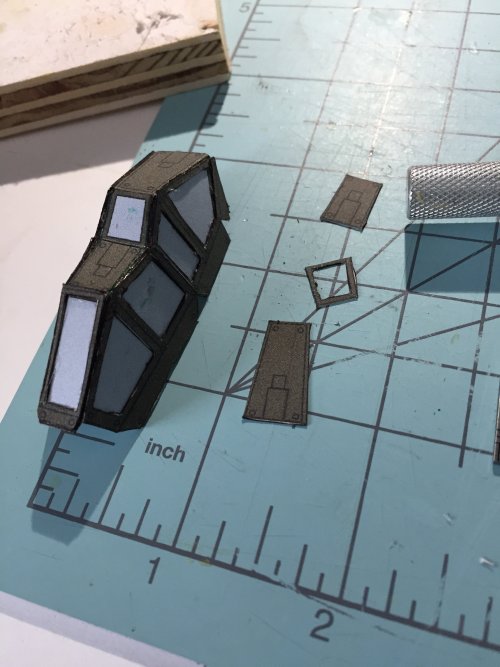
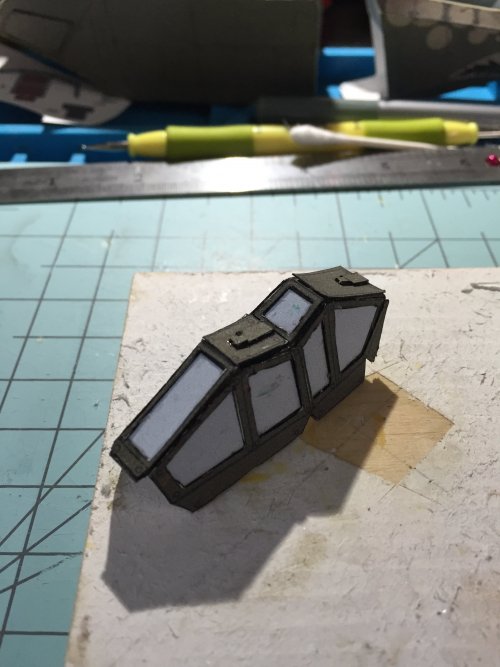
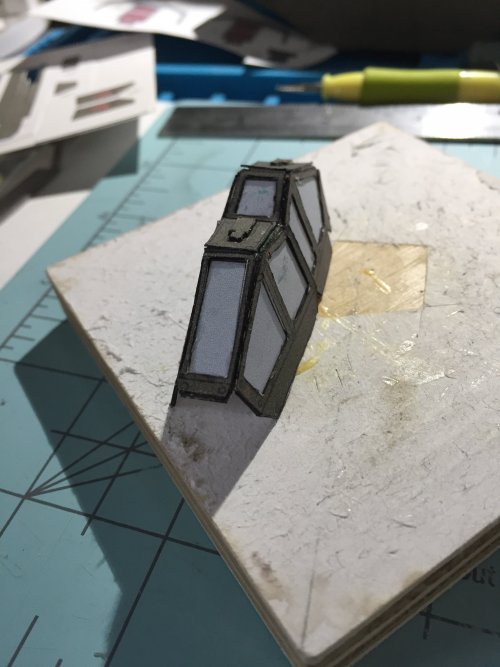
Cockpit work beginning, folding, coloring the white flaps, gluing the front sides to the roof.

IMG_3090.JPG IMG_3091.JPG IMG_3092.JPG IMG_3093.JPG


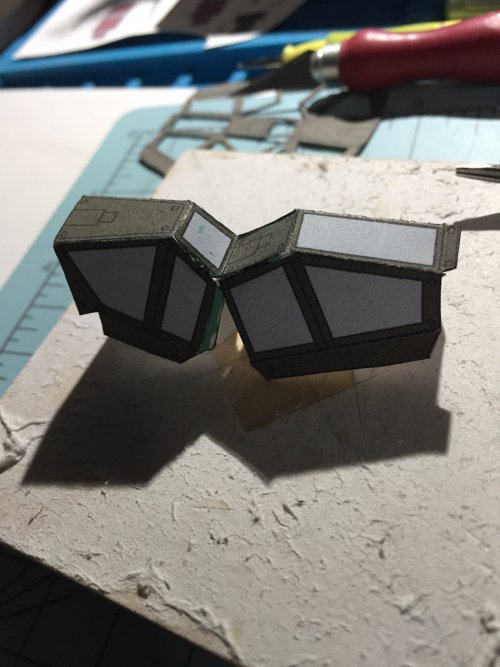
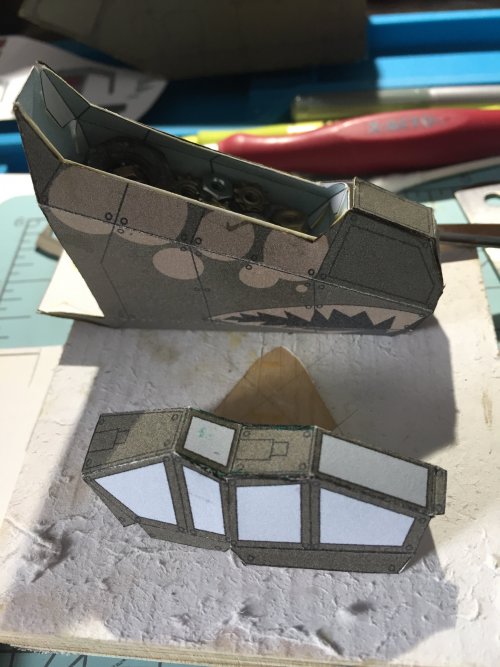
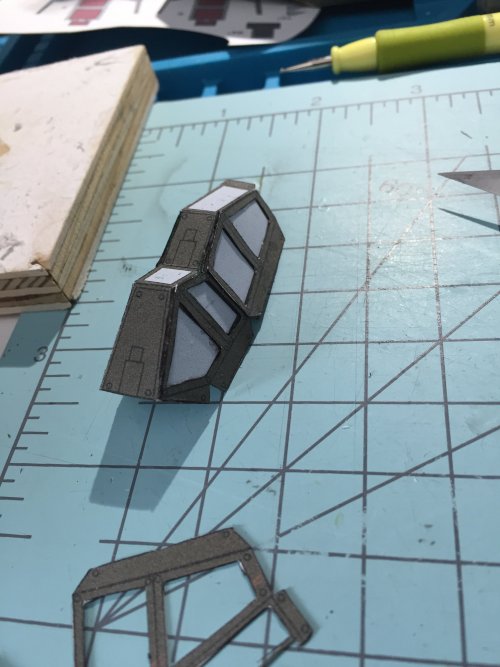
Glue the back side to the roof, and looking at the fit with the cockpit tub.

IMG_3095.JPG IMG_3096.JPG


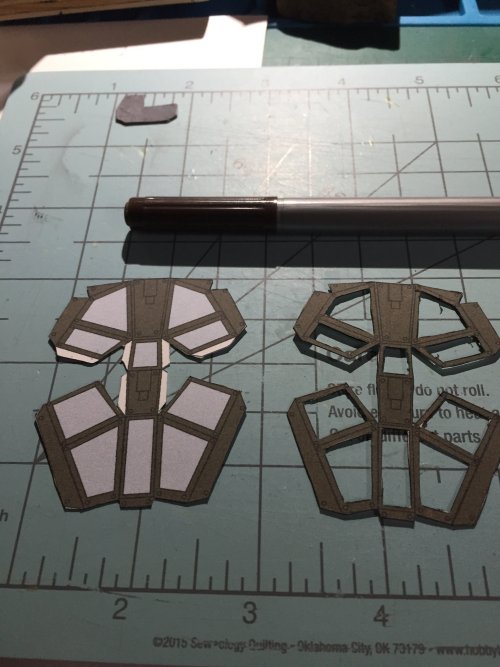
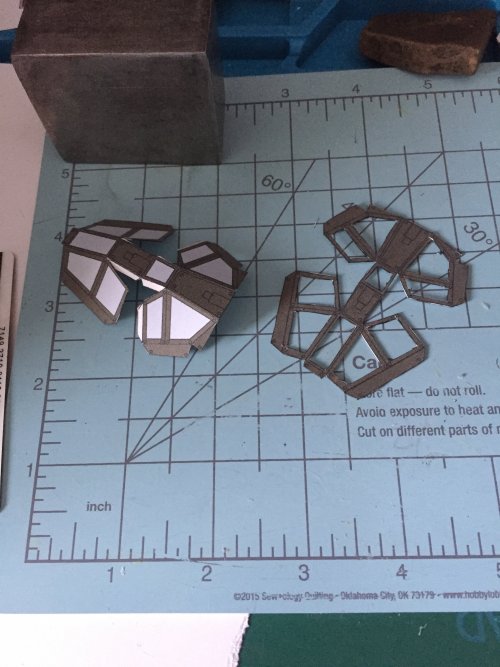
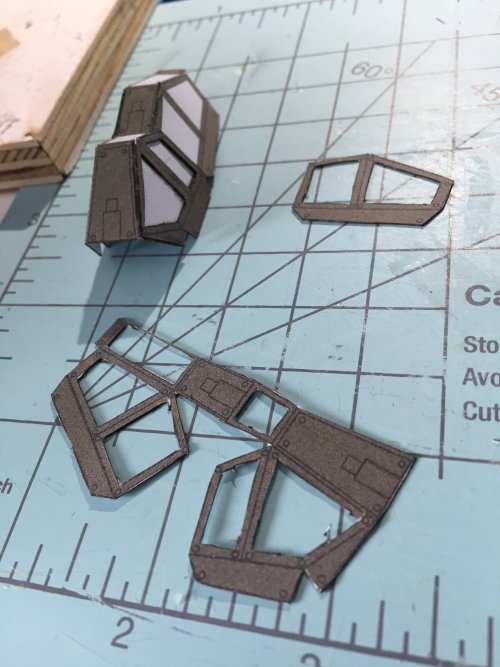
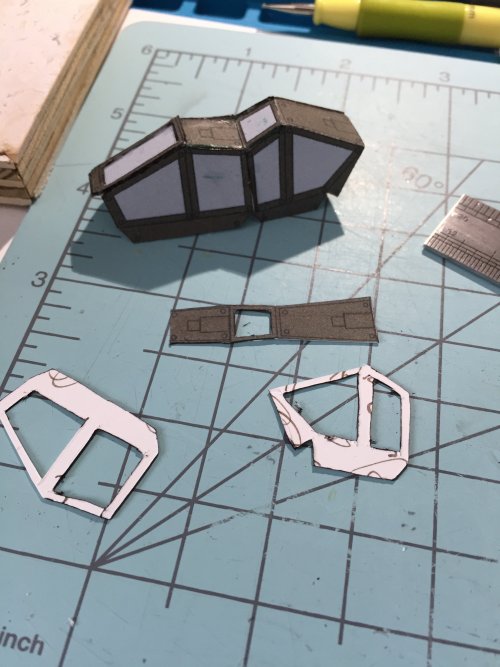
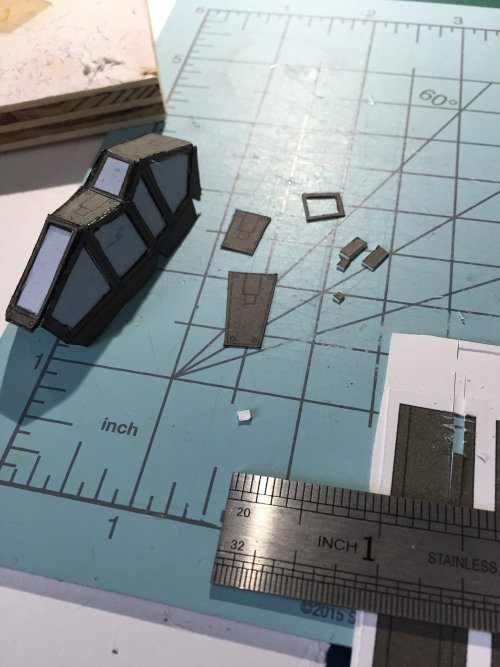
Now I will cut apart and color the second copy of the cockpit frames.

IMG_3098.JPG IMG_3099.JPG IMG_3100.JPG

IMG_3101.JPG IMG_3102.JPG IMG_3103.JPG


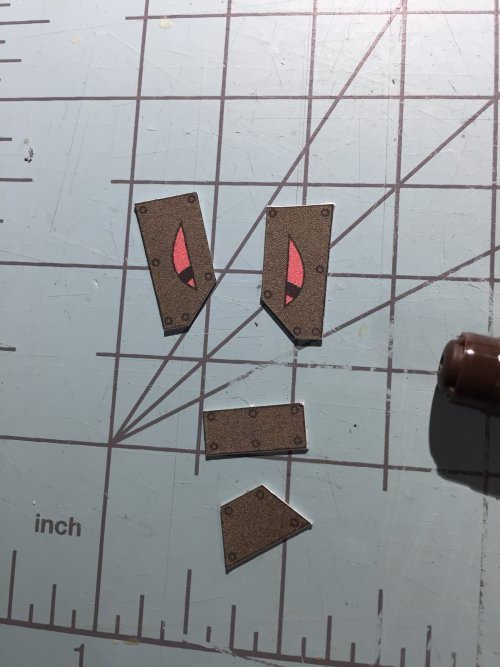
Now we 'greeble' the roof, some sort sensor, I think. Cut out small pieces, color the sides and glue on roof pieces.

IMG_3104.JPG IMG_3106.JPG IMG_3105.JPGIMG_3107.JPG IMG_3108.JPG

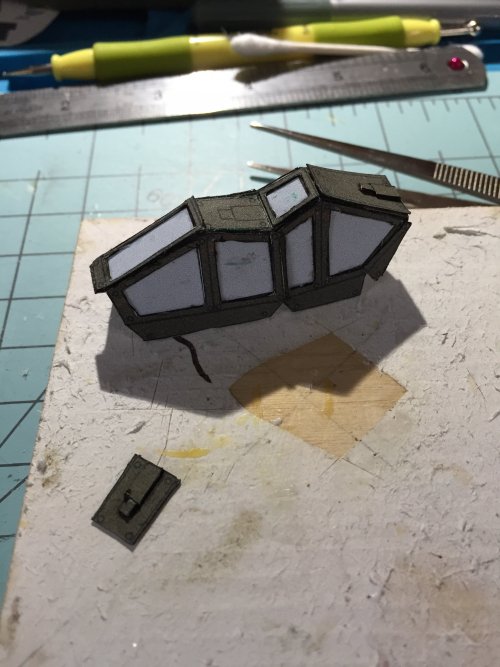
Note the dimension added by cutting apart the second copy of the frame, coloring the sides of the frame, and gluing it on. I like that.

Well, have fun! I am.

Scott ;-)

Keep up the crafting!
 
Last edited:
dr_tetrode

Active Member
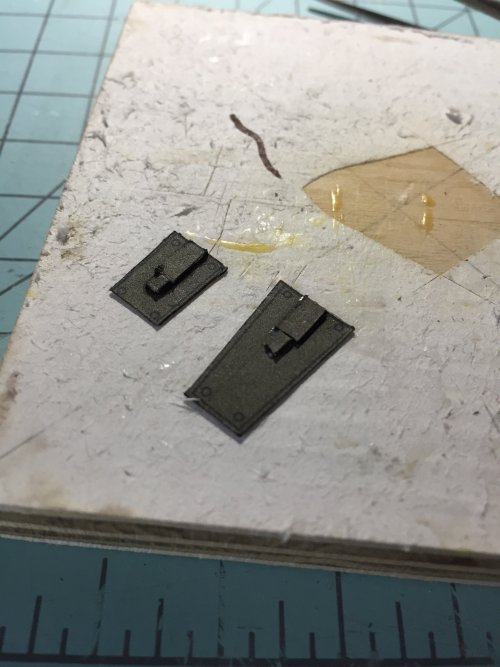
Finalizing the cockpit with greebles and armor plates.
IMG_3109.JPG IMG_3110.JPG IMG_3111.JPG

IMG_3112.JPG IMG_3113.JPG


All sub assemblies ready to go together.

IMG_3114.JPG

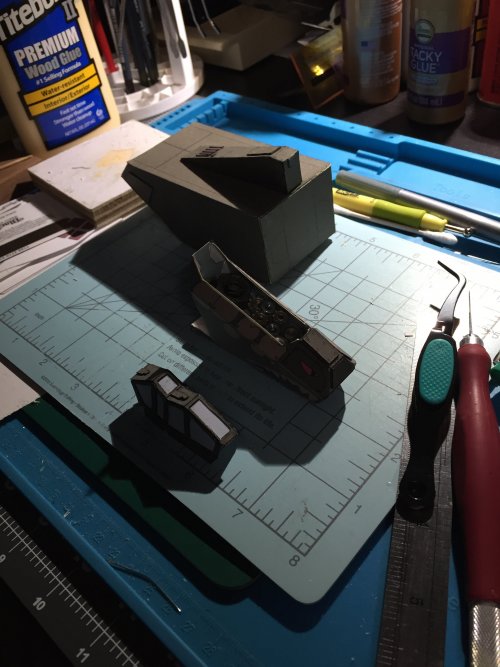
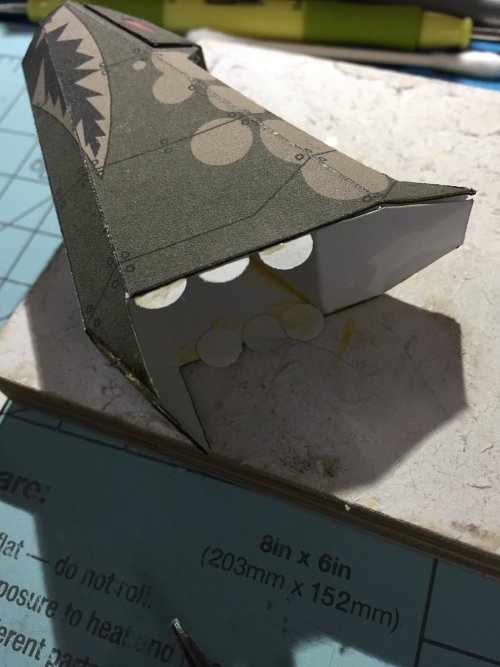
A new technique for me, see in other posts on this forum [https://www.zealot.com/threads/this-idea-has-some-serious-holes-in-it.181766/], using the circles from a hole punch to make tabs for putting things together. I thought I would try it, since that would be better than edge glue for these assemblies.
IMG_3116.JPG IMG_3117.JPG


Final assembly completed. I did find that method useful. I folded over the circles after they were glued inside the first piece, then applied glue and applied the piece. Seemed to work well. Be careful to not 'over' fold the circles, I went for about 45 degrees, so when pressed together the two pieces, the glue would be applied.
IMG_3117.JPG

So, what is the proper way to mention another post? I used the full URL. Is there a better way?

Keep crafting!

Scott
 
Top