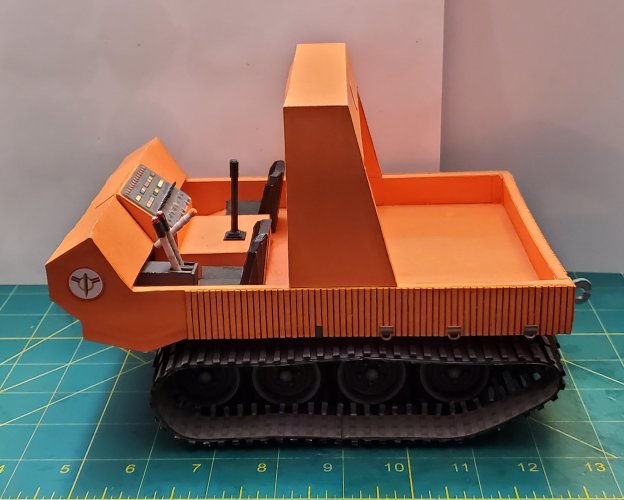
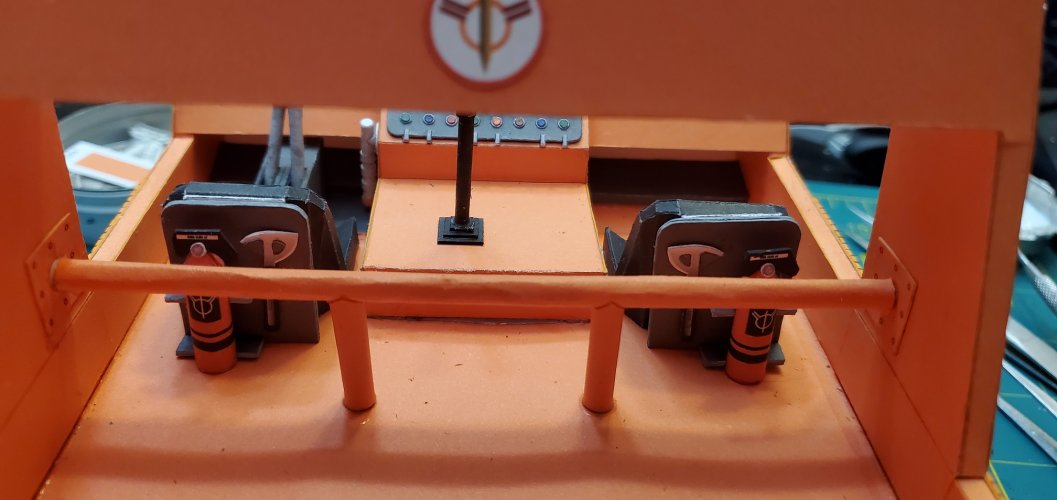
Battlestar Galactica Power Sled MK-II (& MED-SLED) in 1:18 scale

Rhaven Blaack

!!!THE MAN BEHIND THE CURTAIN!!!
Staff member
Administrator
Moderator
Jun 12, 2009
12,531
9,912
228
Oregon
www.deviantart.com
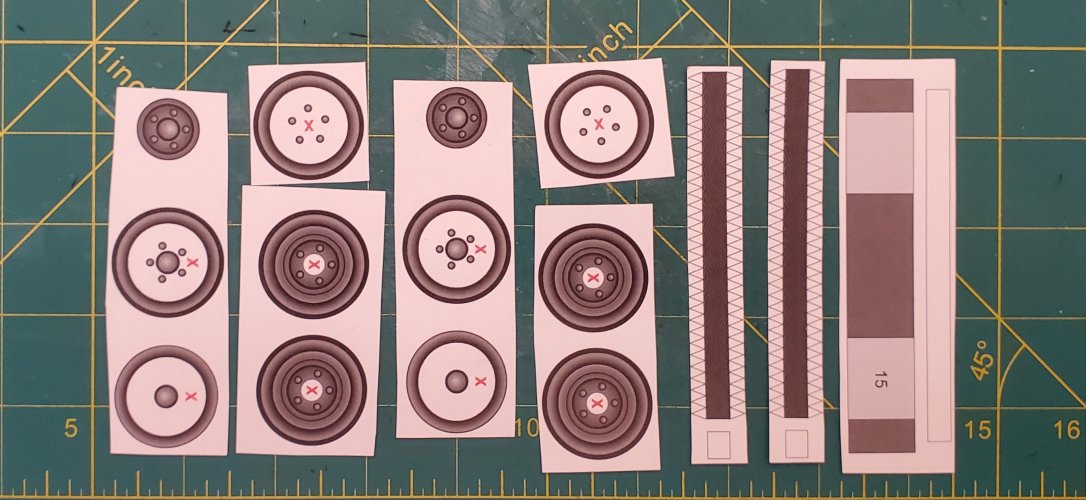
Moving on to the axles, bogie wheels, and drive wheel sprocket.
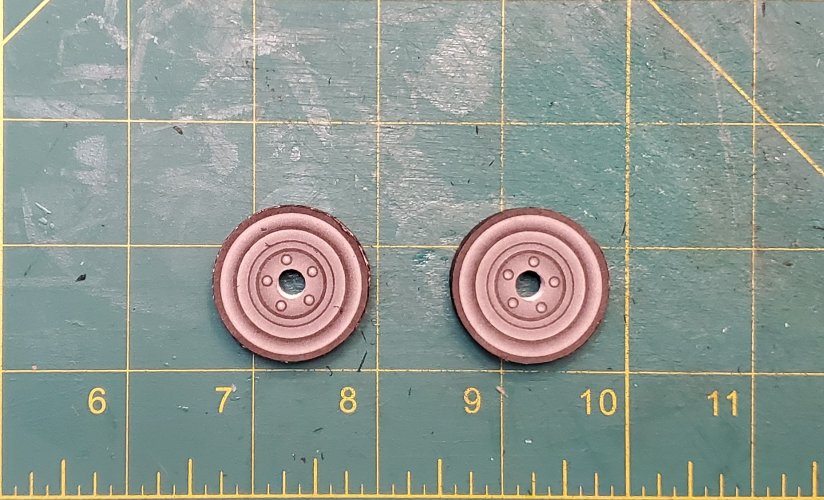
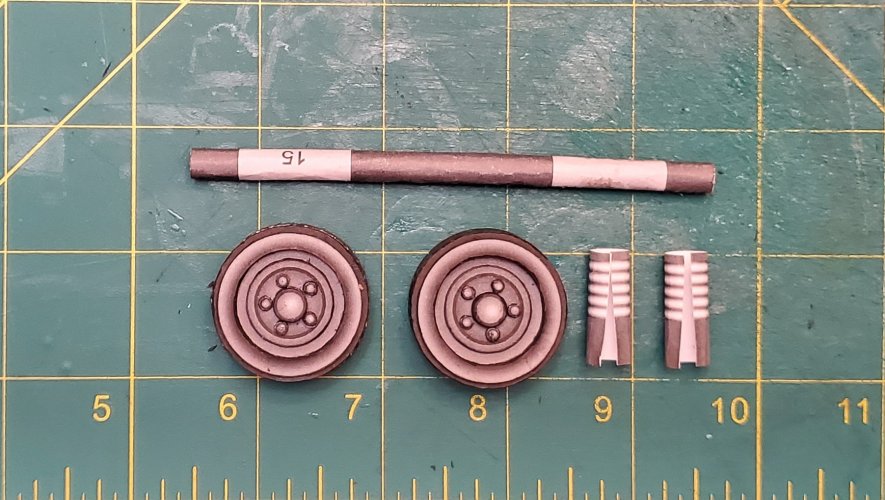
Here are the parts for the Bogie wheels.
20221020_120339.jpg

I assembled the bogie wheels.
20221020_160428.jpg

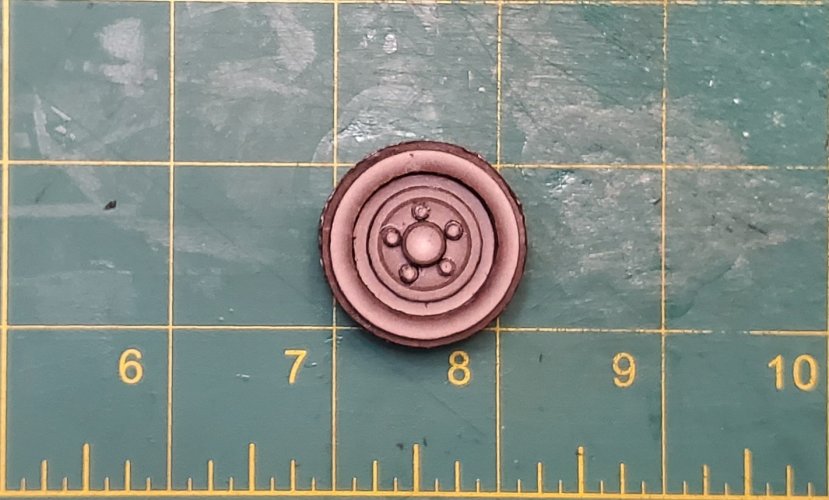
After laminating the detail parts for the bogie wheels to 1mm thick, I added them to the wheels.
20221020_172932.jpg

Moving on to the axles and spacers.
20221020_202120.jpg

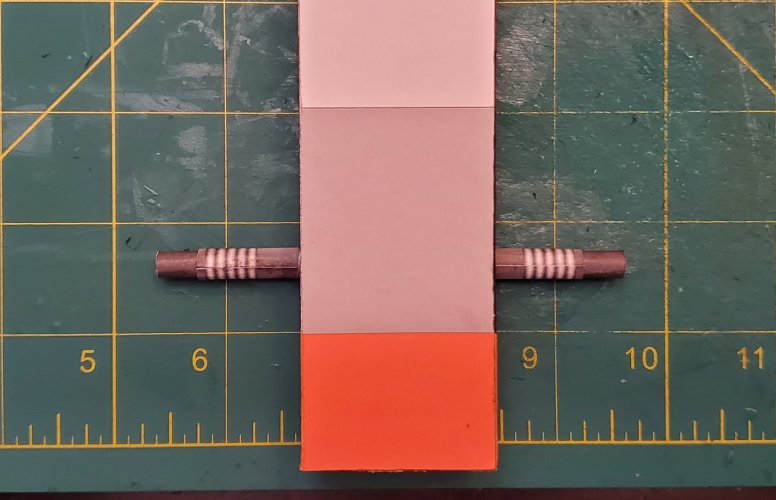
I formed the axles and attached the spacer to one side.
20221020_202618.jpg

*NOTE* Use a dowel that will fit just inside the the axle to help with putting the axle through the chassis.
20221020_203001.jpg

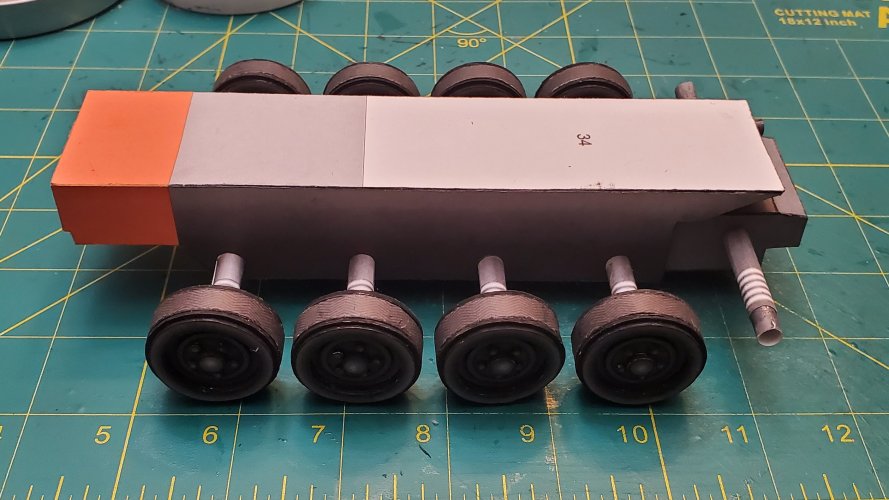
I attached the bogie wheels to the axle.
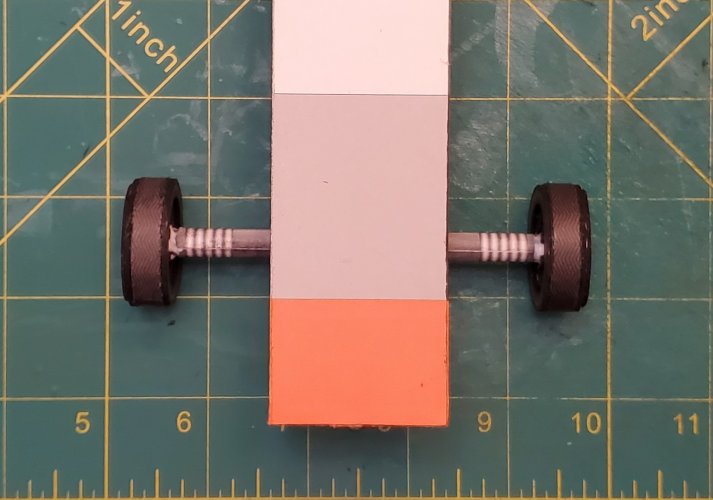
20221020_203246.jpg

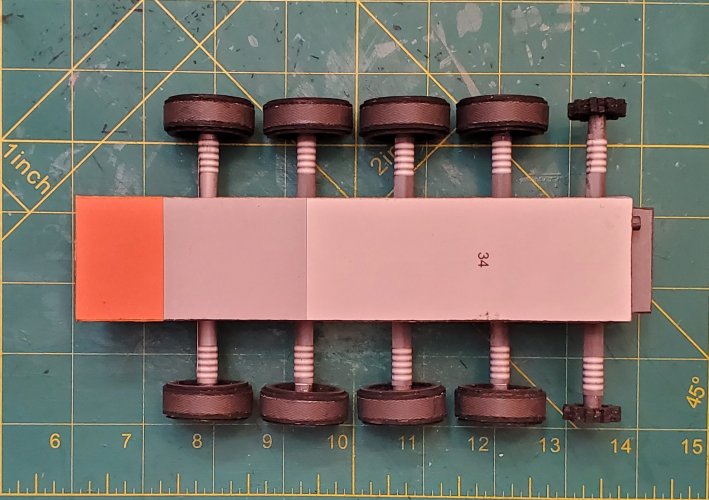
Adding the rest of the axles and bogie wheels.
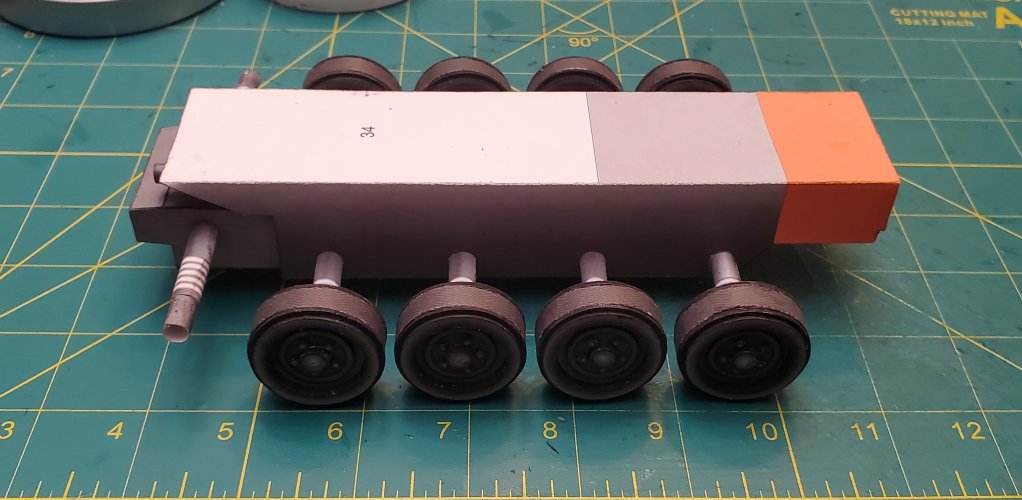
20221020_213313.jpg

20221020_213329.jpg

Next is the drive wheel sprocket.
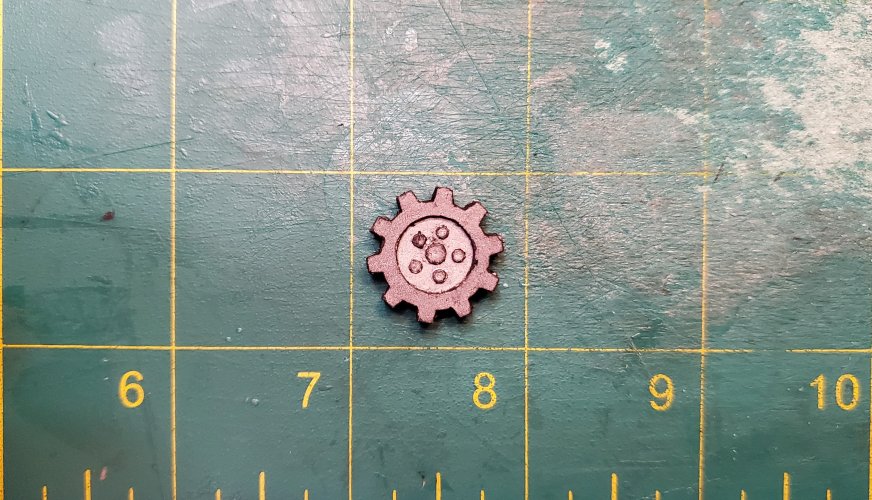
Here are the parts for the drive wheel sprocket. The main sprocket parts are laminated to 1mm. thick.
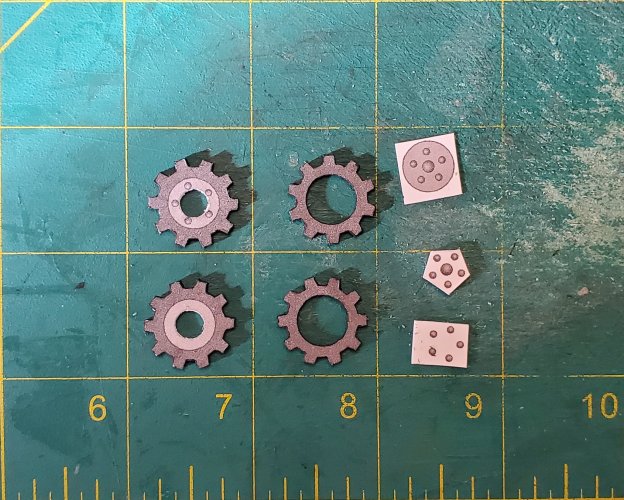
20221201_100447.jpg

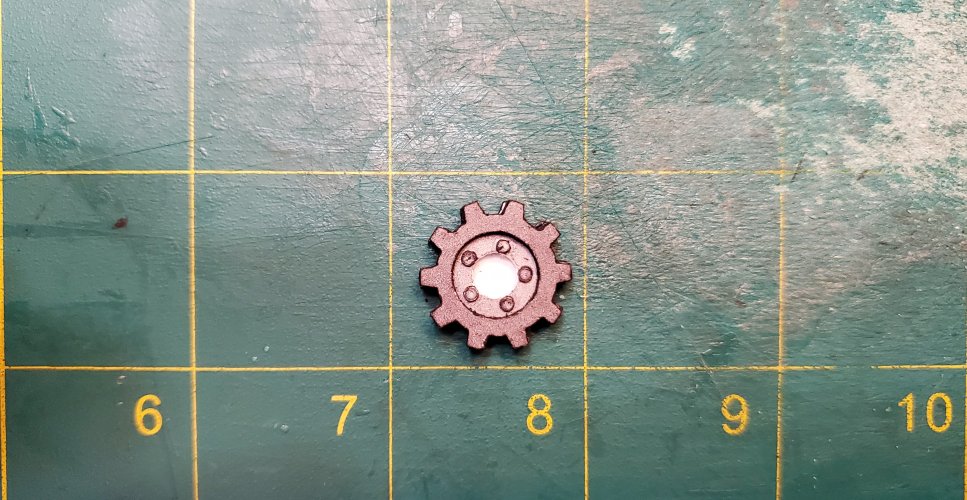
Assembling the sprocket is easy. Just laminate the parts together
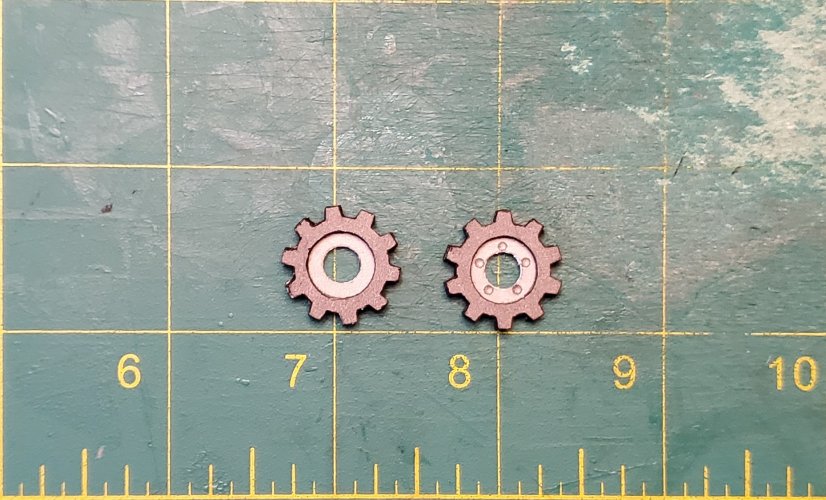
20221201_102415.jpg

Add the front plate and "bolts".
20221201_172158.jpg

Added the "bolts" to the other side.
20221201_172227.jpg

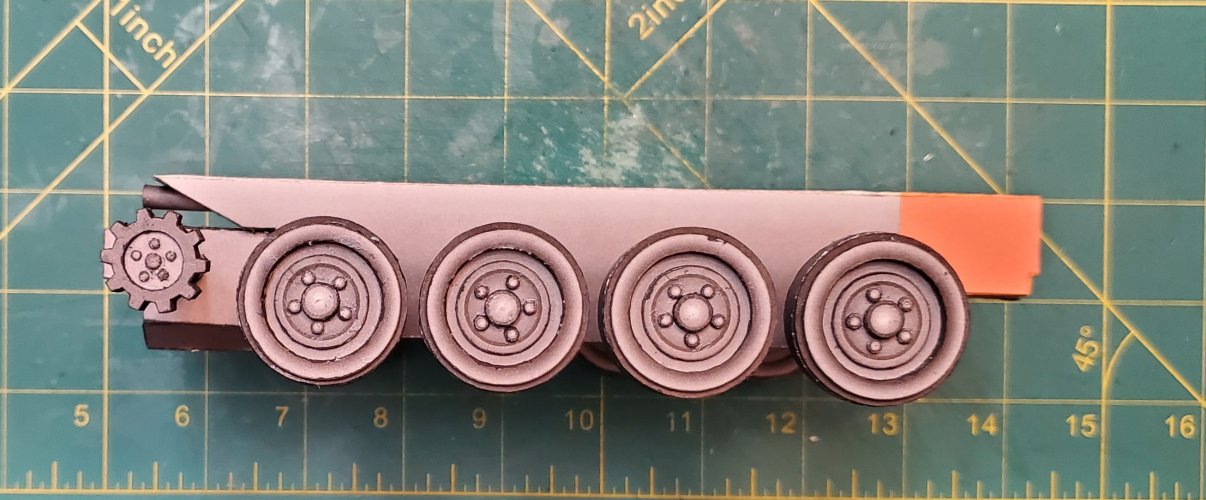
The drive wheel sprockets are attached.
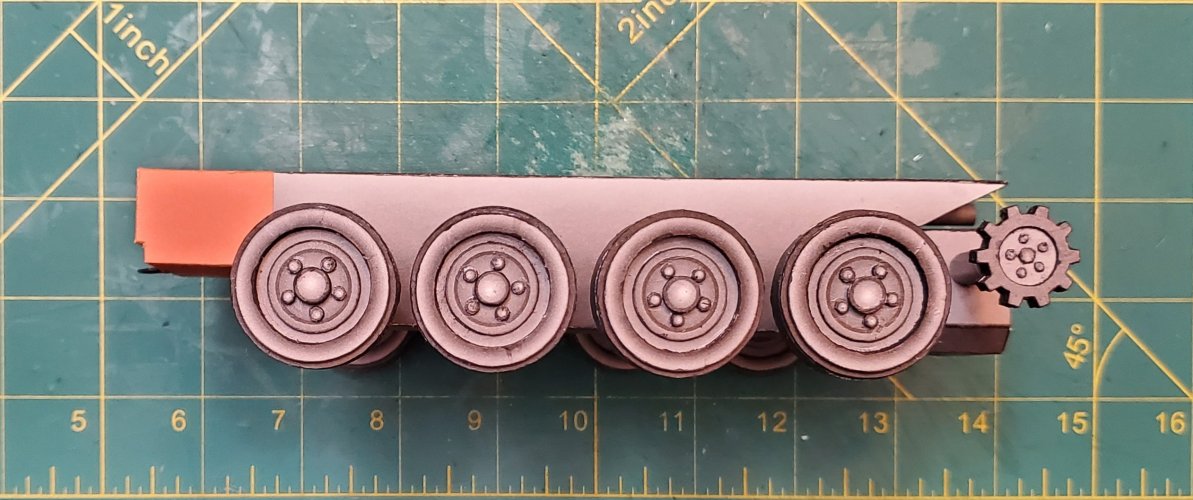
20221201_214351.jpg

20221201_214406.jpg

20221201_214322.jpg
 

Rhaven Blaack

!!!THE MAN BEHIND THE CURTAIN!!!
Staff member
Administrator
Moderator
Jun 12, 2009
12,531
9,912
228
Oregon
www.deviantart.com
Moving on to the track assembly. I know
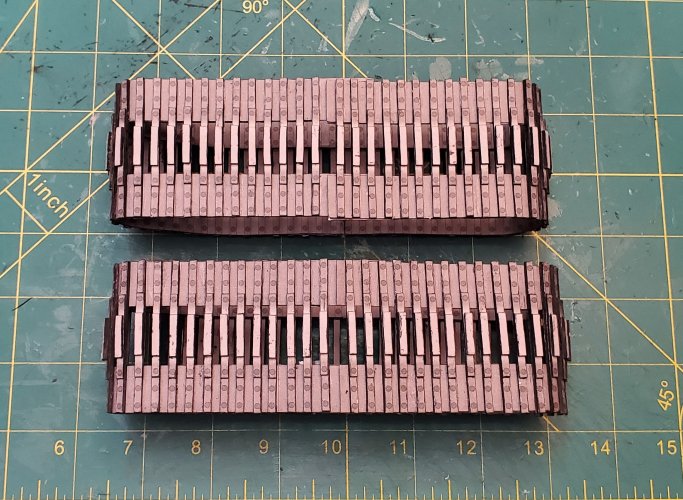
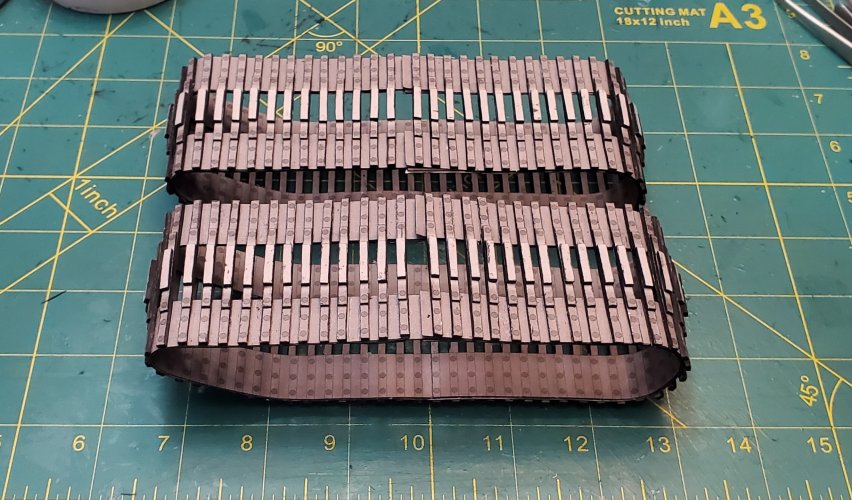
I know that in posts 11-13, I had assembled the tracks. However after careful review of the tracks, @Revell-Fan and I decided that we had made a mistake. There were not enough blades on the track. There are a total of 60 blades per track (120 in all).
The new tracks are completely assembled.
20221120_145824.jpg

20221120_145830.jpg

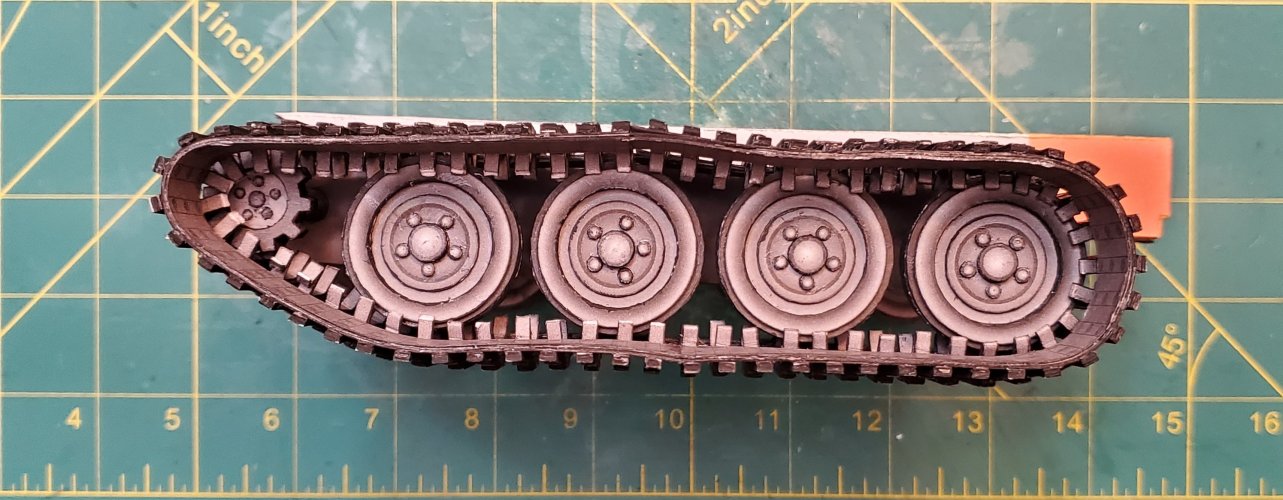
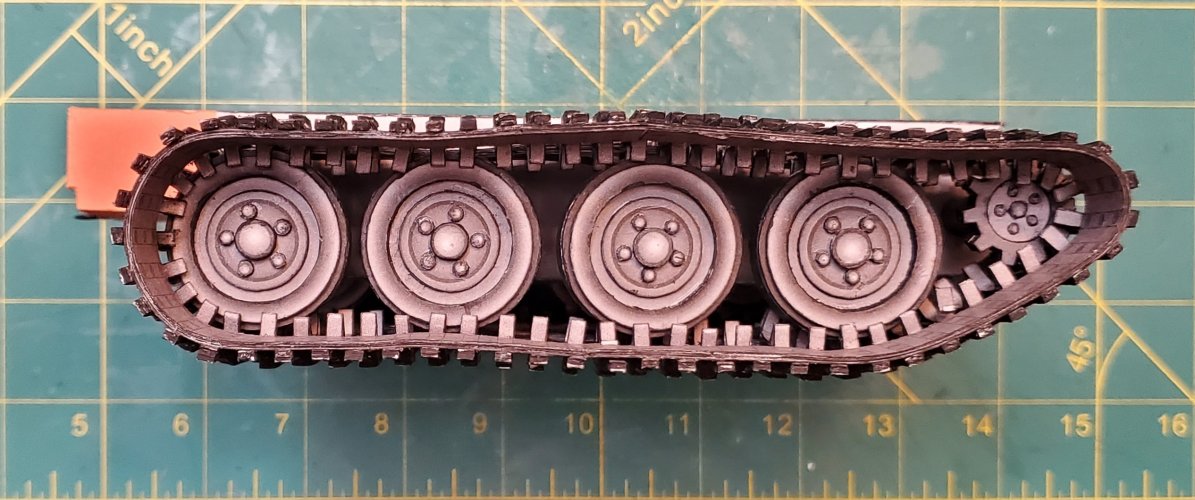
When wrapping the tracks around the bogie wheels and drive wheel sprocket, make certain that the sprocket teeth fit in between the blades.
20221201_215101.jpg

20221201_215257.jpg

20221201_215721.jpg

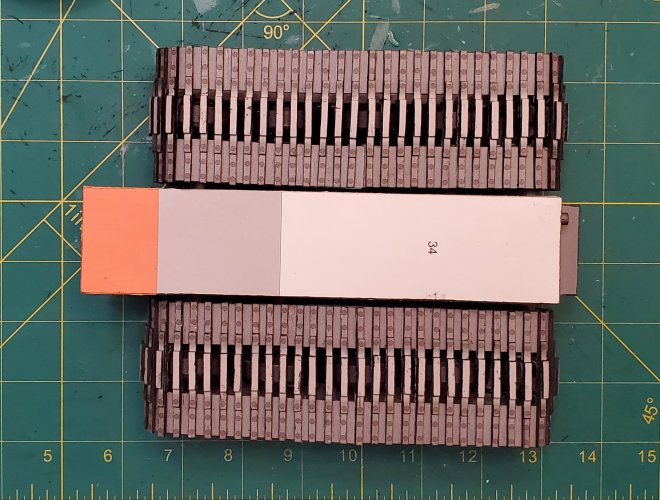
Both tracks are wrapped.
20221201_215739.jpg

Please stay tuned in to your local Colonial Broadcast Network for further updates and they happen.
 

Revell-Fan

Co-Administrator
Staff member
Administrator
Moderator
Aug 1, 2009
11,614
12,355
228
Vreden
ABSOLUTELY AMAZING!!! The revision paid off. I'm glad that the error of the too few bades was spotted just in time before the drivetrain was attached to the chassis. It might havebeen able to correct it even then but it would have been quite a bit more difficult not to mess up the rest of the vehicle. These threads are the best you have ever built. Your cuts are so precise and clean! I'm amazed at how nice the texture of the wheel fasteners 16 & 17 look. Even though they are flat pieces they look as if they have grooves in it like a screw. Keep up the great work!
:CHEERS:
 

Rhaven Blaack

!!!THE MAN BEHIND THE CURTAIN!!!
Staff member
Administrator
Moderator
Jun 12, 2009
12,531
9,912
228
Oregon
www.deviantart.com
ABSOLUTELY AMAZING!!! The revision paid off. I'm glad that the error of the too few bades was spotted just in time before the drivetrain was attached to the chassis. It might havebeen able to correct it even then but it would have been quite a bit more difficult not to mess up the rest of the vehicle. These threads are the best you have ever built. Your cuts are so precise and clean! I'm amazed at how nice the texture of the wheel fasteners 16 & 17 look. Even though they are flat pieces they look as if they have grooves in it like a screw. Keep up the great work!
:CHEERS:
Thank you sir!!!
I am enjoying this project!!!
 
  • Like
Reactions: Revell-Fan

Rhaven Blaack

!!!THE MAN BEHIND THE CURTAIN!!!
Staff member
Administrator
Moderator
Jun 12, 2009
12,531
9,912
228
Oregon
www.deviantart.com
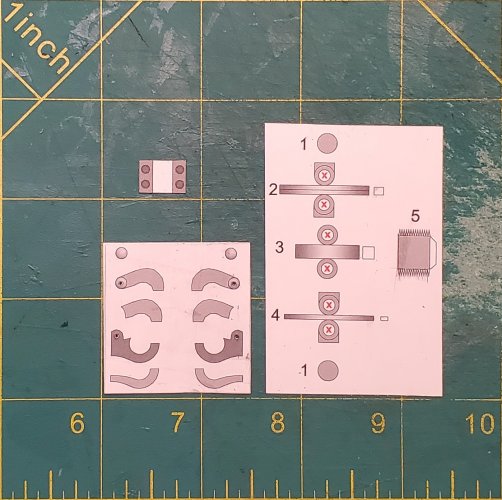
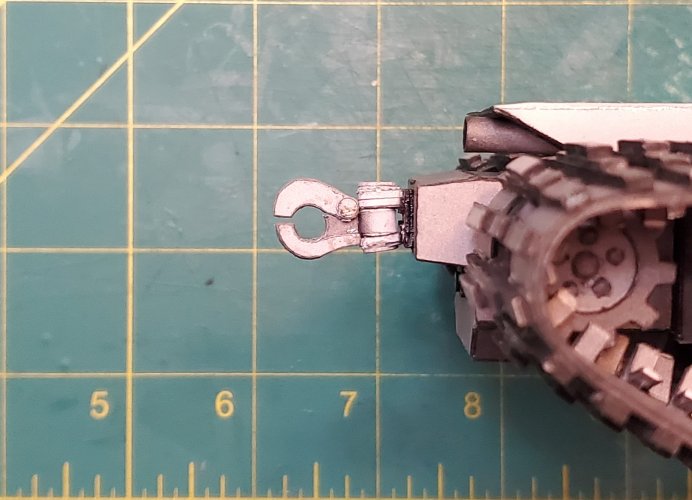
Moving on to the Tail Hitch.

Here are the parts for the Tail Hitch.
20221202_133601.jpg

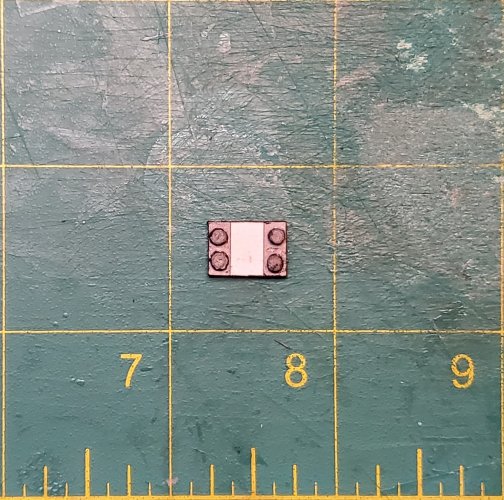
Starting with the mounting plate. I laminated the plate and "bolts" to 1mm each, and assembled accordingly.
20221202_135744.jpg

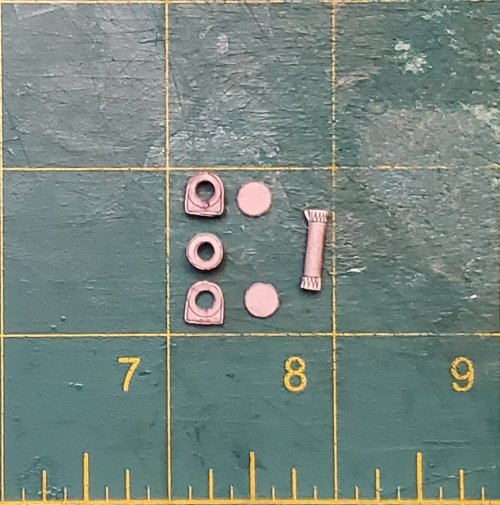
The parts for the pivot hinge.
20221202_153626.jpg

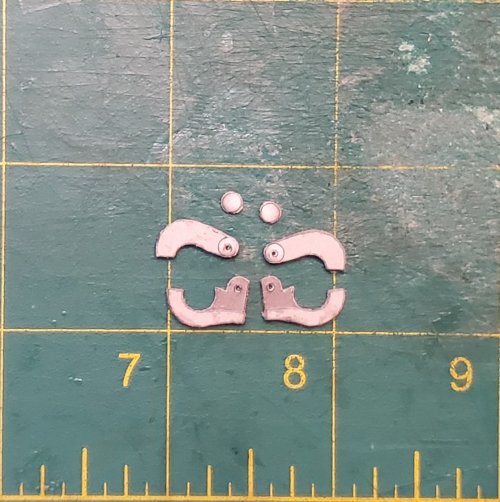
Here are the parts for the hitch claws. I laminated each part to 0.5mm thick.
20221202_162056.jpg

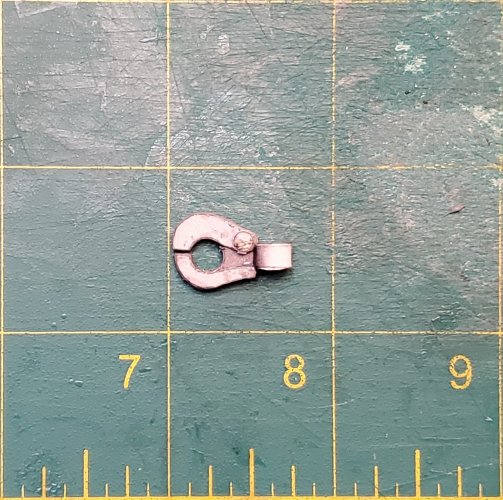
The hitch claw is assembled and attached to the center piece of the pivot hinge.
20221202_165537.jpg

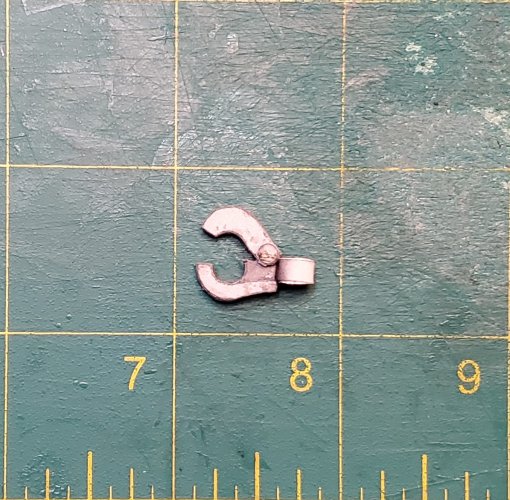
Yes, the claw opens.
20221202_165730.jpg

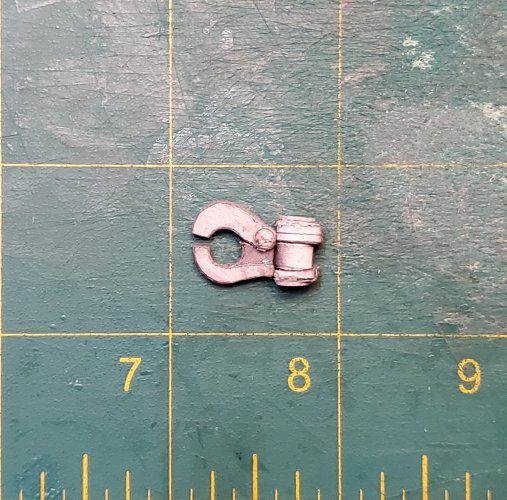
The pivot hinge is fully assembled.
20221202_170909.jpg

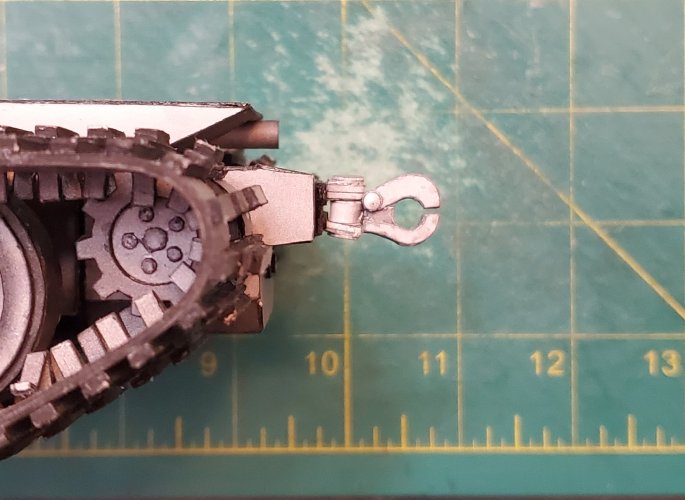
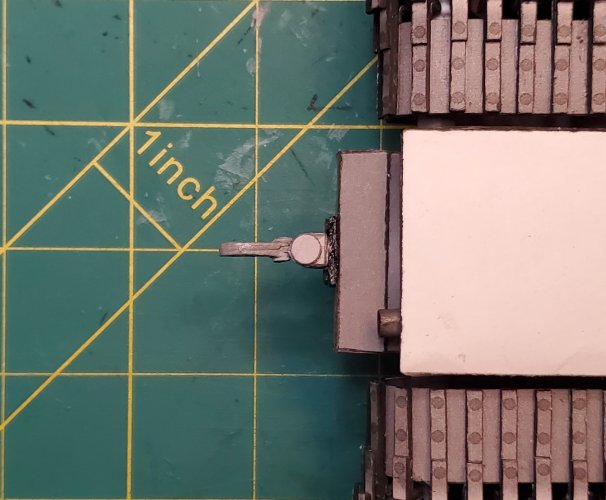
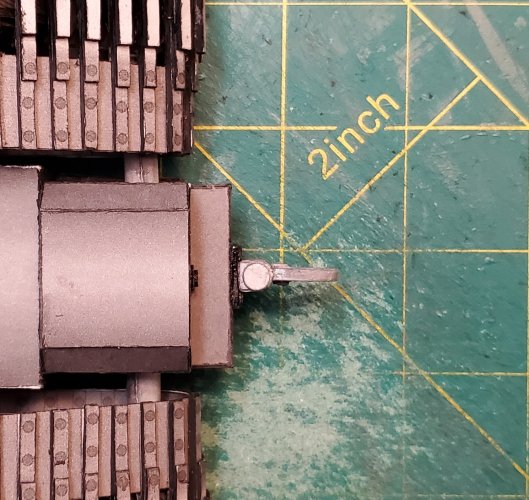
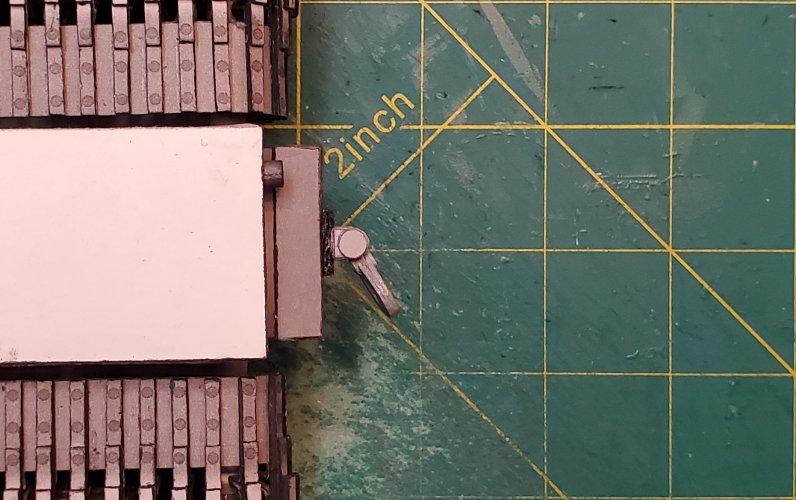
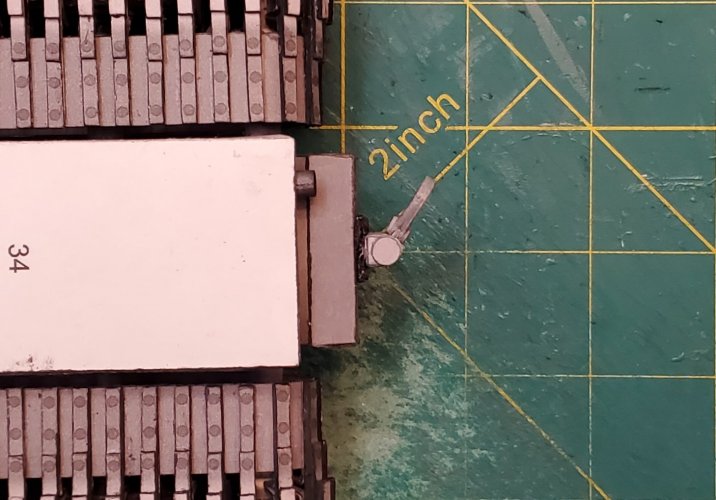
The hitch is attached to the mounting plate and attached to the chassis.
20221202_171501.jpg


20221202_171516.jpg


20221202_171533.jpg


20221202_171549.jpg

As you can see, the hitch can pivot from side to side.
20221202_171807.jpg


20221202_171820.jpg

Please stay tuned in to your local Colonial Broadcast Network for further updates and they happen.
 

Awry_Chaos

OKB-4155
Dec 22, 2020
1,228
1,572
95
49
Spokane, WA

Rhaven Blaack

!!!THE MAN BEHIND THE CURTAIN!!!
Staff member
Administrator
Moderator
Jun 12, 2009
12,531
9,912
228
Oregon
www.deviantart.com
that-is-not-all-dave-navarro.gif
 
Last edited:

Rhaven Blaack

!!!THE MAN BEHIND THE CURTAIN!!!
Staff member
Administrator
Moderator
Jun 12, 2009
12,531
9,912
228
Oregon
www.deviantart.com
Since this is designated as a "rescue/medical" vehicle, it needs equipment for such a job.
So, let us start out with a couple of fire axes and fire extinguishers.

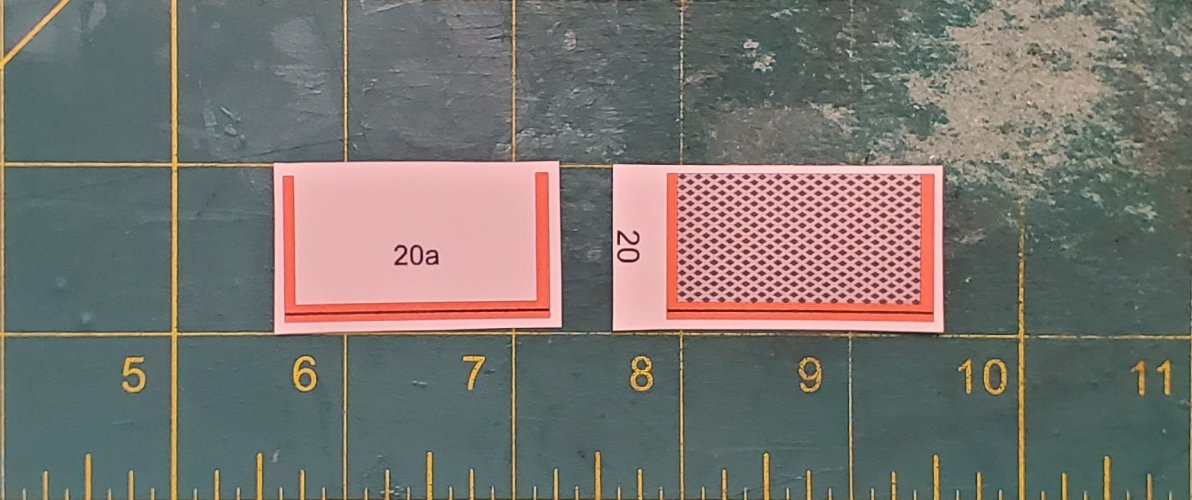
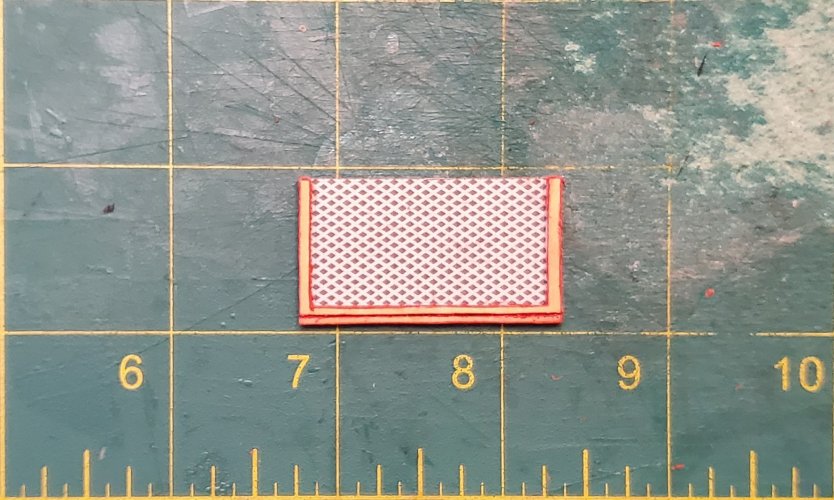
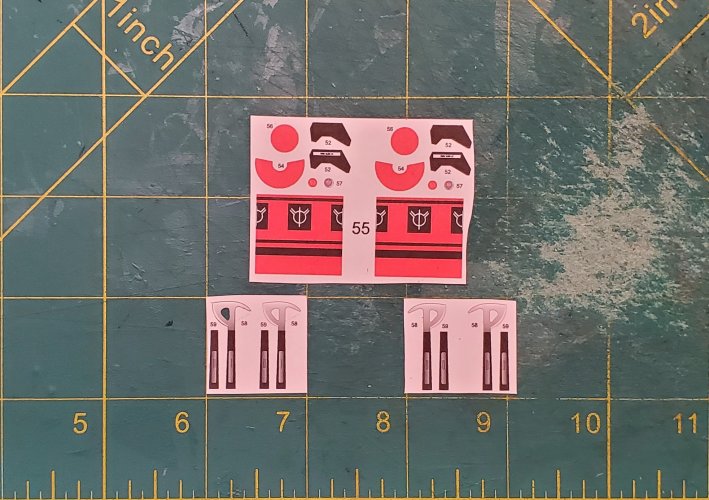
Here are the parts for the mounting brackets, plates, fire axes, and fire extinguishers.
20221203_134350.jpg

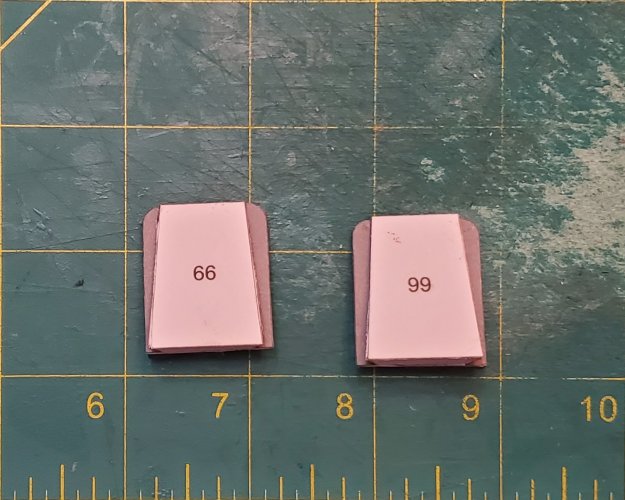
This "seat wedge" goes between the seats and the mounting plates for the equipment.
20221203_145137.jpg

These are the mounting plates for the equipment.
20221203_150850.jpg

The mounting plates are assembled.
20221203_160752.jpg

The mounting plates are attached to the seat wedges.
20221203_160921.jpg

Here are the parts fort the fire axes and fire extinguishers.
20221203_172949.jpg

The fire axes and fire extinguishers are ready to be mounted in place.
20221204_000255.jpg

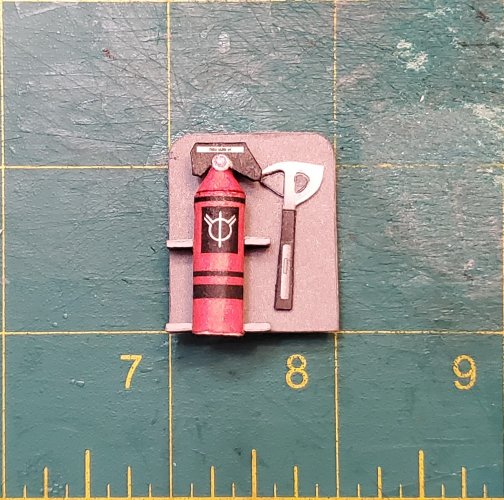
The fire axe and fire extinguisher (basically) "pop" into place.
(*NOTE* If you cute the parts properly, the mounts are secure enough to hold both the fire axes and fire extinguishers without the need for glue.)
20221204_000536.jpg

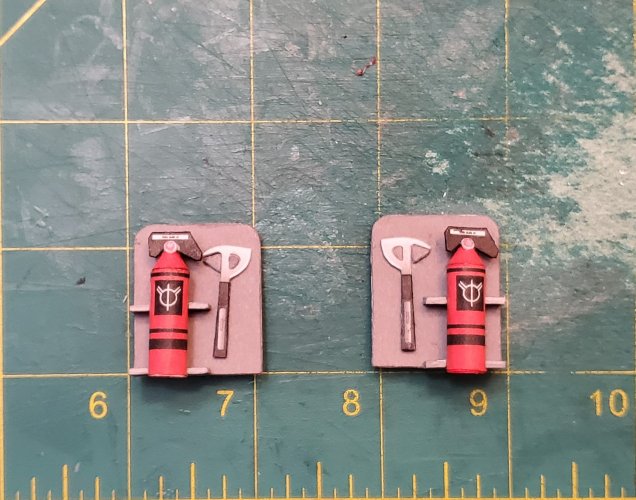
Both are finished.
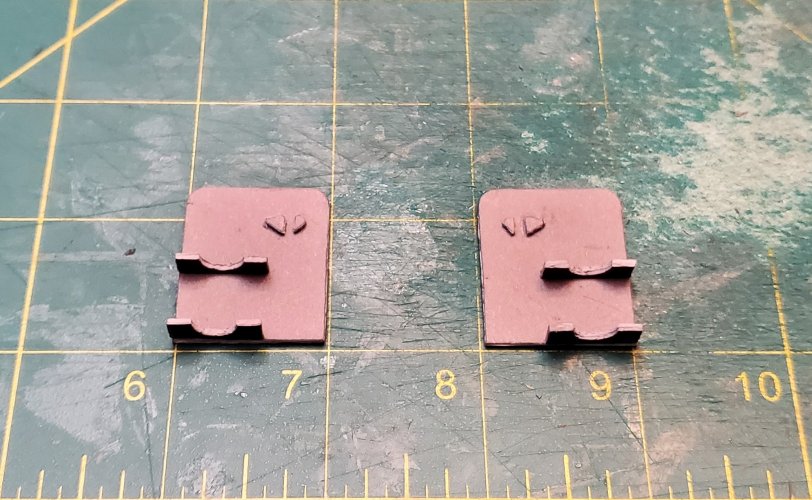
20221204_000635.jpg

I have put them in place to show where they go.
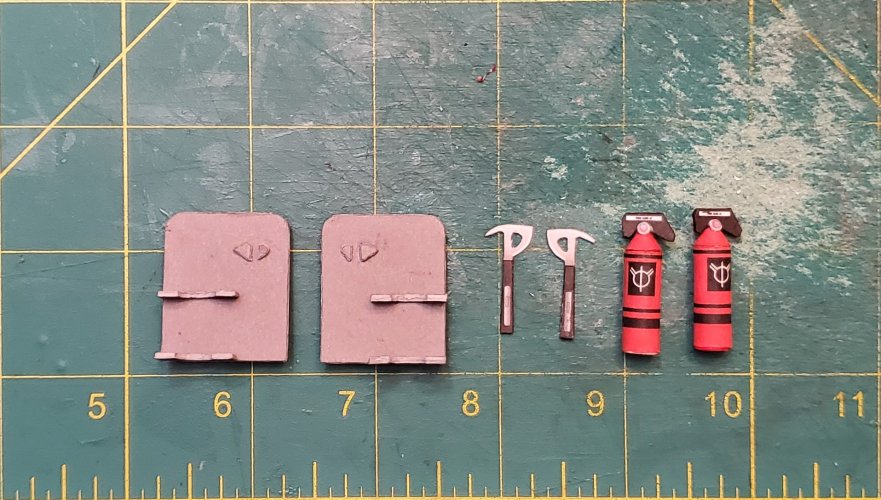
However, I have not glued them in place yes, I still have more to do.
20221204_093514.jpg
Please stay tuned in to your local Colonial Broadcast Network for further updates and they happen.