Battlestar Galactica Power Sled MK-II (& MED-SLED) in 1:18 scale
- Thread starter Rhaven Blaack
- Start date
You are using an out of date browser. It may not display this or other websites correctly.
You should upgrade or use an alternative browser.
You should upgrade or use an alternative browser.
YOU are the MAN!!!! Those flip switches are superb!
We figured that at this scale it is possible to do and necessary for the look. If it hadn't worked we would have skipped it. This and the superb tracks RB already built led to the decision to put all details into the standard release of the 1/18 version. The bad thing is that somehow I miscalculated the number of blades on the tracks. As a result the spaces between them were too wide and the sprocketed wheel did not fit. The revision will have nearly twice as many blades as before. The Landram also has too few blades which will be addressed.
- Apr 5, 2013
- 13,876
- 10,215
- 228
If you could cut up an old pair of nylons and paint the nylon squares onto the seat with clear paint, just enough to hold it on, the seats come out with a really great texture. 
That is an interesting technique. I may have to try my hand at that.If you could cut up an old pair of nylons and paint the nylon squares onto the seat with clear paint, just enough to hold it on, the seats come out with a really great texture.
Sure, why not!!!OH - shall we add seat belts???
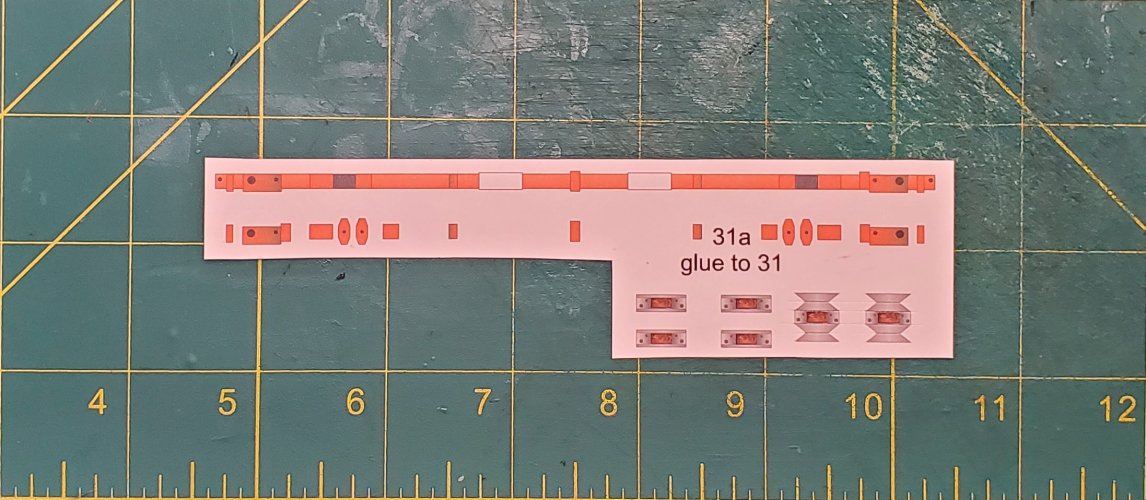
I have moved on to greebling the side panels of the Power Sled. The template provides extra components to add details and greebles.
Starting with the "ribs". The ribs are laminated to 0.5mm thick.
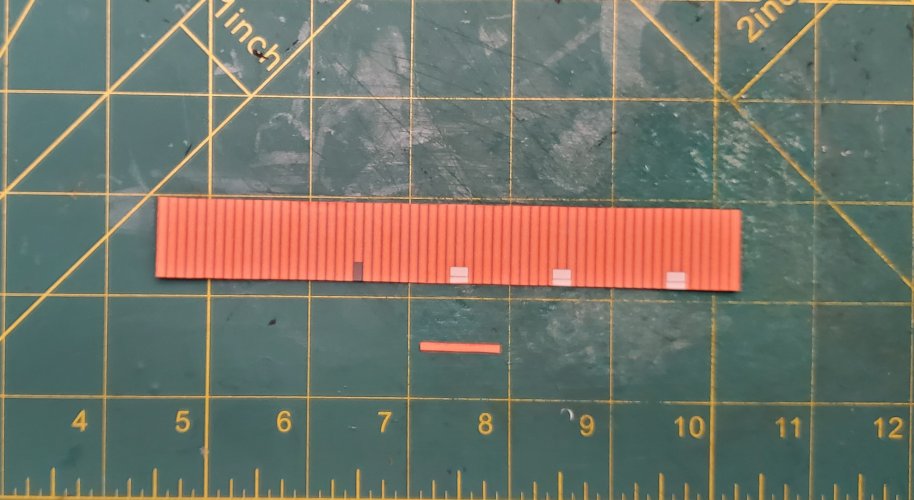
I cut each individual rib, painted the edges and applied them accordingly.

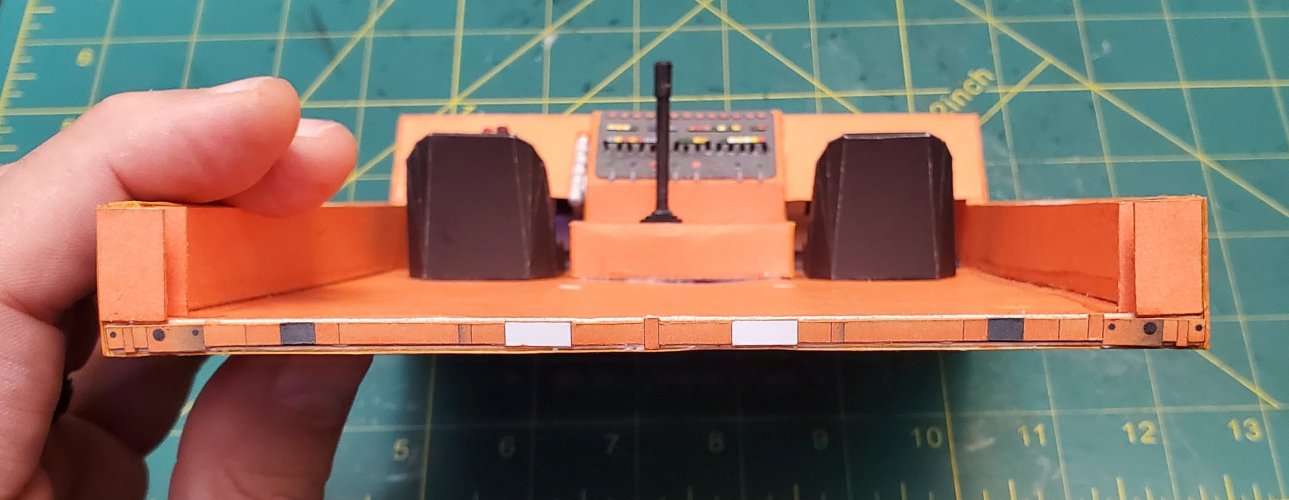
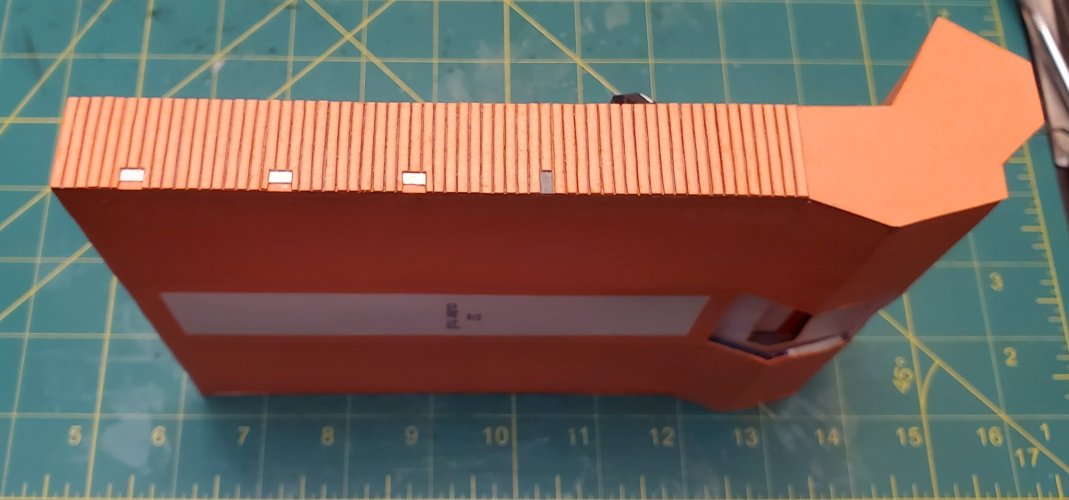
The ribs are applied.
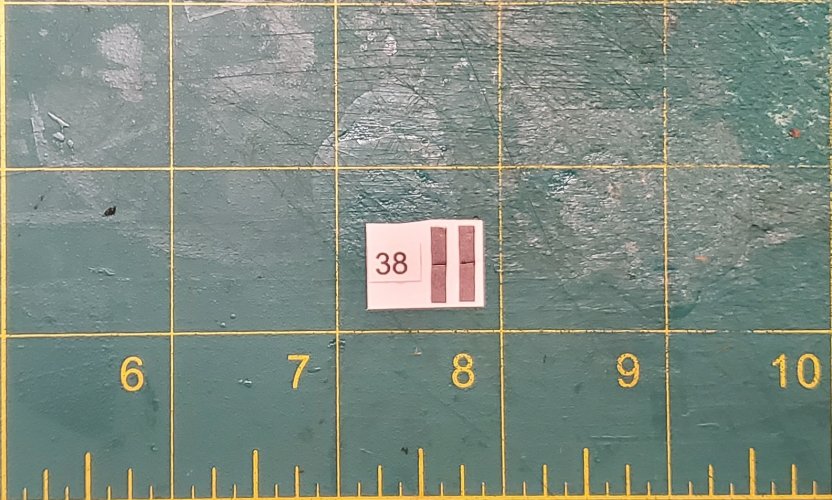
These are black brackets that goes on either side. I laminated the parts to 0.5mm
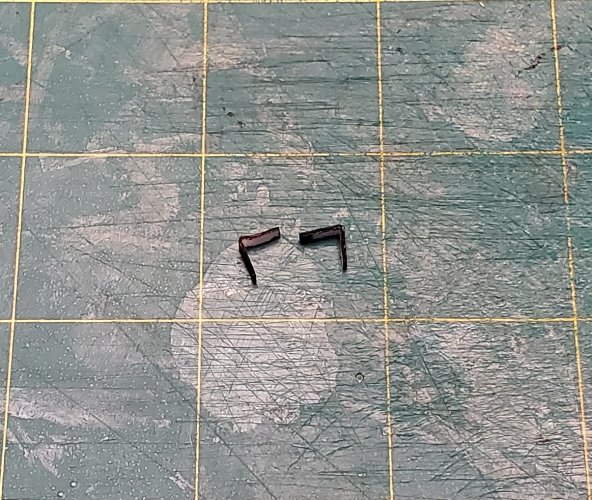
The brackets are preformed, before placement.
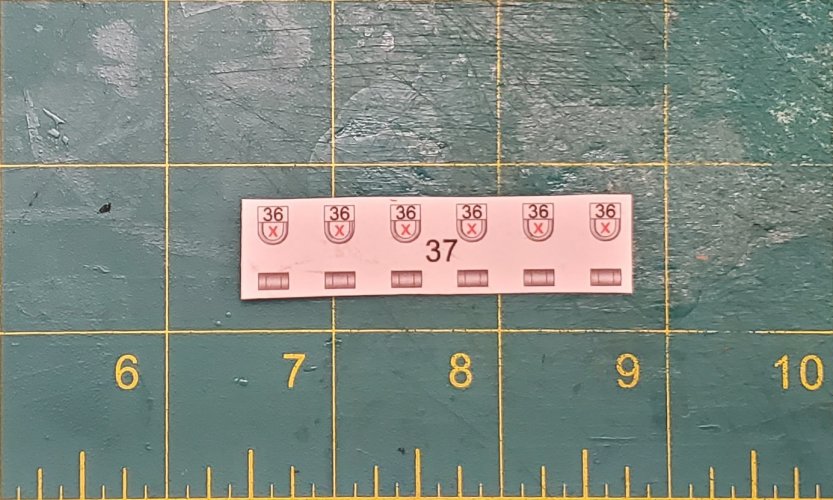
These are the parts for the "D" ring "tie-downs". The parts for the "D" rings are laminated to 0.5mm thick.
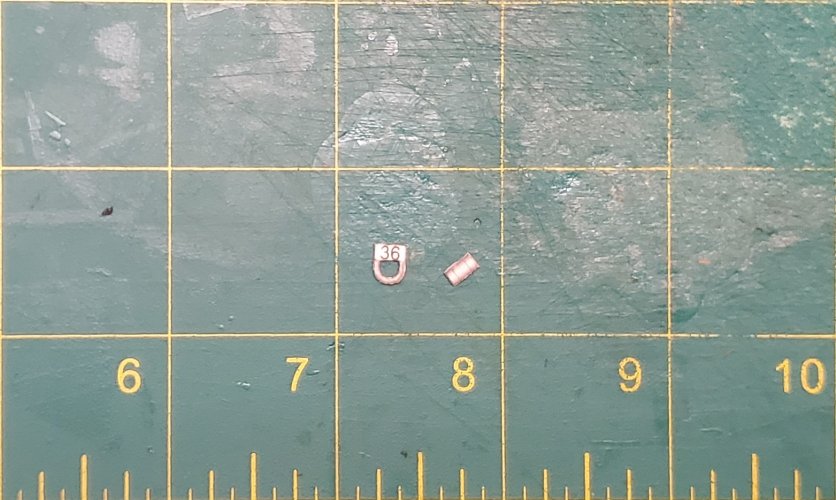
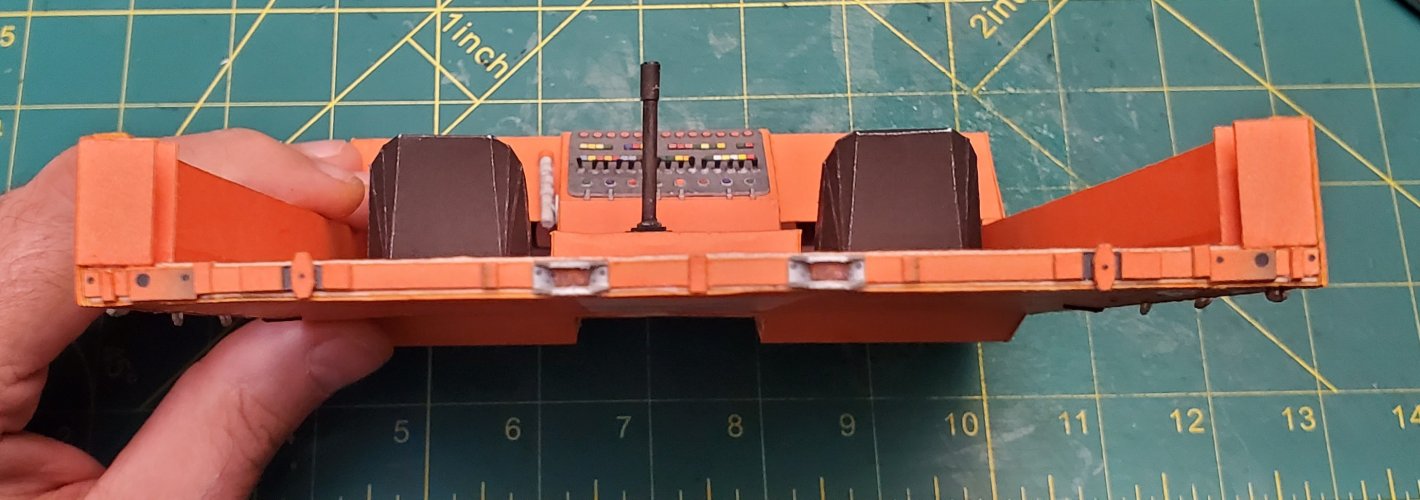
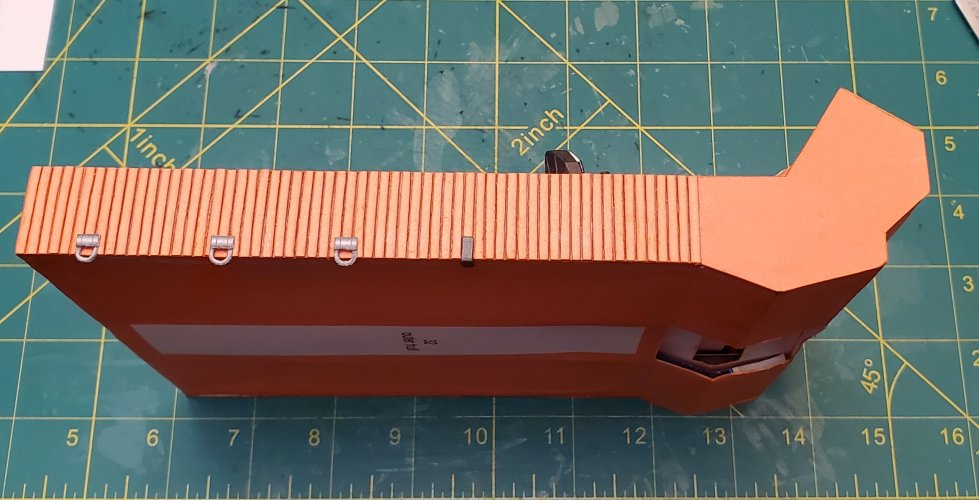
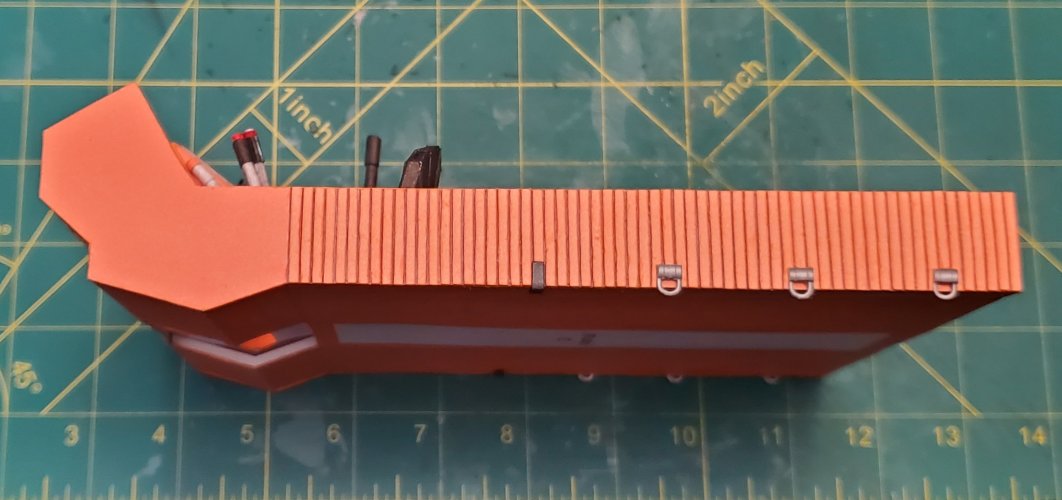
The "D" ring "tie-downs" and bracket are attached in place.

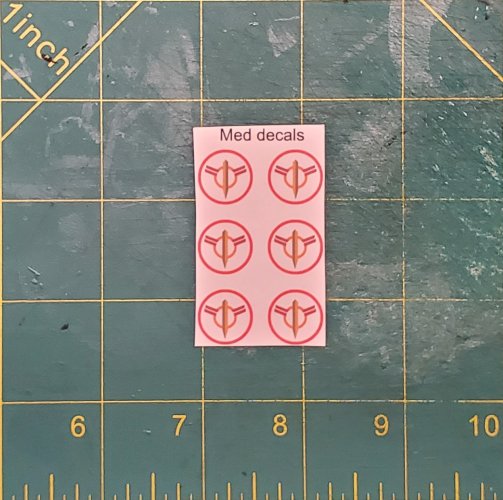
These are the Medical Logos.
The Medical Logos are attached in place.
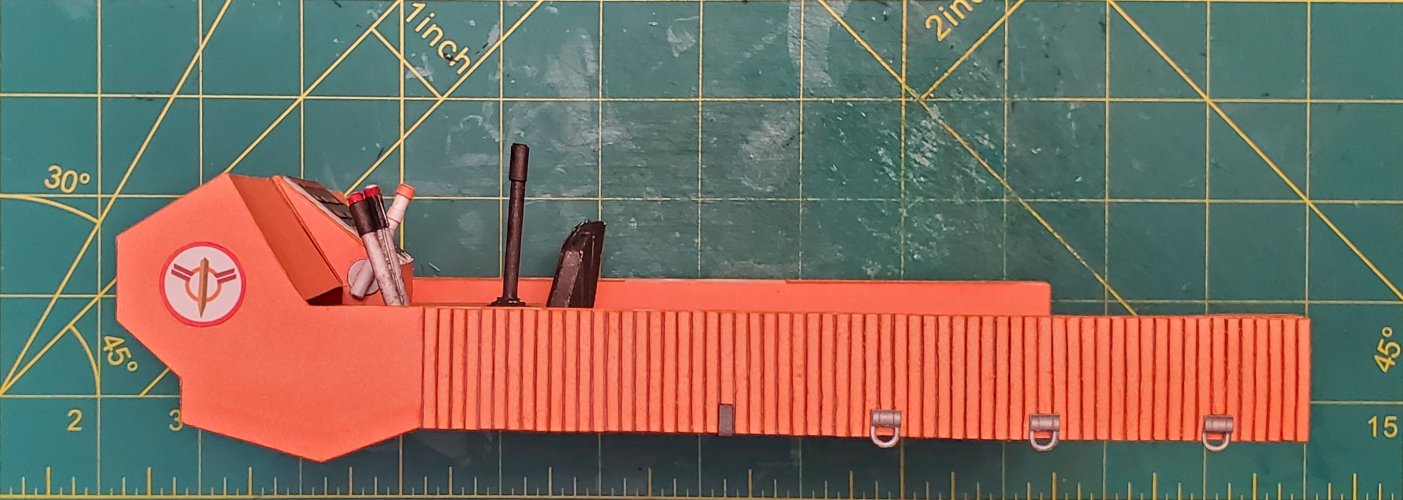

Please stay tuned in to your local Colonial Broadcast Network for further updates and they happen.
Starting with the "ribs". The ribs are laminated to 0.5mm thick.

I cut each individual rib, painted the edges and applied them accordingly.

The ribs are applied.

These are black brackets that goes on either side. I laminated the parts to 0.5mm

The brackets are preformed, before placement.

These are the parts for the "D" ring "tie-downs". The parts for the "D" rings are laminated to 0.5mm thick.


The "D" ring "tie-downs" and bracket are attached in place.


These are the Medical Logos.

The Medical Logos are attached in place.


Please stay tuned in to your local Colonial Broadcast Network for further updates and they happen.
Thank you sir!!!Perfect! These enhancements bring the model to another level!
@Revell-Fan and I decided to add a tailgate.
Here are the parts for the tailgate.
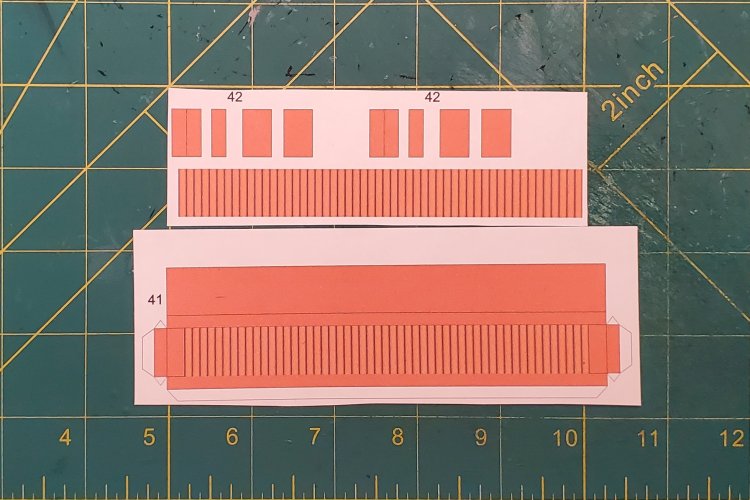
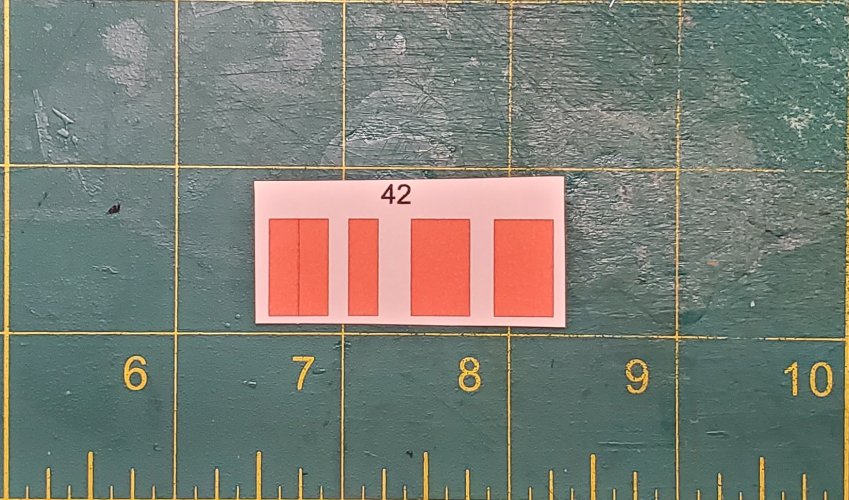
Starting with the tailgate brackets.
The brackets are assembled and formed.
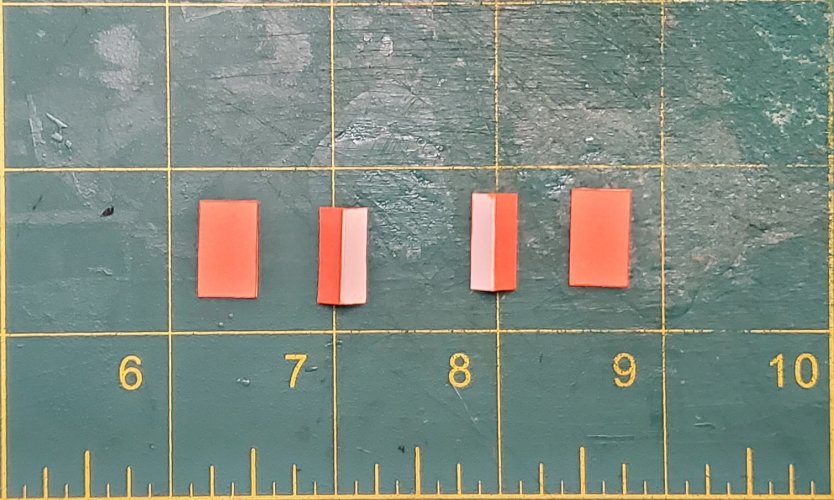
I attached the front plates first.
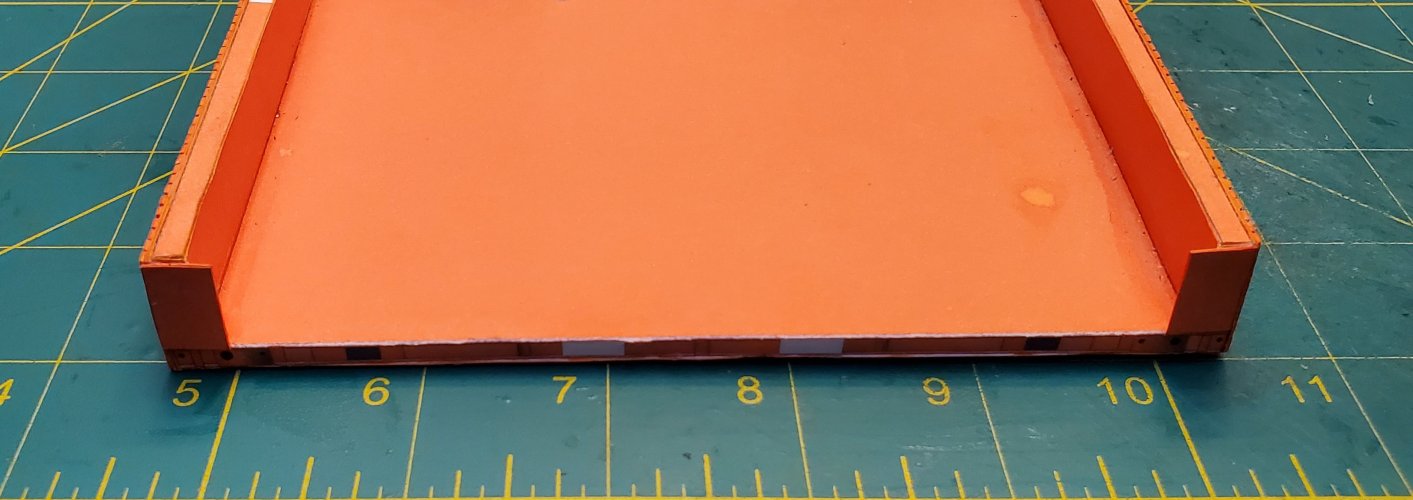
I help the gate in place and attached the back brackets.
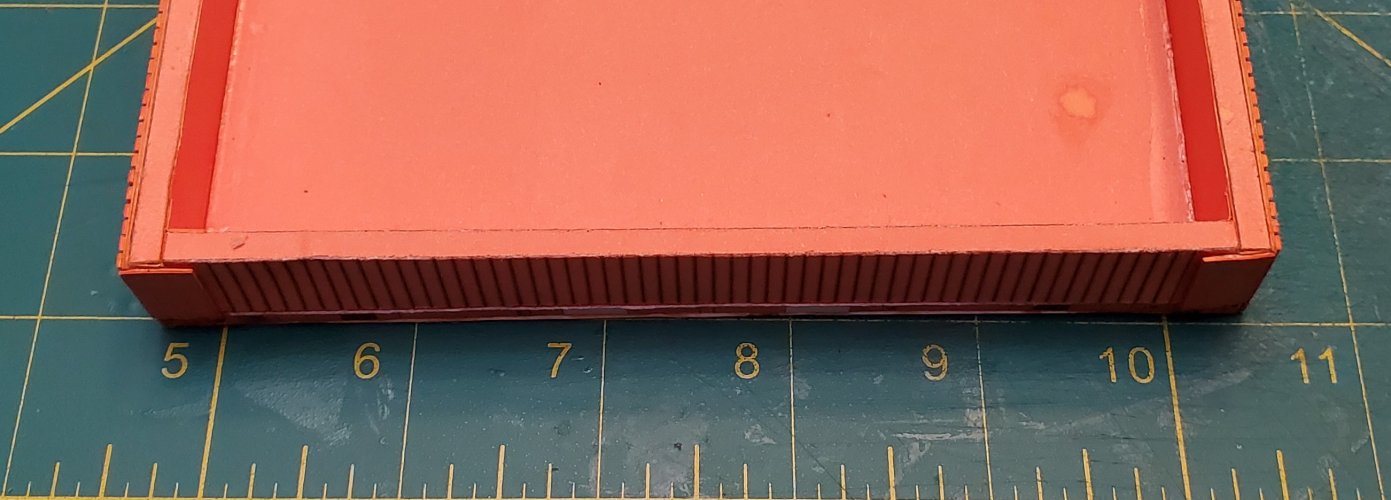
Both brackets are secured in place.
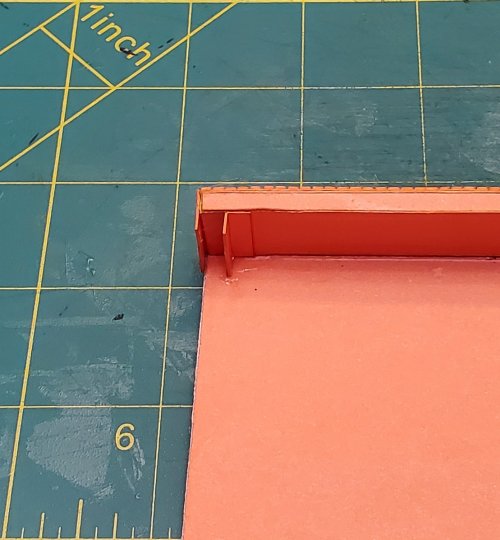
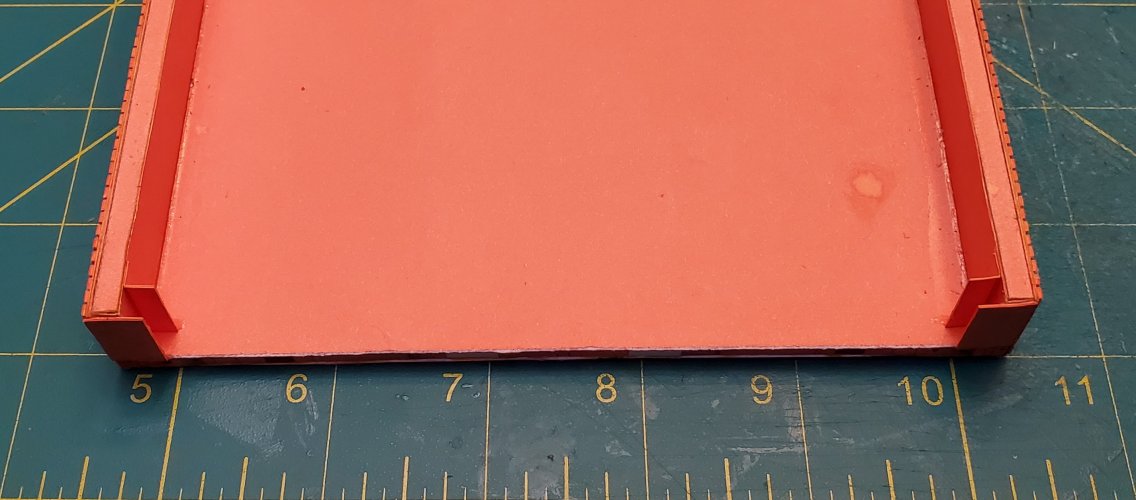
Time to add the ribs on the tailgate. I laminated the ribs to 0.5mm thick.
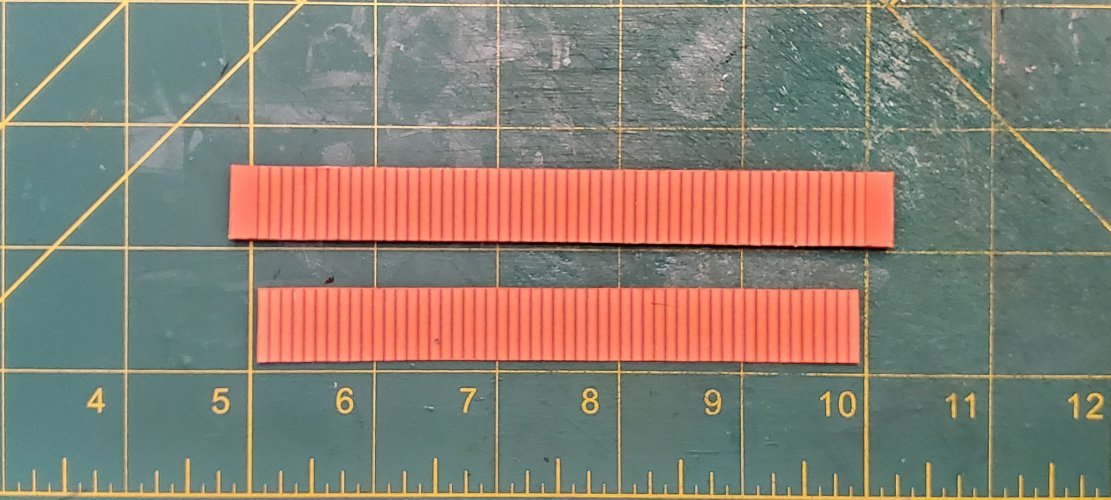
Attaching the ribs.

All of the ribs are attached to the tailgate.
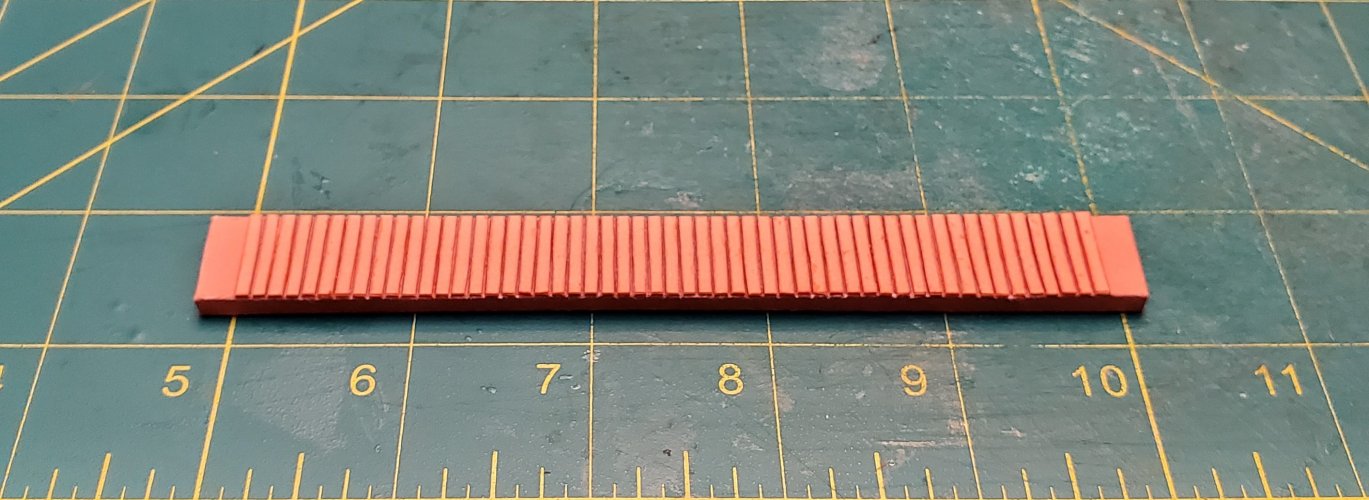
The tailgate is slid into the brackets.
(*NOTE* DO NOT GLUE the gate to the brackets or the bed of the Power Sled)!
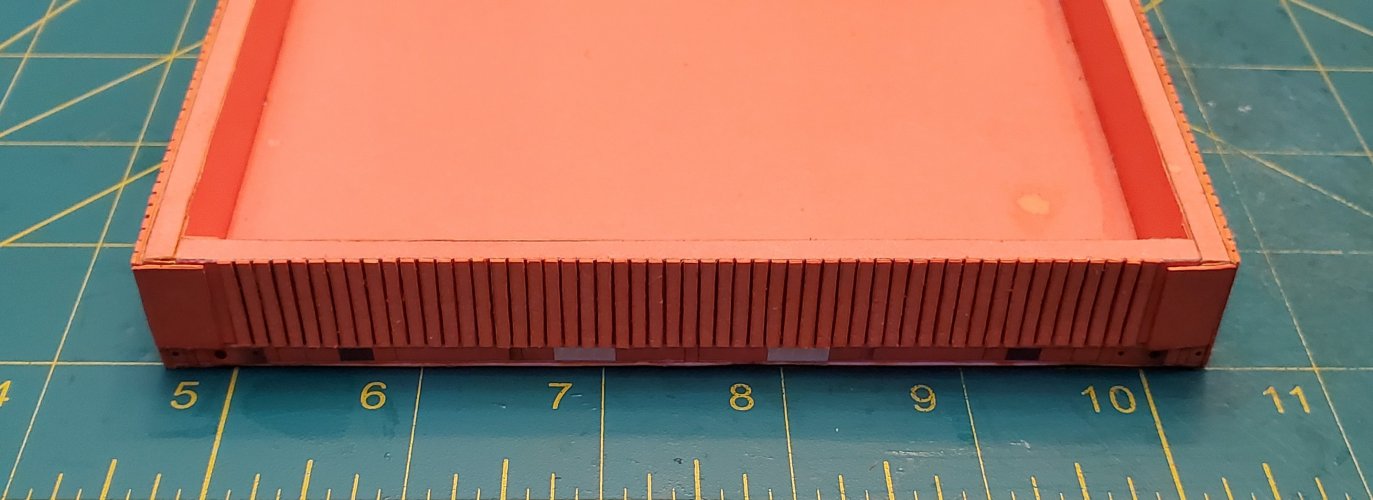
Please stay tuned in to your local Colonial Broadcast Network for further updates and they happen.
Here are the parts for the tailgate.

Starting with the tailgate brackets.

The brackets are assembled and formed.

I attached the front plates first.

I help the gate in place and attached the back brackets.

Both brackets are secured in place.


Time to add the ribs on the tailgate. I laminated the ribs to 0.5mm thick.

Attaching the ribs.

All of the ribs are attached to the tailgate.

The tailgate is slid into the brackets.
(*NOTE* DO NOT GLUE the gate to the brackets or the bed of the Power Sled)!

Please stay tuned in to your local Colonial Broadcast Network for further updates and they happen.
Moving on to the lightbar and railing.
Here are the parts for the lightbar and railing.
I laminated the internal formers to 2mm.
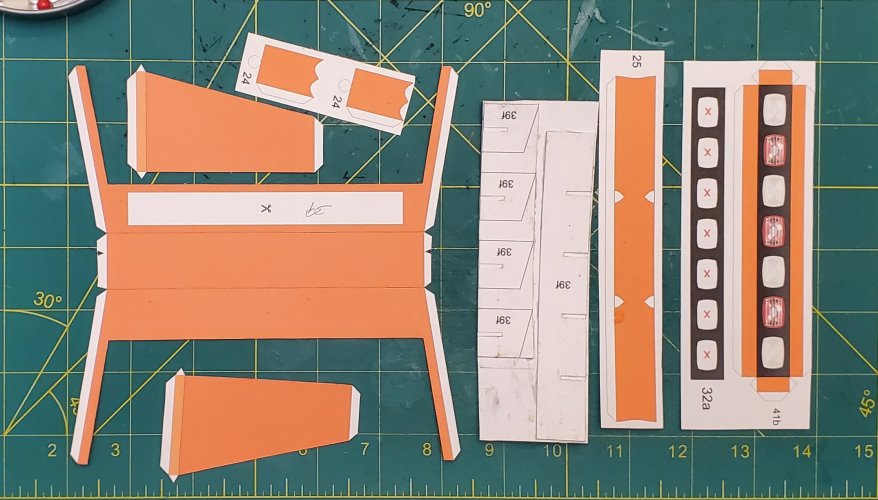
The internal formers are assembled.
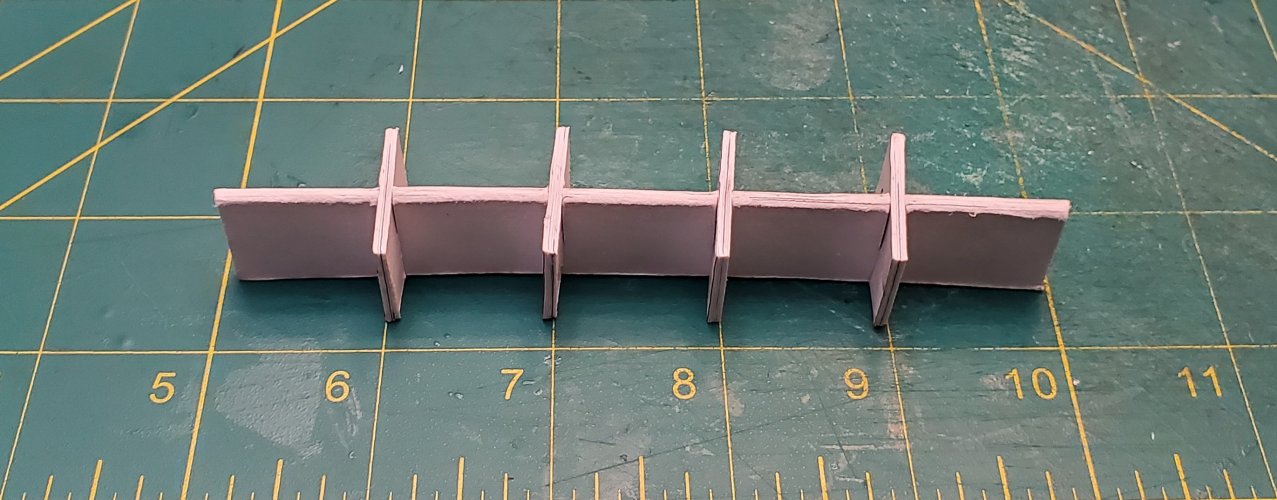
The lightbar is taking shape. I inset the formers inside the lightbar (behind the lights).

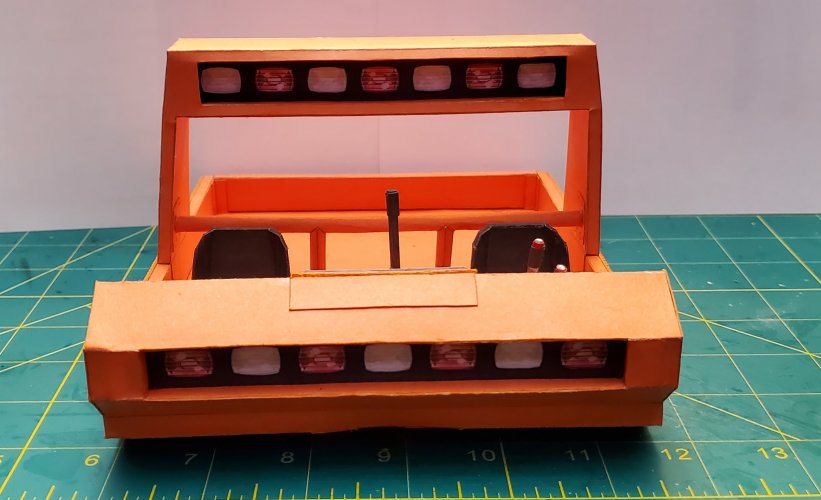
The lightbar is fully assembled.
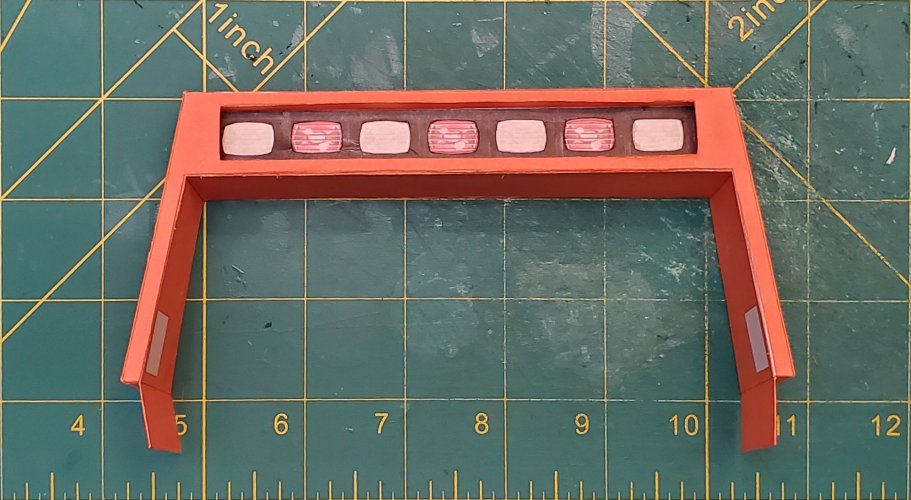
The railing is assembled.
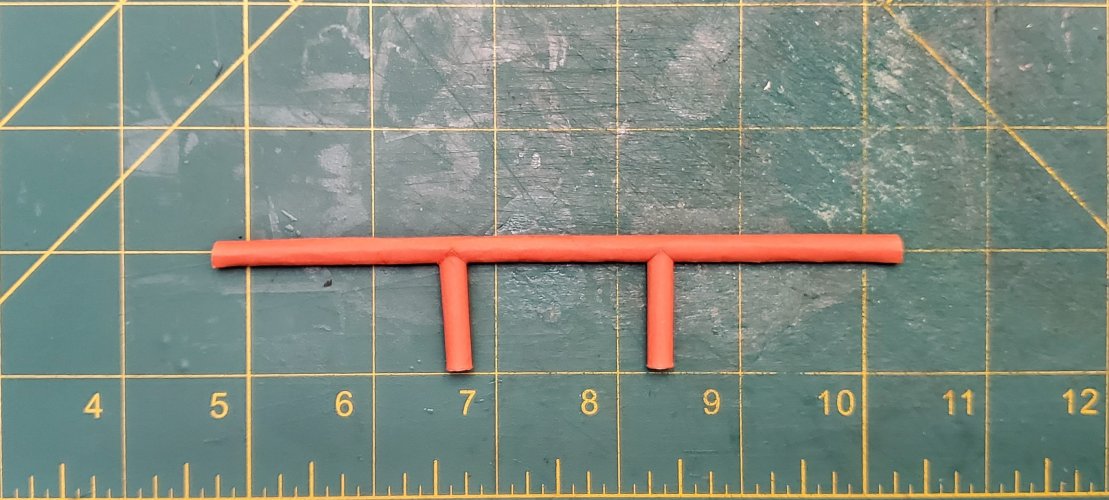
The lightbar is attached.
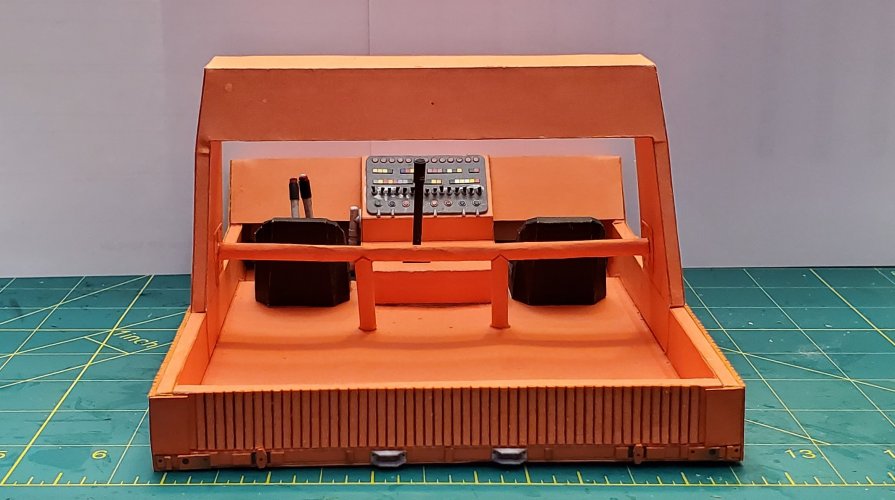
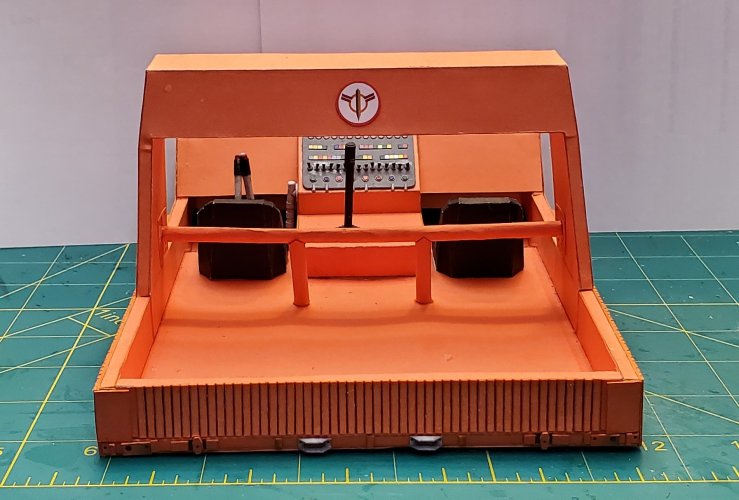
The railing is attached in place.
I attached the medical symbol.
Please stay tuned in to your local Colonial Broadcast Network for further updates and they happen.
Here are the parts for the lightbar and railing.
I laminated the internal formers to 2mm.

The internal formers are assembled.

The lightbar is taking shape. I inset the formers inside the lightbar (behind the lights).

The lightbar is fully assembled.

The railing is assembled.

The lightbar is attached.

The railing is attached in place.

I attached the medical symbol.

Please stay tuned in to your local Colonial Broadcast Network for further updates and they happen.
I am sorry that it has been quite awhile since made a post in this thread. There are two reasons why.
Take care for now!
Please stay tuned in to your local Colonial Broadcast Network for further updates and they happen.
- @Revell-Fan had to revise the tracks and a few other components (that are currenting being assembled).
- For the past four day, I have bee sick with the flu. I am doing better. However, I am still not 100%.
Take care for now!
Please stay tuned in to your local Colonial Broadcast Network for further updates and they happen.
Get well soon, buddy! 
And take your time, this is no race. I'm still busy with the other projects.
And take your time, this is no race. I'm still busy with the other projects.
Hello Ladies and gentlemen,
I am doing much better now (although, I am still not quite back to 100%). It is time for another update. This time, I am working on the chassis, drive box and track system. @Revell-Fan and I had to work out a few revisions on all of these components.
Starting with the chassis.
Here are the parts for the internal formers. These are laminated to 1mm thick.
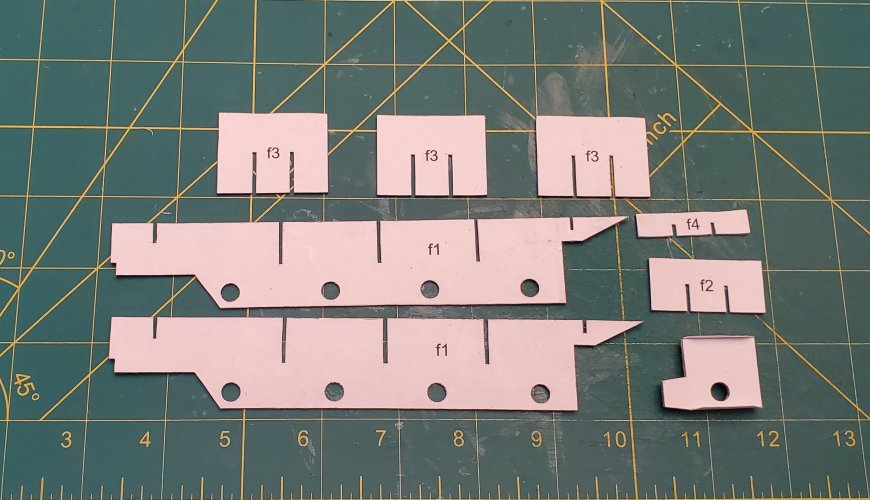
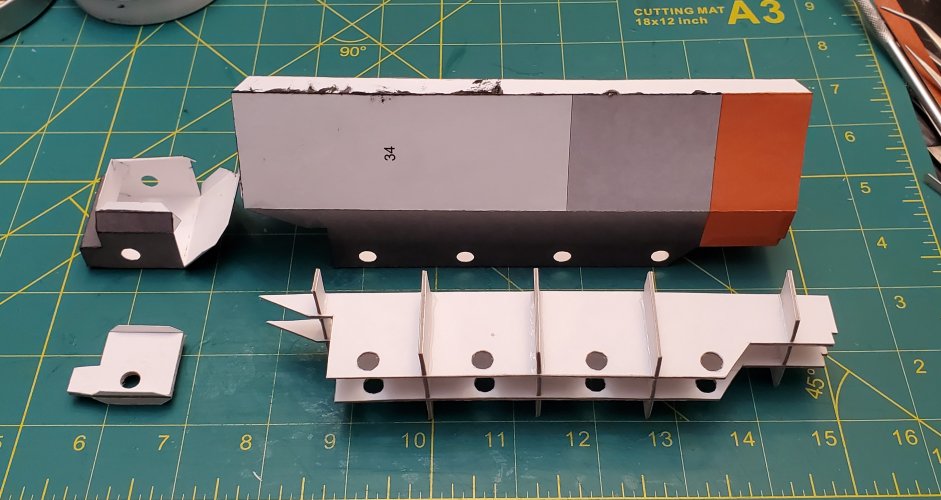
The internal formers are assembled. The one that is sitting alone, is for the drive box.

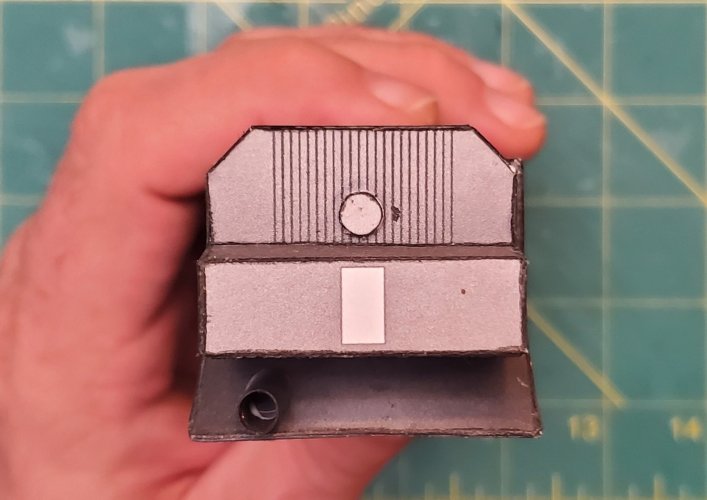
Here are the parts for the chassis and drive box.
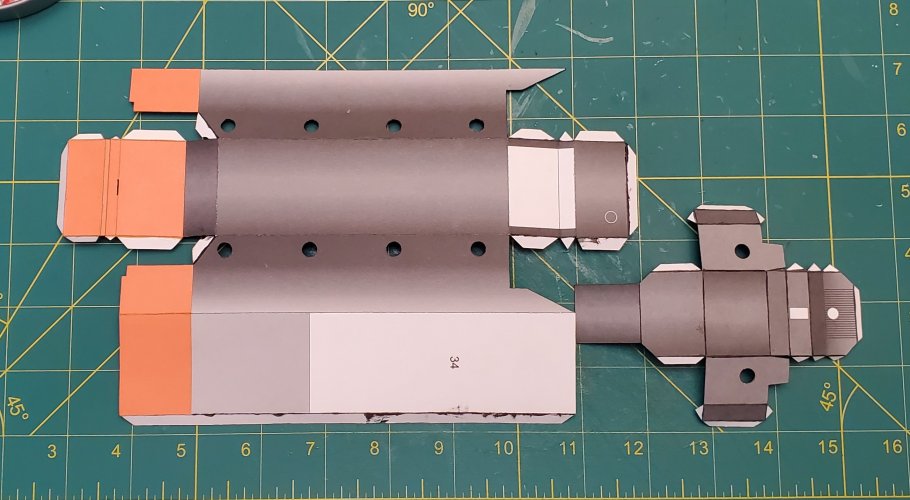
Assembling the chassis and drive box.
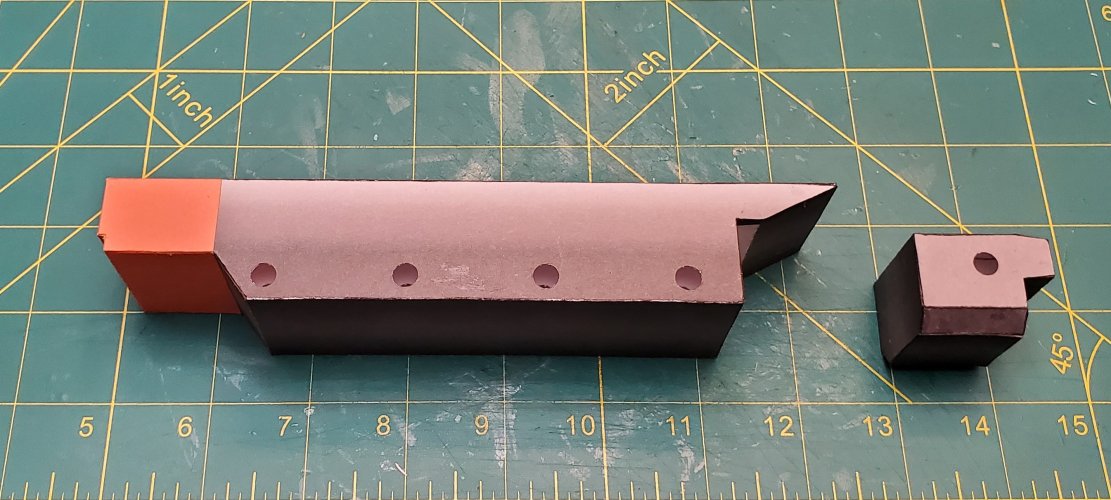
The chassis and drive box are now assembled.
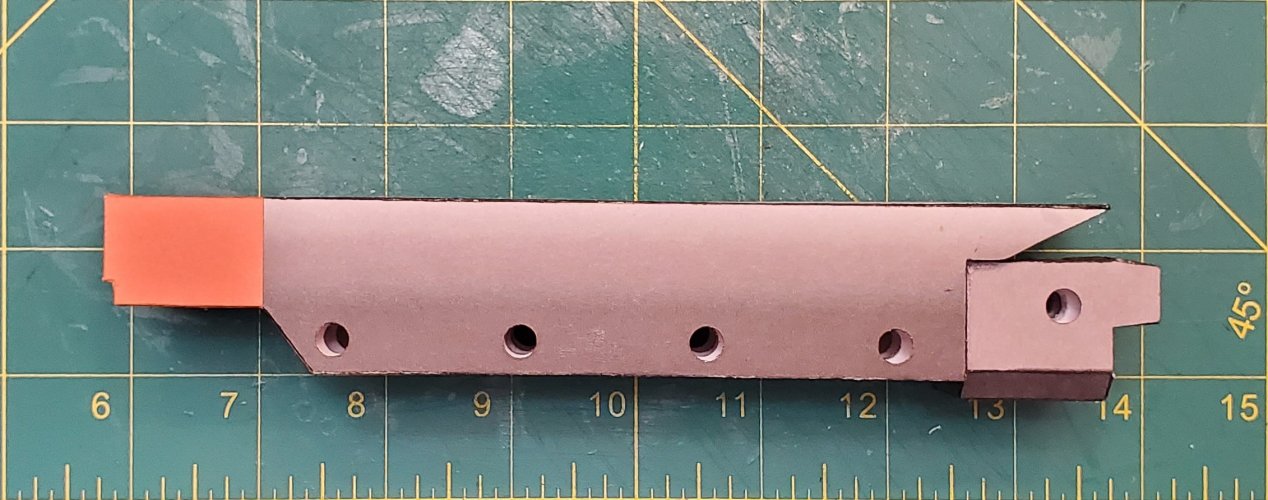
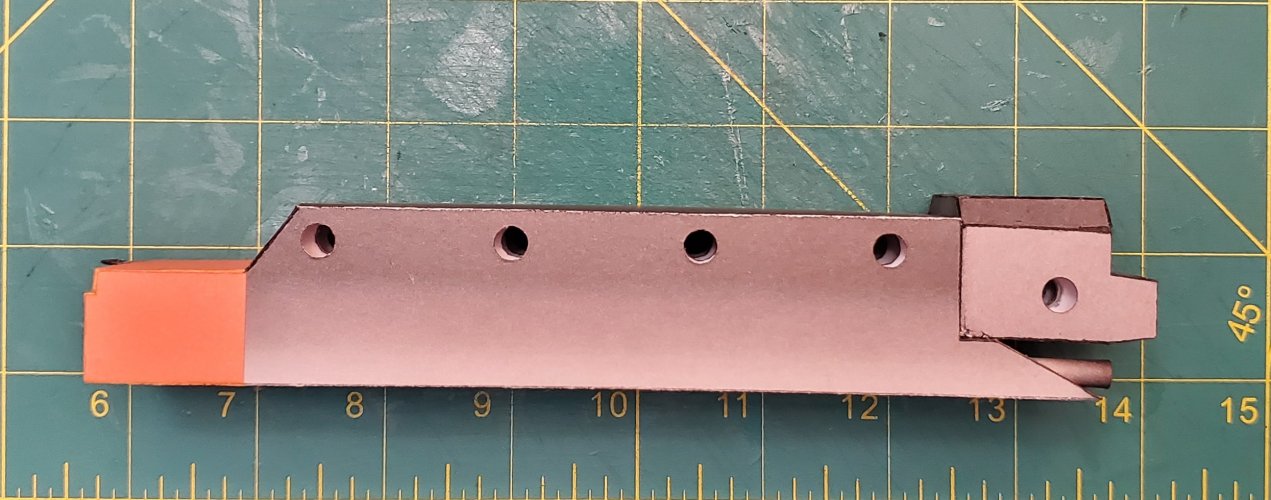
The drive box is attached to the chassis.
I am doing much better now (although, I am still not quite back to 100%). It is time for another update. This time, I am working on the chassis, drive box and track system. @Revell-Fan and I had to work out a few revisions on all of these components.
Starting with the chassis.
Here are the parts for the internal formers. These are laminated to 1mm thick.

The internal formers are assembled. The one that is sitting alone, is for the drive box.

Here are the parts for the chassis and drive box.

Assembling the chassis and drive box.

The chassis and drive box are now assembled.

The drive box is attached to the chassis.


