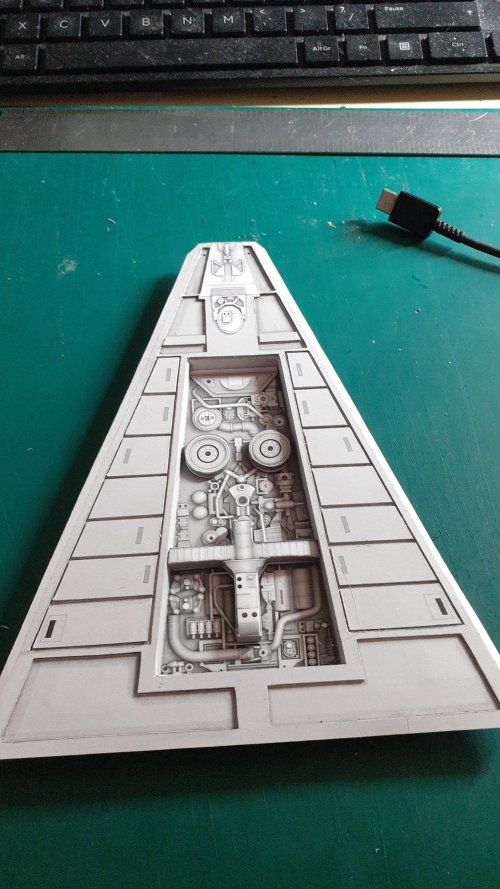
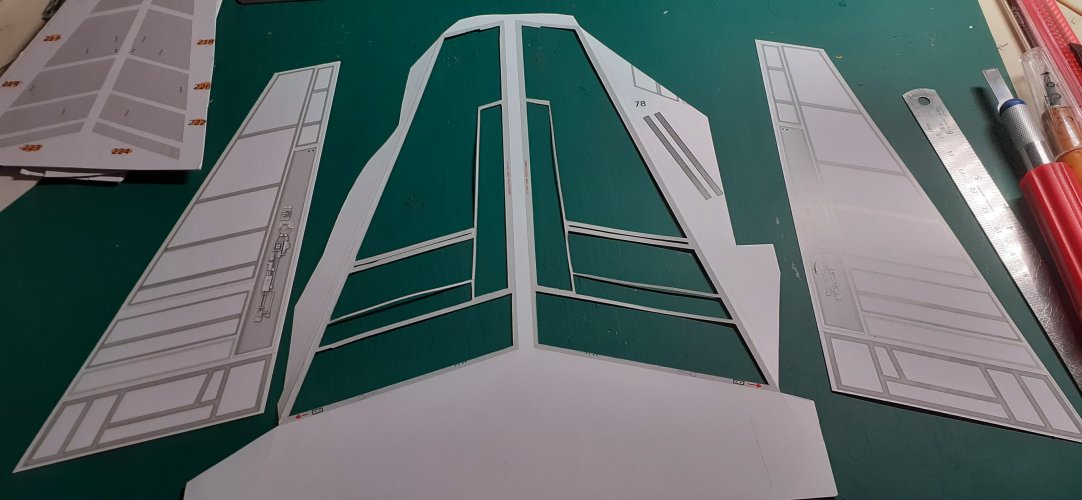
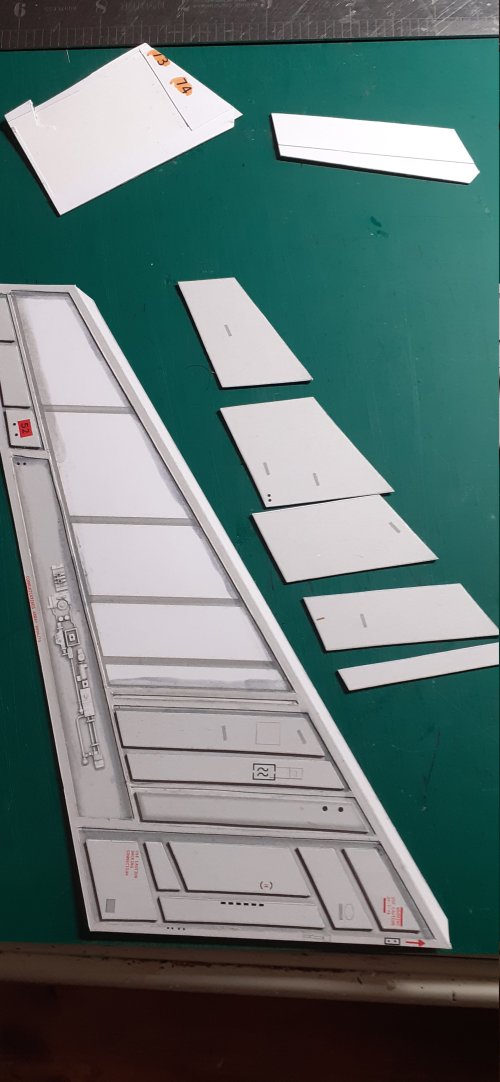
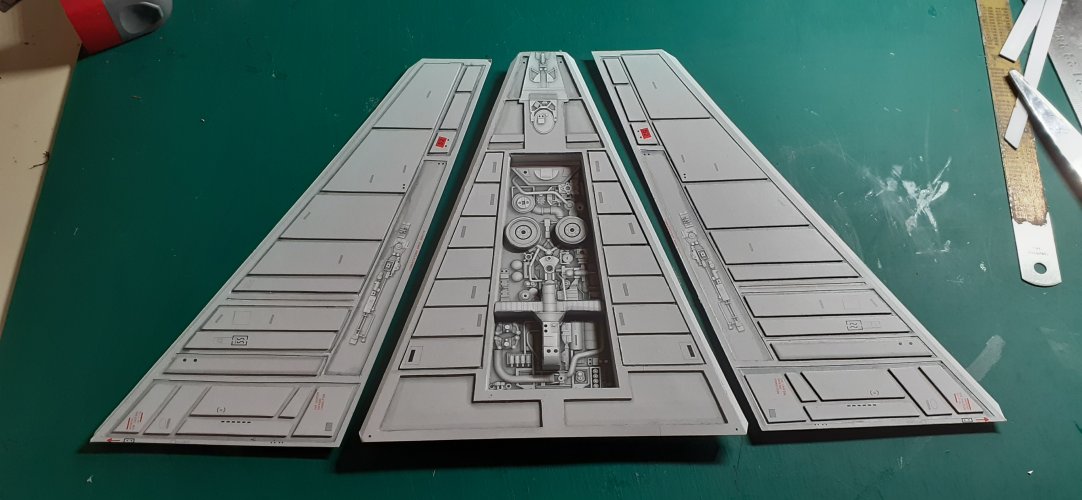
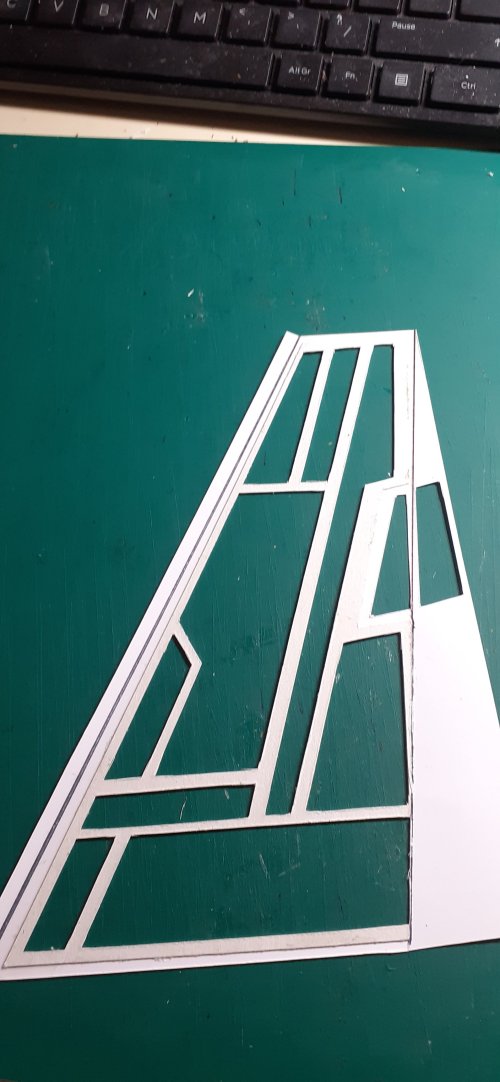
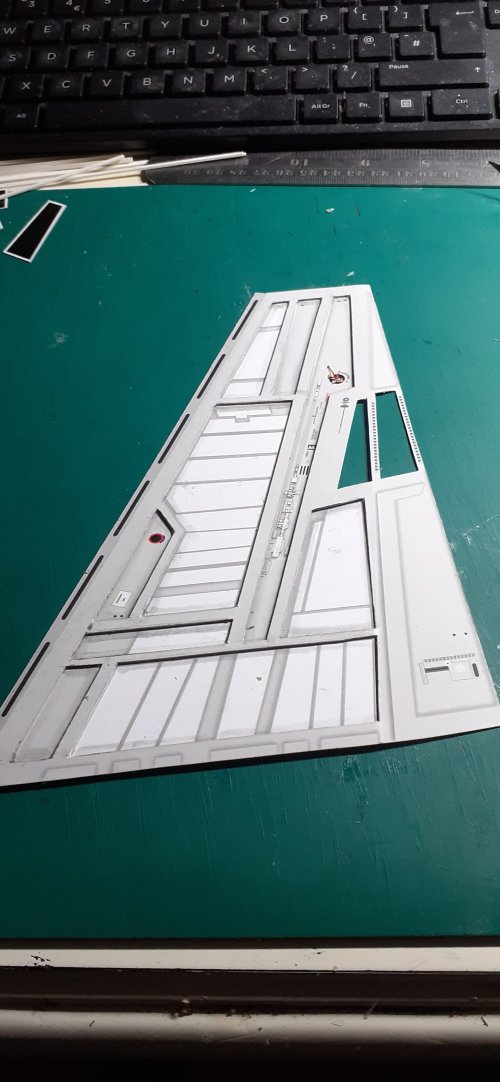
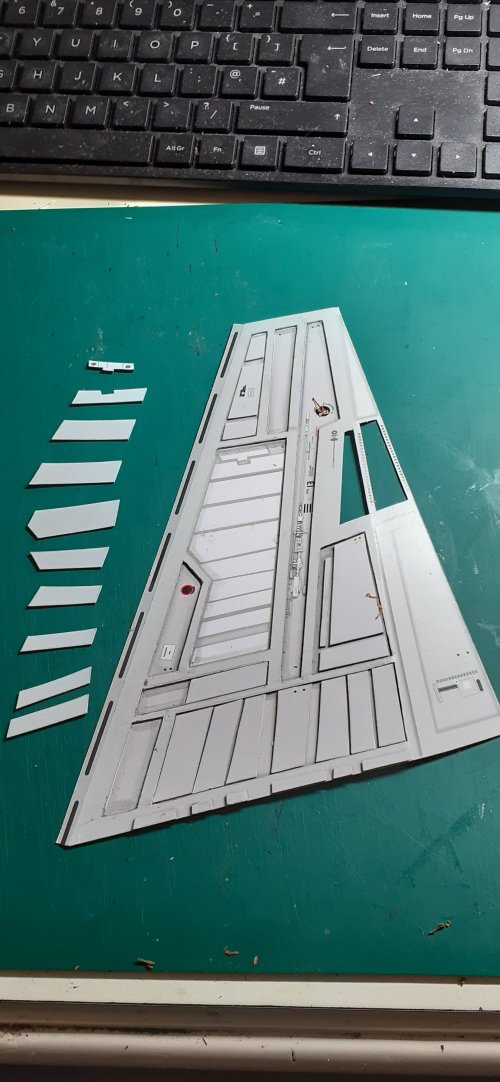
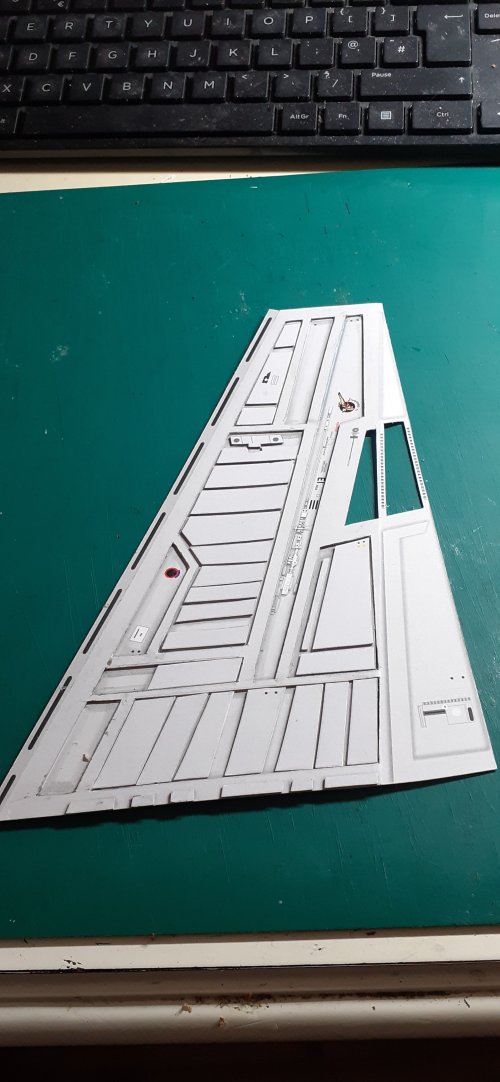
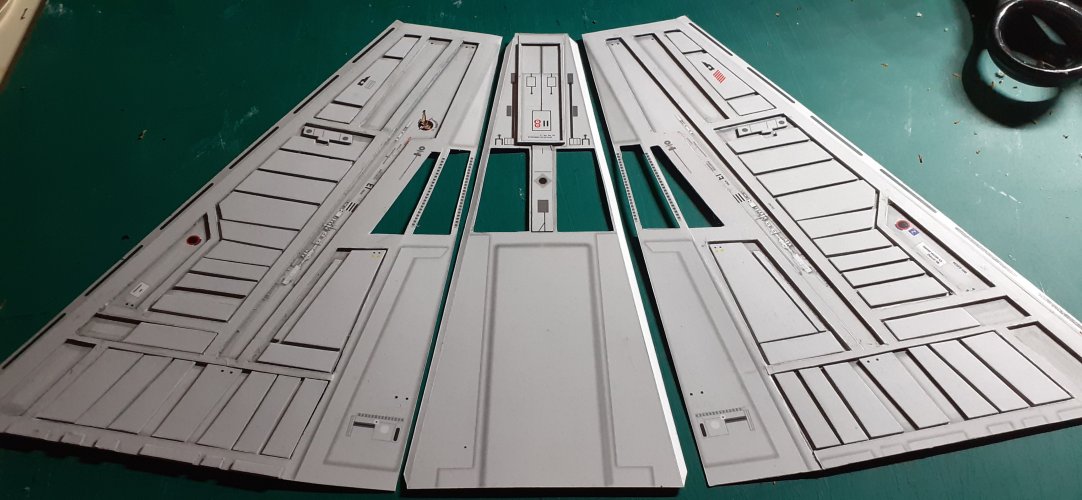
So, here we go.....
Back in 2010 or so, I attended an Amsterdam Comic-Con, where I had the great pleasure of meeting the renowned modeller - Lee Stringer.
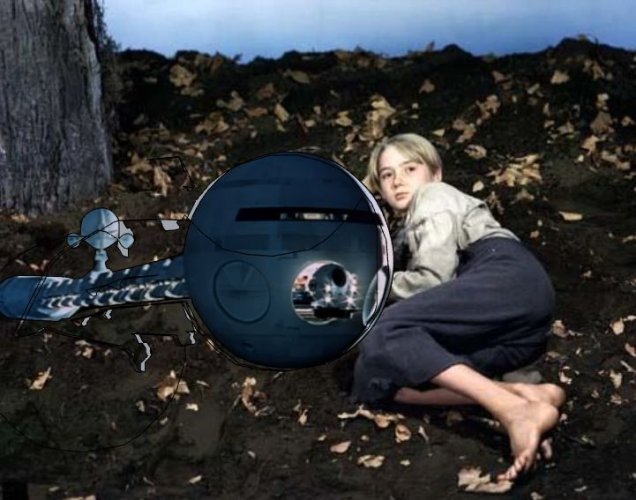
He had on display, his nearly complete, fully accurate model of the escape shuttle NARCISSUS, from the 1979 Ridley Scott film ~ ALIEN.
I was blown away by the detail!
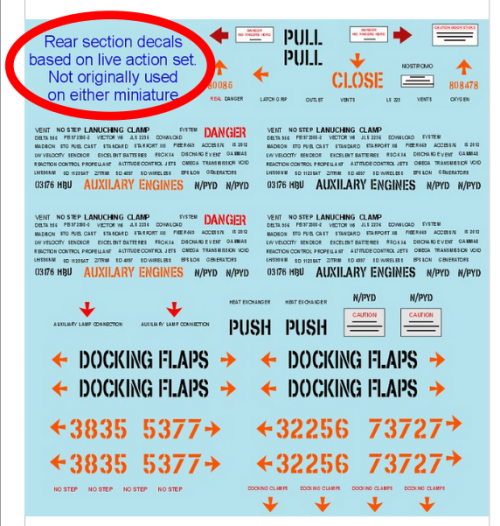
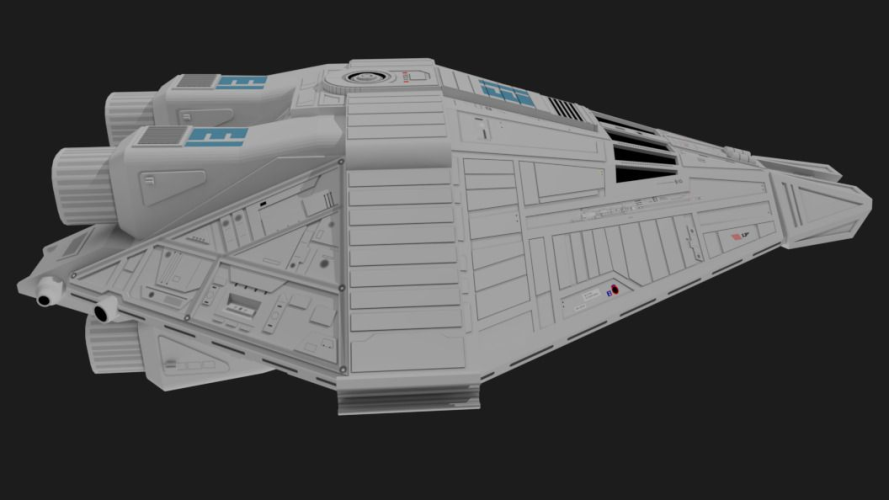
Well, a few months ago, while trawling the net, I came across this......(Which is also available in the Resource Section!)
And you know what?
I decided it had to be done!
Let us enjoy the journey....
Ripley survived for 57 years in that ship!
Let's hope I finish the model within that time span, as I'm sure most of us do not have a stasis capsule available......
There are a few points that potential builders of this model should be aware of .......
Let's put this beauty together!
See you all soon!
Back in 2010 or so, I attended an Amsterdam Comic-Con, where I had the great pleasure of meeting the renowned modeller - Lee Stringer.
He had on display, his nearly complete, fully accurate model of the escape shuttle NARCISSUS, from the 1979 Ridley Scott film ~ ALIEN.
I was blown away by the detail!
Well, a few months ago, while trawling the net, I came across this......(Which is also available in the Resource Section!)
And you know what?
I decided it had to be done!
Let us enjoy the journey....
Ripley survived for 57 years in that ship!
Let's hope I finish the model within that time span, as I'm sure most of us do not have a stasis capsule available......
There are a few points that potential builders of this model should be aware of .......
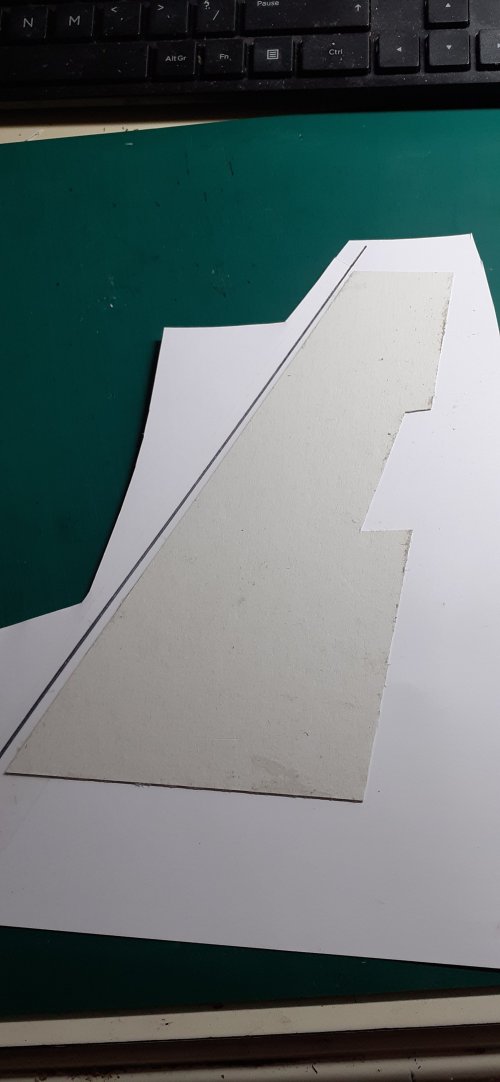
- I printed the template on 250 gsm stock, and purchased 2 sheets of A1 size, 0,5mm thick stock for laminating parts.
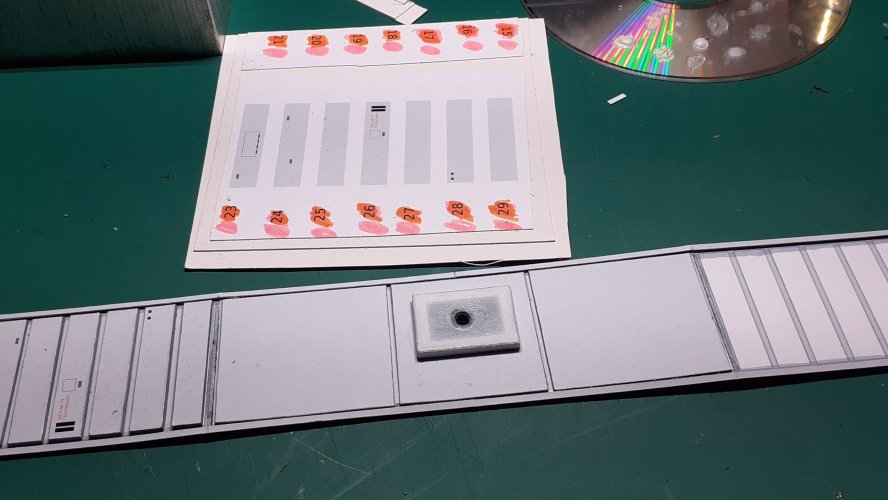
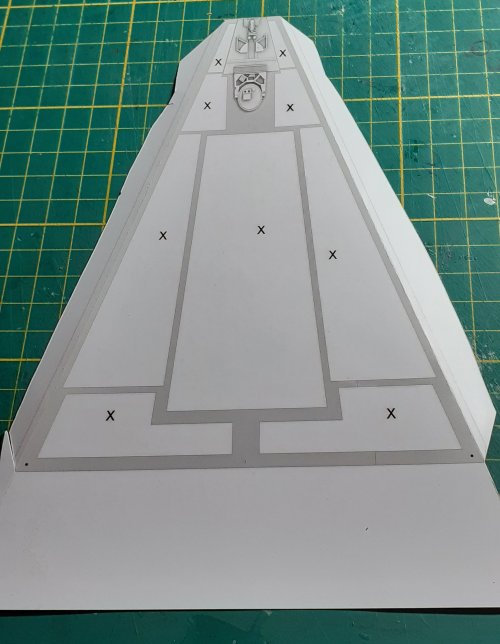
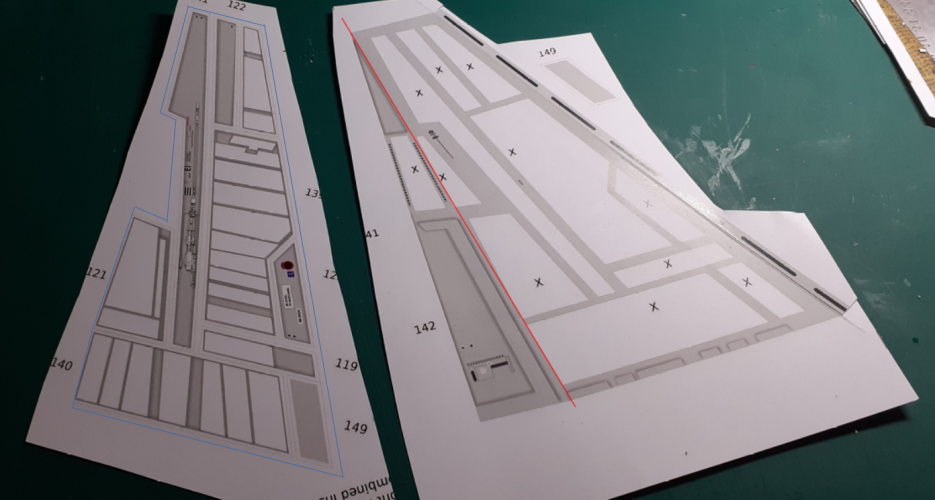
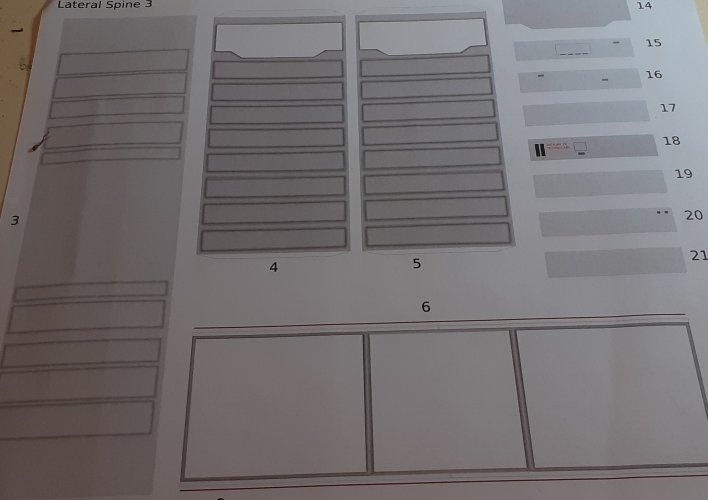
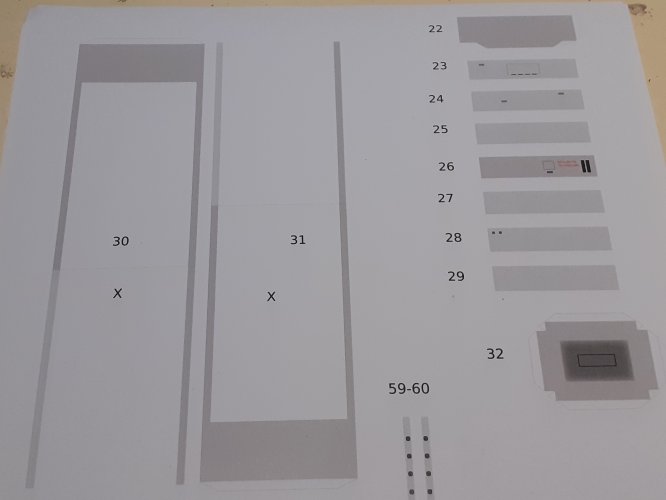
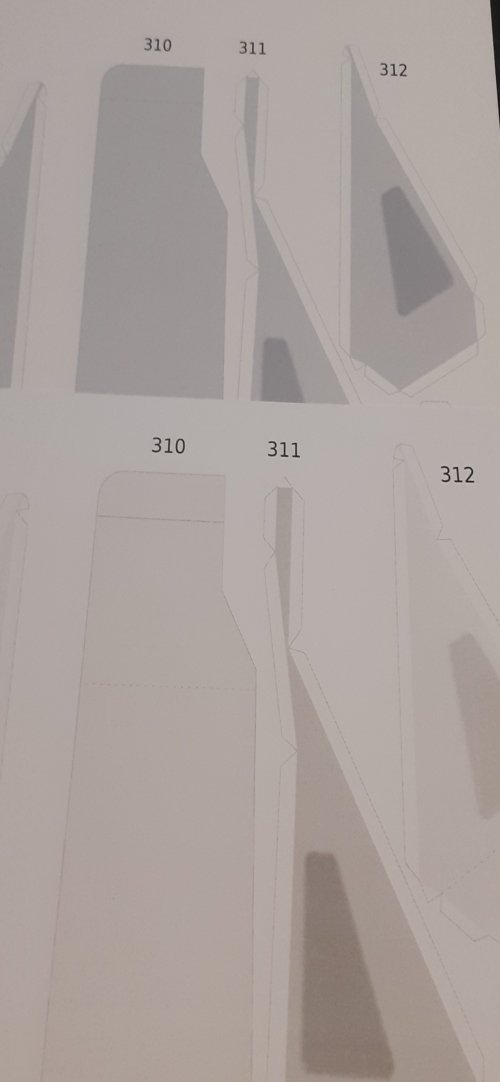
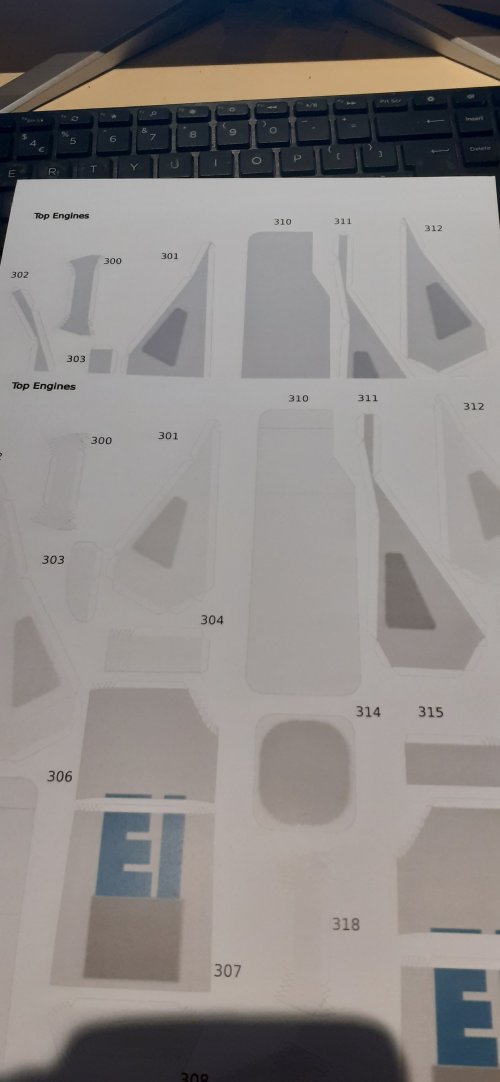
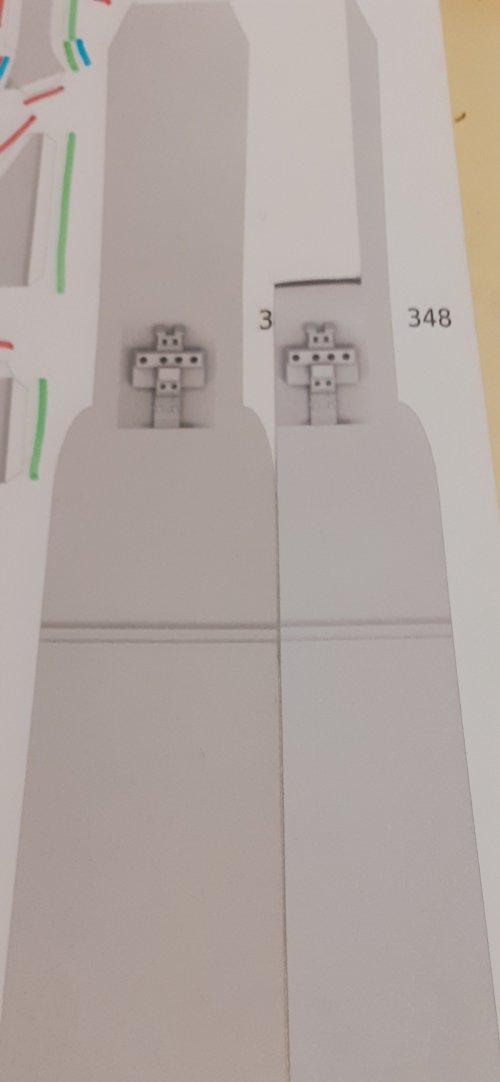
- I had a lot of problems, (and expense,) to get the template printed correctly. It took 4 attempts, by 3 different printing companies to get it right. I think there is something wrong with the pdf file itself. As an example, I printed the pdf twice, one after the other, on the same printer, and I was getting different colour shading on different parts, even though the source file had exactly the same shading values. I tried 'printing to pdf', converting to jpg', but to no avail. The problem remained. Even if I printed the file again, the same problem occurred, but, on different pages! It was a very frustrating experience! As shown below, all the parts should have an identical colour shade......


- When you eventually get the print formatting correct, make sure that you print 2 copies of page 43. The copy of 43 you'll need, as you have to make the same part twice!
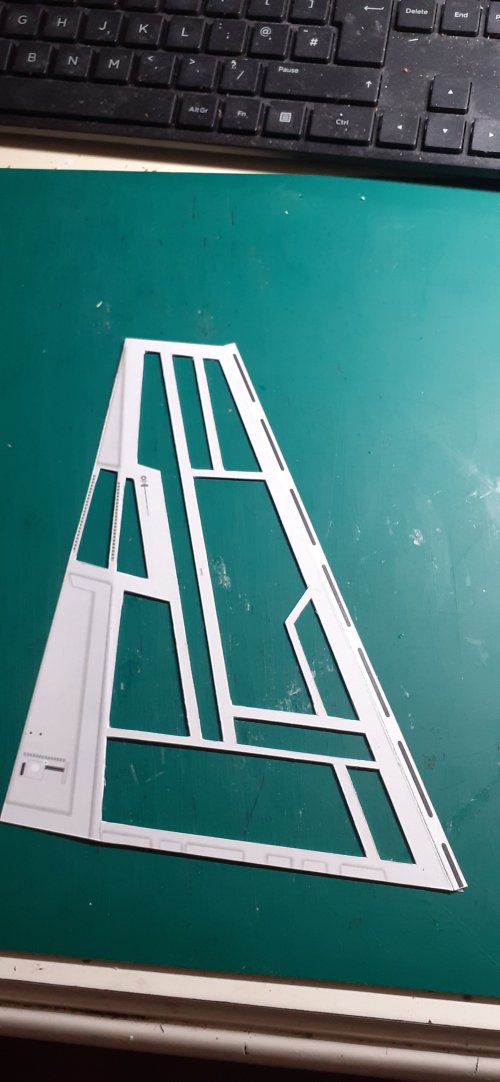
- Make sure you have a good stock of blades for your cutting tools, this model involves a LOT of cutting out! Various blades I recommend: #11 X-acto blades (I used around 15!), Scalpel blades, chisel type blades and break-off-blades.
- A glue roller, is a good idea, as I'll explain later....
- This model is designed to very fine tolerances. If you mess up a cut, it will screw things up later on in the build! On some parts, the edge looks straight, but on closer inspection, it has two angled planes. Be aware of this, especially on the engines.
- This is a BIG model! Structural support is highly recommended! Because gravity is a downward drag in this hobby!
Let's put this beauty together!

See you all soon!

Last edited:


