A simple kitchen for the Chef

Revell-Fan

Co-Administrator
Staff member
Administrator
Moderator
Aug 1, 2009
11,679
12,463
228
Vreden
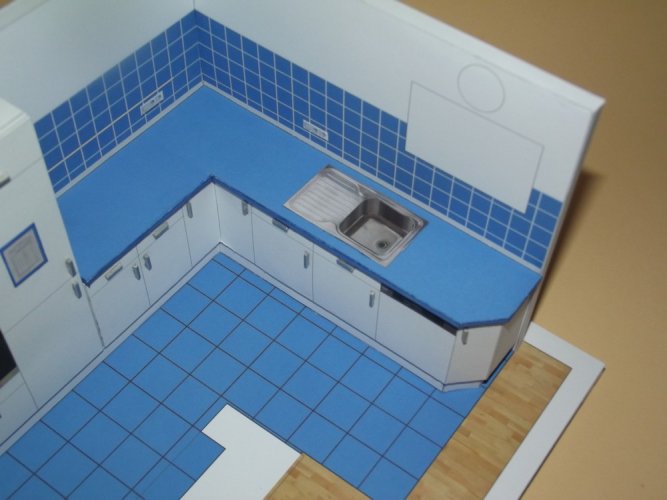
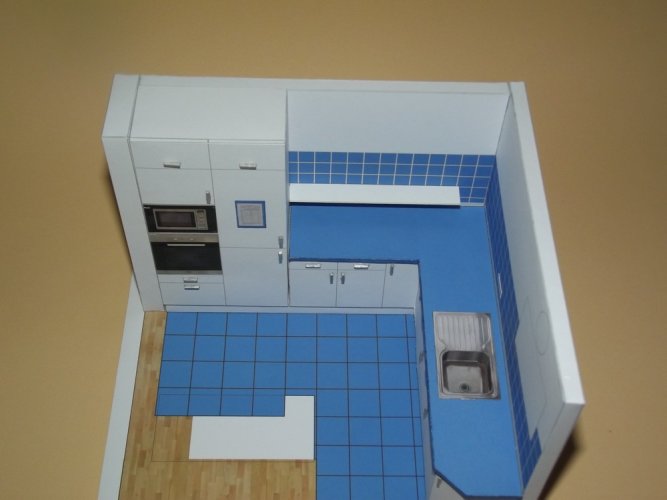
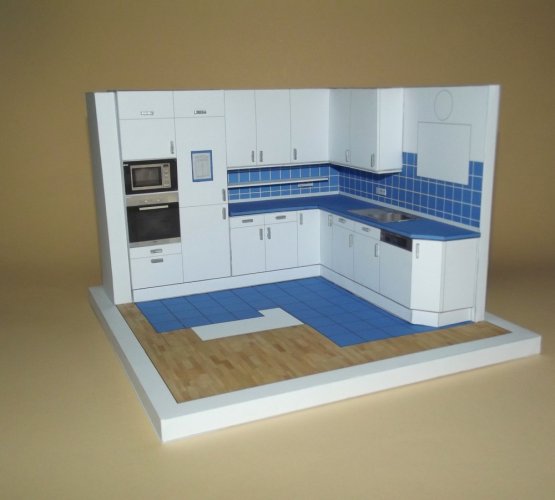
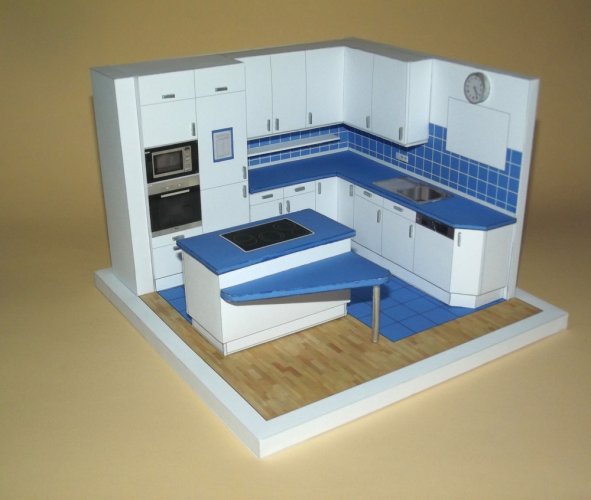
After the unbelievably successful model of the care center I decided to make a "little" add-on. One of our most beloved cooks is retiring at the end of the month and I could not hold me back to give her a paper present as well. This time it would not be a full house ( ;) ) but her working place, the kitchen of one of the four living areas.

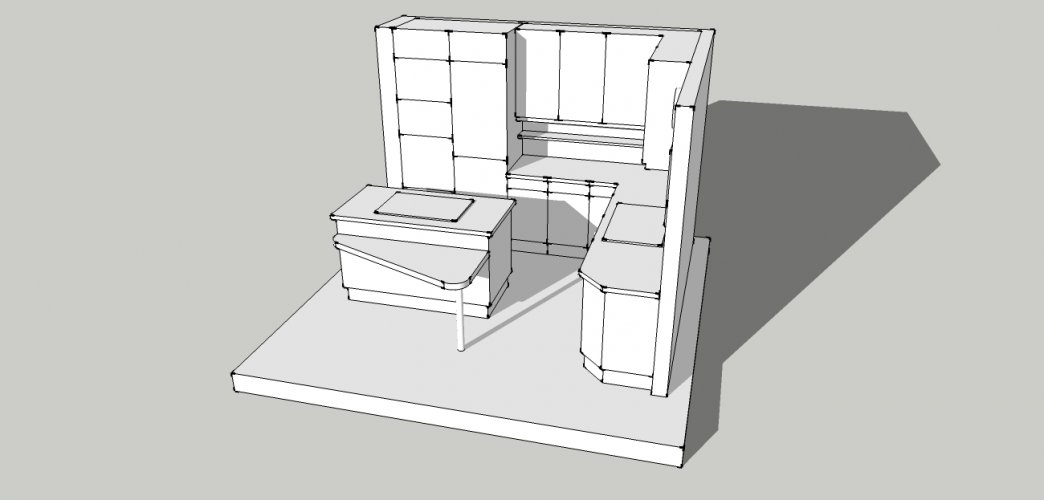
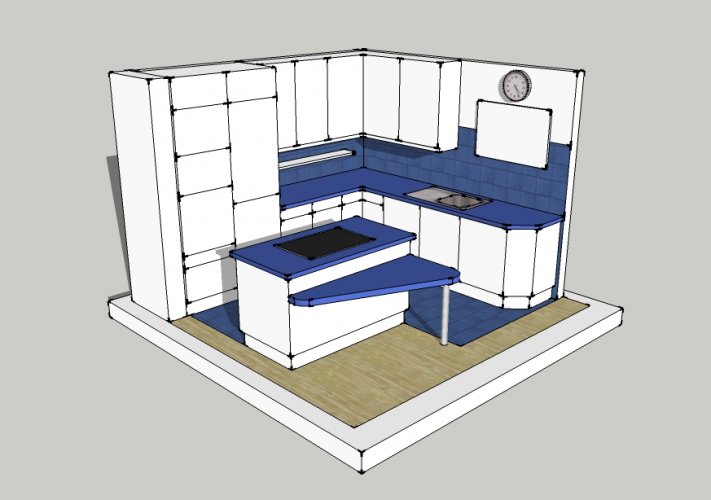
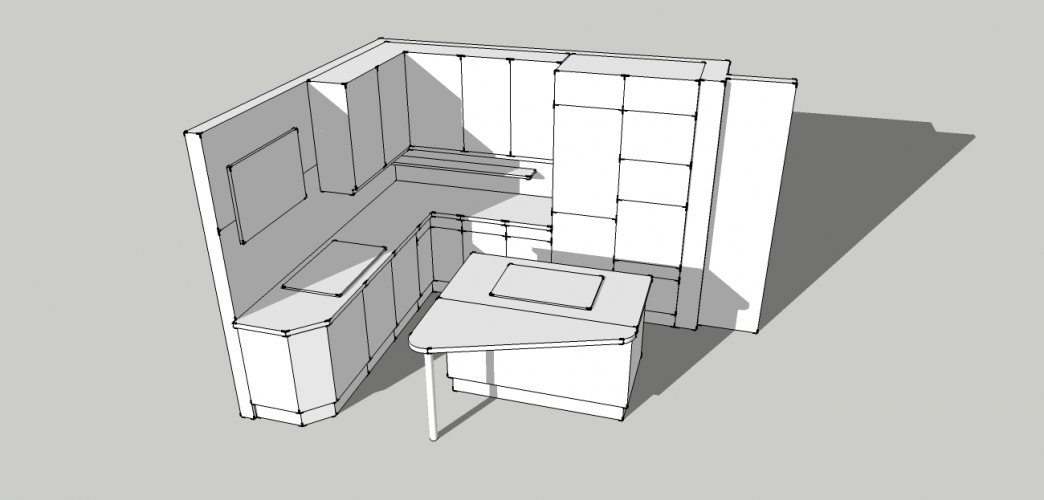
Most of the elements are box-shaped and flat, so easy enough to replicate. I started with taking some measurements in the neighbouring living area which has the same but mirrored configuration. This was done pretty quickly. A few pictures of the whole kitchen and some strategic areas were taken and will be used later in the texturing process.

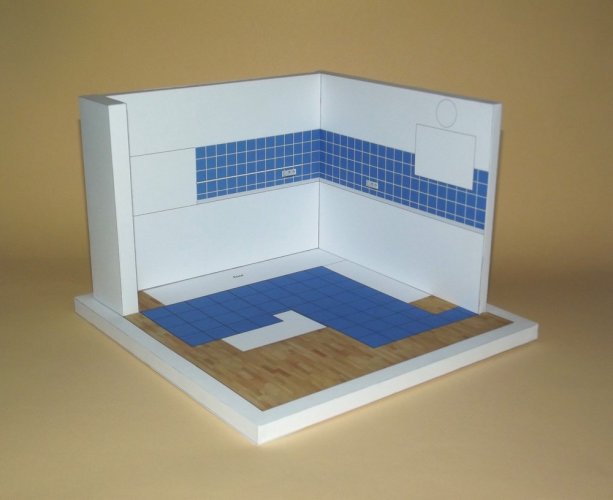
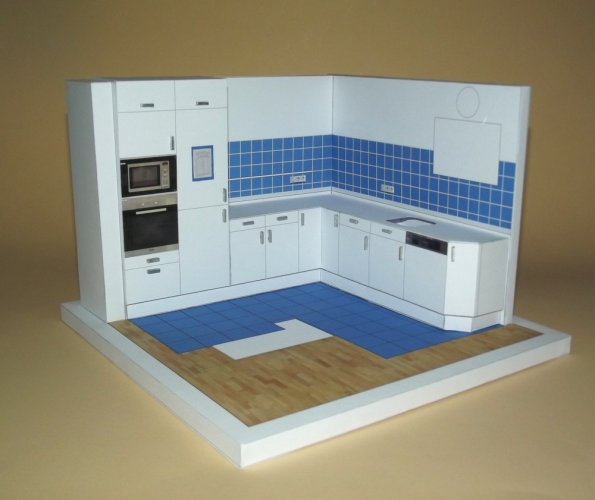
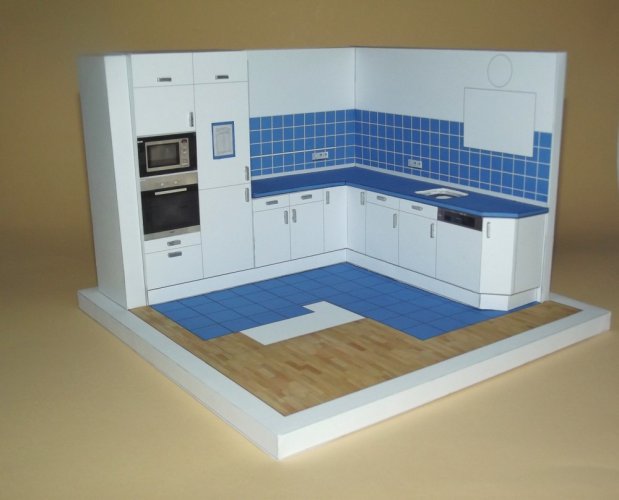
I modeled the parts in 1:1 scale and resized everything later to 1:18. The final model will become cubic-shaped with an edge length of about 20 cm - not too big and not too small.
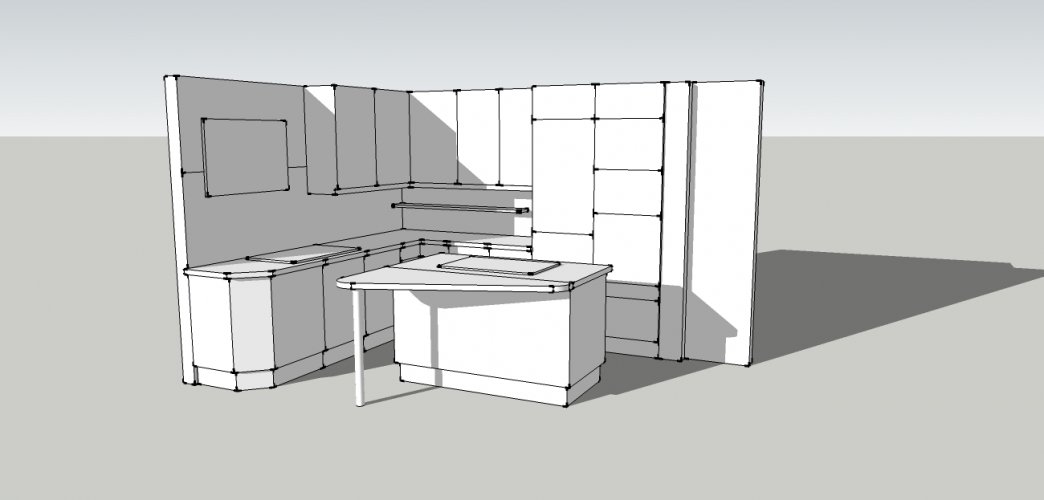
Küche1.jpg

Küche2.jpg

Küche3.jpg

This looked pretty nice, so it was time for mirroring and scaling.

Küche4.jpg

Küche5.jpg

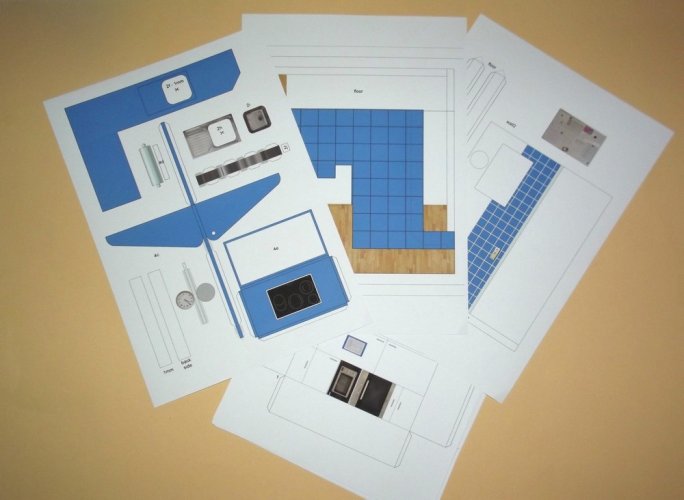
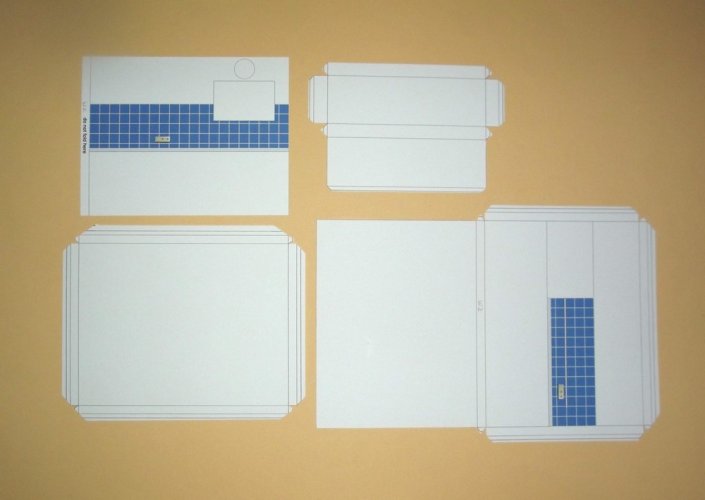
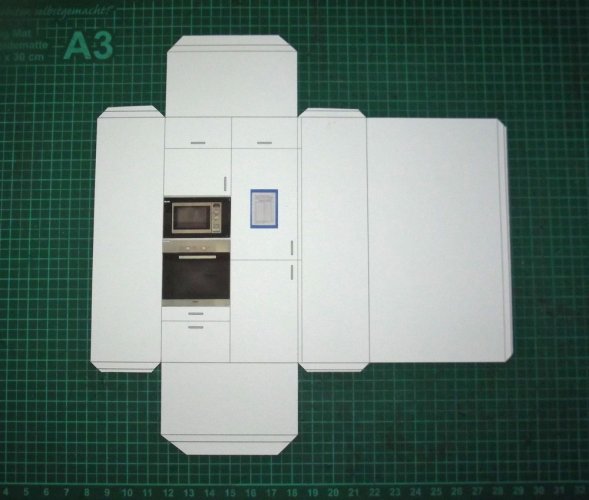
All parts were unfolded using a combination of two SketchUp plugins called "Flattery" and "Unwrap and Flatten" (major thanks to @abdullahsamir for the hint; it does not work perfectly but it does the job and saved me 48 clicks when I unrolled that cylinder ;) ).

However, I encountered a BIG problem: When I wanted to export the flattened shapes as *.svg the plugin did not save anything! I was puzzled and checked the whole setup carefully. After a while I found out that "Flattery" has a problem with certain file and folder names. It won't save in a folder with an "Umlaut". I think "mutated vowels" is the English term. An "Umlaut" is a combination of two vowels like "ae", "oe" and "ue" and is written with two streaks or points above the first vowel ("ä", "ö", "ü"). So "Flattery" does not like those and because I named the project folder "Küche" which is German for "kitchen" it did not want to save anything in the folder. Having found out that I renamed the folder and the file to "kitchen" which worked much better. ;)

Stay tuned! :)
 
Last edited:

zathros

*****SENIOR ADMINISTRATOR*****
Staff member
Administrator
Moderator
Apr 5, 2013
13,526
9,600
228
You make the nicest gifts to people. I can't imagine how one must feel getting something like that. Made by your hands. A real expression of caring. Wunderbar!! :)
 

abdullahsamir

Member
May 5, 2024
45
90
15
24
abdullahfloyd.github.io
After the unbelievably successful model of the care center I decided to make a "little" add-on. One of our most beloved cooks is retiring at the end of the month and I could not hold me back to give her a paper present as well. This time it would not be a full house ( ;) ) but her working place, the kitchen of one of the four living areas.

Most of the elements are box-shaped and flat, so easy enough to replicate. I started with taking some measurements in the neighbouring living area which has the same but mirrored configuration. This was done pretty quickly. A few pictures of the whole kitchen and some strategic areas were taken and will be used later in the texturing process.

I modeled the parts in 1:1 scale and resized everything later to 1:18. The final model will become cubic-shaped with an edge length of about 20 cm - not too big and not too small.
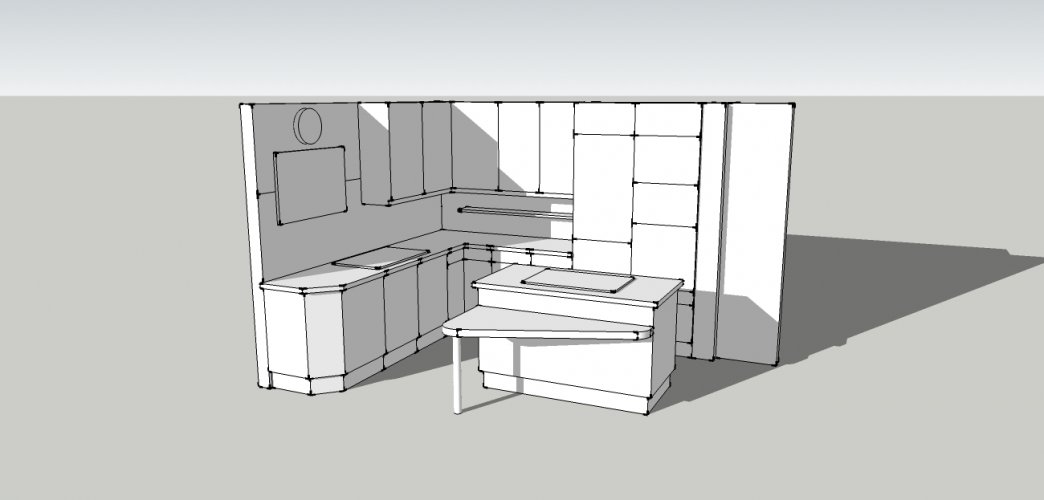
View attachment 218550

View attachment 218551

View attachment 218552

This looked pretty nice, so it was time for mirroring and scaling.
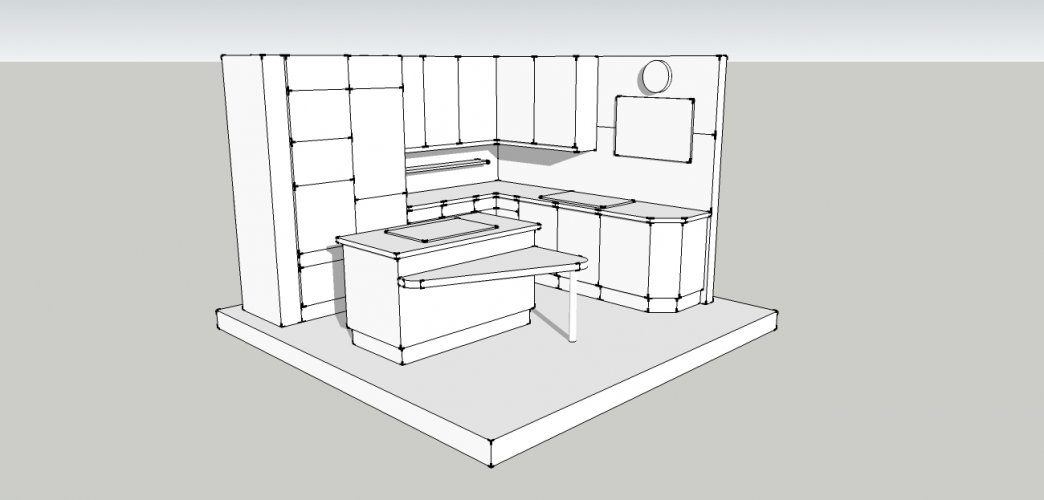
View attachment 218553

View attachment 218554

All parts were unfolded using a combination of two SketchUp plugins called "Flattery" and "Unwrap and Flatten" (major thanks to @abdullahsamir for the hint; it does not work perfectly but it does the job and saved me 48 clicks when I unrolled that cylinder ;) ).

However, I encountered a BIG problem: When I wanted to export the flattened shapes as *.svg the plugin did not save anything! I was puzzled and checked the whole setup carefully. After a while I found out that "Flattery" has a problem with certain file and folder names. It won't save in a folder with an "Umlaut". I think "mutated vowels" is the English term. An "Umlaut" is a combination of two vowels like "ae", "oe" and "ue" and is written with two streaks or points above the first vowel ("ä", "ö", "ü"). So "Flattery" does not like those and because I named the project folder "Küche" which is German for "kitchen" it did not want to save anything in the folder. Having found out that I renamed the folder and the file to "kitchen" which worked much better. ;)

Stay tuned! :)
I am not worthy of your mention, lol, thank you!!! this is so cool! also a kitchen??? We here for it!!!!
 

Revell-Fan

Co-Administrator
Staff member
Administrator
Moderator
Aug 1, 2009
11,679
12,463
228
Vreden
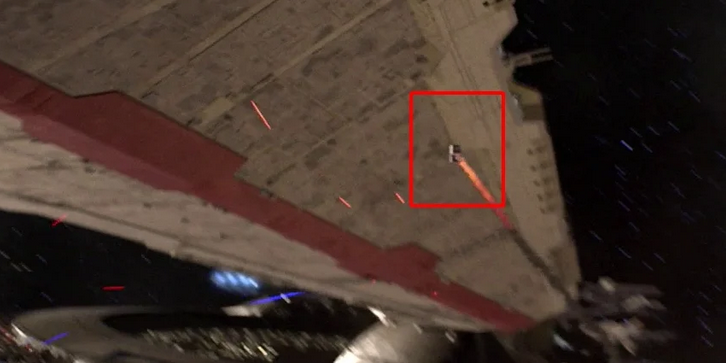
ILM slammed a kitchen sink into a Republic Star Destroyer:

1715889532003.png

So of course I have always dreamt of making one (again, history repeats itself and the retirement of my colleague finally gave me a reason to make it). SciFi check: positive.

:animated:

Sorry for the late reply but after the latest Windows update I was greeted by a "No Boot Device Found" screen. This made all alarm bells ring and I immediately came to the rescue. Fortunately a simple restart soled the issue but it reminded me to backup my machine stat. I updated my Macrium Reflect and was informed that the free version had reached its EOL and was no longer supplied with updates and fixes. No biggie, as long as it runs smoothly I am fine with it. Unfortunately this delayed the project by two days but since I still have two weeks left to finish it this caused no issues. In fact, it gave me the chance to take some new photos under different lighting conditions for the church project.

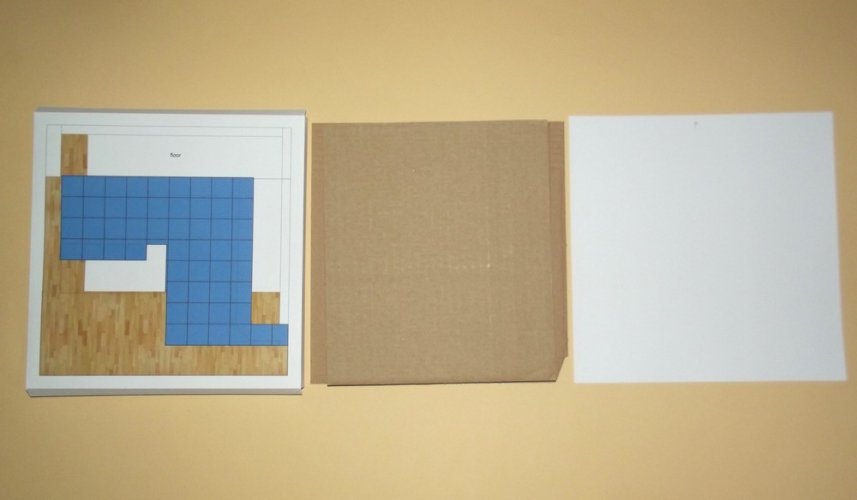
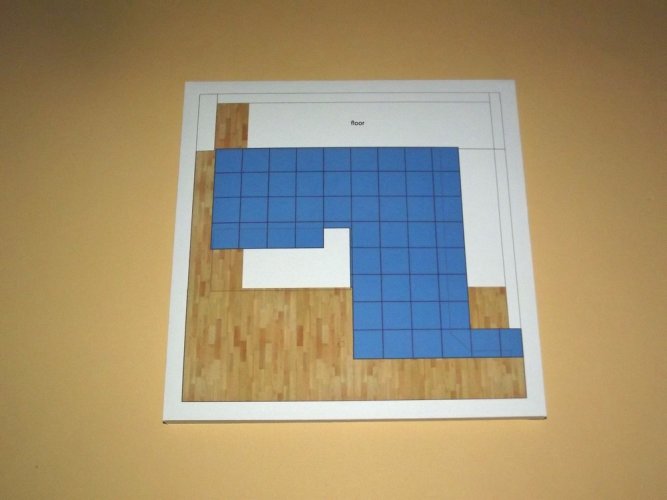
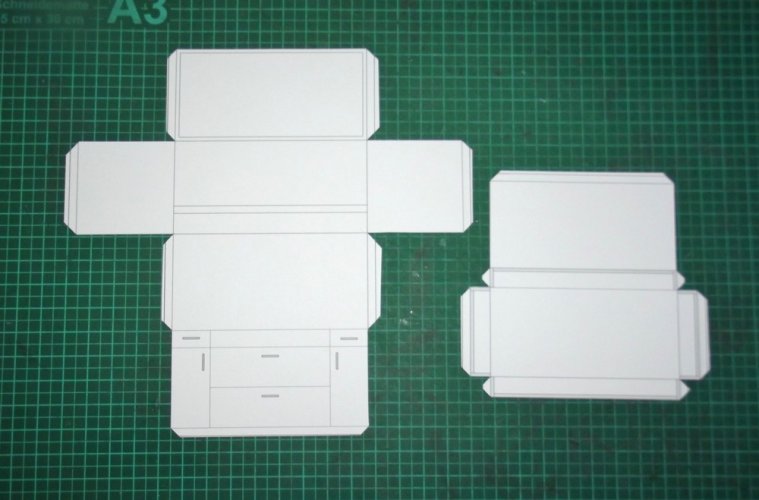
Well then. Most of the time went into unfolding and texturing the parts. Preparation is the essence here. The big plus is that everything is pretty straight forward, even the graphics. Printing took place before the black screen of death appeared so I had all parts necessary at the ready to assemble them.

DSCF2813.jpg

All major components are either boxes or laminated plates, so there is no magic at work at all. :)

DSCF2815.jpg

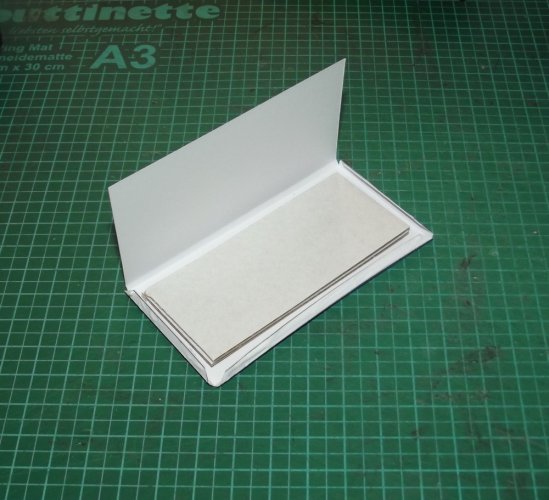
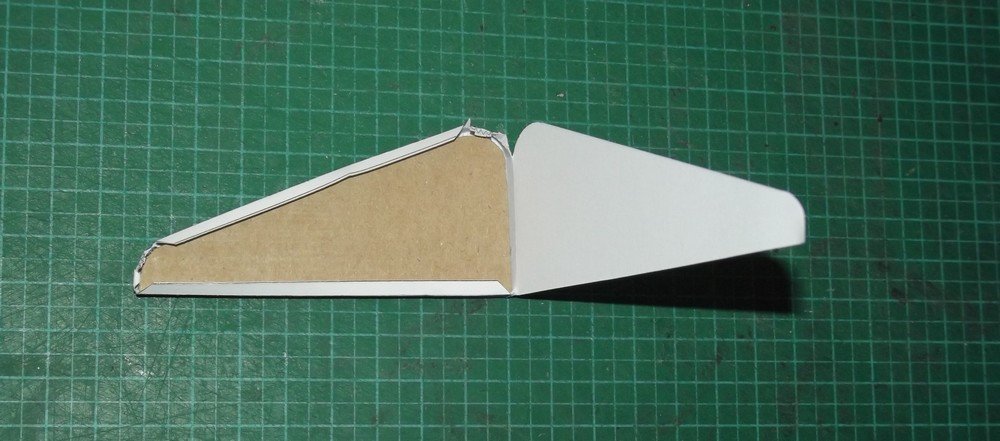
The floor consists of a top and a bottom half. Some corrugated card laminated together to meet the desired thickness was put between them to stabilize the floor.

DSCF2817.jpg

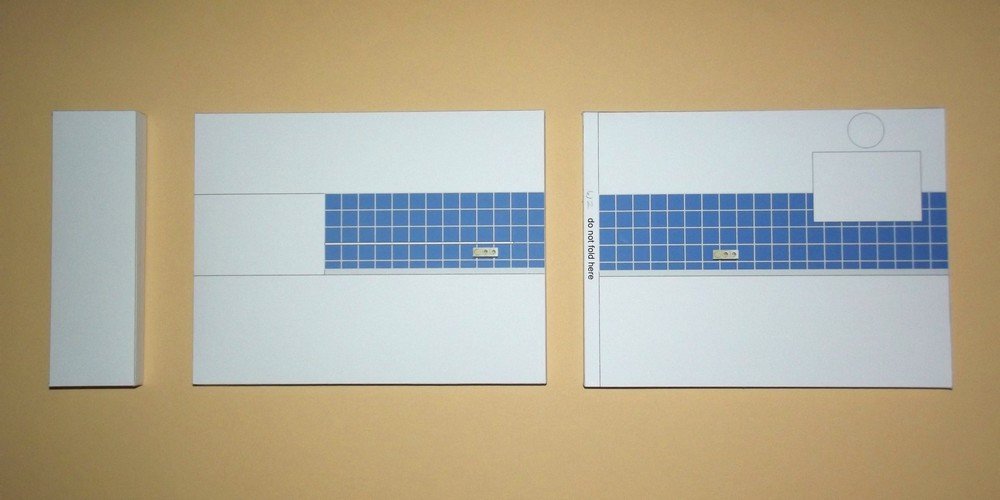
The walls are constructed in the same way:

DSCF2820.jpg

DSCF2821.jpg

Again, corrugated card was put inside for strength.

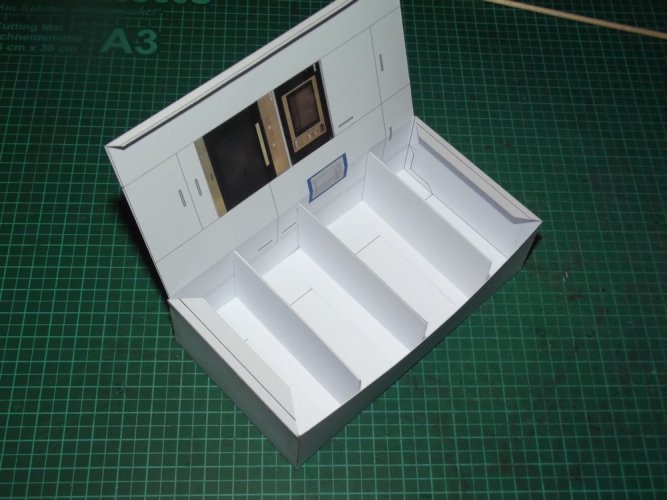
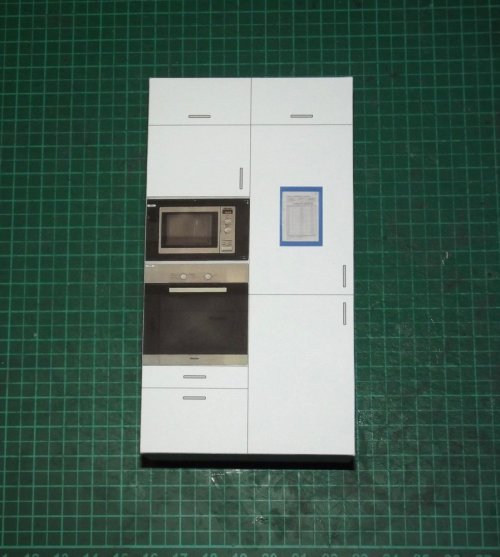
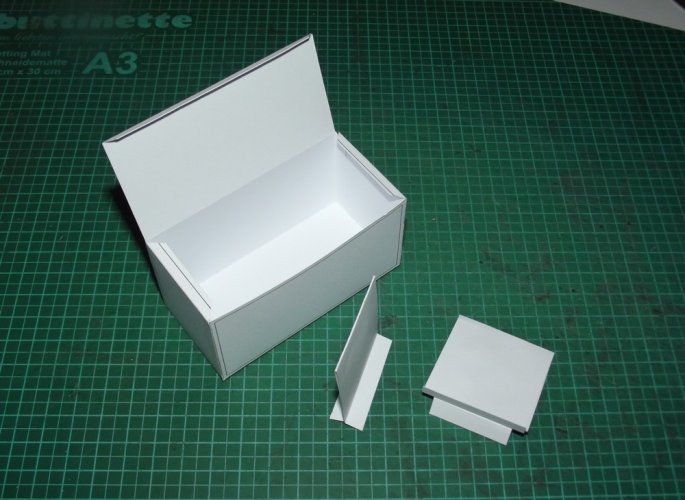
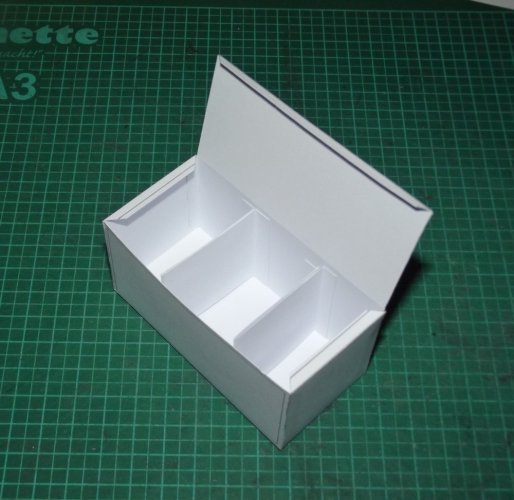
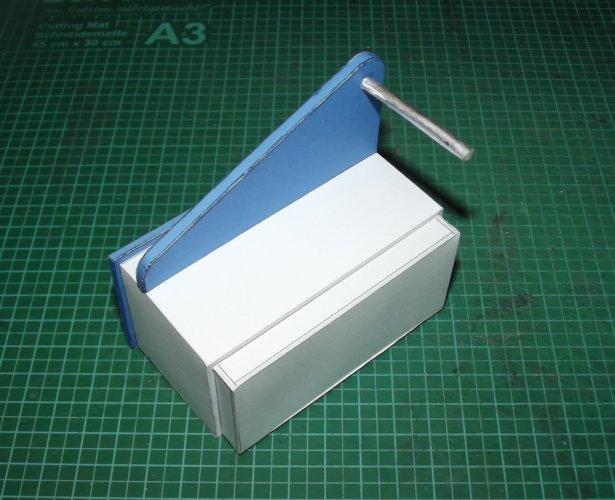
The fridge / micowave / oven combi is a simple box:

DSCF2832.jpg

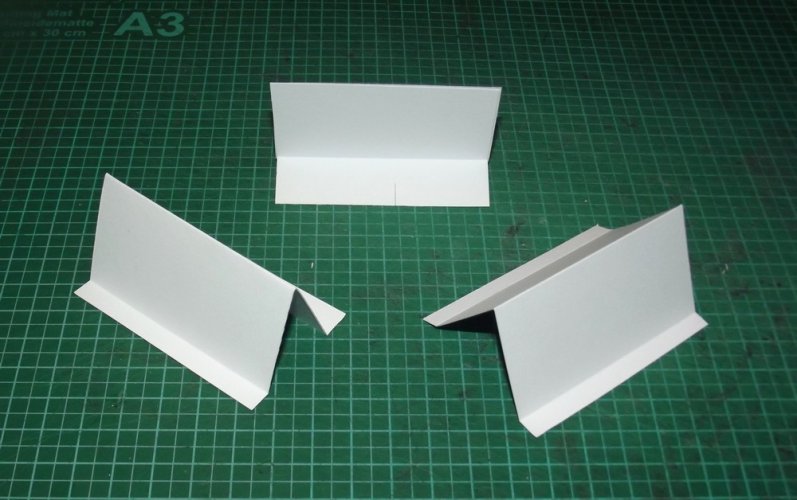
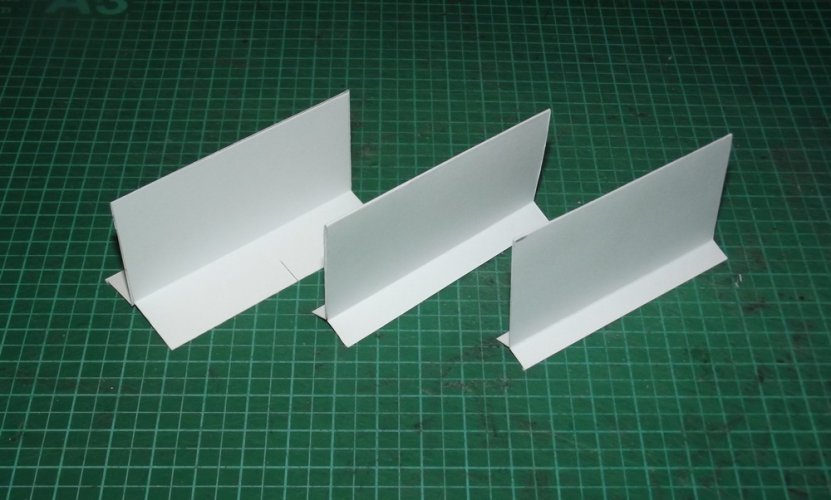
I added some T-shaped formers which I made from some leftover paper.

DSCF2833.jpg

DSCF2834.jpg

They were glued into place:

DSCF2835.jpg

DSCF2836.jpg

Fridge ready. The sheet on the blue board is a control sheet to document the temperature (important to make sure that everything works properly). :)

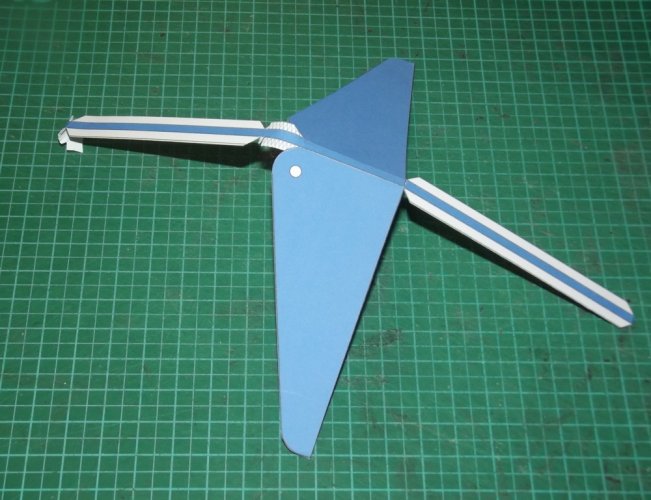
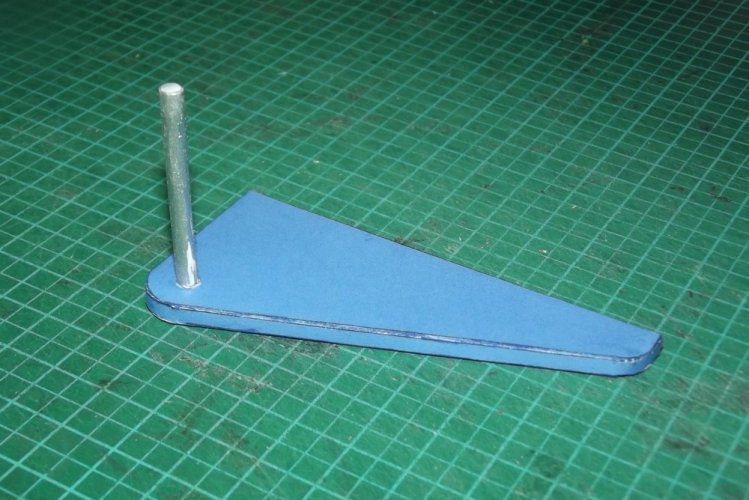
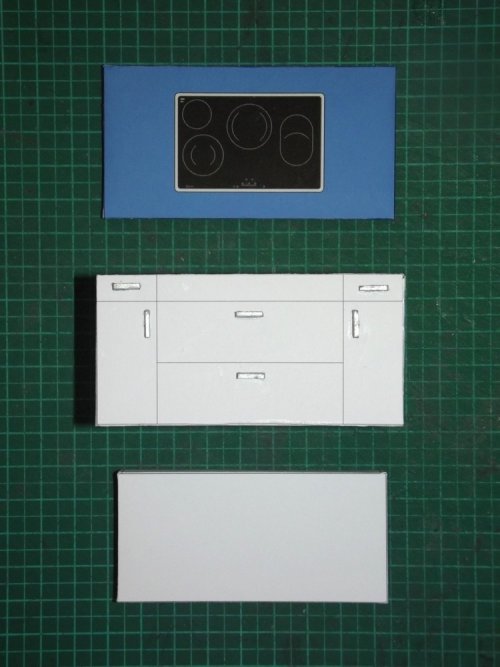
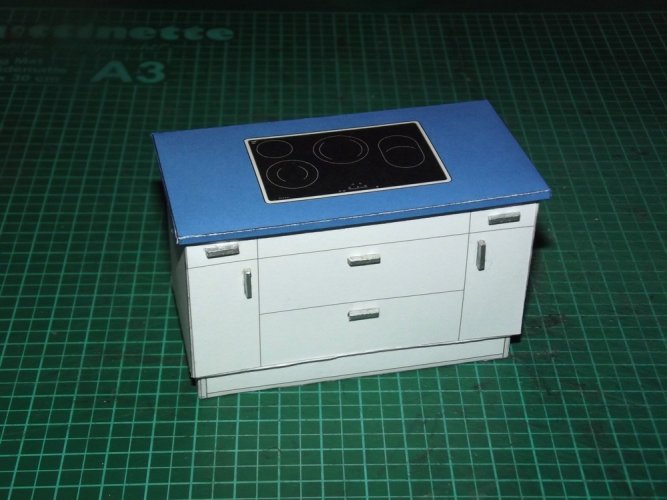
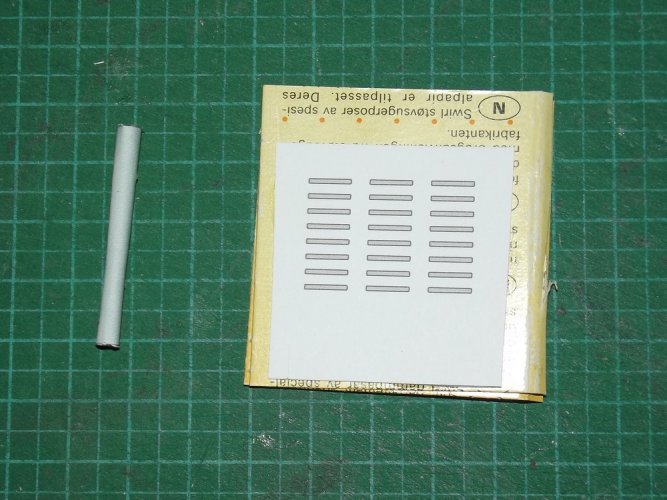
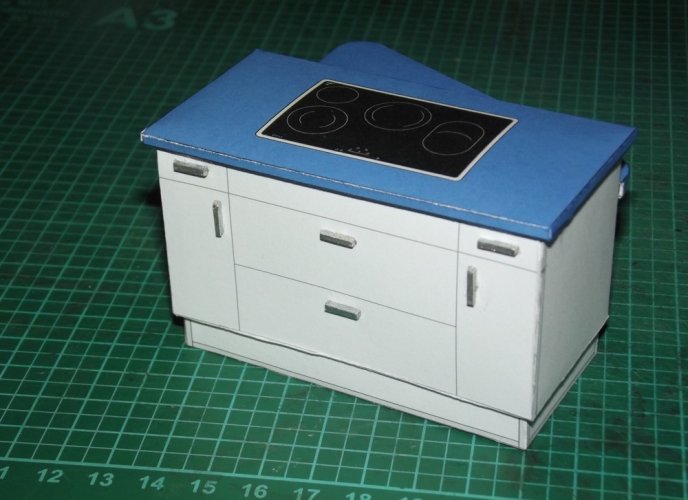
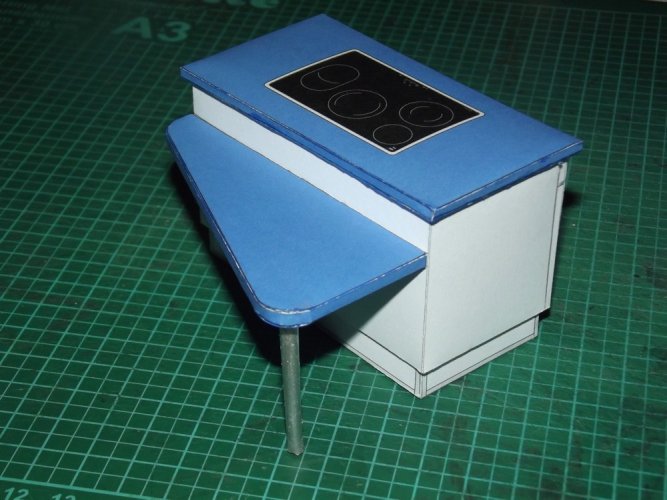
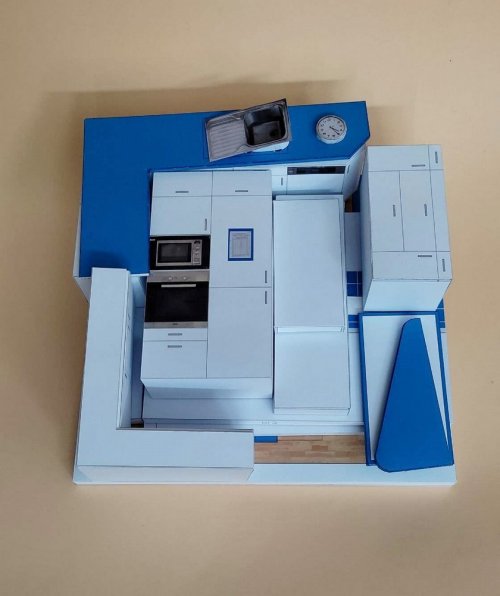
Next is the cooker / table combi. It consists of two plates with corrugated card inside, two boxes with formers made on-the-fly and a pole.

DSCF2825.jpg

DSCF2827.jpg

DSCF2828.jpg

DSCF2830.jpg

DSCF2822.jpg

DSCF2826.jpg

DSCF2857.jpg

DSCF2854.jpg

DSCF2856.jpg
 

Revell-Fan

Co-Administrator
Staff member
Administrator
Moderator
Aug 1, 2009
11,679
12,463
228
Vreden
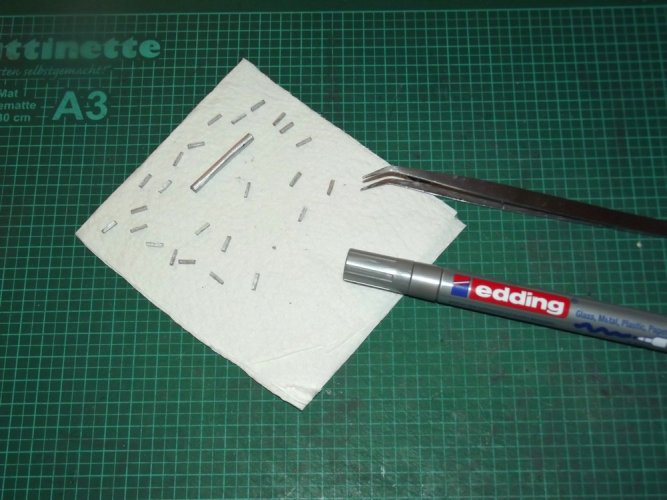
The pole and the handles were painted with a silver marker.

DSCF2850.jpg

DSCF2851.jpg

The table was attached to the back side of the cooker (which is actually the front when you enter the kitchen).

DSCF2858.jpg

Do not look at the white spot on the pole, after going through the pictures I noticed it and painted the pole again. The spot is gone now. ;)

DSCF2859.jpg


DSCF2861.jpg

DSCF2863.jpg

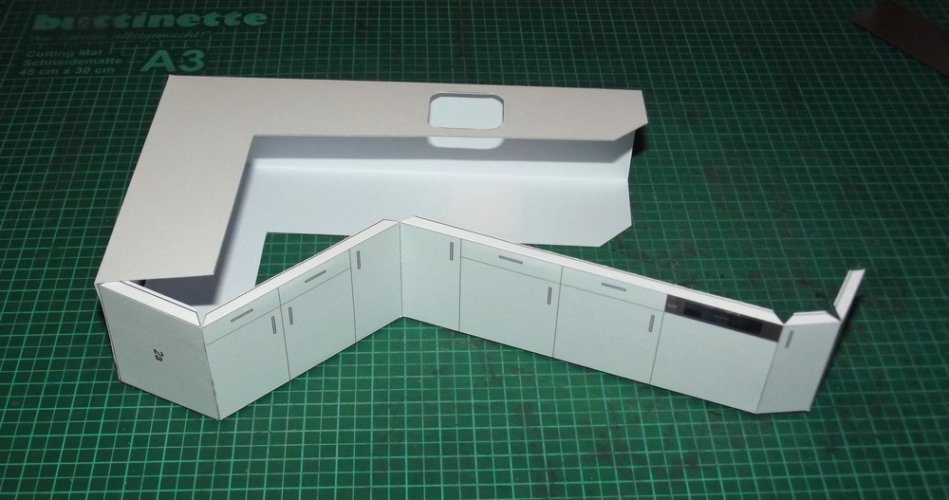
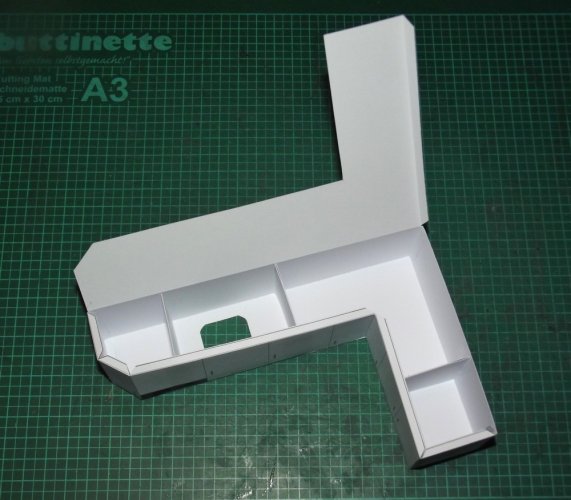
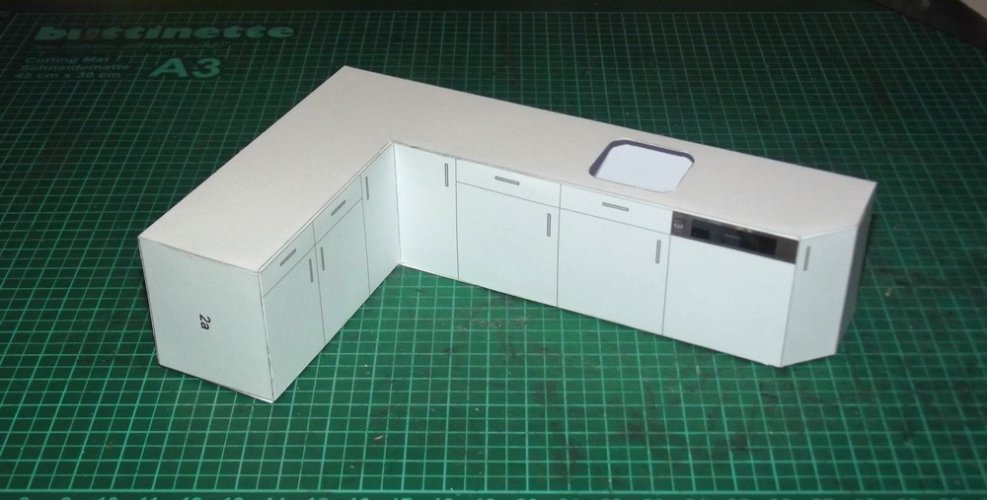
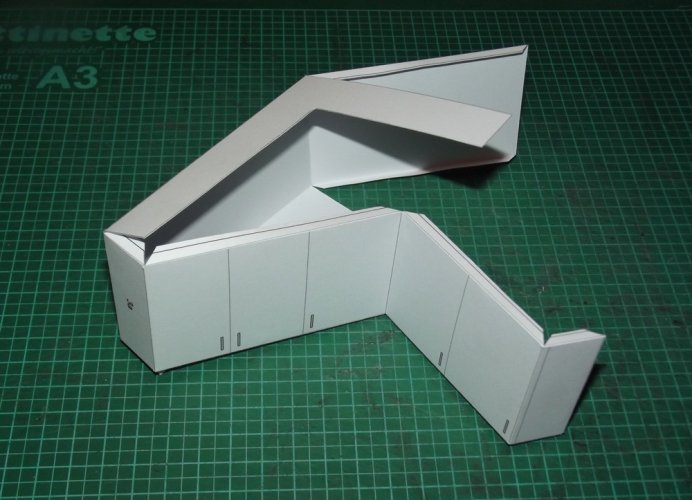
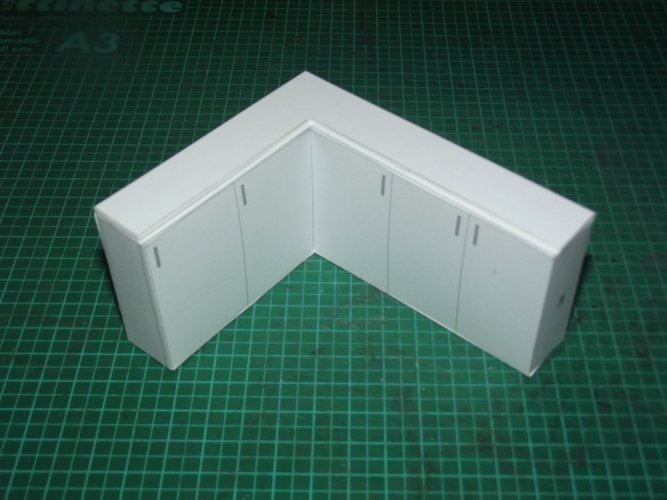
Next came the L-shaped kitchenette with the kitchen sink.

DSCF2838.jpg

DSCF2839.jpg

A few formers were inserted:

DSCF2841.jpg

DSCF2842.jpg

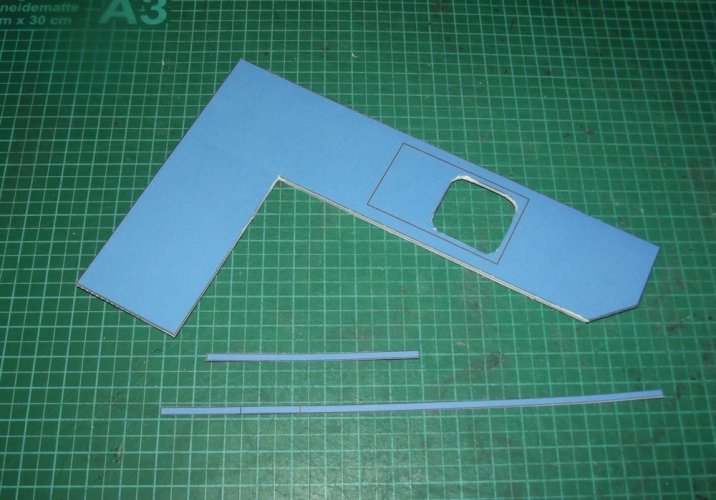
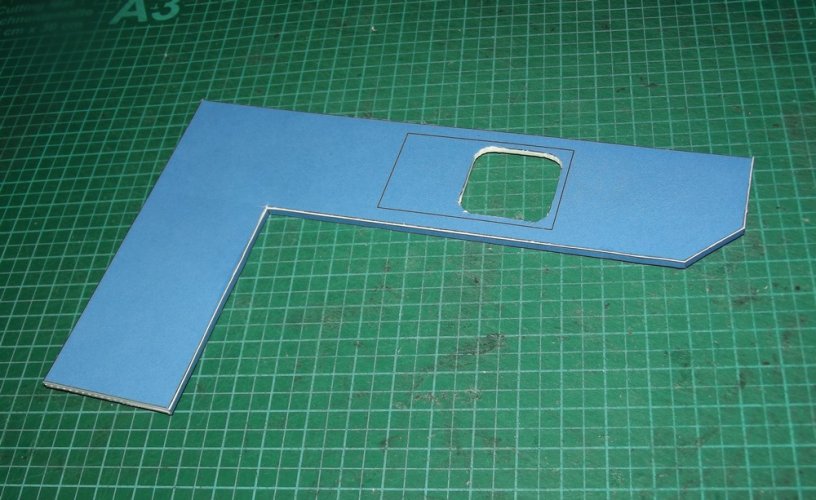
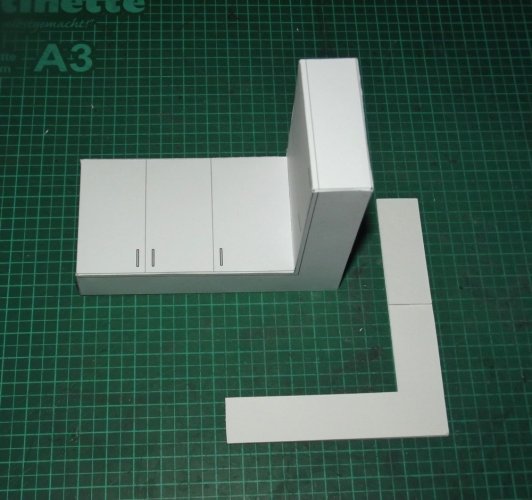
The countertop:

DSCF2846.jpg

Laminated to 2mm thickness. Two blue strips were used to clean up the edges:

DSCF2847.jpg

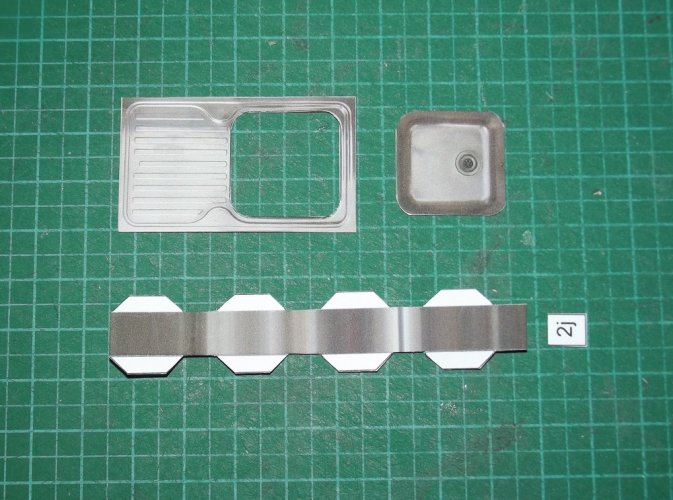
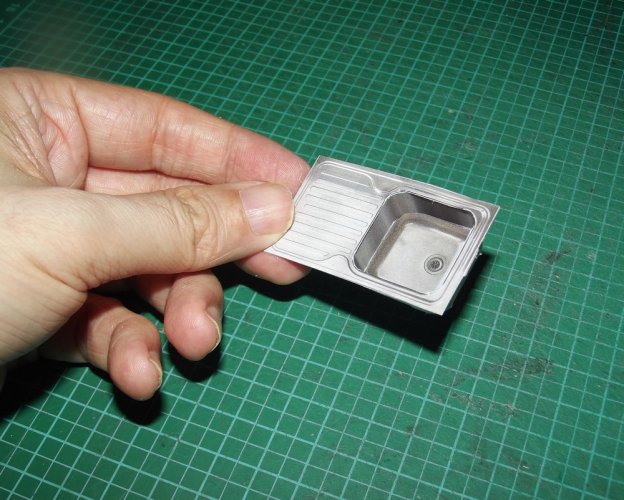
And the sink:

DSCF2843.jpg

DSCF2845.jpg

Pretty straight forward work. The dark spot in the upper left corner of the sink is the shadow of the water tap which will added later. It is not a dirt stain! ;)

Finally the wall cupboard:

DSCF2837.jpg

DSCF2848.jpg

DSCF2849.jpg

The result: Kitchen-to-go! :)

1715720770261.jpg
 
Last edited:
Revell-Fan

Co-Administrator
Staff member
Administrator
Moderator
Aug 1, 2009
11,679
12,463
228
Vreden
Now it was time to put everything into place. First the walls:

DSCF2864.jpg

Then the other components one by one:

DSCF2866.jpg

DSCF2867.jpg

DSCF2868.jpg

The sink fits like a glove! :)

DSCF2869.jpg

DSCF2870.jpg

DSCF2872.jpg

The cooker table is not glued to the floor yet because I'll need to add some deco to it. Much to my surprise there were no fitting issues at all! :)
 
Last edited:

abdullahsamir

Member
May 5, 2024
45
90
15
24
abdullahfloyd.github.io
  • Like
Reactions: Revell-Fan