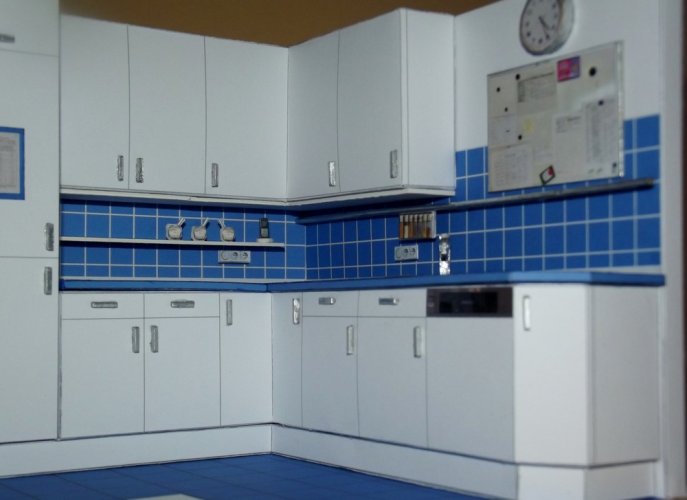
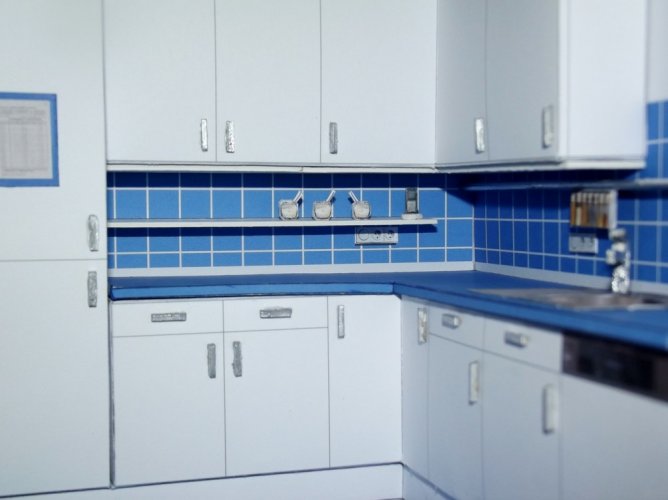
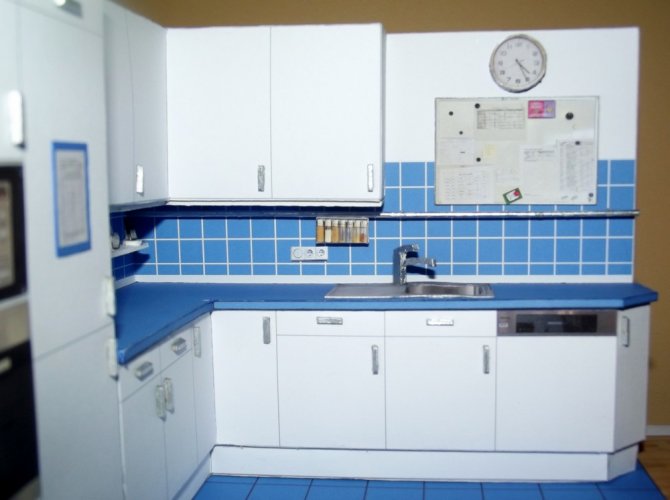
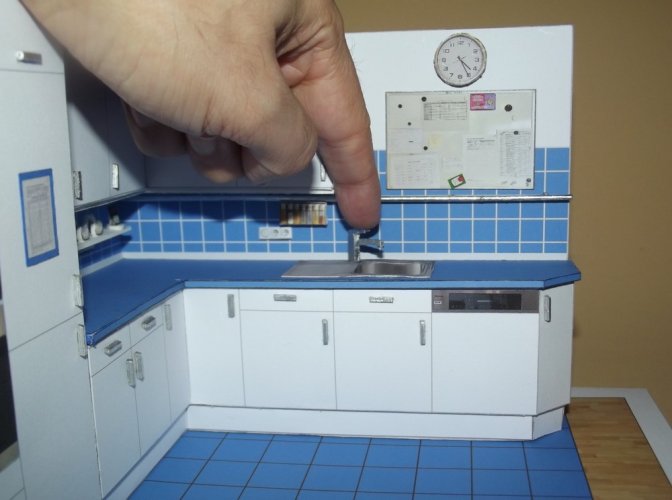
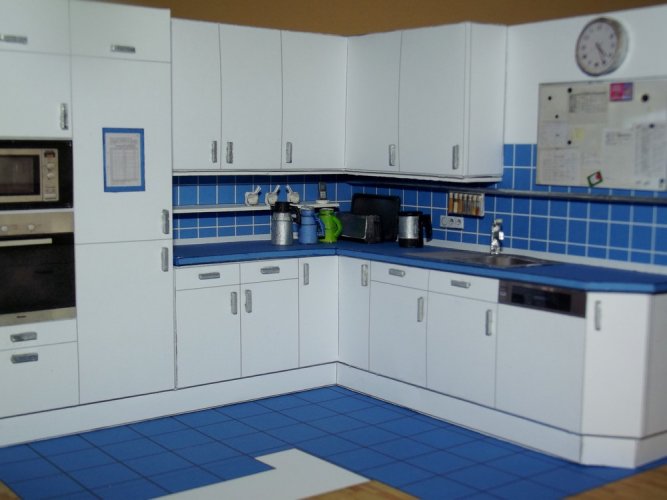
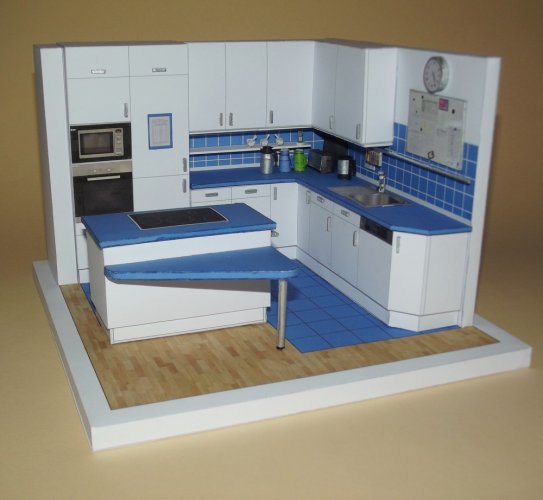
A simple kitchen for the Chef
- Thread starter Revell-Fan
- Start date
You are using an out of date browser. It may not display this or other websites correctly.
You should upgrade or use an alternative browser.
You should upgrade or use an alternative browser.
Yes but I'm having PC issues again. Corel stopped importing images edited by Gimp. I think it's a new plugin I installed recently.
PC issues solved, everything is back in business again. 
outstanding work, an interior designers dream, how you guys do it, ive no idea.ILM slammed a kitchen sink into a Republic Star Destroyer:
View attachment 218600
So of course I have always dreamt of making one (again, history repeats itself and the retirement of my colleague finally gave me a reason to make it). SciFi check: positive.
Sorry for the late reply but after the latest Windows update I was greeted by a "No Boot Device Found" screen. This made all alarm bells ring and I immediately came to the rescue. Fortunately a simple restart soled the issue but it reminded me to backup my machine stat. I updated my Macrium Reflect and was informed that the free version had reached its EOL and was no longer supplied with updates and fixes. No biggie, as long as it runs smoothly I am fine with it. Unfortunately this delayed the project by two days but since I still have two weeks left to finish it this caused no issues. In fact, it gave me the chance to take some new photos under different lighting conditions for the church project.
Well then. Most of the time went into unfolding and texturing the parts. Preparation is the essence here. The big plus is that everything is pretty straight forward, even the graphics. Printing took place before the black screen of death appeared so I had all parts necessary at the ready to assemble them.
View attachment 218601
All major components are either boxes or laminated plates, so there is no magic at work at all.
View attachment 218602
The floor consists of a top and a bottom half. Some corrugated card laminated together to meet the desired thickness was put between them to stabilize the floor.
View attachment 218603
The walls are constructed in the same way:
View attachment 218604
View attachment 218605
Again, corrugated card was put inside for strength.
The fridge / micowave / oven combi is a simple box:
View attachment 218606
I added some T-shaped formers which I made from some leftover paper.
View attachment 218607
View attachment 218608
They were glued into place:
View attachment 218609
View attachment 218610
Fridge ready. The sheet on the blue board is a control sheet to document the temperature (important to make sure that everything works properly).
Next is the cooker / table combi. It consists of two plates with corrugated card inside, two boxes with formers made on-the-fly and a pole.
View attachment 218612
View attachment 218614
View attachment 218615
View attachment 218616
View attachment 218611
View attachment 218613
View attachment 218619
View attachment 218617
View attachment 218618
 Although i always thought 'sink a battleship' meant something else entirely lol - your version seems so much better
Time for another update! 
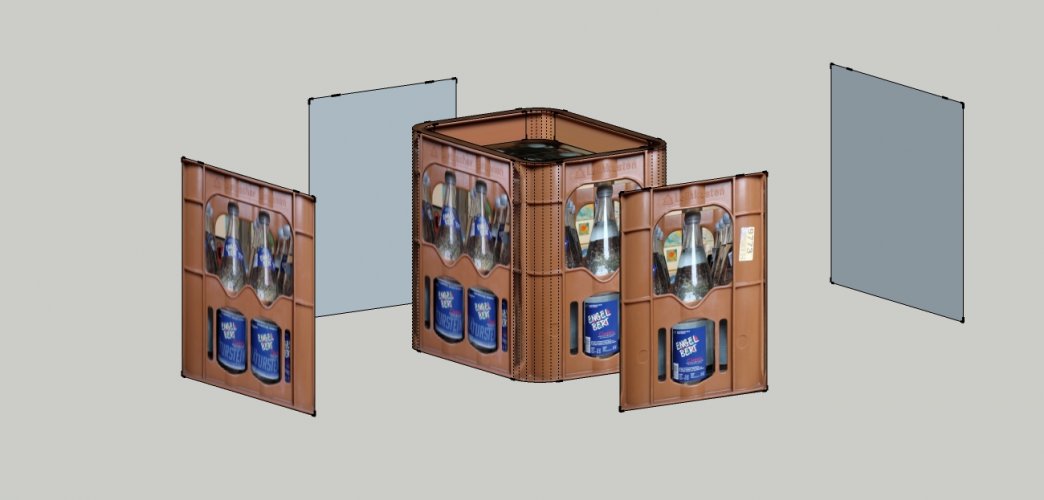
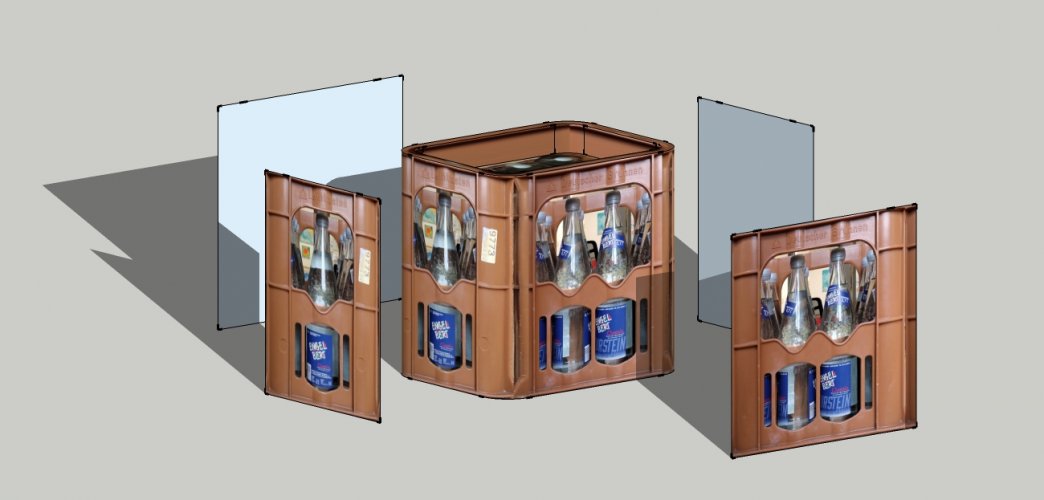
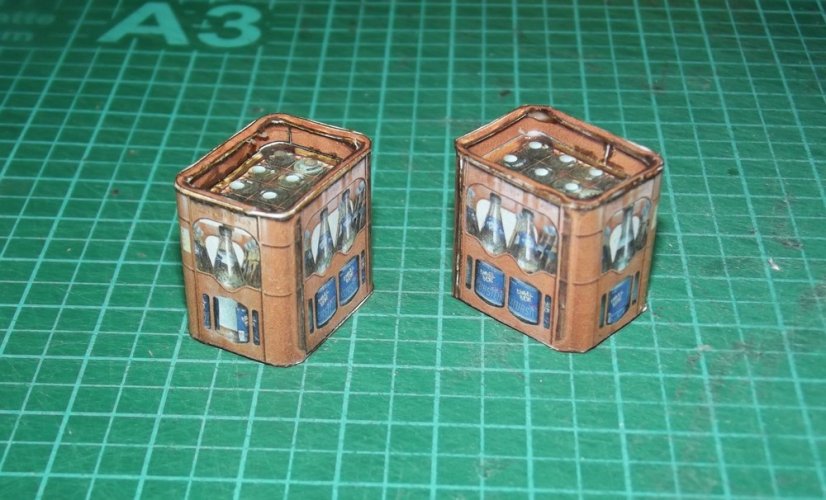
After successfully modeling and unfolding all accessories I printed the pages and started with assembly. First the water bottle crates:
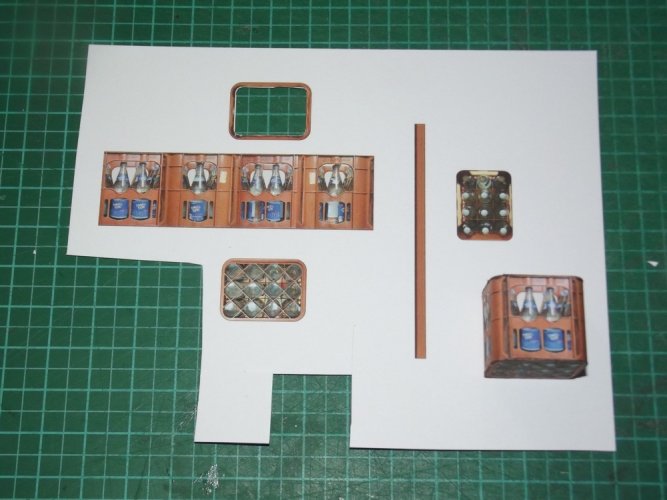
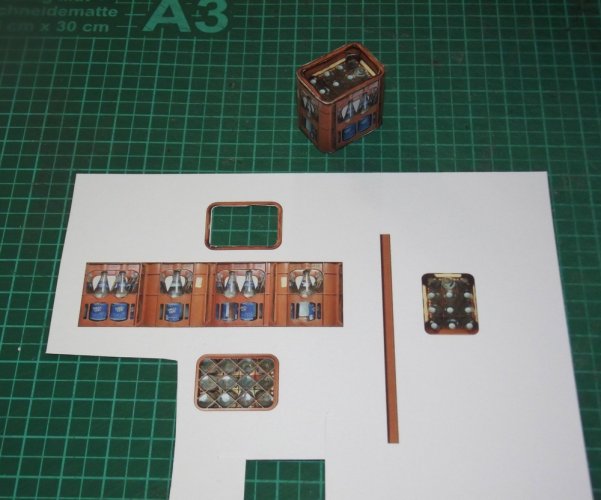
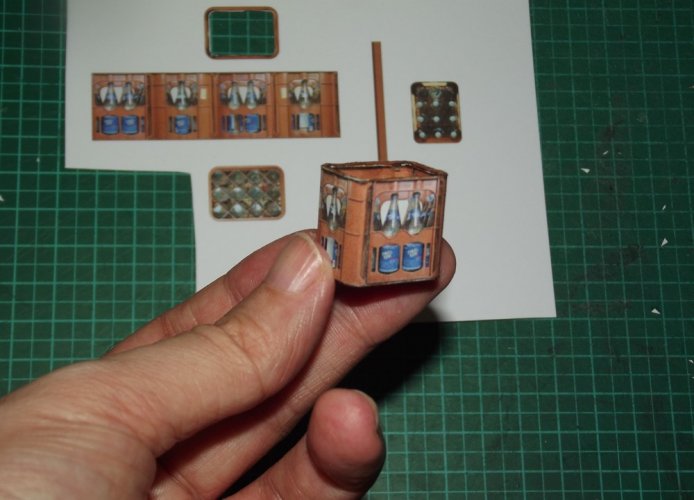
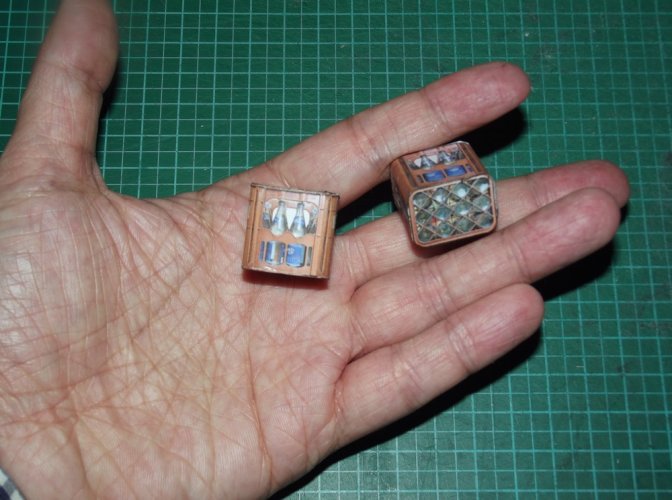
I needed two of them.
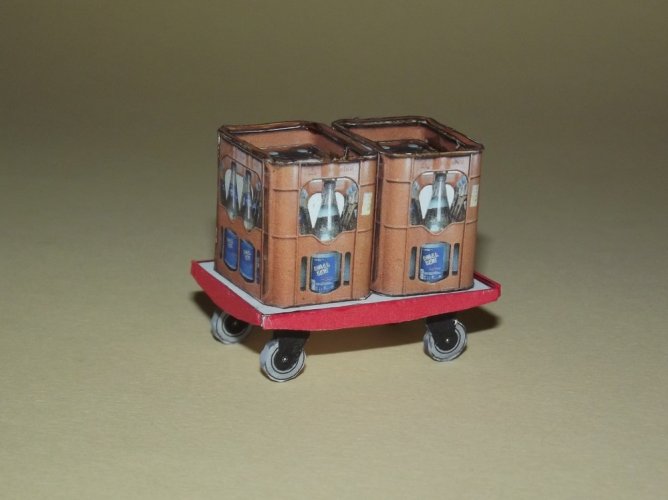
Next was the small cart:
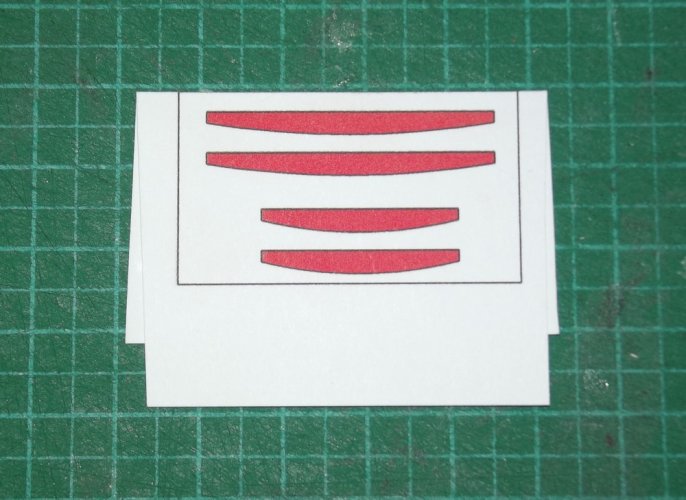
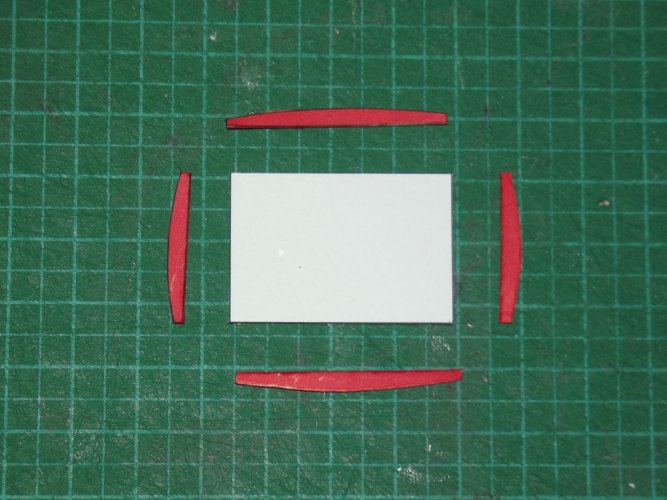
All parts are flat and were laminated to a back side. The tray and wheels received a layer of card sandwiched between front and back side.
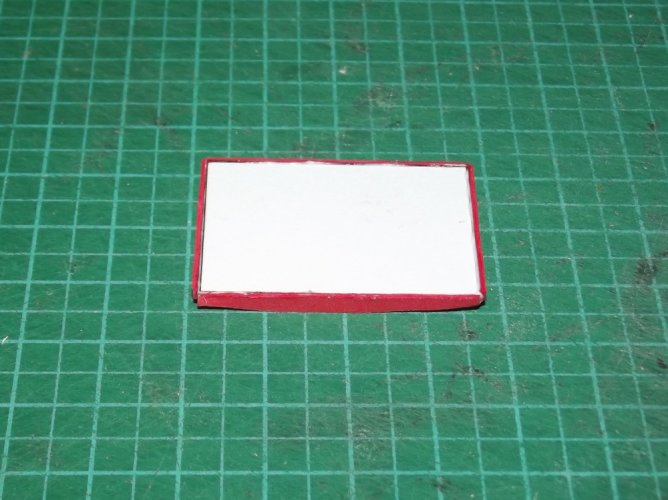
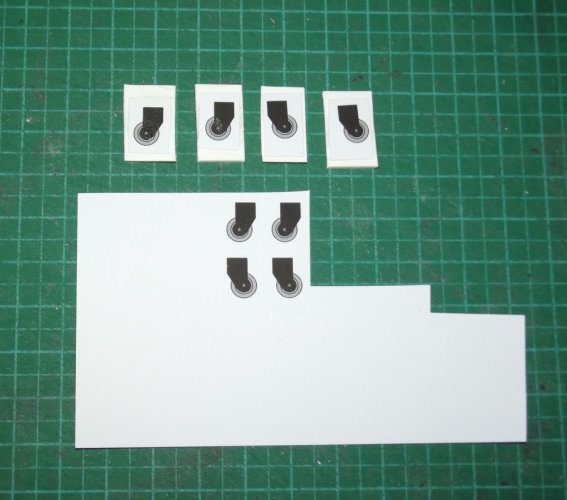
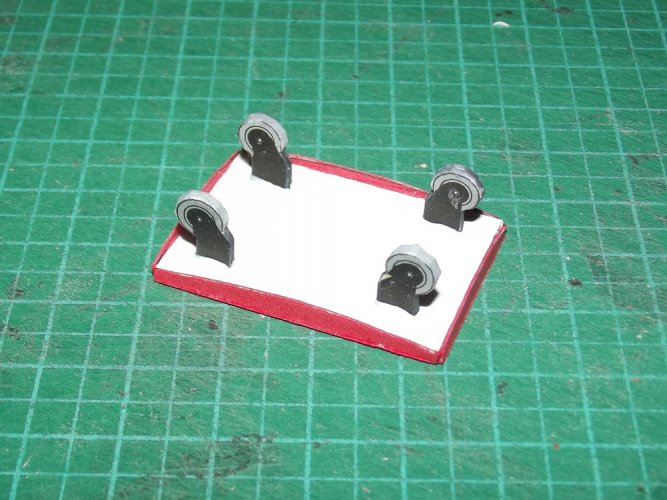
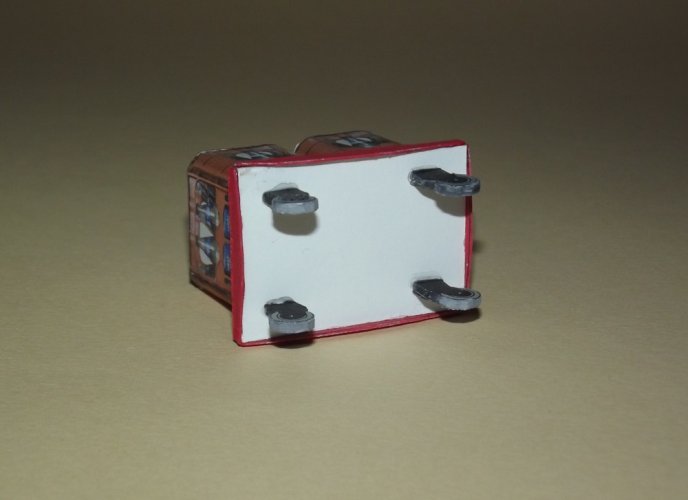
Take a good look because this is the last time you will see the bottom of the crates. Both of them were glued to the cart to make sure that they don't get lost.
Then it was time to finalize the cooking table. On its left side there is a bar for letting towels dry. I was looking for a fitting wire which I could use but everything I found was either too big or too small. I could have used a paper roll but a toothpick was much easier to handle. Sorry for the blurry picture, I did not notice that it came out that way.
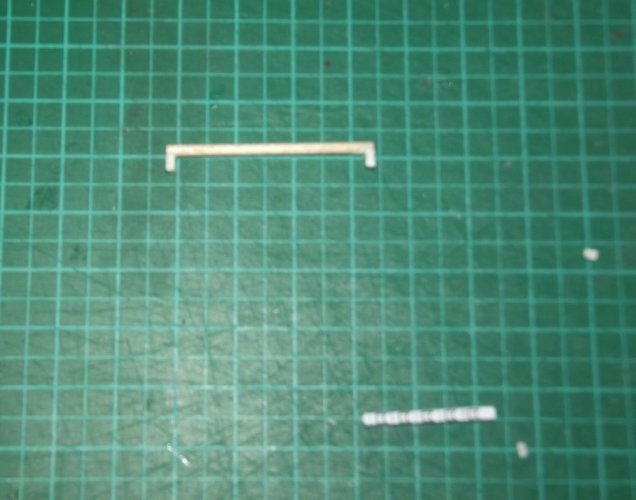
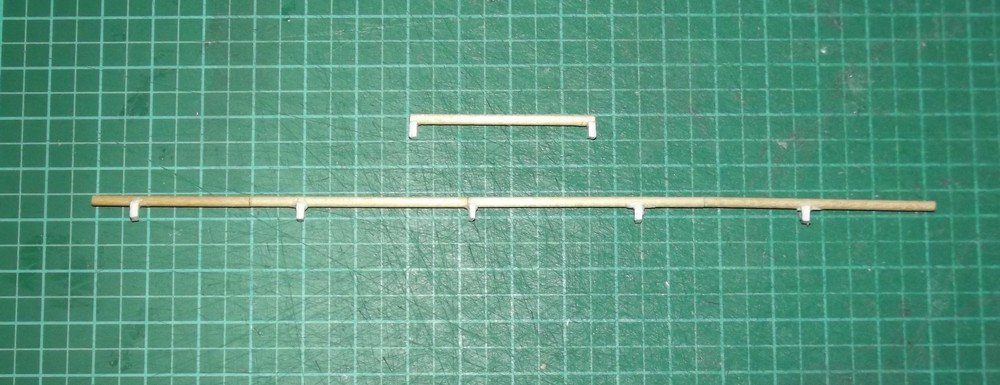
I cut it to fit and fabricated a longer bar which would go on the wall above the kitchen sink. Since that one went straight across the wall it needed to be a bit longer than a traditional toothpick. So I cut the pointy tips off of four picks and glued them together as shown:

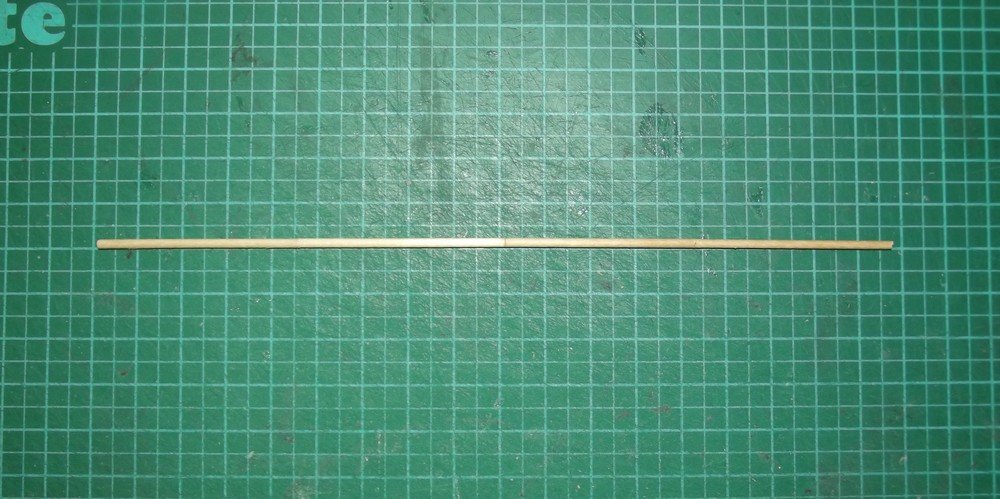
I let the glue cure completely. Much to my surprise the construction kept its shape nicely as intended.
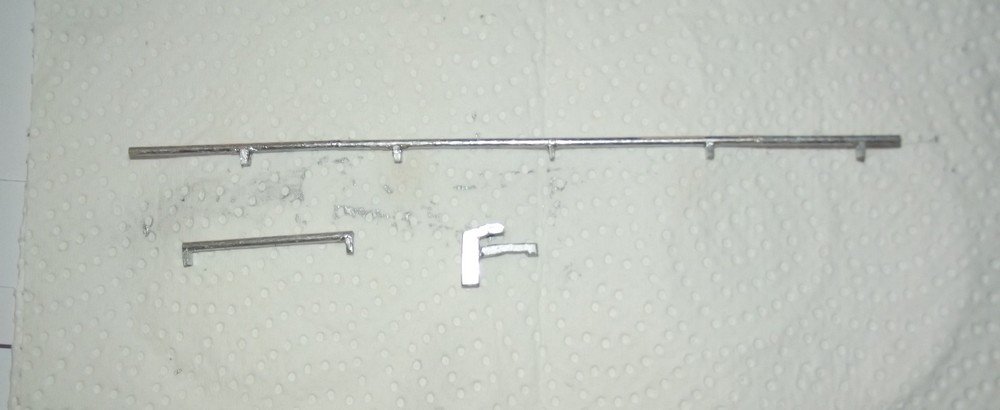
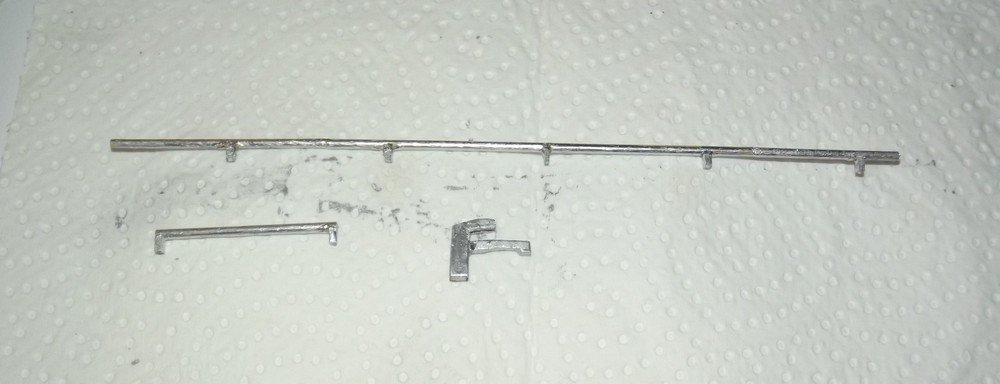
The small mounts were simple rectangles with a notch cut out. Both rods were painted silver.
Below you can see the water tap which consists of several laminated layers.
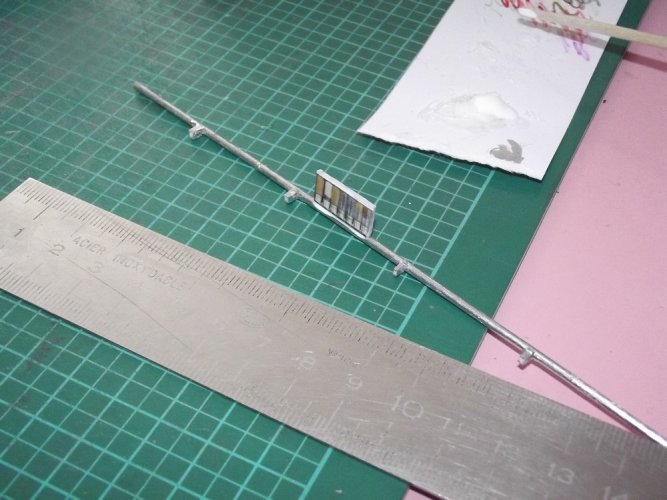
Some little spice cans were glued to the long bar to make it ready for installing.
After successfully modeling and unfolding all accessories I printed the pages and started with assembly. First the water bottle crates:


I needed two of them.

Next was the small cart:


All parts are flat and were laminated to a back side. The tray and wheels received a layer of card sandwiched between front and back side.


Take a good look because this is the last time you will see the bottom of the crates. Both of them were glued to the cart to make sure that they don't get lost.


Then it was time to finalize the cooking table. On its left side there is a bar for letting towels dry. I was looking for a fitting wire which I could use but everything I found was either too big or too small. I could have used a paper roll but a toothpick was much easier to handle. Sorry for the blurry picture, I did not notice that it came out that way.

I cut it to fit and fabricated a longer bar which would go on the wall above the kitchen sink. Since that one went straight across the wall it needed to be a bit longer than a traditional toothpick. So I cut the pointy tips off of four picks and glued them together as shown:


I let the glue cure completely. Much to my surprise the construction kept its shape nicely as intended.

The small mounts were simple rectangles with a notch cut out. Both rods were painted silver.

Below you can see the water tap which consists of several laminated layers.

Some little spice cans were glued to the long bar to make it ready for installing.

Last edited:
I really like the bottle crate. I think that an empty one sitting somewhere would be nice to see as well.
The template allows you to make one. You only have to cut out the openings and paint the inside brown. 
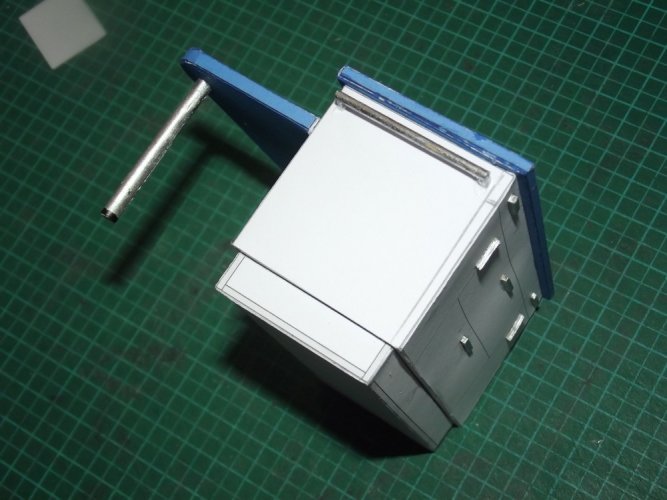
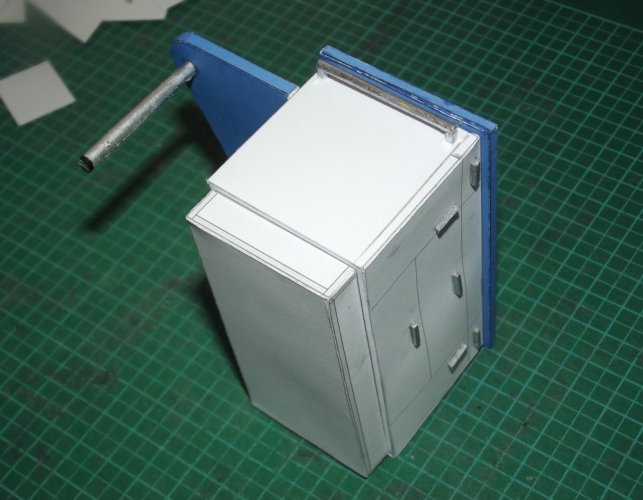
The small bar was attached to the cooking table.
The next accessories were assembled. The napkin bowl:
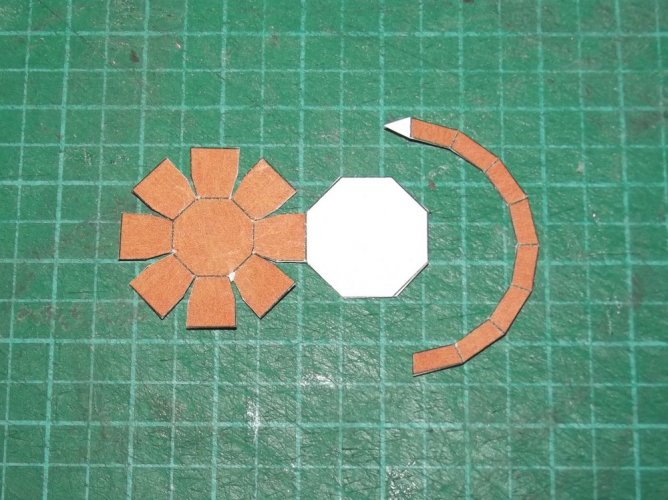
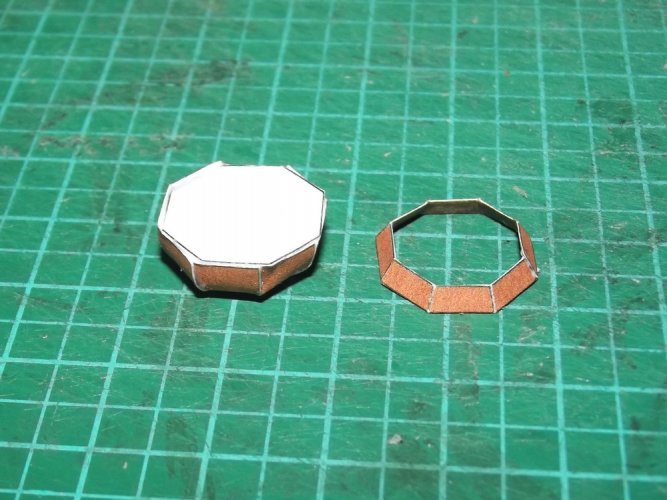
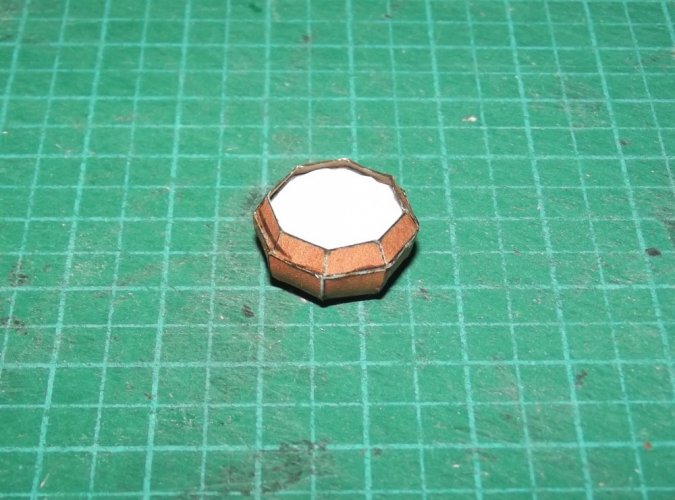
To give it an authentic texture I inserted a small piece of tissue paper.
The toaster:

Well, the other one, of course..!

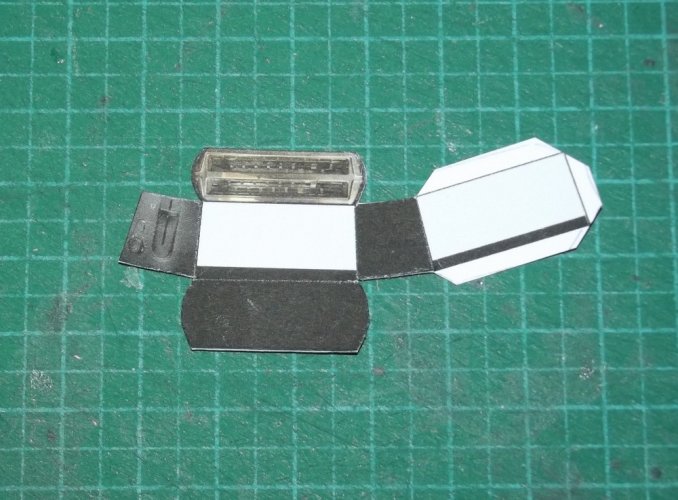
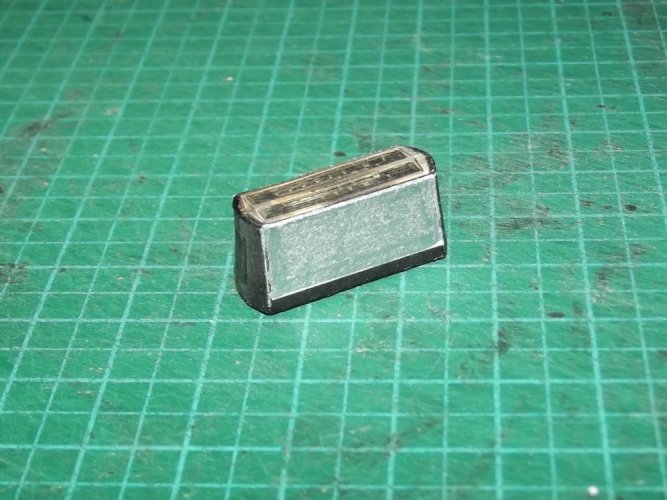
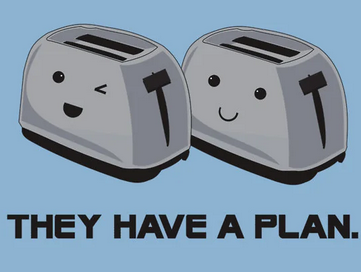
Those are tiny little buggars. Always remember:

Some juice bottles:
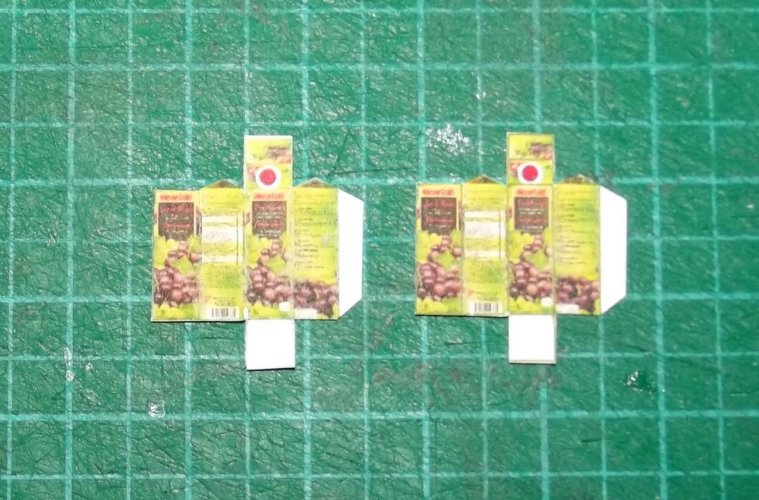
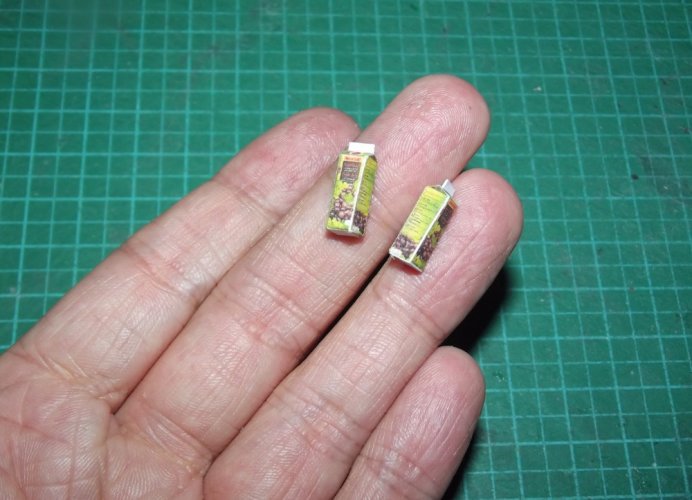
Sugar pots:
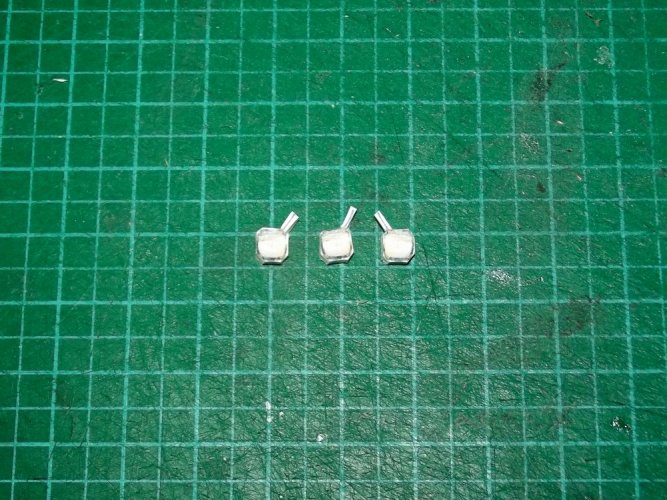
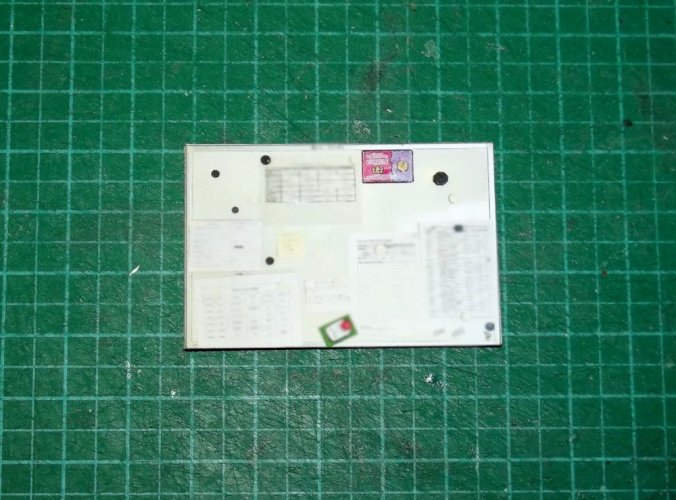
Memo board (FYI: confidential info was blurred in all pictures if necessary):
And the coffee / tea pots:
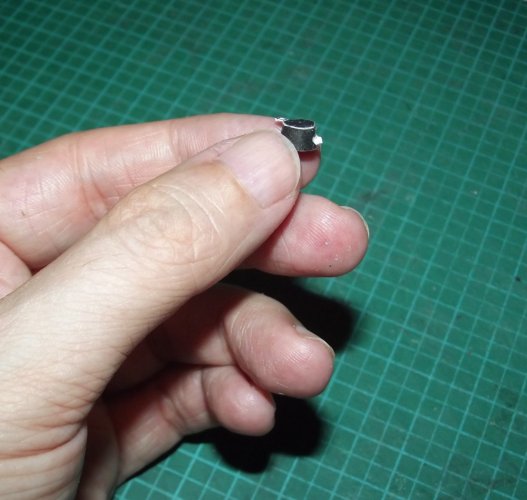
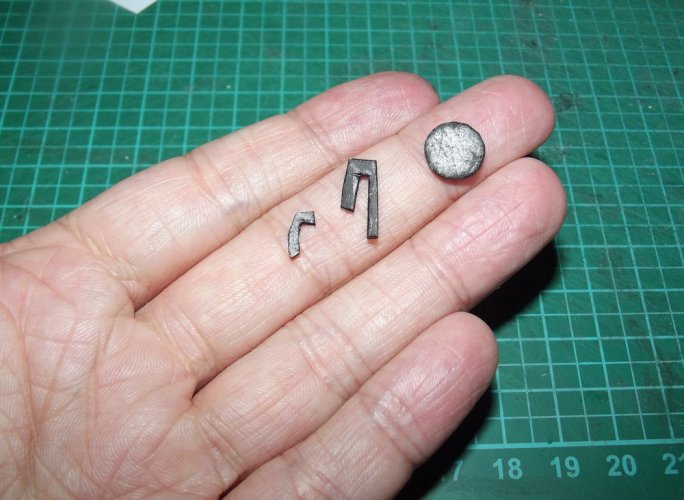
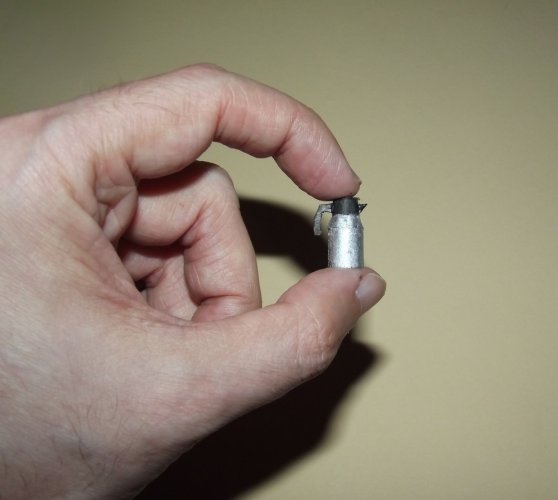
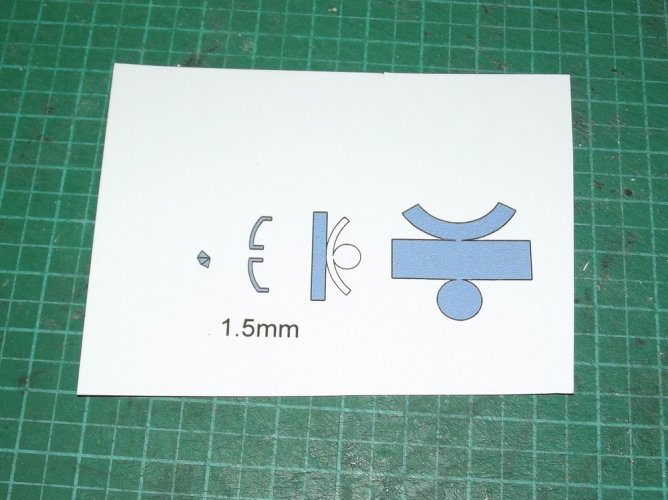
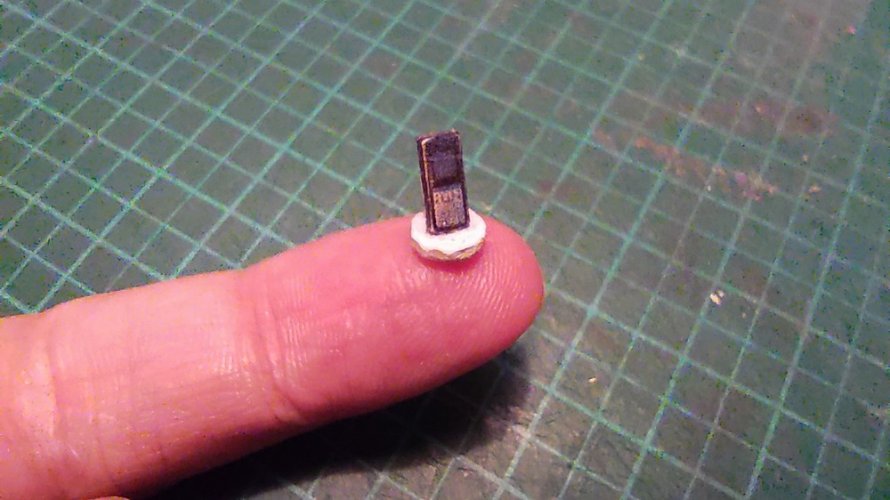
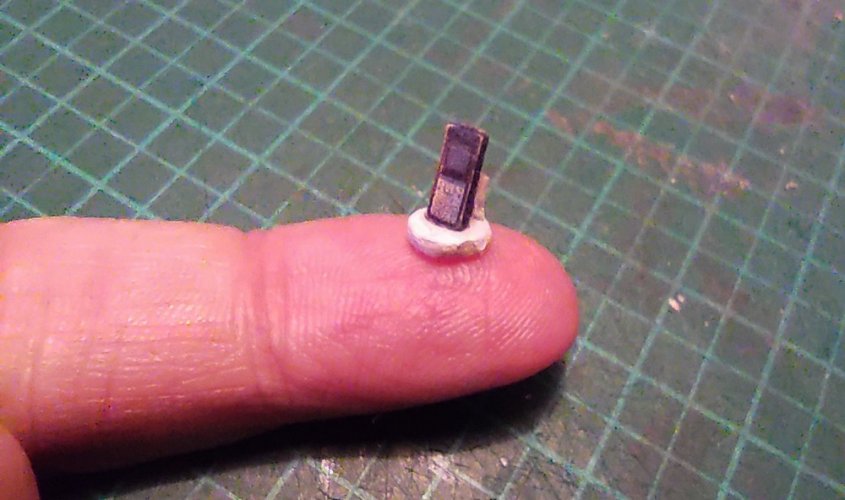
The blue coffee pot has the smallest part of the entire kit:
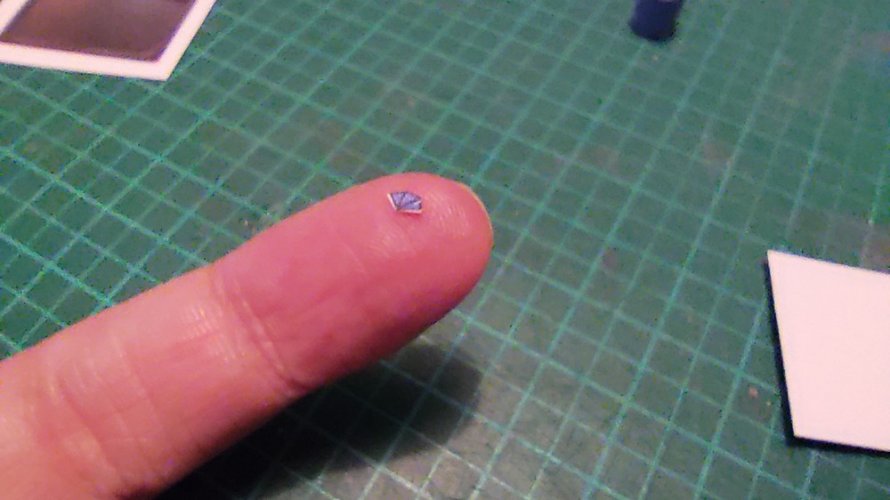
Do not ask me how I managed to assemble it, I just closed my eyes and squeezed everything together.
Et voilà, two pots and one kettle on a tray:


The small bar was attached to the cooking table.


The next accessories were assembled. The napkin bowl:


To give it an authentic texture I inserted a small piece of tissue paper.
The toaster:

Well, the other one, of course..!


Those are tiny little buggars. Always remember:


Some juice bottles:


Sugar pots:

Memo board (FYI: confidential info was blurred in all pictures if necessary):

And the coffee / tea pots:


The blue coffee pot has the smallest part of the entire kit:

Do not ask me how I managed to assemble it, I just closed my eyes and squeezed everything together.
Et voilà, two pots and one kettle on a tray:

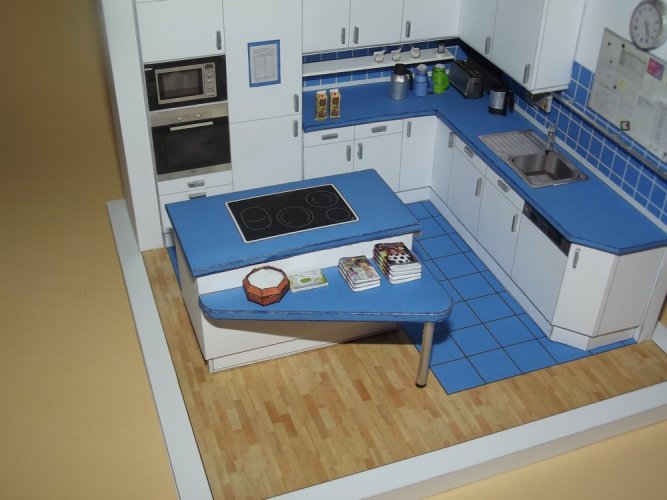
Now comes a very important addition. Since the kitchen is a central part of the community it was supposed to look "lived-in". The kitchen utensils did their job but I wanted more to give it a cozy and natural atmosphere. In the real world we put magazines and newspapers on the cooking table so that the tenants are allowed to pick their favourite issue. So I made some magazines for deco.
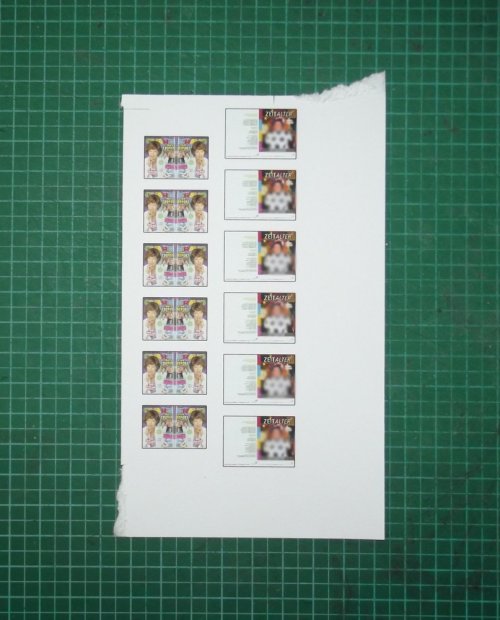
The covers were printed and cut out.
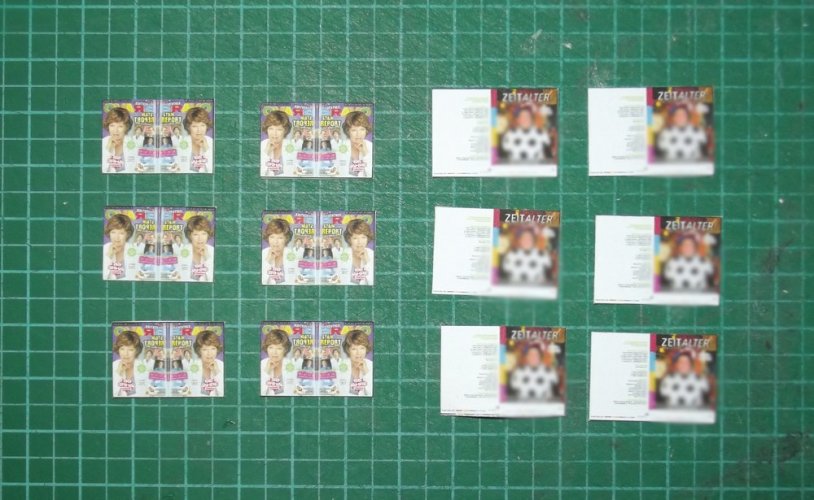
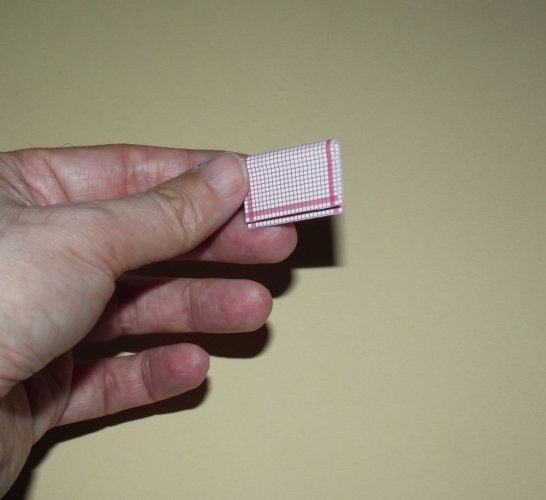
They were folded in the middle. Please note that I did not score the folding line. This made sure that the covers bent like real magazine covers.
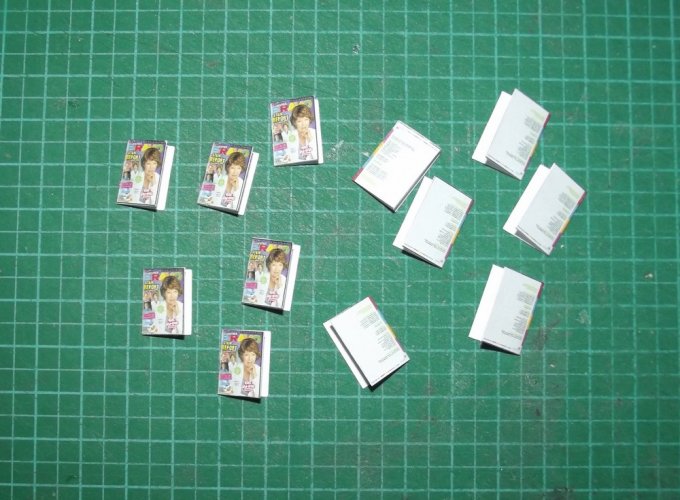
Then I added two layers of paper between the cover pages. I used left-over paper from the parts pages.
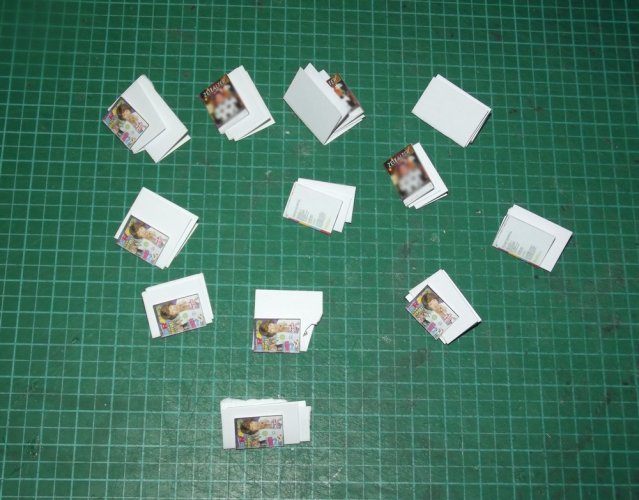
Those layers were held in place by a drop of glue in the middle of the pages. This was done in order not to fully glue everything together. You should still see the individual pages when you look carefully. Excess paper was cut off. To further add a realistic look I pushed the spine toward the middle to create a little bulge:
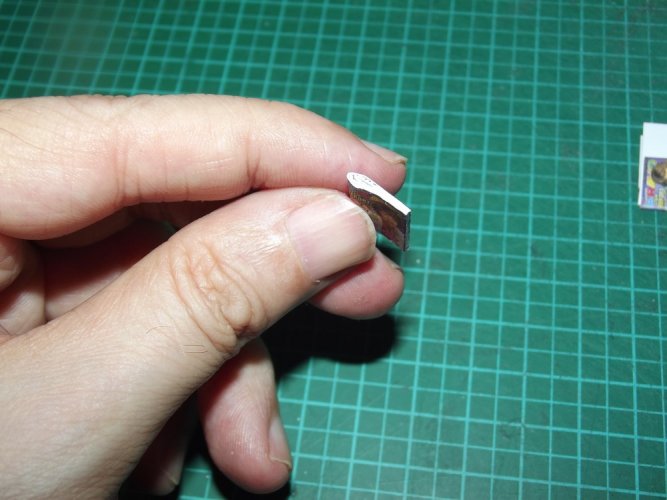
That was pretty nice and when I began to stack them the illusion was perfect:
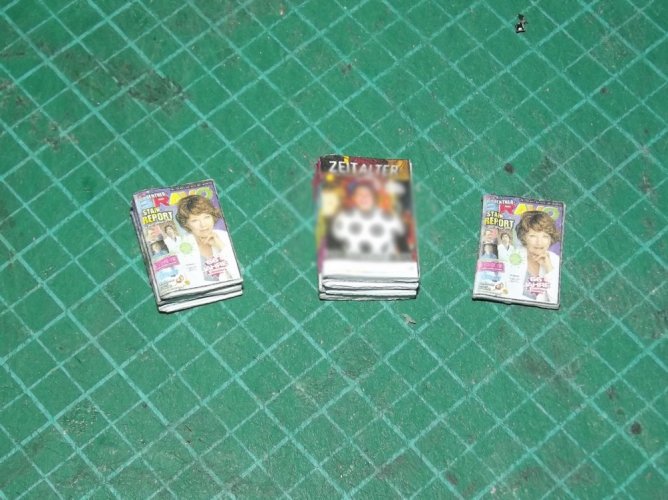
The smaller magazine is the anniversary issue of the "Apotheken-Umschau" which is nicknamed the "Rentner-BRAVO" here. This is a pun on the BRAVO magazine which is a famous and very popular youth magazine in Germany reporting on pop culture, movies, lifestyle and all topics related to a teenage life. Since the "Umschau" is mostly read by a more seasoned audience it had become known as the "BRAVO for the elderly". When the "Umschau" got 66 years old they released an official "Rentner-BRAVO" in the style of the youth magazine. It has become a coveted collector's issue.
The larger magazine is a "special issue" of our in-house quaterly called "ZeitAlter". I put a picture of my colleague on the cover and personalized it accordingly.
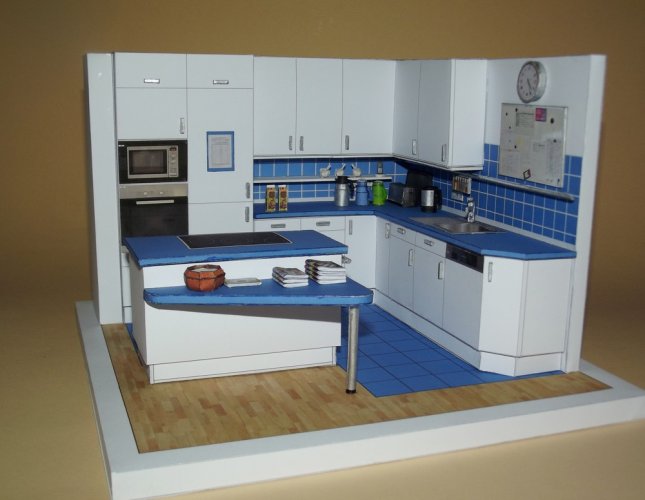
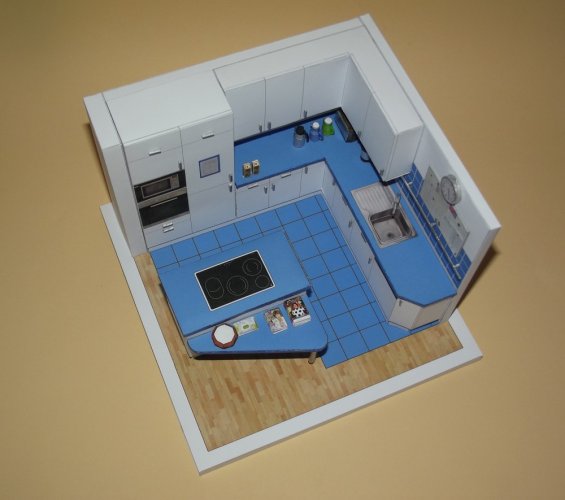
Slowly we are getting there!
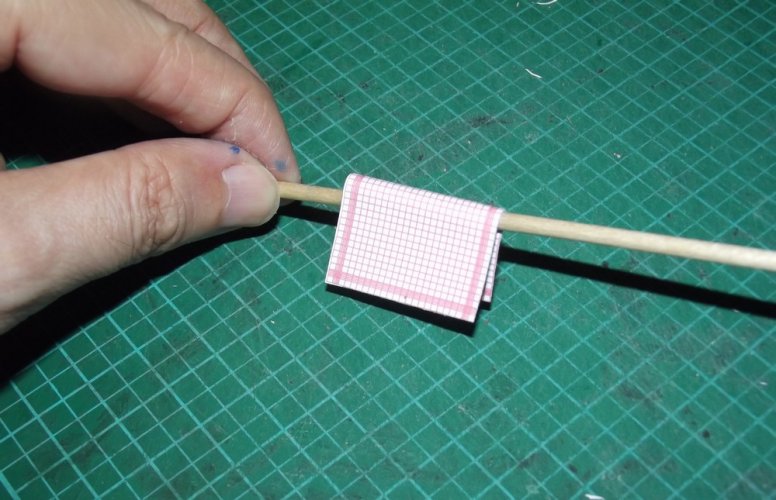
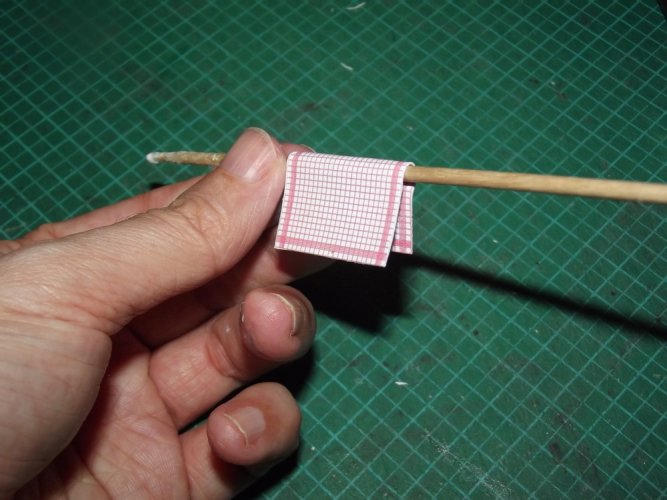
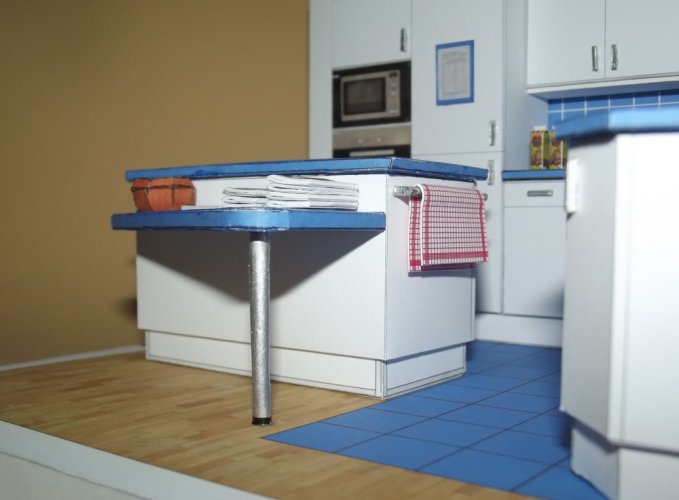
A towel was bent around a rod and hung over the bar on the cooking table:
A ballpen with suction cup was added to the wall next to the fridge so that you can write down the temperature in the check list:
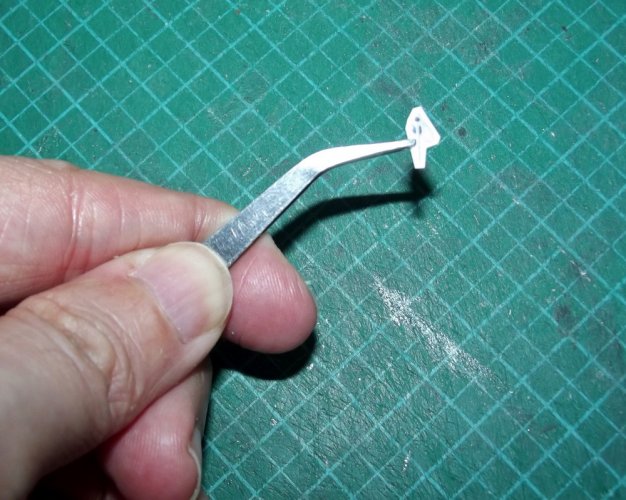
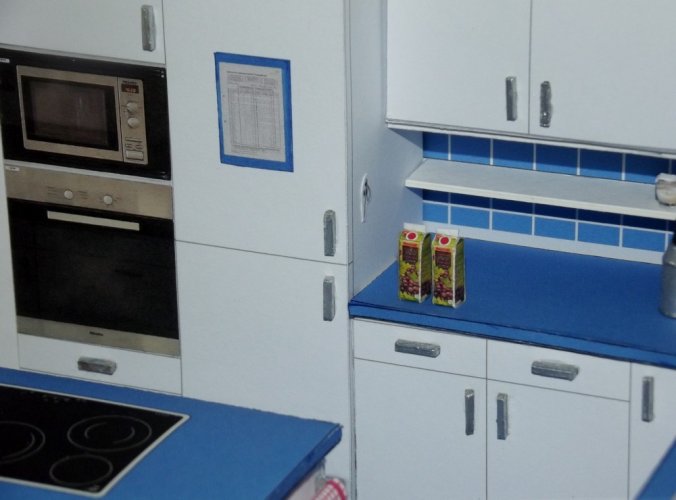
And finally a pair of scissors:
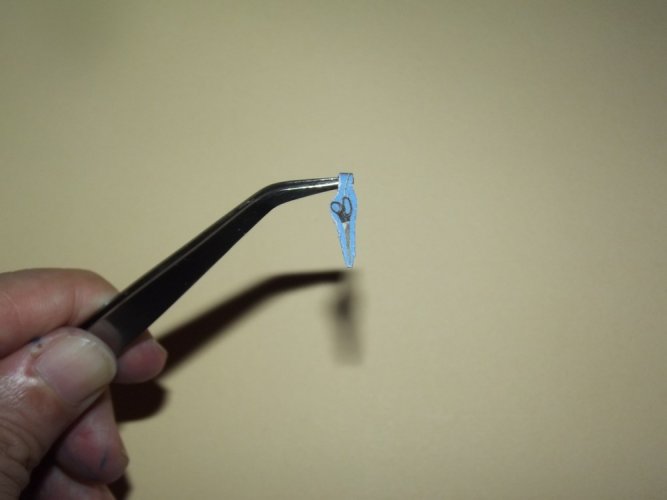
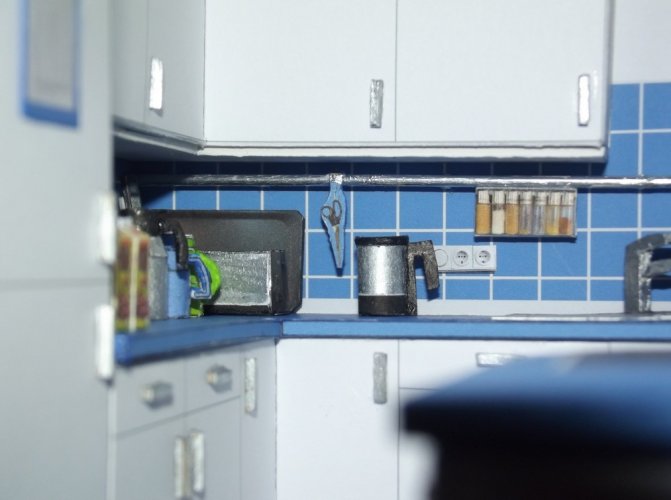

The covers were printed and cut out.

They were folded in the middle. Please note that I did not score the folding line. This made sure that the covers bent like real magazine covers.

Then I added two layers of paper between the cover pages. I used left-over paper from the parts pages.

Those layers were held in place by a drop of glue in the middle of the pages. This was done in order not to fully glue everything together. You should still see the individual pages when you look carefully. Excess paper was cut off. To further add a realistic look I pushed the spine toward the middle to create a little bulge:

That was pretty nice and when I began to stack them the illusion was perfect:

The smaller magazine is the anniversary issue of the "Apotheken-Umschau" which is nicknamed the "Rentner-BRAVO" here. This is a pun on the BRAVO magazine which is a famous and very popular youth magazine in Germany reporting on pop culture, movies, lifestyle and all topics related to a teenage life. Since the "Umschau" is mostly read by a more seasoned audience it had become known as the "BRAVO for the elderly". When the "Umschau" got 66 years old they released an official "Rentner-BRAVO" in the style of the youth magazine. It has become a coveted collector's issue.
The larger magazine is a "special issue" of our in-house quaterly called "ZeitAlter". I put a picture of my colleague on the cover and personalized it accordingly.

Slowly we are getting there!


A towel was bent around a rod and hung over the bar on the cooking table:


A ballpen with suction cup was added to the wall next to the fridge so that you can write down the temperature in the check list:


And finally a pair of scissors:


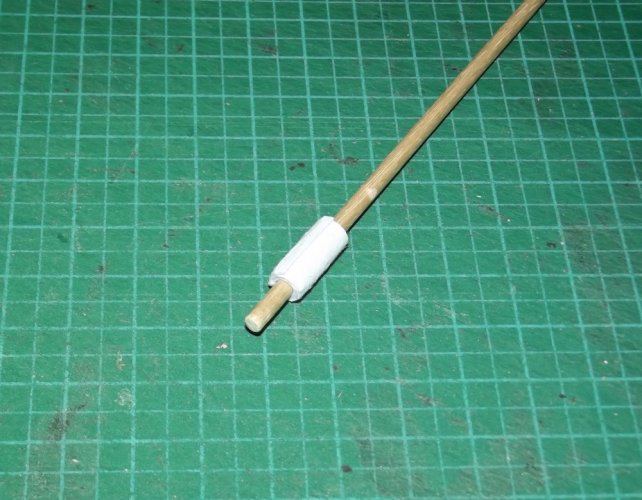
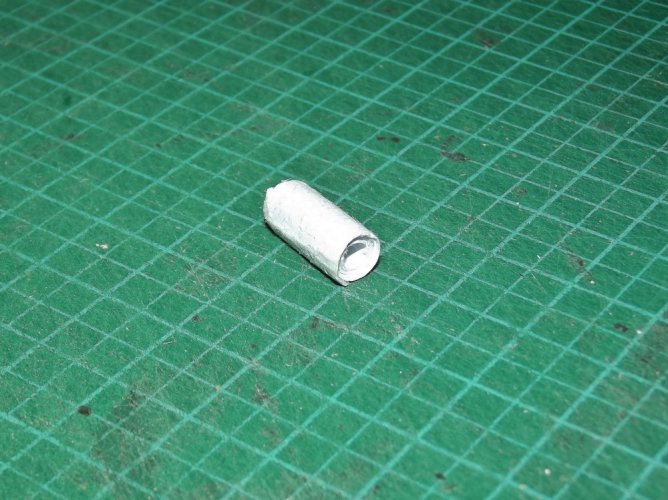
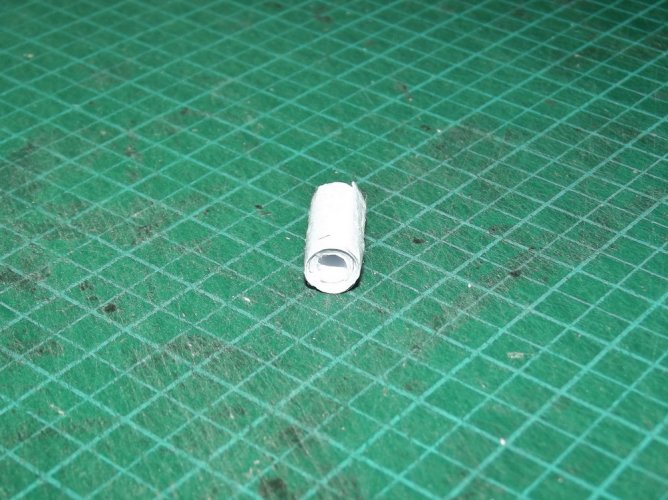
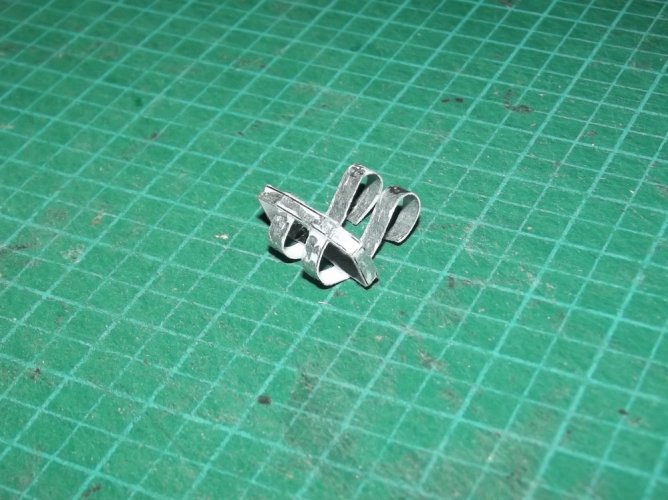
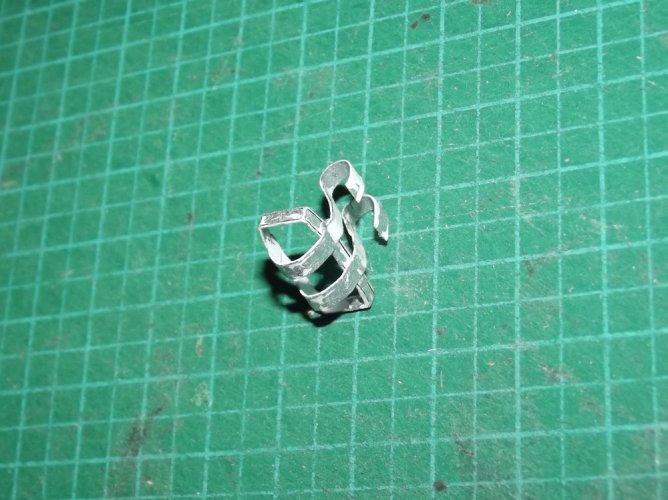
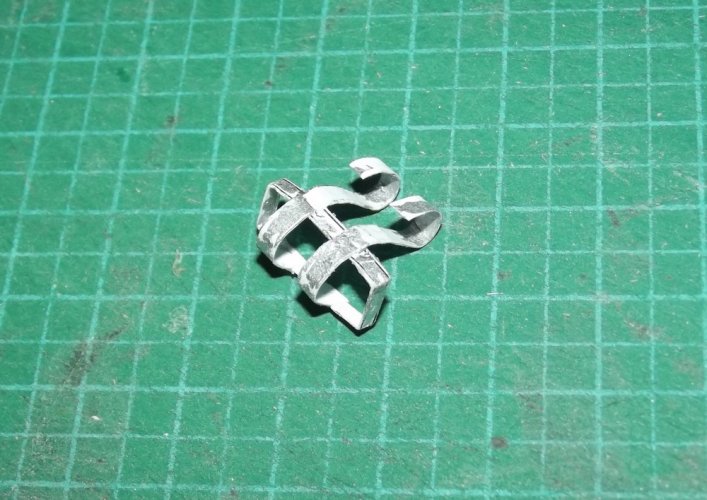
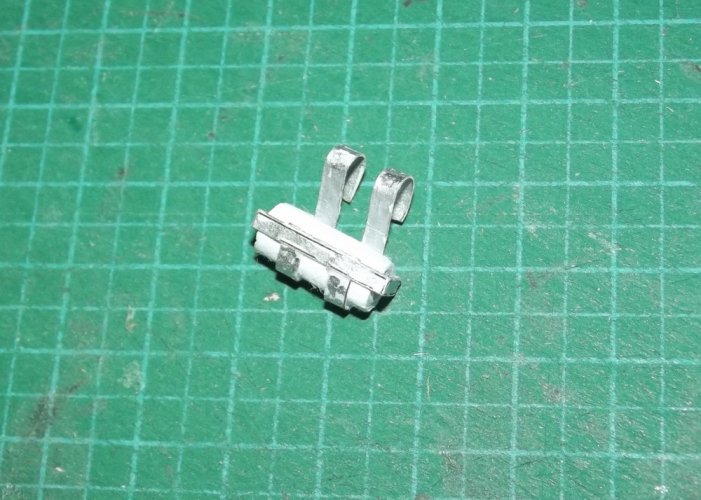
The final accessory was the roll of paper towels. Everything started with a paper strip which was rolled tightly around a rod. Some glue was applied to prevent it from unrolling.

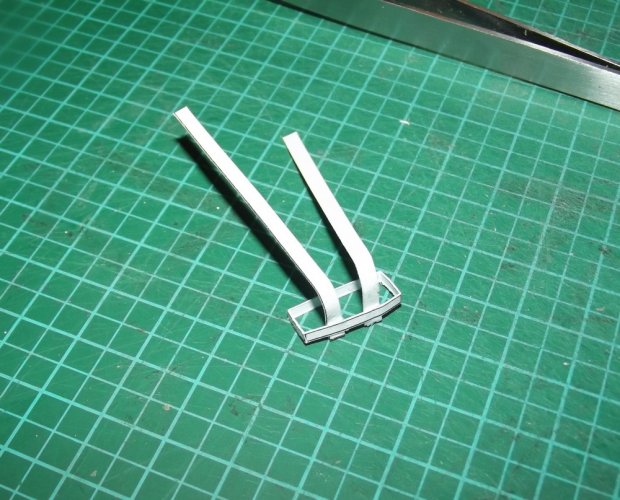
The mounting cage was made from a rectangular frame to which two paper strips were attached:
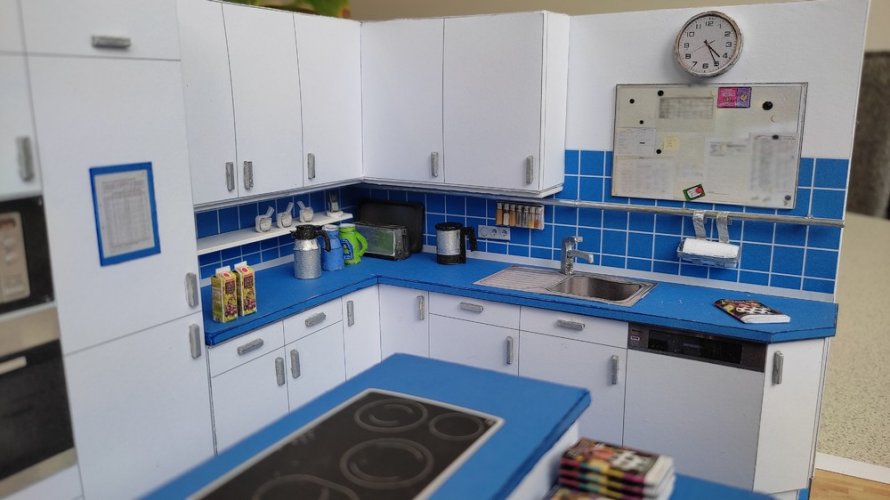
Finishing touches:
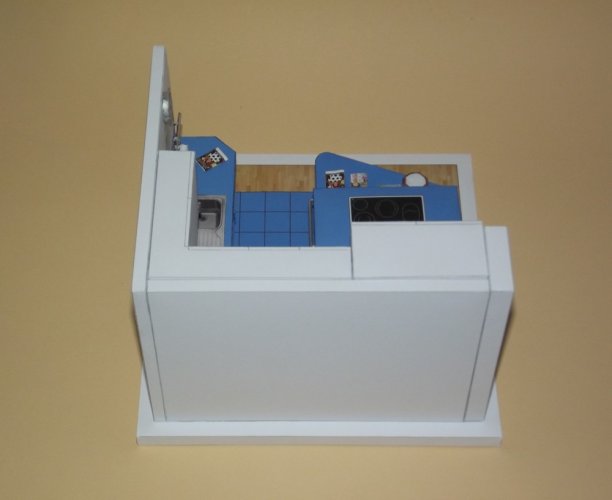
There were a few visible seams on the top and back of the dio.
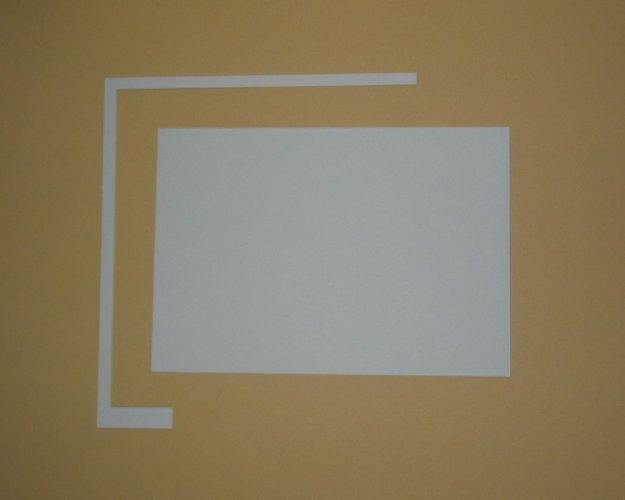
Two cover pieces were cut out and attached.
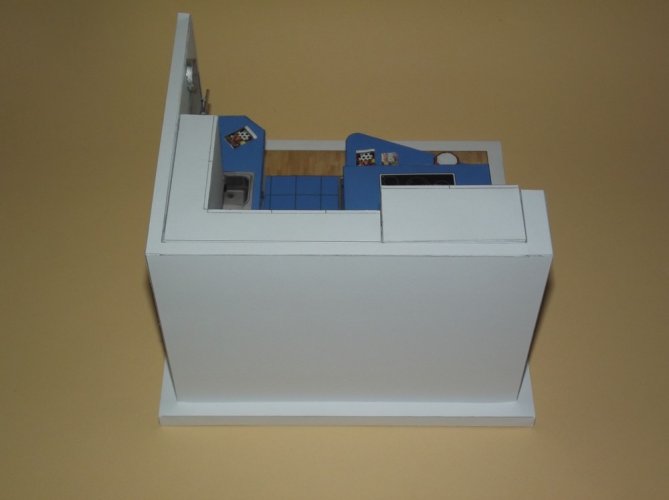
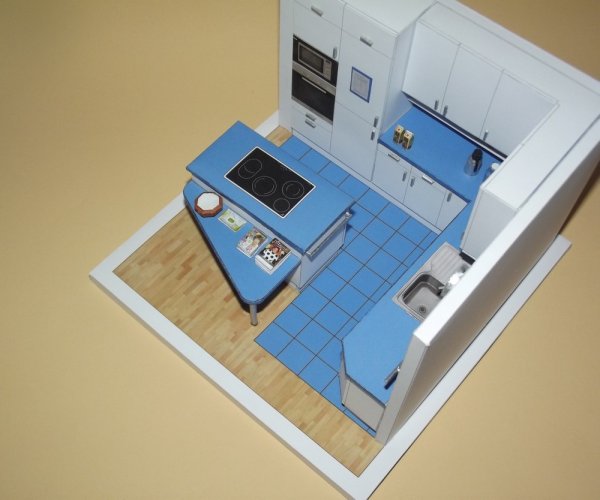
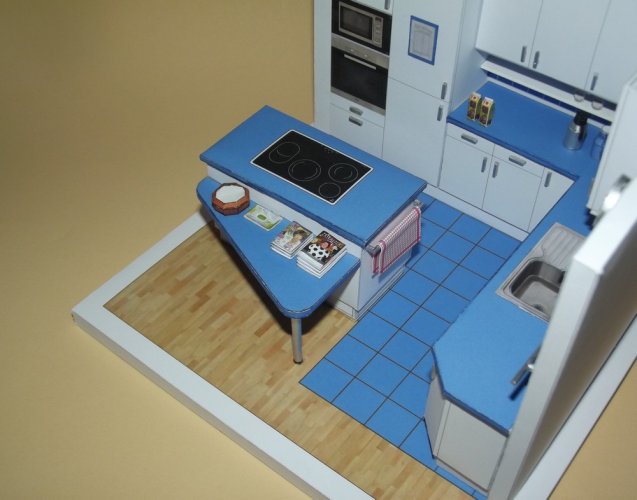
DONE!


The mounting cage was made from a rectangular frame to which two paper strips were attached:


Finishing touches:

There were a few visible seams on the top and back of the dio.

Two cover pieces were cut out and attached.

DONE!
that sir, is outstanding. Between you and our dear @mijob im starting to picture what a Jedi Knights home would look like. Amazing detail. 

That is looking fantastic. Oke we have found the shrink gun...
Yes Sir, this is just crazy,
this level of detail .... it looks real enough to me.
(yes, he had it for a long time now and kept silent about it .. )
)
Well done Revell-Fan
this level of detail .... it looks real enough to me.
(yes, he had it for a long time now and kept silent about it ..
Well done Revell-Fan
 The level of detail is incredible!
 Every project you take on always has just a little something extra. the magazines, the customization of adding your friend on the cover.
You are such a blessing to all who know you.


