WARNING!! This post contains images that sensitive viewers may find offensive! Proceed at your own risk!
Next up, the main ring....
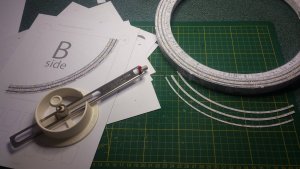
The first side was laid out and glued together on a piece of foamboard. I used a pin at the center point to keep everything aligned.
The positioning lines need to be added to the back. Simply make pin holes through the card at the outer radius of the ring, lining up with the guide lines. Turn the template over and again using a pin at the center point, draw the lines. The pin helps keep your ruler at the center point, therefore, you only need to concentrate on lining up one hole... I also used a hard leaded pencil (4H) to draw the lines. My logic for this, is that the formers are edge glued directly to this positioning line, and I did not want any 'dusty' lead residue left over, from a softer pencil, which would weaken the glue joint. Probably over thinking it, but, anyway .....
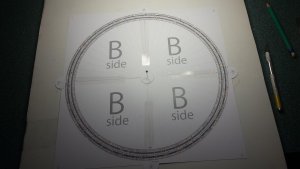
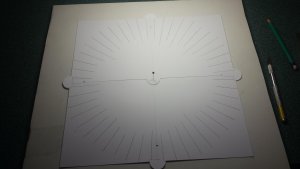
I pre-cut all the notches and protrusions around the ring and then did the main cutting with curved scissors.
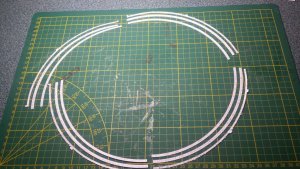
The other side of the ring was also completed as above.
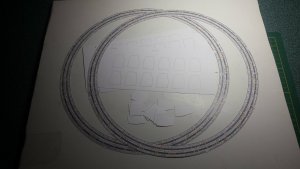
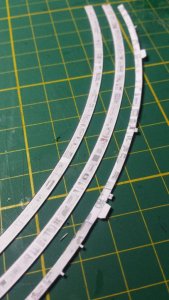
The formers are cut out next. These need to be cut accurately. Having the formers arrayed on the template, helps enormously with this.
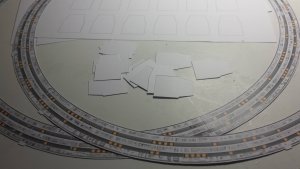
The work was then transferred onto the back of a float glass mirror tile. This provided a perfectly flat surface to work on.
I used the back surface of the mirror, because I did not want to have to look up my own nose the whole time during the assembly process....

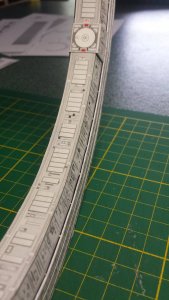
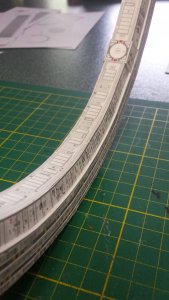
I used two machined aluminum blocks to aid in assembly. One across the tangent of the outer circumference of the ring to keep the top edge of the former perfectly aligned with the outer edge of the ring. This is important to prevent waviness later on. The second block was used square to the first. This kept the former perfectly upright and aligned with the radii.
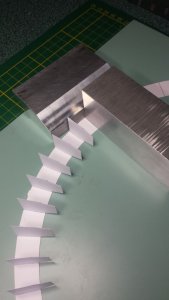
I used Aleens quick dry tacky glue for this. I used a bead of glue on the edge to be glued and using tweezers, dropped it into position. Use enough glue so that the edge beds in nicely, but not too much to cause the ring to warp from the moisture in the glue.
It's a tedious process, but you get there in the end. It is a lot quicker than assembling the UCR though!
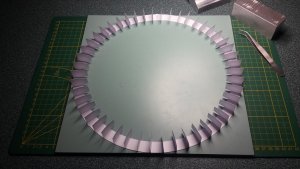
Once this stage of assembly was perfectly dry, I then glued the other ring face to this. I used the tangent block again to line everything up while assembling.
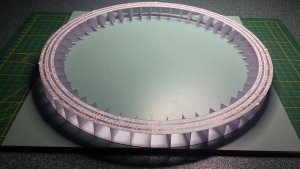
I remember clearly, the chain of events, that happened next...............
About a week later from the last picture, I was clearing up my work area and when I stacked together the off-cuts from the rings assembly templates, I noticed something very odd.......
The template off-cut for the UCR was 1 cm less in radius than the main ring template......... WTF??
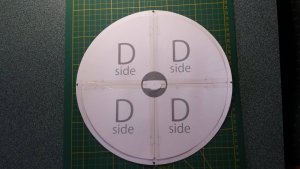
With a very strong sinking feeling in my soul, I laid the completed UCR on top of the main ring assembly.............
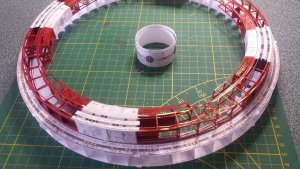
I thought that maybe it is meant to be like that..........
Using a test made center ring and the test spoke assembly from earlier, and with shaky hands, I proved that 'meant to be like that', was not the case.........
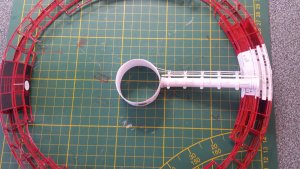
The F*&@$%# UCR was under-scale to the rest of the model......... AAAAAARRRRGGHH !!!!!!!!!!


Something had gone seriously wrong at the printers.........
Oh, what to do................
WARNING!! Sensitive viewers may wish to look away now....
What should I do.........................
I NEED to make a decision.................
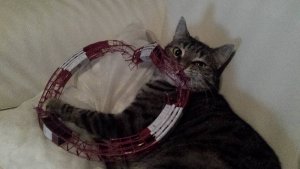
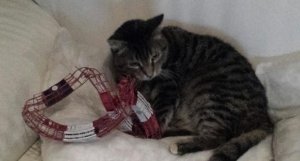
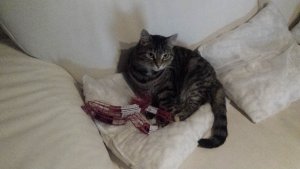
At least the space cat had some great fun............
See you all soon.
Next up, the main ring....
The first side was laid out and glued together on a piece of foamboard. I used a pin at the center point to keep everything aligned.
The positioning lines need to be added to the back. Simply make pin holes through the card at the outer radius of the ring, lining up with the guide lines. Turn the template over and again using a pin at the center point, draw the lines. The pin helps keep your ruler at the center point, therefore, you only need to concentrate on lining up one hole...


I pre-cut all the notches and protrusions around the ring and then did the main cutting with curved scissors.
The other side of the ring was also completed as above.

The formers are cut out next. These need to be cut accurately. Having the formers arrayed on the template, helps enormously with this.

The work was then transferred onto the back of a float glass mirror tile. This provided a perfectly flat surface to work on.
I used the back surface of the mirror, because I did not want to have to look up my own nose the whole time during the assembly process....

I used two machined aluminum blocks to aid in assembly. One across the tangent of the outer circumference of the ring to keep the top edge of the former perfectly aligned with the outer edge of the ring. This is important to prevent waviness later on. The second block was used square to the first. This kept the former perfectly upright and aligned with the radii.

I used Aleens quick dry tacky glue for this. I used a bead of glue on the edge to be glued and using tweezers, dropped it into position. Use enough glue so that the edge beds in nicely, but not too much to cause the ring to warp from the moisture in the glue.
It's a tedious process, but you get there in the end. It is a lot quicker than assembling the UCR though!

Once this stage of assembly was perfectly dry, I then glued the other ring face to this. I used the tangent block again to line everything up while assembling.

I remember clearly, the chain of events, that happened next...............
About a week later from the last picture, I was clearing up my work area and when I stacked together the off-cuts from the rings assembly templates, I noticed something very odd.......
The template off-cut for the UCR was 1 cm less in radius than the main ring template......... WTF??

With a very strong sinking feeling in my soul, I laid the completed UCR on top of the main ring assembly.............

I thought that maybe it is meant to be like that..........
Using a test made center ring and the test spoke assembly from earlier, and with shaky hands, I proved that 'meant to be like that', was not the case.........


The F*&@$%# UCR was under-scale to the rest of the model......... AAAAAARRRRGGHH !!!!!!!!!!


Something had gone seriously wrong at the printers.........
Oh, what to do................
WARNING!! Sensitive viewers may wish to look away now....
What should I do.........................
I NEED to make a decision.................


At least the space cat had some great fun............
See you all soon.


