Y-WING BUILD - Construction continues...
- Thread starter Chuffy70
- Start date
You are using an out of date browser. It may not display this or other websites correctly.
You should upgrade or use an alternative browser.
You should upgrade or use an alternative browser.
cheers, one or two bumps on this model already! I don't really want any moreThat looks realy great I dont see any mistakes just a few bumps on the ride.
I'll make sure it does, by hook or by crook!This is coming together nicely!
why thank you kind sir...much appreciatedBoy, that looks great!
Its been a good few months since the Y-Wing was worked on, as a few other builds needed my attention.
Firstly the parts needed to be relocated, as they were all all over my work room hiding on display shelves, in bags & boxes and sheets misplaced in folders.
Luckily the paper gods were appeased with glue, praise and a few curse words which culminated in everything being located.
So far this is what we have to show and as they say " without further ado!" lets carry on...
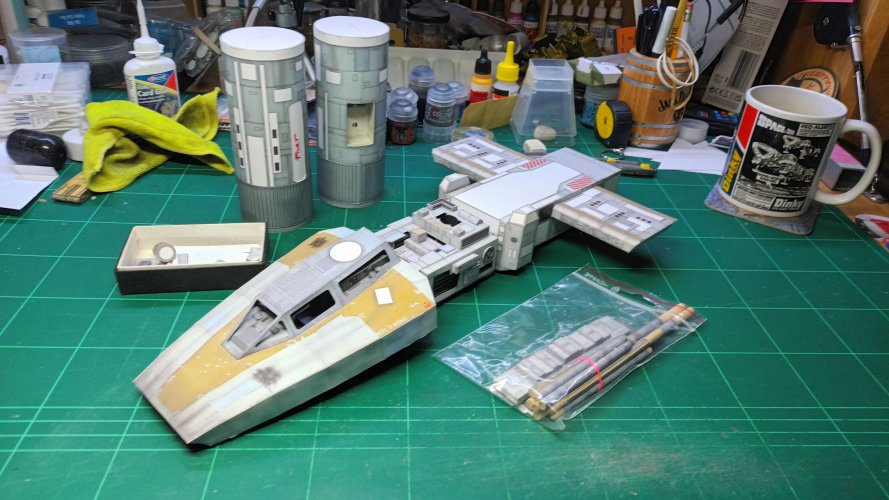
To ease myself back in, I decided upon some greeblie action was called for. This will excite @Rhaven Blaack
Parts from WING PAGE 1 were sourced and construction began...
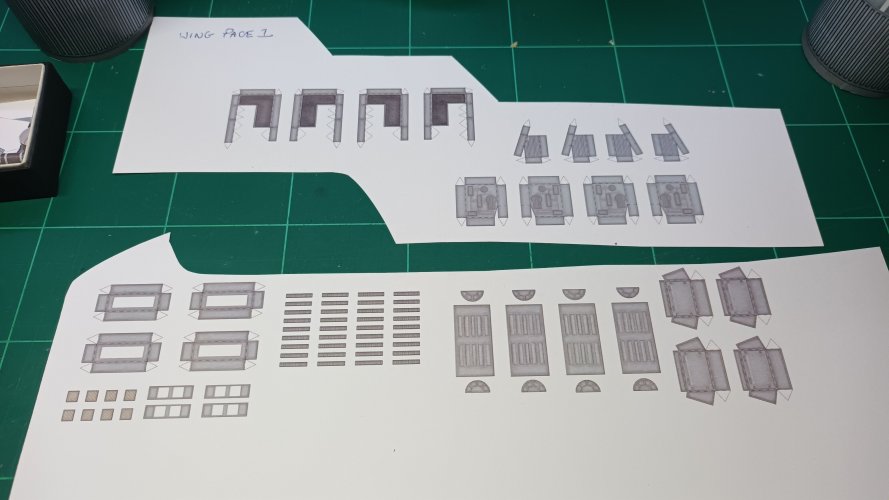
Curves and folds made for a delightful modelling session
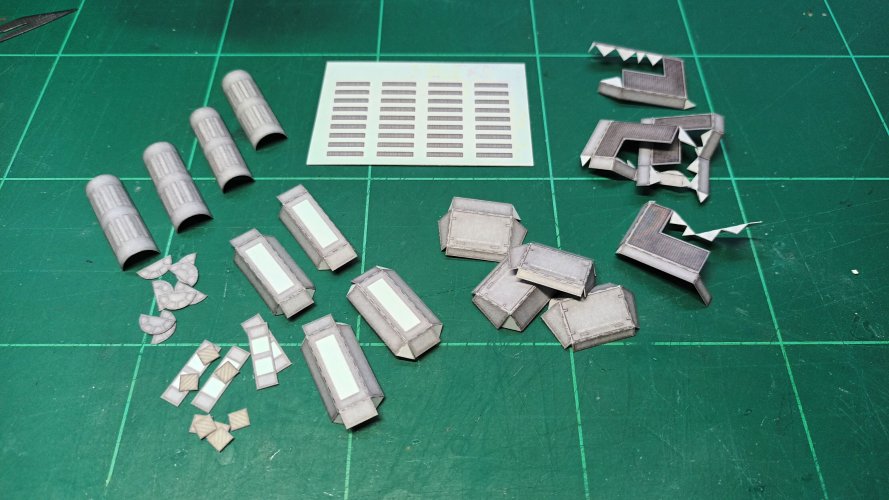
The end result being a selection of little boxes and doo-dahs.
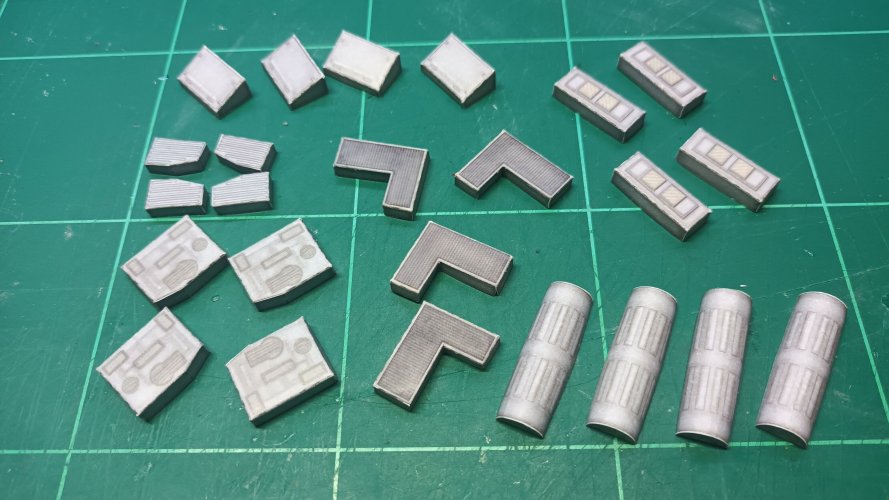
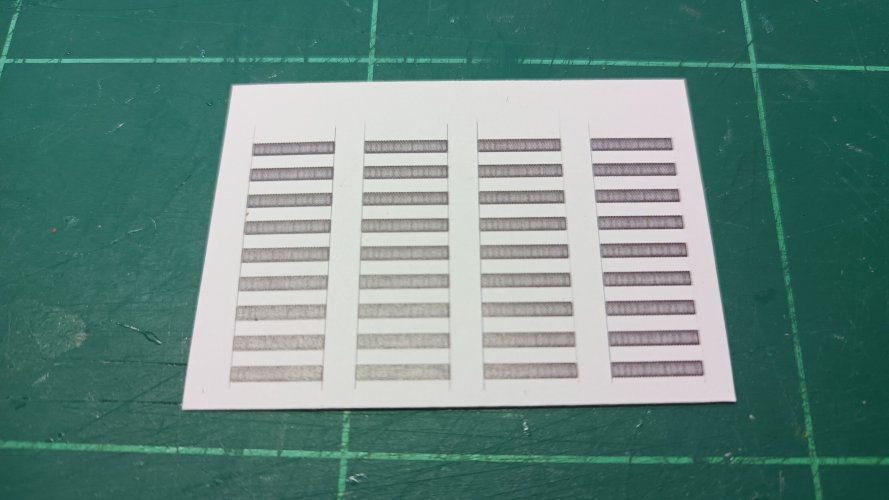
The strips were a oddity, so I'm not quite sure of their location.
My mind is thinking they will be appliqué for the half-rounds, but there is insufficient number to cover all the placements.
The half-rounds are located upon the wings with bands mounted over them.
The horizontals are too short to be those, but perusing the other sheets I may have located these bands.
Just as a precaution I will leave these parts off until I'm completely sure as to what I have on other part sheets.
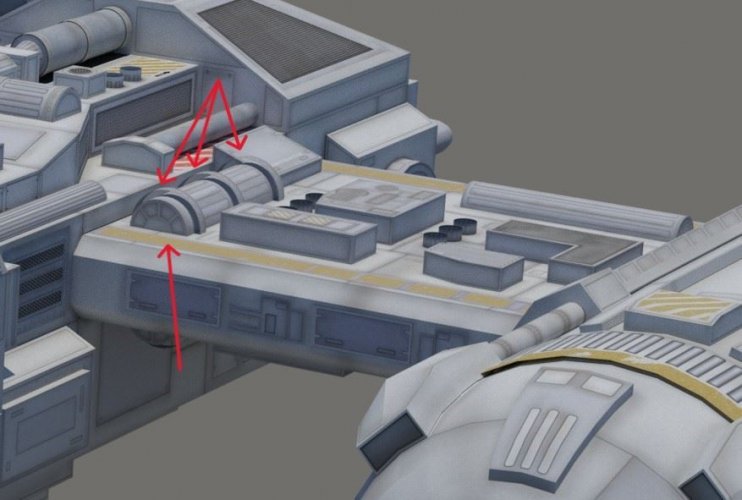
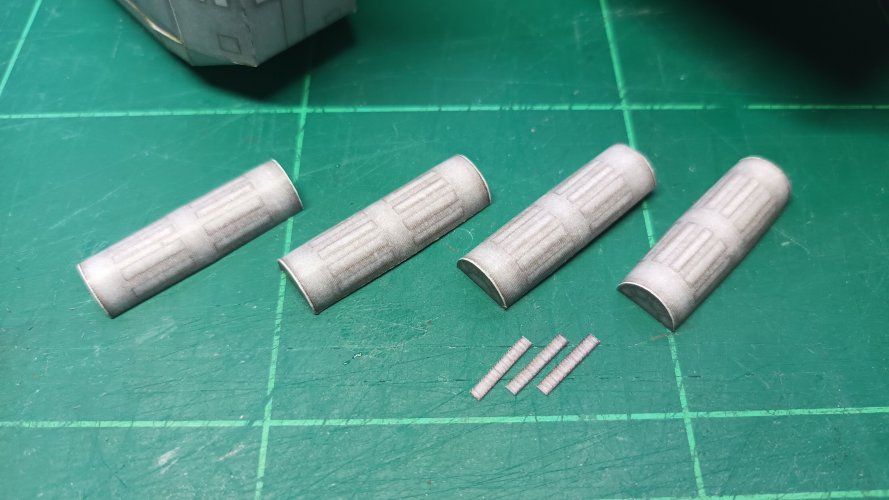
The completed parts which had a definite location were added to the upper wing...
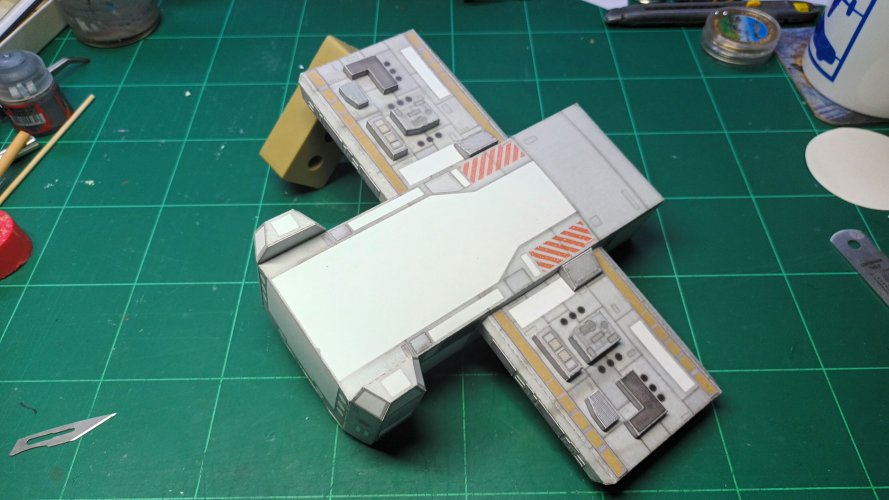
…and the lower wing.
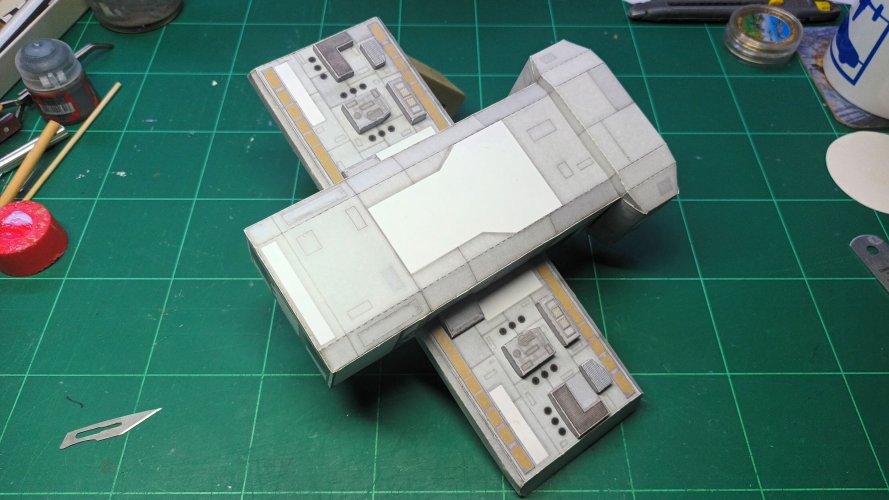
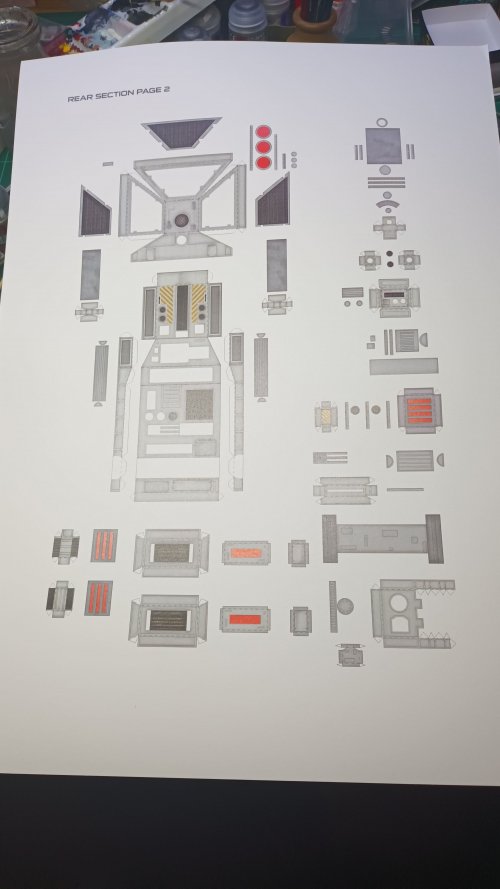
Next up parts were sourced from REAR SECTION PAGE 2.
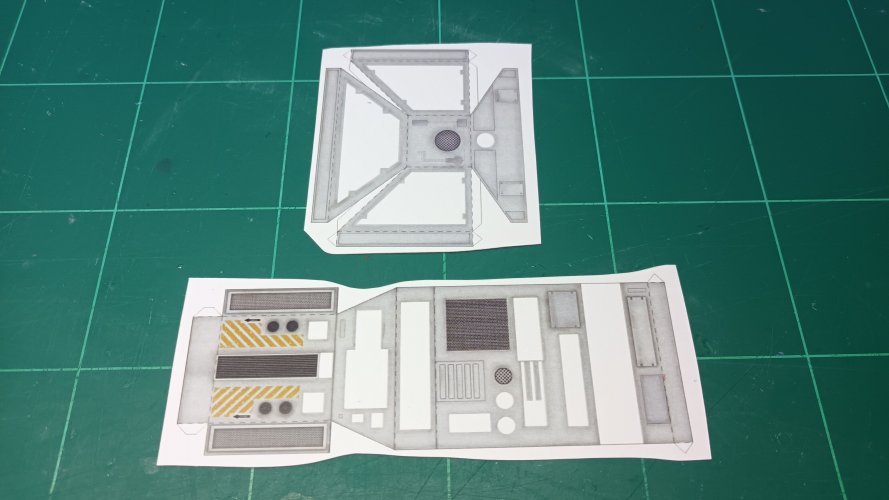
Two large parts for the upper middle section were chosen.
Side walls for the longer part.
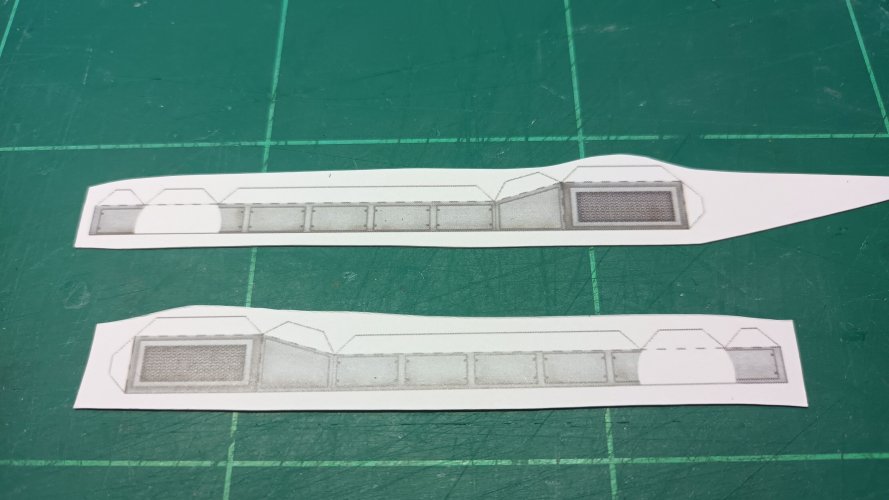
Cut and creased.
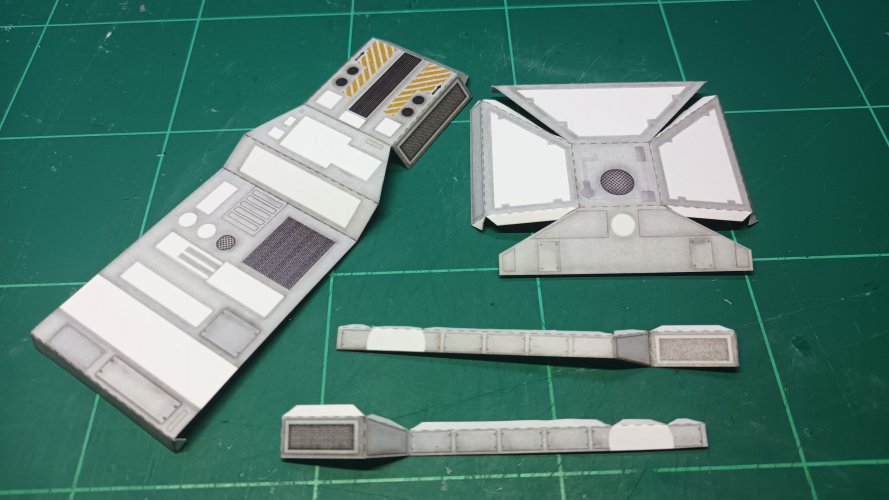
Construction went very smoothly and without incident.
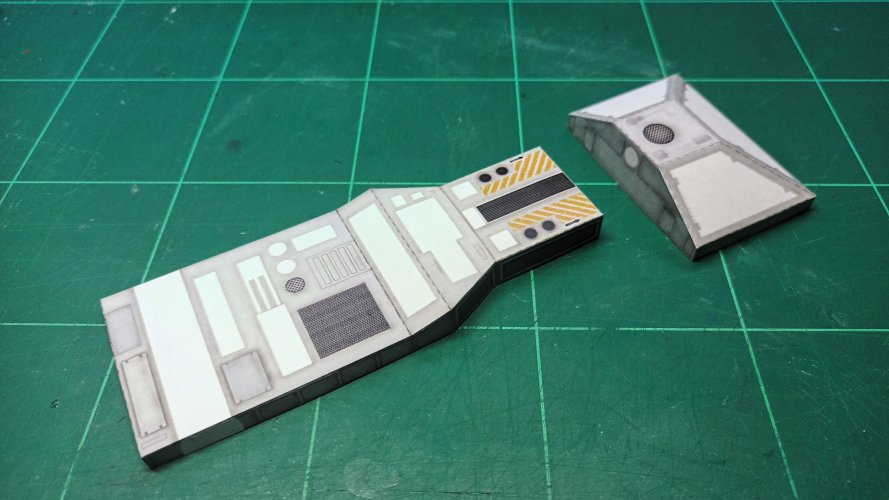
Some of the side walls were rather thin and warping, so as these were to be mounted without tabs, a bit of reinforcement was called for, which also gives me a better mating surface when it comes to add the parts to the fuselage.
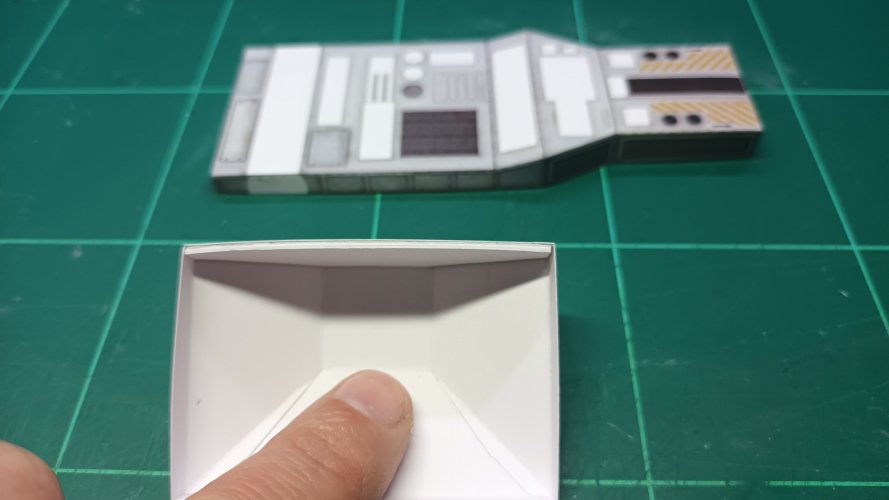
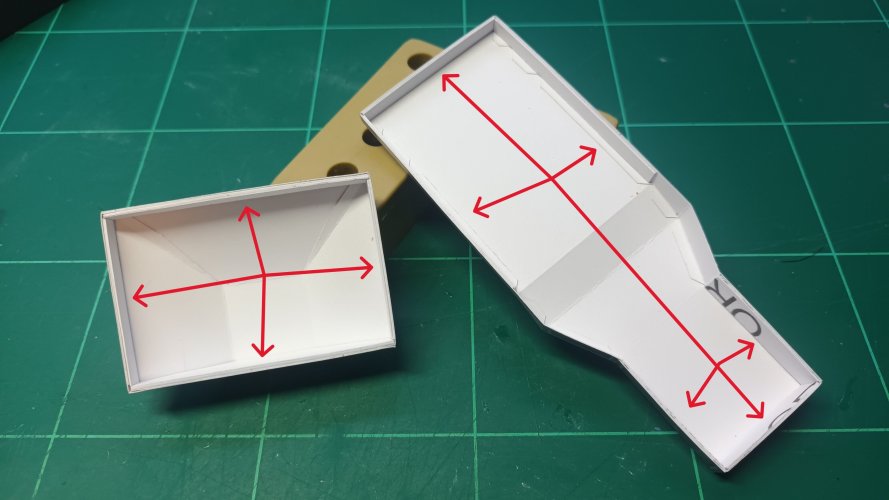
Selected walls added with laminations to treble their original thickness.
I REALLY ENJOYED GETTING BACK TO WORK ON THE 'Y' AND HOPEFULLY SOME MORE PROGRESS WILL BE MADE THIS WEEK
THANKS FOR WATCHING...
Firstly the parts needed to be relocated, as they were all all over my work room hiding on display shelves, in bags & boxes and sheets misplaced in folders.
Luckily the paper gods were appeased with glue, praise and a few curse words which culminated in everything being located.
So far this is what we have to show and as they say " without further ado!" lets carry on...

To ease myself back in, I decided upon some greeblie action was called for. This will excite @Rhaven Blaack
Parts from WING PAGE 1 were sourced and construction began...

Curves and folds made for a delightful modelling session

The end result being a selection of little boxes and doo-dahs.

The strips were a oddity, so I'm not quite sure of their location.
My mind is thinking they will be appliqué for the half-rounds, but there is insufficient number to cover all the placements.

The half-rounds are located upon the wings with bands mounted over them.
The horizontals are too short to be those, but perusing the other sheets I may have located these bands.
Just as a precaution I will leave these parts off until I'm completely sure as to what I have on other part sheets.


The completed parts which had a definite location were added to the upper wing...

…and the lower wing.

Next up parts were sourced from REAR SECTION PAGE 2.

Two large parts for the upper middle section were chosen.

Side walls for the longer part.

Cut and creased.

Construction went very smoothly and without incident.

Some of the side walls were rather thin and warping, so as these were to be mounted without tabs, a bit of reinforcement was called for, which also gives me a better mating surface when it comes to add the parts to the fuselage.

Selected walls added with laminations to treble their original thickness.

I REALLY ENJOYED GETTING BACK TO WORK ON THE 'Y' AND HOPEFULLY SOME MORE PROGRESS WILL BE MADE THIS WEEK
THANKS FOR WATCHING...
I would like to say that I am glad to see that you have returned to this project. I am really looking forward to seeing how it turns out!You are doing an AMAZING JOB on it! KEEP UP THE GREAT WORK!
THANK YOU for the tag in the post! I always like to see good greebling (The more the better!

 ). I have to admit that my speciality of greebling, is to take printed texture and turn it into physical texture by attempting to figure out (based on shadowing, as well as any screen references) whether the printed texture is raised, recessed or a combination of both.
THANK YOU for the tag in the post! I always like to see good greebling (The more the better!


 ). I have to admit that my speciality of greebling, is to take printed texture and turn it into physical texture by attempting to figure out (based on shadowing, as well as any screen references) whether the printed texture is raised, recessed or a combination of both.
Cheers I thought you'd be pleased...I would like to say that I am glad to see that you have returned to this project. I am really looking forward to seeing how it turns out!You are doing an AMAZING JOB on it! KEEP UP THE GREAT WORK!
THANK YOU for the tag in the post! I always like to see good greebling (The more the better!). I have to admit that my speciality of greebling, is to take printed texture and turn it into physical texture by attempting to figure out (based on shadowing, as well as any screen references) whether the printed texture is raised, recessed or a combination of both
Ta muchly... nice to be continuingVery nice continuation of the project! Keep it on!
Thank you, trying my best on this one...That is an excellent job!
Cheers, just more of the same, she will be attacking your Tydirium shuttle before you know it! "PEW-PEW!"Oke you have done it again, its looking great.
Thank you, much appreciatedGreat job
An interesting analogy... I feel like a 53 year old without a bloody clue as to where all the parts fit!i suddenly feel like a 5 year old dude this looks awesome so far keep it coming
hey im 48....im glad its not just me that doesnt have a clue lmaoThank you, much appreciated
An interesting analogy... I feel like a 53 year old without a bloody clue as to where all the parts fit!

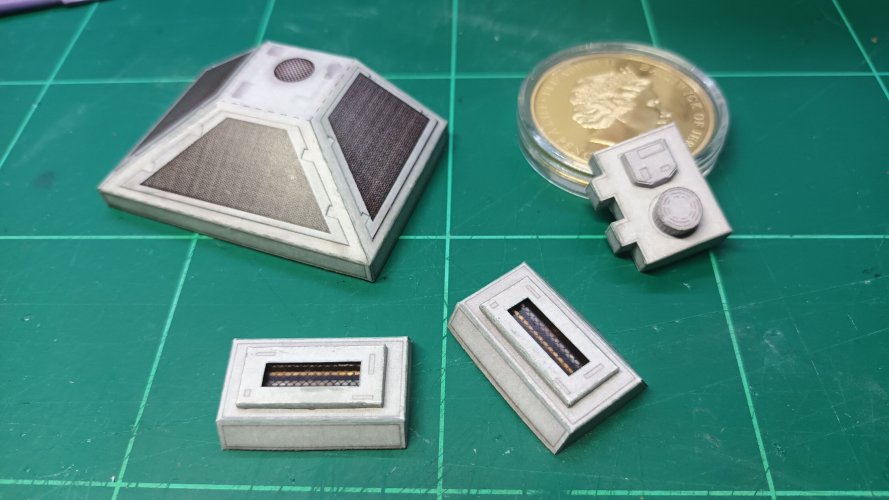
Small update with some greeblies, or if you are a British sci-fi modeller, then widgets would be more apt.
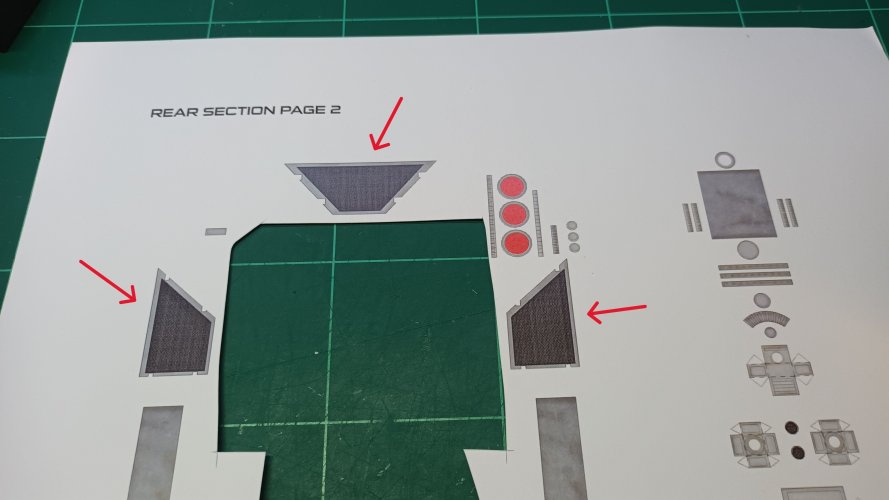
All the parts here were selected from the same sheet named REAR SEACTION PAGE 2.
Three mesh screens as noted by the red arrows...
Rectangular box with wire pattern & cover plate
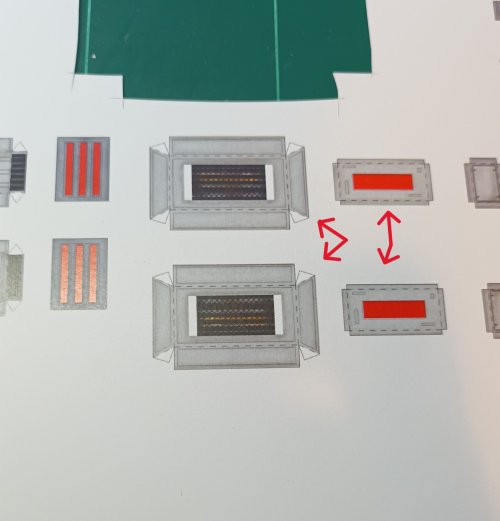
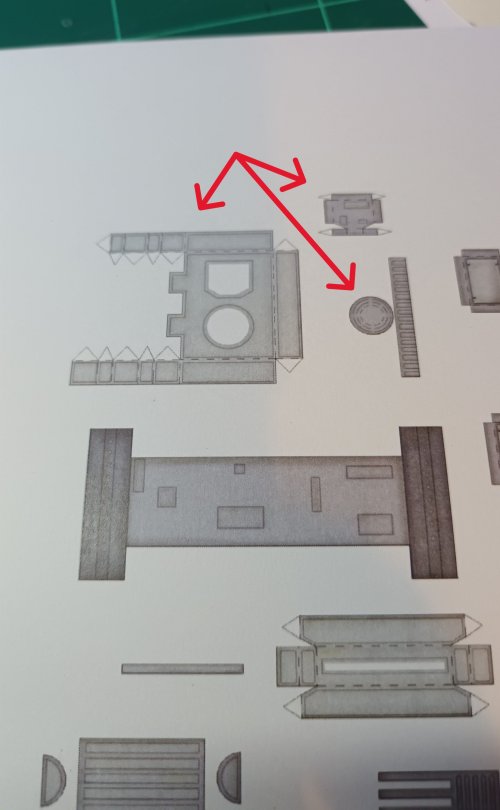
...and three parts which tally with each other.
The mesh parts were very easy as they were just straight forward cut outs - The wire boxes (pointed out in red) just as easy, but their cover plate was a little thin around the edge, so a form was made to sit inside, I laminated up to three sheets thick and stuck this inside which allowed me to glue the thin edges to it - The round disc/vent (yellow arrow) had several layers of discs added to the bottom to allow me to glue the band around and help keep its shape.
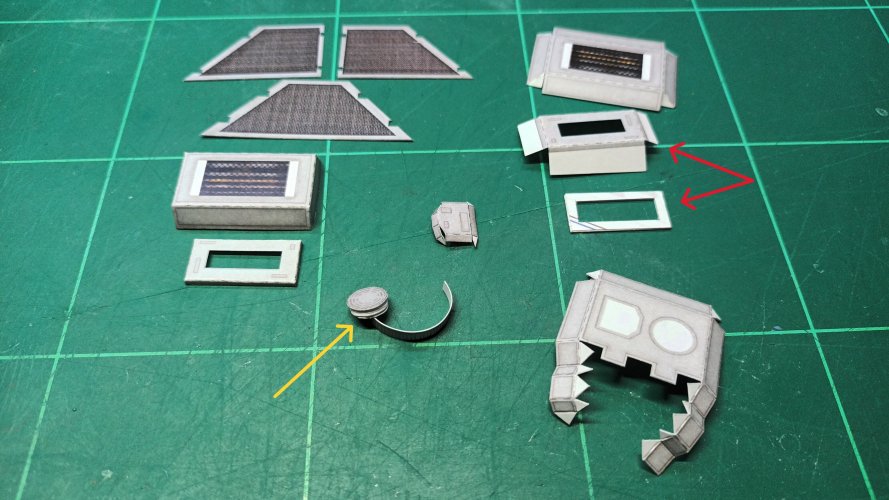
Although not much to look at this little lot took quite some time to complete due to strengthening and fiddling around with additions.
The mesh screens were applied to the corresponding back section, but the other two pieces will be left off until a later time.
AS ALWAYS, THANKS FOR WATCHING AND SEE YOU AGAIN SOON...
All the parts here were selected from the same sheet named REAR SEACTION PAGE 2.
Three mesh screens as noted by the red arrows...

Rectangular box with wire pattern & cover plate

...and three parts which tally with each other.

The mesh parts were very easy as they were just straight forward cut outs - The wire boxes (pointed out in red) just as easy, but their cover plate was a little thin around the edge, so a form was made to sit inside, I laminated up to three sheets thick and stuck this inside which allowed me to glue the thin edges to it - The round disc/vent (yellow arrow) had several layers of discs added to the bottom to allow me to glue the band around and help keep its shape.

Although not much to look at this little lot took quite some time to complete due to strengthening and fiddling around with additions.
The mesh screens were applied to the corresponding back section, but the other two pieces will be left off until a later time.

AS ALWAYS, THANKS FOR WATCHING AND SEE YOU AGAIN SOON...
better than a 'wedgie!' (in the UK a wedgie is having your underpants pulled up into your extremities!The widgets are looking great
Only about a another hundred greeblies/widgets to go...
When the subject matter is a personal favourite, then I tend to go the extra mile in getting it to look a lot better, but having said that my skills have improved and this particular model suits my preciseness...Those components looks AMAZING! Your build is very clean, clear and crisp.
Although, there's about to be another bump in the road, as I have just located the rear 'CGI' file which is missing from the download, thus I might have to dump the engines and do them again, possibly???
"Aaaaatttttgggggghhhhh!!!"


