NASA Voyager 1/48 John Jogerst

Tesco4

Active Member
Jan 3, 2025
41
193
40
United Kingdom
My first "live" build thread! (and my first thread on a forum for a long time so please bear with me while I get the hang of this :) )

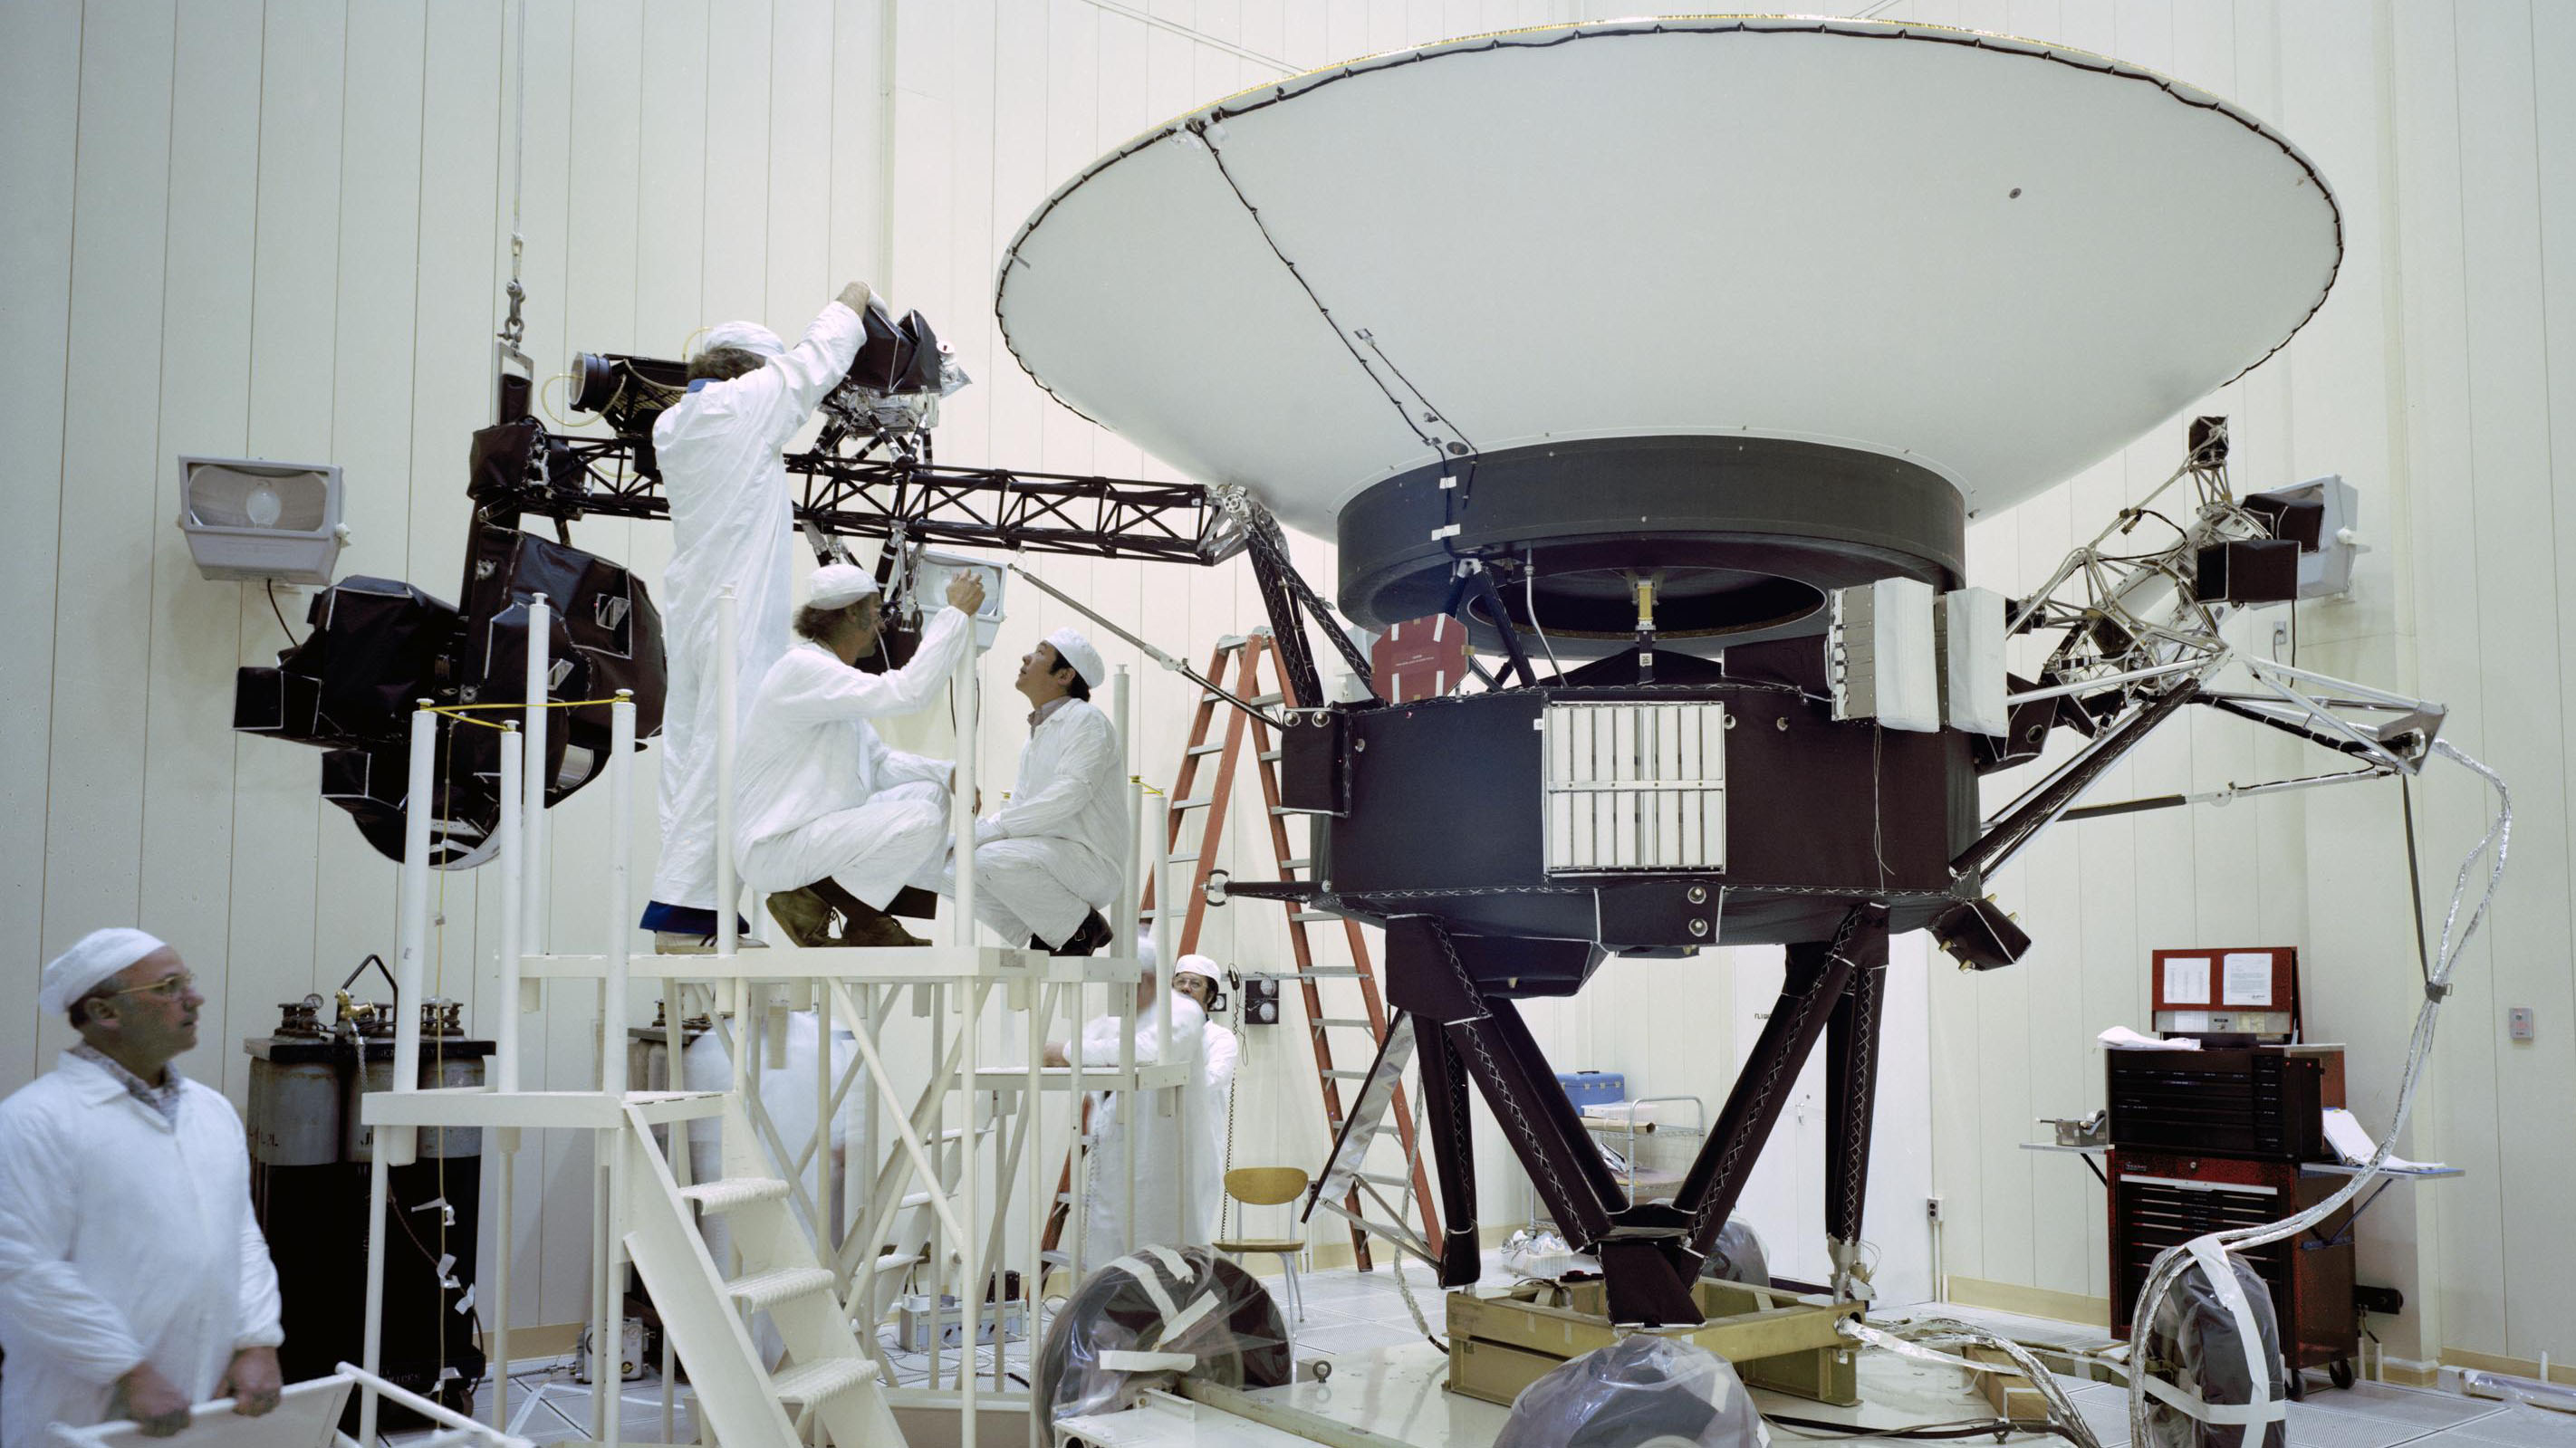
After 20 years away from this hobby I'm getting back into things (See Introduction). After having done an R2D2 and mini X-Wing (which I'll post the build of retrospectively), I'm having a go and John Jogerst's 1/48 scale Voyager spacecraft. I was 11 when they were launched a few weeks apart, and though the following years as they journeyed to and past the outer planets, I watched as they deepened our understanding of those planets and it's a testament to the engineering of the time that they were able to have an unending mission added on once they'd served their primary purpose, and we're still receiving data today.

This is a fairly simple model, on 3 sheets including the Kick Motor.

Edit: I've printed it on 160gsm card.

Edit2: The files for this are here http://jleslie48.com/gallery_models_postapollo.html

Started with the HGA and the support base, shading in the edges of the support struts.

PXL_20250129_222940244 sm.jpg

Glued the 2 sides of the support base together back to back.

Then onto the support base ring, cut and glued into a circle. In some of the pictures it looks like it's folded with the white side out, but further on in the pdf document the actual pictures of the Voyager spacecraft show the support ring in a dark colour, so the dark grey is the outside.

PXL_20250129_225441102 sm.jpg
PXL_20250129_231230828 sm.jpg
 
Last edited:
A nice start.

The Voyager program is definitely a testament of what we can achieve, if we really put our minds to it.

Looking forward to seeing your build progress.
 
Will some other species ever discover Voyager? It boggles the mind. ;)
 
  • Like
Reactions: lyter1958
A nice start.

The Voyager program is definitely a testament of what we can achieve, if we really put our minds to it.

Looking forward to seeing your build progress.
Although NASA's website seems to have gone "mobile-native", there is, if you can bear to search, a lot of excellent information still available. I came across this on my surfing travels yesterday and thought it probably helps to answer why they're still going ...


'According to John Casani, Voyager project manager from 1975 to launch in 1977, “we didn’t design them to last 30 years or 40 years, we designed them not to fail.” '

They don't make 'em like they used to!
 
Gluing support base ring to support base white side:
How to ensure the support base ring is as circular as I can make it? What I need is something that will apply even pressure outwards around the whole ring. So I thought of a strip of thin plastic curled up should be fairly springy, wanting to get back to it's original flat shape. I raided my recycling bin and found a couple of potential candidates, a thin and a thicker one. I thought it would work better with a strip of flat plastic but I don't have anything suitable at the moment so I tried these already circular ones, hoping that because they were larger than the circle I want to work with, they'd still have some outward force.

I cut some strips out of them and yay it worked.

PXL_20250130_120323354 sm.jpgPXL_20250130_115034258 sm.jpgPXL_20250130_115044454 sm.jpg

Here's the thicker (springier, more outward force generated) going into and inside the support base ring.
PXL_20250130_115110235 sm.jpgPXL_20250130_115201802 sm.jpg

Glue on the tabs and it's a simple matter to place it on the base and it's pretty well as circular as I'm going to get :)
PXL_20250130_115250626 sm.jpgPXL_20250130_120247676 sm.jpg

A bit of neatening up the outside edges after the glue has dried (I kept the circle former inside for stability and to protect the card while cutting).
PXL_20250130_121007805 sm.jpg

And after application of a bit of 2B pencil to grey out the white edges.
PXL_20250130_122246011 sm.jpgPXL_20250130_122451534 sm.jpg
 
Gluing support base ring to underside of HGA dish:

Dry run positioning the HGA on the support base reading for gluing. My new circle former is perfect for sitting in the dish to help apply even pressure while the glue sets.
PXL_20250130_122745182 sm.jpg

It's like piping icing applying the glue (Anita's PVA Tacky Glue) :)
PXL_20250130_125259814 sm.jpg

Aligning the glue seam on the main dish with the wide support truss on the base is difficult to do at the same time as placing the dish centrally on the support ring. It's like you need two pairs of eyes looking at different aspects as you commit to the placement. I think I got it pretty close to where it's supposed to be :)
PXL_20250130_130425680 sm.jpg
A McDonald's stirrer stick springs to life wiping excess glue from around the underside edges while pressure is applied by my phone on top (hence no "live" picture!).

Note: due to the glue I'm using making the card slightly soft, it can slightly deform the inside of the dish as it has done here ... you can just make out the slight shading of the ring where it's glued - so next time I'll be careful and use something lighter than my phone to keep the pressure on while the glue dries. Or use different glue - any suggestions?

PXL_20250130_125838975 sm.jpg

Also in hindsight, I should have glued the HGA cone a fraction tighter to cover the dotted "glue to here" line! One to remember in future.
 
Feed horn:

Used progressively smaller diameter metal cylinders and tweezers to roll the horn as tightly as I could. This part would be much easier to make with paper rather than card.
PXL_20250130_131601723 sm.jpgPXL_20250130_132421447 sm.jpg

Perhaps I did something wrong, but curled to the dotted line it's a bit small for the circle where it goes (I cut out the blue circle in the support base as all the other blue centres of circular parts were labelled to discard).
PXL_20250130_133236684 sm.jpg
 
Very clean build. All the parts look square and rounded out. Nothing "wonky". Great!! :)

@DanBKing, I have a Federation rated "Class !, Level X" Bidet. At this level, no Klingon could hold their grip! It utilizes a "forced wormhole system" that is seeding life on another part of the Galaxy far far away, Romulus. :)
 
Reflector structure:

Shaped the reflector shallow cone.
PXL_20250130_135105239 sm.jpg

It was easier to colour the insides of the tripod legs and around all the relevant edges black before gluing the shallow cone onto the back.
PXL_20250130_143535970 sm.jpg PXL_20250130_143927167 sm.jpg

Added the low gain antenna. Decided I ought to have coloured the back side of it black with a Sharpie before I rolled and glued it, so it is black when looking inside from the top.

Siting and gluing the reflector structure to the dish was easier than I anticipated. Measuring 1cm from the inside hole edge of the dish along the seam line. Waited till that was dried then did the next. Repeated for the last leg. Having bent the legs down earlier, they did seem to fall fairly equidistant to each other.

PXL_20250130_153616092 sm.jpgPXL_20250130_192120427 sm.jpg

Back underneath, bent the double-sided support legs down and glued them. The two back to back pieces don't quite line up once bent 90º so I touched up the black here and there to disguise the slight misalignments.

Finished section:
PXL_20250131_104401487 sm.jpg
 
Last edited: