NASA Voyager 1/48 John Jogerst
- Thread starter Tesco4
- Start date
You are using an out of date browser. It may not display this or other websites correctly.
You should upgrade or use an alternative browser.
You should upgrade or use an alternative browser.
- Apr 5, 2013
- 13,876
- 10,214
- 228
I'd paint those triangle supports with Crazy glue. Every model I have built with supports like this absorb moisture and distort. The Crazy glue will turn them into a composite material, and they will hold for a very long time. Another method would be U.V. Activated Glue. I have been fixing all manner of things with this lately. They sell some at Home Depot, it's not expensive and comes with the U.V light. Made by JB-Weld, you know it's good. Not as dangerous as Crazy Glue, and works on almost everything. Great for fixing glasses too. 


Radio-isotope Thermoelectric Generator:
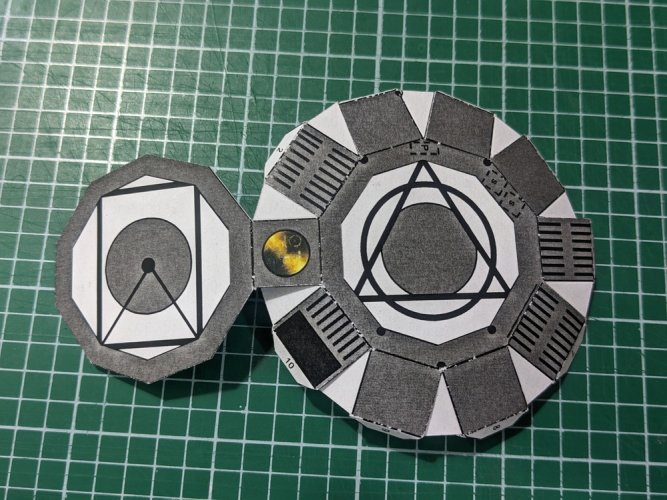
Folding and gluing the fins is fun! Requires patience - improvising clamping along their length off the end of the cutting matt/table! Hint: Folding the valley folds fully before gluing makes it easier to access the mountain folds which you glue together. It's more obvious when you've got the part in front of you than to describe well!
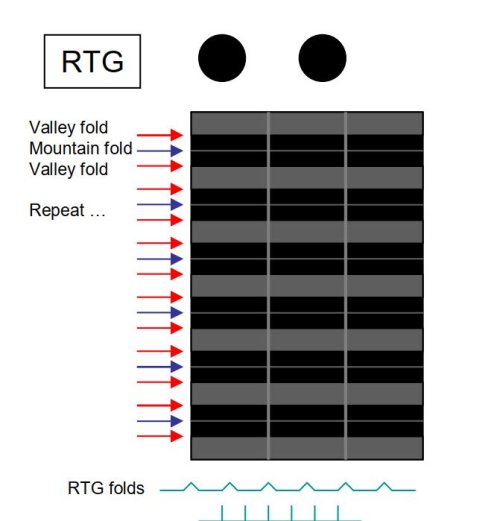
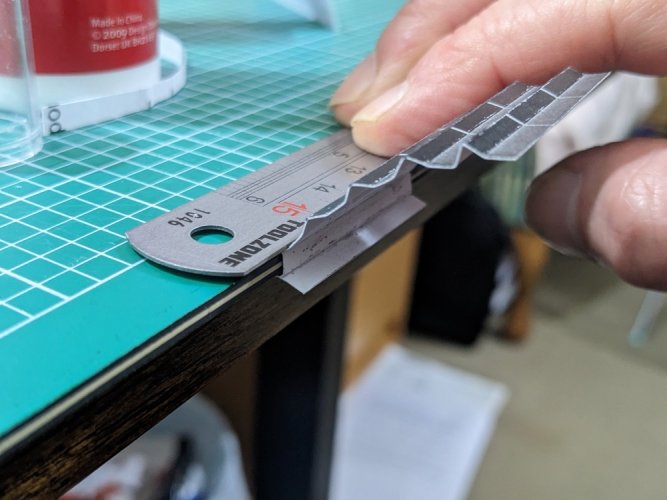
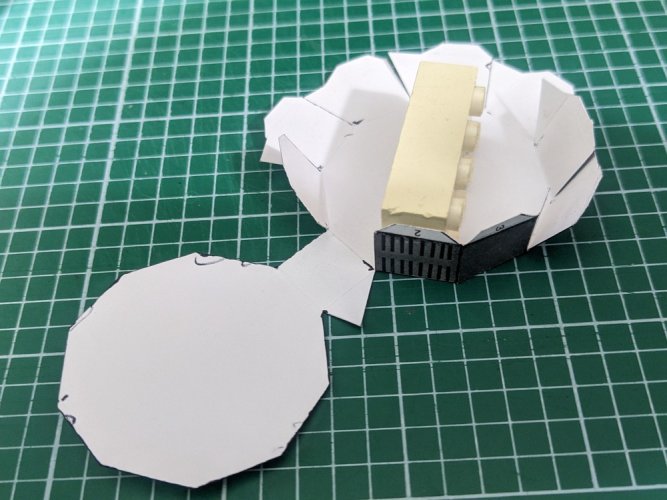
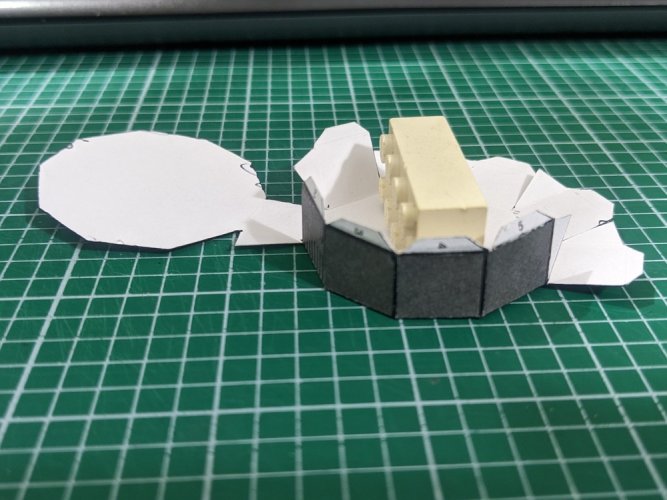
The mountain folds all glued up. Handily it sort of forms the circular shape required for gluing as a cylinder.
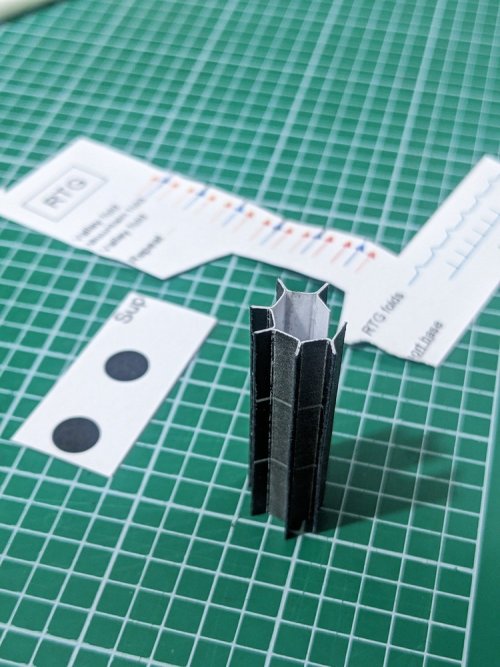
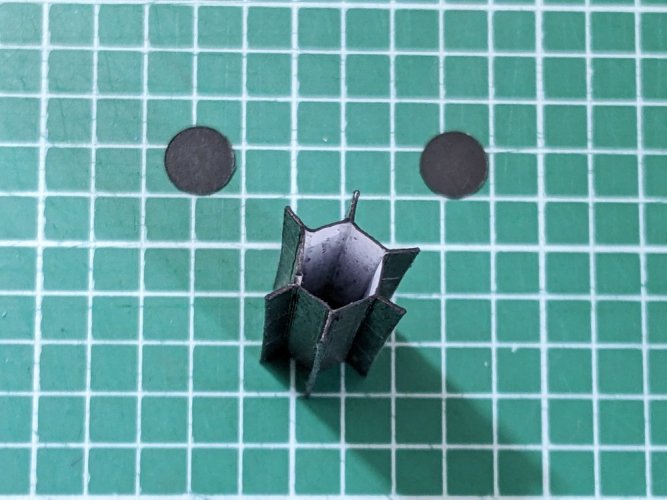
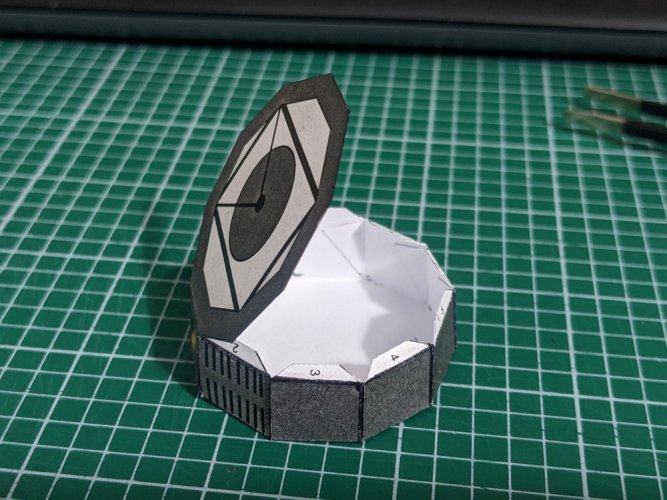
With the top and bottom circles added. I cut the circles slightly smaller so they fit better around the hexagon body. I thought as printed they're slightly too large.
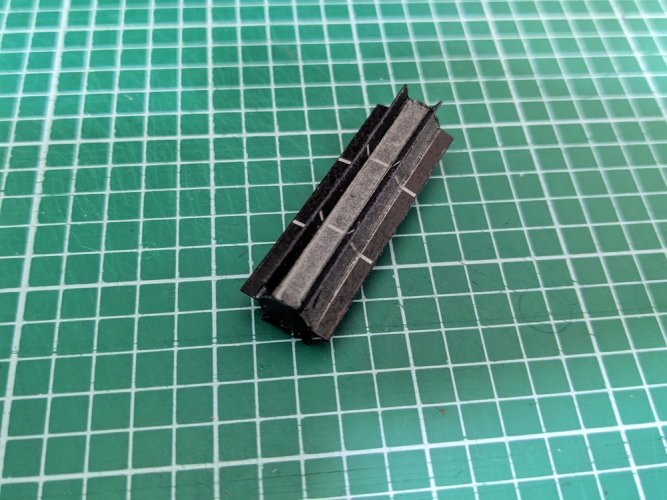
Folding and gluing the fins is fun! Requires patience - improvising clamping along their length off the end of the cutting matt/table! Hint: Folding the valley folds fully before gluing makes it easier to access the mountain folds which you glue together. It's more obvious when you've got the part in front of you than to describe well!


The mountain folds all glued up. Handily it sort of forms the circular shape required for gluing as a cylinder.


With the top and bottom circles added. I cut the circles slightly smaller so they fit better around the hexagon body. I thought as printed they're slightly too large.

Now to the most difficult section so far ... the Trusses!
Does anyone know anyone who has built this model before, who I could ask a little advice from?
I've been wrestling with the 2 parts of the Truss that hold the magnetometer and the RTG for hours now, including printing off double sized paper and thicker card versions just to try and understand how these 2 parts go together. I have a configuration that seems to work ... to some extent ... but it doesn't seem ideal and I might be misinterpreting the instructions.
I couldn't find any references to this model being built anywhere.
?
- Apr 5, 2013
- 13,876
- 10,214
- 228
The U.V. glues also dry completely clear, and can be painted and drilled. If you had a satellite than had a lens, you could simulate the lens by coloring the background the color of the lens, the putting a drop of the U.V. glue, and hitting it with the U.V. light before it flattens out, for a convex lens. It also works for faux car head lights, figurine eyeballs, etc. 
Fab! My first bottle of this arrived this afternoon - put it straight to good use repairing a broken strut on one of the instruments. Worked perfectly, thanks. I will look to apply it to all the struts on the model before it's finished.The U.V. glues also dry completely clear, and can be painted and drilled. If you had a satellite than had a lens, you could simulate the lens by coloring the background the color of the lens, the putting a drop of the U.V. glue, and hitting it with the U.V. light before it flattens out, for a convex lens. It also works for faux car head lights, figurine eyeballs, etc.
As it dries glossy, is there any way to make it matte afterwards? Tried with felt tip pens/Sharpie and the gloss finish still comes through. On the Voyager spacecraft all the black parts appear matte, so just trying to stay true to the original.
any acrylic clear matte coat will work. I use Vallejo Model Color Matte # 70.520As it dries glossy, is there any way to make it matte afterwards? Tried with felt tip pens/Sharpie and the gloss finish still comes through. On the Voyager spacecraft all the black parts appear matte, so just trying to stay true to the original.
- Apr 5, 2013
- 13,876
- 10,214
- 228
You can paint U.V. Epoxy with any color you want, be that a matte clear, or Matte Black. 
I've put the trusses on pause for a few days while I experiment with strengthening them all with either Superglue (UK name for Crazy Glue I think?) or the UV-activated glue, and then cover with matte black paint or matte varnish (ordered, arrives in a few days), as advised by you all above. Thank you for the great suggestions. I'll figure out what looks best and then proceed with the trusses.
Meanwhile ...
Meanwhile ...
Instruments and Instrument Truss:
Here are all the instruments for the opposite side to the RTG. They look reasonably sized don't they?

They're not! Most are small and some are very small!
This is the Cosmic Ray Subsystem. The underneath flaps needed a tighter angle in order for the back to be able to fold over so the sides would make the right 3D shape.
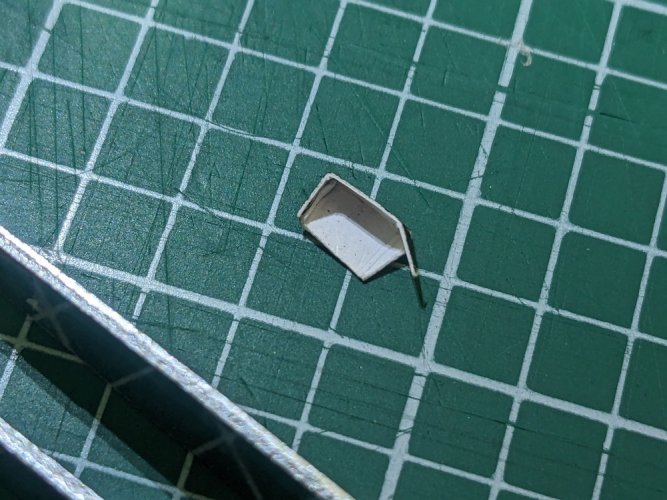
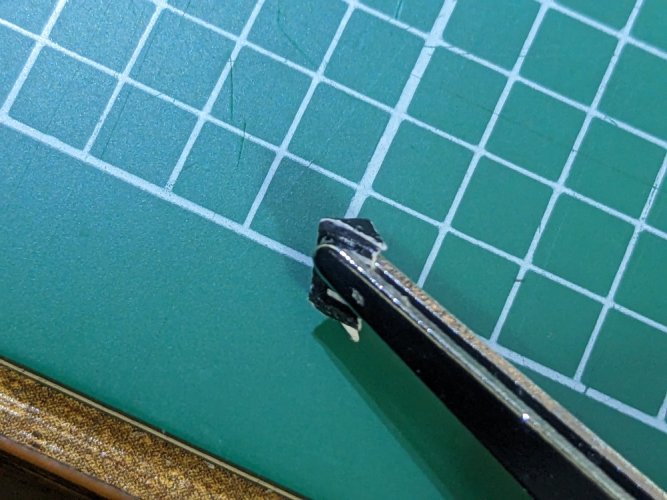
Cosmic Ray Subsystem and the Plasma Experiment. As you can see, pretty small!

Instrument truss. The graphics on this are different from in the instruction photos - there the truss sections are the same shape as the MAG boom, whereas on the printed sheets they are elongated (each section = 2 sections on the photos), and are shaded in grey. I did consider seeing if I could make a proper frame of it by cutting out all of the grey and leaving the black "skeleton" but I don't think it'd have enough strength to hold everything. Perhaps once I've got the hang of reinforcing with Superglue I might have a go, also with thicker card. There are only 48 triangles to cut out (and working out a way to glue the long edge without overlapping card). The trouble is, if I do it for this one, I'm going to want to do it for the MAG boom on the other side (which we haven't got to yet), and that has ... 236 ... triangles to cut out.
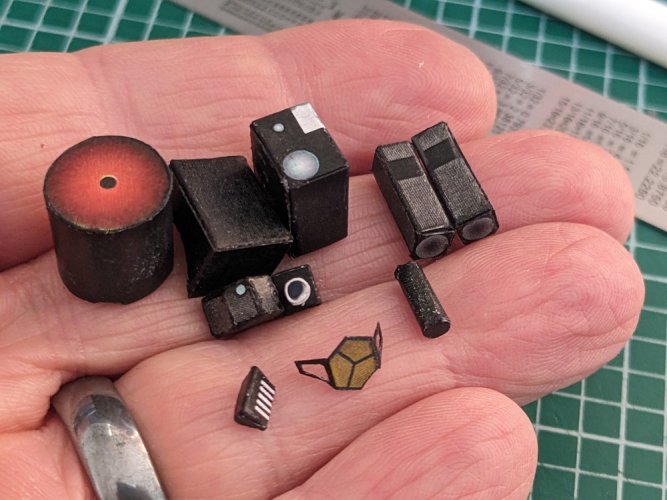
Here are most of the instruments made up. A little bit of colouring still required to tidy them up, but nearly there.
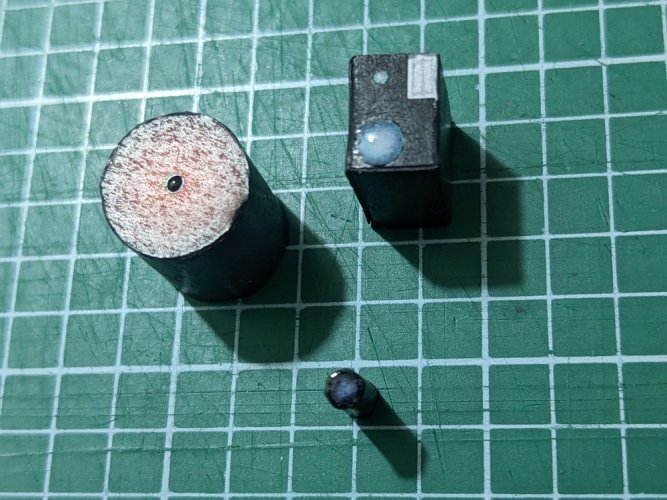
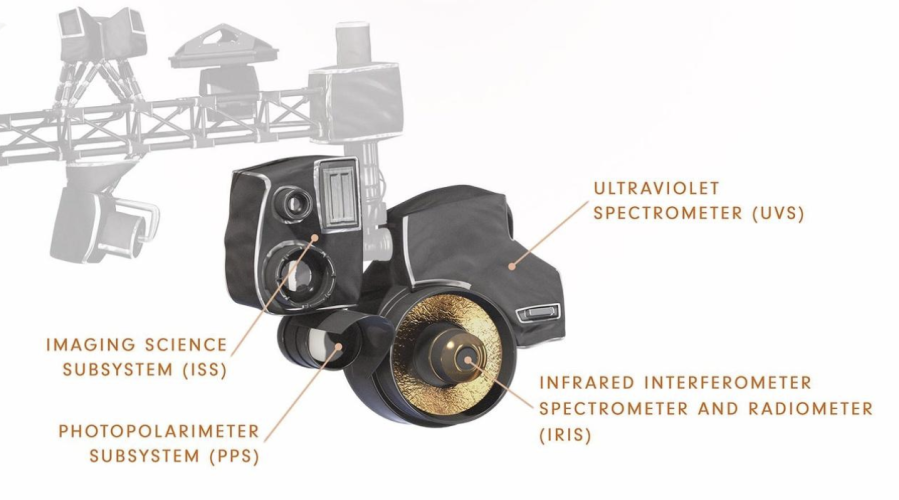
Having been shown the UV glue marvel, I took up @zathros 's suggestion and added some "lenses" (plus added a little more detail on the image camera on the right found on a pbs website photo of it https://www.pbs.org/the-farthest/science/voyagers-scientific-toolkit/). Thanks for the tip!
Progress might be a bit slower now as I'm back to work, plus need to wait to source some proper Superglue and wait for my matte black paint and varnish to arrive to experiment with truss strengthening and getting the right finish.
Must say, I'm really enjoying this rediscovered hobby, it's quite addictive, and am spurred on by your positive comments and encouragements, so thanks again.
Here are all the instruments for the opposite side to the RTG. They look reasonably sized don't they?

They're not! Most are small and some are very small!
This is the Cosmic Ray Subsystem. The underneath flaps needed a tighter angle in order for the back to be able to fold over so the sides would make the right 3D shape.


Cosmic Ray Subsystem and the Plasma Experiment. As you can see, pretty small!

Instrument truss. The graphics on this are different from in the instruction photos - there the truss sections are the same shape as the MAG boom, whereas on the printed sheets they are elongated (each section = 2 sections on the photos), and are shaded in grey. I did consider seeing if I could make a proper frame of it by cutting out all of the grey and leaving the black "skeleton" but I don't think it'd have enough strength to hold everything. Perhaps once I've got the hang of reinforcing with Superglue I might have a go, also with thicker card. There are only 48 triangles to cut out (and working out a way to glue the long edge without overlapping card). The trouble is, if I do it for this one, I'm going to want to do it for the MAG boom on the other side (which we haven't got to yet), and that has ... 236 ... triangles to cut out.


Here are most of the instruments made up. A little bit of colouring still required to tidy them up, but nearly there.

Having been shown the UV glue marvel, I took up @zathros 's suggestion and added some "lenses" (plus added a little more detail on the image camera on the right found on a pbs website photo of it https://www.pbs.org/the-farthest/science/voyagers-scientific-toolkit/). Thanks for the tip!


Progress might be a bit slower now as I'm back to work, plus need to wait to source some proper Superglue and wait for my matte black paint and varnish to arrive to experiment with truss strengthening and getting the right finish.
Must say, I'm really enjoying this rediscovered hobby, it's quite addictive, and am spurred on by your positive comments and encouragements, so thanks again.
- Apr 5, 2013
- 13,876
- 10,214
- 228
You are one patience and talented individual. These parts look great! 
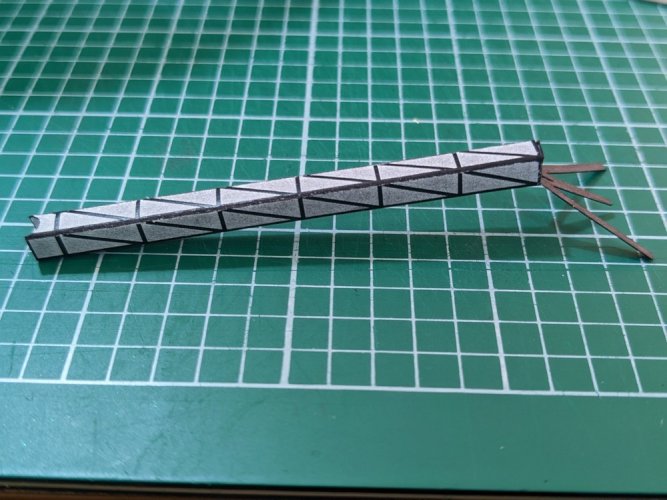
Instrument Truss:
I'm back! Did some work at the weekend ...
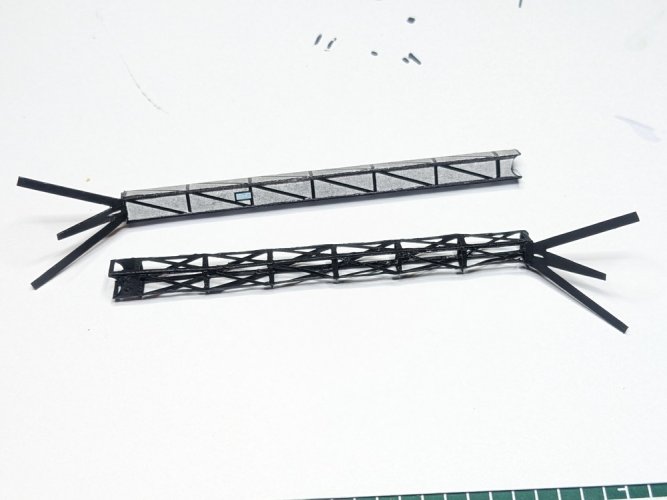
I previously posted a picture of the instrument truss as printed from the file. The gaps between the latticework are filled in with grey to reduce the effect.
However, having been advised by Zathros (I listen to you Zathros ) to strengthen other trusses and thin support bracing with superglue, I decided to experiment with this and see if I could construct it as a proper hollowed out lattice.
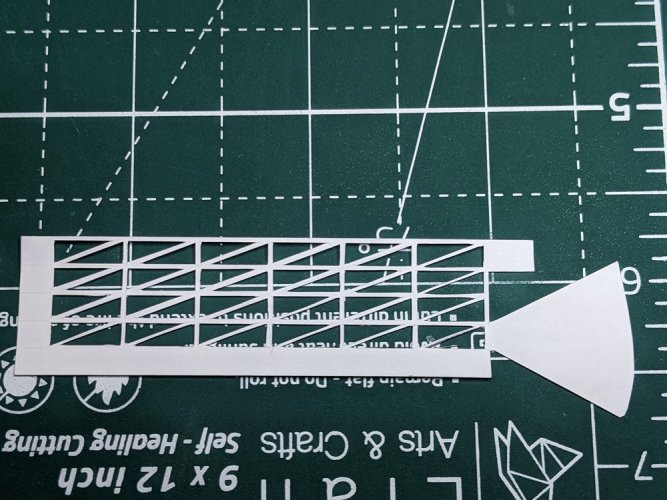
So I cut out the 48 small triangles and other bits at the ends (having scored and folded along the length before I started cutting - knowing what remains would be very flimsy). 4 hours work, with only one slip and cut too far through one of the truss sections - repairable with glue later.
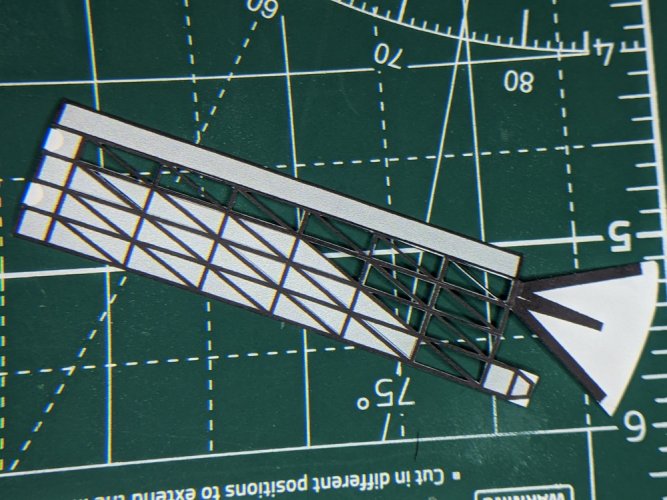
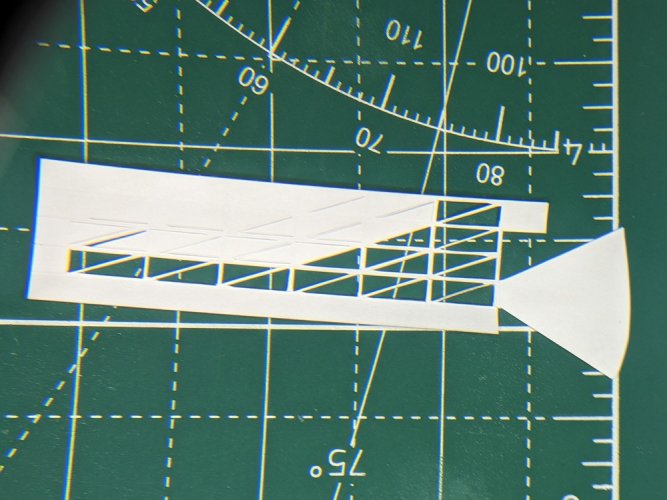
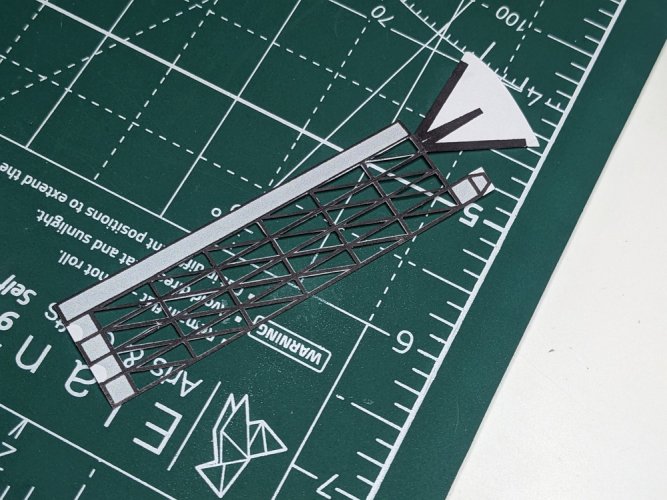
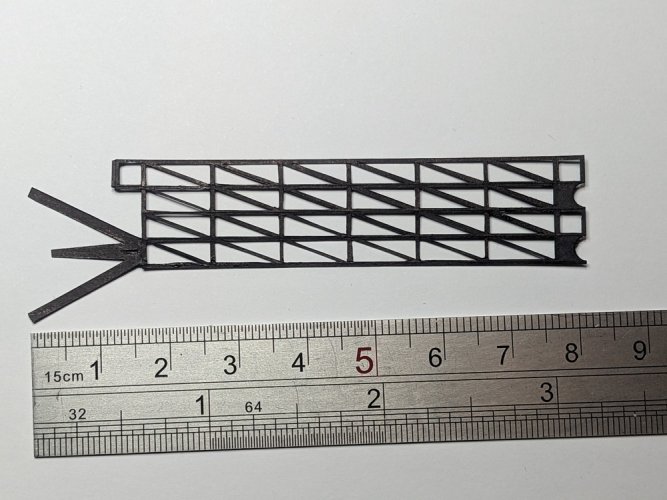
Then time spent blacking all the edges, tidying up here and there (the card started to delaminate at the fold lines in a few places because the width is so narrow, less than 0.5mm in some places); then trying to fold it as much as possible before gluing (it has to be superglued in the final shape because trying to score and fold once superglued is very difficult). 2 hours work.
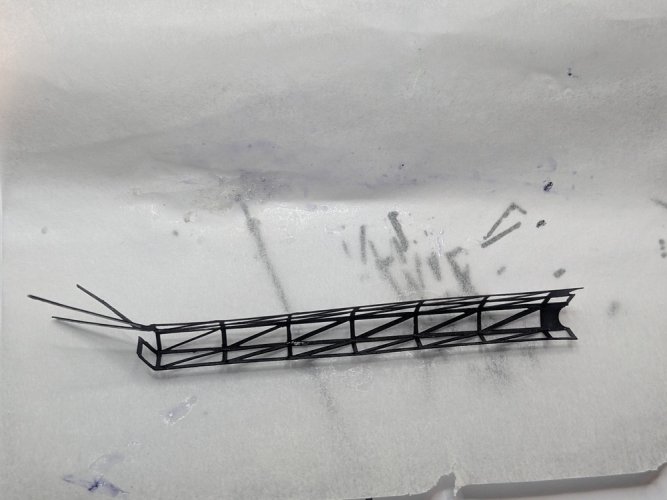
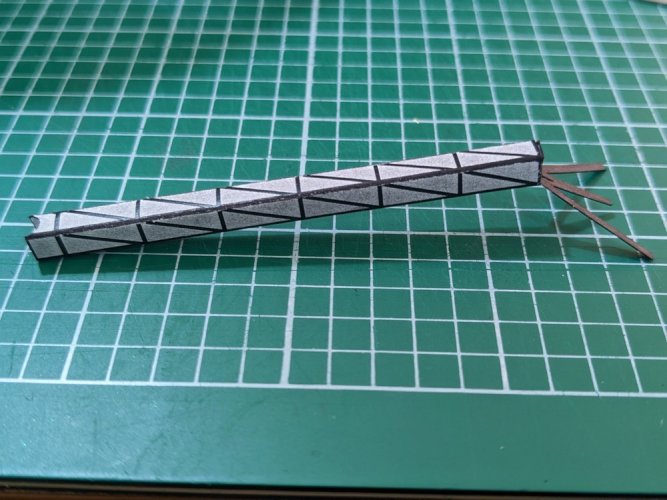
Then application of superglue down the length to make the box shape, one side at a time. I used Starbond EM-02 which is superglue with the consistency of water - it runs everywhere, bonds almost instantly, but is really easy to cover an entire face of this just by putting a few drops on a bit of greaseproof paper and rubbing the latticework over it. It's expensive here in the UK but worth it for certain applications.
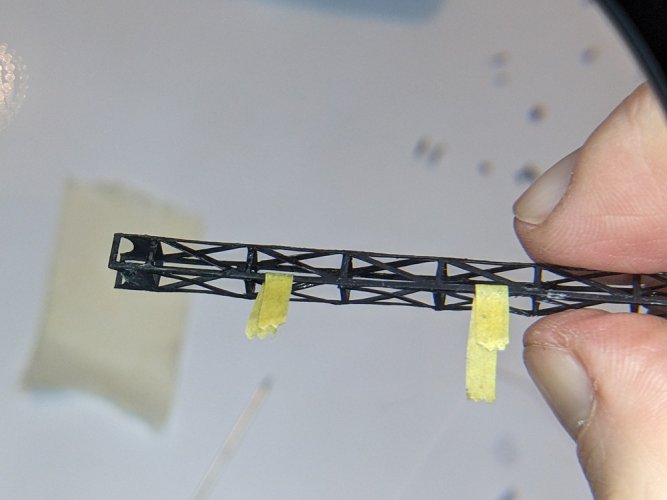
Then applying normal superglue to the inside faces through the holes with a cocktail stick.
All the superglues I've used dry rather shiny or at least satin, so then needed to paint all surfaces, inside and out, with Tamiya Flat Black, and then a final coat of Vallejo Matt Varnish. Another 2-3 hours work.
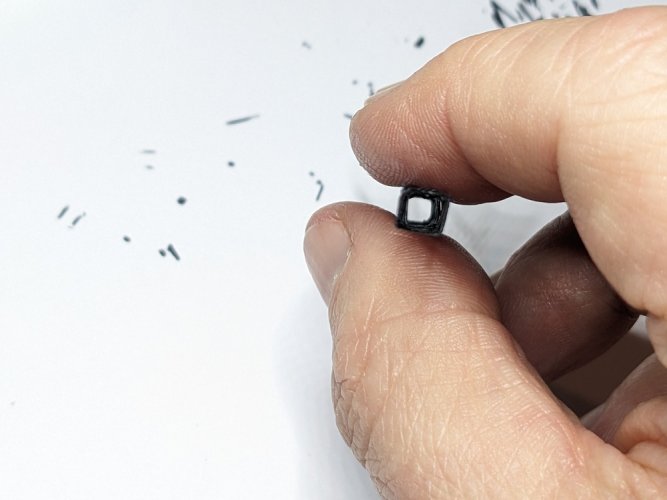
I even managed to keep it relatively square on looking down the middle too (easier with the eye than a camera!)
It does make me think ... can I succeed at doing the same with the Magnetometer boom/truss - triangular cross section, 25cm long, 240 triangles to cut out ...
I'm back! Did some work at the weekend ...
I previously posted a picture of the instrument truss as printed from the file. The gaps between the latticework are filled in with grey to reduce the effect.

However, having been advised by Zathros (I listen to you Zathros
So I cut out the 48 small triangles and other bits at the ends (having scored and folded along the length before I started cutting - knowing what remains would be very flimsy). 4 hours work, with only one slip and cut too far through one of the truss sections - repairable with glue later.


Then time spent blacking all the edges, tidying up here and there (the card started to delaminate at the fold lines in a few places because the width is so narrow, less than 0.5mm in some places); then trying to fold it as much as possible before gluing (it has to be superglued in the final shape because trying to score and fold once superglued is very difficult). 2 hours work.

Then application of superglue down the length to make the box shape, one side at a time. I used Starbond EM-02 which is superglue with the consistency of water - it runs everywhere, bonds almost instantly, but is really easy to cover an entire face of this just by putting a few drops on a bit of greaseproof paper and rubbing the latticework over it. It's expensive here in the UK but worth it for certain applications.

Then applying normal superglue to the inside faces through the holes with a cocktail stick.
All the superglues I've used dry rather shiny or at least satin, so then needed to paint all surfaces, inside and out, with Tamiya Flat Black, and then a final coat of Vallejo Matt Varnish. Another 2-3 hours work.

I even managed to keep it relatively square on looking down the middle too (easier with the eye than a camera!)

It does make me think ... can I succeed at doing the same with the Magnetometer boom/truss - triangular cross section, 25cm long, 240 triangles to cut out ...
I feel your pain!
When I built the under-construction ring of UHU02s 2001 ASO Station V, (twice!), it was literally; Blood, Sweat & Tears!
Your truss turned out great!
Next up for both of us....UHU02s Tokyo Tower!!

https://www.zealot.com/threads/uhu02-tokyo-tower.179143/
When I built the under-construction ring of UHU02s 2001 ASO Station V, (twice!), it was literally; Blood, Sweat & Tears!
Your truss turned out great!
Next up for both of us....UHU02s Tokyo Tower!!


https://www.zealot.com/threads/uhu02-tokyo-tower.179143/


