Sudsy's Benchtop - BMP inspired Chimera replacement
- Thread starter Sudsy
- Start date
You are using an out of date browser. It may not display this or other websites correctly.
You should upgrade or use an alternative browser.
You should upgrade or use an alternative browser.
Looking very nice!! Like the camo!
a suggestion...short tutorial... when you are cutting circles, use the straight slice method, especially on thick card.
 circle ready to be cut...
 cut as close to the line as possible with your snap-blade cutter...
 on the edge of your worktable, and ON the cutting mat, start a straight cut by holding the cutter blade at the back side on the card, then sort of ROLL forward making the SLICE...
 you will cut small SLICES around the circle till done...
 This will stop the card from being bent upwards as you try and cut an ARC... works really well on really thick stuff 1mm+ and if you need to, use an Emory board to touch up the edge.
a suggestion...short tutorial... when you are cutting circles, use the straight slice method, especially on thick card.
 circle ready to be cut...
 cut as close to the line as possible with your snap-blade cutter...
 on the edge of your worktable, and ON the cutting mat, start a straight cut by holding the cutter blade at the back side on the card, then sort of ROLL forward making the SLICE...
 you will cut small SLICES around the circle till done...
 This will stop the card from being bent upwards as you try and cut an ARC... works really well on really thick stuff 1mm+ and if you need to, use an Emory board to touch up the edge.
a suggestion...short tutorial... when you are cutting circles, use the straight slice method, especially on thick card.
Such techniques are indeed why I came here! Thank you for the tutorial! Less digging I have to do through the forum archives...


 Final painting details. Two highlights, the first one mixed each base color with Ivory. Second highlight for the highest panels was the base color, the mix with Ivory of the first highlight, and then white mixed in, applied to the usual high spots! Now, on to a coat of clear flat (Rustoleum spray), and maybe some weathering effects. I kept the tracks burnt umber. I might do something more with them, but I rarely saw an armored vehicle with anything less than rusty tracks anyway (except rub points that were raw steel, and the rubber contact surfaces some tracks have).
my question is how did you make the "wet palette" I have looked at them on the web and just can't justify the cost.View attachment 168488 View attachment 168489
More painting in progress! Delta Ceramcoat acrylics and my homemade wet palette. I get really good results. Maybe not competition quality, but results that still look good on the gaming table!
my question is how did you make the "wet palette" I have looked at them on the web and just can't justify the cost.
Obtain a plastic food container. Mine is a fancy "Rubbermaid" with a sealed lid (gasket, and hinged locks). Take a paper towel and wet it. Use good ol parchment paper, and there you go. Wet palette! In fact, see first picture in Post #44 a few posts up...
I learned it from this guy:
Okay thanks Sudsy, now I have items added to my shopping list.Obtain a plastic food container. Mine is a fancy "Rubbermaid" with a sealed lid (gasket, and hinged locks). Take a paper towel and wet it. Use good ol parchment paper, and there you go. Wet palette! In fact, see first picture in Post #44 a few posts up...
I learned it from this guy:
I have really enjoyed watching this build. It is refreshing seeing someone painting their papermodel.
I had to cover up my sloppiness with the glue somehow! Seriously though, I find myself enjoying the effects of well painted models, and I cringe when I look at my older kits with how poorly I used to paint...
- Apr 5, 2013
- 13,876
- 10,214
- 228
Taking my lessons learned with the first build, I changed materials for the hull. This time I'm using my card stock (bristol or index card) and printed directly on the surface. Prior to cutting I dull coated them (I read that somewhere here in fact, thanks for all the tips). I like the way the build on "bimp 2" is going!
31JUL2019 Edit: Added first 20 photos from the "BIMP 2" build.
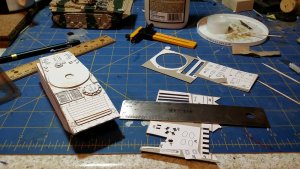
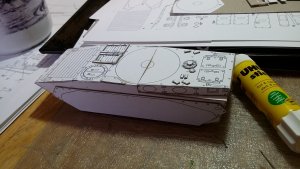
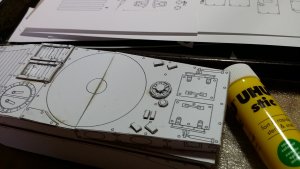
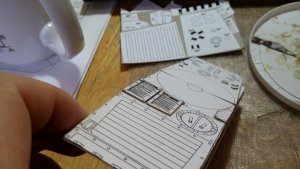
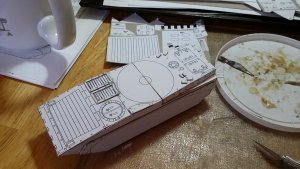
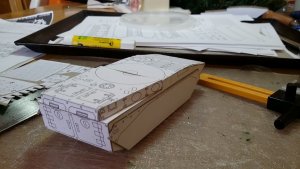
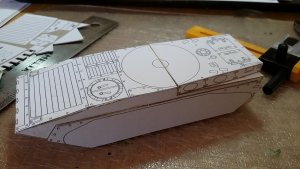
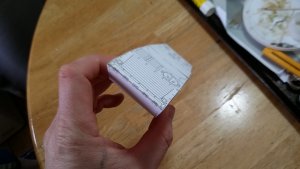
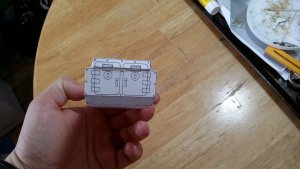
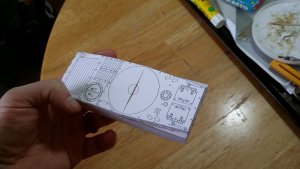
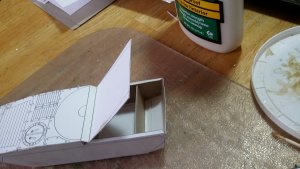
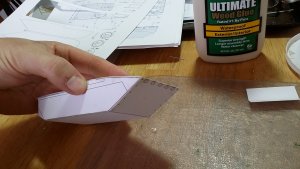
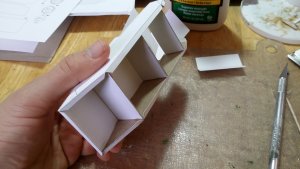
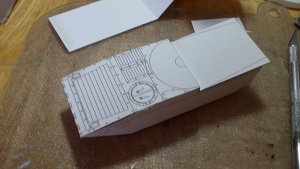
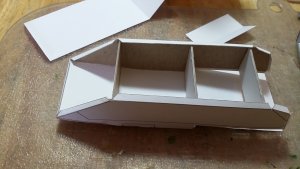
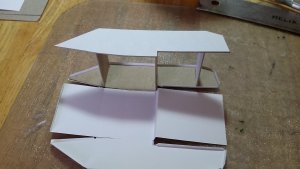
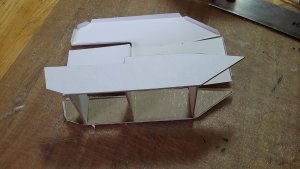
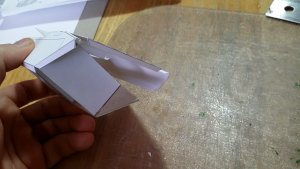
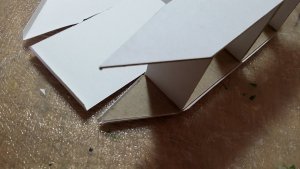
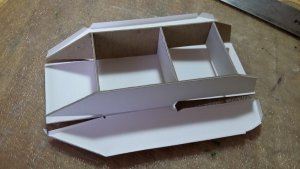
31JUL2019 Edit: Added first 20 photos from the "BIMP 2" build.


Last edited:
Today's progress on "Bimp 2" Main hull assembled with the first grebbles! I attempted to do a vent like I've seen some you all do it, but I don't think I got the bond paper soaked enough, and so it'll be a might messy (and likely painted like rust or brush in the next few phases). Most of the grebbles will be done using the ceral/cracker box material for thickness, but I added some index card details to the vent, we'll see how that turns out after paint. I plan on 100% wood glue rivets with this model. Already, if I get it done (without toddler destruction), this one will come out better than "Bimp 1"
Attachments
Man, that finished model really popped. Looking at it, there is no way to tell what it was made out of, but it looks expensive!!
It did cost time! Time has value, and none of it feels wasted on these. So, I guess it show, and looks expensive!
Today's progress on "Bimp 2" Main hull assembled with the first grebbles! I attempted to do a vent like I've seen some you all do it, but I don't think I got the bond paper soaked enough, and so it'll be a might messy (and likely painted like rust or brush in the next few phases). Most of the grebbles will be done using the ceral/cracker box material for thickness, but I added some index card details to the vent, we'll see how that turns out after paint. I plan on 100% wood glue rivets with this model. Already, if I get it done (without toddler destruction), this one will come out better than "Bimp 1"
You didn't! Did you use BOND for the vents? and with water? Not a good idea if that is what you did... you mean BOND as in typing paper or COPY paper? TOO THIN MAN!
I wouldn't use anything under 100lbs m/2. The stuff I use is 199 lbs m/2 about the thickness of your index cards, that you could dampen with a touch of water, but I wouldn't... just burnished into shape. I wish I could do a video but I only have an SLR and it's a bit hard to hold and work at the same time. It does look like it will be just fine from your pix, but be careful with the paint...if they do warp, let em dry and then burnish back into shape...
- Apr 5, 2013
- 13,876
- 10,214
- 228
What "BOND" are you guys talking about, it couldn't be "James", could it? 

You didn't! Did you use BOND for the vents? and with water? Not a good idea if that is what you did... you mean BOND as in typing paper or COPY paper? TOO THIN MAN!
I wouldn't use anything under 100lbs m/2. The stuff I use is 199 lbs m/2 about the thickness of your index cards, that you could dampen with a touch of water, but I wouldn't... just burnished into shape. I wish I could do a video but I only have an SLR and it's a bit hard to hold and work at the same time. It does look like it will be just fine from your pix, but be careful with the paint...if they do warp, let em dry and then burnish back into shape...
Well, now that you mention it, yeah, its copy paper. I might just leave them warped, and paint them rusty if I get too annoyed... There is always one in evrry platoon right?! We all know whic BMP Carl is driver for now!


