Howdee friends and fans,
@shadree 's call to join a new Armour Up! Paperjam triggered something in me. Unfortunately I mistook the premise and thought armured vehicles would meet the requirements, however, since I would never have come up with the idea without the jam announcement I consider this a happy accident.
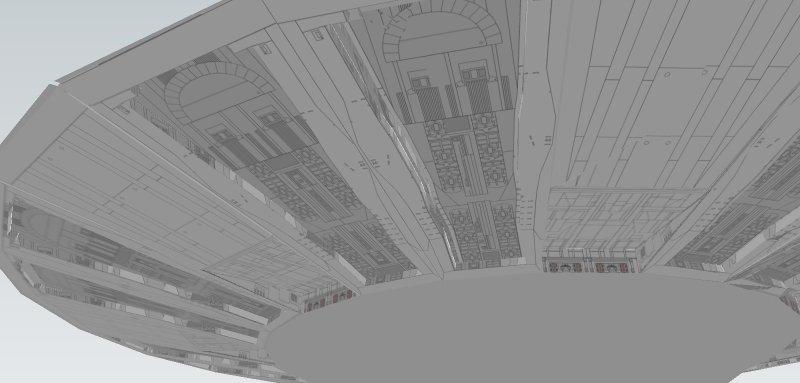
Now then. Basic modeling is complete, all main parts have been unfolded and flaps are being added. An internal skeleton must be made. I'm now in the process of texturing the parts to see if my plan works. I won't tell you what it is now but IF it works you will definitely like it.
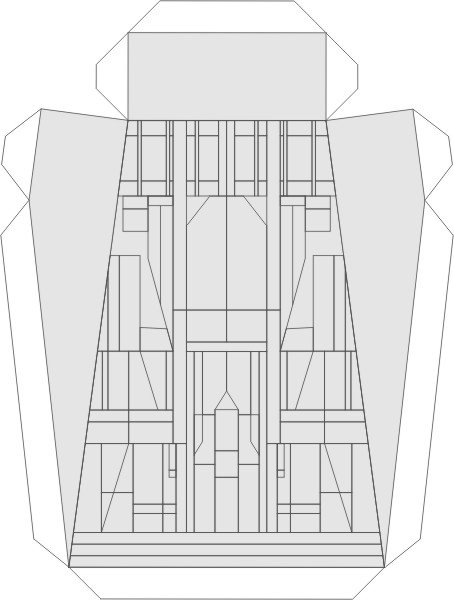
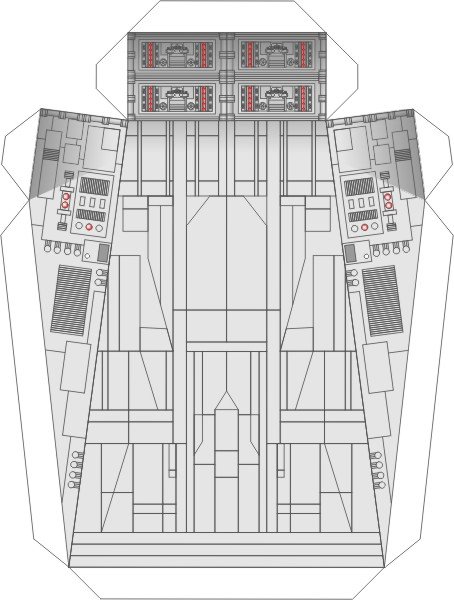
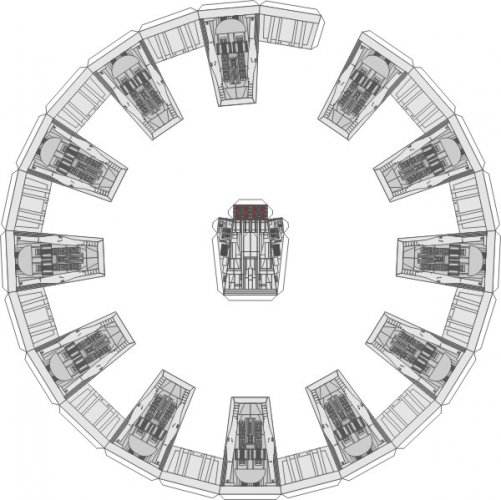
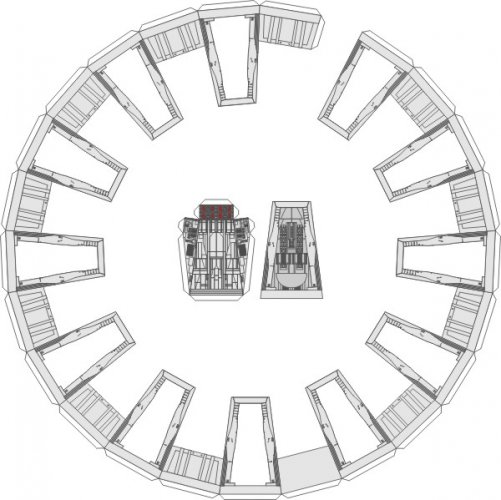
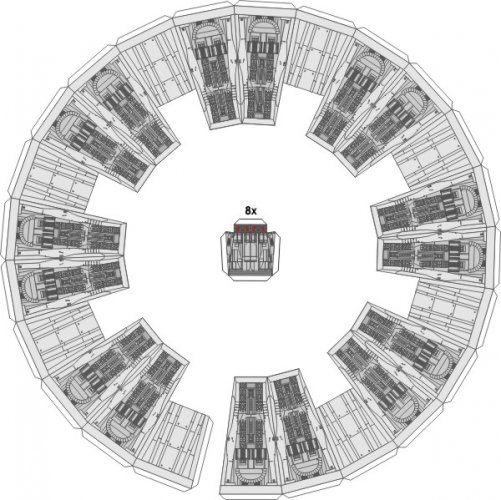
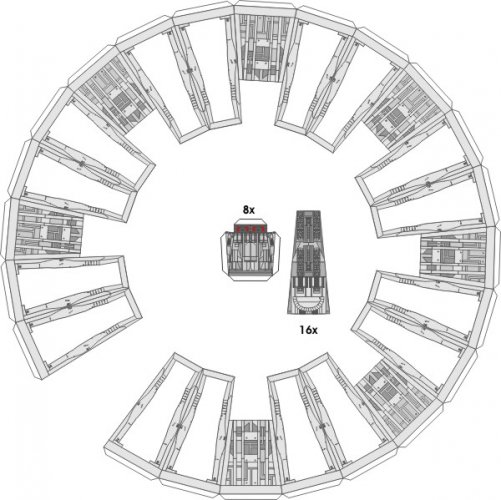
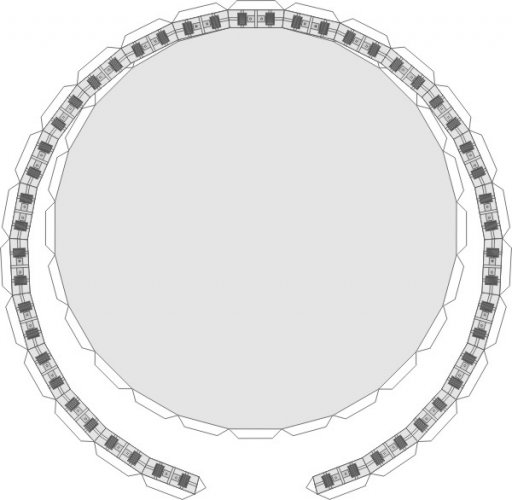
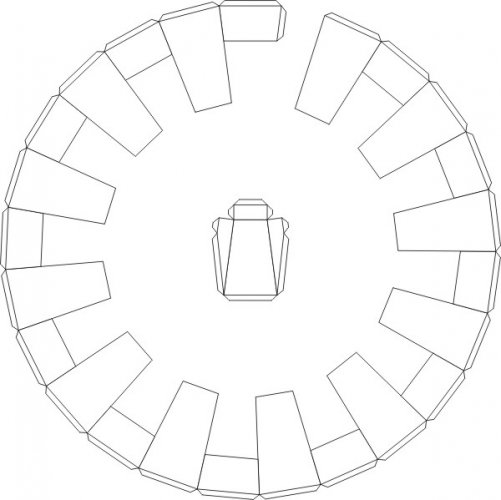
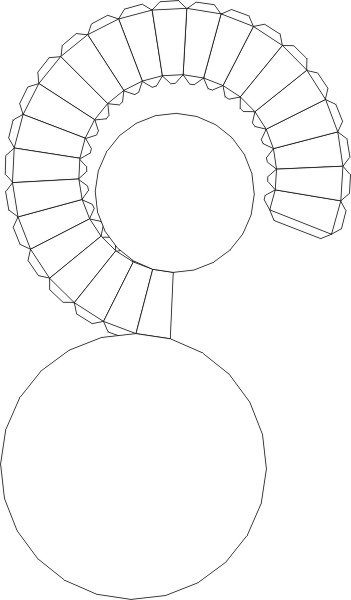
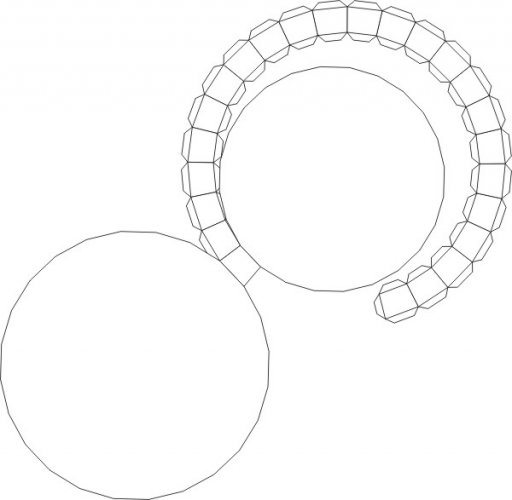
Here are some previews of the unfolded parts.
Stay tuned for updates!
@shadree 's call to join a new Armour Up! Paperjam triggered something in me. Unfortunately I mistook the premise and thought armured vehicles would meet the requirements, however, since I would never have come up with the idea without the jam announcement I consider this a happy accident.
Now then. Basic modeling is complete, all main parts have been unfolded and flaps are being added. An internal skeleton must be made. I'm now in the process of texturing the parts to see if my plan works. I won't tell you what it is now but IF it works you will definitely like it.
Here are some previews of the unfolded parts.


Stay tuned for updates!
Last edited:


