ROCK-COLOURING
To color rocks I follow a simple method I found on the Woodland Scenics tutorial called the tiger spots.
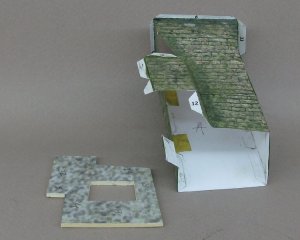
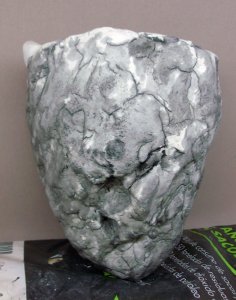
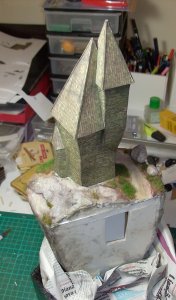
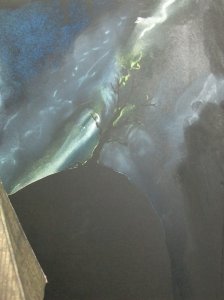
First I colored the cracks to give them depth. I used crushed pastel chalk diluted with water, rubbing alcohol and some drops of dishwashing soap (to break surface tension). Although not entirely dried the clay accepts well the paint. I used pure black and a mix of black and brown.
A hairdryer was very handy.
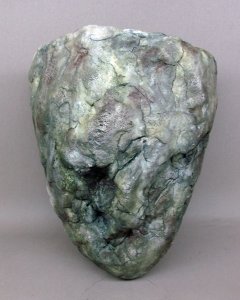
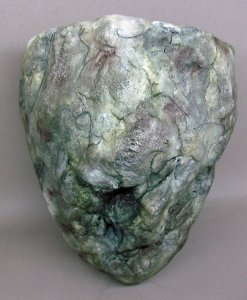
Then I started with the so called tiger spots:
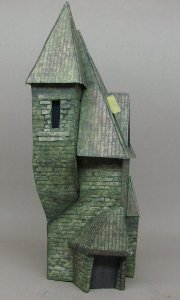
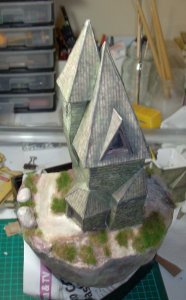
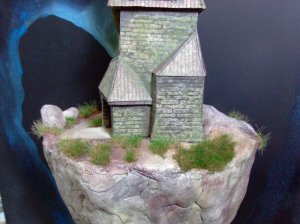
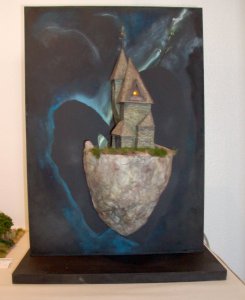
Three colors, light ocher, brown and green. Each diluted in the same manner of the previous colors. But this time instead of using a brush I used pieces of sponge. Applied randomly spots of each color and then worked out to blend them, by pouring more and more paint. The pressure exerted on the sponges made the dishwashing soap to react, foaming. The hairdryer took care of it and soon the paint dried to a matt finish.
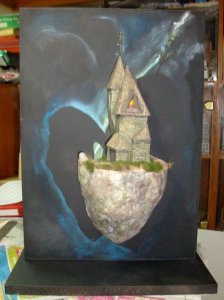
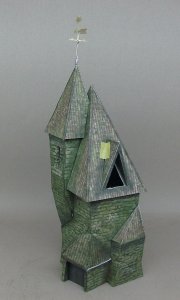
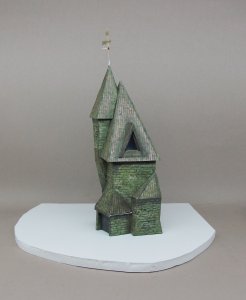
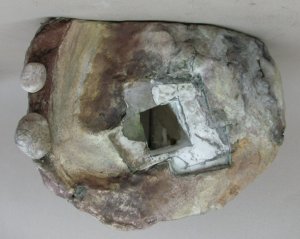
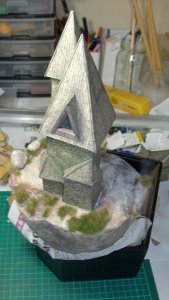
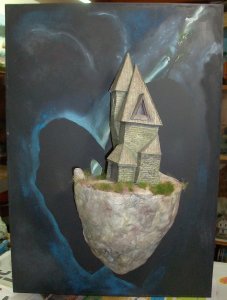
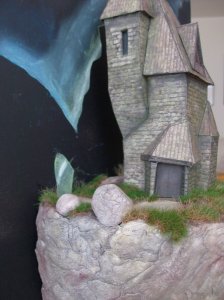
The top of the rock was colored slightly differently. The road leading to the tower was painted using the chalks directly, rubbing with the fingers to blend the colors. The rocks remained practically with the basic black/black-brown tinting for the crevices and very discreet touches of color. The soil (real clay soil I picked up, sifted and sterilized) was painted with Tamiya acrylics highly diluted to make it lighter.
I had to repeat the painting of the road as the first layer was not enough to cover some spots of white clay.
In between I sprayed with fixative so I wouldn’t lose what was already achieved.


 ops:
ops: