Indeed I was worried where to put them. I will correct that posting.Just as well you didn't throw the circled parts away, as the were for joining the back of the cockpit to the fuselage?
Good progress
Imperial Lambda-class T-4a shuttle TYDIRIUM
- Thread starter mijob
- Start date
You are using an out of date browser. It may not display this or other websites correctly.
You should upgrade or use an alternative browser.
You should upgrade or use an alternative browser.
The Lords of Kobol surely know how to prevent this.im really starting to worry that you are in fact the current emperor and are building your own imperial fleet.......

Here comes the most interesting part: How close will this model come to the filming miniature? All mass-produced models from the well-known manufacturers have been provided with stretched reference images which resulted in wrong proportions. They got stills which were produced in 16:9 format but which were accidentally printed in 4:3 format. That led to a much higher profile, elongated wings and a stubby nose. The only models which have good proportions are the 1/350 F-Toys model (I have that one), the studio-scale garage kits and (surprise) the Kenner / Hasbro toy (which in effect is the closest when it comes to accuracy and it is about studio-scale as well). The paper model looks awesome in that respect but I have never seen any pictures of the profile when it is finished. With that being said, it would be great if you could post some beauty pics from the left or right side when the model is finished, Michael. 
Thank you all. And yes there will be a lots of beauty shots.
does it involve a resurrection ship? i think we may need one lolThe Lords of Kobol surely know how to prevent this.
I'm working on it.does it involve a resurrection ship? i think we may need one lol
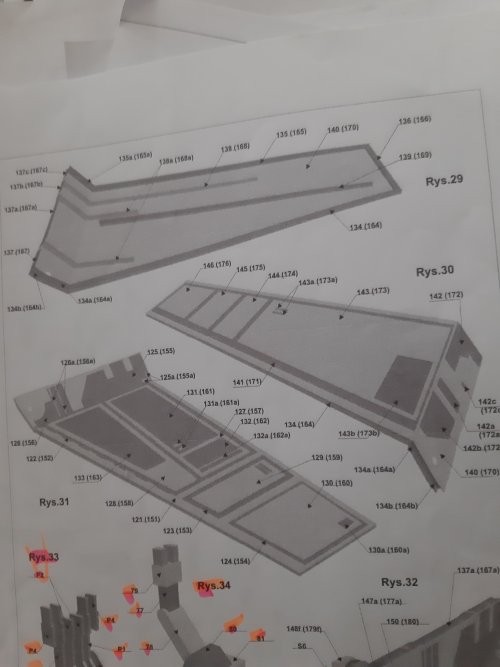
Started to assemble the left and right wing.
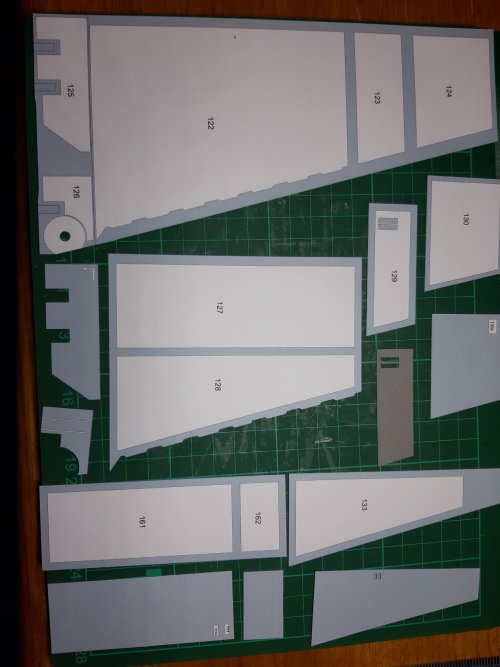
This is one of the side its straight forward to glue the parts.
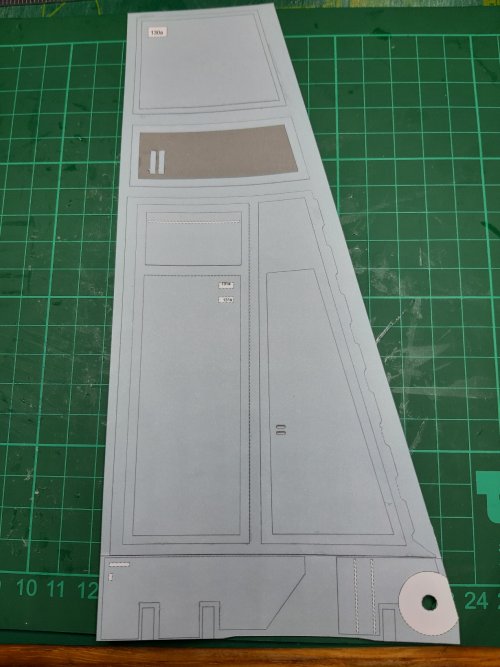
When all wings are assembled its time to glue the inner supports. The wings are big so im not sure if the inner supports will keep the wings straight. Maybe I will use some big wooden bbq sticks.

This is one of the side its straight forward to glue the parts.


When all wings are assembled its time to glue the inner supports. The wings are big so im not sure if the inner supports will keep the wings straight. Maybe I will use some big wooden bbq sticks.
Did some more work on the top wing. I glued the inner supports.
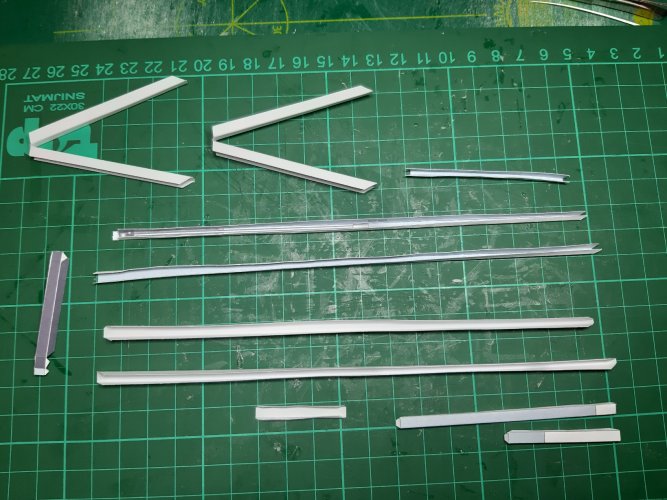
All parts cut and pre shaped.
When gluing the bottom part I used the top frame to check the fitting. Dont leave it otherwise it will be glued togheter with the wing.
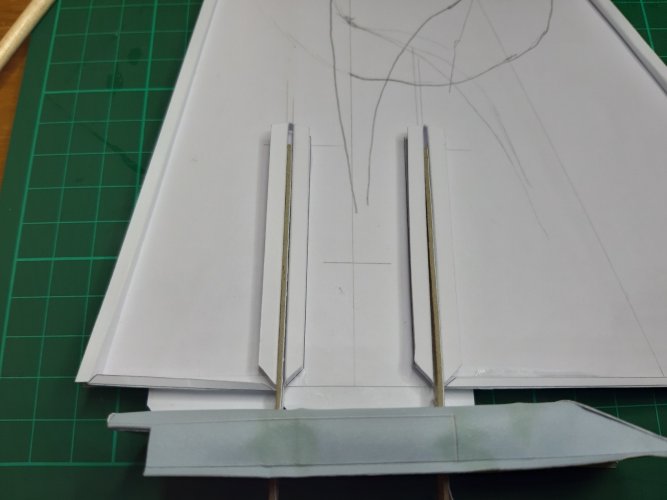
All supports glued and some fibre assembled inside the wing. I drilled some holes with 0.5 and 1.1 mm.
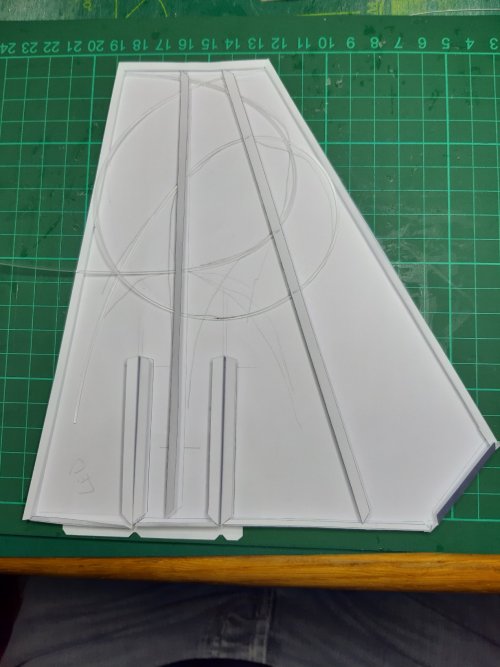
Next I trimmed the fibre and fitted the LED.
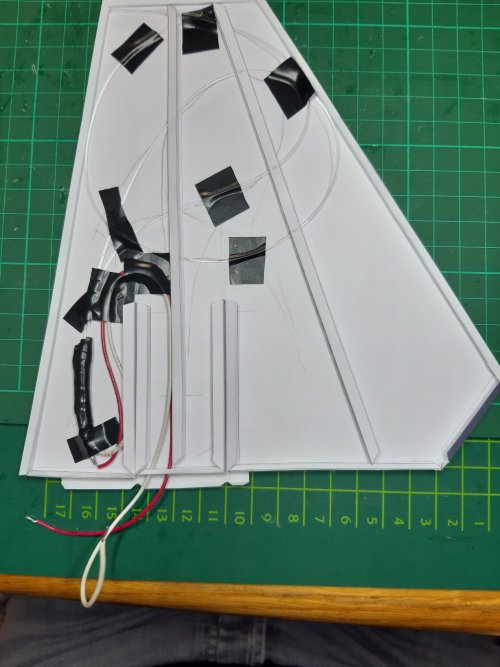
And its time to test everything.
View attachment 20240225_150316.mp4
Im very happy with the result time to finish the top wing and assemble the left and right wing. We are close to finish this model.
All parts cut and pre shaped.

When gluing the bottom part I used the top frame to check the fitting. Dont leave it otherwise it will be glued togheter with the wing.

All supports glued and some fibre assembled inside the wing. I drilled some holes with 0.5 and 1.1 mm.

Next I trimmed the fibre and fitted the LED.

And its time to test everything.
View attachment 20240225_150316.mp4
Im very happy with the result time to finish the top wing and assemble the left and right wing. We are close to finish this model.
- Apr 5, 2013
- 13,498
- 9,549
- 228
It would be nice to see the craft parked on a partially crushed Ewok. 
Finished the side wings.
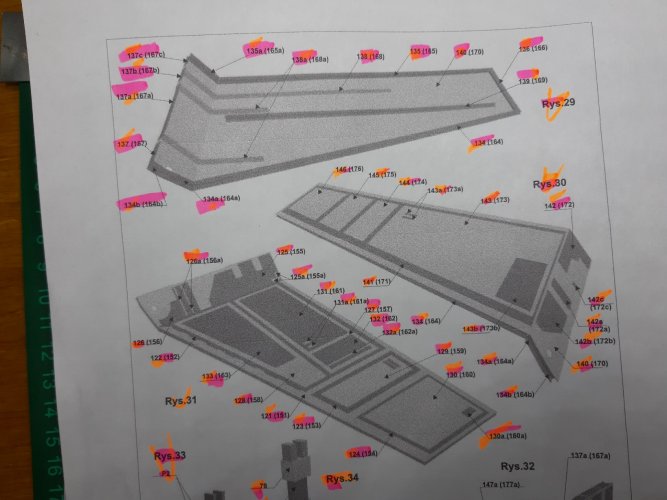
First the wing base and all the add ons.
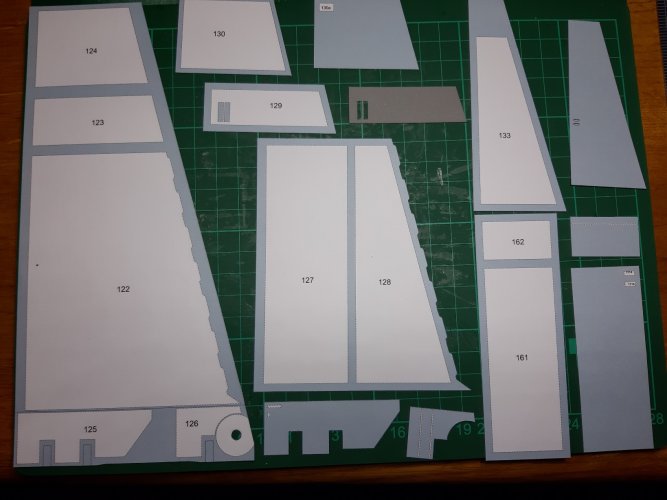
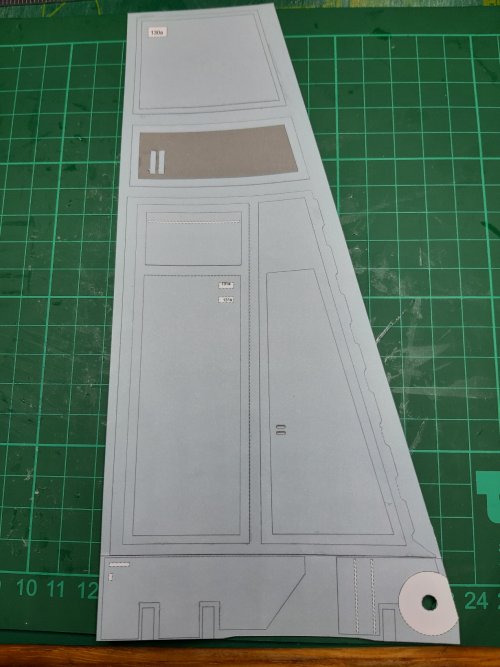
Next copy the lines for the wing rotation thingy. Glue the supports in the centre of the lines.
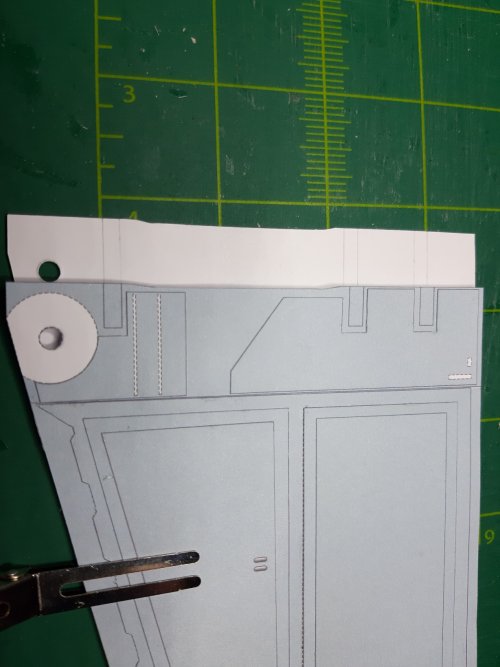
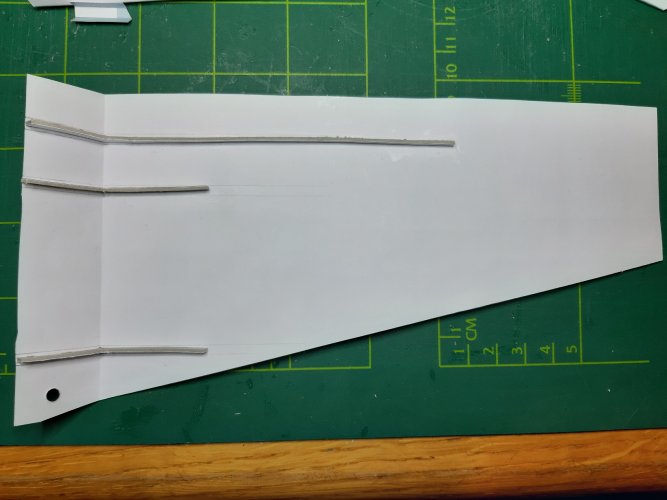
Then cut and fold the other supports and assamble on a wing. I also added the fibre optics.
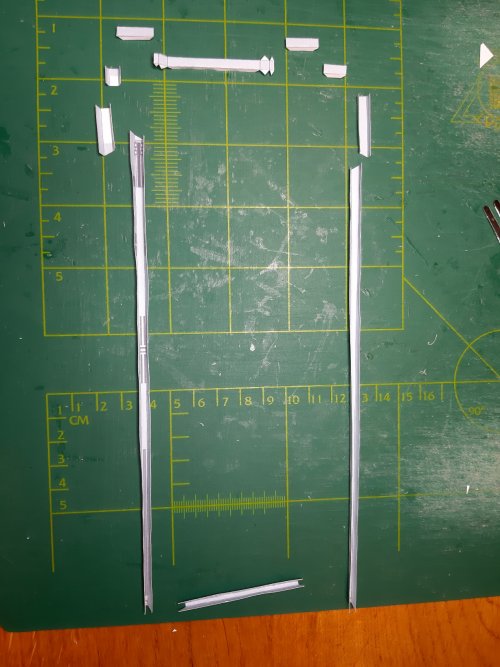
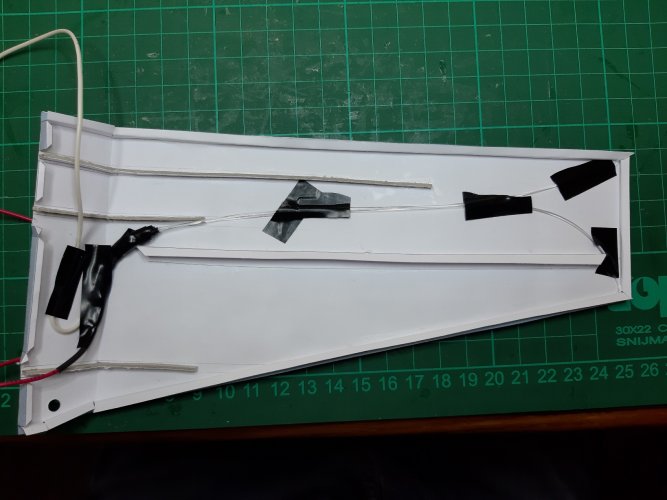
Then its time to glue the other wing make sure it is centred correctly otherwise you have a lot of work to make a good wing
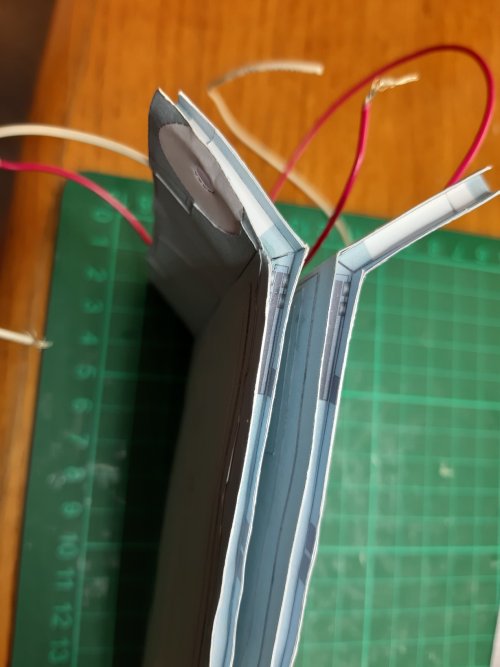
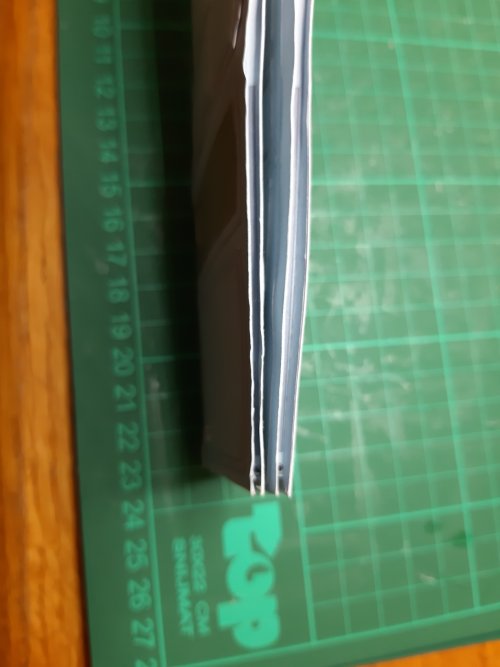
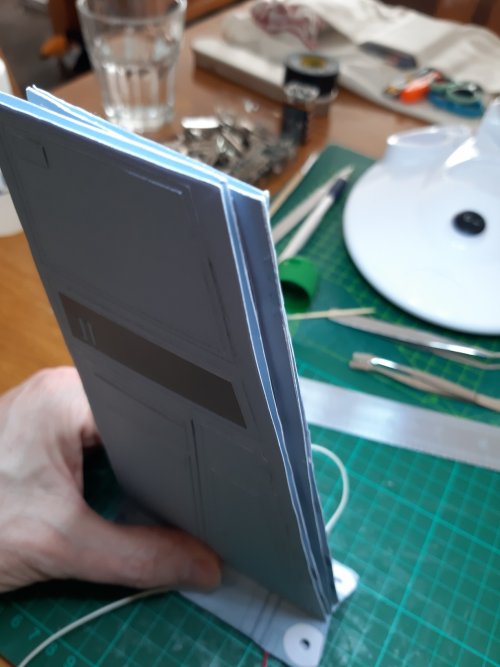
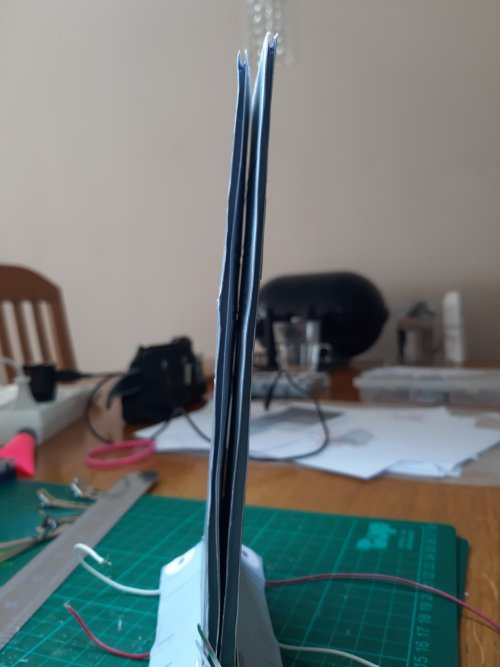
Indeed my last wing went completely wrong I have to see if I can use it. Also use a lot of hair clamps.
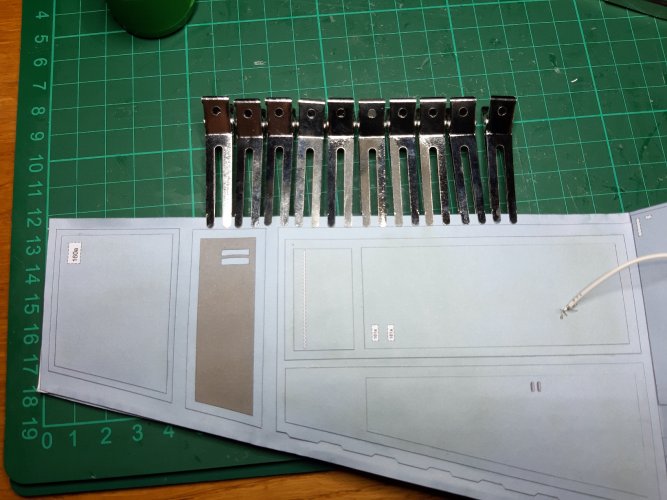
Only the last small parts to add and the wings are done.
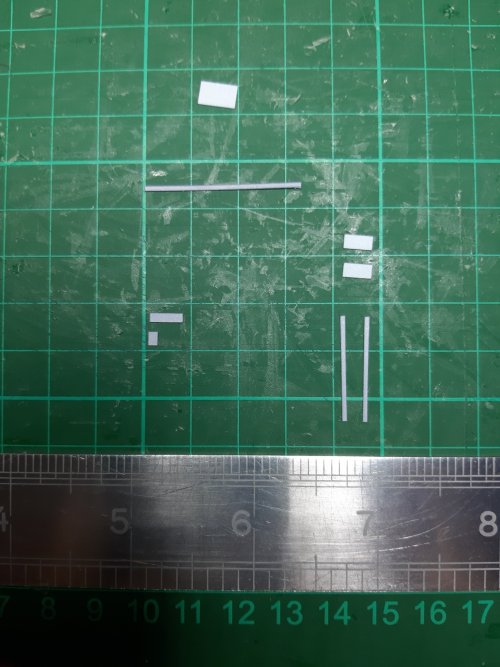
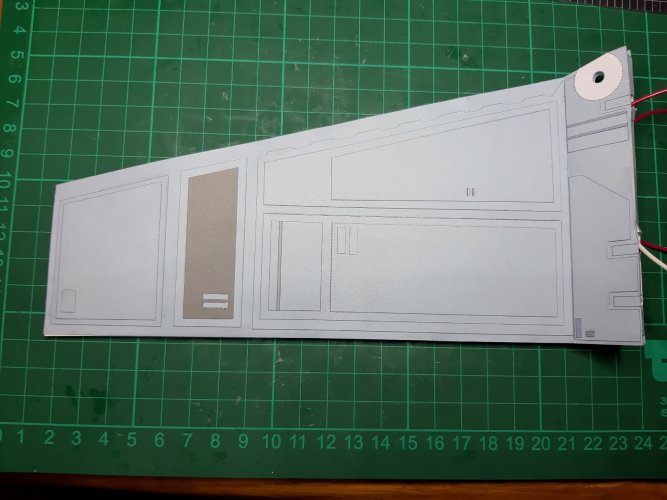
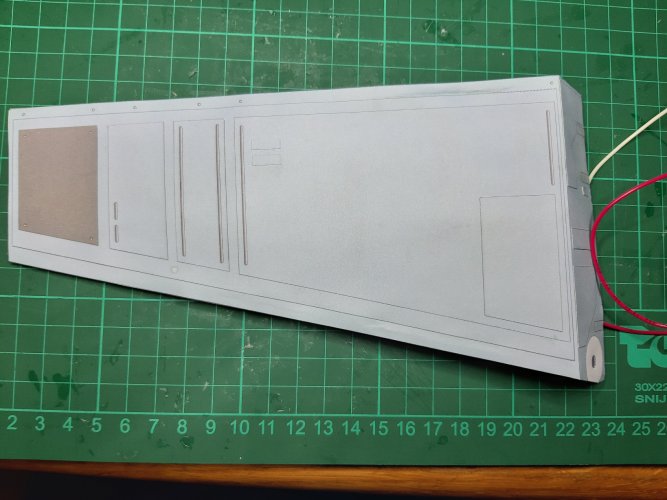
Next to assamble are the wing canons.

First the wing base and all the add ons.


Next copy the lines for the wing rotation thingy. Glue the supports in the centre of the lines.


Then cut and fold the other supports and assamble on a wing. I also added the fibre optics.


Then its time to glue the other wing make sure it is centred correctly otherwise you have a lot of work to make a good wing

Indeed my last wing went completely wrong I have to see if I can use it. Also use a lot of hair clamps.

Only the last small parts to add and the wings are done.


Next to assamble are the wing canons.
Great job! I agree, those big pieces need extra care in order to avoid wrinkles and warping. Maybe you could laminate each wing with card and skip the internal formers and leave a channel for the wires. Of course that would add some weight to the wings but they would stay in shape easily. 
Thanks RF. Yeah that would work, only to late for me now. I will make some updates in my first posting so people know what (not) to do.
Afcourse I could build new wings maybe I will do that at a later moment and add some modifications to it.
Afcourse I could build new wings maybe I will do that at a later moment and add some modifications to it.
OK, suggestion: Laminate each half of the wing to some card. This will strenghten it and help keeping its shape. Then add a third layer of card with a trench for wiring inbetween the halves.
Last edited:
I have started to make some changes in the template it is going to be an add on and will be available in our resource section.
You still need to download the original template.
You still need to download the original template.


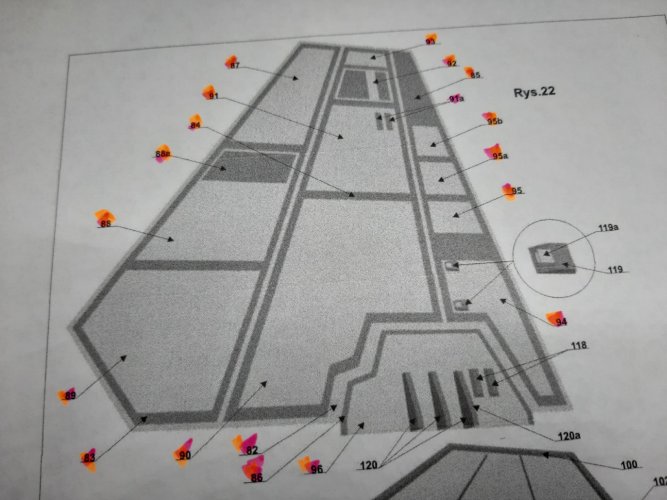
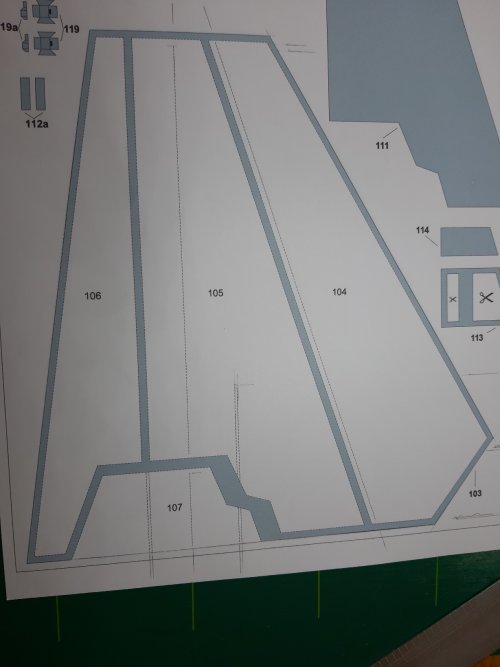
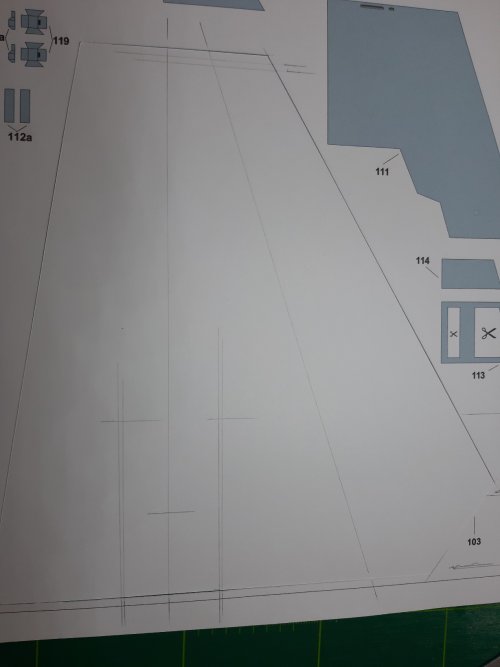
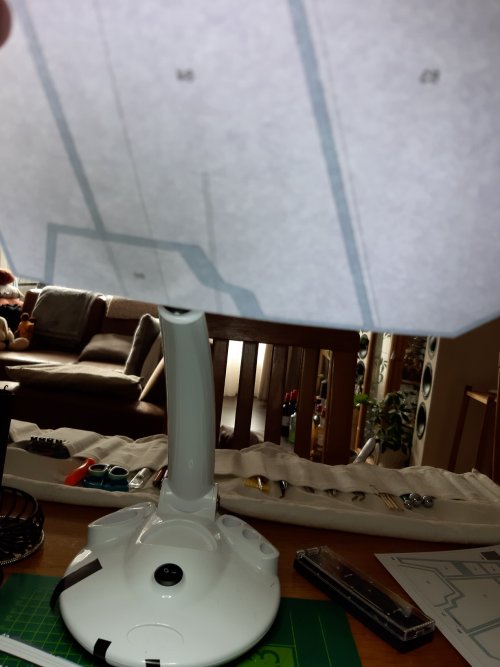
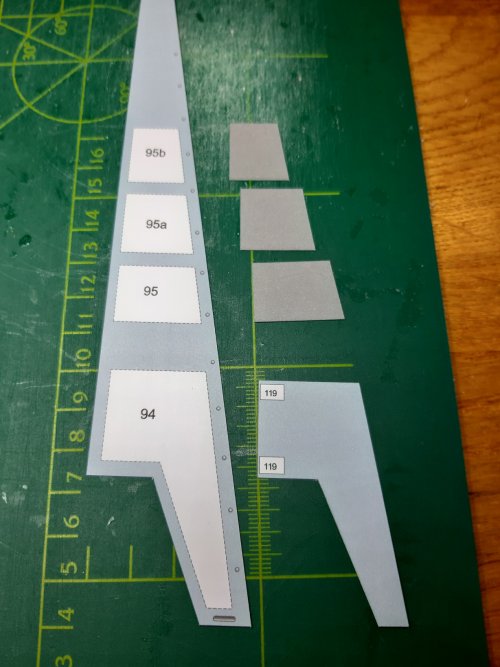
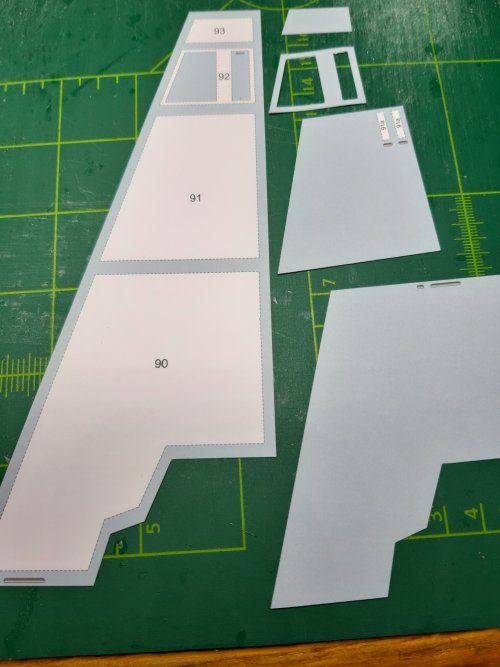
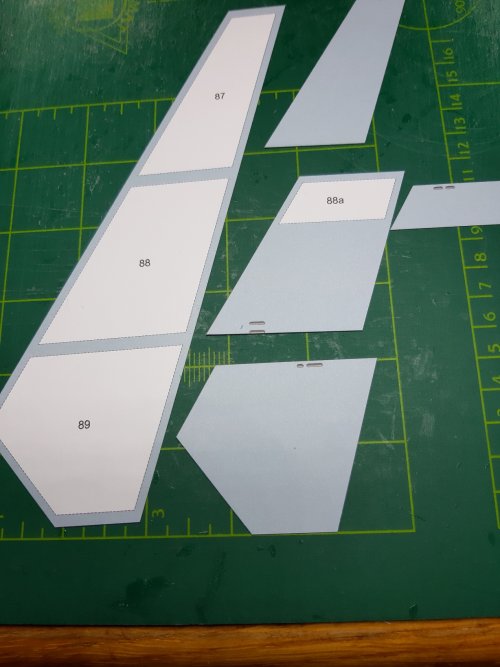
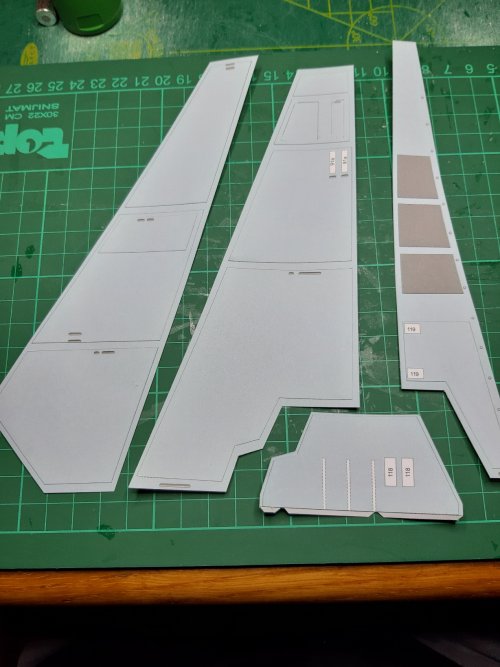
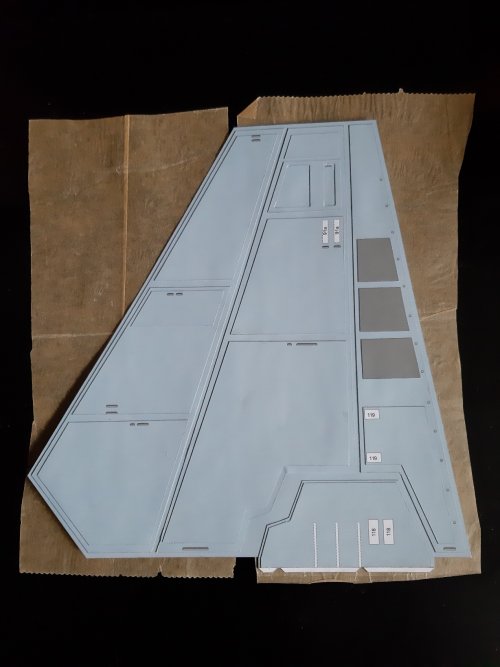
 Well how should I say it, I will start again building the wings and add some moddifications. They look realy bad.