

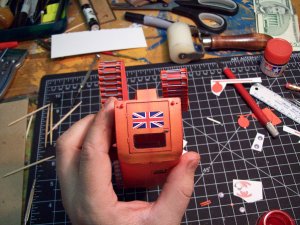
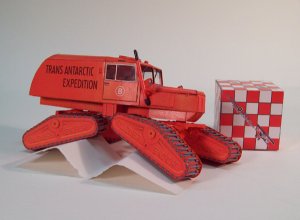
Final bits and geegaws now.... I layed out the hatch into 3 separate laminate layers, built the headlights brackets and headlights themselves, as well as the rear tail lights. Been meaning to take care of those tail lights for a while now.
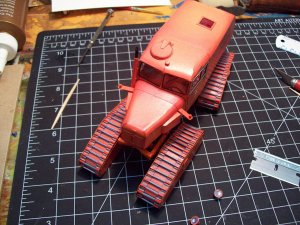
Once every piece had been glued into place, I placed a drop of clear paint onto the surface of both the headlights and the tail lights to make them look shiny and glassy. The headlights will need another drop... in fact, I'm going to use a drop of clear nail polish instead. But for now, I think the SnoCat looks great!
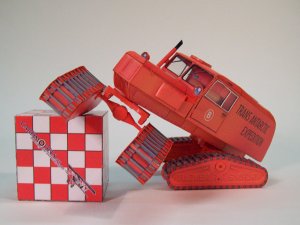
Next post, the final photographs of the finished model and the review of the kit.
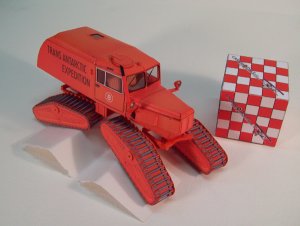
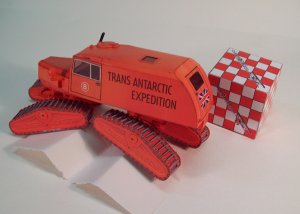
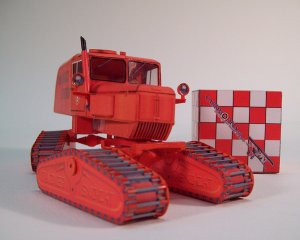
Once every piece had been glued into place, I placed a drop of clear paint onto the surface of both the headlights and the tail lights to make them look shiny and glassy. The headlights will need another drop... in fact, I'm going to use a drop of clear nail polish instead. But for now, I think the SnoCat looks great!
Next post, the final photographs of the finished model and the review of the kit.


")