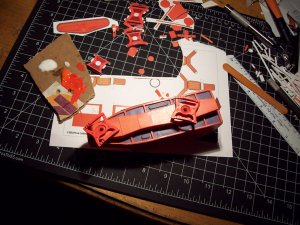
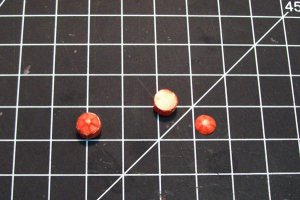
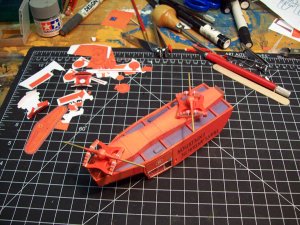
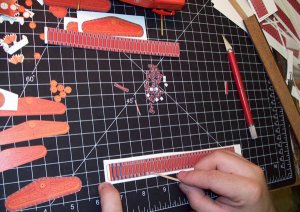
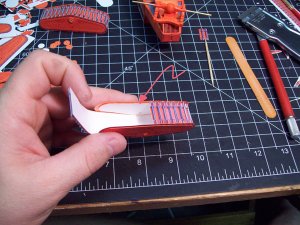
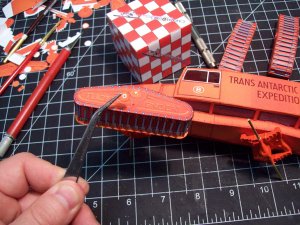
The pontoons have been completed. Built, and touched up with paint to hide the white edges... Now to mount them permanently to the SnoCat chassis. This was done by trimming and filing down the brass rod till the ends of the rod juuuuuuust poked out beyond the outer edge of each pontoon. Each end cap for the brass rod was cut out, laminated 3x's, doused in superglue, and filed with a nail file so as take on a more rounded shape. The backs and sides were colored and a small hole was drilled through each cap. The strengthened caps were then gently twisted onto the ends of each brass rod so that the end cap and rod ended up flush with each other. A _tiny_ drop of super glue was added to the joining surface of each endcap and rod.
I can now twist the axles along the z axis, and rotate the pontoons along the x axis.... just like the original vehicle. Too bad the tracks can't move. This would make a really fun RC toy I bet.
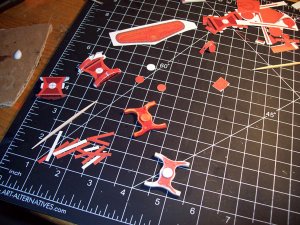
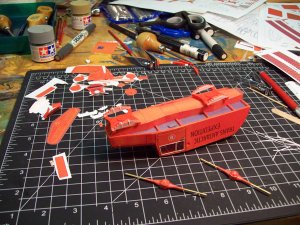
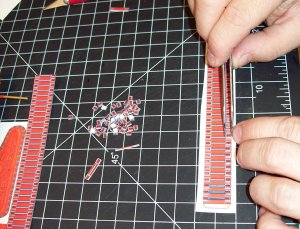
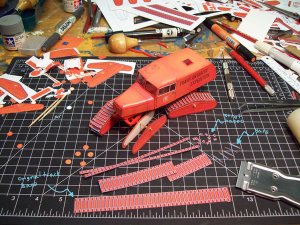
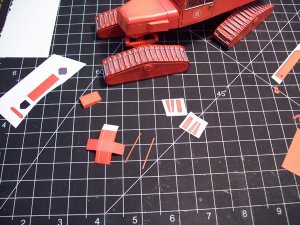
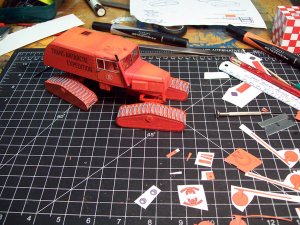
Took a minute to clean up the absolute MESS of a work space I had accumulated during the last few days of building.
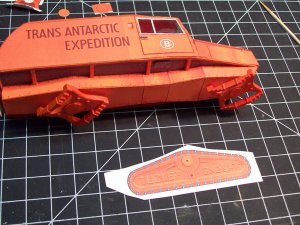
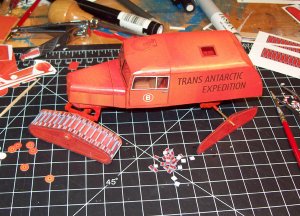
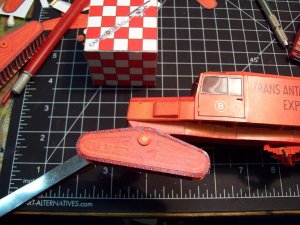
Under the right side door is a storage bin thingie. The artwork depicted straps... so, of course those had to be cut out and laminated for depth. There are no instructions as to where to mount the storage bin tho... Thank heavens I had downloaded the pictures of the completed model that the designer has posted. You can see in the photos that the straps for the bin are added to the bottom of the right side body.... the bin glues right underneath there.
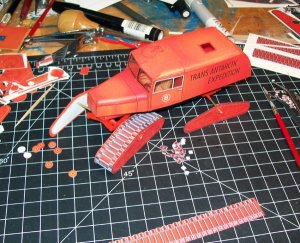
On each side of the front hood is a vent covering that was intended to help control the entry of the frigid, arctic air into the engine compartment. The pieces themselves were very simple to assemble. I colored the entire inside of each piece with the orange marker since the insides of each vent will be visible to the viewer. Again, you will need to have access of the designer's build photos or some good photo reference to mount the vents. There are no placement markings on the hood sides. Maybe to allow those who don't wish to include the arctic vents to leave them out?
I also mounted the cabin vent on the top.
The exhaust pipe takes a little creative guess work as well. I didn't like how the bottom piece of the exhaust positioned the rest of the pipe so far away from the body of the SnoCat. The photos of the designer's build showed the exhaust pipe hugging the lines of the body. So, I trimmed down the bottom pipe so that I could do the same on my model.
The headlights are another point of confusion. The designers photos show only one, large headlight mounted to the driver's side. However, the model sheets have headlights for both sides of the model, and the mounting brackets are completely different from what can be seen in the designer's photos AND in the directions.
I'll just mount the two headlights with the brackets provided.
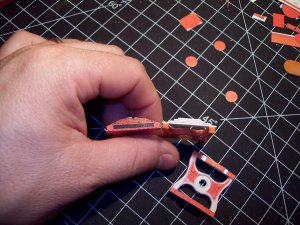
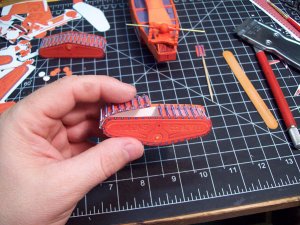
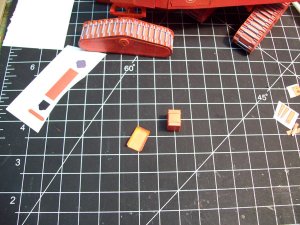
Oh yeah, the cutting board is divided into inches. I downloaded one of those neato cubes to help establish the size of the SnoCat. I doesn't fit in the palm of my hand anymore! ; ) It's like a little kid wearing very large boots!
Next post, I will complete the hatch and finish up final detail work.
Almost done now...here's to hoping I can slide under the contest porticulis before it slams shut! : )


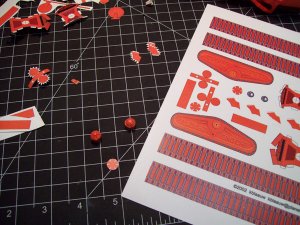
")