Building an AT-AT at 3x the scale (In-Progress)

Status
Not open for further replies.

bugman72

Member
Mar 31, 2005
29
0
16
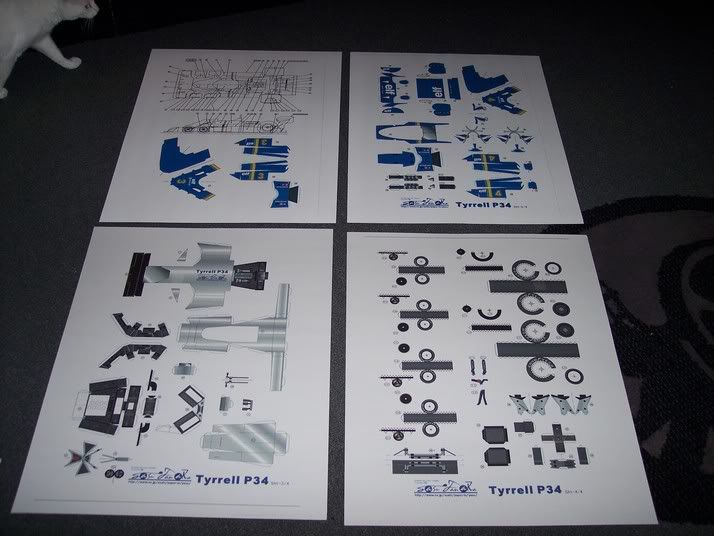
After taking the plans for the AT-AT and digitizing them in AutoCAD, I felt like I had a clean enough base to start my project. The parts are sorted over 7 22"x28" sheets of posterboard and each sheet was printed on a 36" wide inkjet plotter.

I got all of the sheets printed last night and took them home, with the intentions to the build over the 4th of July weekend. Well, seeing all of those huge sheets there just made me want to get started even sooner. So, with scissors (yes, it's big enough to cut all the pieces out with scissors!) and an X-acto knive in hand, I decided to start on one of the "feet" as well as the head.

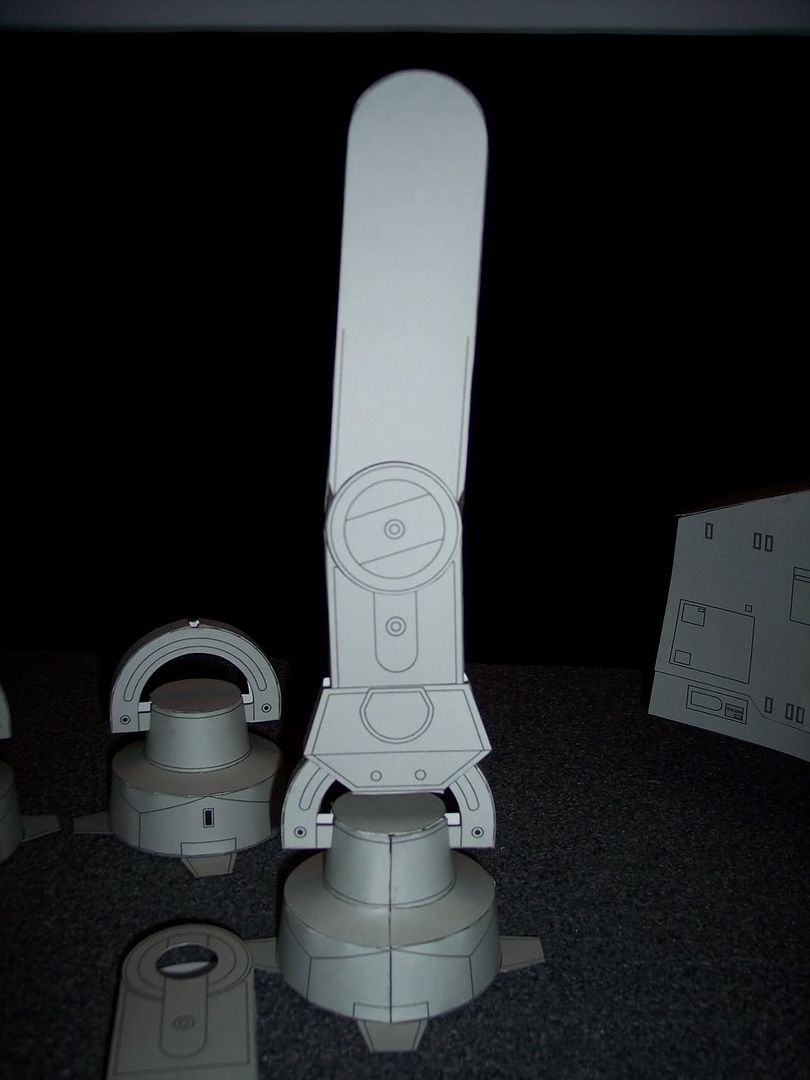
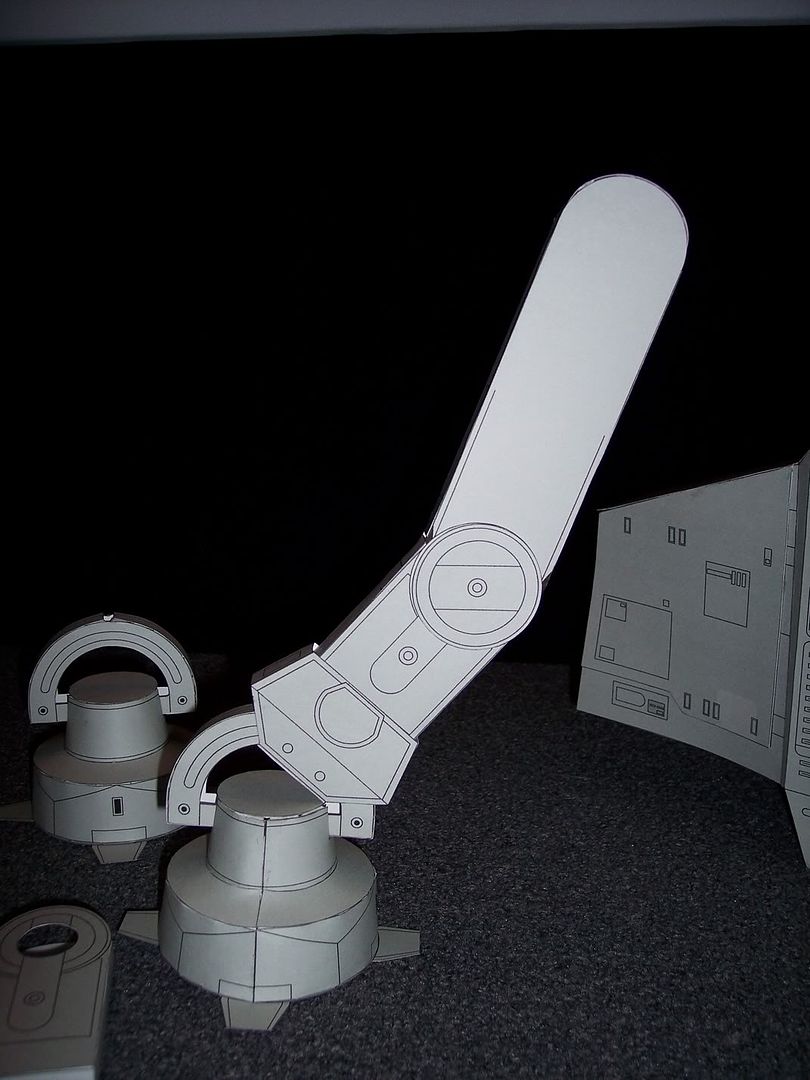
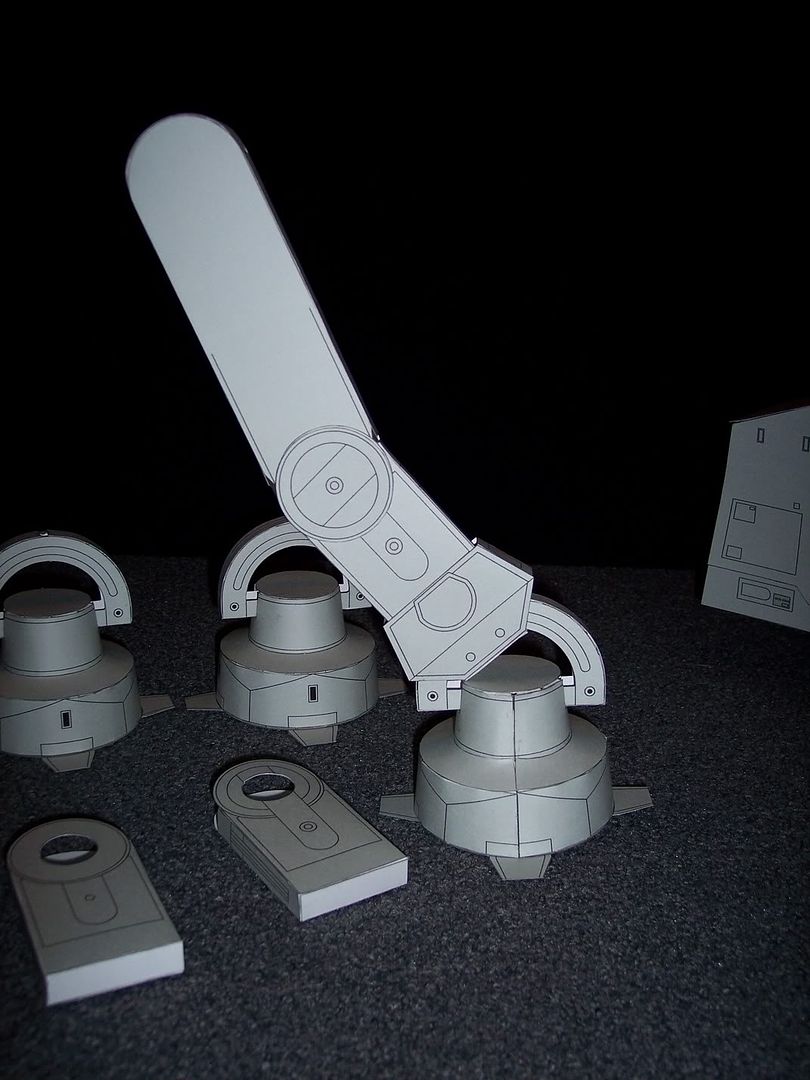
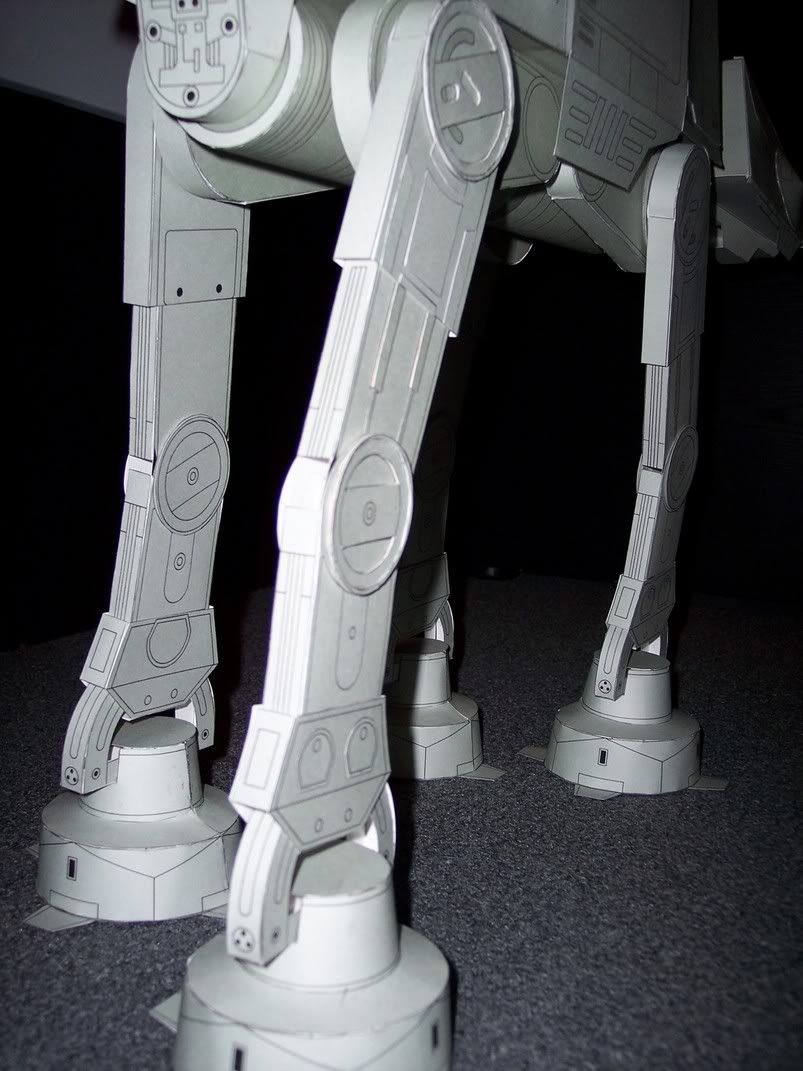
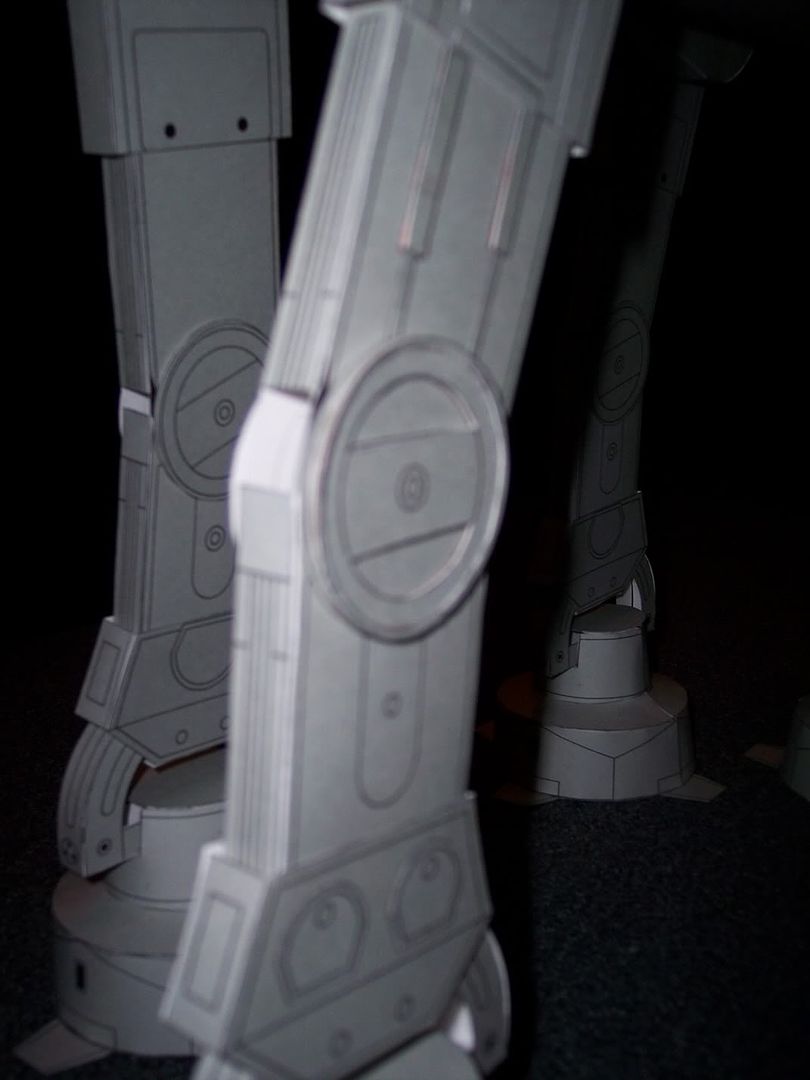
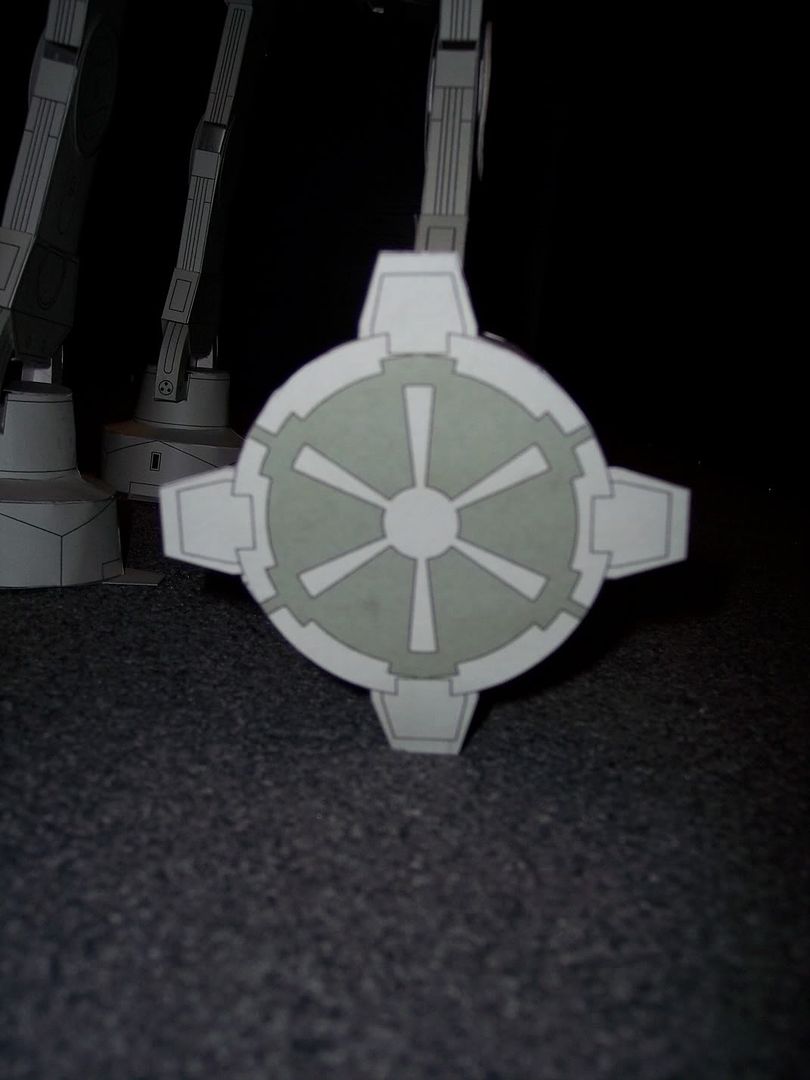
Since this particular model didn't have any detailed instructions, I wasn't sure what to expect, and sure enough the foot threw me a curve, literally. Even with all of the corrections in symmetry and scale that I made in AutoCAD, the foot proved to be difficult. As each "ring" was made that makes up the foot's structure and test fitted, it was obvious that the minimal imperfections that this model may have had on 8"x11" paper were grossly exaggerated when enlarged 3 times. Each section's overall circumference must be fairly close for the foot to look right. Even with the AutoCAD drawings, they didn't come out nearly as close as they should have. I'm now going to have to go back in and verify that all of the circumferences between parts are more accurate. The good thing is...the poster board only costs $0.25 each, so I'm not out anything more than time.

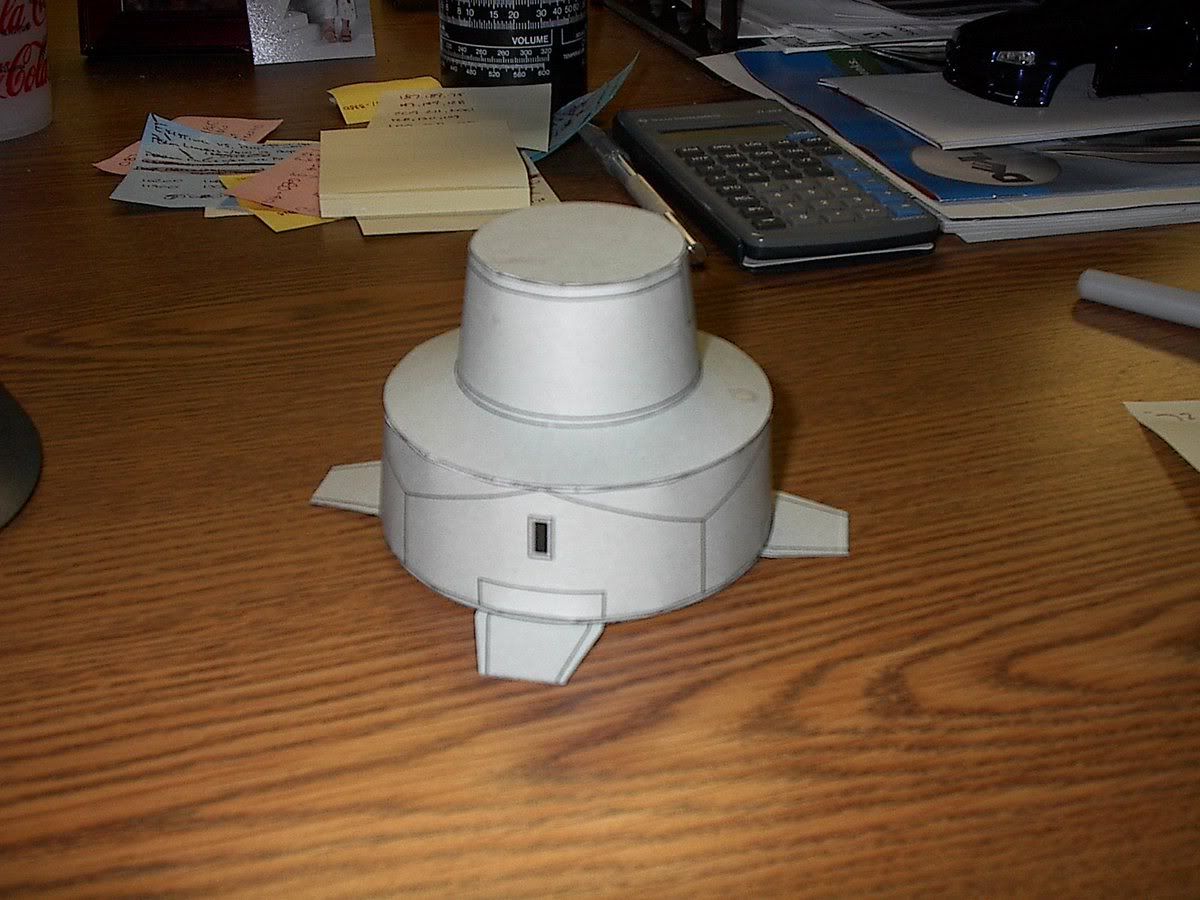
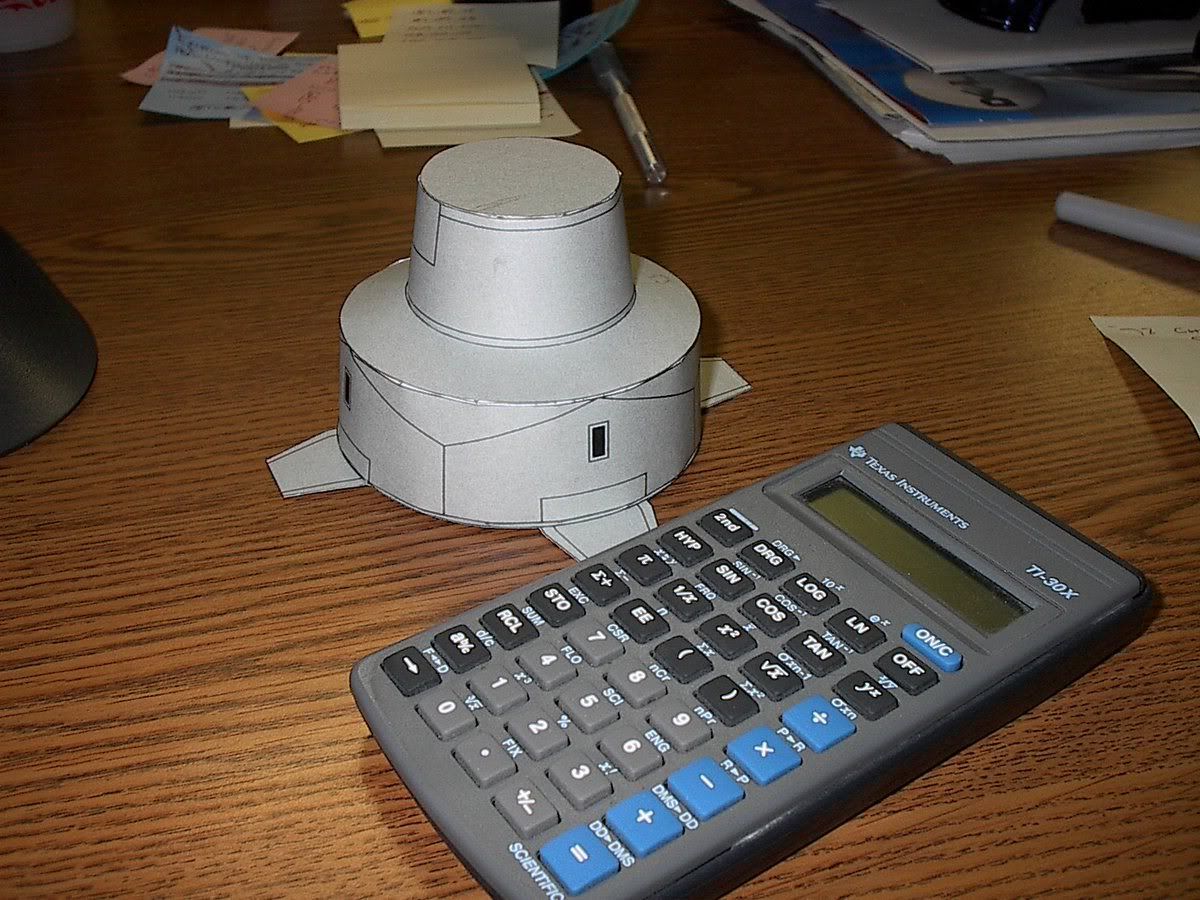
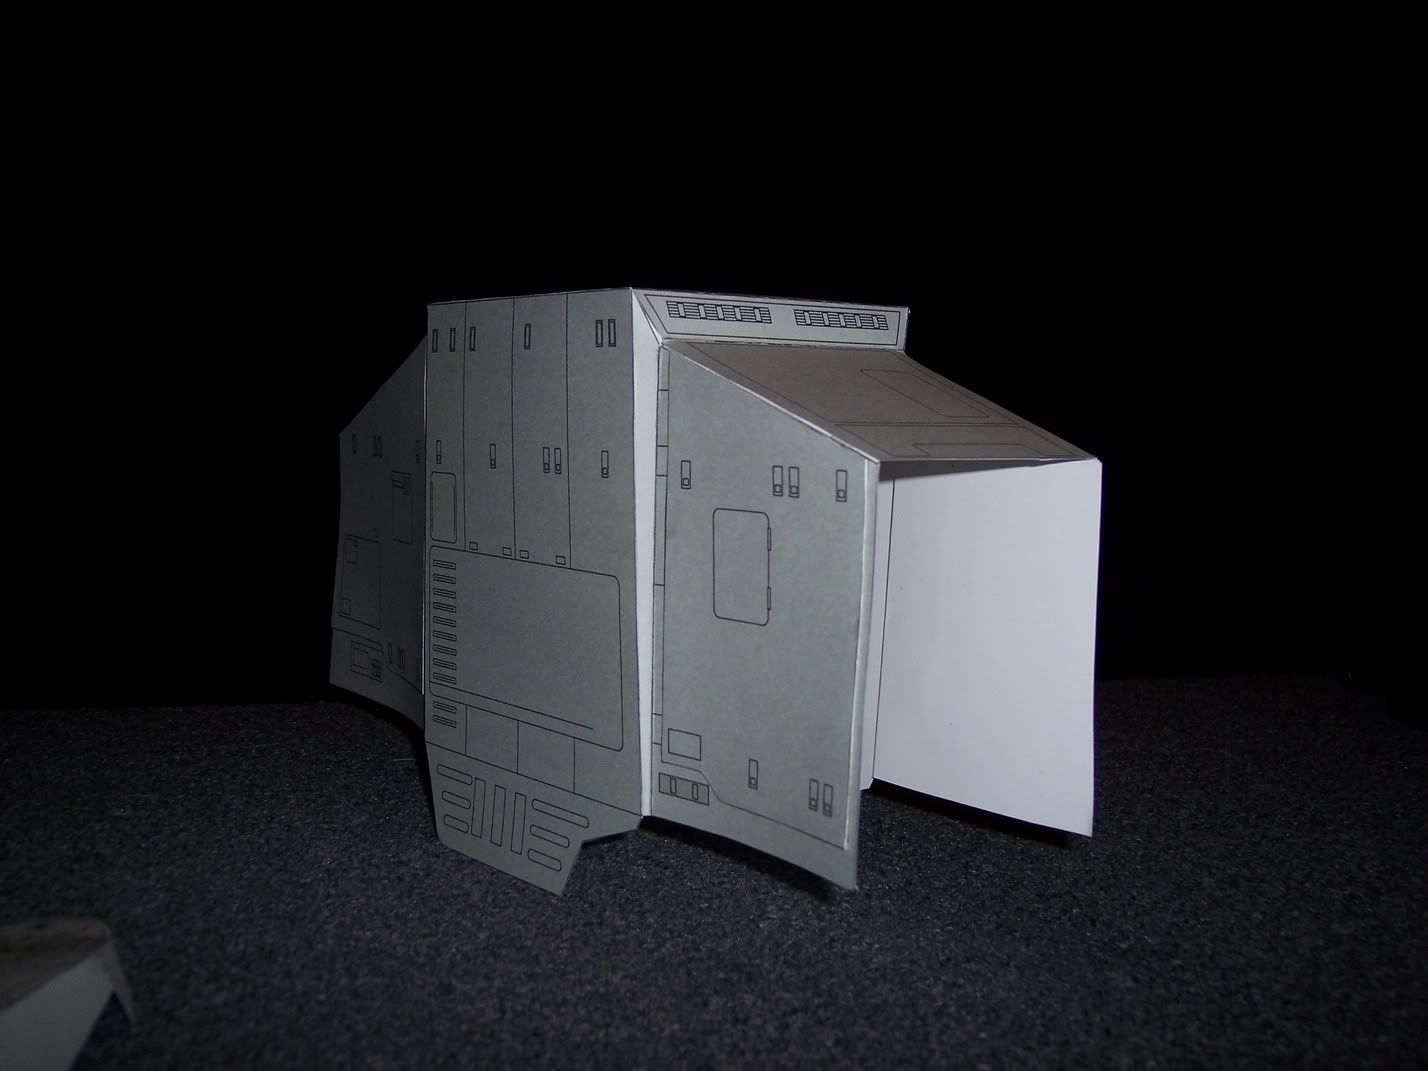
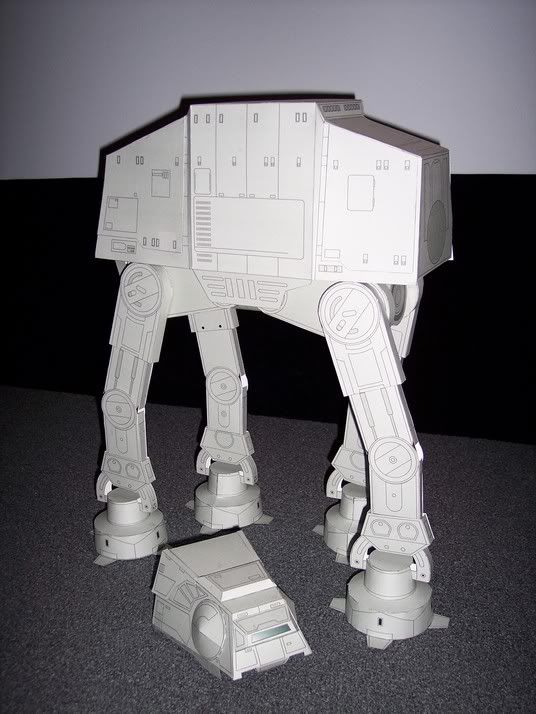
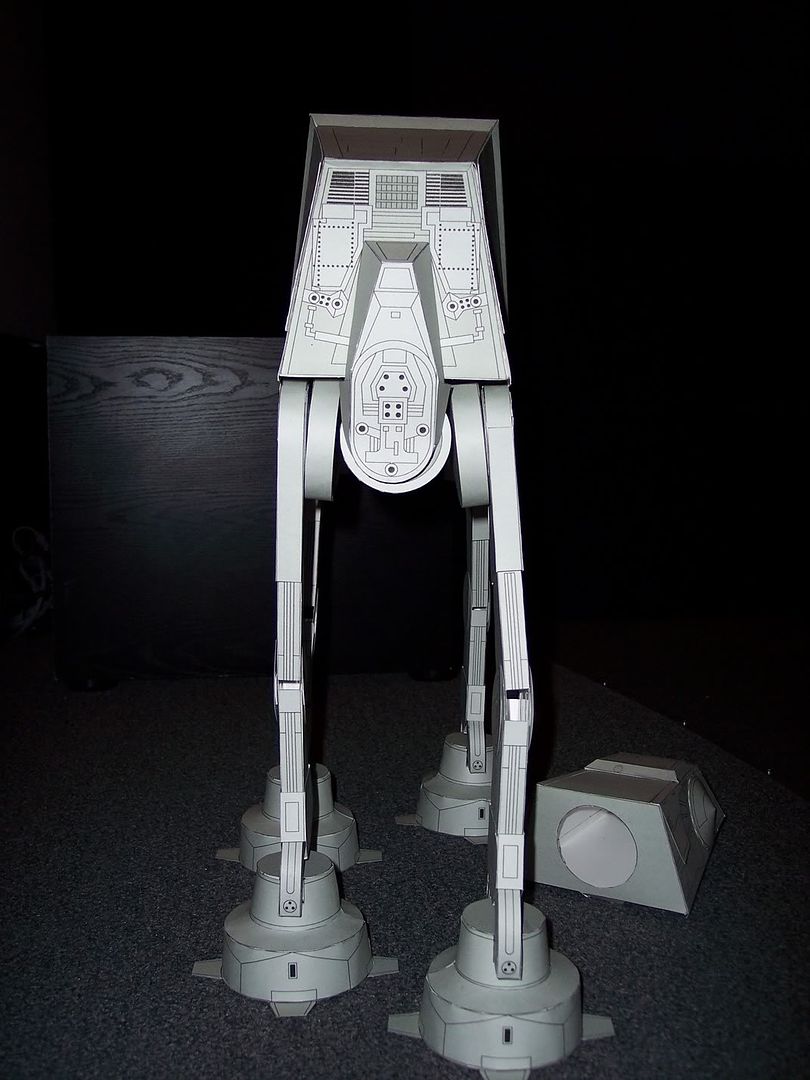
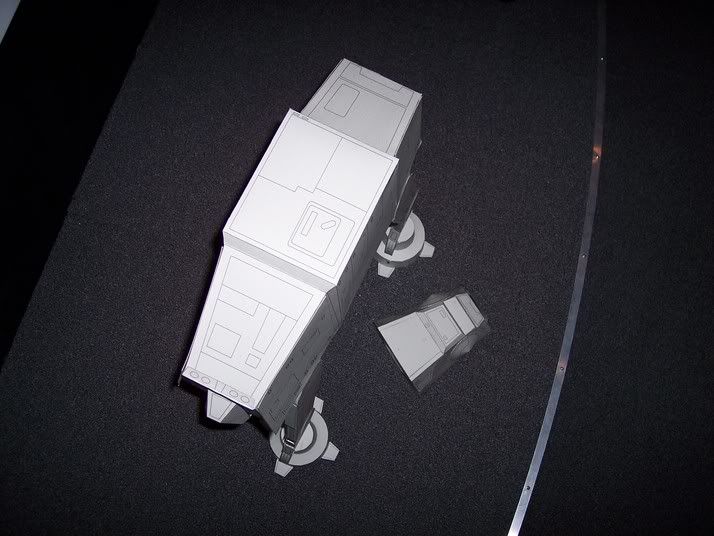
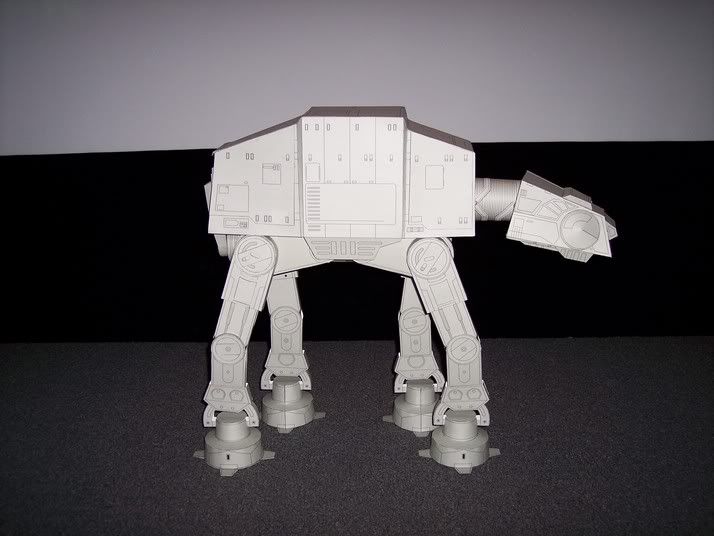
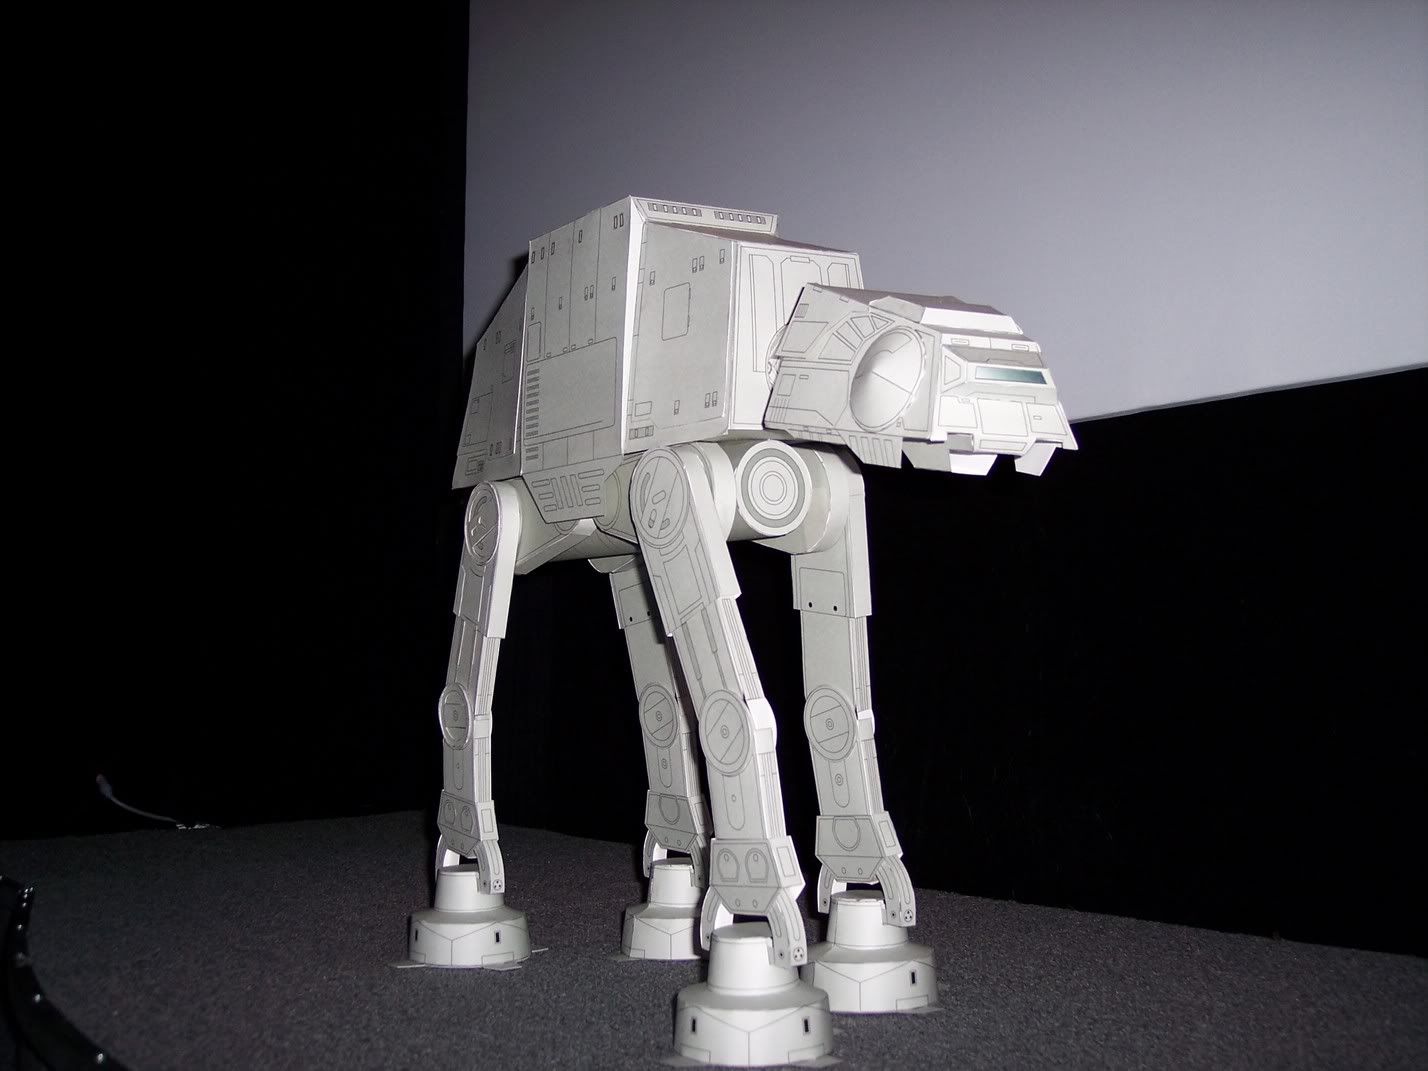
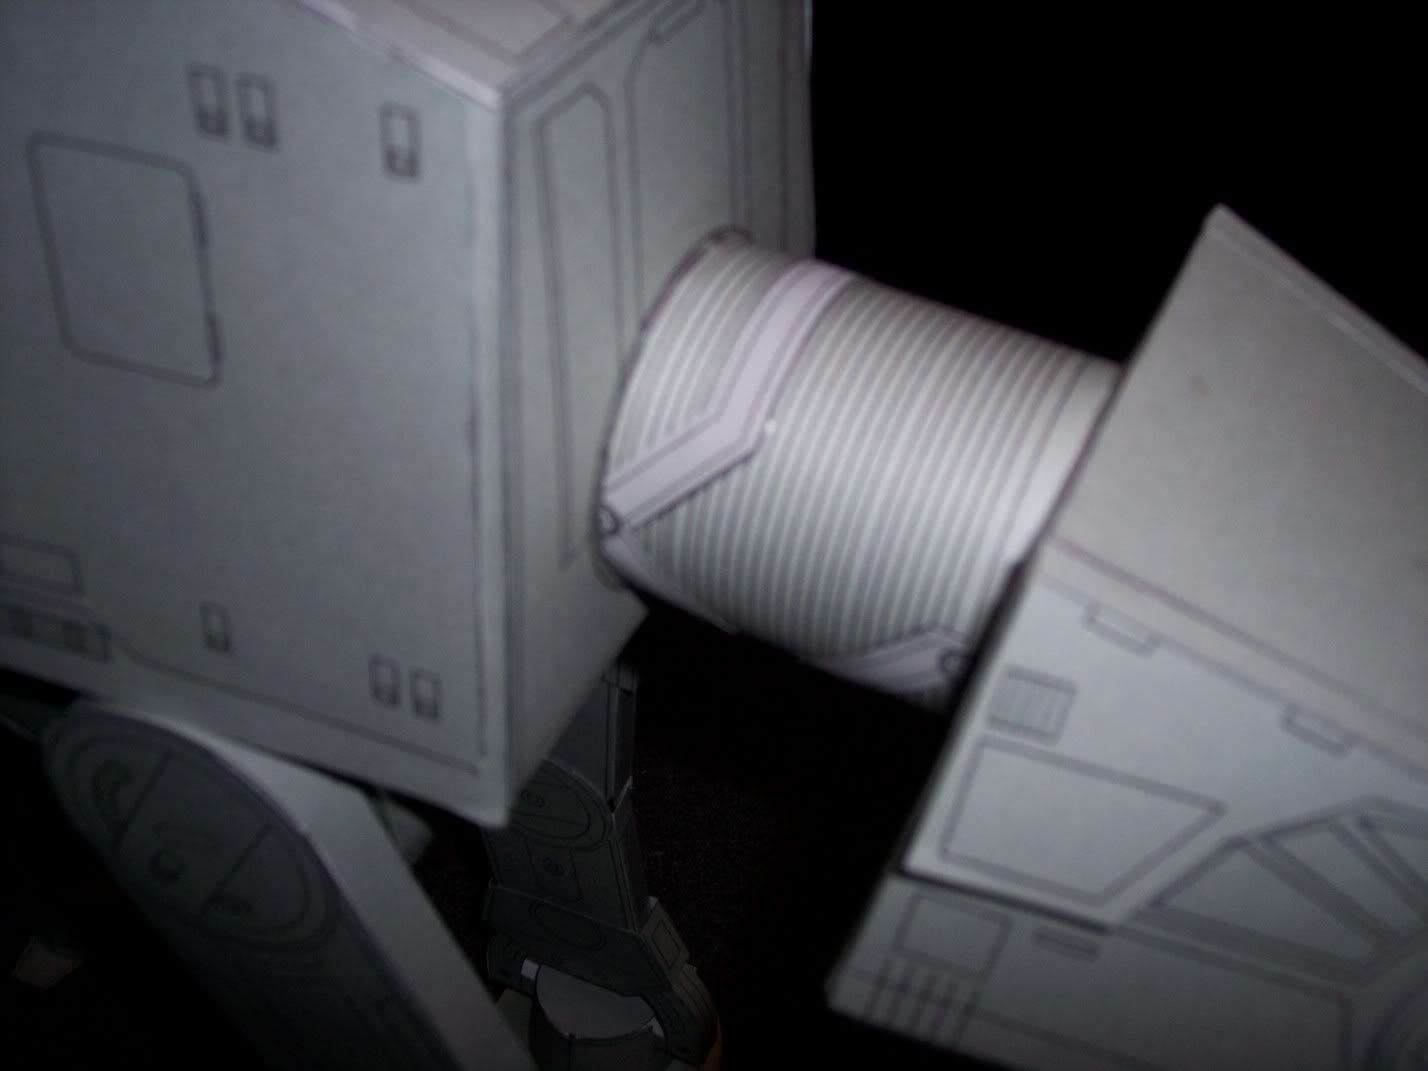
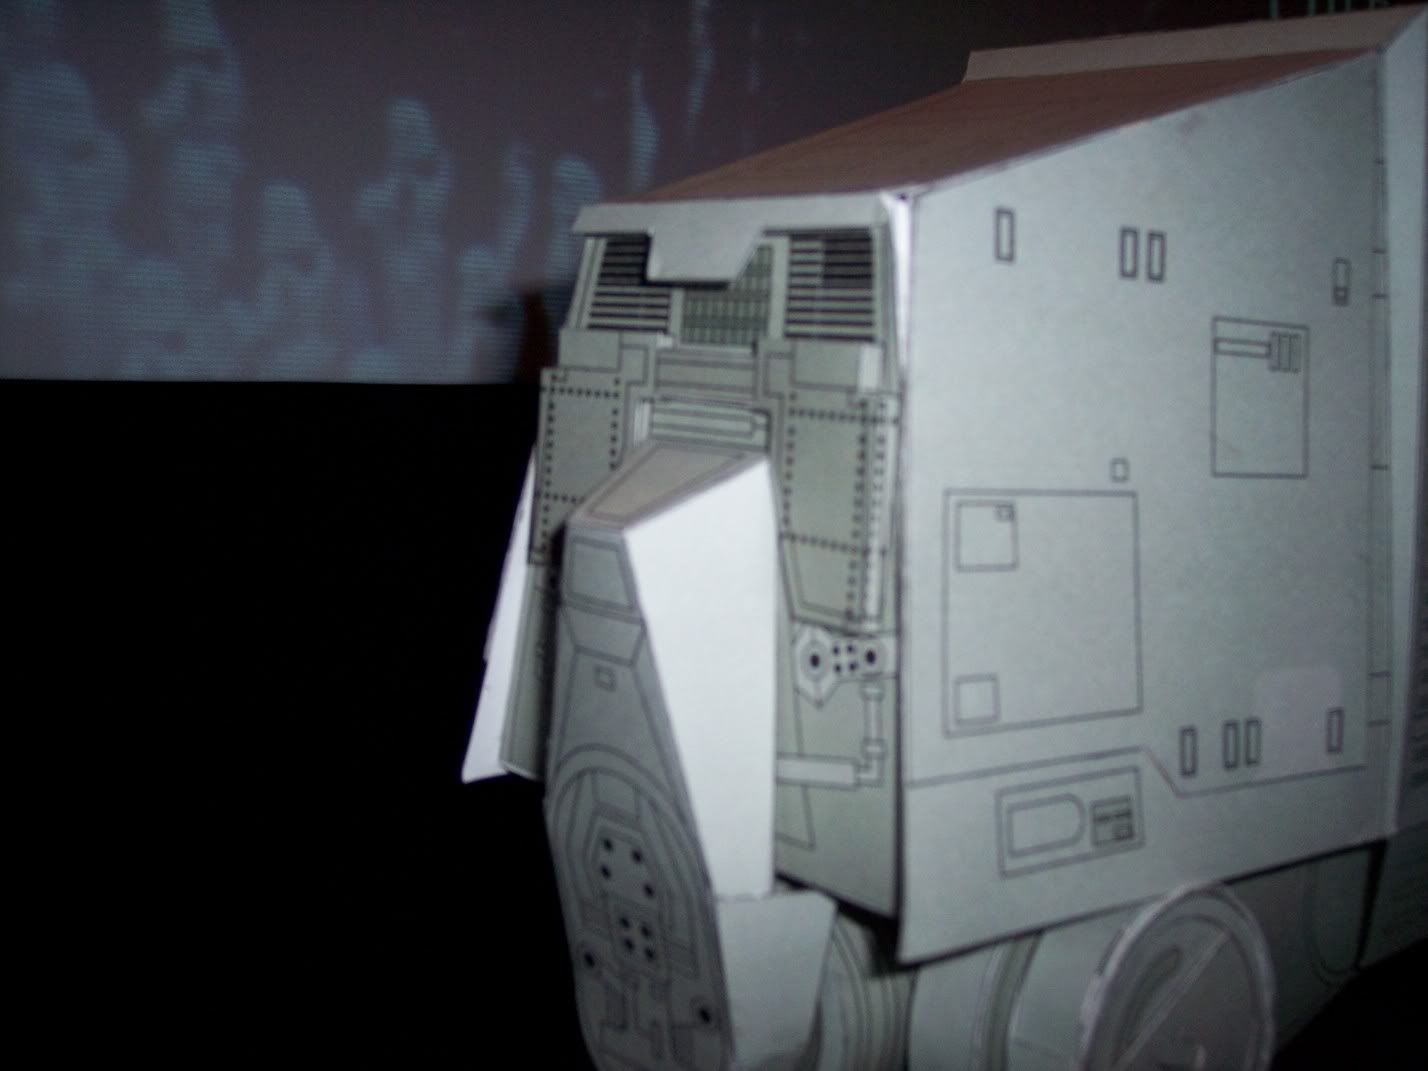
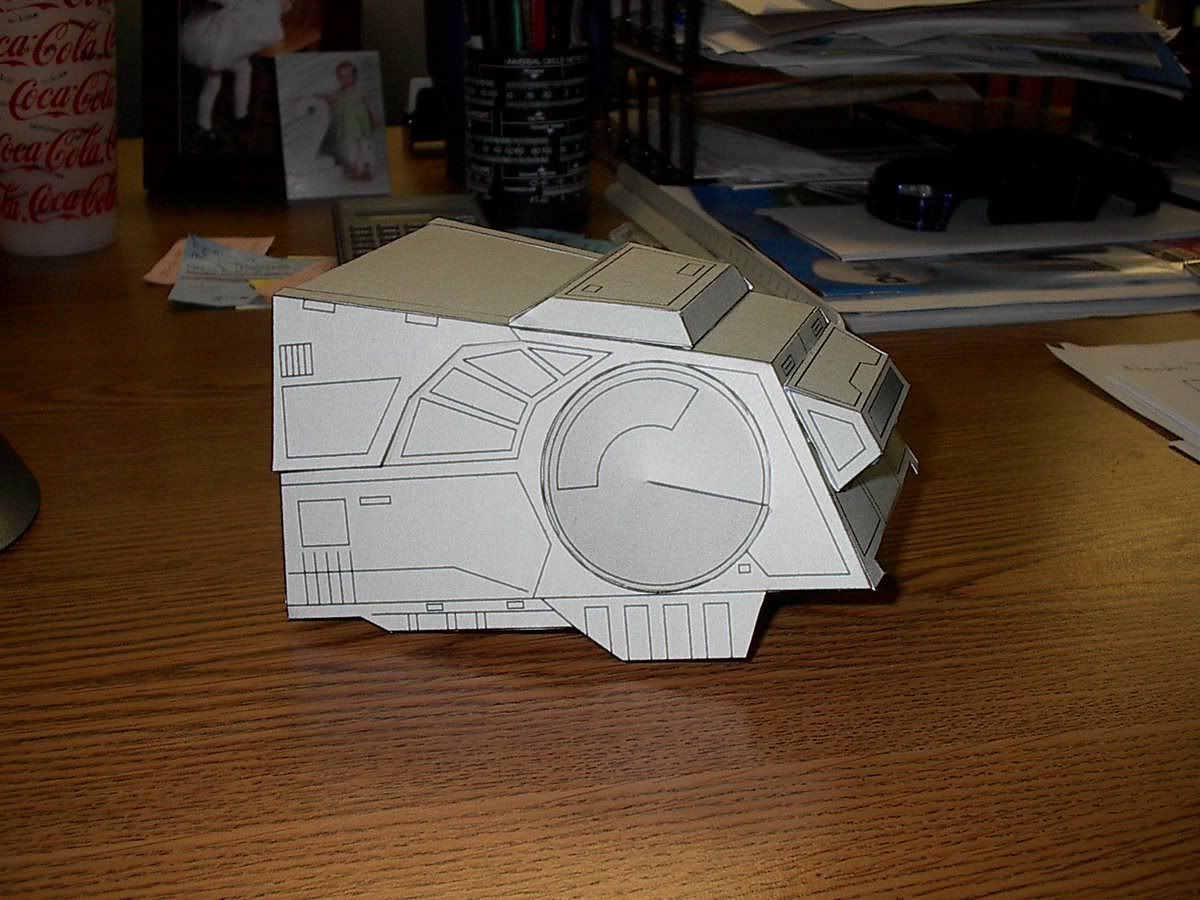
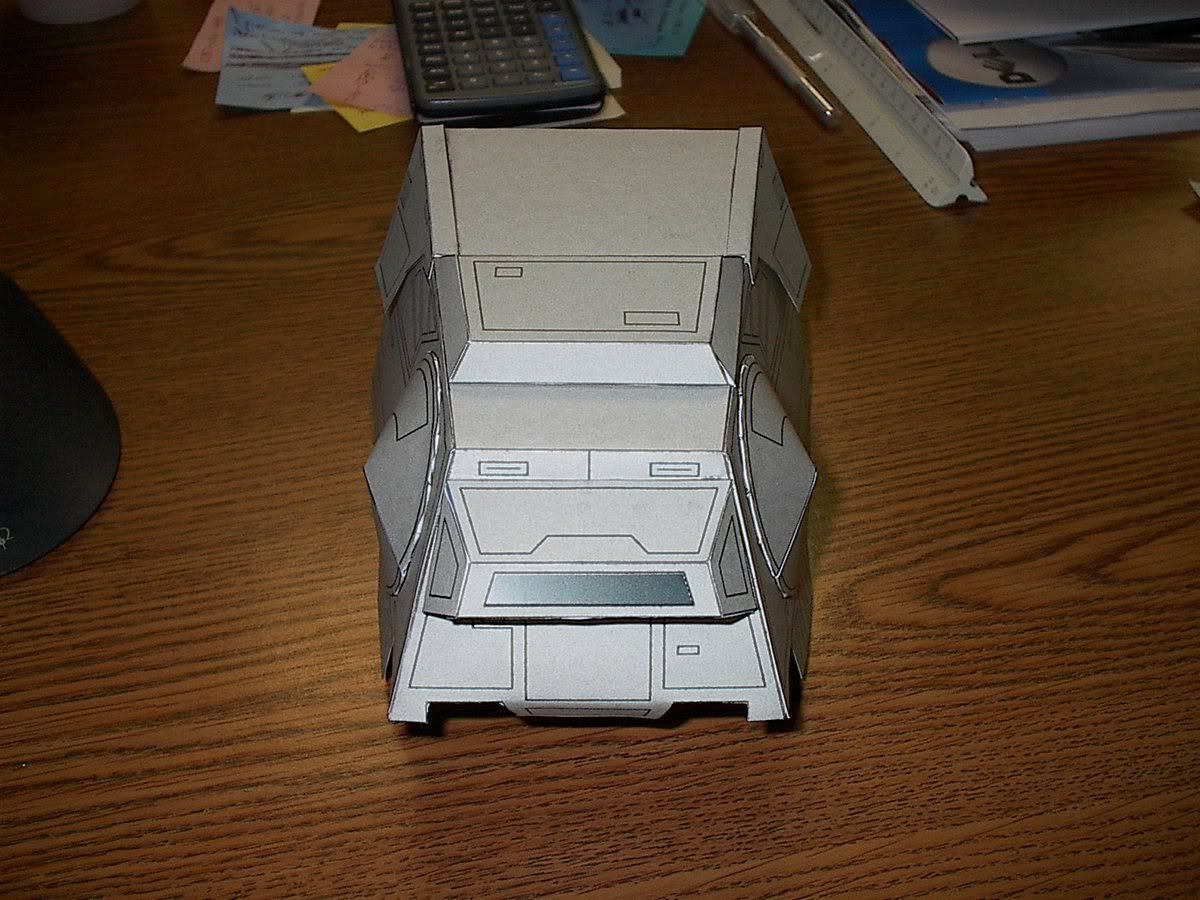
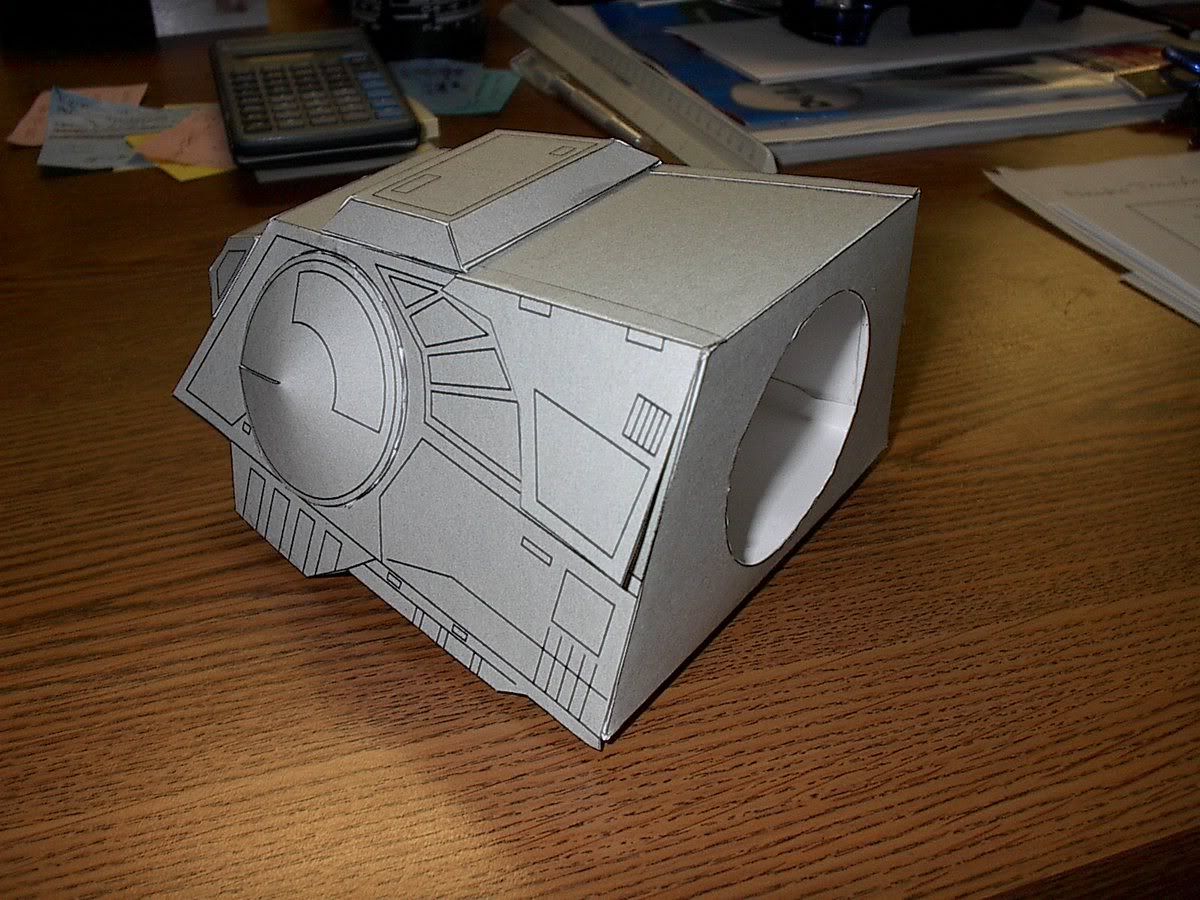
Now, the head...that's a different story. Man, this sucker's going to be big!! The head has gone together quite well so far. I still have to add the side and chin guns, but the main section looks pretty good considering the scale. I plan to go in and add some weathering with pastels and my airbrush once the entire thing is built. Even so, this really is going to be a cool model when completed, taking into consideration my meager building skills.

Now, to the pics. Here are four pics that I snapped this morning of the head. I won't even show you the foot, as I'm really disappointed with it. Once I get the problems fixed and have a correct one built, I'll post. The last picture shows the head next to my calculator. For reference, my calculator is almost 6" long and 3" wide.

IM003305.jpg


IM003306.jpg


IM003307.jpg


IM003308.jpg
 

GEEDUBBYA

Active Member
Sep 26, 2005
92
0
36
59
PINE BLUFF, ARKANSAS
Howdy Bugman,

I think this is gonna look awesome once built, and who knows, there may even be a market for it. It seems to me that your model would be more in line with the scale of the star wars actions figures than the AT-AT toys out there in stores.
Keep posting pics!

have a good day,

Greg
 

bugman72

Member
Mar 31, 2005
29
0
16
Thanks, Greg. I'm really anxious to get this thing finished so I can see how big it's really going to be.

I've already gone in and revised the parts for the feet. I discovered that there was as much as .2" difference between arc lengths between two parts that were SUPPOSED to match up. I'll go get some more poster board at lunch and plot off the revised parts. Hopefully, I can have a pic or two of the foot to post tomorrow.

Just to give another point of reference for how darn big this thing's going to be, the foot that I've built has an overall diameter, including the little "toes" of 5" and a height of 2.5", not including the part that attaches to the leg. If I were to guess, I'd say it should be somewhere in the neighborhood of almost 2' high and close to 3' in total length!!

Man, this is going to be a fun build. Once this is done, I'm going to do the same treatment to the AT-ST and build it to the same scale. What a great pair to pose together!

I should be getting my Lego AT-AT in the mail in the next few days. I'm curious to see the difference in size between the two. I think my paper model is going to dwarf the Lego set, which is sad considering the Lego set runs around $100 and I have about $2 invested in my paper model.

Greg aka Bugman72
 

SCEtoAux

Member
Jul 28, 2004
175
22
18
USA
Impressive

Looks like it is going to be quite an impressive model.

So what's next, a 1:1 build once you get all of the bugs worked out? :eek:
There are lots of empty refrigerator boxes out there. 8)
 

bugman72

Member
Mar 31, 2005
29
0
16
Yeah, but I can't fit pieces of the refridgerator box through my plotter! :lol:

As promised, here are a couple of shots of my revised foot. The build was much better this time around. I think partially due to the fact that I was more aware of how all the pieces went together, but having all of the arc lengths correct between pieces sure did help. I'm hoping to get started on the rest of it this weekend. Hopefully I can get quite a bit finished and will have loads of pictures to show. Oh, and ignore the water drops on the piece. It started raining last night as I was bringing the pieces into the house. Darn inkjet prints! Oh well, it will be covered up with weathering once all is said and done.

IM003309.jpg


IM003310.jpg
 

bugman72

Member
Mar 31, 2005
29
0
16
I found some time last night and this morning to do a bit of work to the AT-AT. I've got the shell of the body glued, as well as the other three feet and one entire leg. This thing is really starting to take shape. The leg stands at least 12" high. It is jointed in three places...at the foot (where the "U" shaped piece is), at the knee, and then it will be jointed at the base of the body. I don't have a lot of time right now to go into discussions, but I'll update tomorrow or Monday.

Oh, I thought I would sneak a picture in of my next jumbo-sized project. It's a Tyrell P-34 6-wheel Formula 1 car from '76.

100_3337.jpg


100_3338.jpg


100_3339.jpg


100_3340.jpg


100_3341.jpg


100_3342.jpg


100_3343.jpg


100_3344.jpg
 

bugman72

Member
Mar 31, 2005
29
0
16
I got too engulfed in building this monster and forgot to take pictures as I went along. So, the pictures I have for today show a LOT of progress. After looking at the nearly completed model and watching The Empire Strikes Back as I was building (for inspiration, of course), I've decided to do some additional detail work along with the weathering that I will be doing. I'm planning to print off additional pieces of this model that I will cut out to add dimension to areas like the legs, joints and body. I hope to achieve a more accurate and realistic look.

To answer your question, Bob, I had discovered this model a while back. A gentleman in Japan had designed this as well as numerous other very well designed Star Wars models. He, at one time, had them available on his website as a free download, but due to some villianous scum that was building them and selling them off as his own, the designer was forced to pull the plans from the site. His greatest fear was getting into legal trouble with Lucasfilm.

To make a long story short, I had them all downloaded and then my hard drive crashed. A few good souls on this site were kind enough to pass the models back my way. This particular model has been completely redone in AutoCAD in order to correct some of the symmetry and sizing problems that enlarging a model to this scale magnifies. If you are interested in this redesign and have ACAD 2004, then send me an email and I would gladly send the file to you.

OK, here are the lastest pics. I'm getting really close to being able to start on the weathering. I think the weathering will really help this model stand out (if its standing over 2ft high doesn't accomplish this task on its own). As you can see, my AT-AT is still headless. I'm debating on whether to use the paper "neck" or go with an alternate material. And, I'm not sure why, but one of the legs looks crooked in the third picture. It's not actually that way in person. Maybe it was the angle that I was taking the picture. I will have to say, though that the engineering that went into the leg joints is amazing. I really had my doubts about making all of the joints movable. Now, after doing so, I'm really glad I did.


100_3345.jpg


100_3346.jpg


100_3347.jpg


100_3348.jpg
 

bugman72

Member
Mar 31, 2005
29
0
16
Here's the latest and greatest pictures. It's still not done, as I have decided to add about 50 additional pieces to the model. The majority of the pieces are to add more detail and texture. I've added the pieces to one leg as well as the "band" around the neck. I think it really helps to add some much needed dimension to the model. I've also embellished the rear drive area by creating a 3D segment of the rear armor as well as a shield area for the rear vents (seen in 7th picture). And, since the model didn't come with the bottoms of the feet, I took the creative license to create my own. The design is partially based on photos of the Master Replicas AT-AT. I thought a good representation of the Imperial Logo would make for a great footprint to be left in the snow on Hoth. :lol:

The head is not attached, and at this point probably won't be when completed. The design is pretty cool in that it will allow for "authentic" rotation of the head. Thus, allowing you to pose the head in any fashion desired.

Here are the pics.

100_3354.jpg


100_3355.jpg


100_3357.jpg


100_3358.jpg


100_3359.jpg


100_3360.jpg


100_3364.jpg


100_3365.jpg


100_3361.jpg
 

Bowdenja

Active Member
Sep 26, 2005
485
0
36
67
Madison, MS
Dang..... the picture that is front 3/4 view looks like the real deal.......er like in the movie.

It is looking really good..............I just might have to attempt this one.
 

GEEDUBBYA

Active Member
Sep 26, 2005
92
0
36
59
PINE BLUFF, ARKANSAS
Howdy Bugman,

It looks great!, I was just wondering, not that it really matters, but in order to get some idea of the "magnitude" of this model, bout' how many pages are we talking here and what size are they.
And, if you had them printed "out", bout how much cost, if you dont mind me asking.

have a good day,

Greg
 

bugman72

Member
Mar 31, 2005
29
0
16
Thanks for the compliments, Bowdenja. I like that shot a lot, also.

Geedubbya, you'd be really surprised at the total cost of this project. The parts were originally spread out over seven (7) 22"x28" sheets of plain white poster board that I purchased at my local Hobby Lobby for $0.25 each. After finding some discrepancies in arc lengths on the feet, I re-plotted a full sheet of parts. I have since added an additional sheet of detail parts that I am currently working with.

So, as of right now, I have a whopping $2.25 invested in this model. That, of course doesn't include the printing. But for me that cost is a big goose-egg since I have access to my own 36" wide inkjet plotter (HP 1050C).

Try building something of this scale and impact for less than $3.00 with any other media!!!
 

bugman72

Member
Mar 31, 2005
29
0
16
It's been a bit since I've posted any updates, so I thought I would do so now. I haven't done a whole lot of actual construction since my last post. I've been busy with cutting the detail pieces out for the legs and body and getting them prepared for installation (glueing the main pieces onto 2 and sometimes three layers of cardboard for depth). I've also been busy with another project regarding my Xbox, so I didn't get to work on it this weekend like I had hoped to.

I'm about 90% finished with the preparation of the detail pieces. I'm hoping to get back to it this evening. Hopefully, I can get the rest of the pieces glued up and cut out. Once that's done, it shoudn't take but an hour or so to place the pieces on the model. Then comes the fun part...weathering!!
 

Gefahren

New Member
Apr 2, 2005
30
0
6
49
Brandon, Mississippi, USA
I can't wait to see how the extra bits turned out and the weathering should add a whole new dimension to it.

And, if the model is ever available(with your corrections and additions) I'd love to have it. I don't have autocad, but Rhino should be able to open those files.
 

bugman72

Member
Mar 31, 2005
29
0
16
I'd be more than happy to pass the file along to you. Does Rhino open .dwg files? I could also export it as a .dxf, if that would help.

The part total is up to 239 pieces, 129 of those being detail pieces. If you take into consideration my cutting the discs at the leg joints into to pieces for added dimesion in addition to a few other pieces, my total used piece count is somewhere around 250-260. I'm just glad I didn't have to cut all of these pieces out in the scale this was meant to be built in.

The model is now spread out over 8 22"x28" sheets of poster board. You will need the original PDF file of Shun Pop's to see what the part numbers are and where they go (sort of :roll: ). I can include that file also, if you don't have it available.

You can either reply here or send me an email at gjones72@earthlink.net.
 

bholderman

Member
Jul 21, 2004
112
0
16
Greetings,

Autocad can print to pdf if you have the full version of Acrobat. Or how about a .plt file, I can convert those for you.

Cheers,
Brad
 

bugman72

Member
Mar 31, 2005
29
0
16
I can certainly try that. My concern becomes whether the conversion process will remove some of the crispness that having an AutoCAD file preserves.

Let me try that real fast and let you know.


***EDIT***

The pages turned out much better than I had anticipated. I have a zip file that's just under 3MB that contains the 8 PDF files. The page size is already established at 22"x28". If your email allows an attachment of this size, I would be more than happy to send it to you. Do you have Shun Pop's original PDFs or would you like for me to send that zip file also?
 
Status
Not open for further replies.