

Build report on the Razor Crest
- Thread starter Walter2
- Start date
You are using an out of date browser. It may not display this or other websites correctly.
You should upgrade or use an alternative browser.
You should upgrade or use an alternative browser.
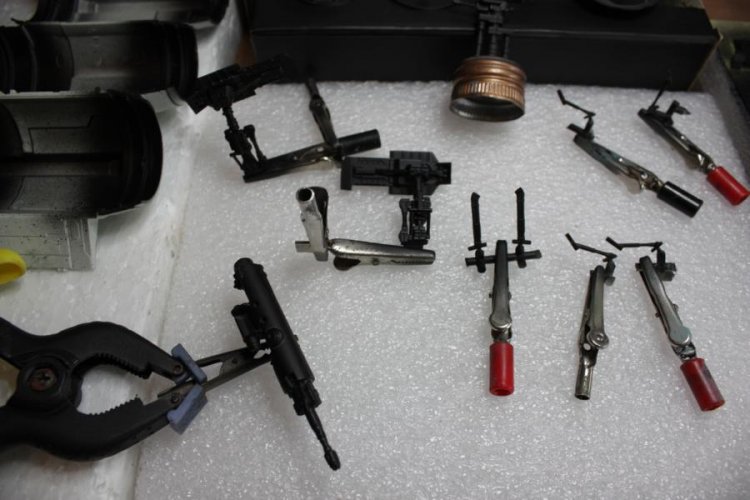
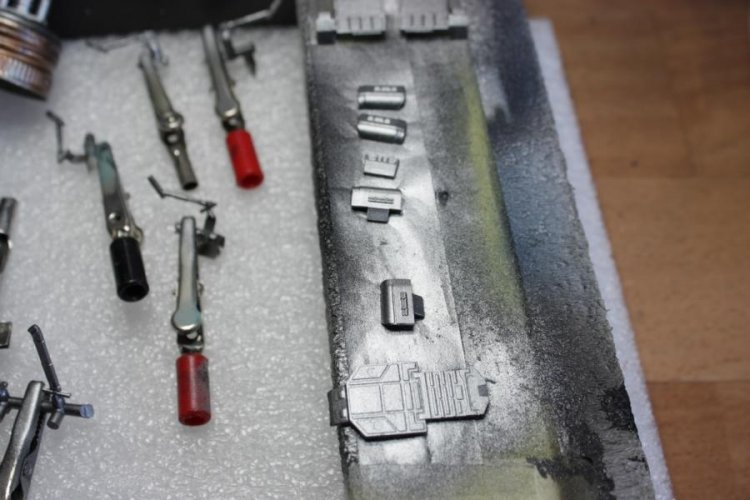
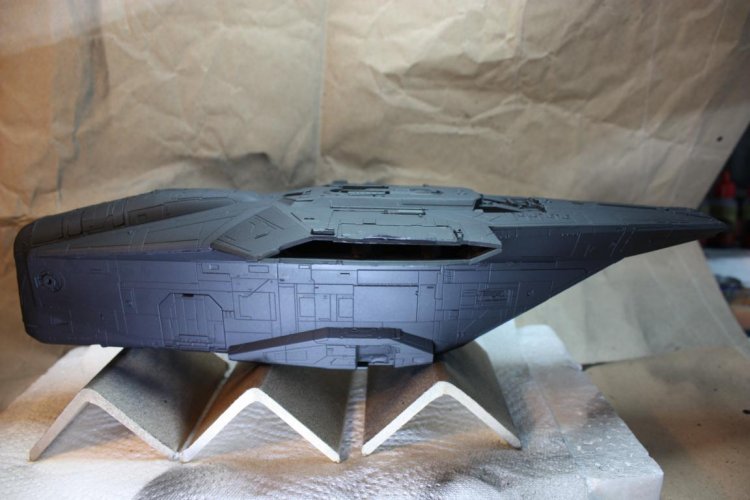
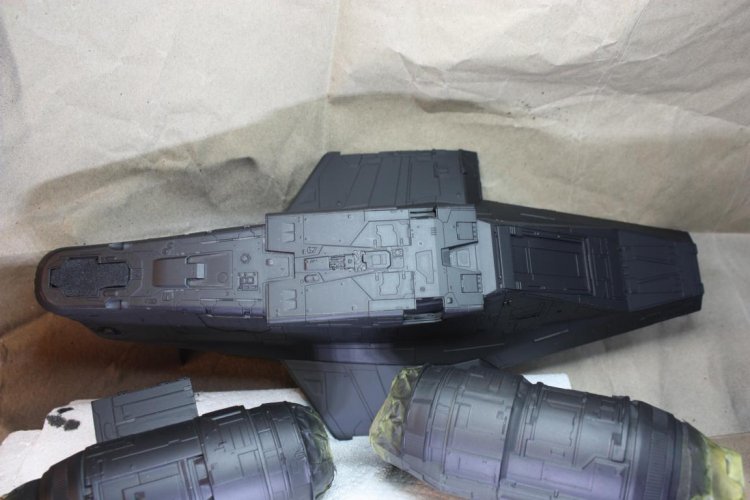
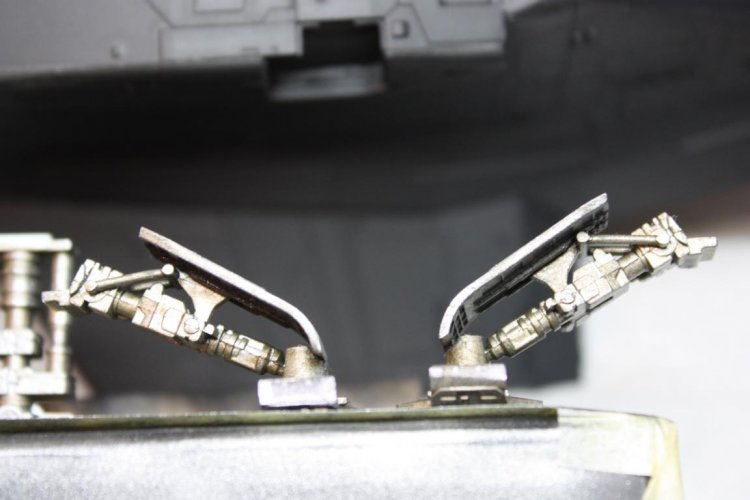
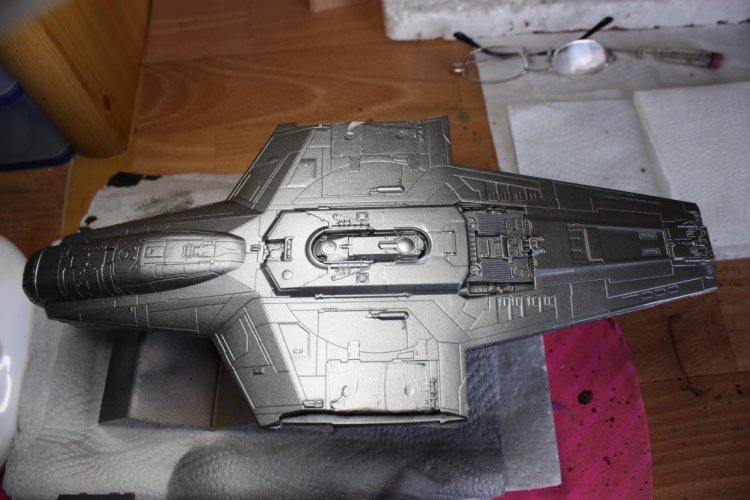
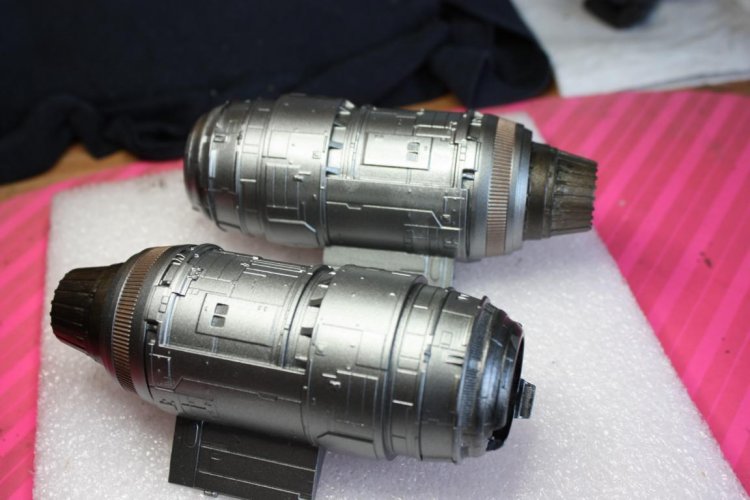
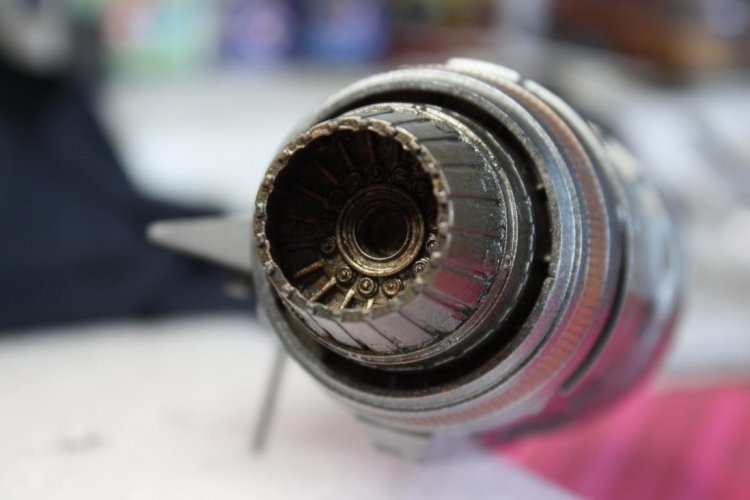
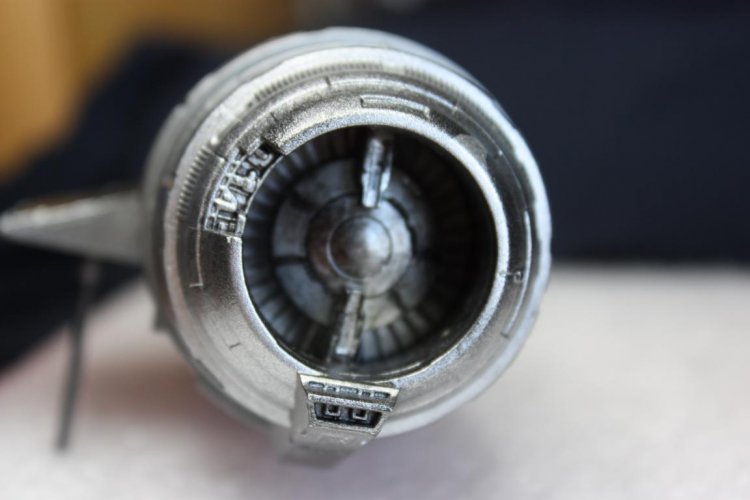
first painting of the small parts discreet black (Model Air) as primer; then painting with Revell 91 eisen metalic.
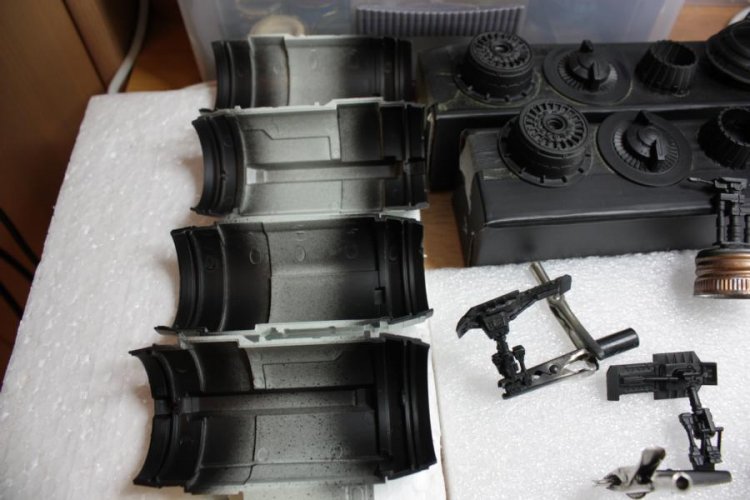
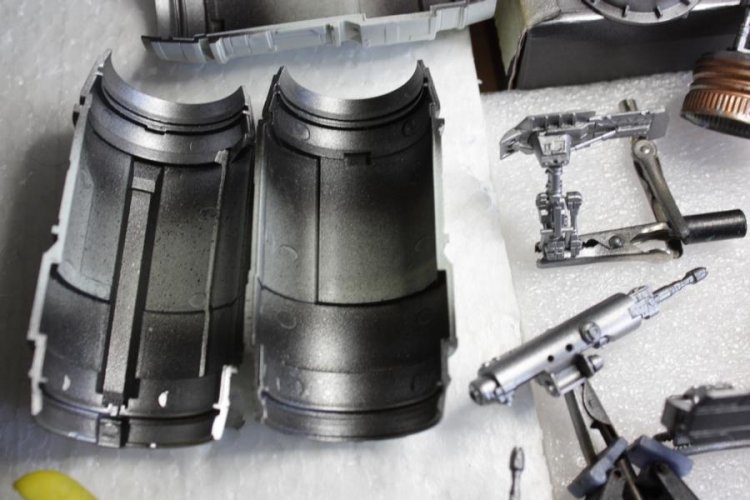
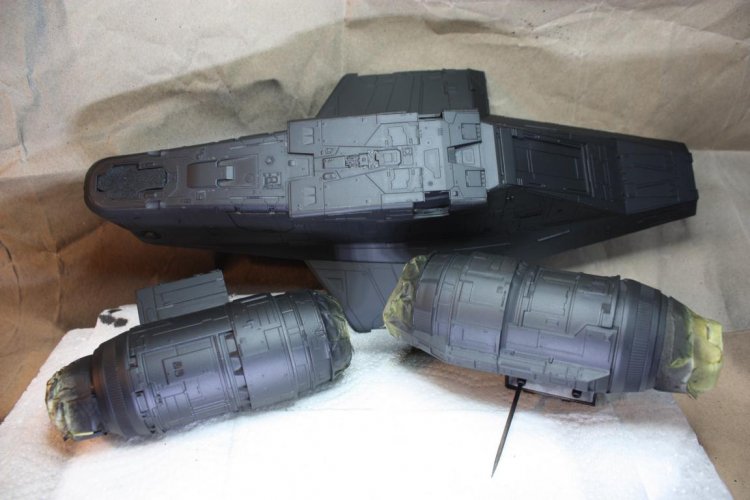
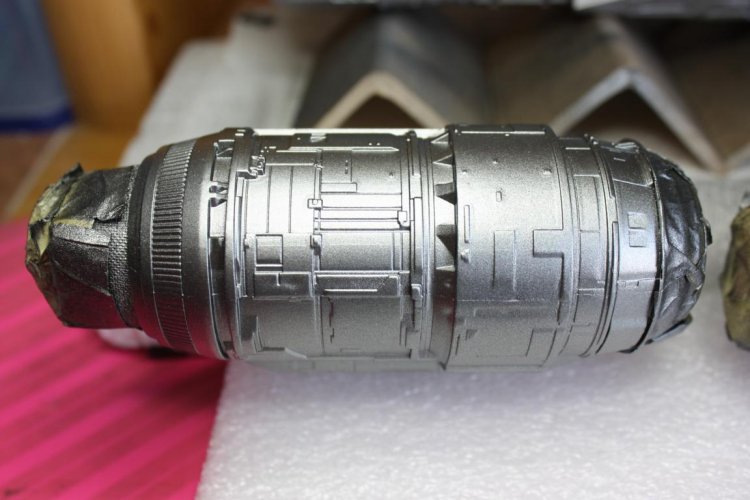
Next I start with the painting (without outer casing!) of the two engines (front and rear part) and their assembly.
Next I start with the painting (without outer casing!) of the two engines (front and rear part) and their assembly.
Attachments
-
 K800_IMG_4277.JPG87 KB · Views: 6
 -
 K800_IMG_4278.JPG86.7 KB · Views: 6
 -
 K800_IMG_4279.JPG82.2 KB · Views: 6
 -
 K800_IMG_4280.JPG94.2 KB · Views: 6
 -
 K800_IMG_4281.JPG96 KB · Views: 6
 -
 K800_IMG_4282.JPG83 KB · Views: 6
 -
 K800_IMG_4283.JPG86.3 KB · Views: 6
 -
 K800_IMG_4284.JPG91.8 KB · Views: 6
 -
 K800_IMG_4285.JPG92.4 KB · Views: 6
Last edited:
yes, eisen is the german termnice and tidy work - eisen, is that Iron?
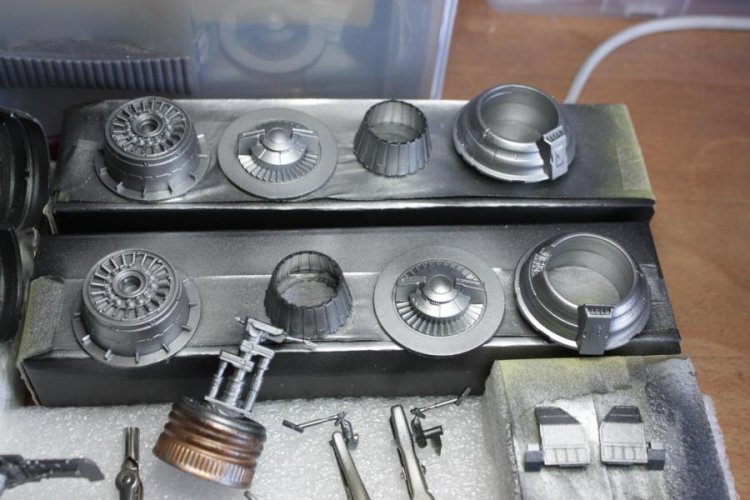
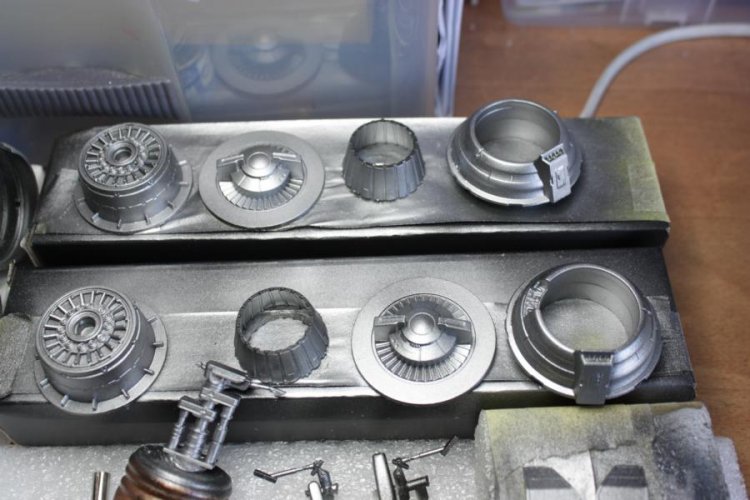
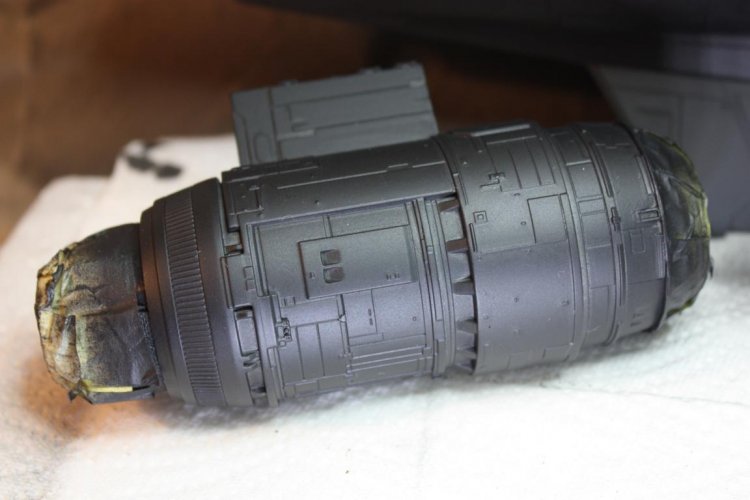
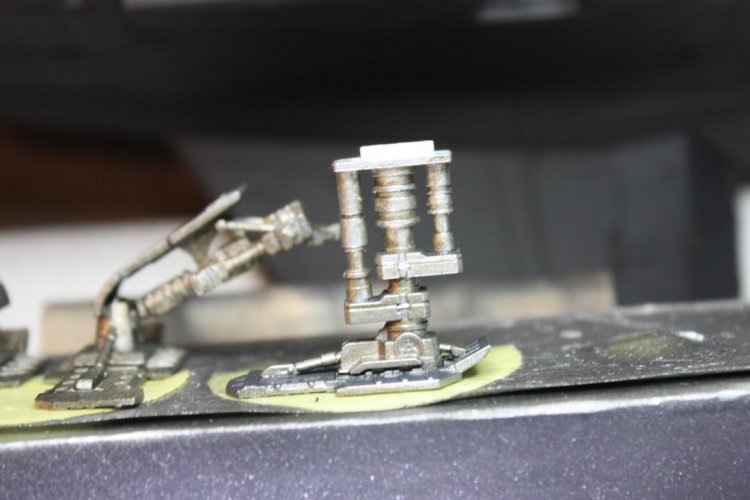
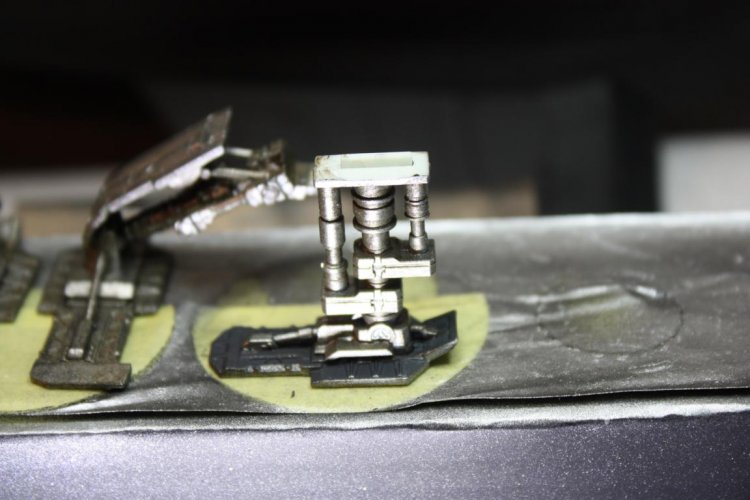
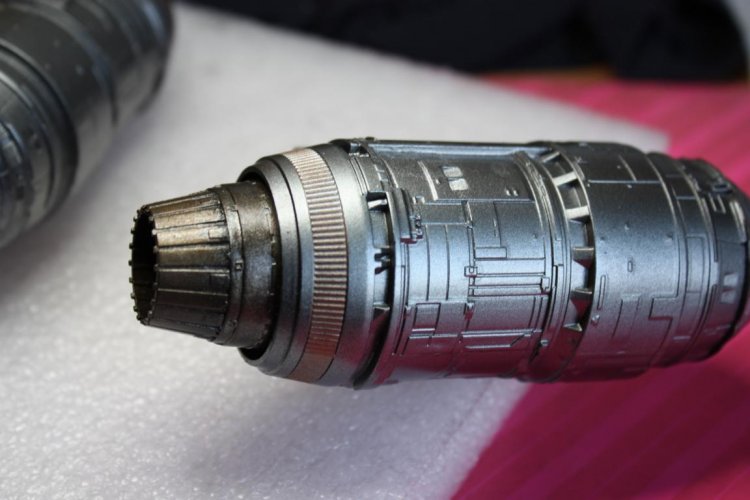
First paint Tamiya black matte, second paint Air Model black gloss, both very thin. Third paint Tamiya Gun Metal.
Air Model glossy therefore, that brings iron, aluminium and silver better.
Air Model glossy therefore, that brings iron, aluminium and silver better.
Attachments
-
 K1024_IMG_4286.JPG100.1 KB · Views: 4
 -
 K1024_IMG_4287.JPG96 KB · Views: 4
 -
 K1024_IMG_4288.JPG103.1 KB · Views: 3
 -
 K1024_IMG_4289.JPG83.2 KB · Views: 3
 -
 K1024_IMG_4290.JPG79.6 KB · Views: 3
 -
 K1024_IMG_4291.JPG106.1 KB · Views: 4
 -
 K1024_IMG_4292.JPG76.5 KB · Views: 4
 -
 K1024_IMG_4294.JPG83 KB · Views: 4
 -
 K1024_IMG_4295.JPG102.4 KB · Views: 4
 -
 K1024_IMG_4296.JPG111.5 KB · Views: 5
 -
 K1024_IMG_4297.JPG123.4 KB · Views: 5
 -
 K1024_IMG_4298.JPG109.1 KB · Views: 5
 -
 K1024_IMG_4299.JPG106.5 KB · Views: 4
 -
 K1024_IMG_4300.JPG120.9 KB · Views: 5
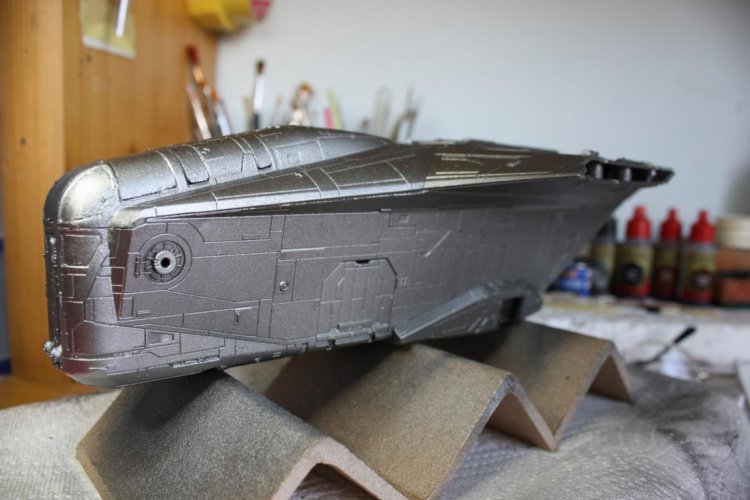
Very shiny! ")
The texture looks a bit grainy on the sides. Is that due to the texture of the model?
The texture looks a bit grainy on the sides. Is that due to the texture of the model?
I always have to edit the image quality with a program so that the MB is not exceeded, otherwise I cannot adjust the images, e.g. in the last image from 4.351 KB to 121 KB. Of course, the image quality suffers, but it is enough for forum pictures.Very shiny!
The texture looks a bit grainy on the sides. Is that due to the texture of the model?
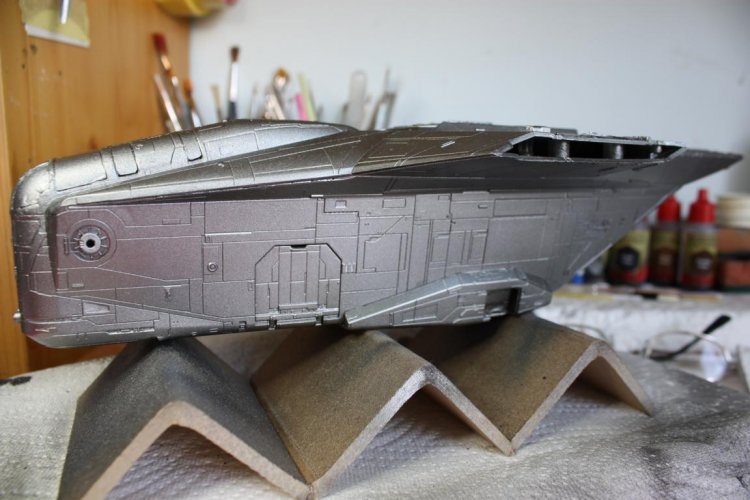
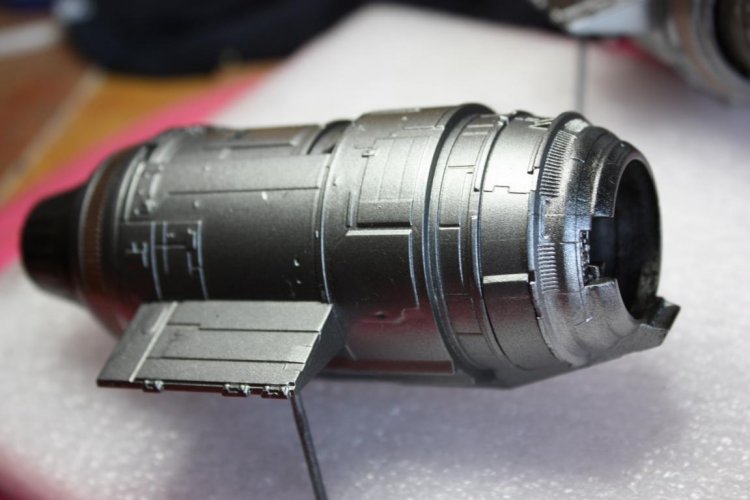
The model gets another layer of gloss varnish and is aged at the end (washing etc.).
I edit my pics down to 1000 pixels on the largest side, that makes them work for uploading.I always have to edit the image quality with a program so that the MB is not exceeded, otherwise I cannot adjust the images, e.g. in the last image from 4.351 KB to 121 KB. Of course, the image quality suffers, but it is enough for forum pictures.
The model gets another layer of gloss varnish and is aged at the end (washing etc.).
I can also try that with the pixels, thank you.
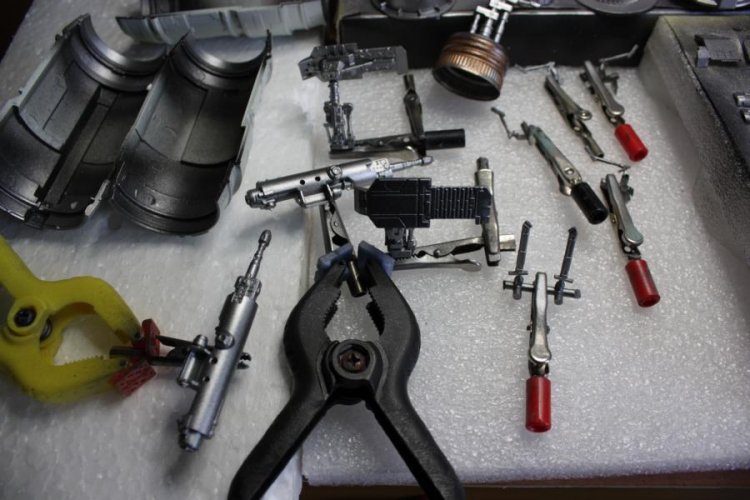
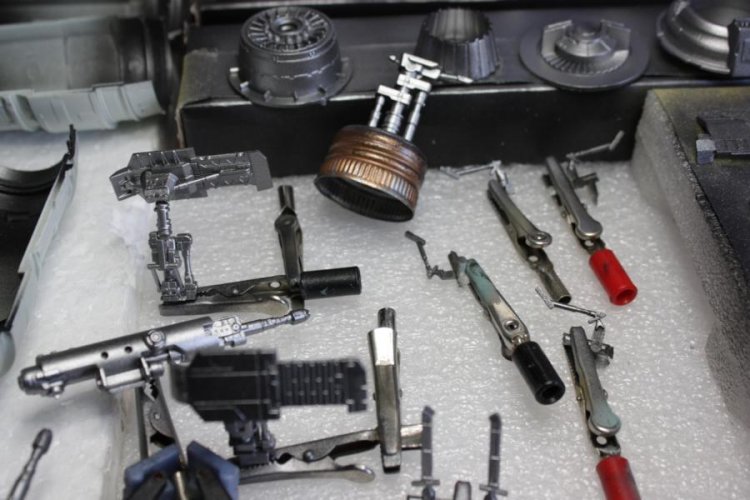
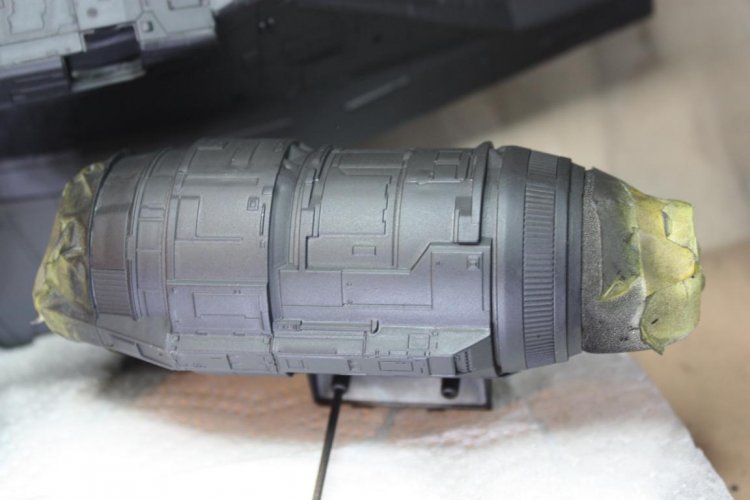
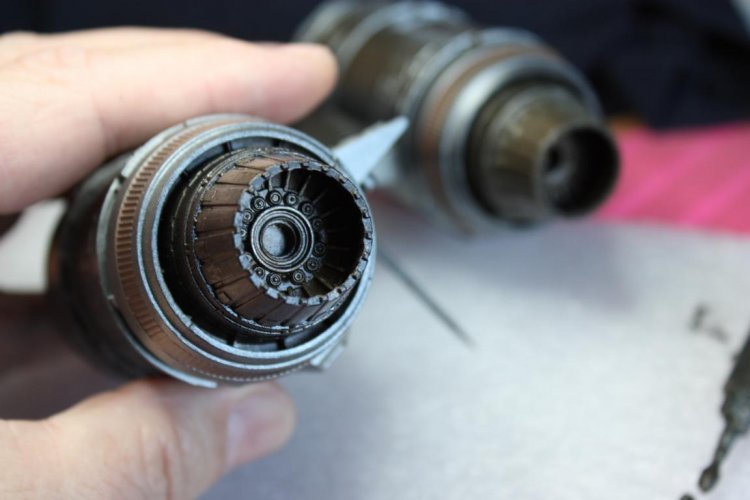
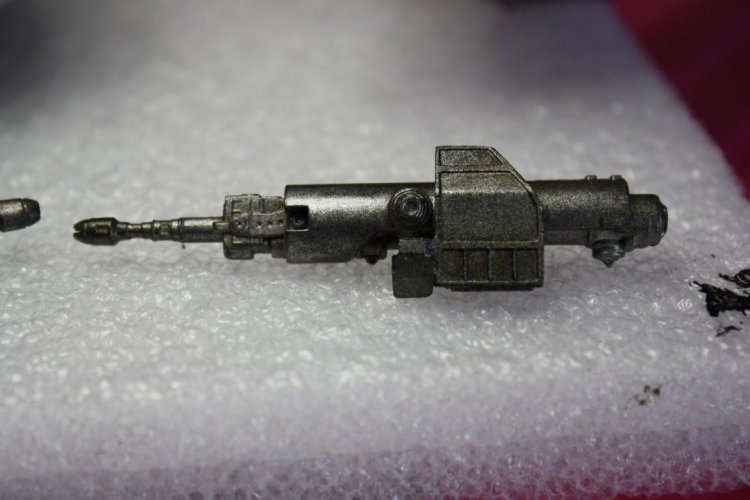
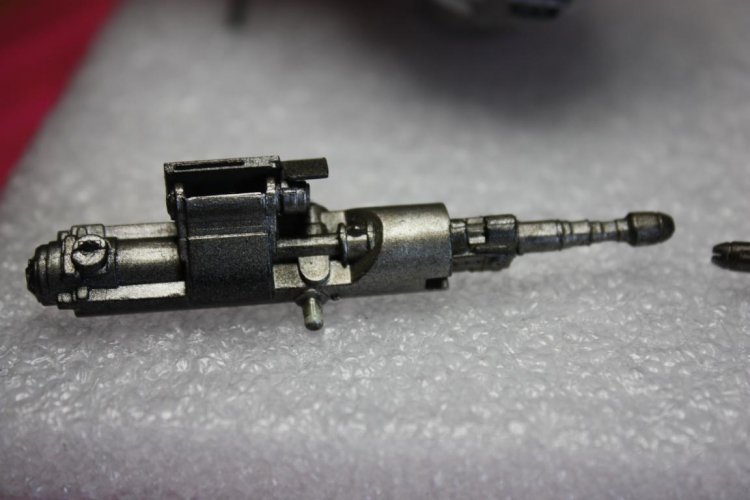
Here are a few more pictures of the engines and weapons.
Here are a few more pictures of the engines and weapons.
Attachments
-
 K1024_IMG_4309.JPG99.4 KB · Views: 6
 -
 K1024_IMG_4306.JPG86.8 KB · Views: 7
 -
 K1024_IMG_4305.JPG93.1 KB · Views: 7
 -
 K1024_IMG_4307.JPG76.7 KB · Views: 6
 -
 K1024_IMG_4302.JPG77.6 KB · Views: 5
 -
 K1024_IMG_4301.JPG73 KB · Views: 5
 -
 K1024_IMG_4304.JPG87.4 KB · Views: 5
 -
 K1024_IMG_4303.JPG84.9 KB · Views: 5
This is looking great.  . I have always struggled with metallic finishes since the Model Master Metallic line was discontinued.
. I have always struggled with metallic finishes since the Model Master Metallic line was discontinued.I like that the weathering is not overdone. Just the right amount in the right places give ultimate realism.
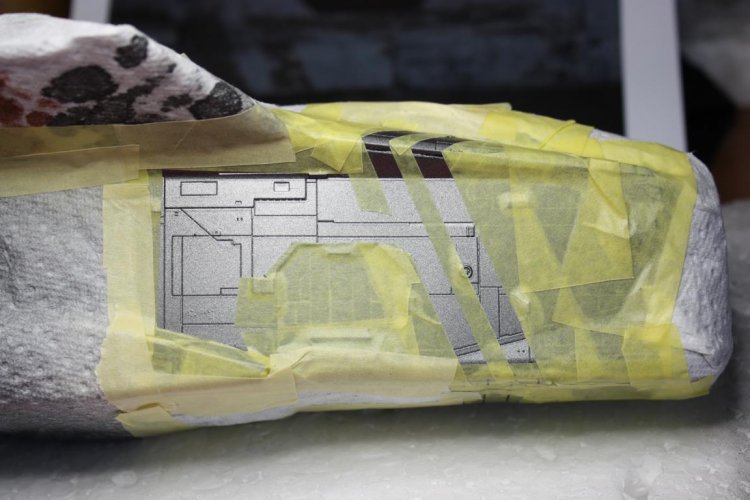
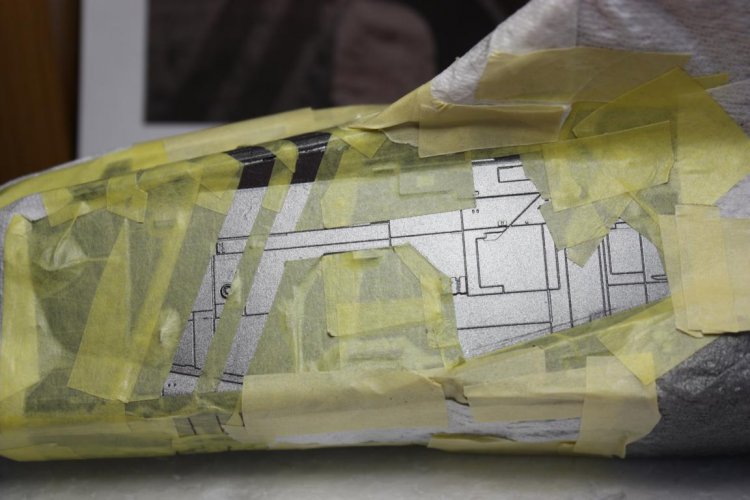
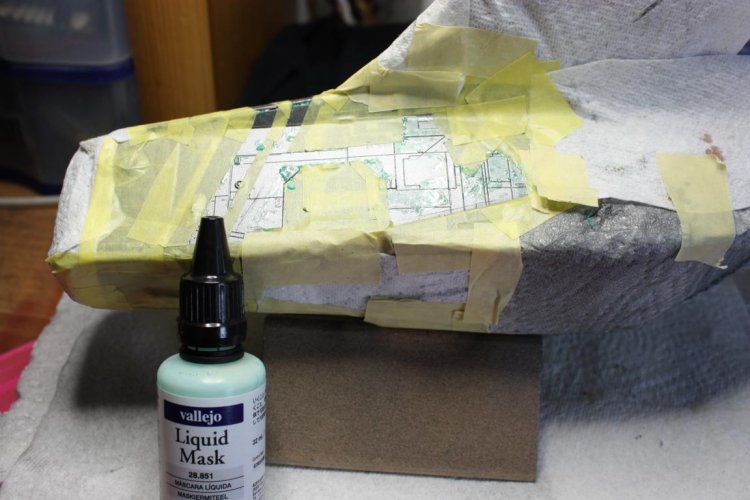
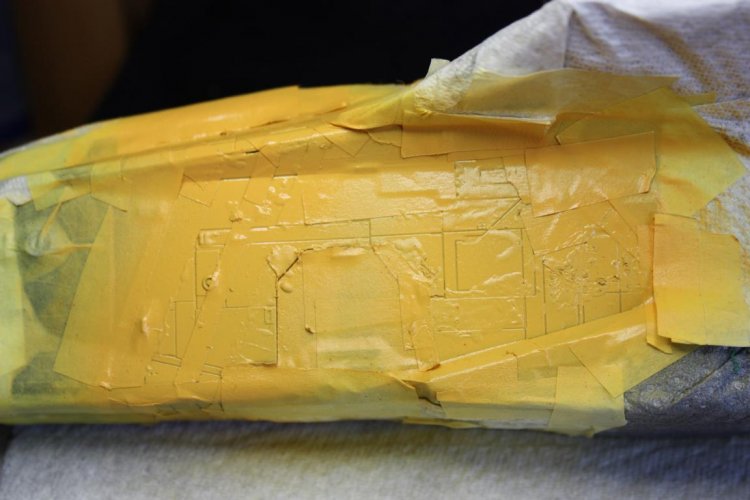
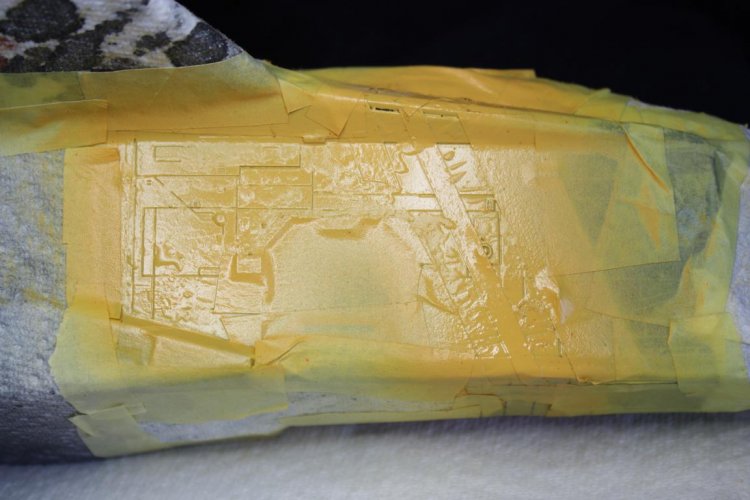
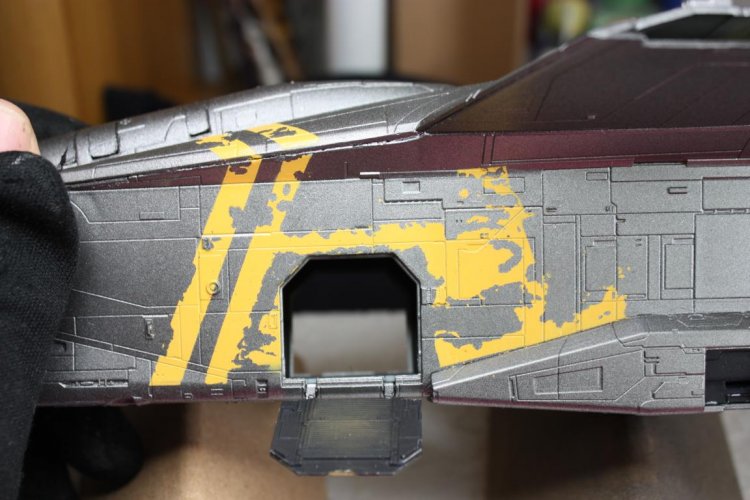
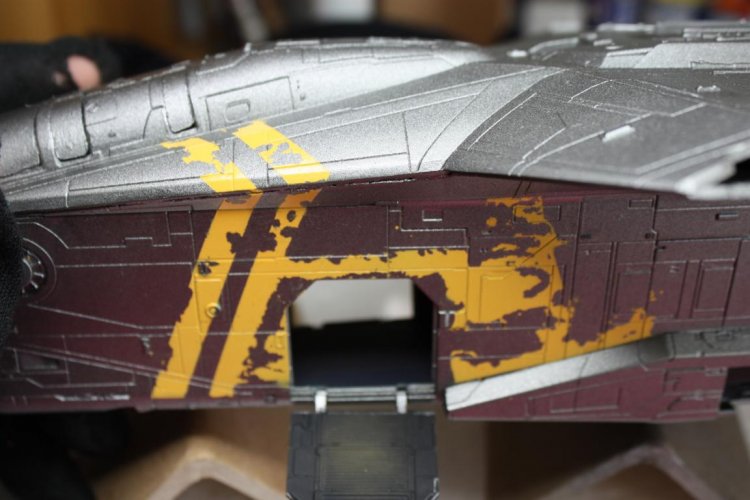
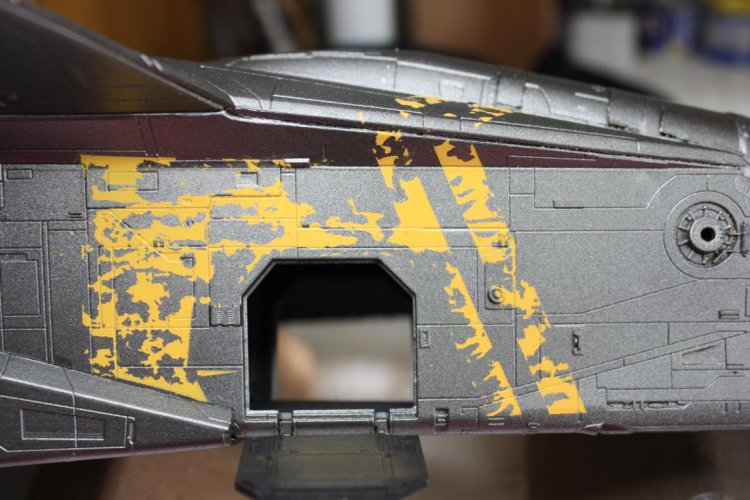
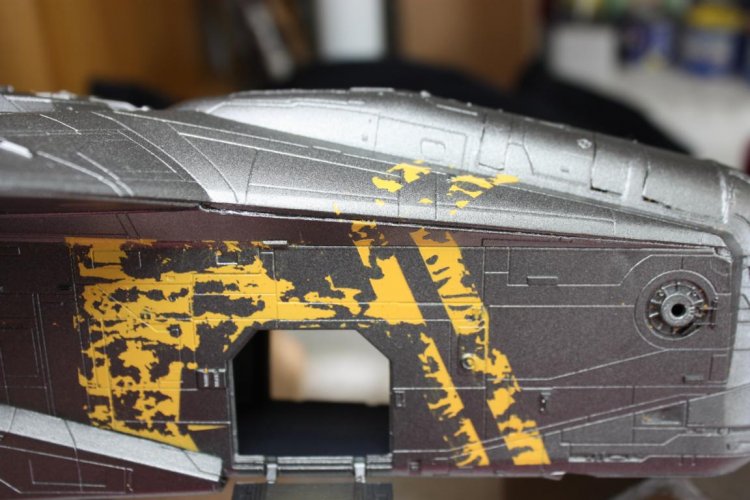
Since I am not a friend of decals, I have brushed the stripes. First set the contours, then mask with Vallejo Liquid Mask and then paint with a mixture of yellow and a small drop of orange (enamel), finally gloss paint. Wanted to stick to the original model from the film (making off video on the net), but was not so easy.
Attachments
-
 K1024_IMG_4310.JPG113.1 KB · Views: 6
 -
 K1024_IMG_4312.JPG111 KB · Views: 6
 -
 K1024_IMG_4313.JPG111.5 KB · Views: 6
 -
 K1024_IMG_4314.JPG95.7 KB · Views: 6
 -
 K1024_IMG_4315.JPG108.8 KB · Views: 6
 -
 K1024_IMG_4316.JPG130.8 KB · Views: 6
 -
 K1024_IMG_4317.JPG107.9 KB · Views: 6
 -
 K1024_IMG_4318.JPG149.7 KB · Views: 6
 -
 K1024_IMG_4319.JPG128.1 KB · Views: 6