

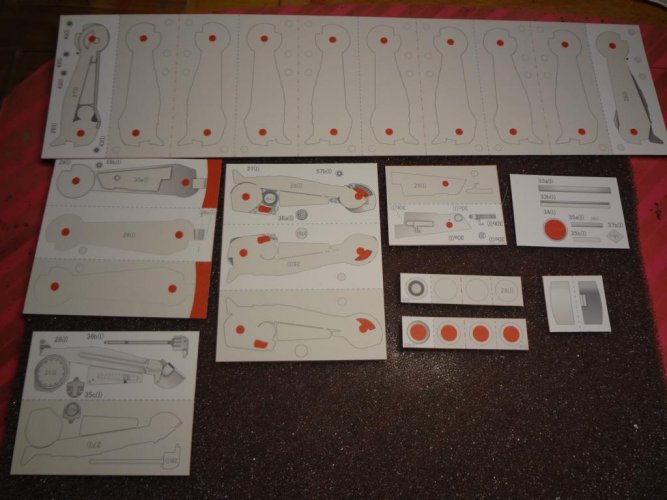
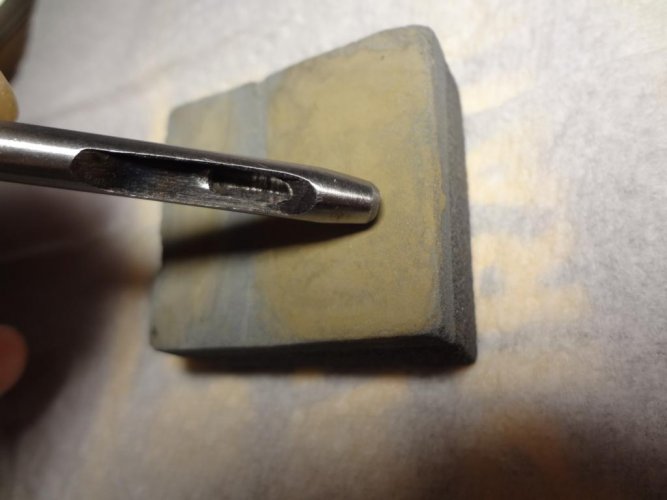
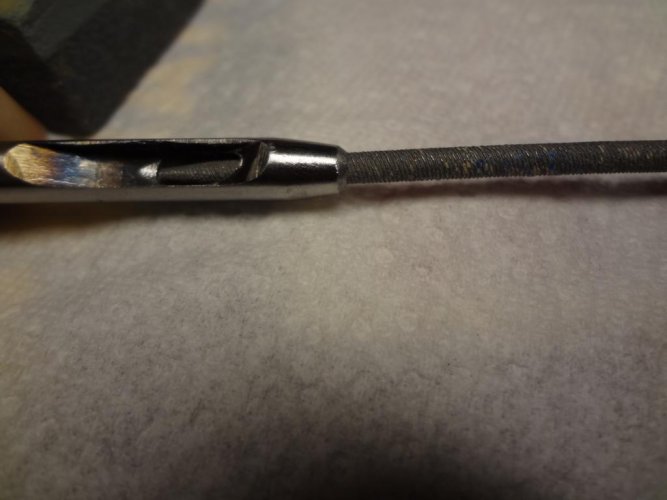
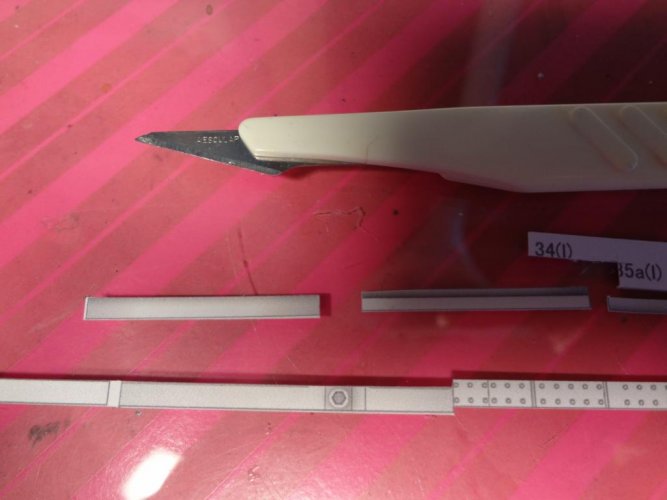
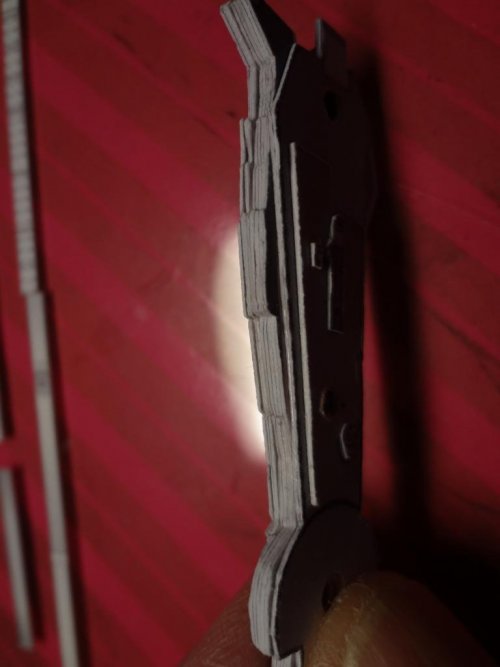
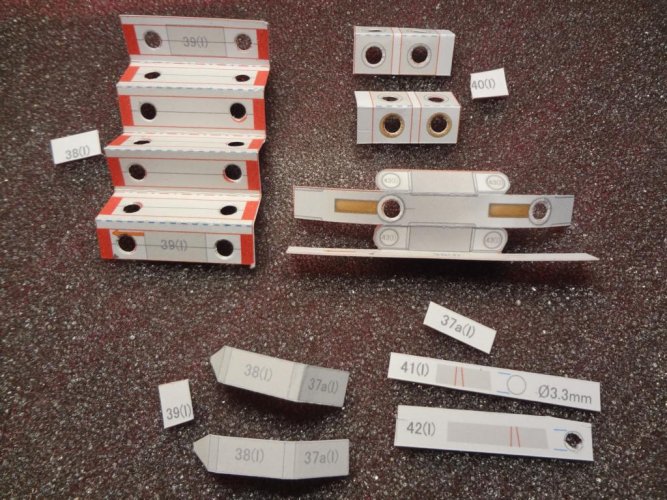
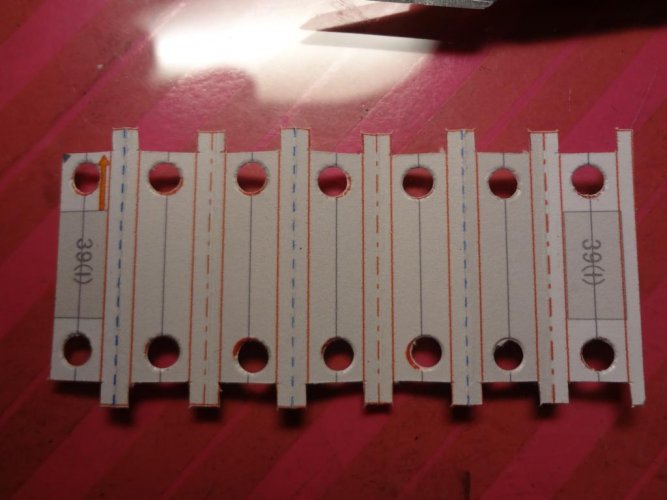
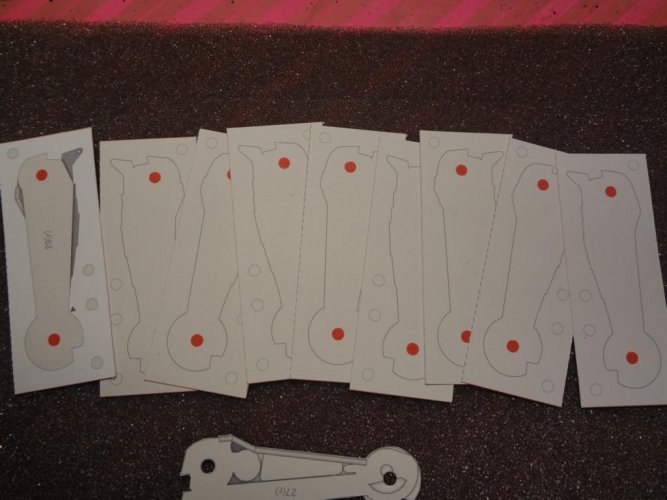
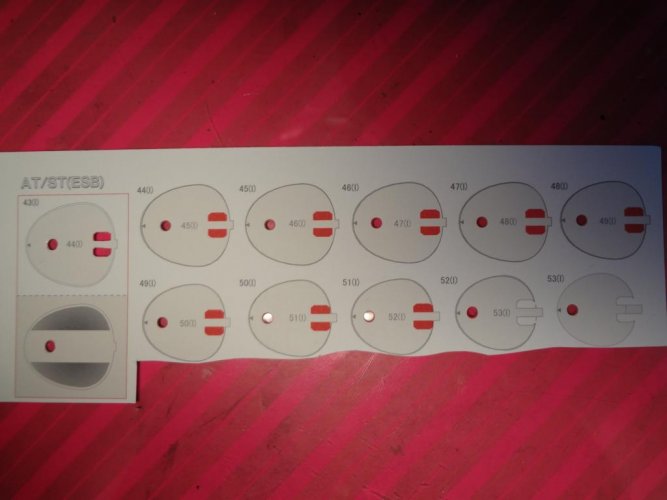
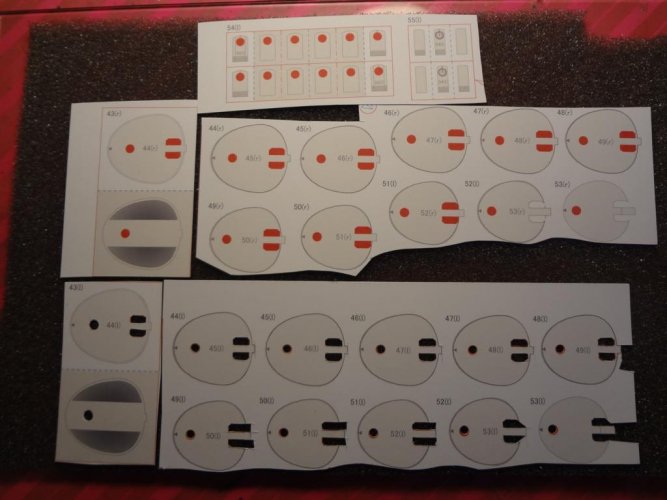
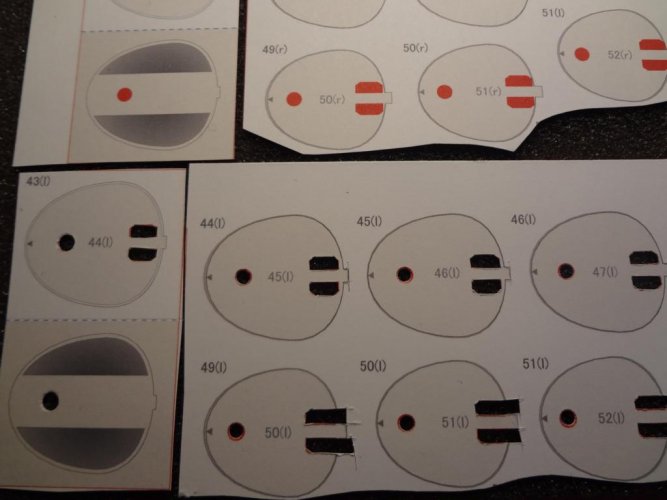
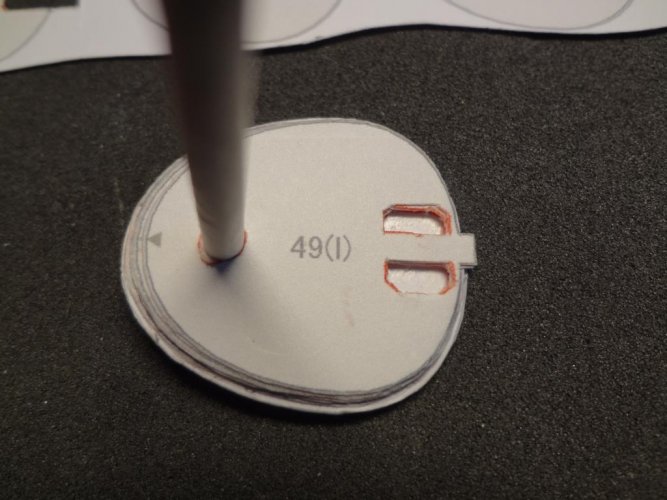
the parts for the left thigh (the right one is the same). Lots of different hole sizes, which meant I had to cut them out with a scalpel, but it worked well. The large hole punch was not suitable for this. The important thing was that I had to keep sanding and filing the common punch (see the nice holes by turning). Now it's time to glue it together and cut it out later.
AT-ST
- Thread starter Walter2
- Start date
You are using an out of date browser. It may not display this or other websites correctly.
You should upgrade or use an alternative browser.
You should upgrade or use an alternative browser.
Nice start, should crush nicely when you swing two suitably scaled tree trunks at it! ")
NOT screen-accurate! This is the Empire Strikes Back version!!!Nice start, should crush nicely when you swing two suitably scaled tree trunks at it!
Swop the logs for two massive snowballs rolling down a valley... 'Kersplat!'NOT screen-accurate! This is the Empire Strikes Back version!!!
- Apr 5, 2013
- 13,498
- 9,549
- 228
I can understand why one would punch holes before cutting the part out. The whole sheet gives strength to the part, and punching a hole means the shearing force is spread through the whole sheet, not a narrow part with thin walls. IMHO.
I do like this also, just because of this reason and more convenient way to cut holes on bigger area. What I meant is to cut the part itself separately. It is more work, but easier to cut. Then you can laminate it together and send for solid line. Just wondering...I can understand why one would punch holes before cutting the part out. The whole sheet gives strength to the part, and punching a hole means the shearing force is spread through the whole sheet, not a narrow part with thin walls. IMHO.
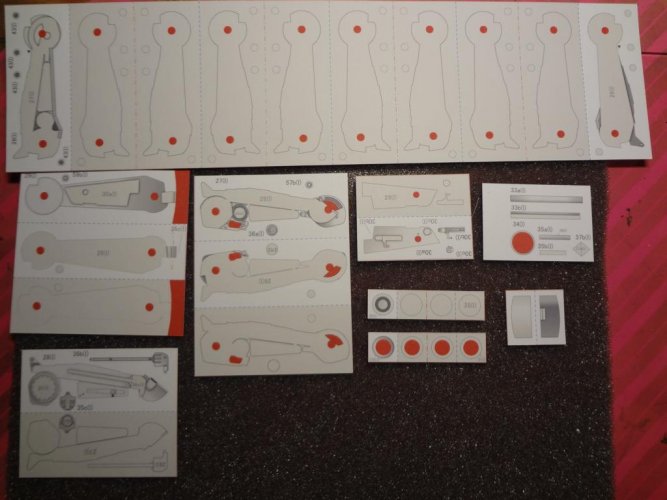
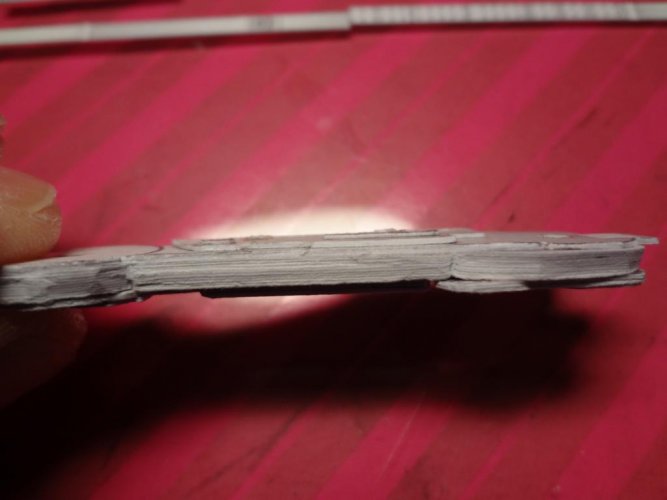
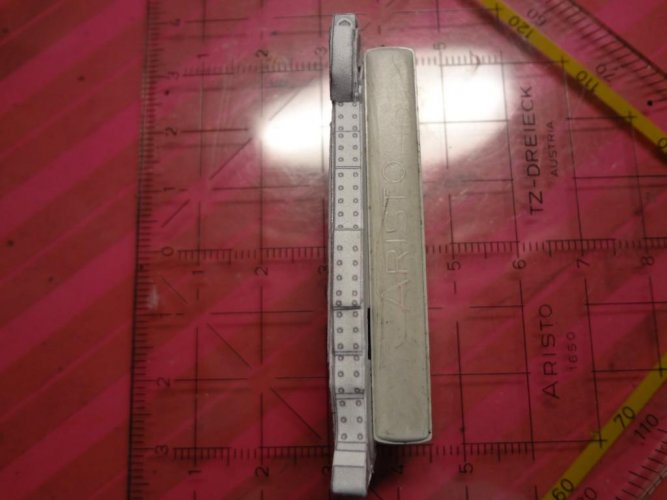
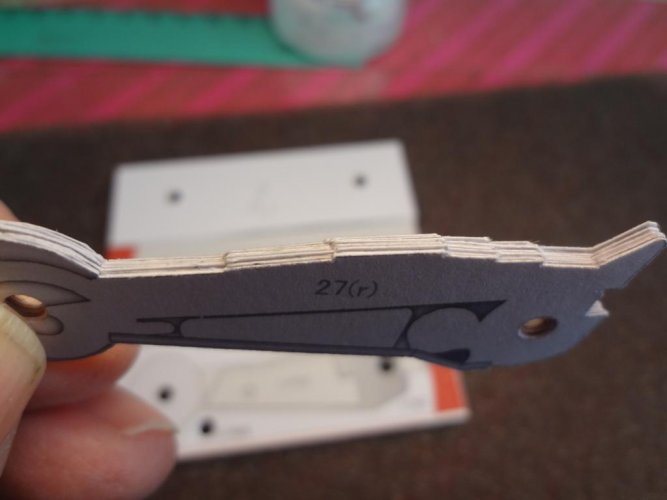
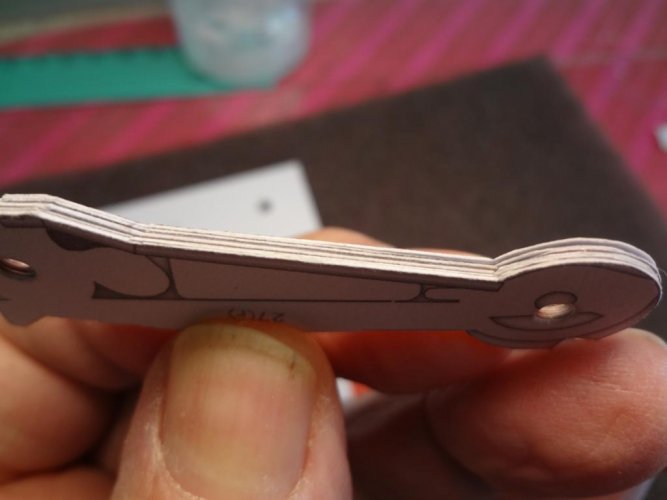
It is difficult to cut 10-ply 160 paper, of course. 2-3 ply is still ok. But if you cut it individually and glue it together, it becomes too imprecise on the outer surfaces. It's not possible to sand it flat because the papers will separate again. For the right-hand part, I will separate the 10-layer part into two parts.
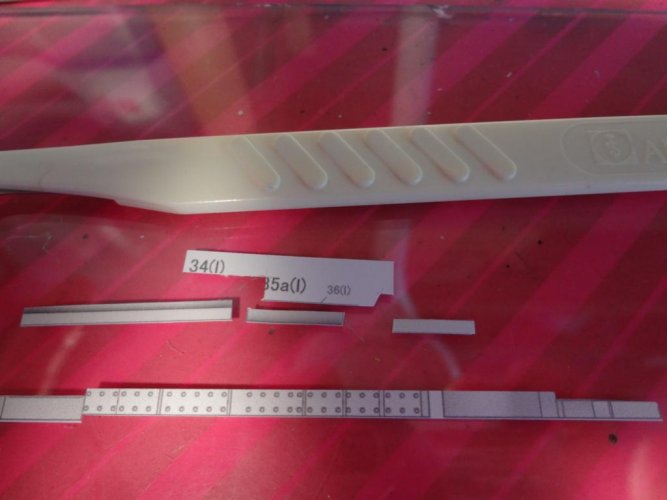
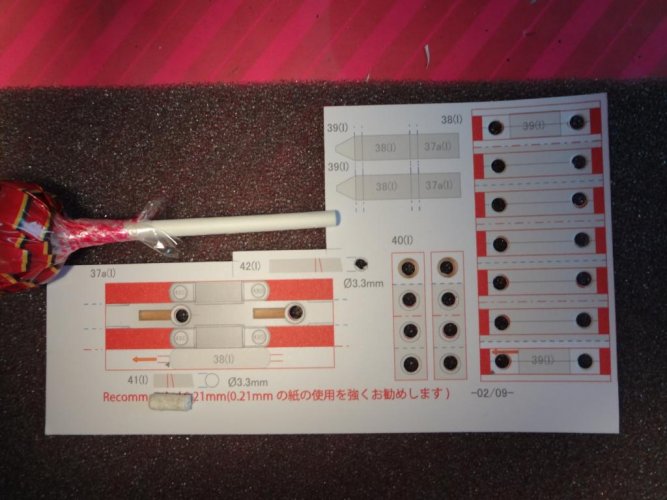
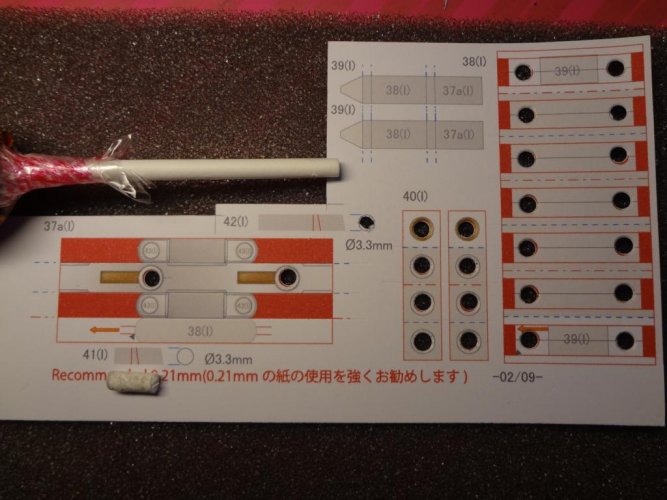
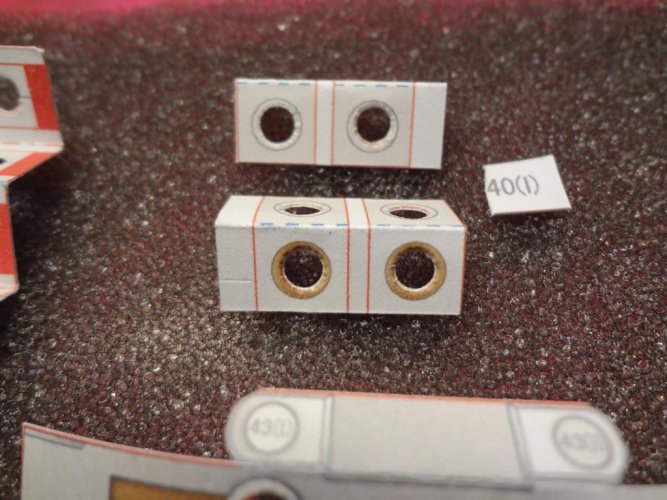
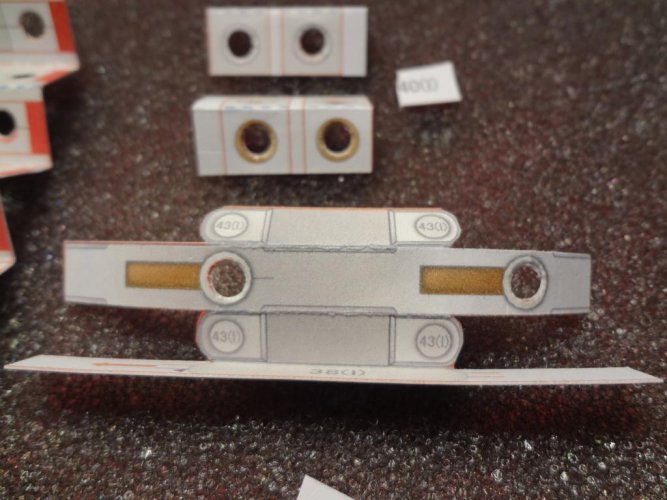
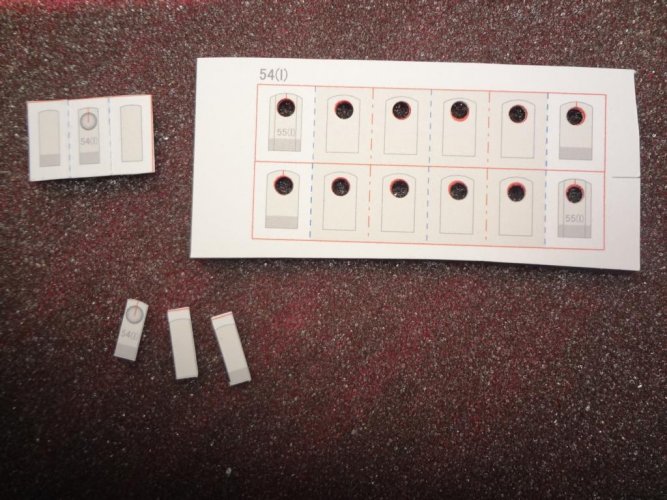
I will punch out the little "screws" that are included and glue them to my lollipop sticks, which I will cut to the appropriate length (10 layers thick). That way they are at least nice and straight.
I will punch out the little "screws" that are included and glue them to my lollipop sticks, which I will cut to the appropriate length (10 layers thick). That way they are at least nice and straight.
- Apr 5, 2013
- 13,498
- 9,549
- 228
I would do the holes on one sheet, but I wouldn't laminate that many pieces and cut them at one time. If I have to laminate, then I use a small drill followed by an appropriately sized drill. A hard glue on the edge of the hole will take care of sloppy edges on the edge of the hole. Of course, if you make the hole slightly undersized, apply glue, then ream it up to size, you get a much better hole. Whatever way works for you. The model is coming out great, so this is just discussion.
i will test it out on a few test strips, thanks for the tip.I would do the holes on one sheet, but I wouldn't laminate that many pieces and cut them at one time. If I have to laminate, then I use a small drill followed by an appropriately sized drill. A hard glue on the edge of the hole will take care of sloppy edges on the edge of the hole. Of course, if you make the hole slightly undersized, apply glue, then ream it up to size, you get a much better hole. Whatever way works for you. The model is coming out great, so this is just discussion.
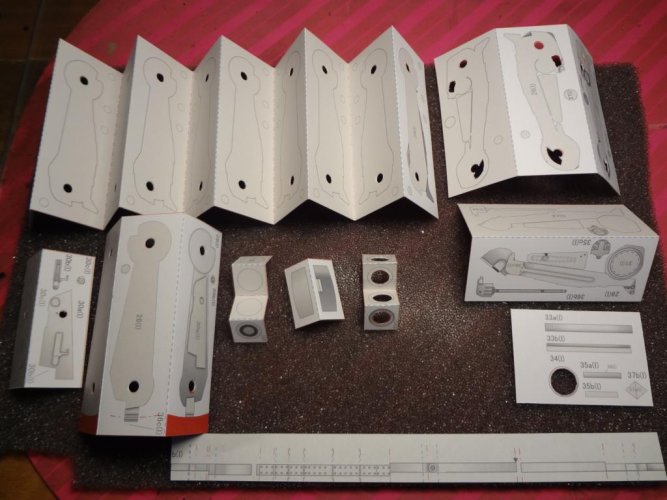
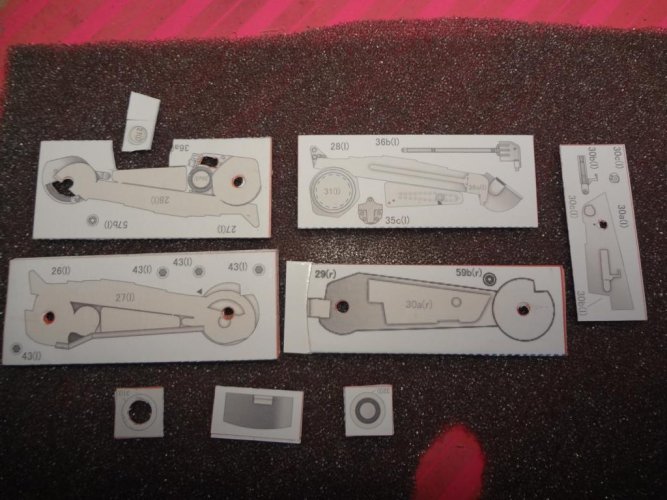
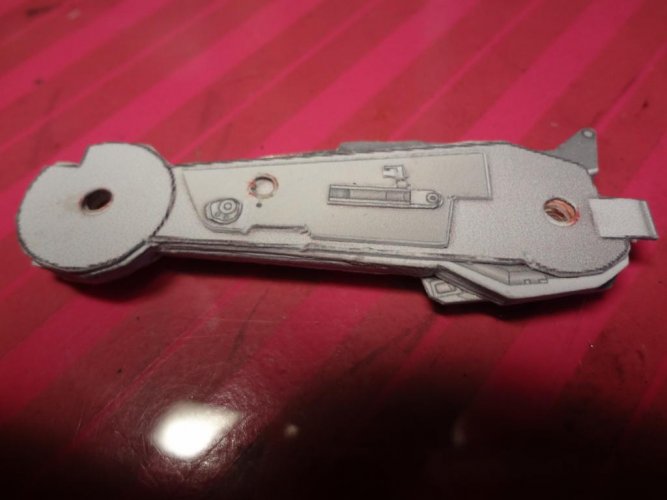
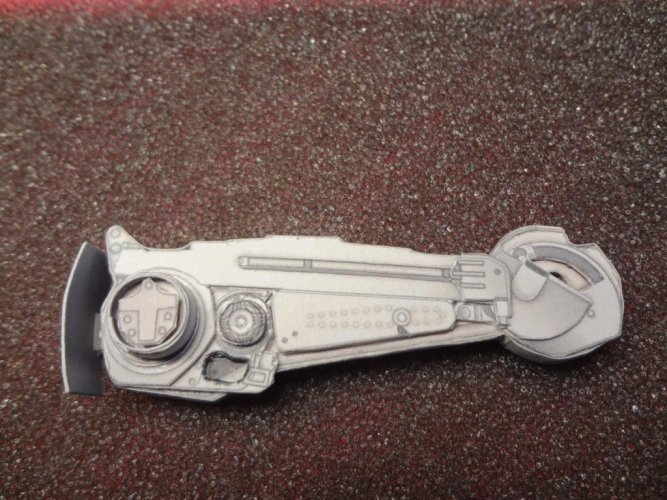
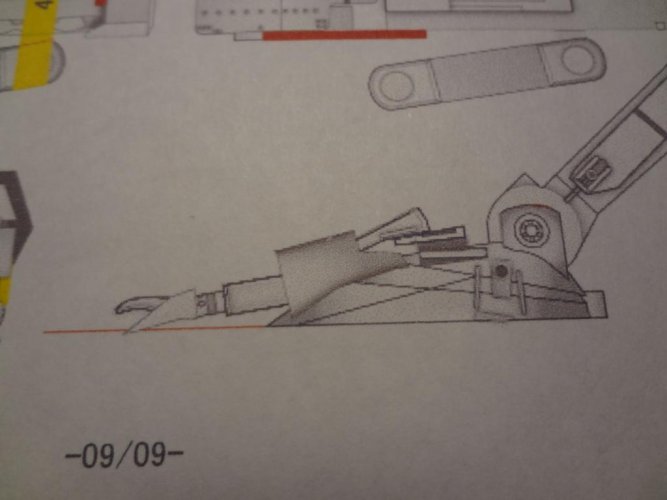
the unframing of the thigh...
Attachments
-
 K1024_DSC04131.JPG72.8 KB · Views: 4
 -
 K1024_DSC04133.JPG59.4 KB · Views: 4
 -
 K1024_DSC04134.JPG65 KB · Views: 4
 -
 K1024_DSC04135.JPG60.2 KB · Views: 4
 -
 K1024_DSC04137.JPG73.6 KB · Views: 4
 -
 K1024_DSC04139.JPG73.3 KB · Views: 4
 -
 K1024_DSC04141.JPG70.5 KB · Views: 4
 -
 K1024_DSC04142.JPG75.8 KB · Views: 4
 -
 K1024_DSC04144.JPG48.2 KB · Views: 4
 -
 K1024_DSC04145.JPG60.3 KB · Views: 4
 -
 K1024_DSC04146.JPG78.8 KB · Views: 4
 -
 K1024_DSC04147.JPG66.3 KB · Views: 4
 -
 K1024_DSC04148.JPG73.8 KB · Views: 4
 -
 K1024_DSC04149.JPG76.3 KB · Views: 4
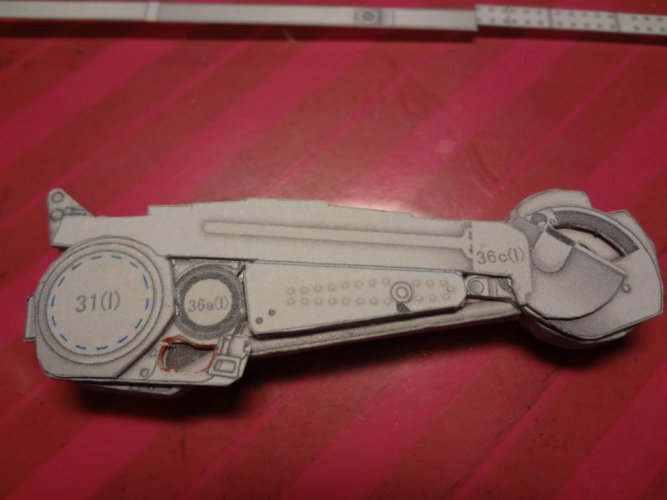
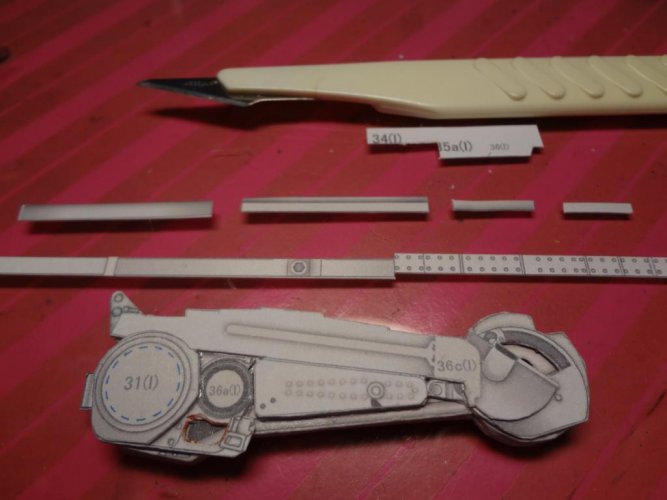
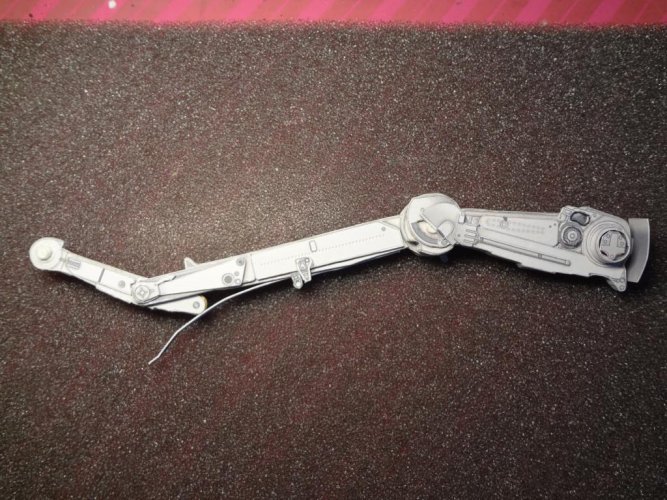
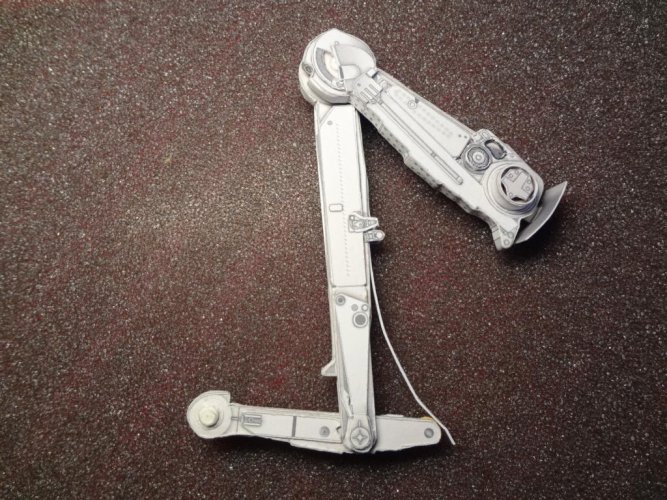
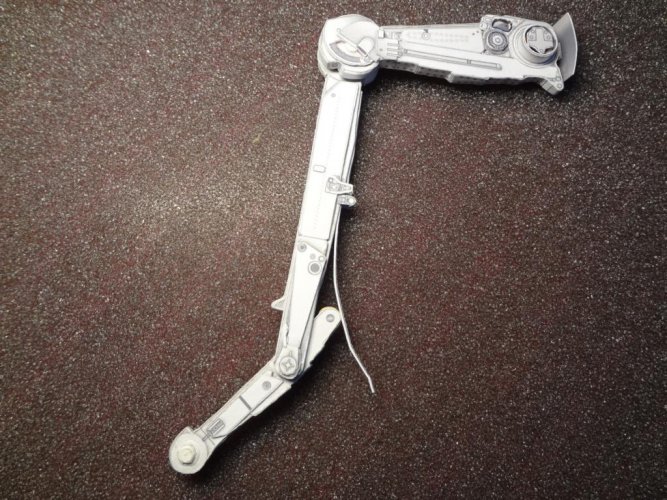
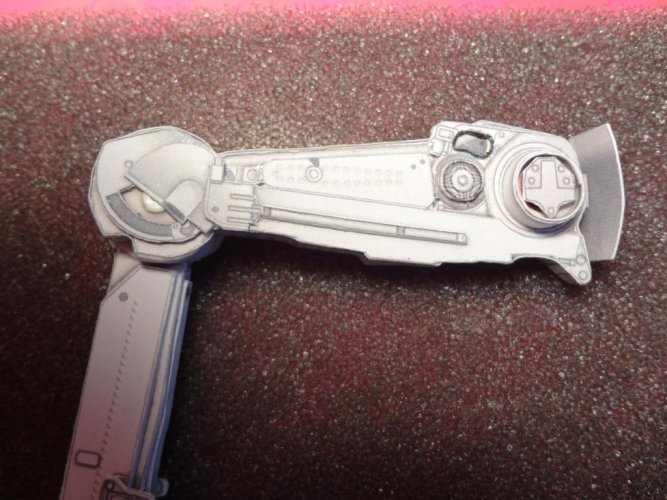
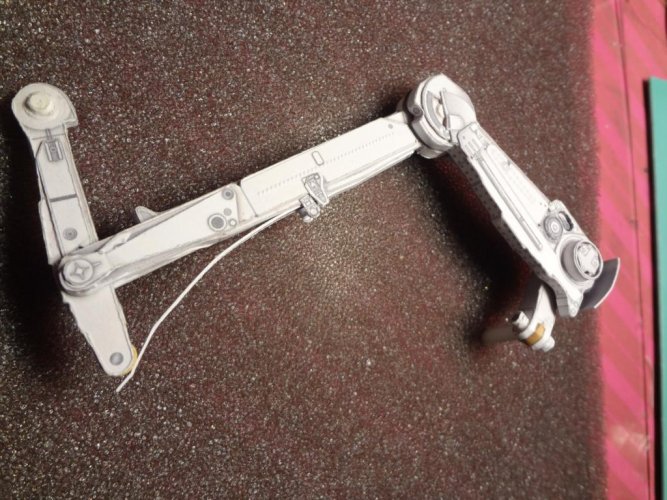
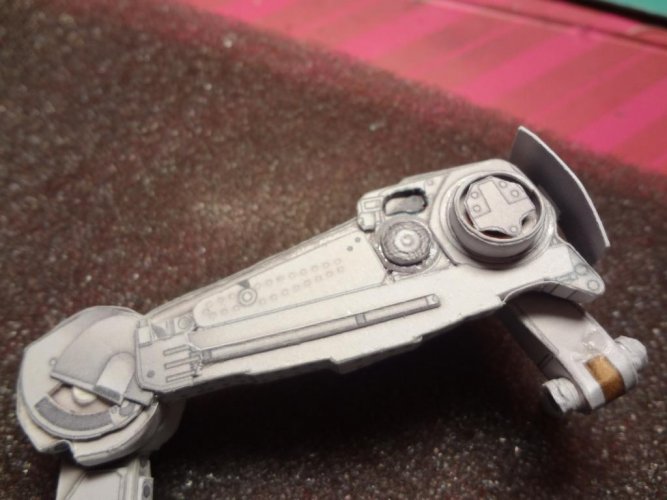
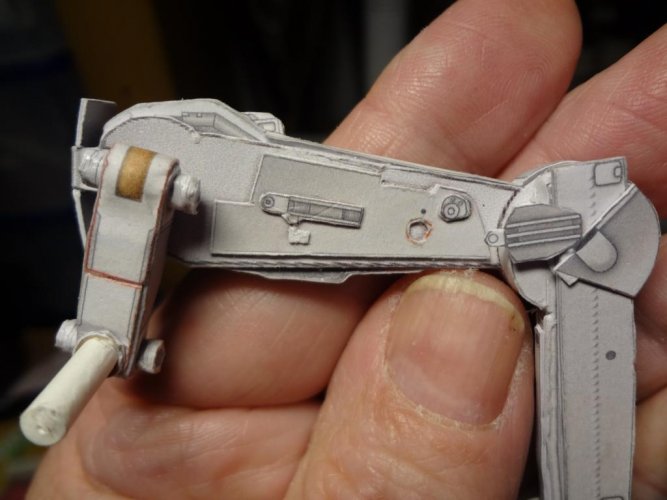
das Hüftgelenk - die Verbindung zum Steuermodul. Anschließend kommt der Fuß dran. Und alles beweglich
Attachments
-
 K1024_DSC04150.JPG110.8 KB · Views: 3
 -
 K1024_DSC04151.JPG119.6 KB · Views: 3
 -
 K1024_DSC04152.JPG169.5 KB · Views: 3
 -
 K1024_DSC04153.JPG173.5 KB · Views: 3
 -
 K1024_DSC04154.JPG194.6 KB · Views: 3
 -
 K1024_DSC04155.JPG207.2 KB · Views: 3
 -
 K1024_DSC04156.JPG211.4 KB · Views: 3
 -
 K1024_DSC04157.JPG145.3 KB · Views: 4
 -
 K1024_DSC04158.JPG197.4 KB · Views: 3
 -
 K1024_DSC04159.JPG137 KB · Views: 3
 -
 K1024_DSC04160.JPG115.3 KB · Views: 3
 -
 K1024_DSC04161.JPG85 KB · Views: 3
 -
 K1024_DSC04162.JPG151.5 KB · Views: 3
 -
 K1024_DSC04163.JPG120.2 KB · Views: 3
 -
 K1024_DSC04164.JPG152.7 KB · Views: 3
 -
 K1024_DSC04165.JPG143.7 KB · Views: 3
 -
 K1024_DSC04166.JPG170.9 KB · Views: 3
 -
 K1024_DSC04167.JPG93 KB · Views: 3
 -
 K1024_DSC04168.JPG87.8 KB · Views: 3
 -
 K1024_DSC04169.JPG80.5 KB · Views: 3


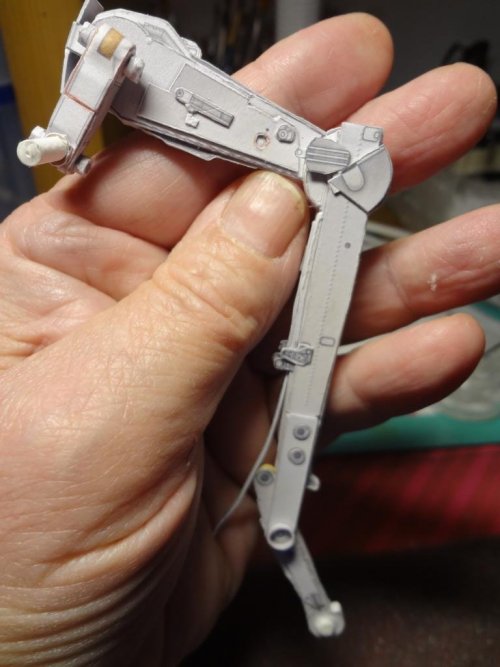

the model is quite complicated, but it's great fun to see how it "grows". I'm already looking forward to letting the "chicken bird run". 
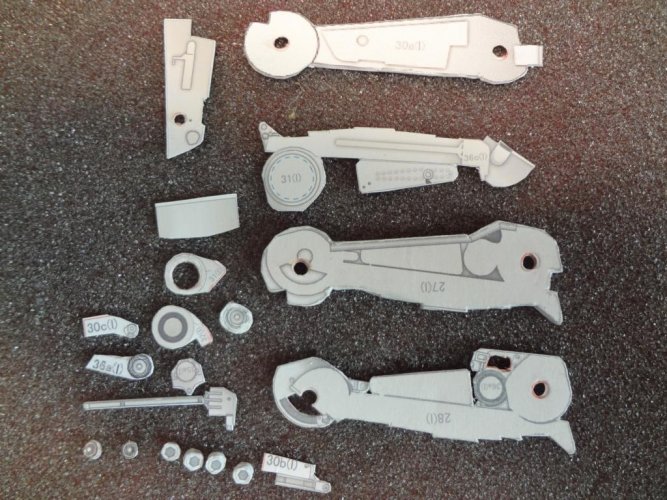
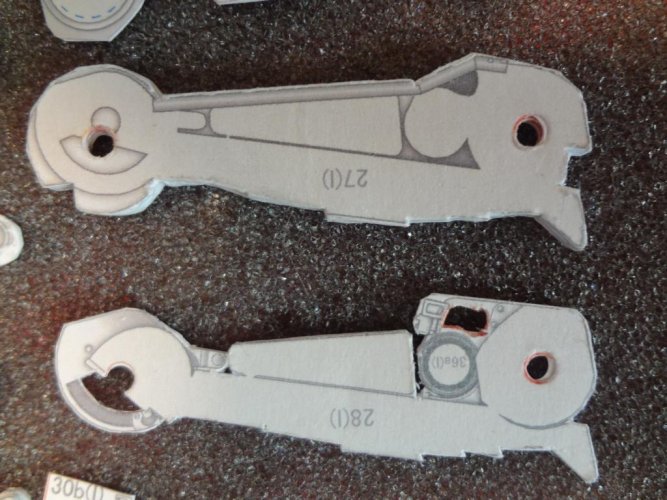
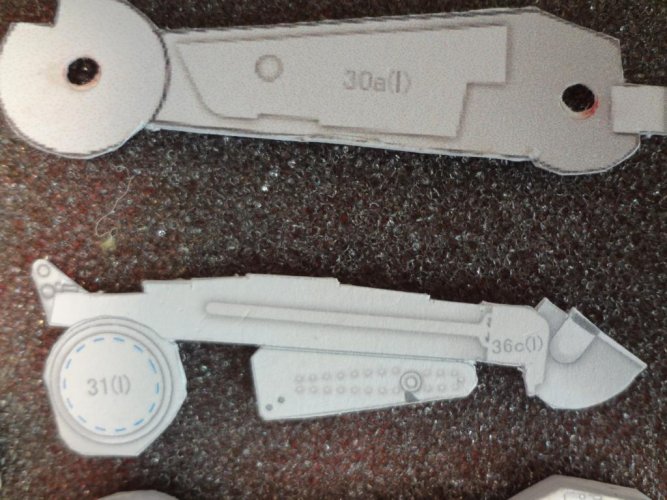
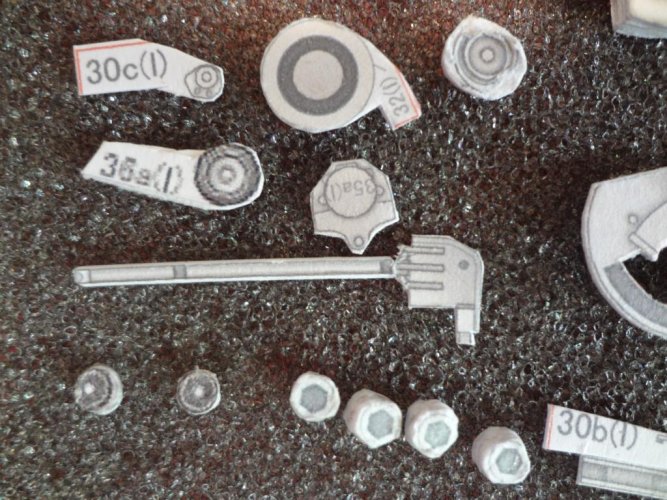
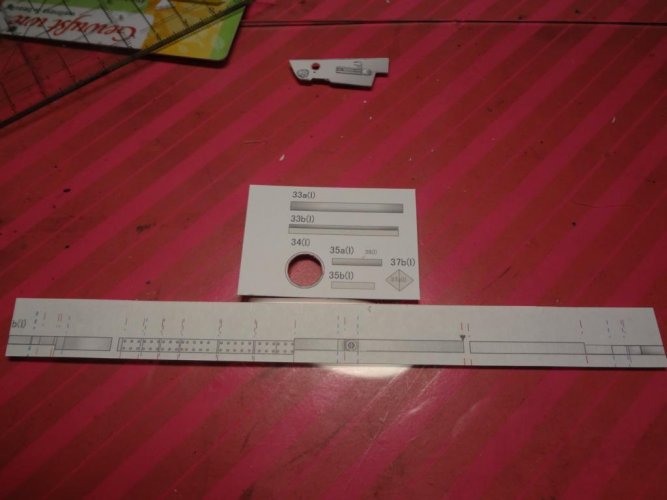
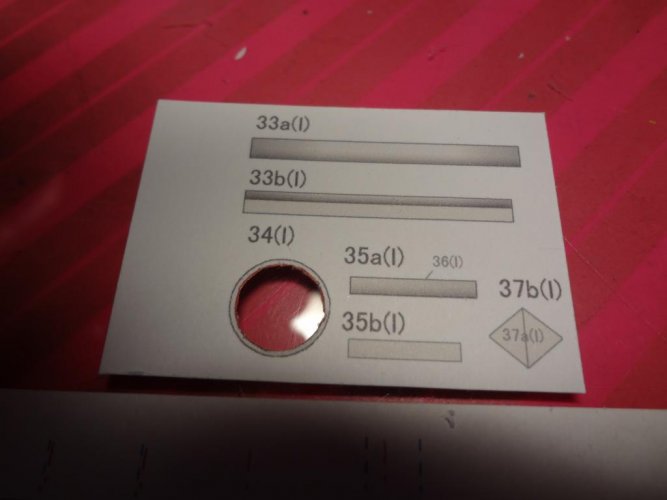
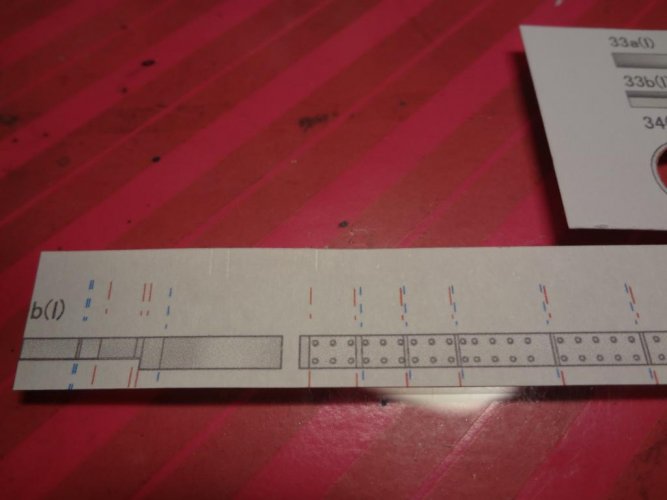
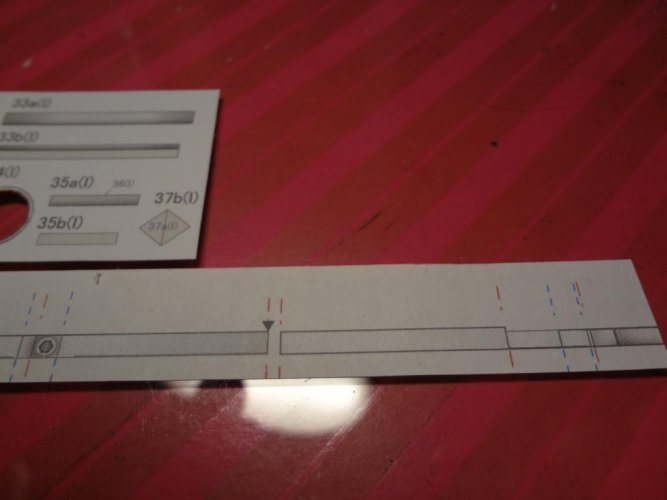
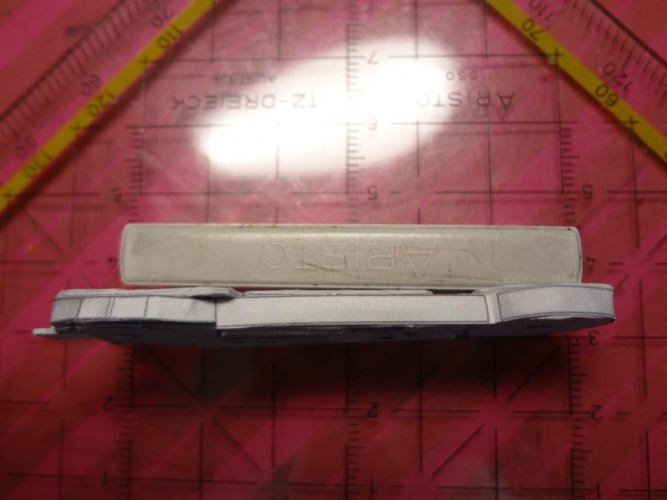
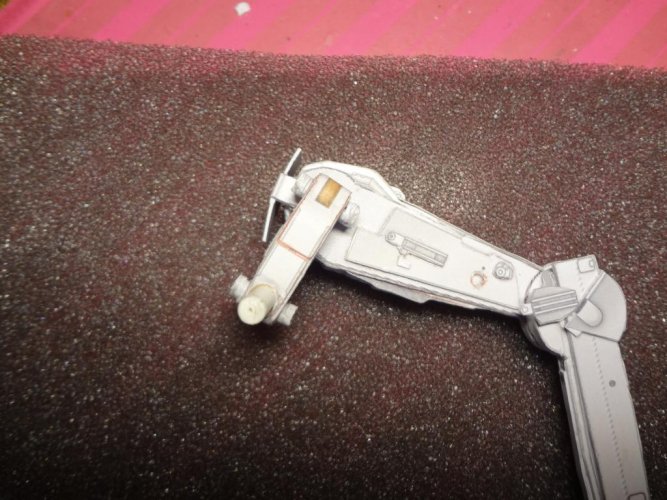
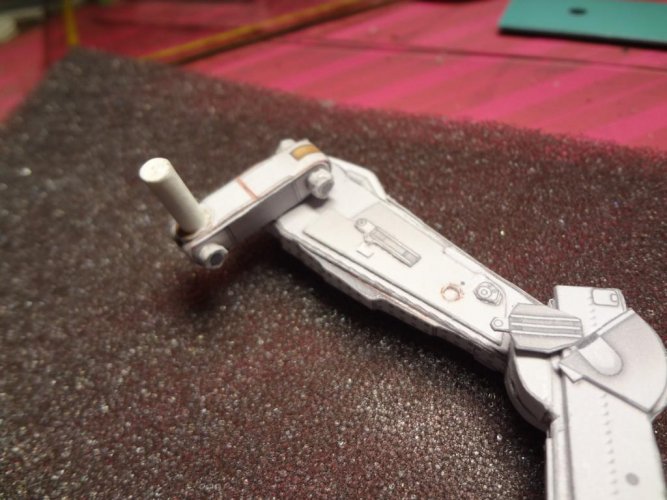
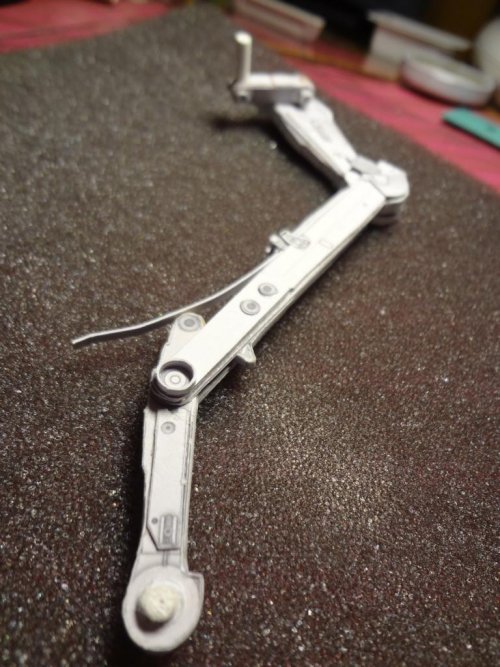
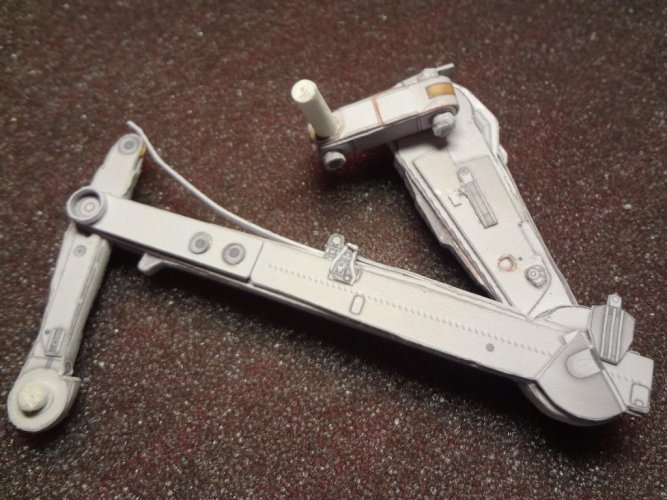
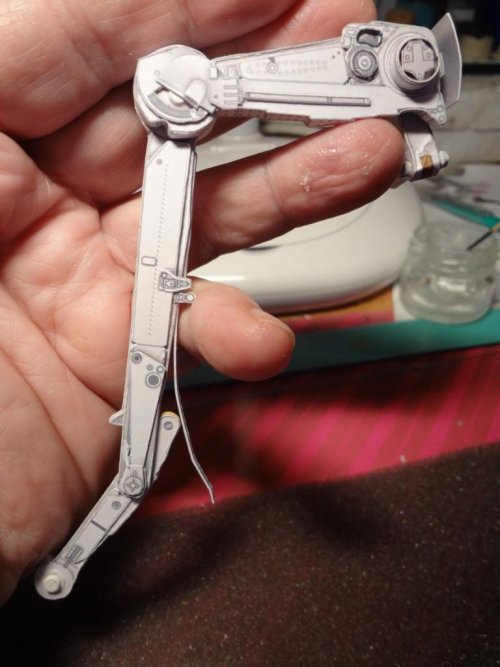
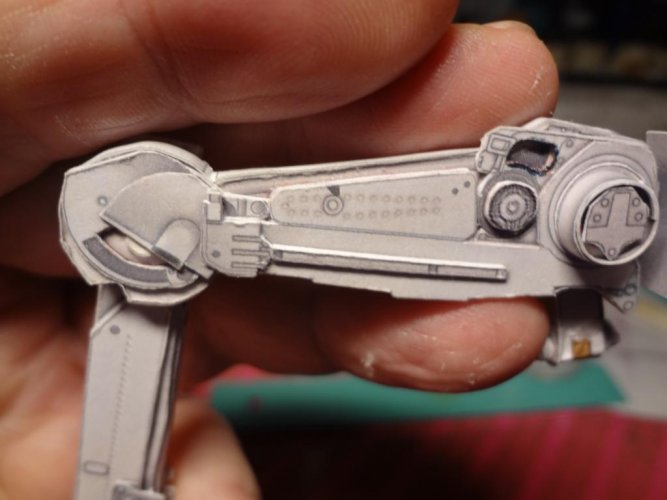
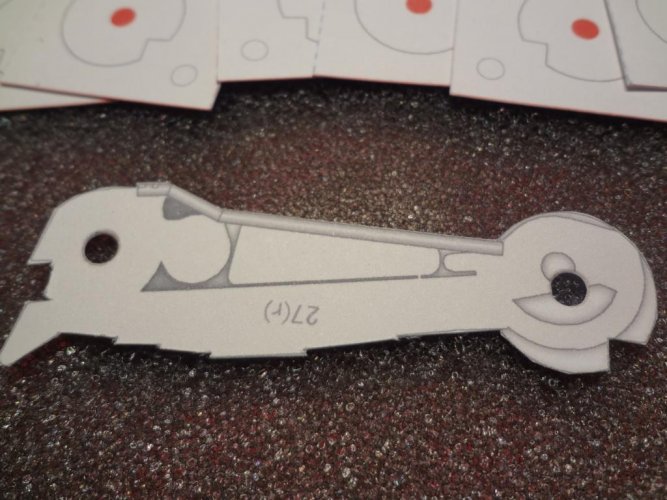
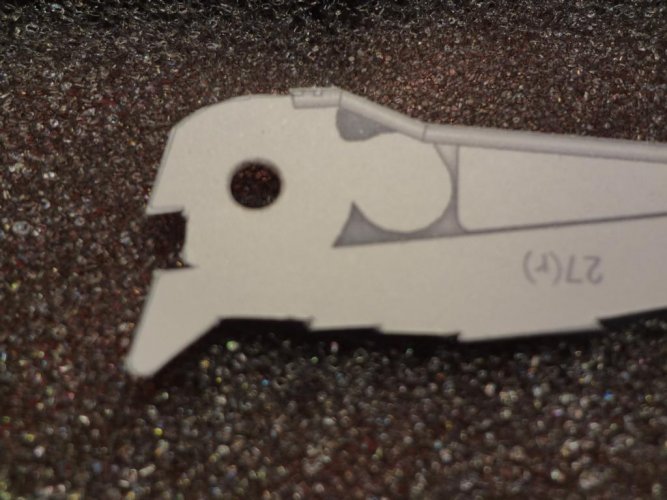
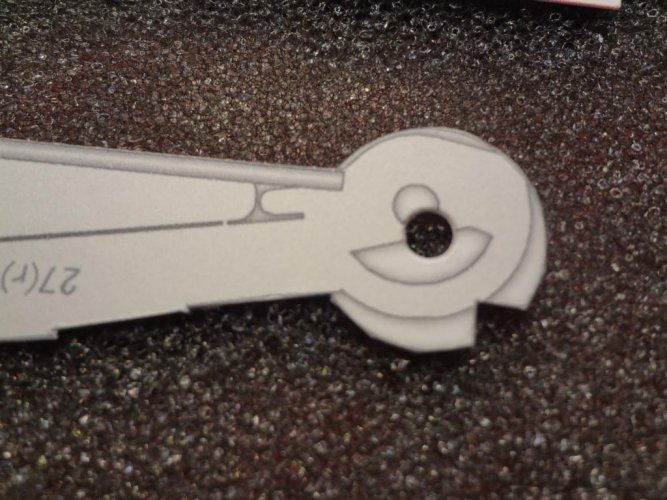
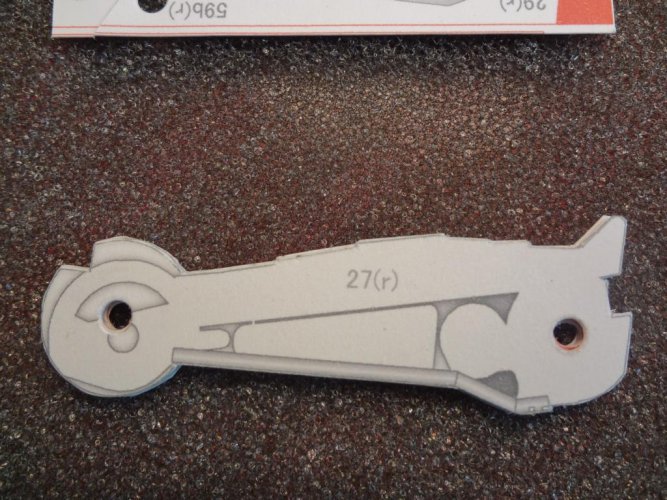
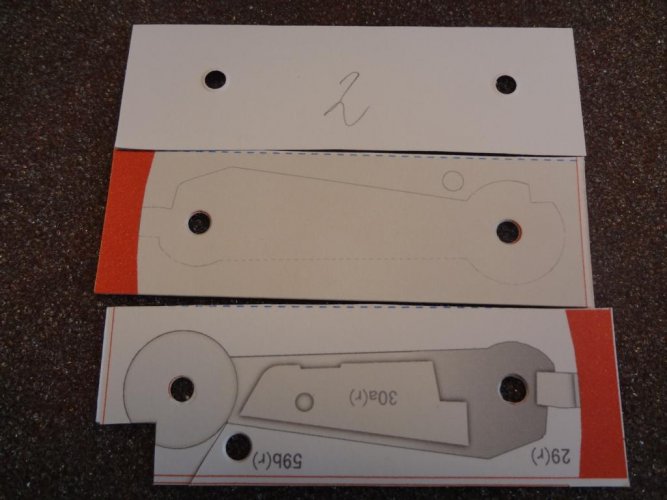
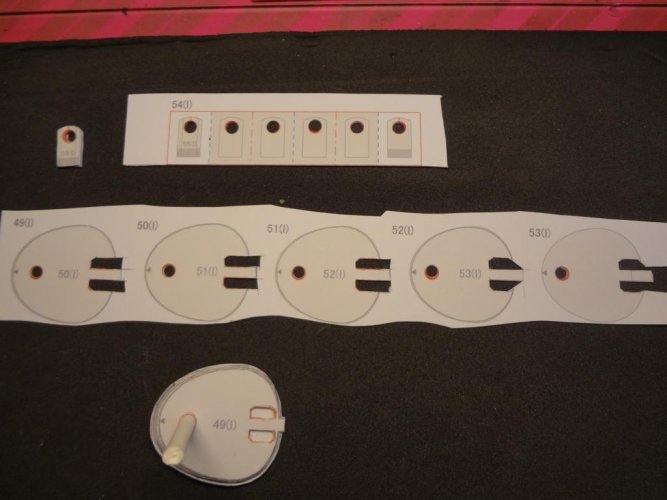
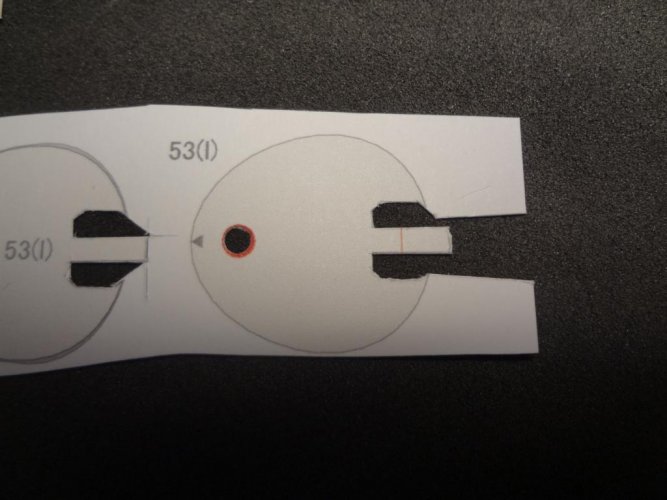
After a short break, I finished the second leg. I decided to cut out the parts individually and glue them together. This makes the parts more accurate (see pictures) and it is also less tiring to cut. Now it's the stand's turn to be cut and glued one after the other. It gets boring after a while, but you have to get through it.
Attachments
-
 K1024_DSC04173.JPG100.9 KB · Views: 5
 -
 K1024_DSC04174.JPG127.9 KB · Views: 4
 -
 K1024_DSC04175.JPG114 KB · Views: 3
 -
 K1024_DSC04176.JPG137.3 KB · Views: 3
 -
 K1024_DSC04177.JPG176.3 KB · Views: 3
 -
 K1024_DSC04178.JPG93.4 KB · Views: 4
 -
 K1024_DSC04179.JPG61.4 KB · Views: 4
 -
 K1024_DSC04180.JPG63.8 KB · Views: 4
 -
 K1024_DSC04181.JPG166.6 KB · Views: 4
 -
 K1024_DSC04182.JPG67.5 KB · Views: 6
 -
 K1024_DSC04183.JPG98.5 KB · Views: 5
 -
 K1024_DSC04184.JPG79.5 KB · Views: 5
 -
 K1024_DSC04185.JPG156.1 KB · Views: 5
 -
 K1024_DSC04186.JPG87.7 KB · Views: 6
 -
 K1024_DSC04187.JPG115.2 KB · Views: 6
 -
 K1024_DSC04188.JPG92 KB · Views: 6