

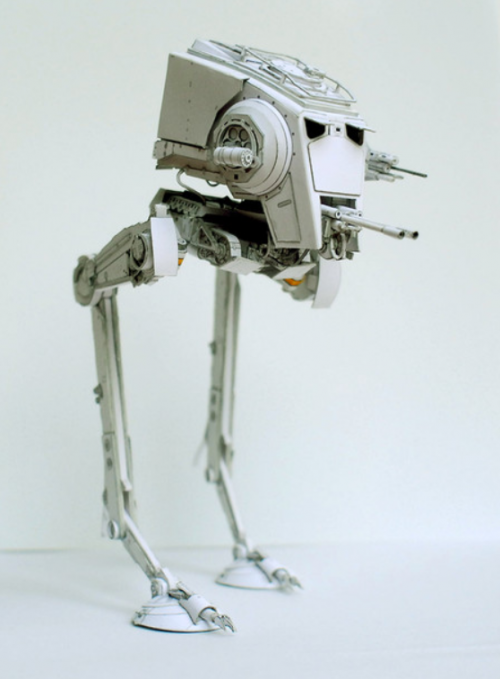
AT-ST
- Thread starter Walter2
- Start date
You are using an out of date browser. It may not display this or other websites correctly.
You should upgrade or use an alternative browser.
You should upgrade or use an alternative browser.

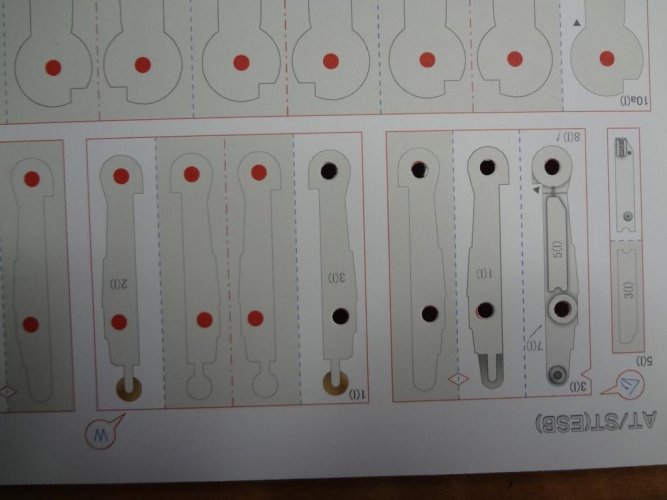
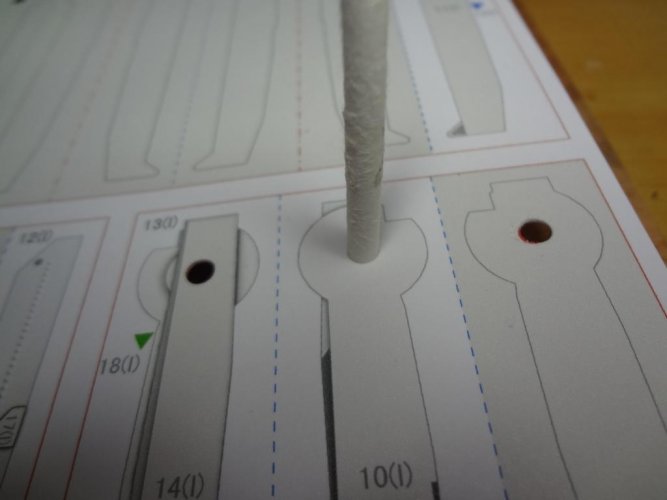
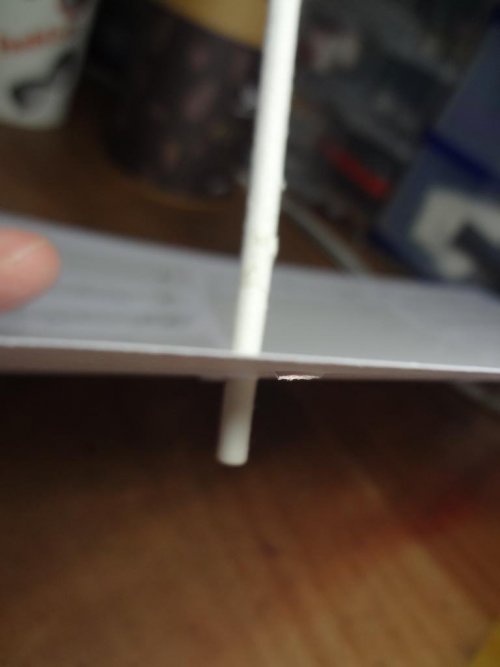
The beginning. I thought about the easiest and most beautiful way to punch the holes. After several attempts with scrap paper, the best way was to use a hole punch. The important thing is NOT TO HIT THE HOLES, but to use them precisely, press and turn them a little, which cuts out the hole cleanly and goes quickly (see the pictures). I use the handle of a lollipop as the axle.
The next step is to cut out, fold and glue the legs. Report to follow.
The next step is to cut out, fold and glue the legs. Report to follow.
Attachments
-
 K1024_DSC04067.JPG85.3 KB · Views: 9
 -
 K1024_DSC04068.JPG78.3 KB · Views: 7
 -
 K1024_DSC04069.JPG82.8 KB · Views: 6
 -
 K1024_DSC04070.JPG83.1 KB · Views: 7
 -
 K1024_DSC04071.JPG77 KB · Views: 6
 -
 K1024_DSC04072.JPG58.2 KB · Views: 4
 -
 K1024_DSC04073.JPG53.4 KB · Views: 4
 -
 K1024_DSC04074.JPG36.2 KB · Views: 6
 -
 K1024_DSC04075.JPG102.6 KB · Views: 9
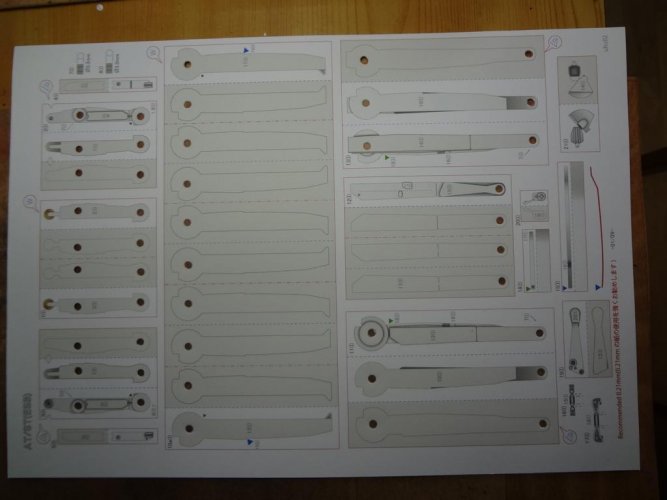
Phase two. Cut out, fold and glue. I cut out a part with four leaves glued together as a test.
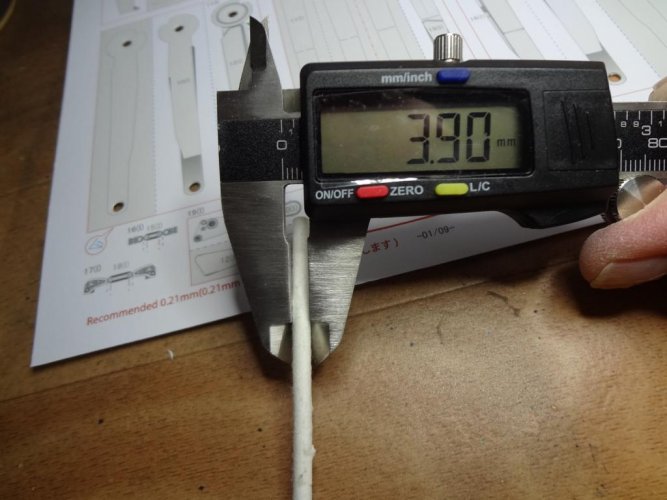
Important: cut out and fold exactly! This is about the smallest dimensions. Cutting out the four glued-together leaves was very difficult, so cut carefully and with a lot of patience. Then finish the part with fine sandpaper.
I think this will be a tedious task...
Important: cut out and fold exactly! This is about the smallest dimensions. Cutting out the four glued-together leaves was very difficult, so cut carefully and with a lot of patience. Then finish the part with fine sandpaper.
I think this will be a tedious task...
Attachments
You are are off to a great start with this project! I am looking forward to seeing how this project turns out!
Hello folks,
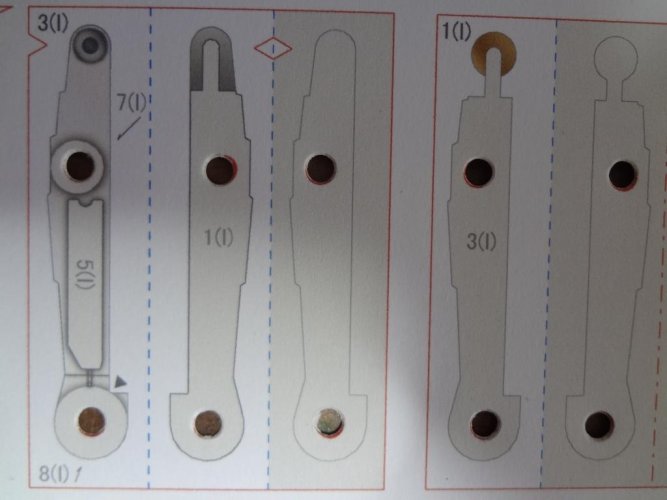
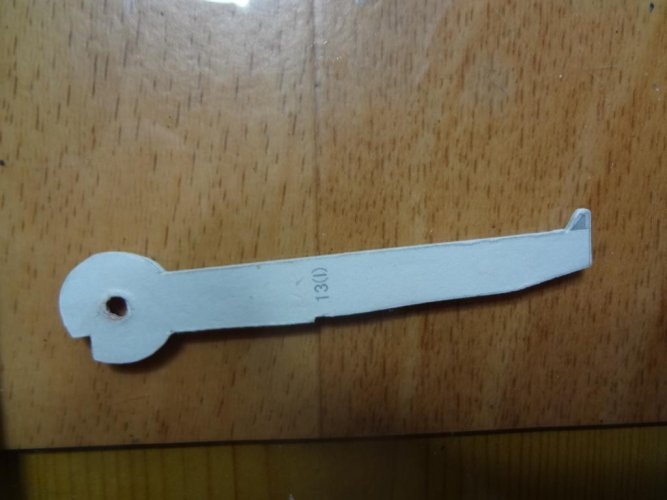
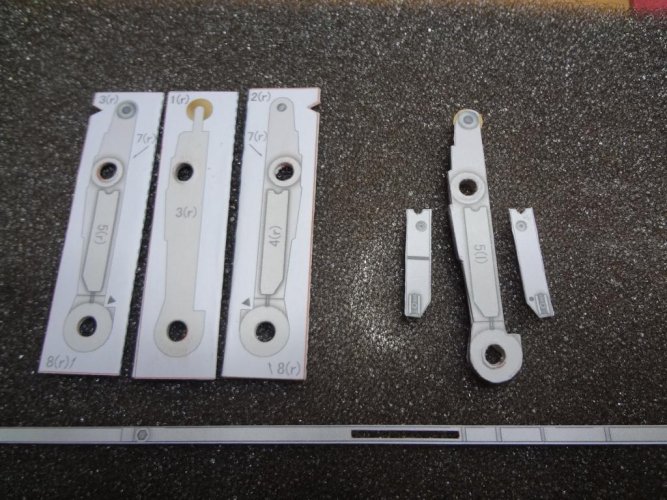
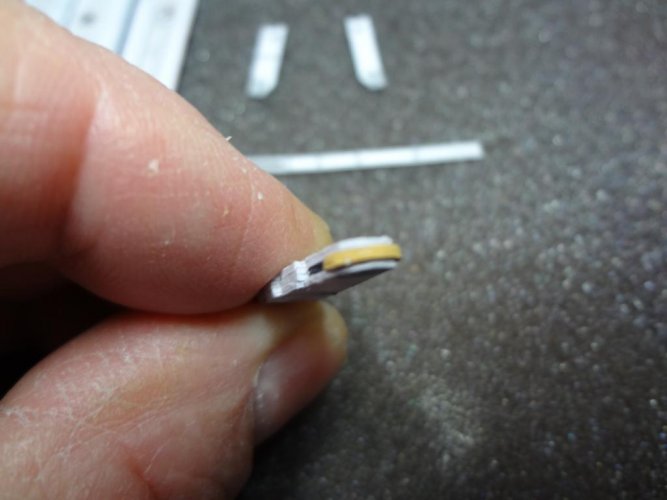
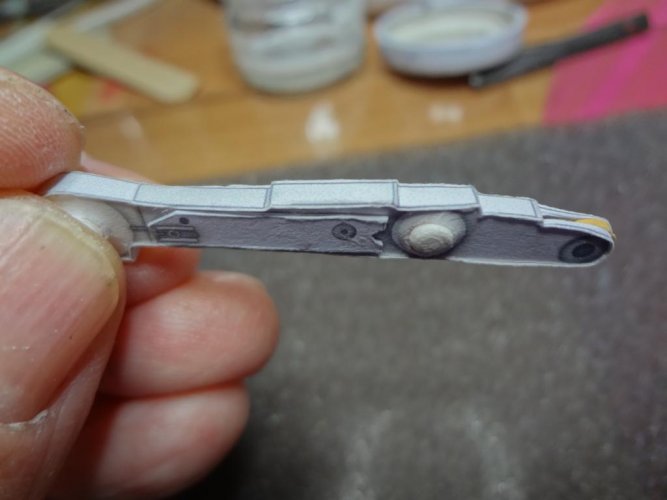
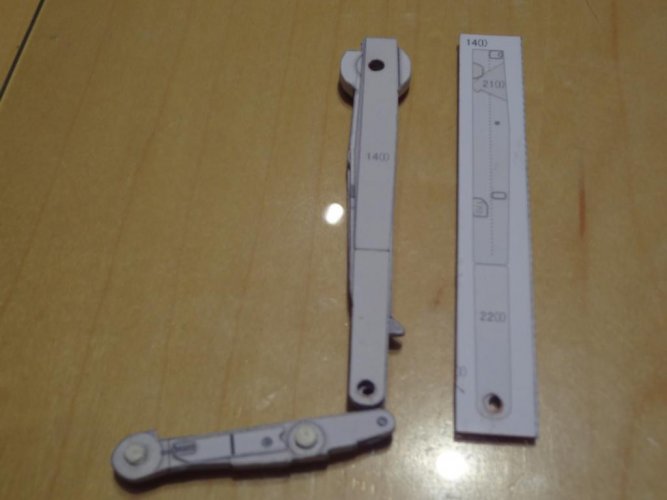
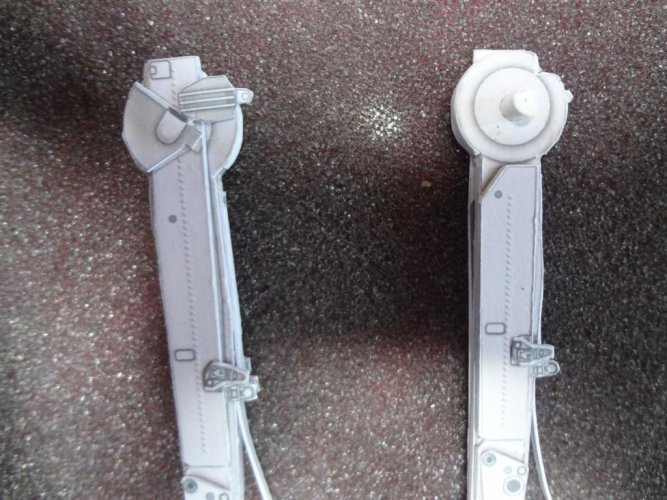
I feel like a surgeon and watchmaker at the same time. You can't get very far without a scalpel (!) and fine nail scissors, the parts have to be cut out too finely and precisely. You can see this on the longer narrow part (border) with the narrow slit in the middle. This last sheet 9 had to be printed on normal printing paper. The bottom left part is finished, now the whole thing again for the right. By the way, the yellow-orange part on one side has to be painted on the outside of the curve.
Well then, here's to another one, but I have to say it's still a lot of fun...
Season's greetings
Attachments
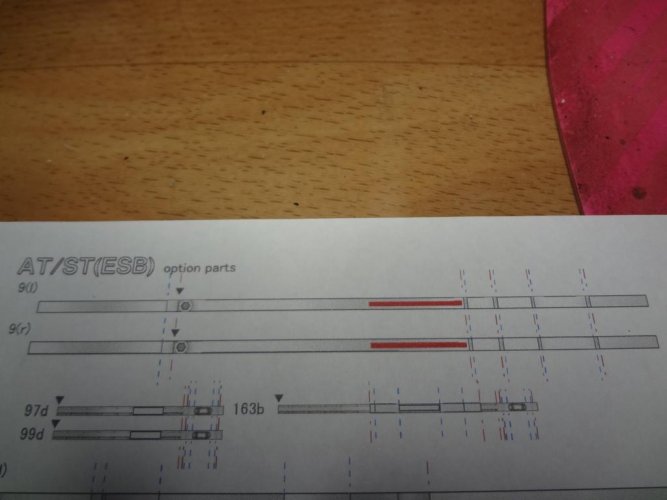
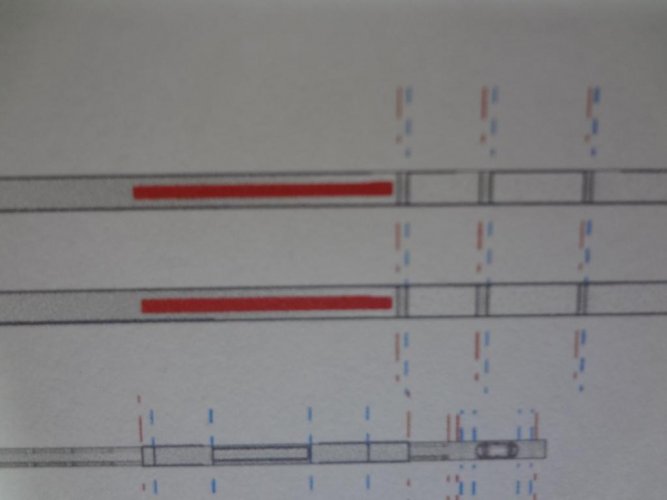
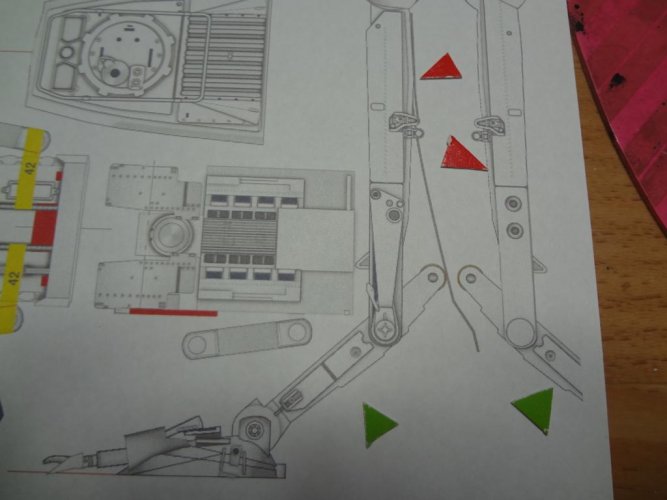

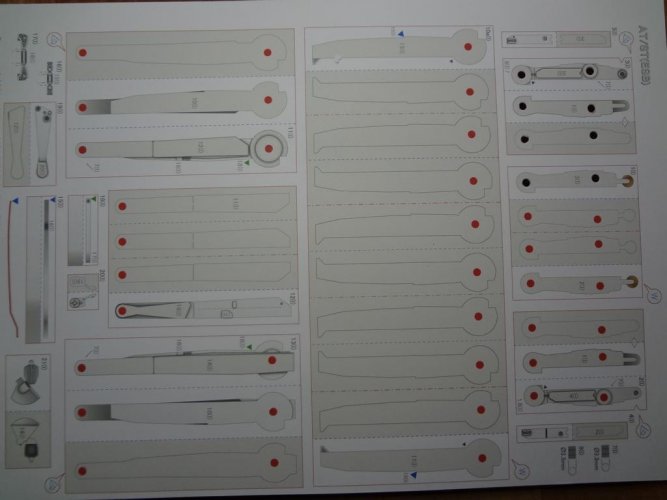
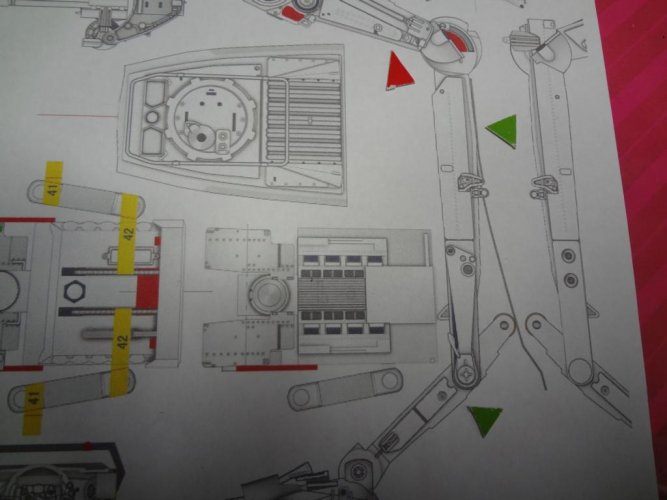
I usually use 160g DIN A4 as model paper. I also have 120g, depending on the situation. In this model, only 160g is used, except for the parts that are used for framing (for example, where the green arrows point). Normal 80g printer paper is sufficient here. Unfortunately, you can't see the frames on this sheet, which could be cut out. I will point this out in future.
- Apr 5, 2013
- 13,498
- 9,549
- 228
I've never used hole punches, (not with paper). I should get a new set. Usually I use drill bits. I usually make an undersized hole, with maybe .010" left to go, glue the edges with a hard glue, especially if that hole is going to pivot. Then, after the glue dries, I finalize the hole size. If your punch is really sharp, and you have the right backing, the paper doesn't crush, which was the problem I was having. Looking at the parts you have made, it seems that you've mastered this. ")
Thats a good sugestion to use a hard glue when you frill holes. I have the same problem I will give it a try.
Te trick is to use several "dummy layers" to give the punch some "meat". If you only use one layer of paper the hole will not be fully punched through:I've never used hole punches, (not with paper).
Using a holepunch
This is a holepunch. Its purpose is to punch holes through various materials such as leather, card and paper. But the way it operates often leads to no holes punched. A holepunch can be both, a blessing or a curse. In most cases it is a curse because it will not punch through a single layer...
 www.zealot.com
- Apr 5, 2013
- 13,498
- 9,549
- 228
I've used backing paper before. I have so many drills and reamers, I like to get an exact fit. Just a personal preference.
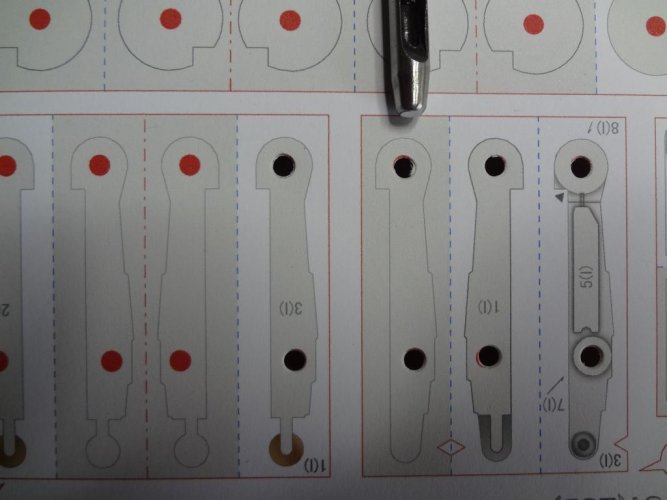
As mentioned above, I use the punch and turn it three to four times by hand, do not tap it. This way I achieved a nice round hole.
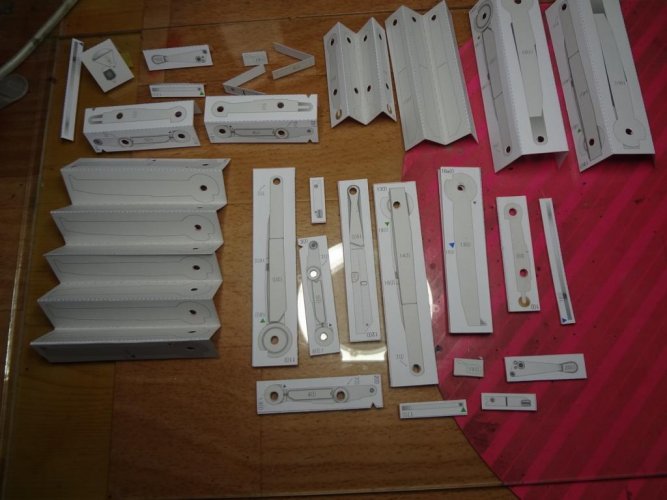
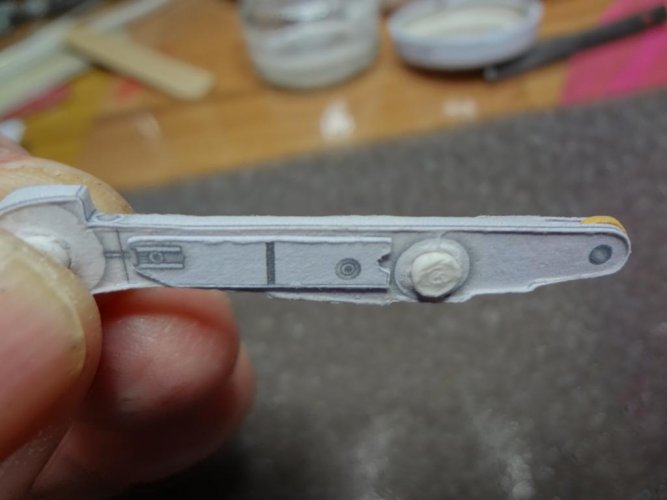
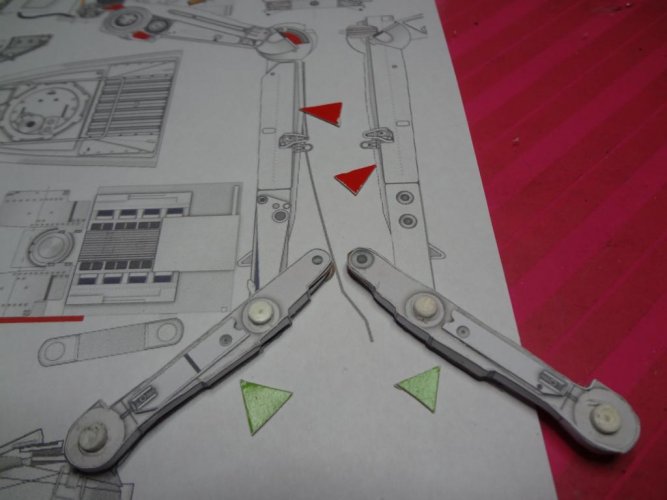
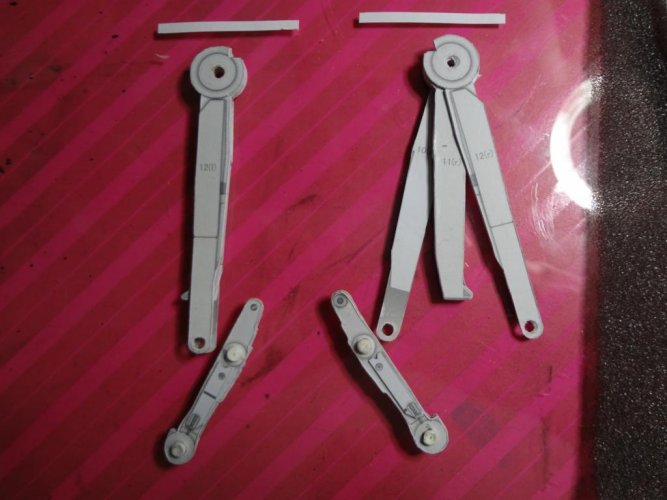
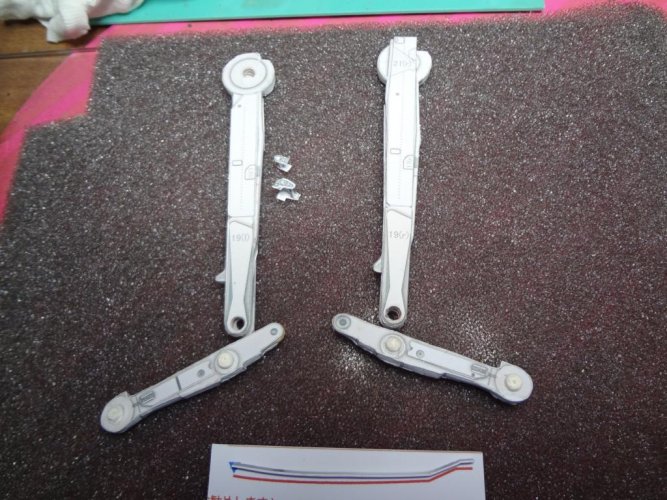
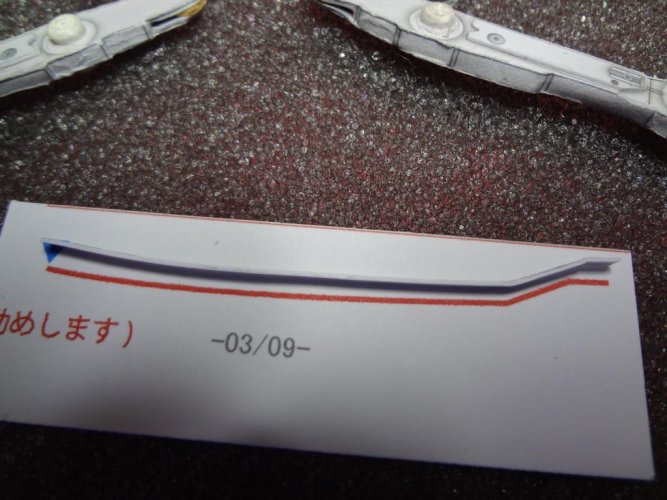
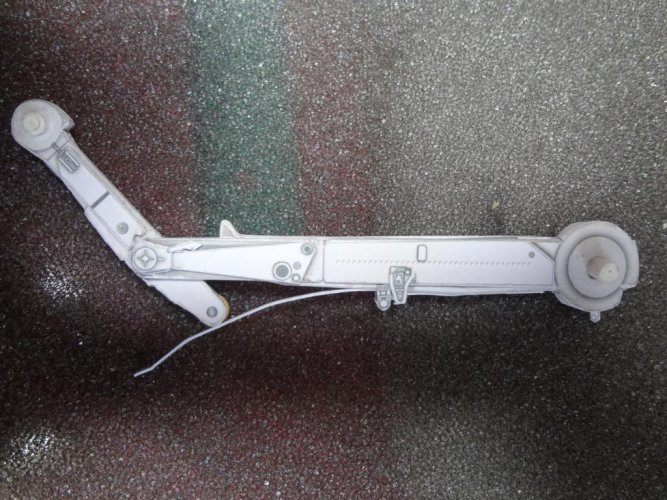
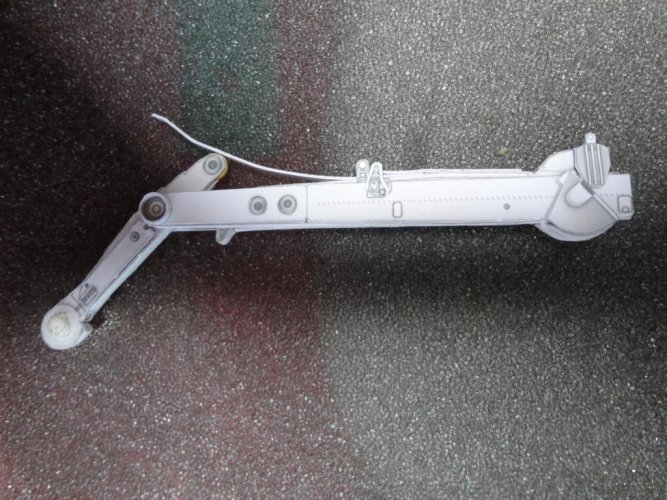
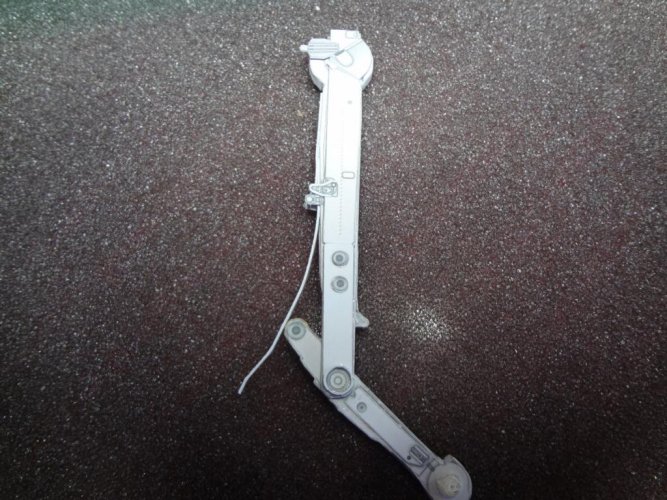
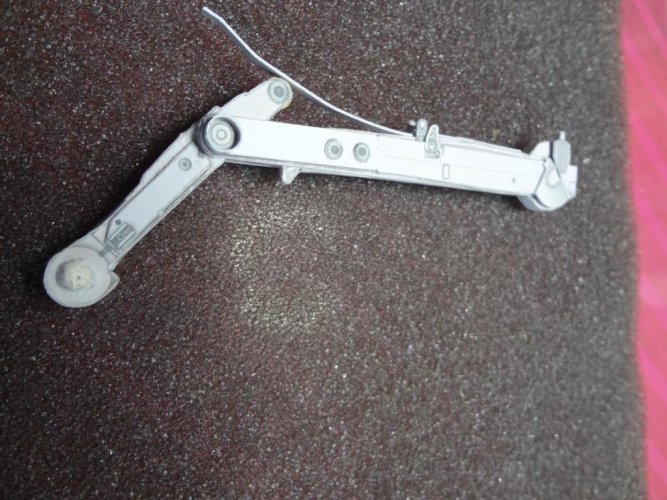
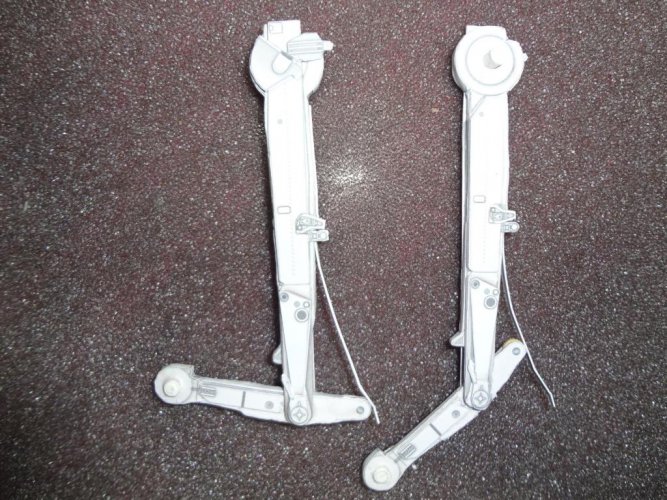
The legs are now finished, now it's time for the thighs (red arrow). I'm happy so far, it wasn't that easy.
The legs are now finished, now it's time for the thighs (red arrow). I'm happy so far, it wasn't that easy.
Attachments
-
 K1024_DSC04093.JPG175.9 KB · Views: 10
 -
 K1024_DSC04096.JPG93 KB · Views: 9
 -
 K1024_DSC04099.JPG59.9 KB · Views: 7
 -
 K1024_DSC04100.JPG183.2 KB · Views: 7
 -
 K1024_DSC04101.JPG125.9 KB · Views: 8
 -
 K1024_DSC04104.JPG185.7 KB · Views: 8
 -
 K1024_DSC04105.JPG184.3 KB · Views: 7
 -
 K1024_DSC04107.JPG173.4 KB · Views: 6
 -
 K1024_DSC04108.JPG175.5 KB · Views: 5
 -
 K1024_DSC04109.JPG159.7 KB · Views: 5
 -
 K1024_DSC04111.JPG210.3 KB · Views: 5
 -
 K1024_DSC04113.JPG154.7 KB · Views: 6
 -
 K1024_DSC04115.JPG87.7 KB · Views: 9
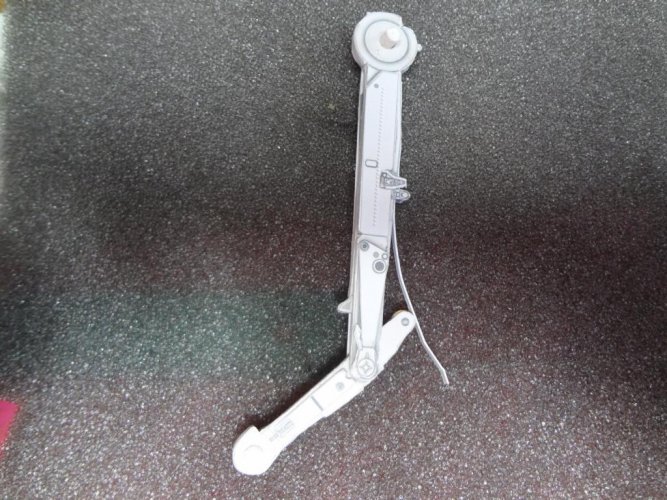
Yes, the legs are movable, as are the thigh that follows, the "standing feet" and the upper body.