You're not wrong there at all... Whilst I have complete awe at someone manging to produce and design a model, why on earth can't they produce some decent enough instructions!im glad to see it wasnt just me having some, er, 'clarification' issues with the instructions lol, that said, youre doing a fine job, looks great
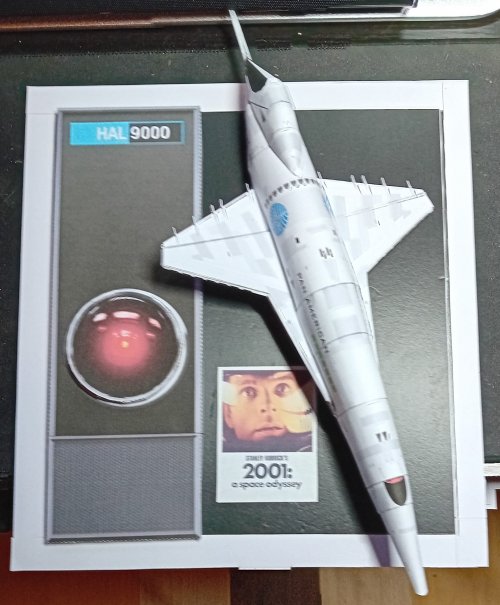
...and just by dry-fitting the engine pod just now, I think there could be a reason why there's no picture of the rear on the instructions!