VF-1 Valkyrie

Is there any real difference in the newer instructions?

I noticed the instructions file in the recently released VF-1S Minmay Guard package is not the same as the one for all other previous A/J/S .zips. Is there a real difference in the contents, or is it related to the raster-to-vector update? BTW the newer version is larger but doesn't compress so well.
 
Systematic Torture :P

Hello All,

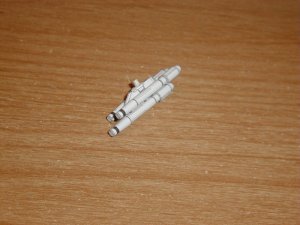
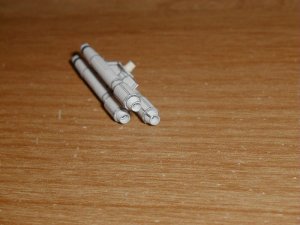
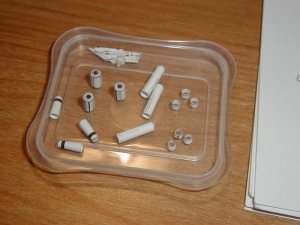
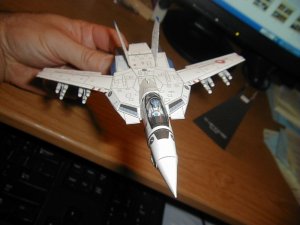
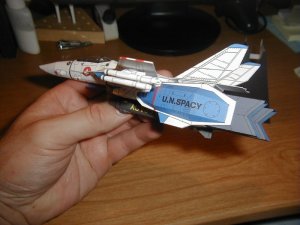
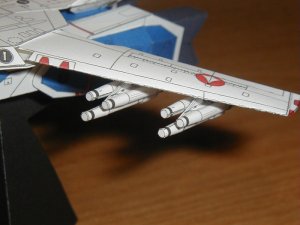
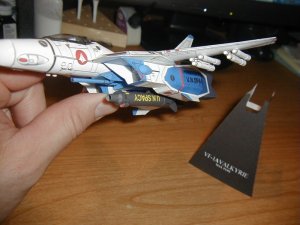
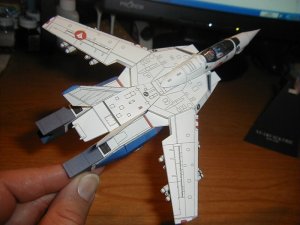
Building the last parts on the VF-1A Max, the triple missiles :P It's systematic torture :P

They're partsy but turn out great :D I also found that they are very hard to get looking right when printed on card stock so I printed them to construction paper and they were far easier to build that way.

I got one set made and another in it's final assembly stage. I have a 3rd cut out and read for making sub assemblies.

It's time consuming and for some strange reason I get terribly bored when bulding weapons (the GU-11 wasn't bad though), but I'm getting through it :P

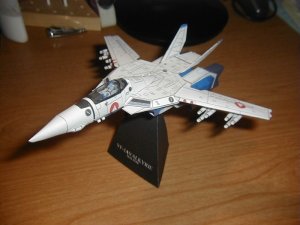
Enjoy the pics, hope to have the full monty up soon ;) I hope this does Master Shunichi proud :D

G1
 

Attachments

  • 05120001.jpg
    05120001.jpg
    153.5 KB · Views: 119
  • 05120002.jpg
    05120002.jpg
    156.6 KB · Views: 54
  • 05120003.jpg
    05120003.jpg
    139.2 KB · Views: 110
  • 05120004.jpg
    05120004.jpg
    119.1 KB · Views: 51
  • 05120005.jpg
    05120005.jpg
    153.5 KB · Views: 56
Hello All,

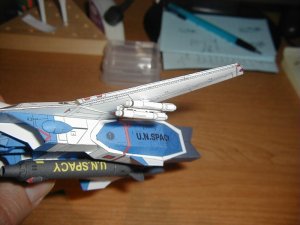
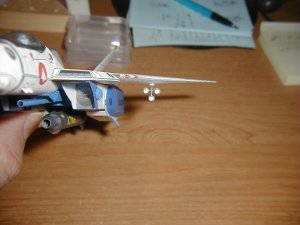
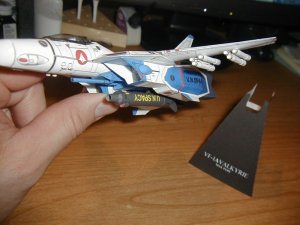
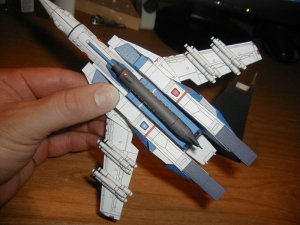
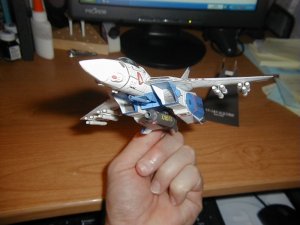
Got the missiles done last night. I still need to clear coat and glue down the canopy but for the most parts it's done :D

G1
 

Attachments

  • 05190006.jpg
    05190006.jpg
    146.1 KB · Views: 34
  • 05190001.jpg
    05190001.jpg
    160.8 KB · Views: 40
  • 05190003.jpg
    05190003.jpg
    131 KB · Views: 34
  • 05190004.jpg
    05190004.jpg
    122.8 KB · Views: 45
  • 05190002.jpg
    05190002.jpg
    140.7 KB · Views: 104
  • 05190002a.jpg
    05190002a.jpg
    130.5 KB · Views: 50
More pics.

Last one, hard at it on another quik color scheme ;)

G1
 

Attachments

  • 05190004.jpg
    05190004.jpg
    128.8 KB · Views: 48
  • 05190006.jpg
    05190006.jpg
    146.1 KB · Views: 48
  • 05190005.jpg
    05190005.jpg
    144 KB · Views: 43
  • 05160001.jpg
    05160001.jpg
    161.4 KB · Views: 42
Getter, two questions:

1. Which color scheme would that be in the picture?

2. What reference material are you using in that same pic?

Your model is absolutely unbelievable! Your canopy and the pilot are the details that put that model over the top!!!!
 
Hee hee,

1) The Scheme would be Jetfire form G1 Transformers :D

2) The ref. is screen shots of a comercial and design boards I found on Wikipedia while searching for pics of Jetfire.

Jetfire is in fact a Super VF-1S so I had to do the scheme ;) Almost forgot it to.....gasp!!! Blasphemy!!!

Thanks for the kind words to. I agree the cockpit, pilot (grats to Janx), and clear canopy just adds what these models needed ;)

G1
 
Beautiful

Ah! it is wonderful.
What a detailed work it is!
I am glad.

It is not good at English. I'm sorry.


Shunichi Makino
 
Mr. Makino,

I am glad you could join us here. I am also glad that you like the build :D

Your English is a lot better than my Japanese so no worries ;)

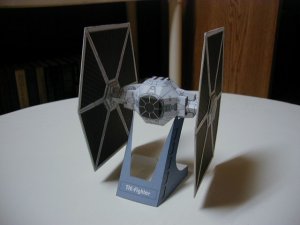
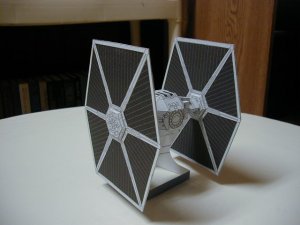
Don't think I ever said before but your TIE FIghter was my 1st paper model.

G1
 

Attachments

  • model pics 032.jpg
    model pics 032.jpg
    48.7 KB · Views: 28
  • model pics 033.jpg
    model pics 033.jpg
    52.6 KB · Views: 24
Wow ... now your attracting other artists.

Awesome!

ps. great pictures of your build. omfg I want so much to build this now.
 
G1 i am not sure if this has been covered already or not what paper weight and tools are you using to do these. i am fairly new to the papercraft hobby and dont quite know all this stuff yet. and on the wing thickness the instructions say to use a strip of paper but it looks like you would need several strips to create the proper thickness, would a sanded down popcicle stick also work?
 
That looks fantastic Getter1.

I can hopefully stop soon, just a few more schemes to go.

Makino san Domo arigato for your inspiration and design. The Atst was one of my first paper models.
 
G1 i am not sure if this has been covered already or not what paper weight and tools are you using to do these. i am fairly new to the papercraft hobby and dont quite know all this stuff yet. and on the wing thickness the instructions say to use a strip of paper but it looks like you would need several strips to create the proper thickness, would a sanded down popcicle stick also work?

Wulf,

1st off the paper used is 65lbs. cardstock. I used construction paper for the Triple Missiles as the cardstock was giving me alignment fits trying to roll so tight for the paper weight. The canopy was printed on regular printer paper to reduce the thickness. I actually made a whole page of canopy frames to print on regular paper to save from double printing a page of parts when I only need a few of em :P Too bad I did that after I already did Max's canopy as I added pilot names to the canopy frames :(

For tools *(Take notes, Getta-Tricks ahead)*,

Small Metal Ruler - for cutting and scoring parts.

Stylis - for scoring parts. Note I score fold lines before I cut anything out.

X-Acto Knife and Good Scissors - for cuting out parts obviously :P

Needle Nose Pliers - for pressing seams tight to lock in alignment. I also use these to hold small parts along the fold lines and fold em using the edge of the pliers to keep the fold straight. I use a toothpick to aid in folds to. For small sections a toothpick can make the folding a lot easier and safer for the part. For many folds I even use the above method to sharpen the fold up producing a much cleaner fold. Bottom line Needle Nose Pliers are a must!

Various pens, markers, watercolor pencils, ect. - for edge coloring. Note for black edges try to use a gray marker instead of black. A couple passes with gray matches far better than one overpowering pass of black.

Lots of Toothpicks - What don't I use em for? I apply glue with em, I fold small parts with em, True up fold edges with em, on occasion they are parts or reinforcements for parts. When they are all gummed up with glue they become handy paint stirrers or stock for parts (such as landing gear struts for the Valks.). Toothpicks are like duct-tape man :D

Dowels and rods of various diameters - for rolling parts agianst to shape.

Sanding Films and paints - for hiding bad building technique :P Sometimes you can smooth out rounded areas for a more blended look and paint em.

Last but not least my favorite,

STICKY FINGERS - take an old toothpick and wrap a 2 inch piece of masking tape around on the "end" of the strip of tape on to itself. Then take the tape and wrap it onto itself sticky side out. Walla you got yourself a sticky finger for holding small parts to apply glue and for setting those pesky little parts in place. When the sticky is all messed up peel a bit off and walla it's refreshed :D

One word of warning on Sticky Fangas. For tiny delicate parts the finger's strength may be a bit too much. That can be remedied but rolling it in yoiur finger tips to lessen it's grip with the oil from your fingers.

Hope this helps :D

G1
 
Wulf,

Opps got into that list and I forgot to answer your ? bout the wings. use a strip of regular printer paper bout 1/4 inch wide. Glue half of it to the trailing edge of the wing. Before the glue sets up too much fold it over forming a tab on the back edge of the wing to attach the other side to. Why not just make a tab on the back side of one wing surface you say? You could do that but that's amatur (not trying to sound arrogant). The printer paper makes a much tighter seam. For the thickness the 2 layers of 65lbs. cardstock produces that thickness. The paper tab contributes very little but does some. If a tab was just extended off the back of the wing trailing edge it would produce too thick a trailing edge and may make alignment of the 2 surfaces off a bit.

These models can be as simple or as complex as you want em to be. Add whatever option parts you think you can handle and most importantly have fun :D

G1
 
can any one tell me which of the download file contains the pilot figure?

can any one also tell me how is the transparent windshield made?

it looks great
 
Marksolo,

The pilots have yet to be released by Janx. He's trying to catch up on a ton o stuff ATM so he's probably not thought bout it. Give him time, soon enough ;)

As for the canopy make a canopy witht he tabs on the outside. I used the canopy blank from the detail sheet. Fill the canopy with putty or filler (I used 5 min. epoxy myself). When the filler has dried soak the paper canopy off in a glass of water. Sand down the mold to remove the bumps fromt he paper seams. Sand it down as fine as you can. Mount the mold on a dowel or something and heat a piece of plastic (I used a piece of a battery pak) over a candle. When it begins to sag quickly plung the plastic over the mold and let cool. Trim it up and walla you're done ;) There are several ways to do this other than how I described but I found this method the easiest so far.

G1
 
Thanks for the info Getter1

I already have tons of Macross toys, but these will be my most prized collection (when i get there, that is)

:thumb: