Union Pacific BIG BOY 4-8-8-4 1/25 Scale (Engine)
- Thread starter kooklik
- Start date
You are using an out of date browser. It may not display this or other websites correctly.
You should upgrade or use an alternative browser.
You should upgrade or use an alternative browser.
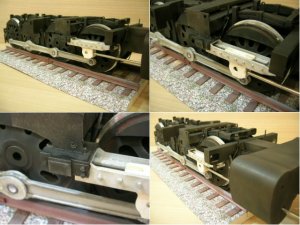
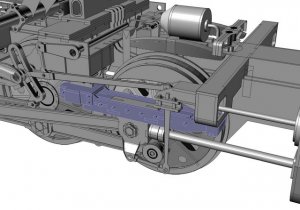
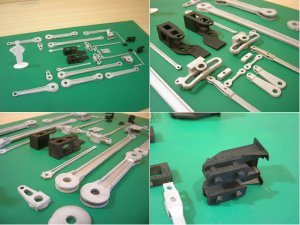
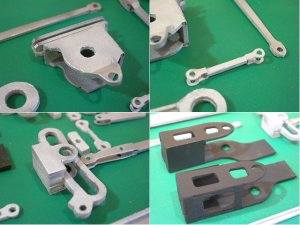
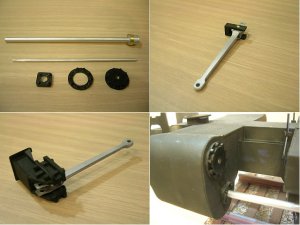
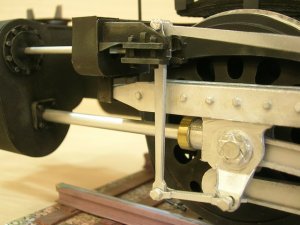
Painted Guide with aluminium color and the Guide Holder in flat black. And continued to build Cross Head. I have not painted yet. I checked aligment and its slideability. I inserted a stainless shaft through the cylinder's holes straight to the Cross Head to check their centering. All are OK as in the 3D model.
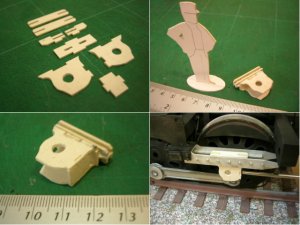


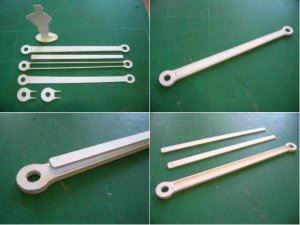
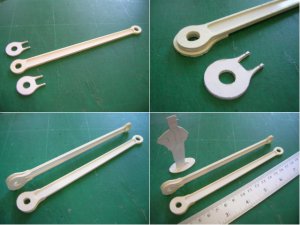
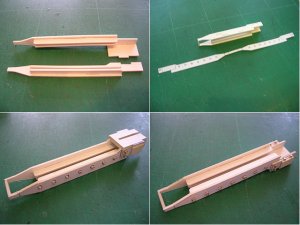
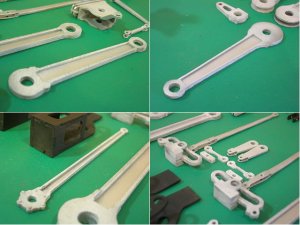
Main Rod:
1. Cut along for all parts but do not throw away the inner piece of frame (the biggest cardboard part).
2. Remove the inner piece and glue the bonding surface. (Spray glue is recommended)
3. Put the inner piece back to the frame.
4. Paste the frame to the thin frame (190 grams piece) and press all surface with a flat plate. The inner piece keeps the frame shape when assembly.
5. Remove the inner piece.
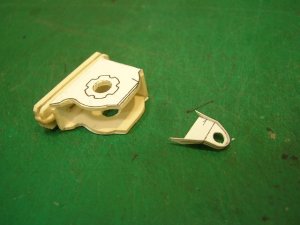
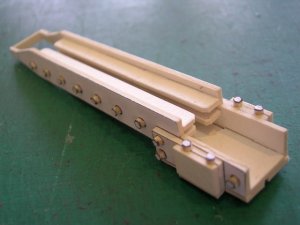
6. Assemly the Joint Reinforcement pieces (the smaller cardboard pieces)
7. Fillet out the corners with knife.
I avoid to use sand paper to the surface. It makes rough surface and not good for painting.


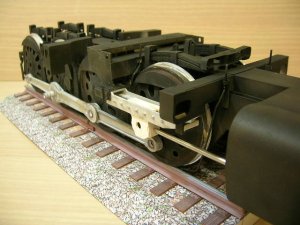
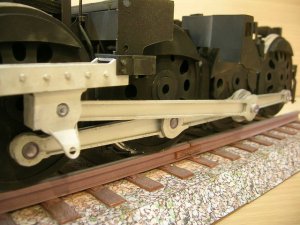
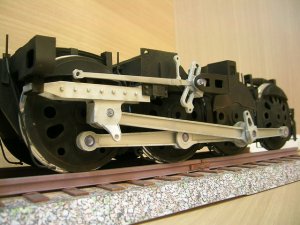
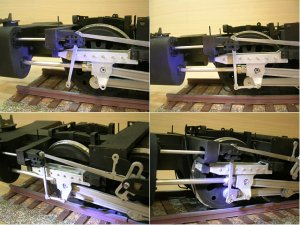
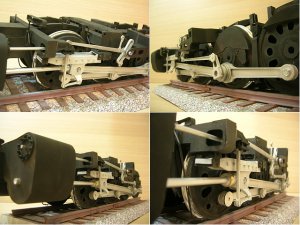
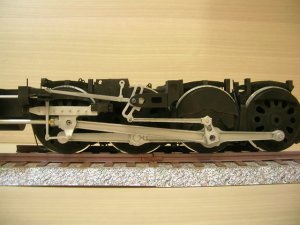
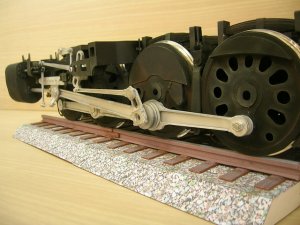
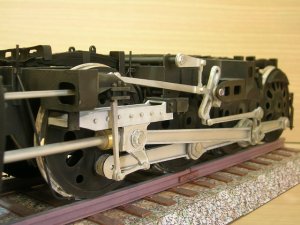
The cross head was completed. I want to see how the engine looked like when the main rod is set to. The rod holes and aligment with the cross head is OK. It seems no crashing with other wheels' joints. He's going to be a really operatable looking machine. I love to watch him and wanna share here.
----kooklik----

----kooklik----


Thank you 4x4paper I'll use this tip for other smaller rods too. I'll have a report soon. Now I am unrolling other smaller rods and links.
Cheers
----kooklik----
Cheers
----kooklik----
E
ekuth
Holy @#$ !!!
That will be an awesome model when your done !!!
What kind of card board are you using ?? Did you it getting from a craft store ??
And Is this a personal build or do you plan on a release ??
That will be an awesome model when your done !!!
What kind of card board are you using ?? Did you it getting from a craft store ??
And Is this a personal build or do you plan on a release ??
The cardboad is made of bagasse. I don't know the English name. It's a material for most of architechture model building in my country.
For the plan to release is still far away. It may take 1.5 y from now , still long But I'll release in sections. Total 4 , Tender , Front Engine , Back Engine and Boiler+Cab.
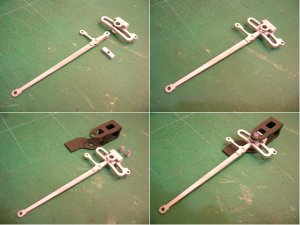
For the plan to release is still far away. It may take 1.5 y from now , still long


For the plan to release is still far away. It may take 1.5 y from now , still longBut I'll release in sections. Total 4 , Tender , Front Engine , Back Engine and Boiler+Cab.
I thing some pre cut parts will make this model more attractive :thumb:
i figure it would be a long build , just from the look of it size wise ..
i will look in to that cardboard , Its look stronger then the form board they sell, And after awhile it bends
i will look in to that cardboard , Its look stronger then the form board they sell, And after awhile it bends
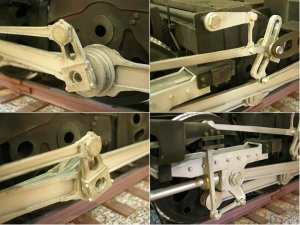
Your build/rebuild of the drive gear is astounding! Such a complicated piece of gear and you have broken it down in such a way that I can (almost:mrgreen understand it. Is it my imagination or are the drive rods and main rods stronger/more robust than they were?
O
oklacnw
O



 Rick
Rick