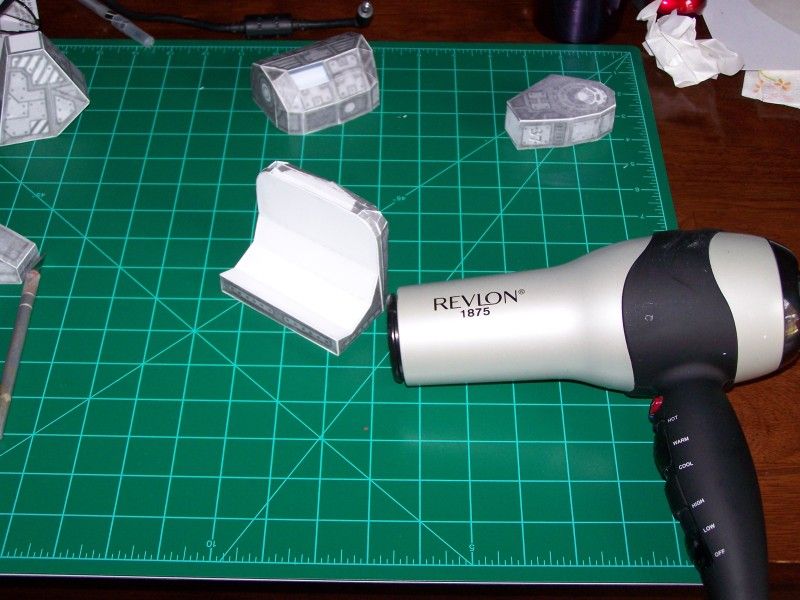
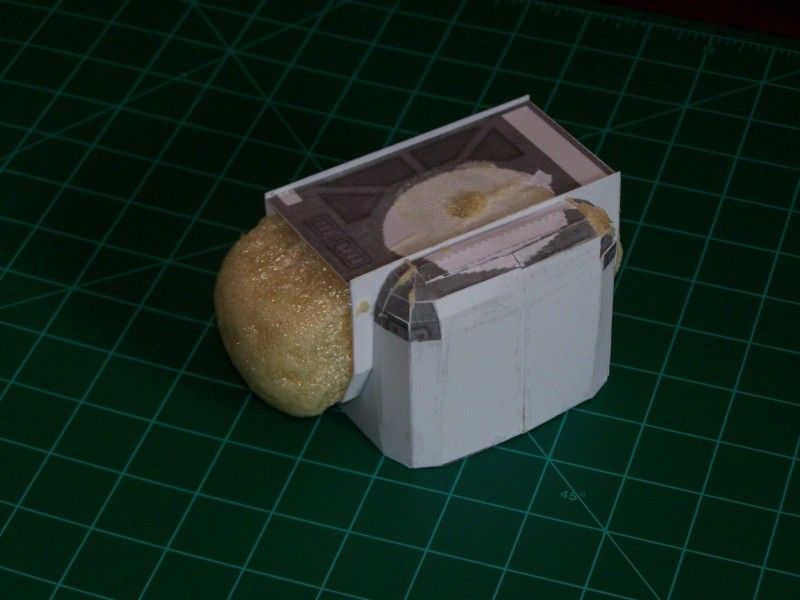
After posting pics of my stuff, I have had a few requests for a tutorial on making plastic models out of paper plans. Now, I have only done this with Battletech mechs but this process should be usable on other designs.
One of the biggest things to remember is that the plastic you work with is often much thicker than cardstock paper and this additional thickness can cause some scale/fit problems.
Please keep in mind, I have only been doing this a short time. The Mackie is only my 3rd attempt using this method. There are others who do this and may have other methods or ideas....this is just my variation.
First, I scale the subject (found here) in Pepakura:
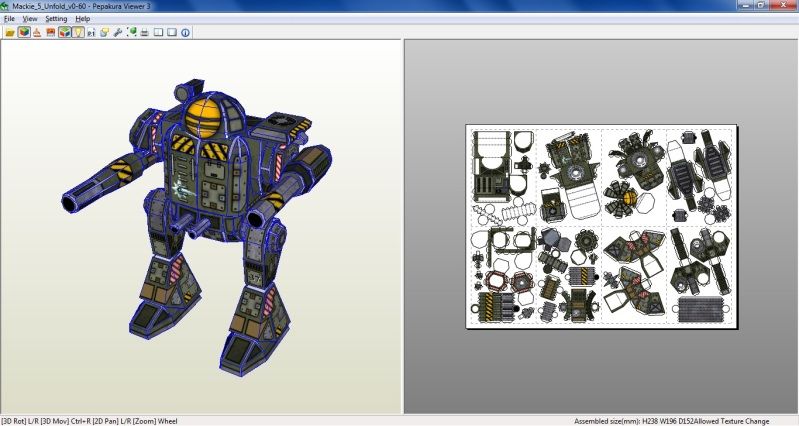
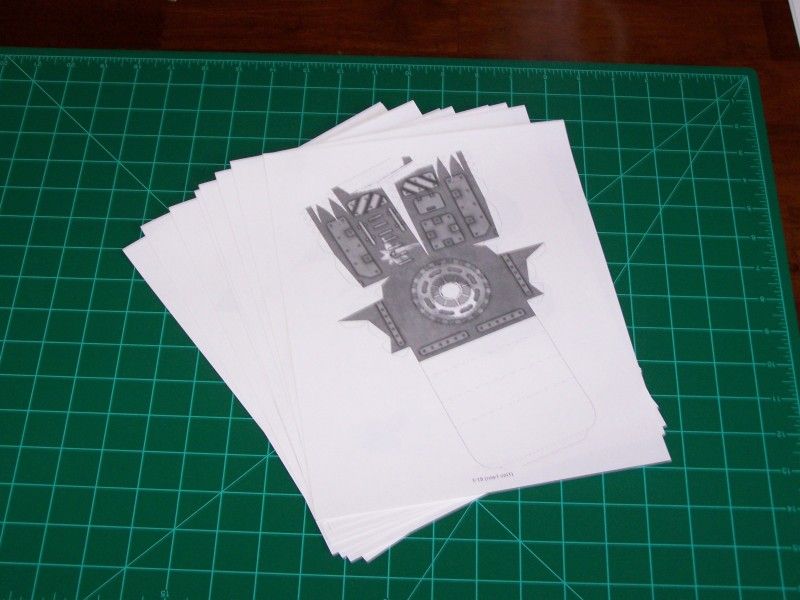
Once I have done this, I print it out on my laser printer on full sheet sticker paper.
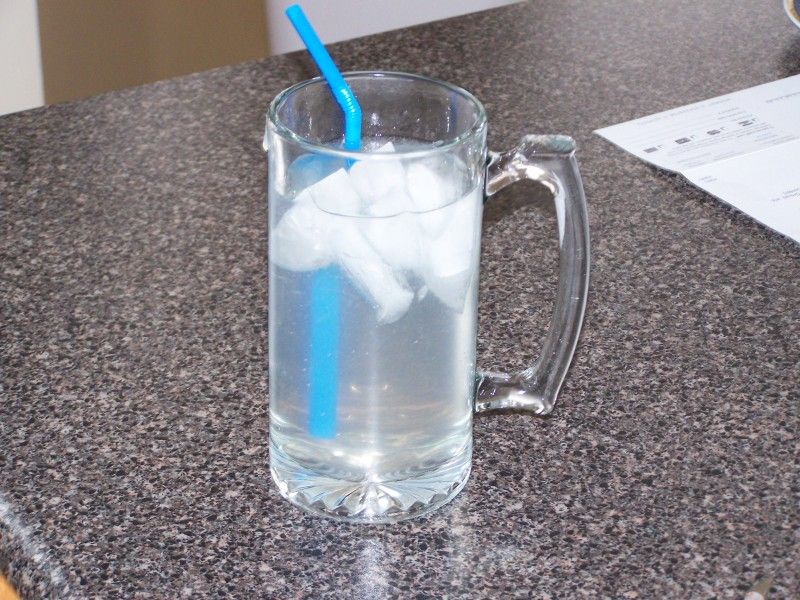
Now comes the tedious part....but first, a beverage is in order. In my case 64oz of gin and tonic with lime. :twisted:
Cut-out the individual pieces that are printed on sticker paper. Just a rough shape is fine.
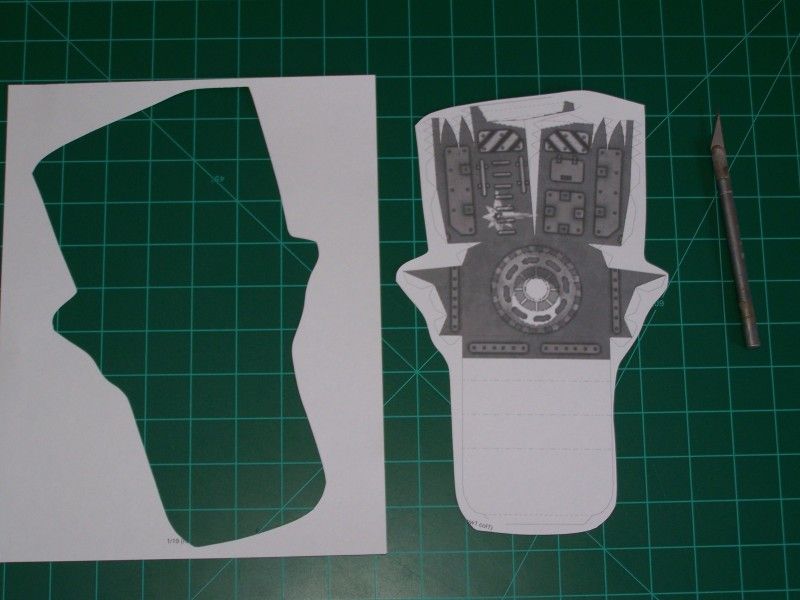
Then, peel off the image and stick it to a large sheet of styrene. Normally I use 0.40 thickness, however I think I overscaled the Mackie so this time I went with 0.20. This is a little thin and is not as rigid as I like. I use large sheets of styrene that I purchased in bulk here.
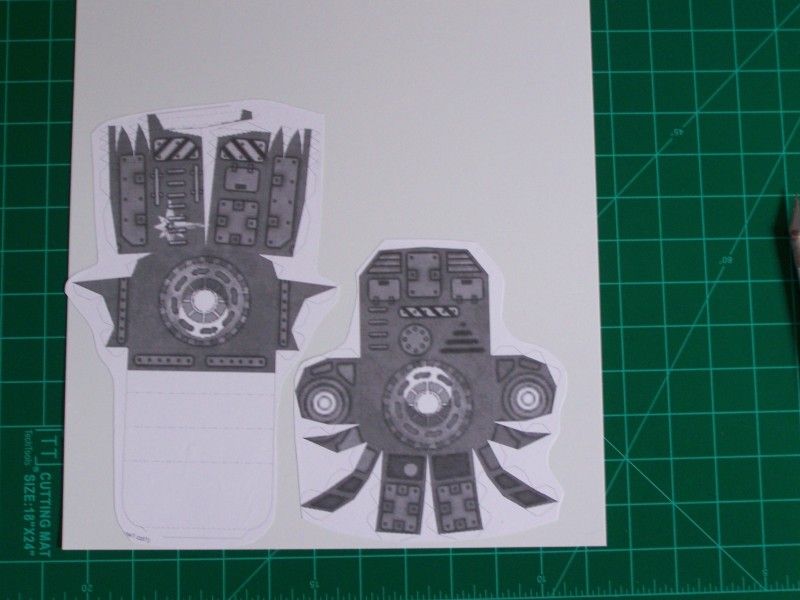
Now, pull out your ruler and start cutting. Personally, I cut the tabs off. I find for my version of this process, they get in the way.
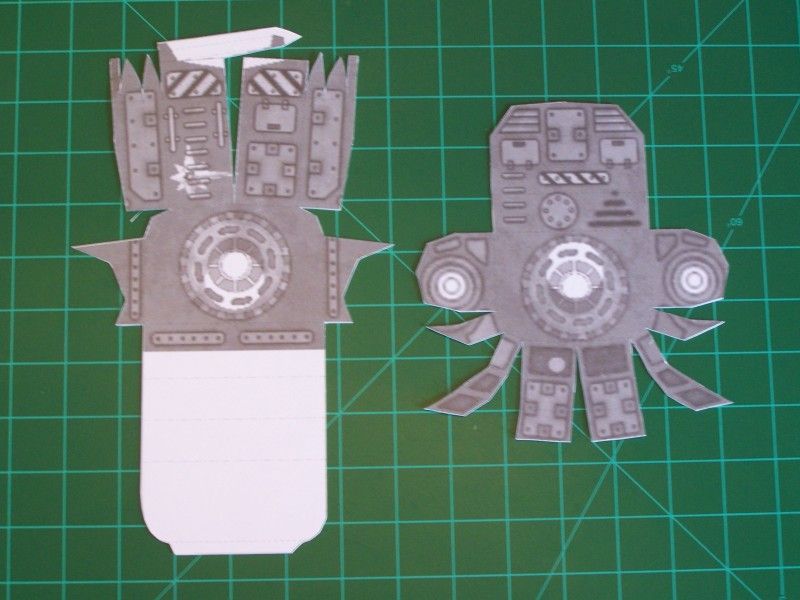
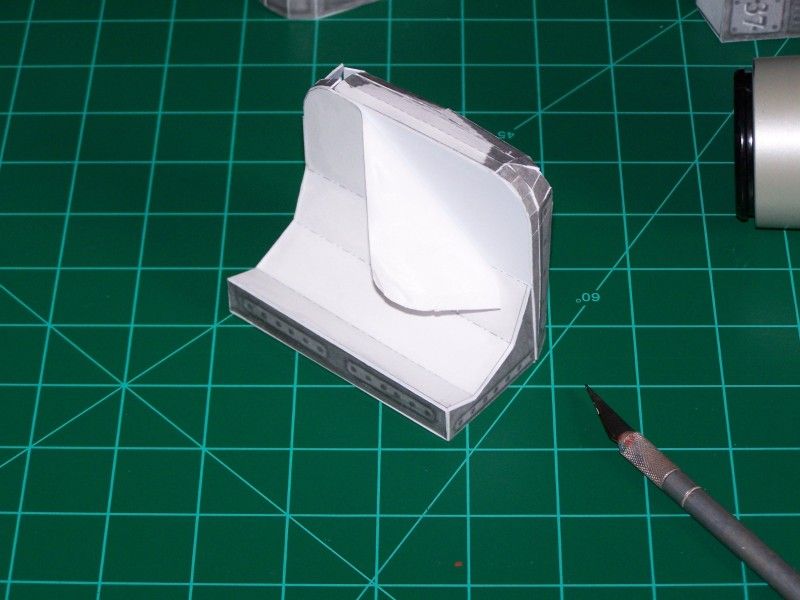
Score along the lines just as you always would and begin folding. Now, you may wonder about assembly without tabs. I use a liquid glue that bonds plastic to plastic in about 30 second.
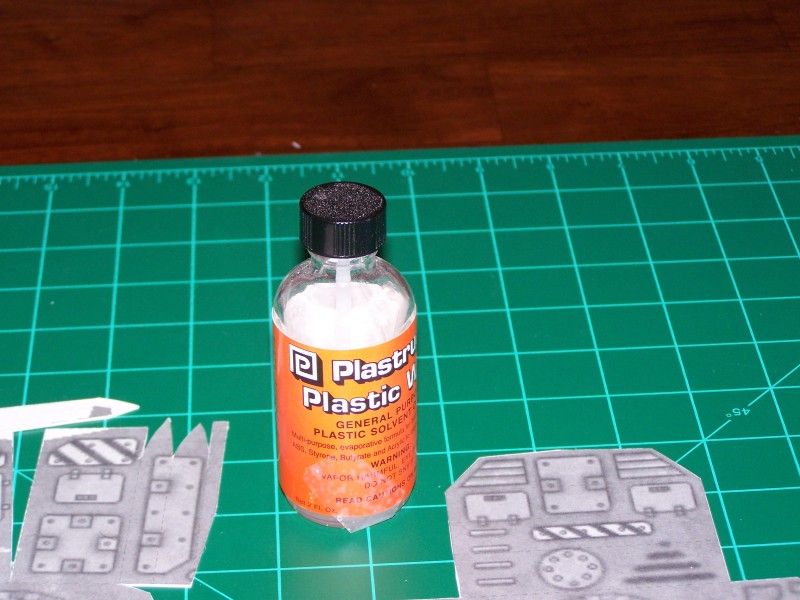
So, score and fold and score and fold. I hold the pieces together and add just a drop of glue. It holds the plastic together quickly.
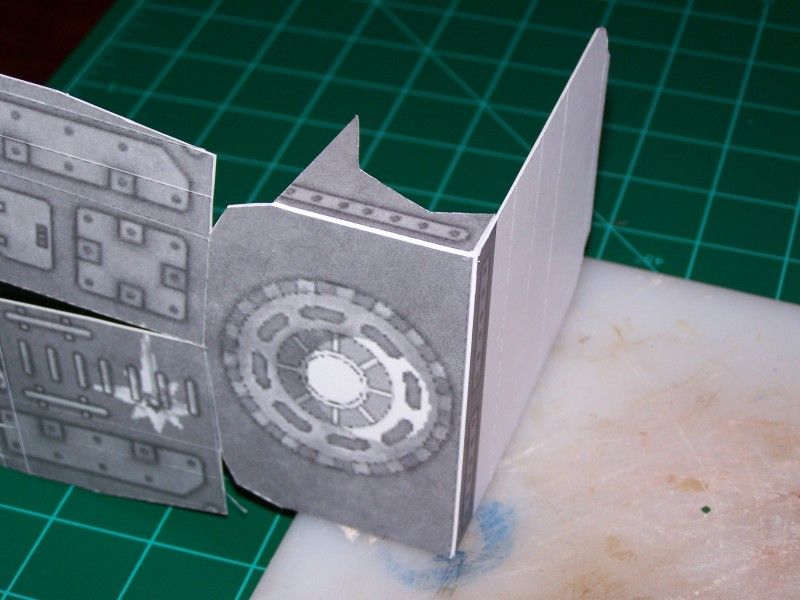
I had mentioned that I am using 0.20 styrene for this build which is a little thin. Fear not...as you all know, there are lots of scraps. In this case, not paper but plastic and I will use that to reinforce seems from the inside.
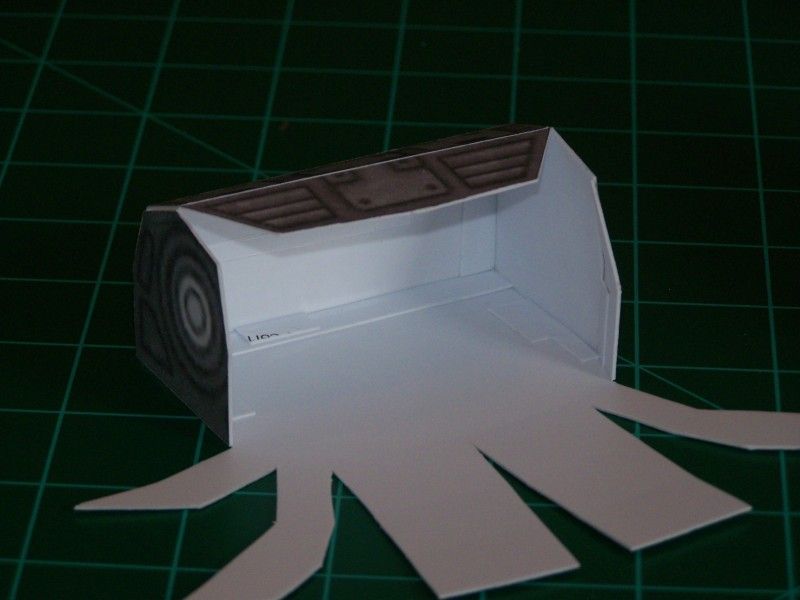
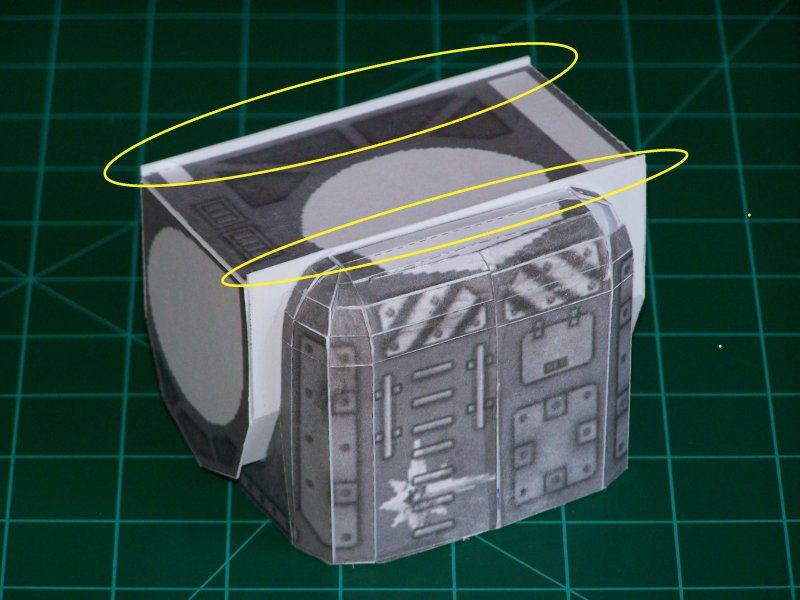
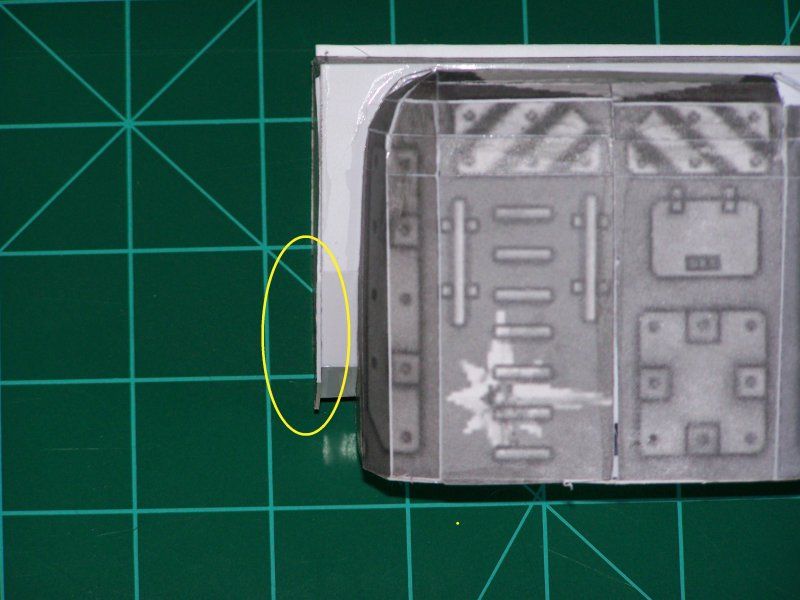
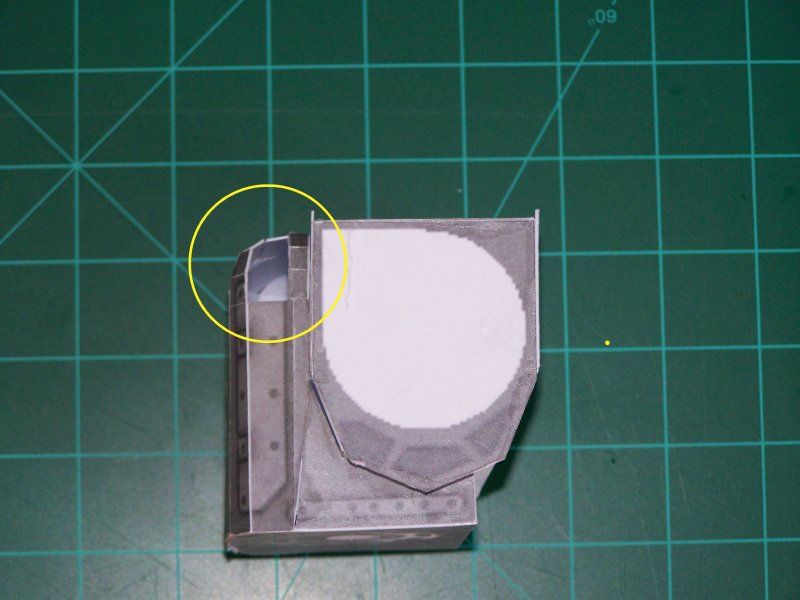
Now, the Mackie has some curved areas. Make sure you "bend" these before you start gluing or it will cause issues down the road. I keep various size round dowels around to curl the plastic like I would ribbon. Unfortunately, as you can see in the pic below I forgot to do this on the top of the torso (may have been the second drink) so I had to use tweezers to hold and bend. :cry:
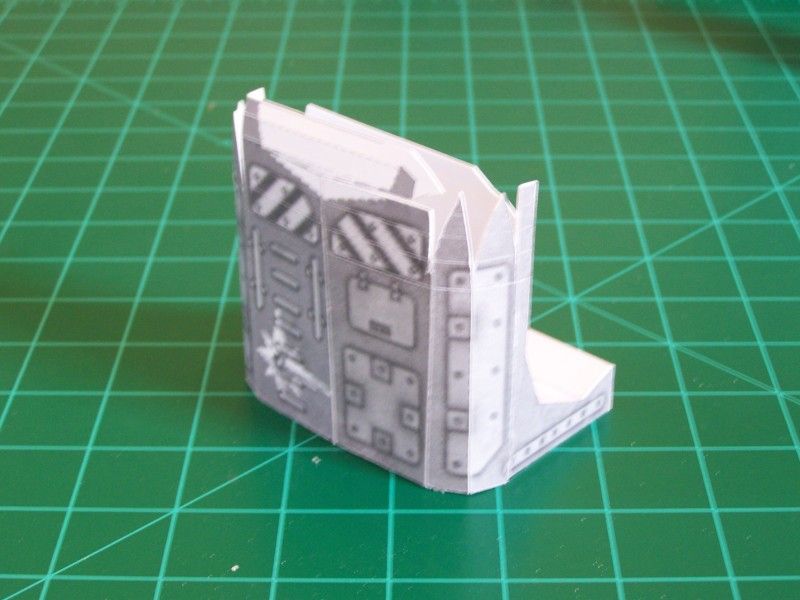
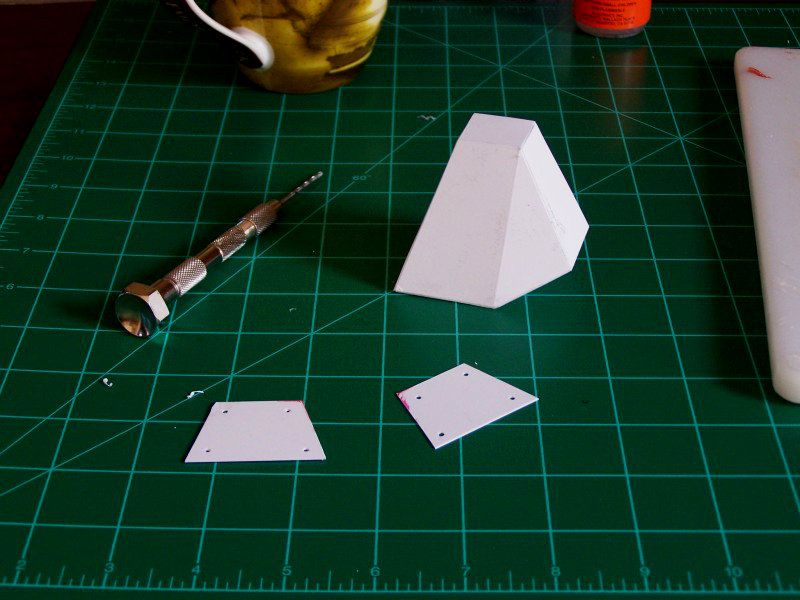
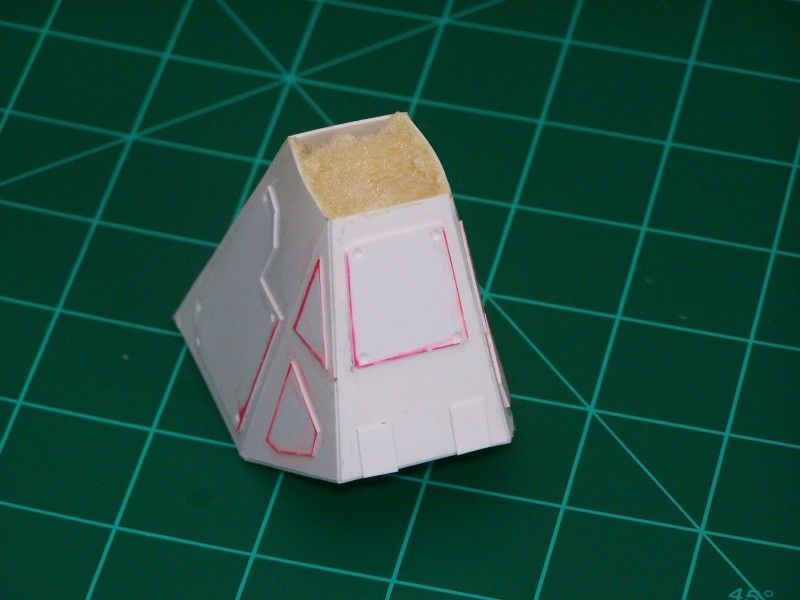
Finally, after just a few hours I have a leg, hip section and front of the torso.
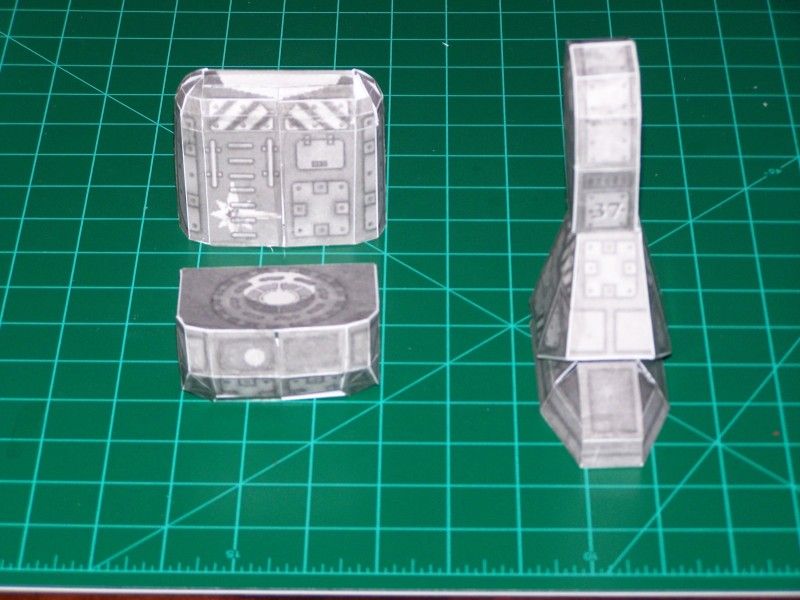
At this point, I will take the liquid glue and go back over all the seems, just to make sure everything is glued nice and tight.
Next up: Removing the stickers and adding more detail with styrene.
One of the biggest things to remember is that the plastic you work with is often much thicker than cardstock paper and this additional thickness can cause some scale/fit problems.
Please keep in mind, I have only been doing this a short time. The Mackie is only my 3rd attempt using this method. There are others who do this and may have other methods or ideas....this is just my variation.
First, I scale the subject (found here) in Pepakura:

Once I have done this, I print it out on my laser printer on full sheet sticker paper.

Now comes the tedious part....but first, a beverage is in order. In my case 64oz of gin and tonic with lime. :twisted:

Cut-out the individual pieces that are printed on sticker paper. Just a rough shape is fine.

Then, peel off the image and stick it to a large sheet of styrene. Normally I use 0.40 thickness, however I think I overscaled the Mackie so this time I went with 0.20. This is a little thin and is not as rigid as I like. I use large sheets of styrene that I purchased in bulk here.

Now, pull out your ruler and start cutting. Personally, I cut the tabs off. I find for my version of this process, they get in the way.

Score along the lines just as you always would and begin folding. Now, you may wonder about assembly without tabs. I use a liquid glue that bonds plastic to plastic in about 30 second.

So, score and fold and score and fold. I hold the pieces together and add just a drop of glue. It holds the plastic together quickly.

I had mentioned that I am using 0.20 styrene for this build which is a little thin. Fear not...as you all know, there are lots of scraps. In this case, not paper but plastic and I will use that to reinforce seems from the inside.

Now, the Mackie has some curved areas. Make sure you "bend" these before you start gluing or it will cause issues down the road. I keep various size round dowels around to curl the plastic like I would ribbon. Unfortunately, as you can see in the pic below I forgot to do this on the top of the torso (may have been the second drink) so I had to use tweezers to hold and bend. :cry:

Finally, after just a few hours I have a leg, hip section and front of the torso.

At this point, I will take the liquid glue and go back over all the seems, just to make sure everything is glued nice and tight.
Next up: Removing the stickers and adding more detail with styrene.


