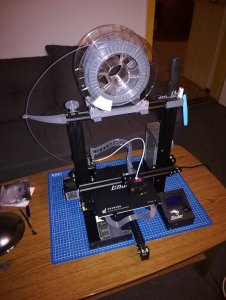
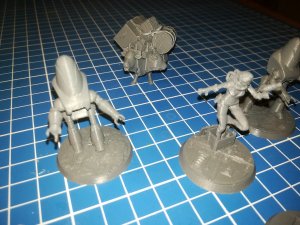
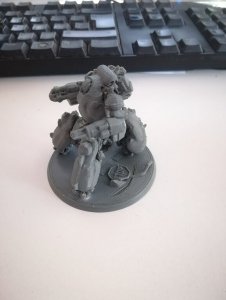
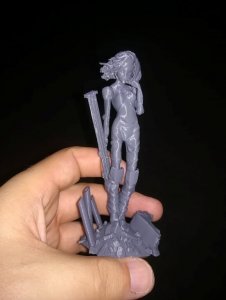
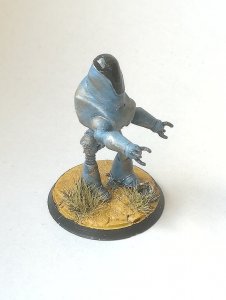
WOW! It is already October, I got myself a Creality Ender 3 around April but never got around to write my experiences. Better later than never I guess ...
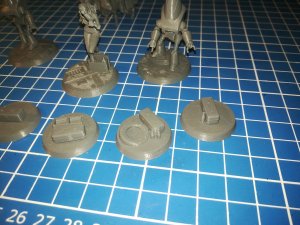
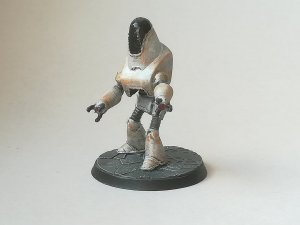
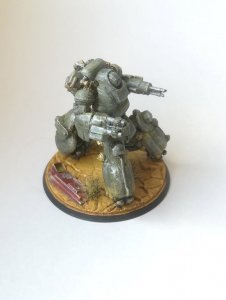
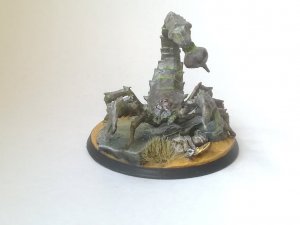
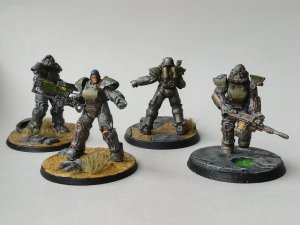
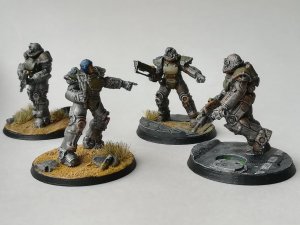
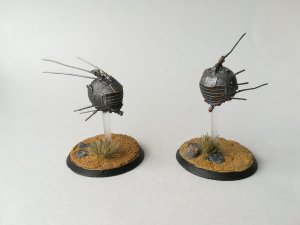
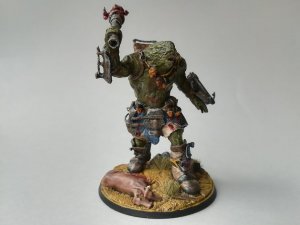
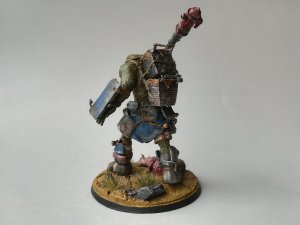
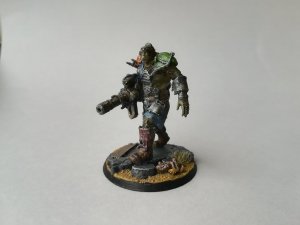
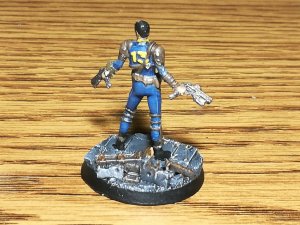
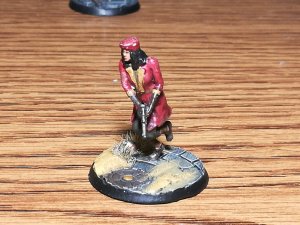
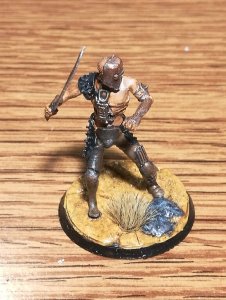
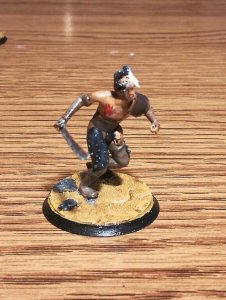
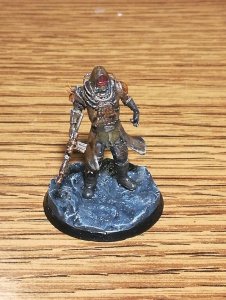
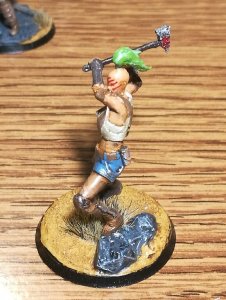
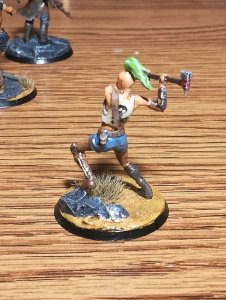
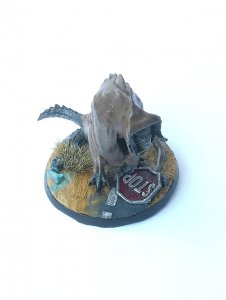
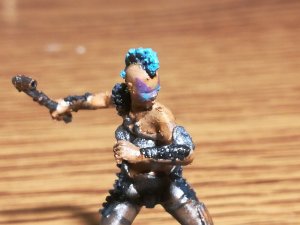
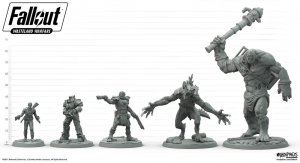
A little history: Me being a big Fallout fan I just had to try out the new Fallout based Board and war games that came out last year. one of them being Fallout Wasteland Warfare. The game I liked, I don't get to play it often, but it did get me infected with collecting minis, and making terrain. The thing being, those things are expensive for something I barely get to play, BUT around the same time my co-workers got into 3D printing, and after I asked them to please print a few small tokens and generally talking about 3D printing I decided this sounds Intriguing.
Choosing the printer: Everywhere I looked and asked which printers are good two names came up Prusa and Ender. Prusa, being a not-too-expensive and overall good machine, and Ender being a really cheap one that can do wondrous things with some love. Me being the cheapskate I am, and just wanting to dip my proverbial toe in 3D printing, choose to go with Ender 3. ... Ok, there were other reasons too. Most of my co-workers had Ender-3s as well, as a lot of information and a big community around this particular printer. At the time of me buying it, there was the standard and the pro edition available. Checking the community my take on the two models was that the pro is nice but most of the small upgrades can be printed afterward, and me being a cheapskate I went with the standard edition.
IT ARRIVES:
The package got here without a hitch and I could start assembly, there are a lot of videos how to do it online, but I found this one really informative and it had some nice pro tips, I haven't seen anywhere else. One thing my co-worker advised is to dump the factory firmware and install Merlyn on my printer first thing I can and Install Marlin instead.
Flashing a 3D printer is a bit more complex, especially since the viring and exact steps depend on what kind of board you use to do it, also for Marlin you have to compile it yourself on a PC. There are online tutorials for it, just have to find one for your board. I used a borrowed USBASP for it but I've seen it done with a few kinds of Arduinos as well.
First prints:
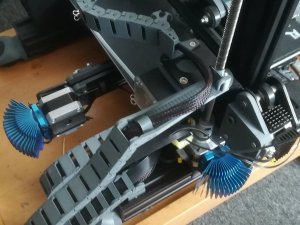
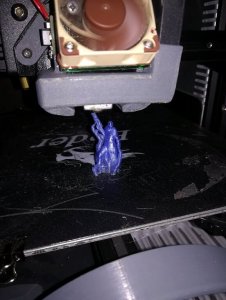
After I finally got it to print something, I've started to print upgrade parts. I eventually wanted to print terrain and minis, but for learning how to do things upgrade parts are fun. They can be ugly but still function, so I thought they are the optimal baby steps I can take. I've started with grey PLA and the stock 0.4 mm nozzle.
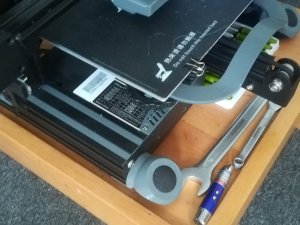
The printer came with a plastic build plate that is fixed to te heated bed with paper clips of all things (LOL), I borrowed a glass plate because everyone said glass+glue is far superior .. well after trying out all kind of glues I remained with my stock build plate. for PLA it was much less hassle and worked as good as the glass+purple glue combo. Glass is very good to make the contact surfaces smooth, but for my prints, that's usually not an issue.
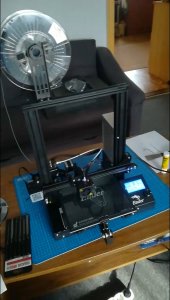
So the first things I've printed:
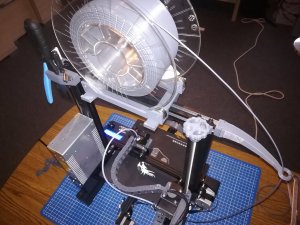
- A knob to the end of the Z axis because it is a greased screw and it was inconvenient to move it at the base near the motor.
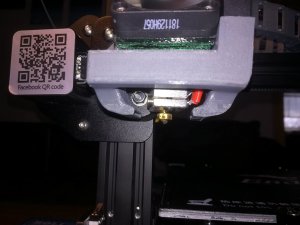
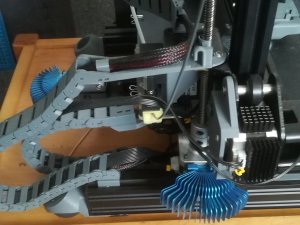
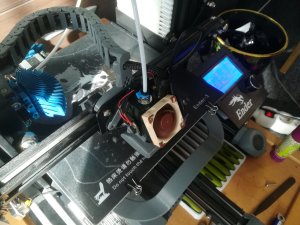
- An O shaped part cooler because the stock one seemed a bit wasteful*
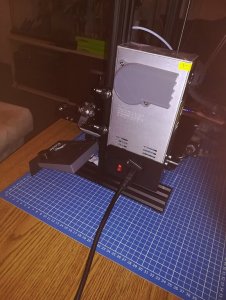
- A fan cover for the mainboard fan, to prevent it from sucking in junk from the build plate. (the pro has the mainboard box flipped just to fix this issue)
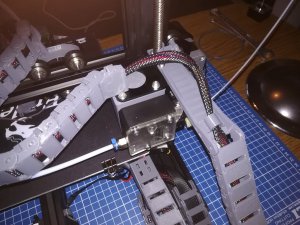
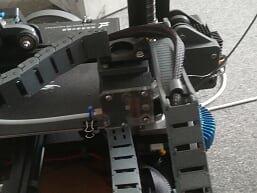
- Some cable clips, because the Ender 3 has cables going all over, my OCD was going
- A back cover for the LCD because I dislike electronic boards in the open
- A tool holder for obvious reasons
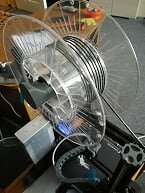
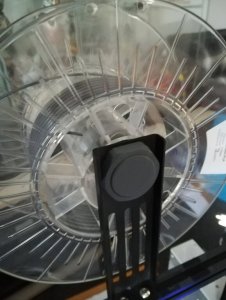
- Filament guides
* a part cooler is the blower fan on the side of the hotend that cools hot plastic as it leaves the nozzle so it hardens where the printer put it.
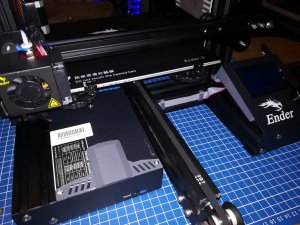
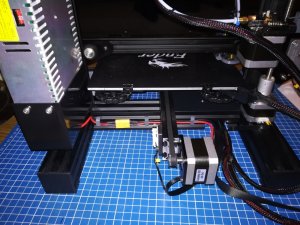
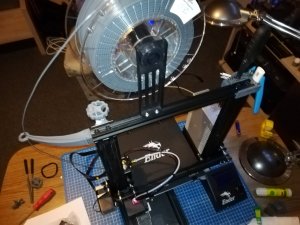
Next up quality problems, upgrades and more cable management ...
....And yes I am hijacking Scott's thread title
A little history: Me being a big Fallout fan I just had to try out the new Fallout based Board and war games that came out last year. one of them being Fallout Wasteland Warfare. The game I liked, I don't get to play it often, but it did get me infected with collecting minis, and making terrain. The thing being, those things are expensive for something I barely get to play, BUT around the same time my co-workers got into 3D printing, and after I asked them to please print a few small tokens and generally talking about 3D printing I decided this sounds Intriguing.
Choosing the printer: Everywhere I looked and asked which printers are good two names came up Prusa and Ender. Prusa, being a not-too-expensive and overall good machine, and Ender being a really cheap one that can do wondrous things with some love. Me being the cheapskate I am, and just wanting to dip my proverbial toe in 3D printing, choose to go with Ender 3. ... Ok, there were other reasons too. Most of my co-workers had Ender-3s as well, as a lot of information and a big community around this particular printer. At the time of me buying it, there was the standard and the pro edition available. Checking the community my take on the two models was that the pro is nice but most of the small upgrades can be printed afterward, and me being a cheapskate I went with the standard edition.
IT ARRIVES:
The package got here without a hitch and I could start assembly, there are a lot of videos how to do it online, but I found this one really informative and it had some nice pro tips, I haven't seen anywhere else. One thing my co-worker advised is to dump the factory firmware and install Merlyn on my printer first thing I can and Install Marlin instead.
Flashing a 3D printer is a bit more complex, especially since the viring and exact steps depend on what kind of board you use to do it, also for Marlin you have to compile it yourself on a PC. There are online tutorials for it, just have to find one for your board. I used a borrowed USBASP for it but I've seen it done with a few kinds of Arduinos as well.
First prints:
After I finally got it to print something, I've started to print upgrade parts. I eventually wanted to print terrain and minis, but for learning how to do things upgrade parts are fun. They can be ugly but still function, so I thought they are the optimal baby steps I can take. I've started with grey PLA and the stock 0.4 mm nozzle.
The printer came with a plastic build plate that is fixed to te heated bed with paper clips of all things (LOL), I borrowed a glass plate because everyone said glass+glue is far superior .. well after trying out all kind of glues I remained with my stock build plate. for PLA it was much less hassle and worked as good as the glass+purple glue combo. Glass is very good to make the contact surfaces smooth, but for my prints, that's usually not an issue.

So the first things I've printed:
- A knob to the end of the Z axis because it is a greased screw and it was inconvenient to move it at the base near the motor.
- An O shaped part cooler because the stock one seemed a bit wasteful*
- A fan cover for the mainboard fan, to prevent it from sucking in junk from the build plate. (the pro has the mainboard box flipped just to fix this issue)
- Some cable clips, because the Ender 3 has cables going all over, my OCD was going
- A back cover for the LCD because I dislike electronic boards in the open
- A tool holder for obvious reasons
- Filament guides
* a part cooler is the blower fan on the side of the hotend that cools hot plastic as it leaves the nozzle so it hardens where the printer put it.


Next up quality problems, upgrades and more cable management ...
....And yes I am hijacking Scott's thread title


