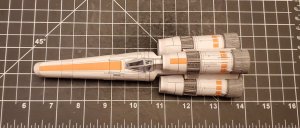
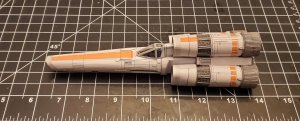
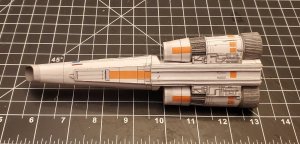
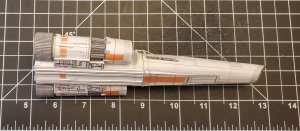
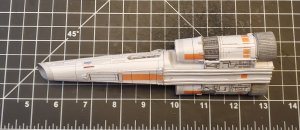
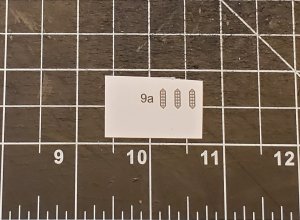
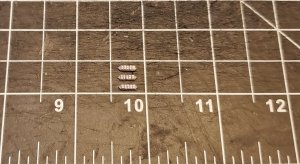
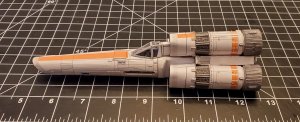
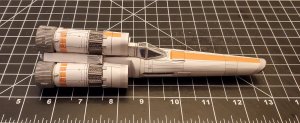
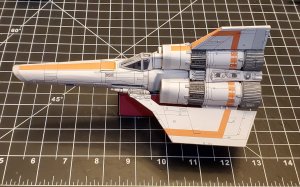
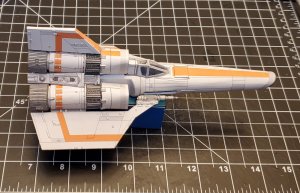
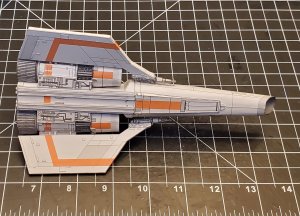
This time, the engines are the topic of this (long awaited) update. I started with the top engine (as it had a couple of added features that the other two do not).
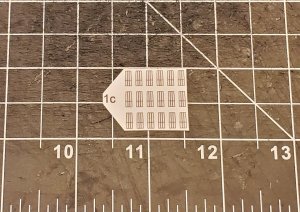
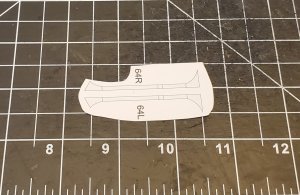
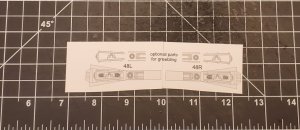
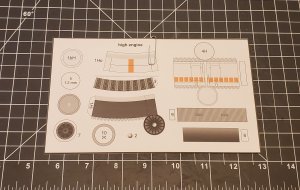
Here are the parts sheet for the top engine.
Starting with the intake. I louvered the "fans" and "domed" the center piece.
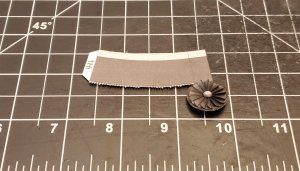
The outer skin of the intake is attached.
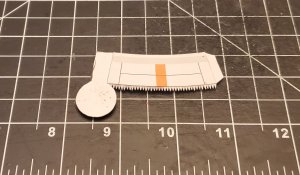
The intake is complete.
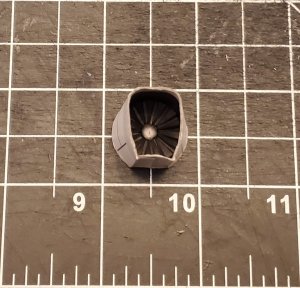
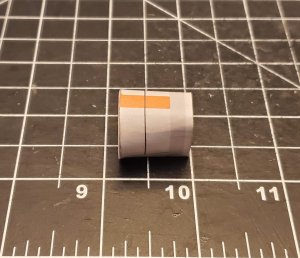
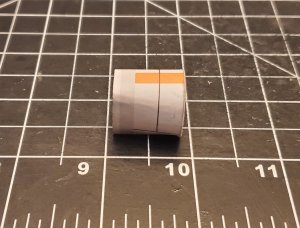
I started on the exhaust. The two parts of the outer skins are for recessing the rectangles.
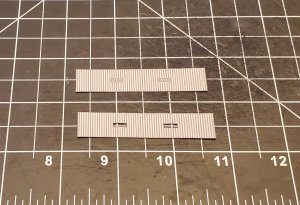
I raised the ribbing.
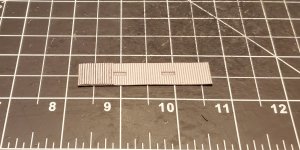
All of the ribbing is attached.
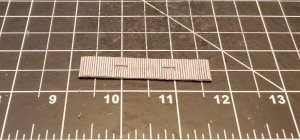
The outer skin of the exhaust is complete.
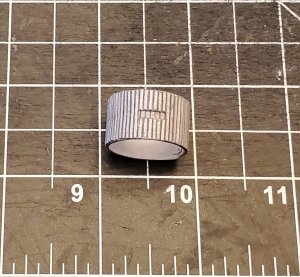
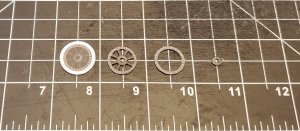
These ae the parts for the inside of the exhausts. I laminated the physical texture parts to (about) 0.5 mm.
The exhaust is complete.
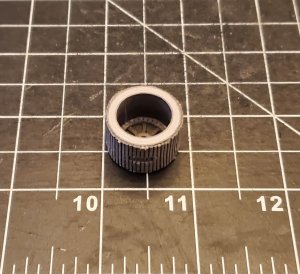
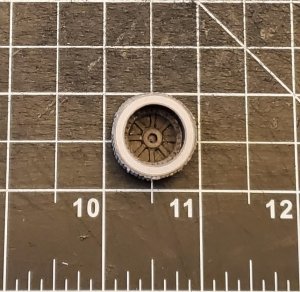
This is the assembled center (main body) of the engine.
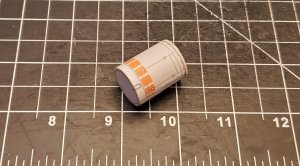
This is the assembled cone that goes between the main body and the intake.
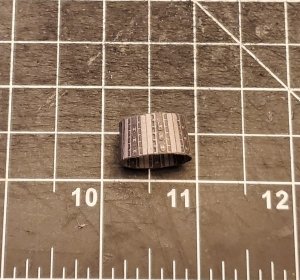
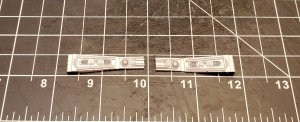
I raised the details and formed the straight pieces (that run the length of the piece) into "half-pipes".
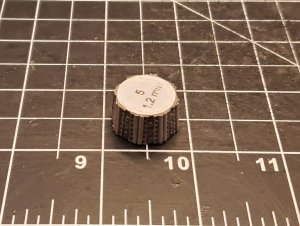
The cone piece is complete.
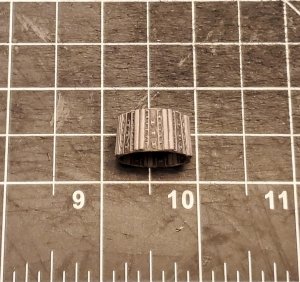
The engine is completely assmebled.
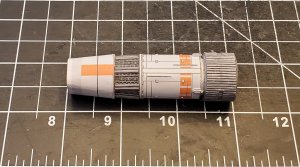
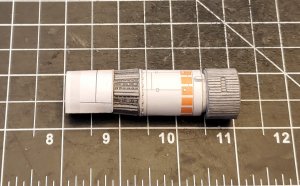
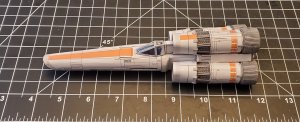
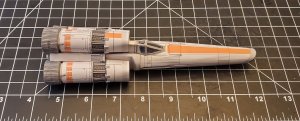
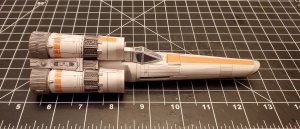
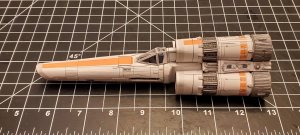
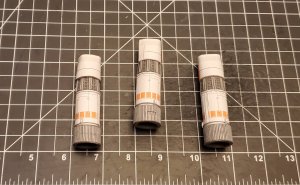
All three engines are assembled.
Here are the parts sheet for the top engine.

Starting with the intake. I louvered the "fans" and "domed" the center piece.

The outer skin of the intake is attached.

The intake is complete.


I started on the exhaust. The two parts of the outer skins are for recessing the rectangles.

I raised the ribbing.

All of the ribbing is attached.

The outer skin of the exhaust is complete.

These ae the parts for the inside of the exhausts. I laminated the physical texture parts to (about) 0.5 mm.

The exhaust is complete.


This is the assembled center (main body) of the engine.

This is the assembled cone that goes between the main body and the intake.

I raised the details and formed the straight pieces (that run the length of the piece) into "half-pipes".

The cone piece is complete.

The engine is completely assmebled.


All three engines are assembled.


