"toronto gosh!" said 3-P0 or "lets build an AT-AT"

Revell-Fan

Co-Administrator
Staff member
Administrator
Moderator
Aug 1, 2009
11,623
12,371
228
Vreden
A small amount of work and probably the last for a week as I need to file my tax return (Cue workbench being taken over by paperwork!)

Back plate of the walker dirtied up and streaked with fluid leaks with some paint and bottom rear-drive doo-da added.

View attachment 214265

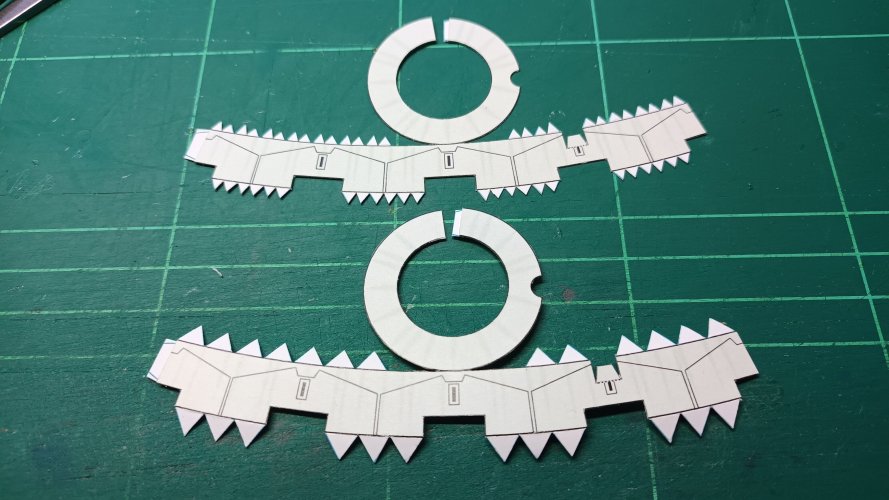
Rear plate greeblies sourced and ready for cut-n-crease duties
View attachment 214264

The underside was painted to remove all the printed writing/copyright details and bottom tubes added with some staining/weathering added.
More oil and dirtying up will be put on under here later on.

View attachment 214266

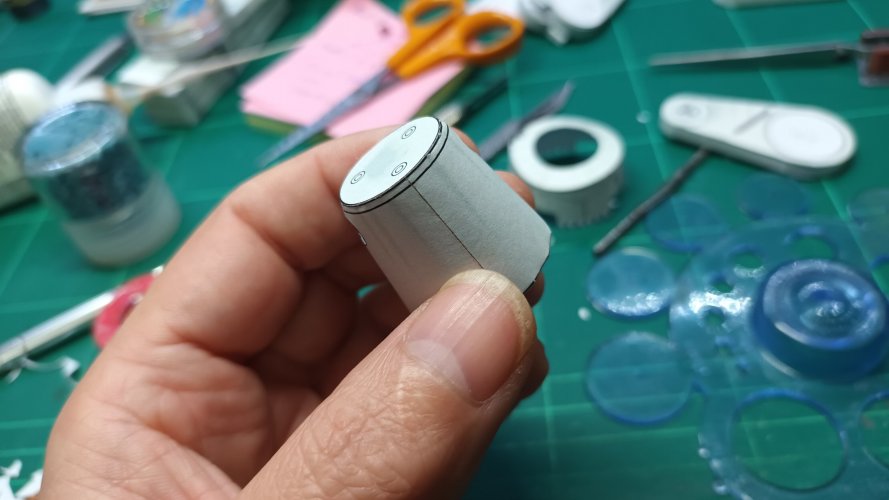
Top parts of the legs or possibly regarded as main hip joints.
View attachment 214267

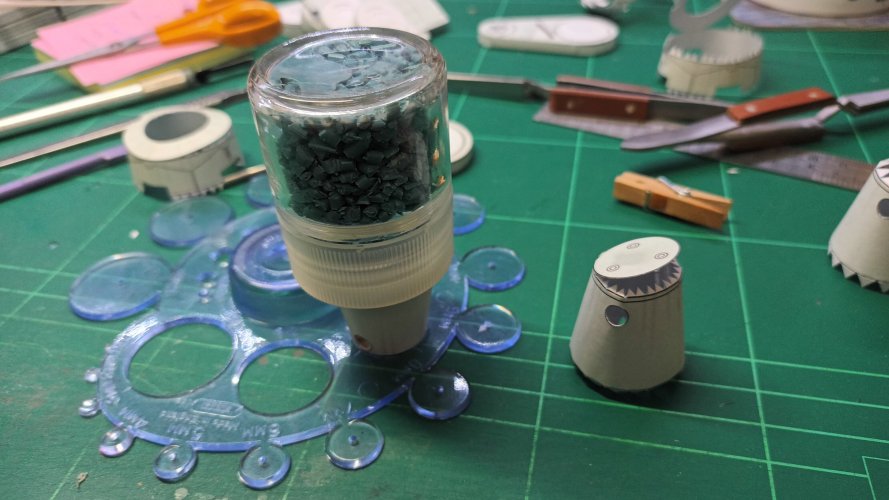
Hip joints under construction and neck section added to the head
View attachment 214268

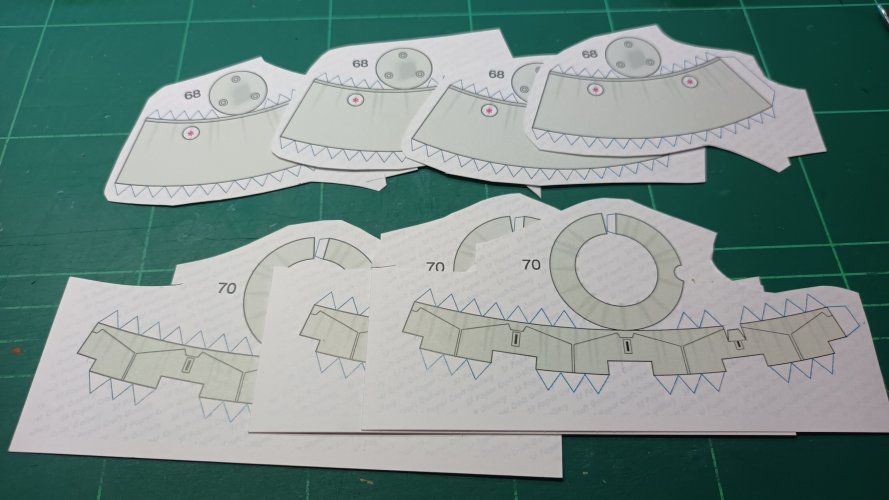
With hip joints constructed and awaiting paint touch up, the next part of legs x4 selected
View attachment 214269

THAT'S ALL FOR THIS WEEK, MORE UPDATES TO COME AFTER TAX RETURN GETS FILED...
This forum is all about paper work, so bring it on before

The Tax Strikes Back!

:biggrin:
 
Last edited:

Chuffy70

Well-Known Member
Jun 5, 2022
842
1,708
75
Norwich UK
Tax return filed, its now time to carry on from where we left off - lots of repetition lays ahead.

Hips were finished (top centre) and now it was time for the top part of the Femur so to speak.
Quite a few parts make up this joint and some parts are NOT GLUED which if you want the legs to move you need to take extra care of and identify.

20231029_132957.jpg

Main carcass was fairly easy, but the curve did put up a fight - back parts were much easier - note the butterfly flaps on the solid circles, these will pass through the doughnuts and allow the joint to move. FEELING PECKISH NOW! "DOUGHNUTS"

20231030_200350.jpg20231030_200900.jpg20231030_201514.jpg

Although the box section looks surprisingly easy to attach here - I'd urge any future build to dry-fit this first, just to make sure you have located correctly, as they do have a front and back, which can easily get missed. Paint was added to the open part of the box assembly before gluing.

20231030_202244.jpg

Once again care needs to be taken when adding the previous parts to the back of the bigger assembly, taking note of the circles and curves on the pieces will aid this.

20231031_145448.jpg

Final part of this piece was to add the butterfly joint -small amounts of glue were added to the outer rim, and constant checks were made to ensure the joint moved.
A couple of small weights were then added to make the part lay flat.

20231031_193119.jpg

THANKS FOR TUNING IN, MORE HOT LEG ACTION TO FOLLOW...
 

Chuffy70

Well-Known Member
Jun 5, 2022
842
1,708
75
Norwich UK
More leg and missing photos!

Bit of a bodge-job on this update as the assembly of the knee joints is missing - I probably got carried away and forgot to take pictures!
Parts here are the lower leg or shin parts, noting the same butterfly openings on both sides.

20231031_162027.jpg

Upper parts of the legs with holes removed to accept the butterfly sections of the lower leg knee joints.
I constructed at the non-joint first, then added the butterfly parts though, which allowed for final close up.

20231031_185746.jpg

The knees then received covers to the front and back. The front parts are a laminated affair to lessen the amount of flair-up or curling due to the limited amount of gluing space at the join.
The uncoloured part at the knee on the inside was painted as well, to helpfully hide any white showing when the ankle was posed.

20231031_220600.jpg

The rear covers are just a singular part, with lamination at the bottom
.
20231101_193523.jpg

With the butterfly poked through, glue must only be applied to the face of the flap and a little in the centre - ignore this if you are not moving the legs.
20231101_202018.jpg

You should end up with a knee joint looking a bit like this, sorry, poor photo!

20231108_102724.jpg

UP NEXT ANKLES AND FEET...
 

Chuffy70

Well-Known Member
Jun 5, 2022
842
1,708
75
Norwich UK
This is the part of anything that drives me batty, the repetition.
It can be frustrating, but take your time... there's no rush and if the subject matter is of interest it should be a joy rather than a chore.

You can always do a little, then walk away or tackle another part of the build.

Many modellers, myself included have two or three projects on the go at the same time - when one becomes tiering or frustrating, just head back to something else and come back when the time is right...

You could always do half of this AT-AT with one leg, that would stop you going batty!
:biggrin:
 

Chuffy70

Well-Known Member
Jun 5, 2022
842
1,708
75
Norwich UK
Feet and ankles next, a fetish for some, but for me the most disgusting part of the human anatomy...

Thankfully the AT-AT's feet look much nicer than humans - the base of the feet were also incorporating the toes.

20231107_142518.jpg

Neatly folding inwards, they caused no problems.

20231107_182015.jpg

Up next the shrouds around the main part of the foot.

20231101_203156.jpg

As I was building this to a deadline, I was using the tabs provided - however the circular parts of this model and the large tabs were causing the edges to become castellated and very Jagger-ed.
A few scratches of the old grey matter later resorted in me reducing the tabs down to half their size, allowing the walls to curve much better.

20231104_135927.jpg

Dry fit of the top of the foot - found attaching the top plates join next to the side wall join was the best starting point, then worked around the edges.

20231106_114329.jpg

The cones which pass through the foot were much more troublesome, although my tab reduction method was too late for one of these (as I had started these before the sides) I food an old school drawing tool came very handy.
Squeezing the top part of the cone into one of the holes, which by a miracle was just the right size - I managed to contract the edges to help make an acceptable ring.
A glass pot was left on top until the glue dried.
When I make this model again, I shall laminate a couple of discs and push them up to the top, thus eliminating the awkward tabs.

20231106_114256.jpg20231106_114435.jpg20231106_114524.jpg

Foot shrouds and cones done - some of the cones came out better than others (battle damage!)
20231107_142633.jpg

Arches or the ankle rocker joints are to be mounted to a rod which passes through the cones - some of you may now know I detest making rods or tubes, so parts 58 were tossed into the bin and wood dowels substituted - to be painted later on.

20231108_130907.jpg

I lost the arch pictures, so this one will have to do, fairly straight forward, tabs were just about the right size and needed no adjusting.

IMG-20231109-WA0004.jpeg

The bottom of the leg is attached to the foot via these boxes. The easiest part of the whole leg to construct so far!

20231108_161231.jpg

These parts form the Achilles or tendon - 62 is to slide into 59, but not on my watch!

20231109_121316.jpg

I could find no substitute for part 59, thus I delaminated the cardstock and rolled them as best I could, swearing all the time!
Part 62 wasn't so lucky and was thrown away, and the centre part of a recyclable cotton bud was cut to size.

20231109_172149.jpg

We come to the end of todays proceedings with just about all parts constructed for the legs...
See you all again very soon
 

Attachments

  • 20231101_203156.jpg
    20231101_203156.jpg
    618.5 KB · Views: 0
  • 20231104_135927.jpg
    20231104_135927.jpg
    1.1 MB · Views: 0
  • 20231106_114256.jpg
    20231106_114256.jpg
    1,006.2 KB · Views: 0
  • 20231106_114329.jpg
    20231106_114329.jpg
    509 KB · Views: 0
  • 20231106_114435.jpg
    20231106_114435.jpg
    792.2 KB · Views: 0
  • 20231106_114524.jpg
    20231106_114524.jpg
    579.5 KB · Views: 0

Chuffy70

Well-Known Member
Jun 5, 2022
842
1,708
75
Norwich UK
Small update...

Head & hips possibly? Added head and hips to the main body. more paint will be added later to dirty up the underside.

20231109_172813.jpg

Just needs some wheels...
20231109_172749.jpg

A homage to a 'making of' picture I saw in in one of my big brothers books when I was 10 or 11 years old in 'The Art of The Empire Strikes Back' I think?
The effects crew had laid all the engineered parts out, which I remember being a considerable amount more than this!

20231109_172507.jpg

Time to get the paint brush out and get busy! More to come over the weekend!
 

Chuffy70

Well-Known Member
Jun 5, 2022
842
1,708
75
Norwich UK
Final construction


Paint was added to the insides of the components, although not really noticeable apart from the wooden dowl which ran through the foot.
Black was put onto the footpad as there's a fairly large gap between the toes - just gives a bit op depth to the area.

20231112_125513.jpg

Ankles ready

20231112_141543.jpg

Feet ready

20231112_152446.jpg

Suspension? tie-rod? whatever these were -, the receptacle was added to the foot and the bottom rod was then left to dry

20231112_155537.jpg

Bottom & top halves of the legs were just push fit with glue.

20231113_103134.jpg

Left hand foot painted to show the elimination of the rather annoying dots - as I said before the whole model had these painted out.

20231113_105918.jpg

All parts gathered to begin the final assembly.

20231113_125113.jpg

I was not happy about the ankle joint, so some small bits of foam was stuffed up inside to add a bit of stiffness - which still allowed the joint to move.

20231113_143302.jpg

Front legs on, strangely this was the best position I found to let the glue dry.

20231113_205247.jpg

...and there we have it, lots of paint was added to the legs, but does not really show up on the picture.
I'll take some better glamour shots at the weekend...

IMG-20231113-WA0081.jpg

A finished AT-AT, which I think really looks the part - a good kit which gives some plastic versions a run for their money...

Pleased how she turned out and one of my entries into the local Christmas Model Competition in December.

Thanks for watching!
 

Revell-Fan

Co-Administrator
Staff member
Administrator
Moderator
Aug 1, 2009
11,623
12,371
228
Vreden
Awesome! Very well done! :)

Yes, the model is the goto AT-AT papercraft. The only area which could be improved are the tubes on the bottom (by wrapping paper strips around to give the illusion of differently sized diameters?). But since you rarely look at that area (unless you are attempting to blow it up with a grenade) this is a fairly minor aspect. I love your foam idea, that should be added to the instructions! :)