"When the well is dry, we know the worth of water." ~ Benjamin Franklin
Part 4c: Assembly.
And now the fun, and work, begins....
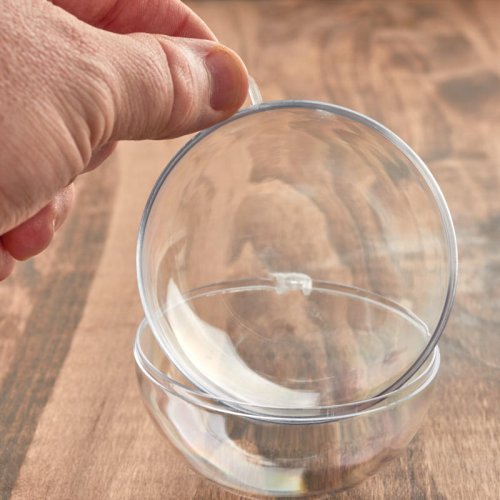
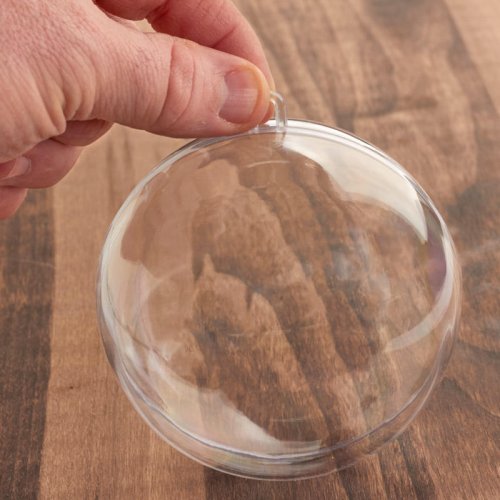
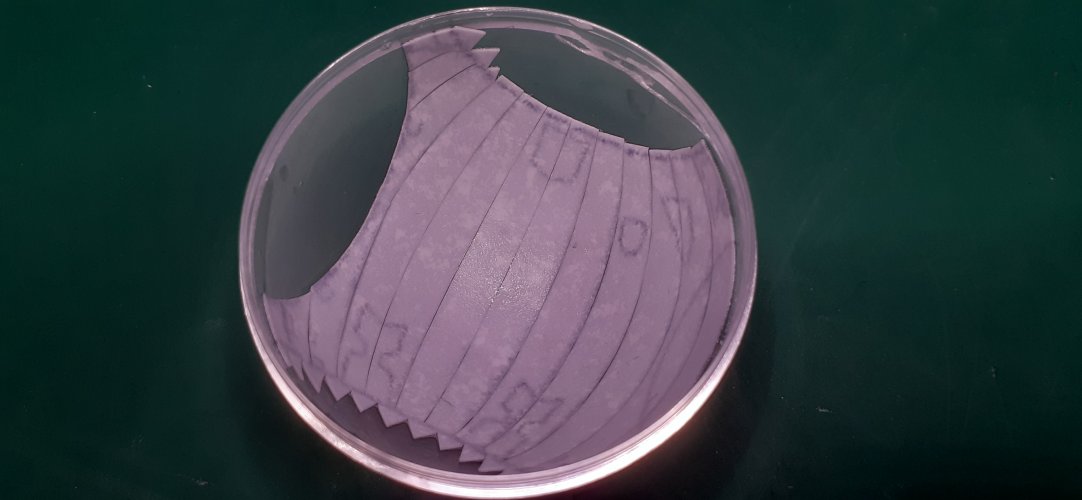
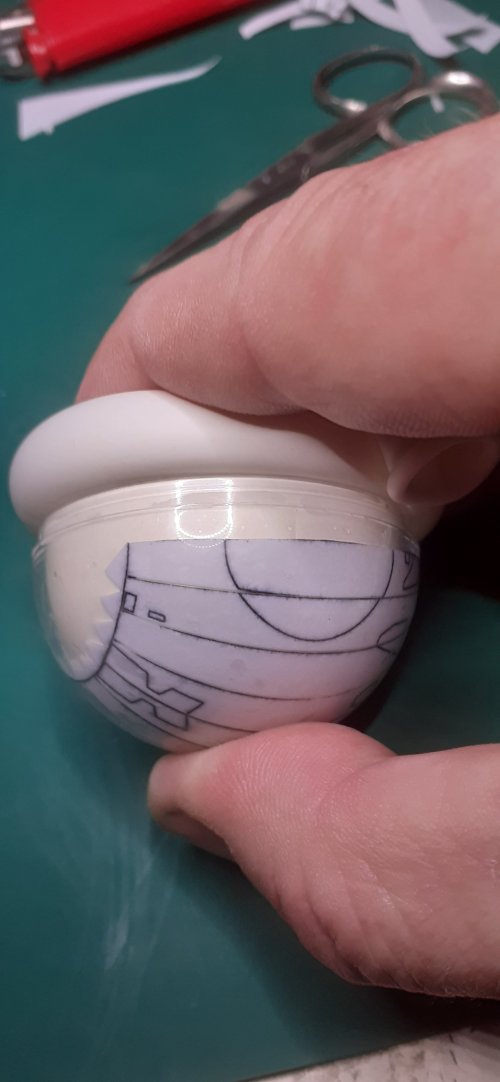
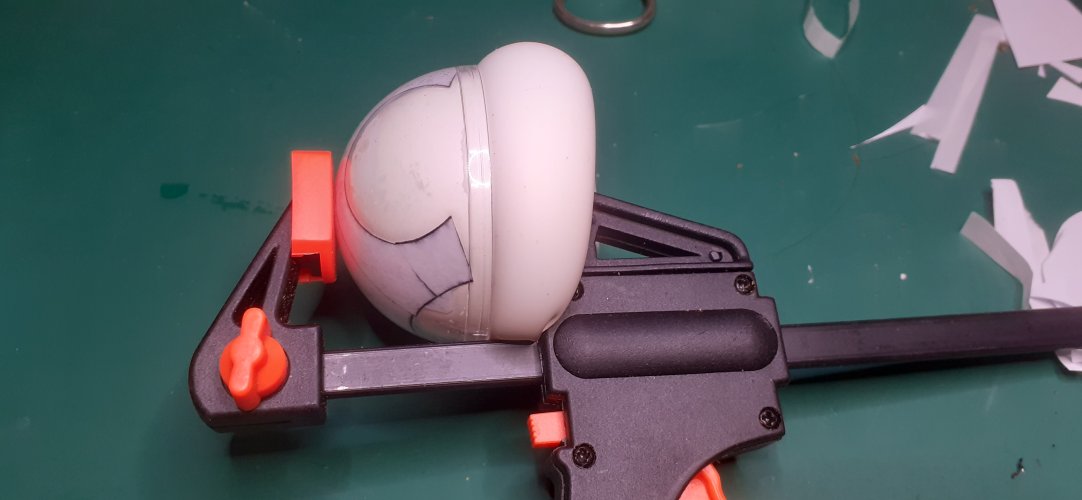
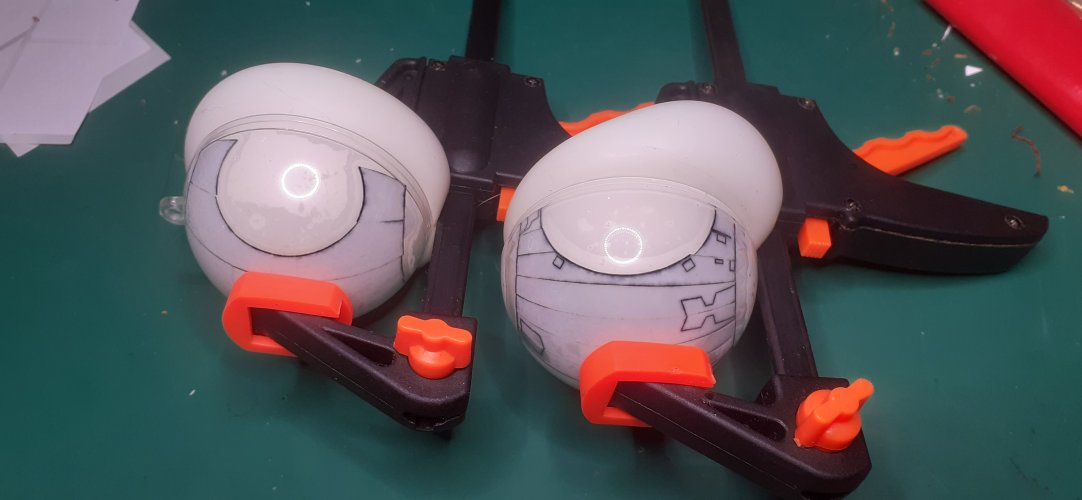
The best way to see if the part has dried out, is to look at it through the mold.
The part should have its original colouring back, namely the paper will now look pure white again if dry.
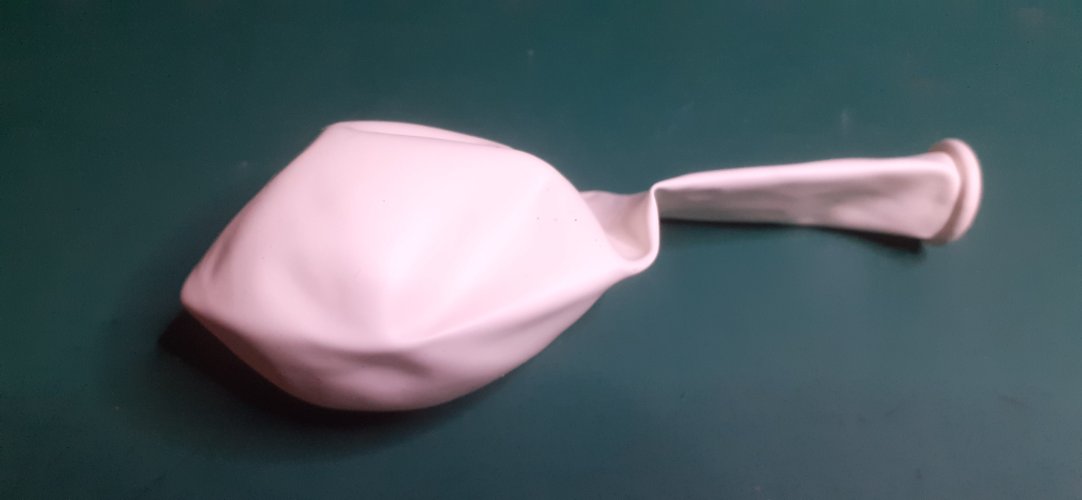
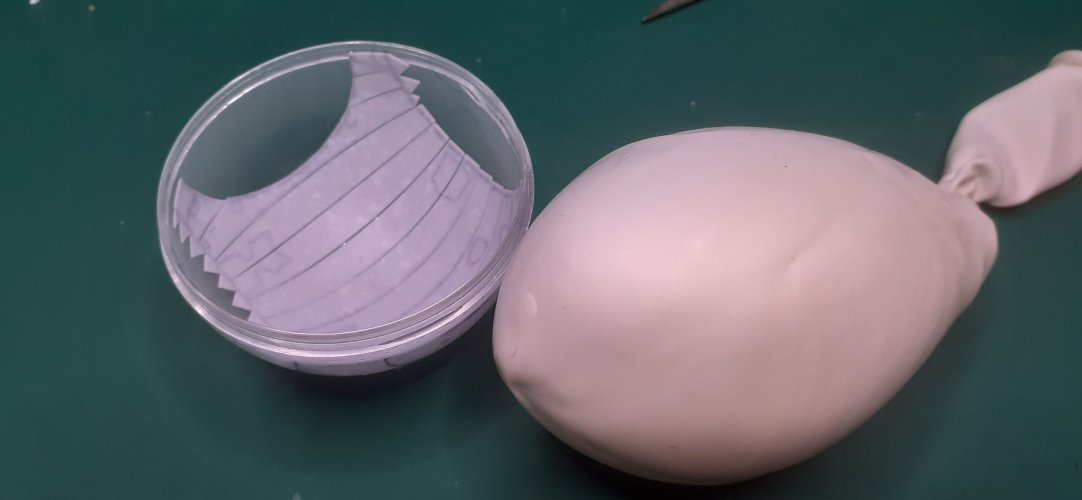
Carefully remove the pressure on the balloon and very carefully remove it, making sure nothing sticks to it as you do, but it should come out cleanly.
Once you have removed the balloon, double check that the part is completely dry.
I noticed with mine that it was still slightly damp, even after a day of drying.
I think this is because the balloon does not allow the water to evaporate away completely. I left mine to dry completely with the balloon removed. The part was already well formed and did not curl when having its final dry (about an hour.) It had no detrimental effect on the outcome.
I may need to look at an alternative for the balloon and use something that will allow better evaporation.
Very carefully remove the part from the mold, it is still delicate!
I forgot to take more photos of this stage, but the pic below shows the part fresh out of the mold.
Nicely formed!

At this point I decided to go further with mijobs sphere first, as I knew he was chaffing at the bit to see the result....

So, I got prepared.....
I water-shaped all the remaining parts of his sphere in three stages.
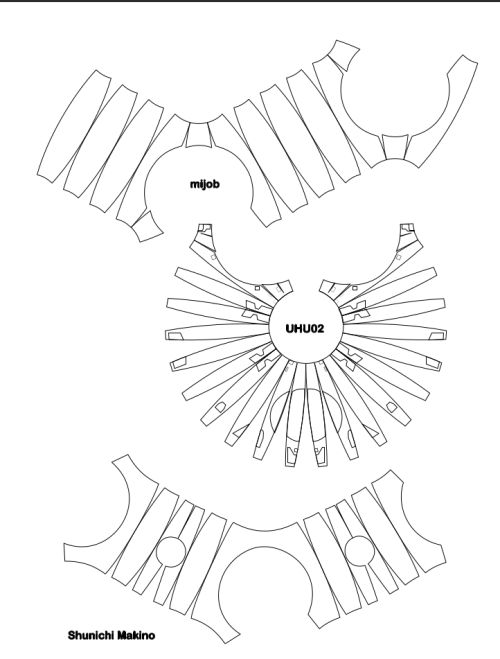
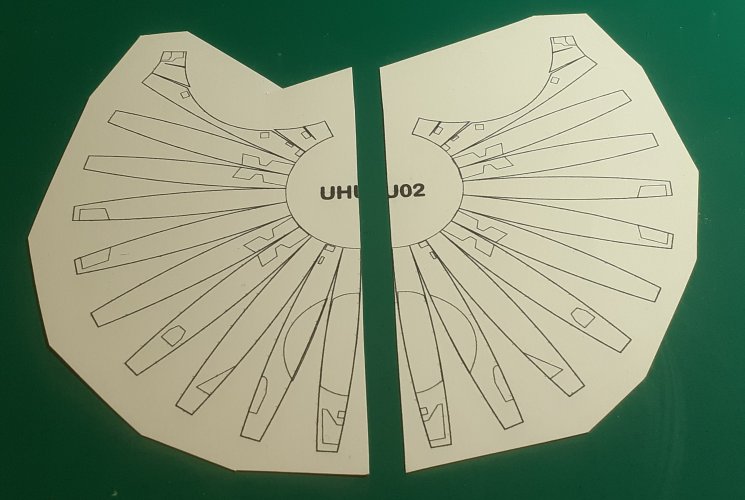
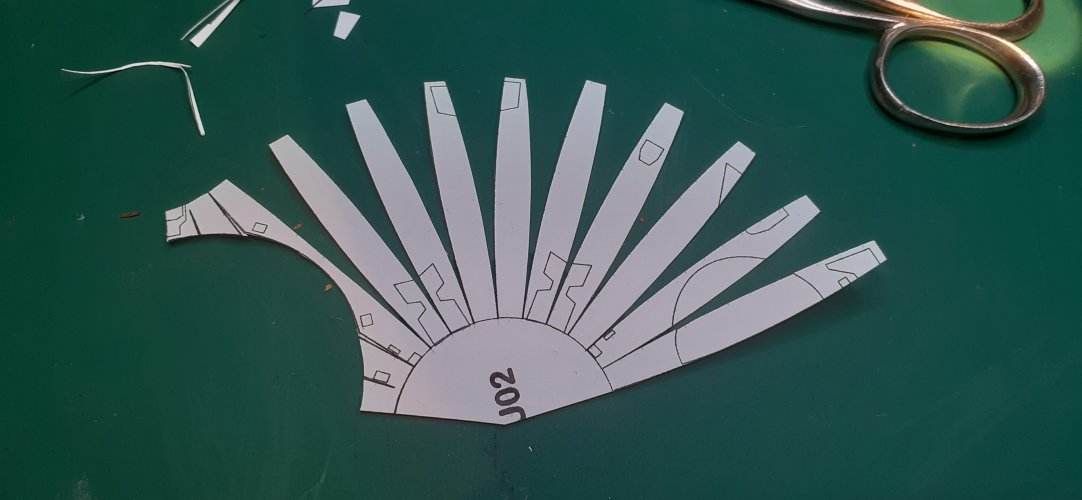
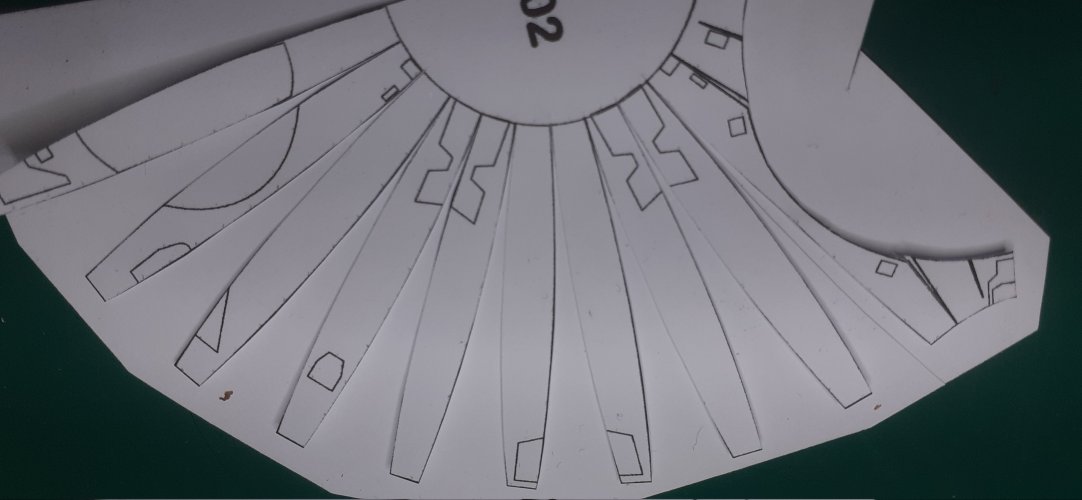
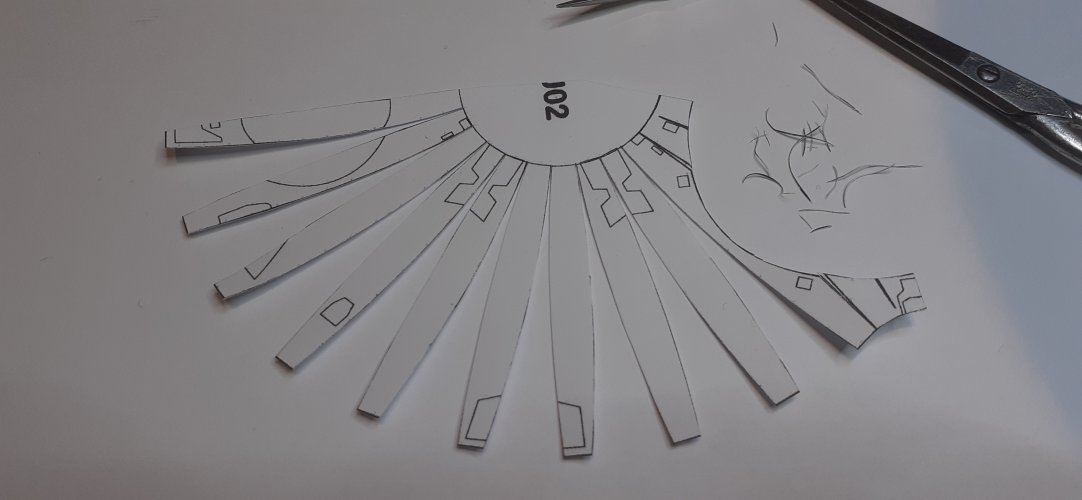
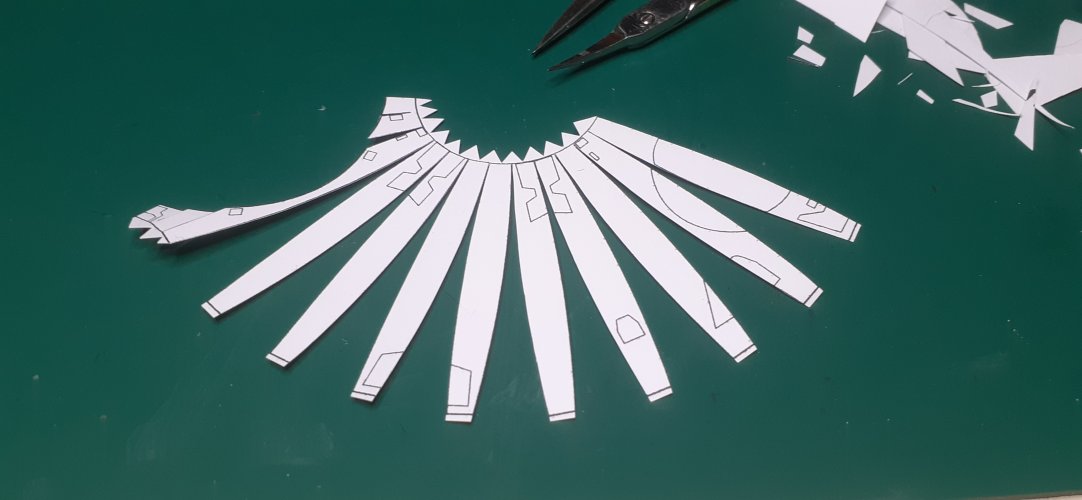
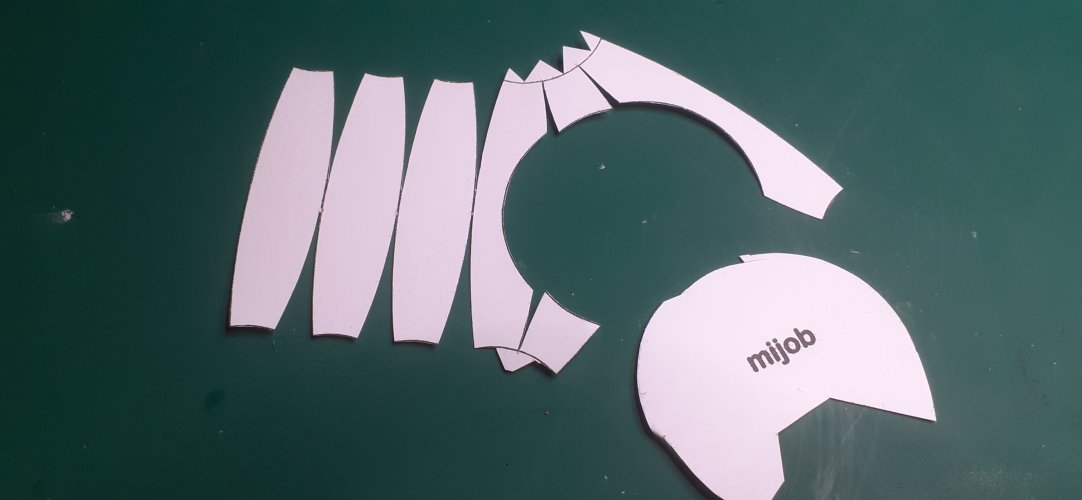
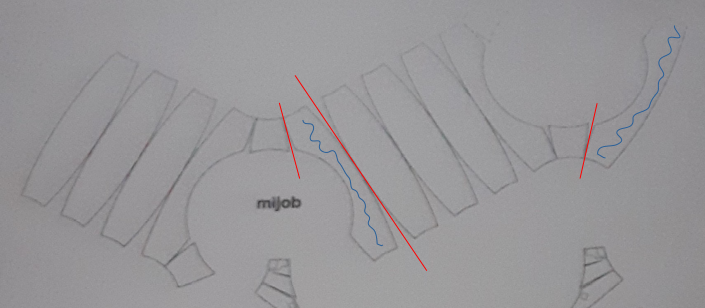
The pic below shows how I cut the template (in red.) The two parts with the blue squiggles were molded separately from the main sections.
As I have mentioned before, the following procedure requires a lot of back-tabbing.
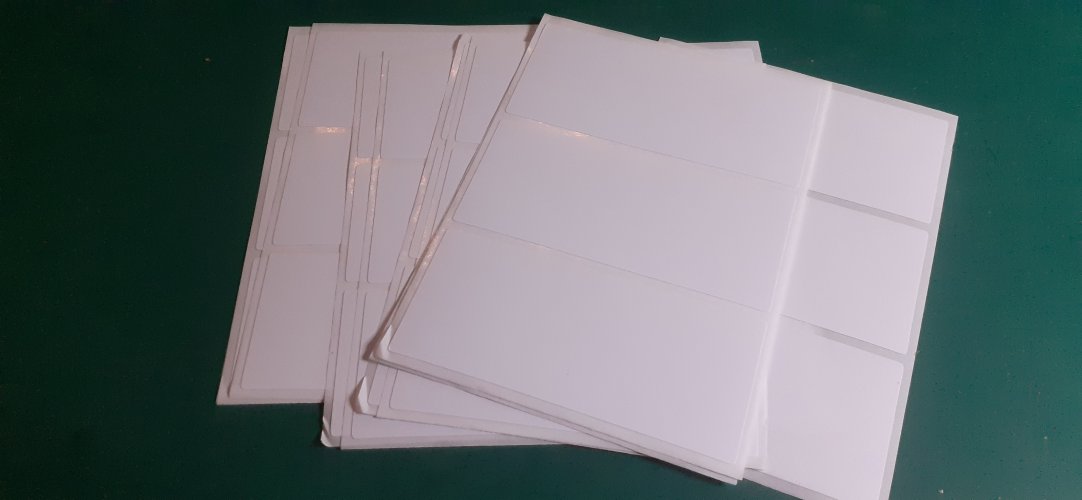
I cut out long strips of adhesive sticker, about 5-6mm wide and then cut off lengths from these, about half the width of a petal long.
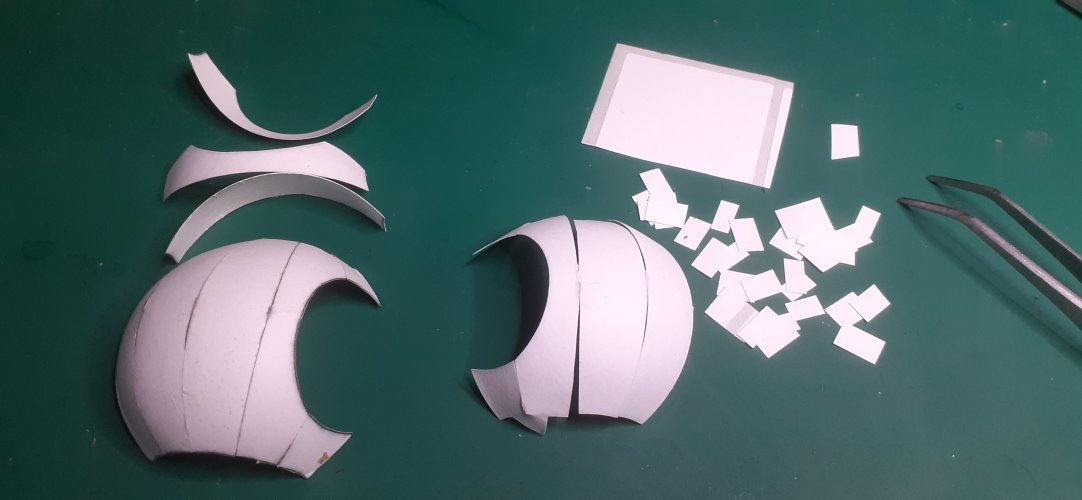
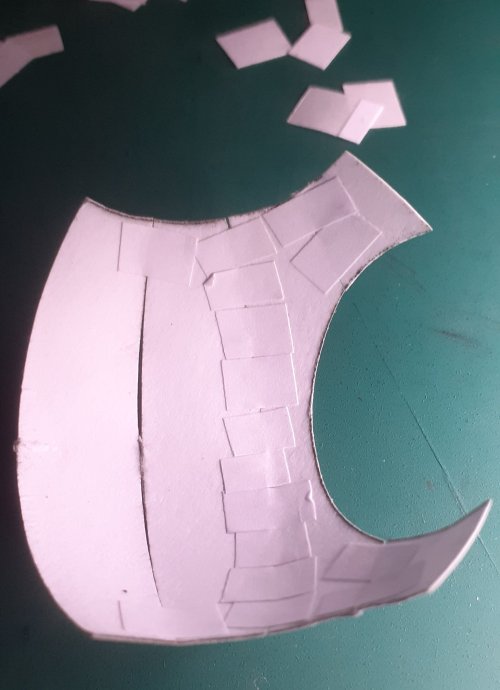
Start each joint by first accurately lining-up the ends of each petal and then tab it from behind with a sticker piece. Do this on both ends of the joint.
It is important here, and with every other tab you do, to make sure the two petals are pulled tight together at the joint.
Add the next tab in the same way. Proceed like this, alternating from one end of the joint to the other, until you meet in the middle.
Then start the next joint, and so on. The more joints you complete, the firmer and rounder the sphere will become, as it pulls itself towards itself!!
The pic is not a very clean example, but you get the idea.
** I want to add a note about the stickers here. The stickers I used for this project were very cheap to buy, and it shows. The adhesive was really weak and did not stick very well, so as I continued joining each petal. the stickers were coming loose on completed joints, allowing the joint to pull apart.

Somewhere, I still have a roll of industrial stickers that I 'acquired' from my old work, I just need to find them. Once they stuck, they stuck like excreta to a blanket!
With this in mind, I therefore recommend using an adhesive sticker with an adhesive that has a strong bond. Bit more expensive, but it is worth it in the end.
It would of stopped me getting very grumpy....

After quite a bit of cussing and grumpiness, I managed to get the two halves assembled.
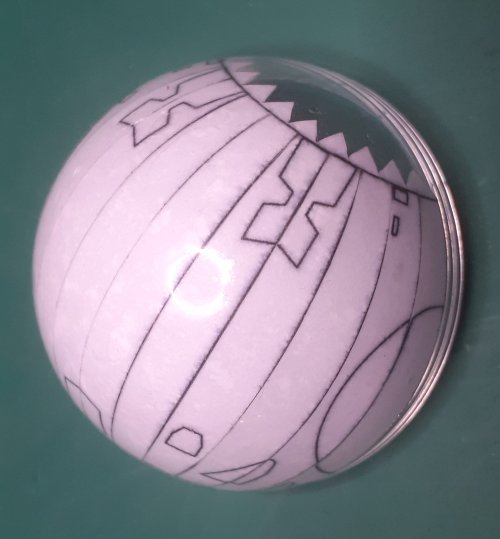
Back in Pt 4a, I mentioned about the residue cut lines in middle of each petal, due to the design of the template. (Shunichi Makinos template will have the same issue.)
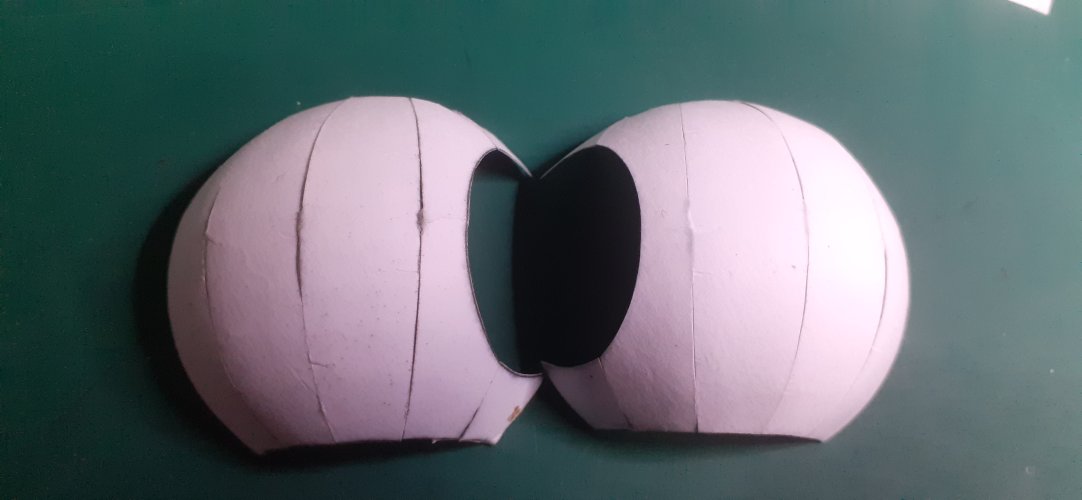
In the pic below, the completed half shell on the left, shows these lines.
Because there is no texture on these templates, the half shell on the right was placed in the mold back to front, with the lines on the inside.
The pic shows the difference!
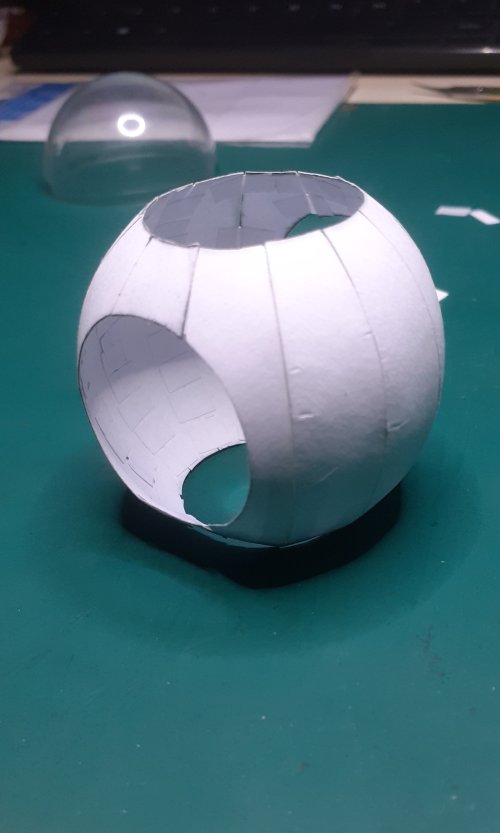
Using the same tabbing procedure the two halves were joined together, completing the construction.
The sphere has come out quite well, but could be a lot better in my opinion, mainly due to the sticker problem. Some of the joints just refuse to stick now.
There are also a few creases from the shaping process where I was a little careless and hasty.
Once I get/find decent stickers, I will build a cleaner version.
I hope you are sitting down
@mijob because here is the end result.
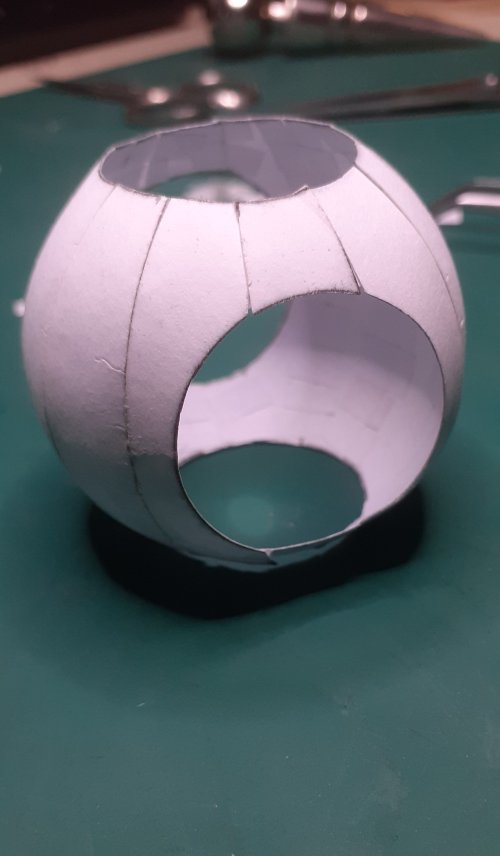
I am going to pause the tutorial here for now, until I can find better stickers.
Then I will complete the remaining two templates, and probably re-build the one from mijob too.

I hope this tutorial has helped and/or inspired people so far!
If there are any questions, feel free to PM me anytime, or drop a comment below.
Take care for now everybody!


