The UHU02 Colonial Viper appreciation thread
- Thread starter Revell-Fan
- Start date
You are using an out of date browser. It may not display this or other websites correctly.
You should upgrade or use an alternative browser.
You should upgrade or use an alternative browser.
@silveroxide As you may know, I am repainting Tirick's figurines (these are both in 1:32 and 1:50 scale). I am currently working on the Deck Crew. I have just finish both the Orange and Yellow uniforms for the men. I have to work on the females and then send everything off to Tirich for approval.
So these will work well with your set as well.
Thanks for looking in. For another project I may use Tiricks figurines but for this diorama I like my figures better. I already experimented with his figures and and with Zio Prudenzios figures as well. I just wanted my figures to be more realistic in nature for this project. Thanks for the offer but as mentioned, I will consider them in a future build.
I have come to the conclusion you could model an gaseous anomaly if you were so inclined.
I already do that with frequency according to my grandsons who ask me now and then, "Phew ....Grandpa, did you just make a gaseous anomaly?"
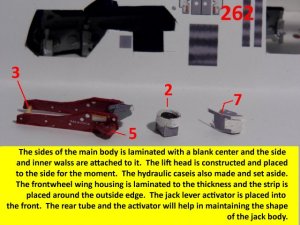
Here are a few updated photos on the build thread for the floor jack. I will post it in the resources soon.
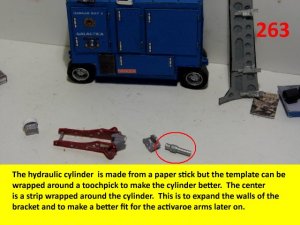
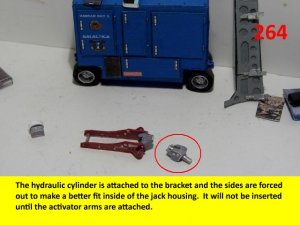
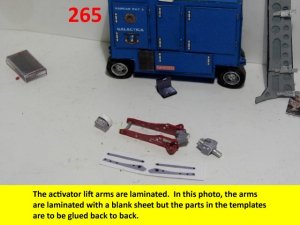
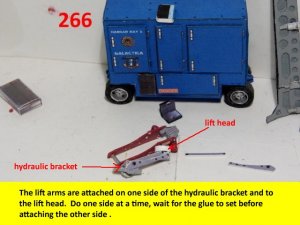
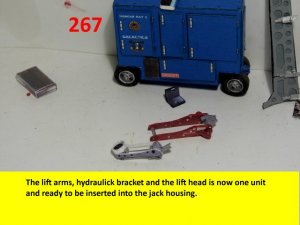
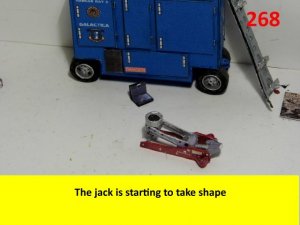
More cool pics, details-details-detail...they make a BIG difference. Thanks for continue to amaze and share things with us. This thread and the Jays lonely thread are two of my fav's, oh yea can't forget the Thunder Fighter thread too. Keeps me coming back to see what's been happening.
Speaking of details has anyone thought of added kill markers to their ships. I saw some decals for the plastic models of Cylon raider, basestar, viper and battlestar black ship silloette and thought they would be cool for customizing vipers or raiders. Just an idea, hint, hint.
Well everbody keep those pics coming, and thanks again for sharing.
Regards, Rick
There is a font which might come in handy for this:
Famous Spaceships
http://www.dafont.com/famous-spaceships.font

Famous Spaceships
http://www.dafont.com/famous-spaceships.font
- Apr 5, 2013
- 13,876
- 10,214
- 228
"..........I already do that with frequency according to my grandsons who ask me now and then, "Phew ....Grandpa, did you just make a gaseous anomaly?"
I taught my son the word "Peo" very young, you know why. One day, my mother-in-law (Gringa) said to me,after I asked, "How has he been?" as she was baby siting him while I was flying around for a couple of hours. "She said he's doing fine, but I have a question?", I asked, "What is it?". She says, "He's been going around all afternoon saying "You did a Peo!". Holding back the laughter was almost as hard as swallowing the mouthful Peuk I had just done chugging (bumpy ride, on final, 50 feet above the ground, that's fortitude!), and I said, "Peo" is slang for "fart". She turned all shades of Red, Purple, Violet, I stated, "He just thinks it's funny, that's all". Needless to say, I was abruptly shuffled out.
Then I got to thinking about it, my poor son was walking around for hours, with his beautiful little head just underneath that gaseous anomaly emitter, and it kind of pissed me off, so I told him, "When Grandma does that, don't say anything, just hold your breath, and run to the other side of the room!" That opened a whole 'nother can of worms.
With as much as that woman yaps, you'd think she could never build up the pressure to "fluff' the way she does. I am assuming it was a "Peo", as the other alternative would cause me (and him) Brain damage.
@Maverick65 If you look at my gallery, You will see that I made a Thunder Fighter in BSG paint scheme (in memory of my mother), I put "kill markers" (using the Cylon emblem) on the plane.
@Revell-Fan Thank you for the link. That is REALLY COOL!!!
@Revell-Fan Thank you for the link. That is REALLY COOL!!!
@Rhaven Blaack I thought I saw one somewhere but couldn't rember where, don't know why I didn't rember the Thunder Fighter, that one is by far my favorite alternate scheme. Sorry to hear about your mother, just lost my father in October, the holidays aren't as bright as before. But it is nice to be able to do things to honor those who are no longer around.
@Revell-Fan I didn't even think about dingbat fonts, and I should have cause I have an old one with Star Trek ships and symbols. Thanks for the link to the spaceship font, that one is really great, and the best thing is the ability to adjust the size.
Thanks guys for all the things you do and share with us.
Regards, Rick
@Maverick65 I am sorry for your loss. The holidays are indeed a little less bright.
You can use my build threads as a guide for your own builds. If you have any questions, please send me a PM.
You can use my build threads as a guide for your own builds. If you have any questions, please send me a PM.
Thanks to all comments on my build and for looking in. The plans for the Jack are in the resource section. Enjoy and here are some more updates on the build, It is slow going for the moment due to the holiday festivities coming up.
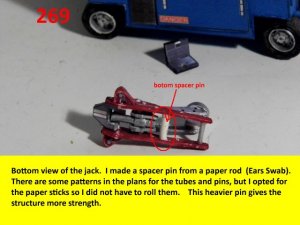
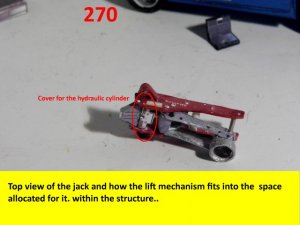
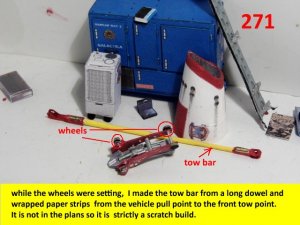
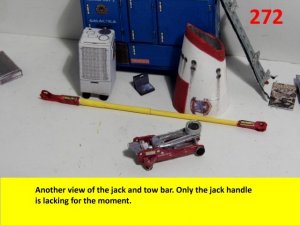
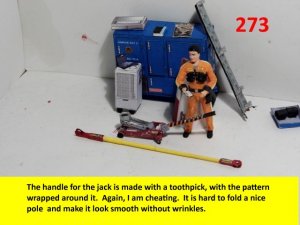
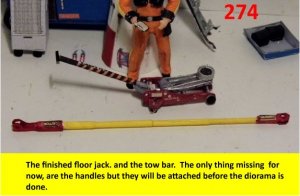
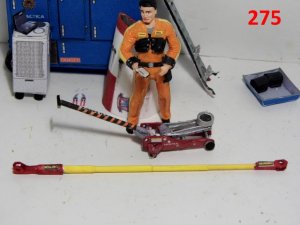
The only thing lacking in the last photo, are side handles, which I will probably make out of bent paper clips cut to fit. Enjoy and see you all soon with more to come.


The only thing lacking in the last photo, are side handles, which I will probably make out of bent paper clips cut to fit. Enjoy and see you all soon with more to come.
OMG!!!  This is INDEED one of the (if not THE) MOST important props for ANY Viper build!!! This looks AWEEEEEEEEEEEEEESOME!!!!!!!! I'd love to get the template (if there is one..!
  ..!
..! 
OMG!!!This is INDEED one of the (if not THE) MOST important props for ANY Viper build!!! This looks AWEEEEEEEEEEEEEESOME!!!!!!!! I'd love to get the template (if there is one..!
..!

See below for the schematics
Your access ladder looks far better than mine does!!!
Your technique is different from mine, that is all. For your scenario, it worked out real nice. Mine are of a different scale and allows me to add intricate details
I am having problems uploading files so I am attaching them to the comments box. Here is the schematics for the access ladder.
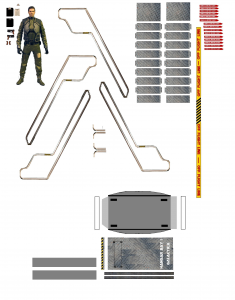
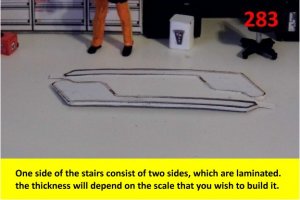
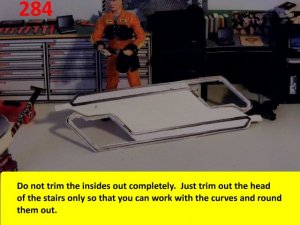
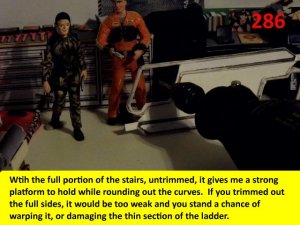
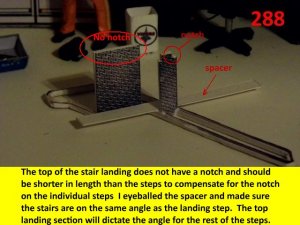
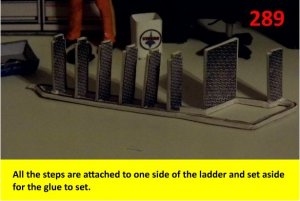
Thanks for the likes guys. The build sequence for the ladder will begin now. The side rails for the ladder will be a bit tricky but I will covere that in the next posting. The base will have a big white edge showing but that will be remedied with the retangular grey strip which will be attached after the top edges to the base are attached.. Enjoy and see you all next posting.

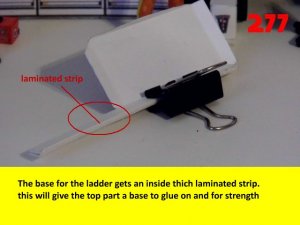
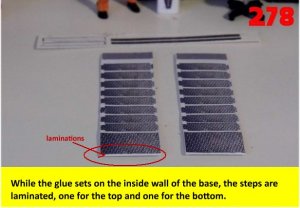
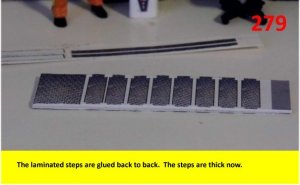
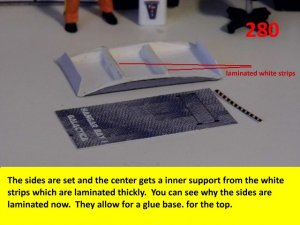
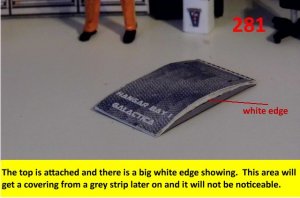
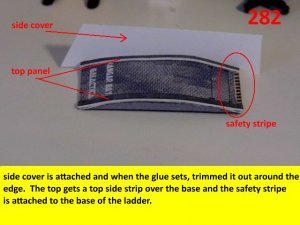


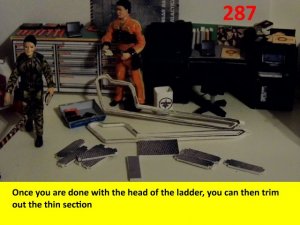
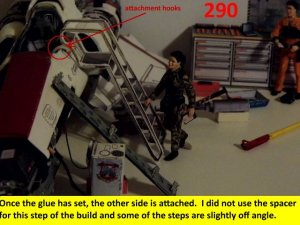
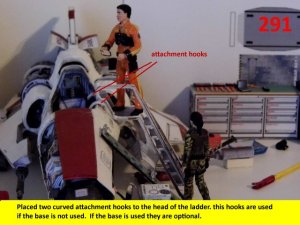
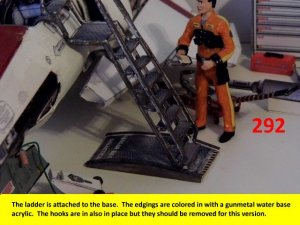
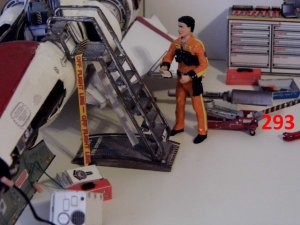
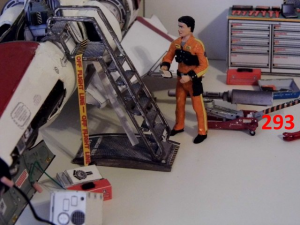
Here are the final photos of the access ladder. Be sure to let the glue fully set before you attach the other side of the railings. Also, use the spacer for the other side so that the steps will come out even. If you have problems attaching the other side of the railing to the notches, you have two options: Make the notches smaller or cut a section of the rail and glue it on later after the glue sets. There are two versions of the ladder on the set, one does not have the base but has the hooks to attach inside the cockpit and the most common one that has the base. I used the one with the base but did not removed the hooks. it would be hard to disengage with the base attached to it. Enjoy and I am still working on the display base and it is almost finished. Until then see you all around the forum.
