Last edited:
Sudsy's (Patoroch) Vulture build
- Thread starter Sudsy
- Start date
You are using an out of date browser. It may not display this or other websites correctly.
You should upgrade or use an alternative browser.
You should upgrade or use an alternative browser.
That looks great! And you see that it is not for beginners. Great work in all that. Thank you all for the information about the lamination in several layers, I will try this method in certain parts. Before I used 2mm cardboard for formers that indicated that thickness, but not being compact tends to open on the edges and small pieces. This is very annoying, so now I use cardboard of 0.5 in layers. It is more compact, but still tends to delaminate although the result is much better .
Last edited:
Last edited:
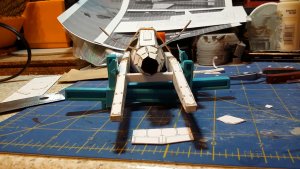
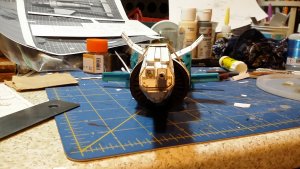
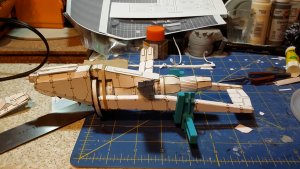
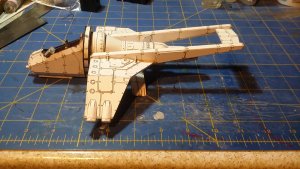
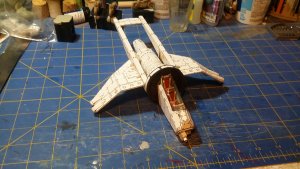
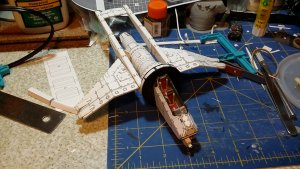
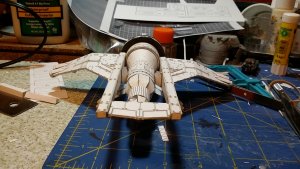
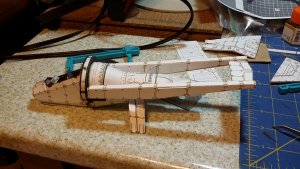
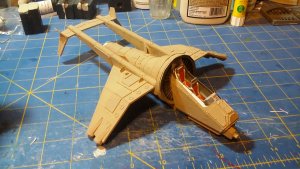
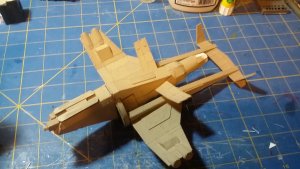
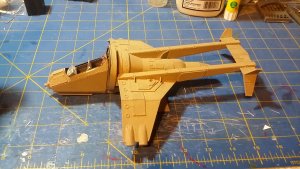
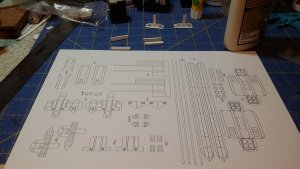
Now that cutting is complete, it is time for paint and final assembly!
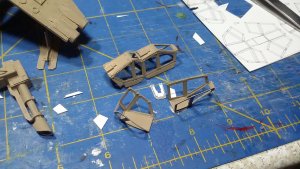

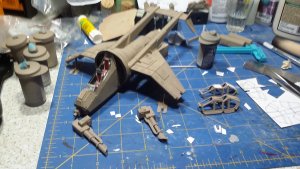
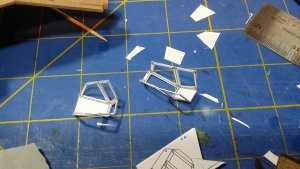
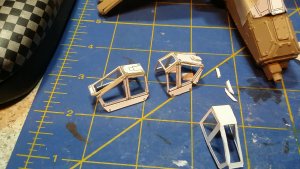
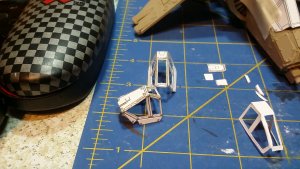
A few notes on things to do different if you build this...
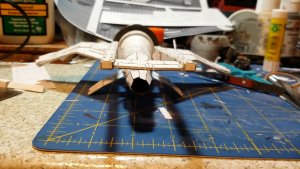
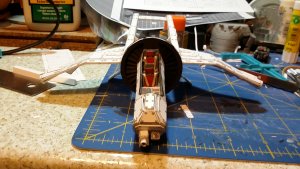
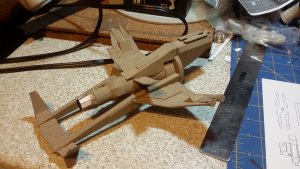
Weigh the nose down, the engine makes this kit rear heavy!
If you can, print the cockpit canopy on clear acetate.
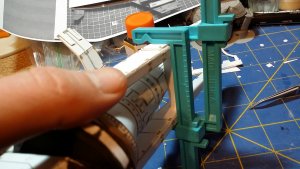
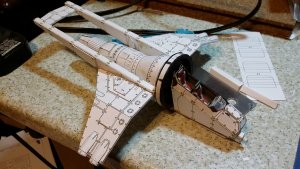
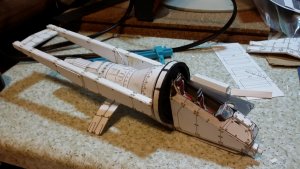
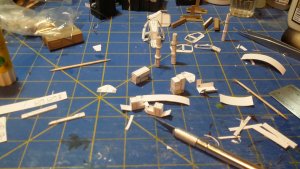
I will try to capture some more angles of what was unclear during assembly to help anyone here build this. I missed a couple parts on the sheet though, some pylon grebles that would go on top of the pylons giving them a more aerodynamic look.
Last edited:
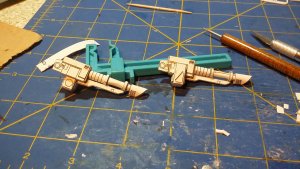
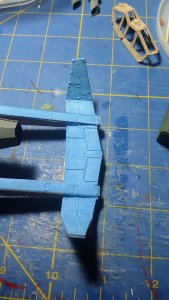
Final assembly and paint in progress for the next few weeks (given how busy April and May are on the weekends). Mostly got the base coat for the weapons and body done. I did manage to get the first couple of highlights on the weapons and underside of the Vulture done. I obviously like the drybrush method the most for covering such a large chunk of real estate. All of my work is with brushes, I do not own an airbrush (yet, but it is on the bucket list). So far, I haven't found the lack of an airbrush that much of a limit. I kinda like the effects I get with good ol' sable or sythetic hair paint brushes, especially flats and filberts on large areas with rounds and liners for details.
On the engine, it started out as drybrushing, then turned into a bit of mix of that and wet blending. Accidental method, don't ask me how I applied any form of logic to it, it just happened. My dad cleaned up the pile of plastic I learned on as a kid that I didn't take with me when I grew up, and that is where I think I learned most of my methods (the error in trial and error).
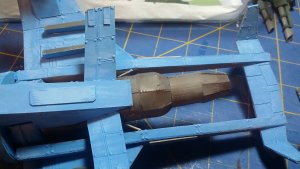
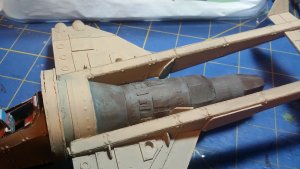
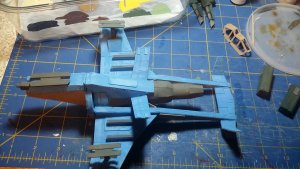
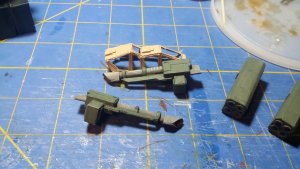
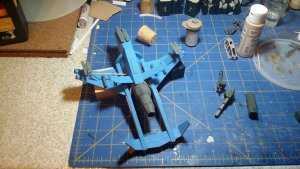
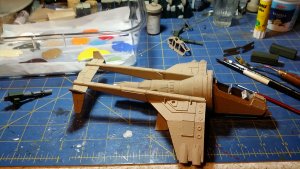
On the engine, it started out as drybrushing, then turned into a bit of mix of that and wet blending. Accidental method, don't ask me how I applied any form of logic to it, it just happened. My dad cleaned up the pile of plastic I learned on as a kid that I didn't take with me when I grew up, and that is where I think I learned most of my methods (the error in trial and error).


Last edited:
Got the Vulture 99% completed! Clear coat i still drying on the weapons, once that happens I will glue the weapons in place and call it a done build!
Painted it with the same scheme as my BMPs, based on my research into how the Mi-24 Hind attack helicopters were painted in a similar fashion the Soviet armor forces they supported. This unifies the force look incredibly, and I even got something close to the sky blue used on the belly of the aircraft similar to that of the inspiration.
I almost, almost, went with an anti-glare black strip on front near the cockpit.... That might still happen!
Thanks for all the comments and support on this build! The frustration has proven worth getting through!
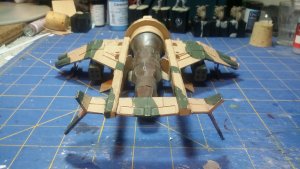
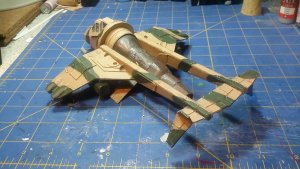
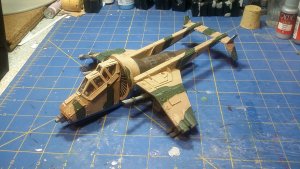
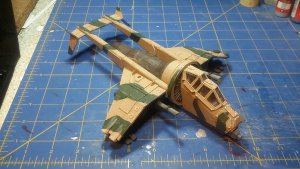
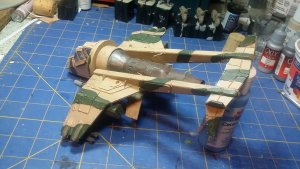
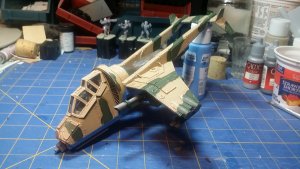
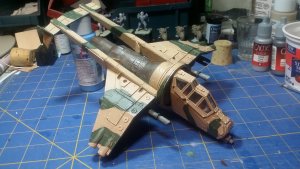
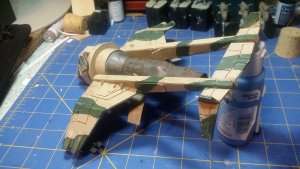
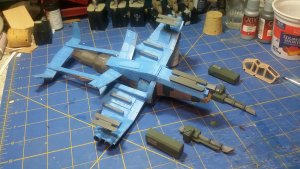
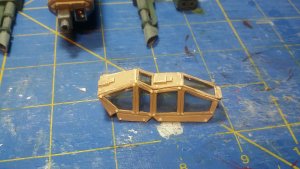
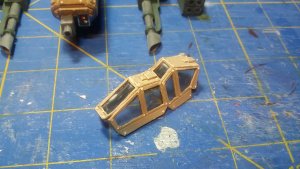
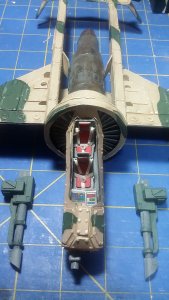
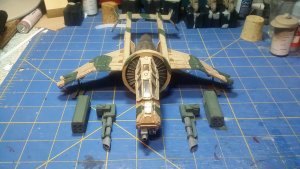
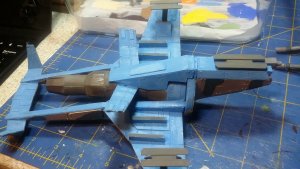
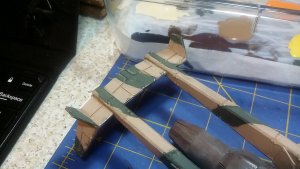
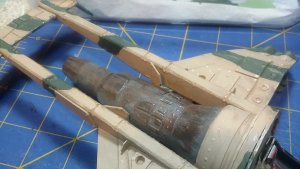
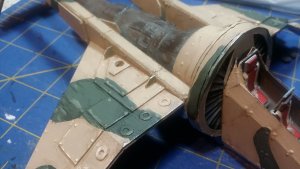
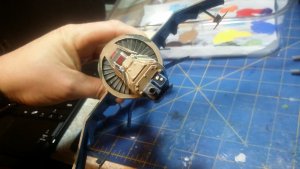
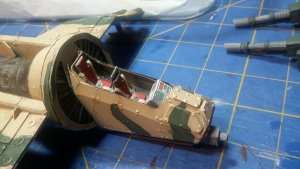


Last edited:
Excellent result, both construction and painting. The effect of wear looks very good. It is very little paint and I am surprised to see the results that are achieved on a paper model. Admirable work.
Paper is just like wood, once you get tha primer on the surface, the textures can be manipulated with the paint to simulate any surface you desire. Unlike wood, the grain of the wood does not need sanded or worked out if a smooth surface finish is required on flat areas. Once you seal the surface, the difference between paper and plastic models is in how much bounce the surface gives you when you use a brush on it. I have come to enjoy the minimal flexing the paper models give me. I find this flexible surface to be a god send when my kids drop the model on the hard floor or table where we play games and the model (mostly) stays in one piece unlike a plastic, resin, or even wood, kit.


