Last edited:
Sudsy's (Patoroch) Vulture build
- Thread starter Sudsy
- Start date
You are using an out of date browser. It may not display this or other websites correctly.
You should upgrade or use an alternative browser.
You should upgrade or use an alternative browser.
Looks Great! Be careful though as there is an error on some of the panels and they need to be fitted to work well. I saw a video, out of Russia I think, but damned if I can find it again... Just cut stuff long and check first!
Looks Great! Be careful though as there is an error on some of the panels and they need to be fitted to work well. I saw a video, out of Russia I think, but damned if I can find it again... Just cut stuff long and check first!
I printed it off a couple times. Partly to help laminate panels... This might prove a good move when test fits happen! I am making that cockpit work no matter what! If that is all I model, then so be it!
I found that you really begin assembly with the engine. Some designer in human future history created the standard construct template for an engine then decided to bolt on wings, weapons, and a cockpit (in that order).
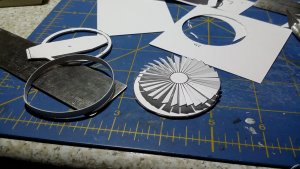
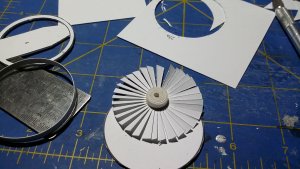
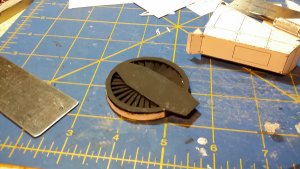
I was happy with my turbine blades, I hope they hold out when I paint the rest of the Vulture
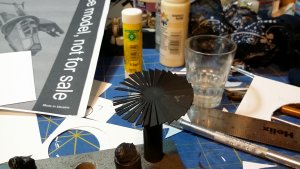
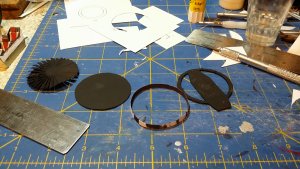
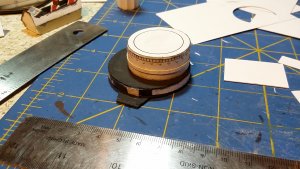
Priming with flat black here. What the paint brush misses will be dark, and in shadow!
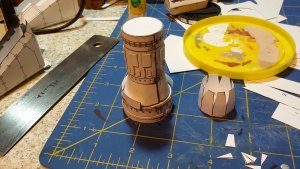
Lots of grebles to go with the rivets!


I was happy with my turbine blades, I hope they hold out when I paint the rest of the Vulture


Priming with flat black here. What the paint brush misses will be dark, and in shadow!


Lots of grebles to go with the rivets!
Last edited:
The engine fan blades look great! It gives the model a more realistic look.
Keep up the great work!!!
Keep up the great work!!!
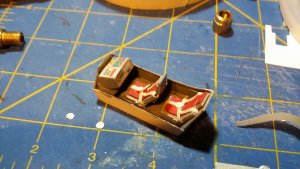
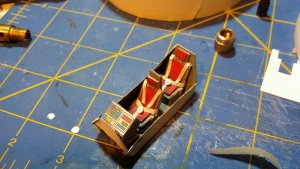
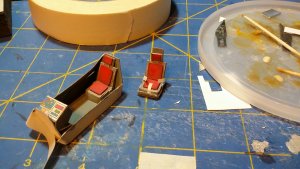
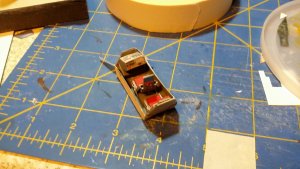
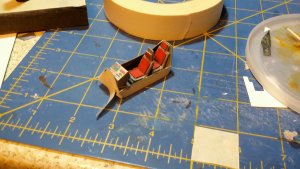
Got some progress in yesterday and today. I assembled the engine and cockpit, and found a disturbing gap. It only disturbs me because I know I can't get spray paint, or a brush, down into that area. Time to make a body panel!
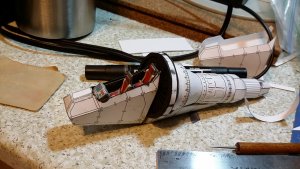
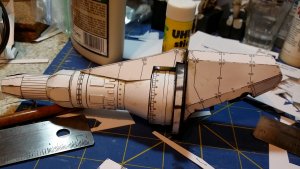
I did enjoy the ability to greble with loads of rivets using the glue drop method!
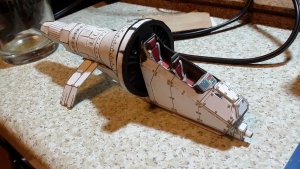
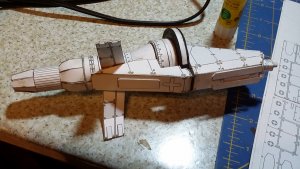
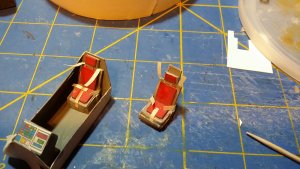
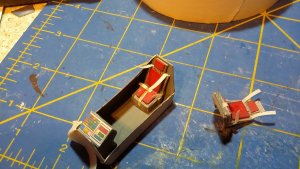
I have to show off the nose bolter and sensors and cockpit. Whatever else happens with this model, these came out great. If I get too angry with the model, I can at least hang on to these!
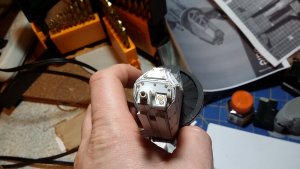
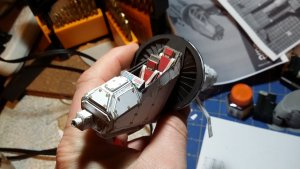
Some more engine and cockpit grebles for you! Thinking about taking some wire to make engine piping...
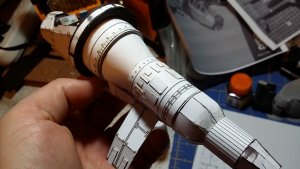
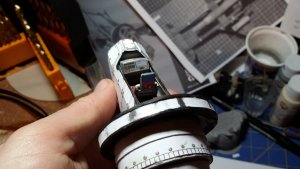


I did enjoy the ability to greble with loads of rivets using the glue drop method!


I have to show off the nose bolter and sensors and cockpit. Whatever else happens with this model, these came out great. If I get too angry with the model, I can at least hang on to these!


Some more engine and cockpit grebles for you! Thinking about taking some wire to make engine piping...


Last edited:
- Apr 5, 2013
- 13,876
- 10,214
- 228
So, I'm in a nice safe dry place where I live. Keep those who live around in lower lying areas that are flooded in your thoughts and prayers however!
I do have some progress to report. I got an extra day to work on the project (due work being evacuated...).
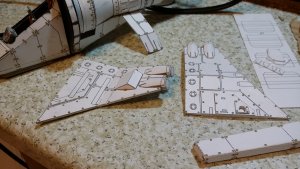
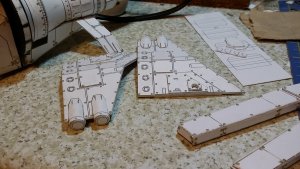
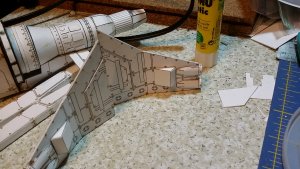
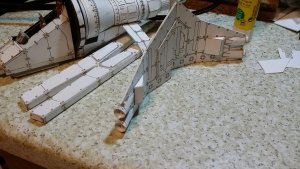
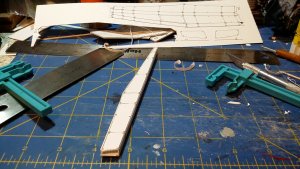
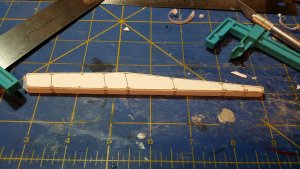
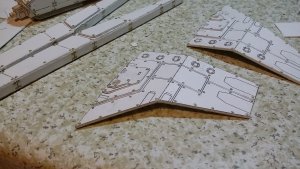
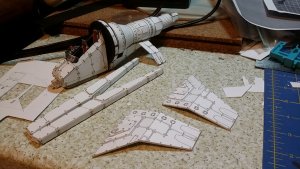
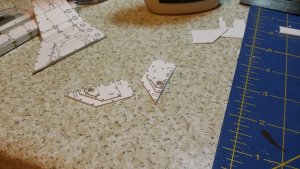
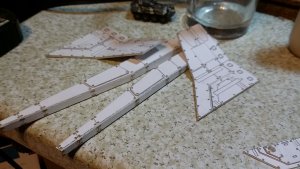
Mostly I have spent the last week or so workign on the wings and the tandom pylons the will mount to along with the tail assembly. Lots of rivets to dot along the assembly, along with lamniation. I made the wings 4 pages thick. All panels glued on top are at least two pages each. I will get a layer count at the wing root, but it around 8 to 10 pages at the wing roots.


Last edited:
Last edited:
- Apr 5, 2013
- 13,876
- 10,214
- 228
Most if not all THICK stuff is a laminate ( soft) of several layers ( mat board for instance ) only built up to provide a ground for the colored layer or a hard rolled clay surface ( illustration board for instance) and to provide a stiffer surface. In all cases, the laminated board will tend to de-laminate along all the edges if worked. It will also de-laminate when painted. Several thinner layers laminated with appropriate glue will be N x's stronger. Just search for Lacquered Armor ( note they did not make an authentic set of Lacquered Armor in this Myth-Buster story, which will not be bothered by getting wet.
@Sudsy Forgot to add LOOKING GREAT
@Sudsy Forgot to add LOOKING GREAT
Last edited:
These wings look great and solid. Question: Why do you have to laminate with several sheets instead of using thicker cardboard? Is it a special trick, are they more solid?
Zathros and Gandolf50 both have great points. Truth is for me, I printed on one type, and found laminating with like materials more conveinient, and less worrysome. I have no issues using cereal box, but sanding the the glossy print surface is time consuming but necessary for the best glue/paint surface. I tend to save such materials for interior reenforcment of box structures (like the inside of the BMP, shameless plug of my other thread here).


